 Tutorial
Learn how to use Marvelous Designer and Character Creator to create stunning dynamic clothing in iClone.
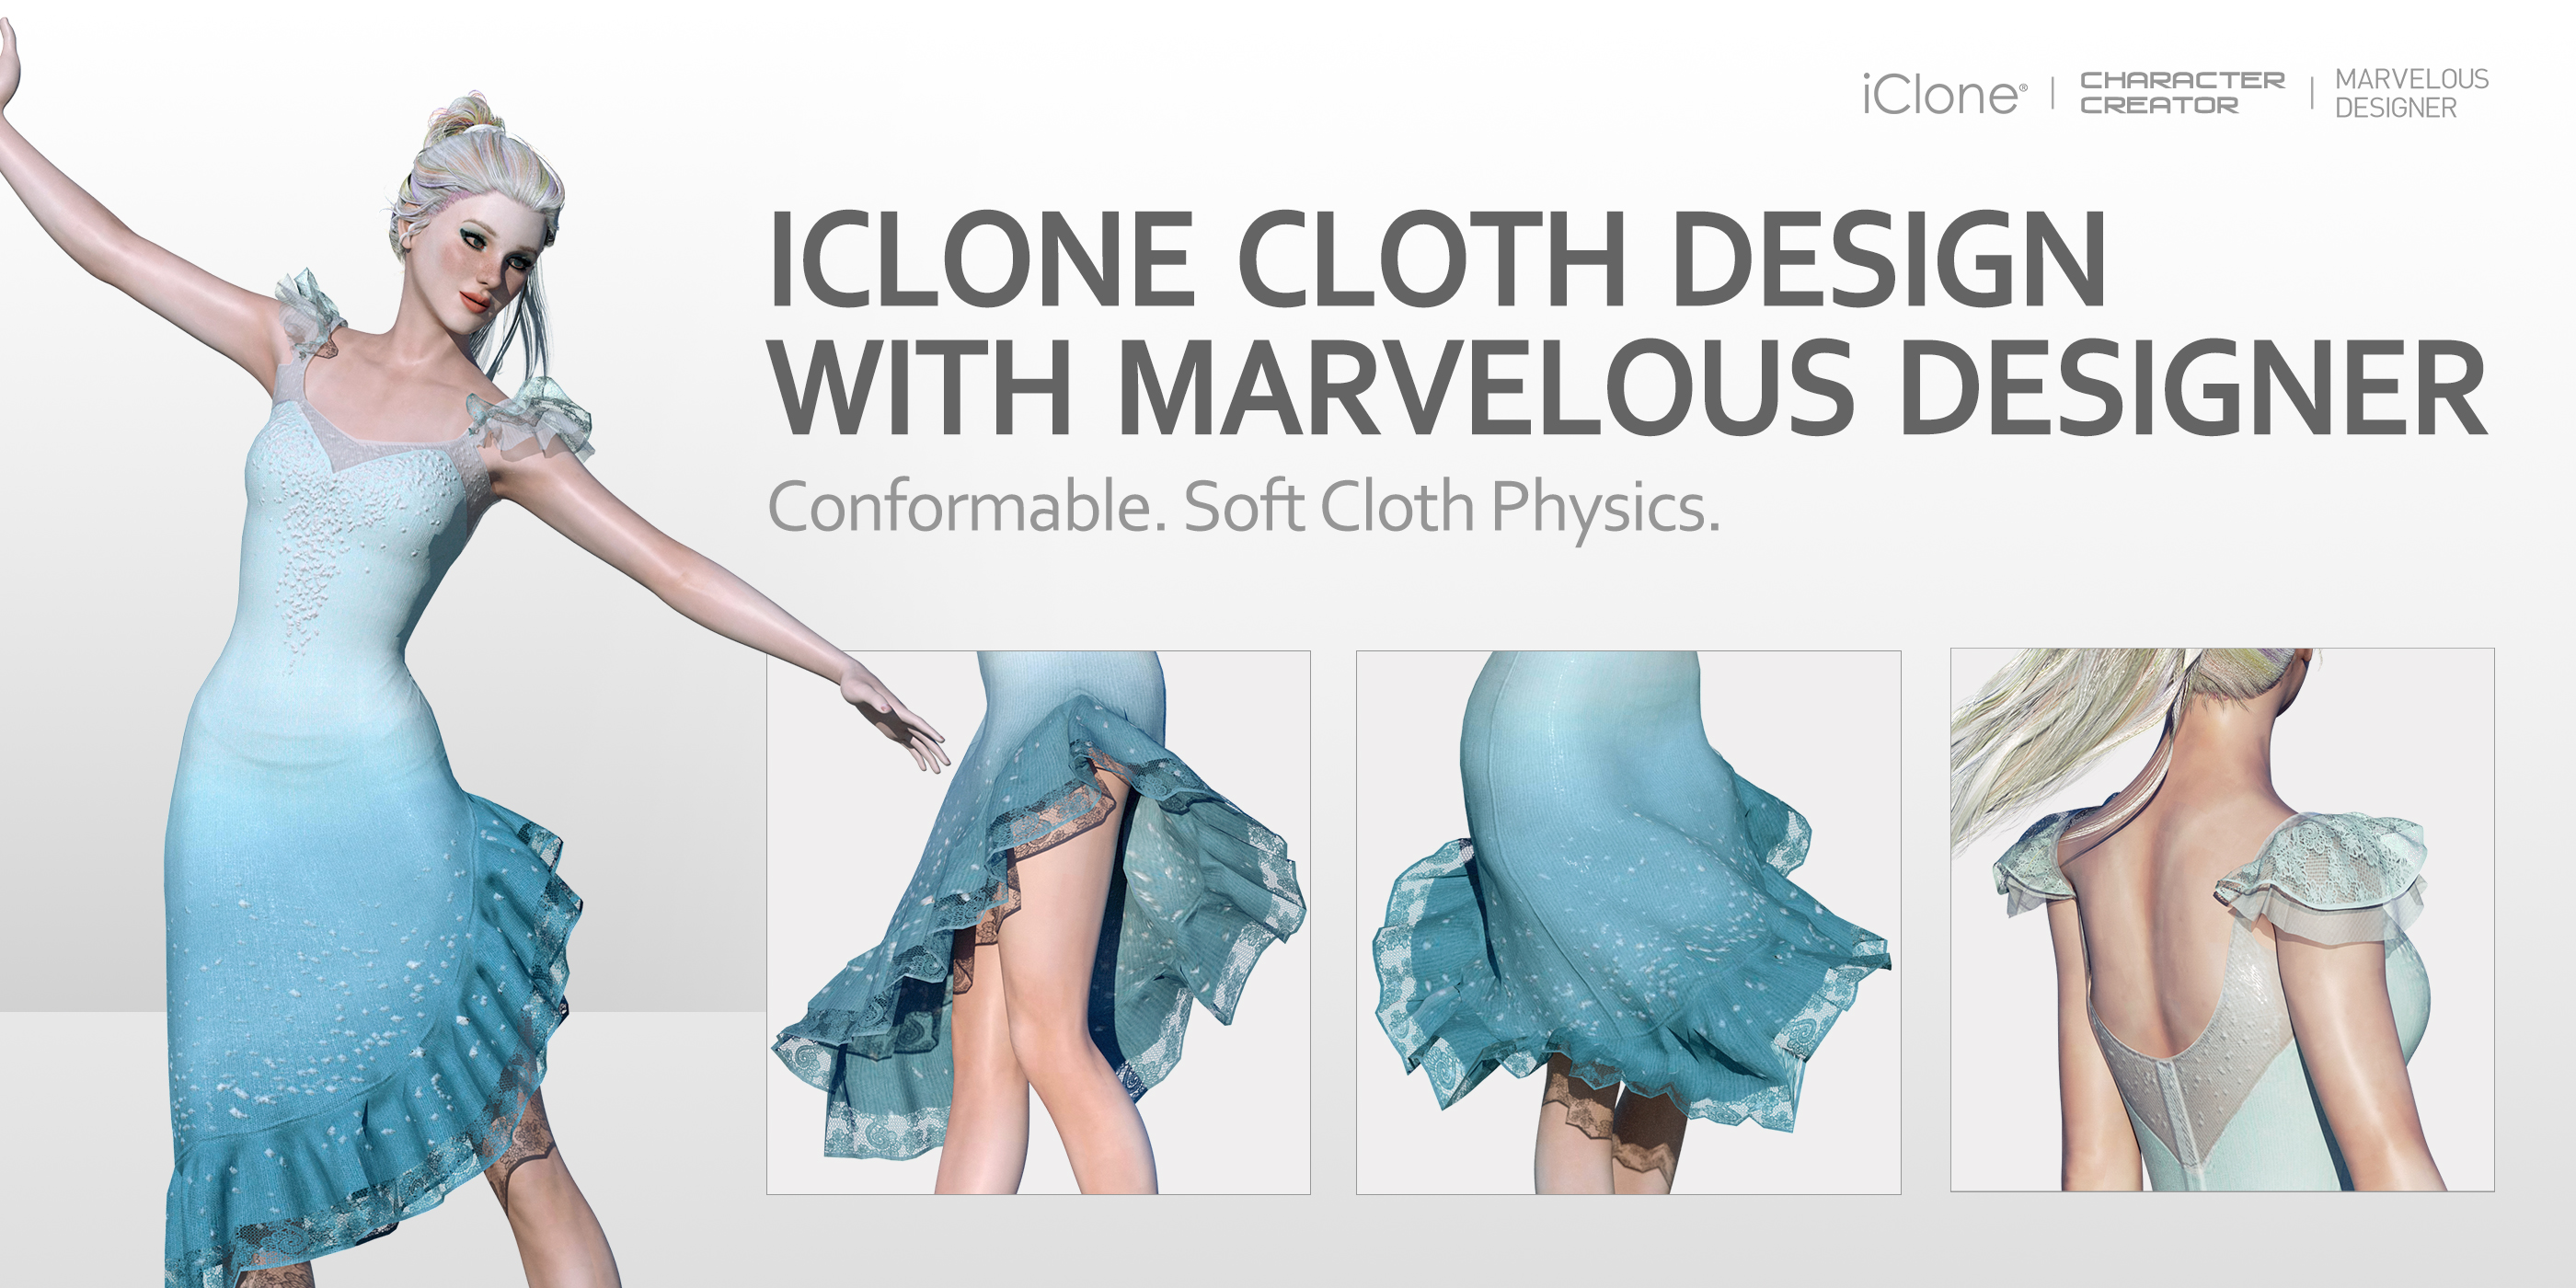
We are always on the lookout for fresh ways to integrate 3rd party software with Character Creator and iClone. Lately, we’ve set our sights on Marvelous Designer, impressed by the power of its physics simulation and intuitive interface. In this tutorial, 3D expert and trainer – Charles Chen, will demonstrate the advantage of combining MD’s superior design environment with iClone Character Creator’s powerful clothing system to create an animated flamenco inspired dress.
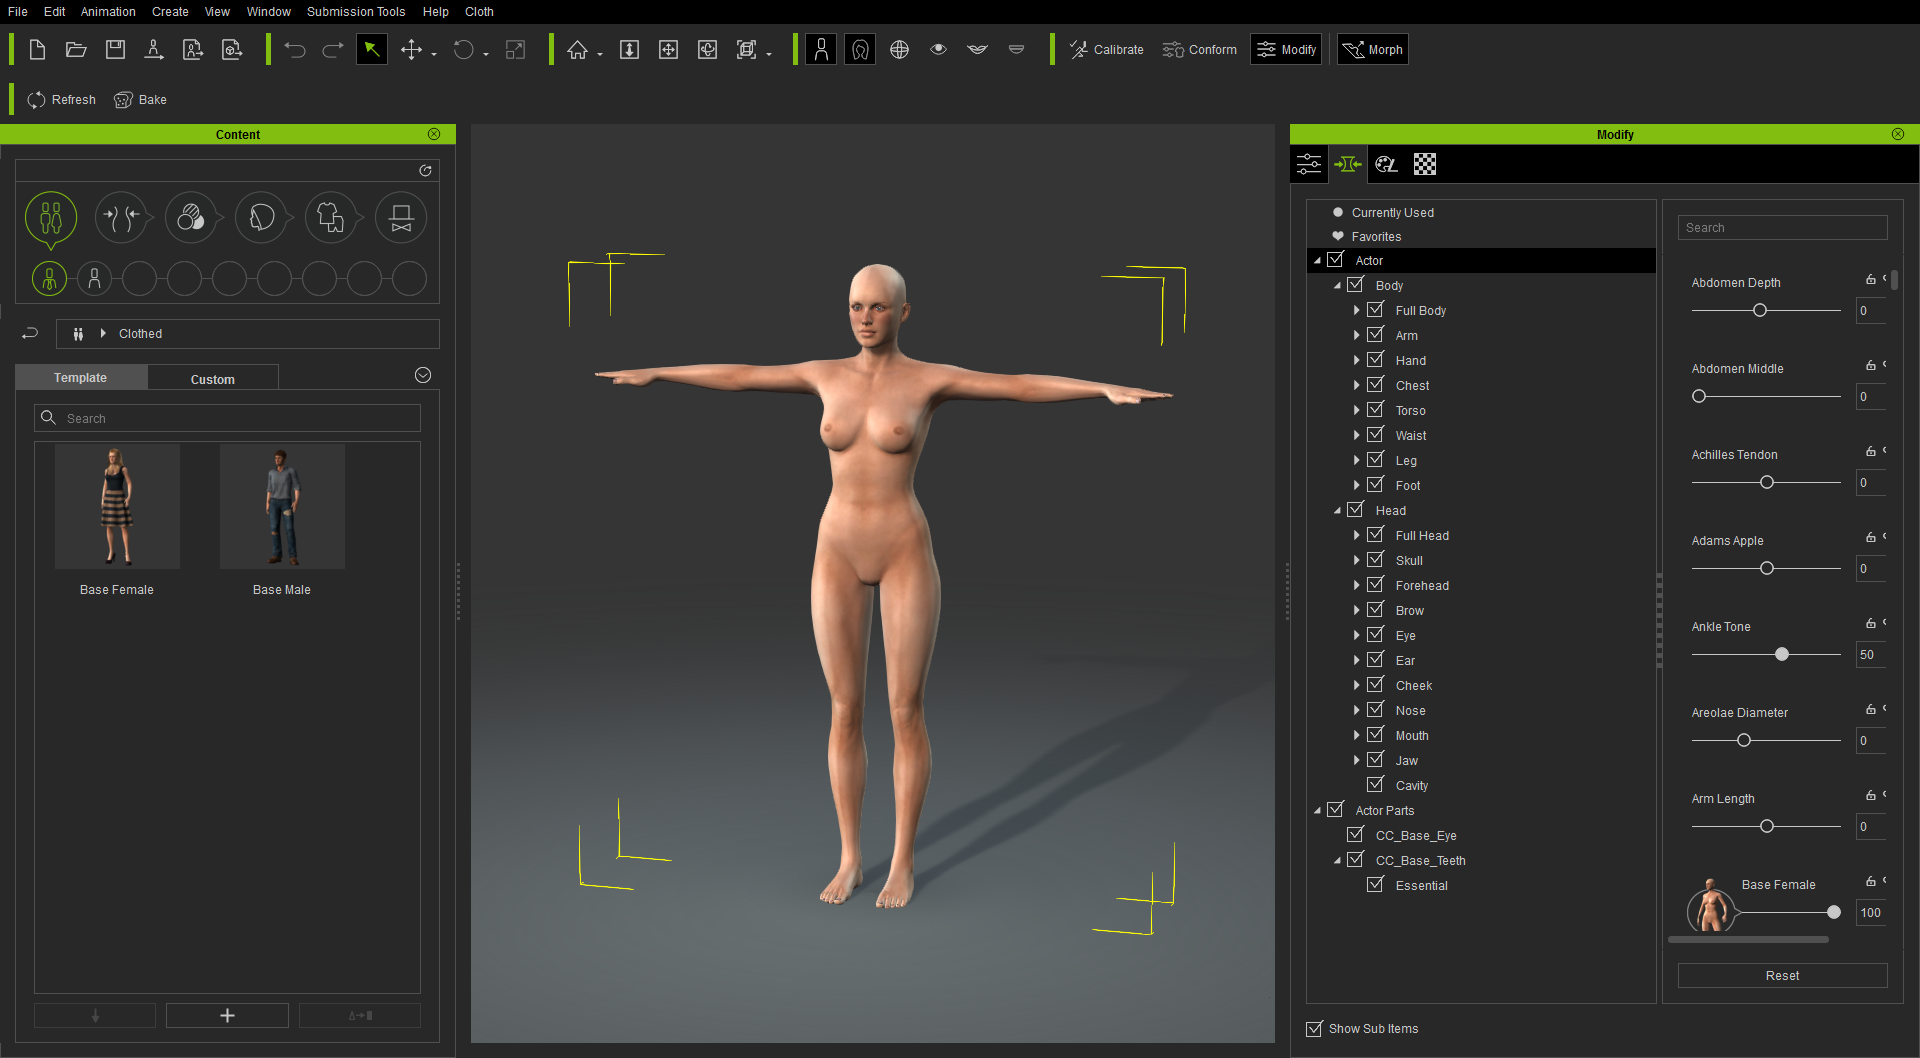
Step 01: Prepare the Body Template
First and foremost, export the female base body from Character Creator in OBJ format, without the eyes and teeth. Then bring in this OBJ file into Marvelous Designer with the scale set to the centimeter. Depending on the body type you desire for fitting, you may also want to first morph the body in Character Creator.
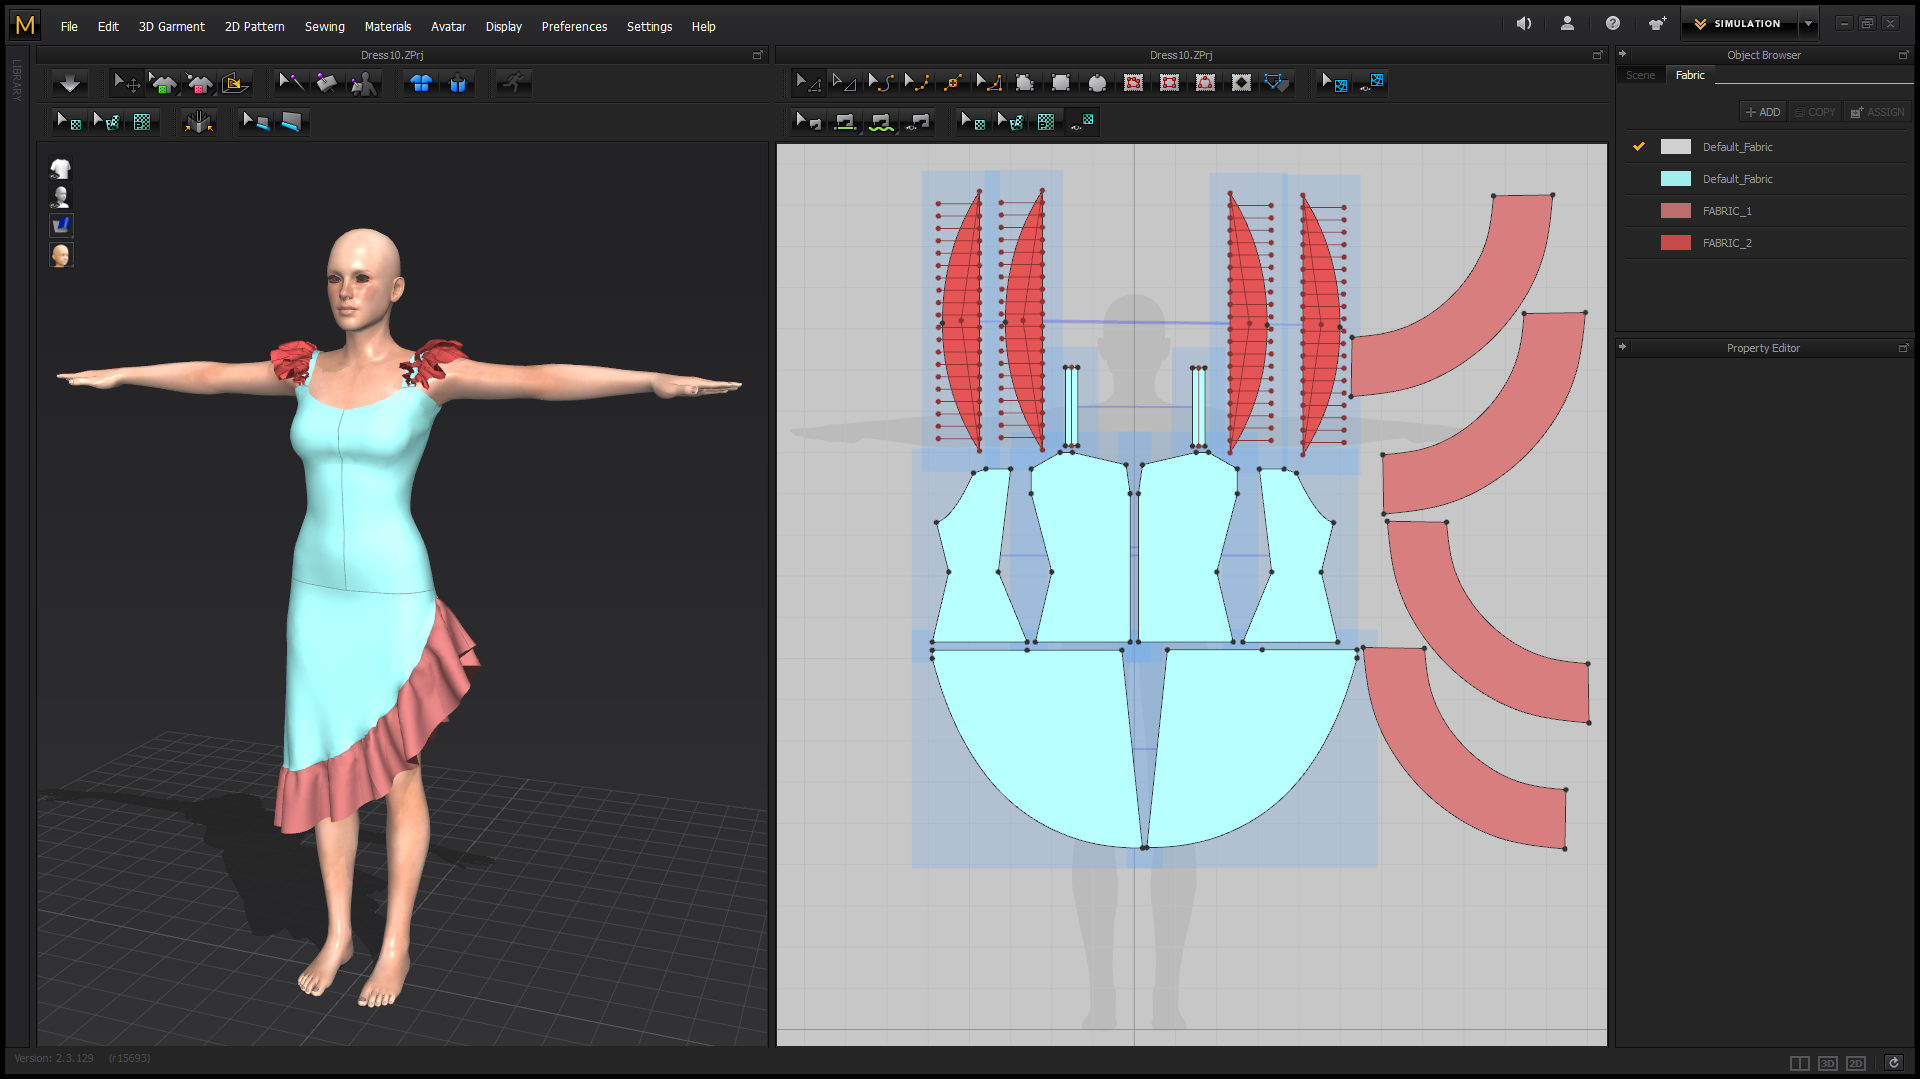
Step 02: Design the Dress
Once the template body is prepared, start to create the dress based on some reference pictures and images. Pay special attention to mesh density on the portions of the cloth as that can determine the level of detail achievable. For example, the frills of the sleeve cap and skirt will need higher density to support better-looking folds. I do this by decreasing the Particle Distance(mm) setting under the Property Editor. Also, MD’s subdivision can be erratic, so I like to add Internal Lines to control the edge flow and subdivision.
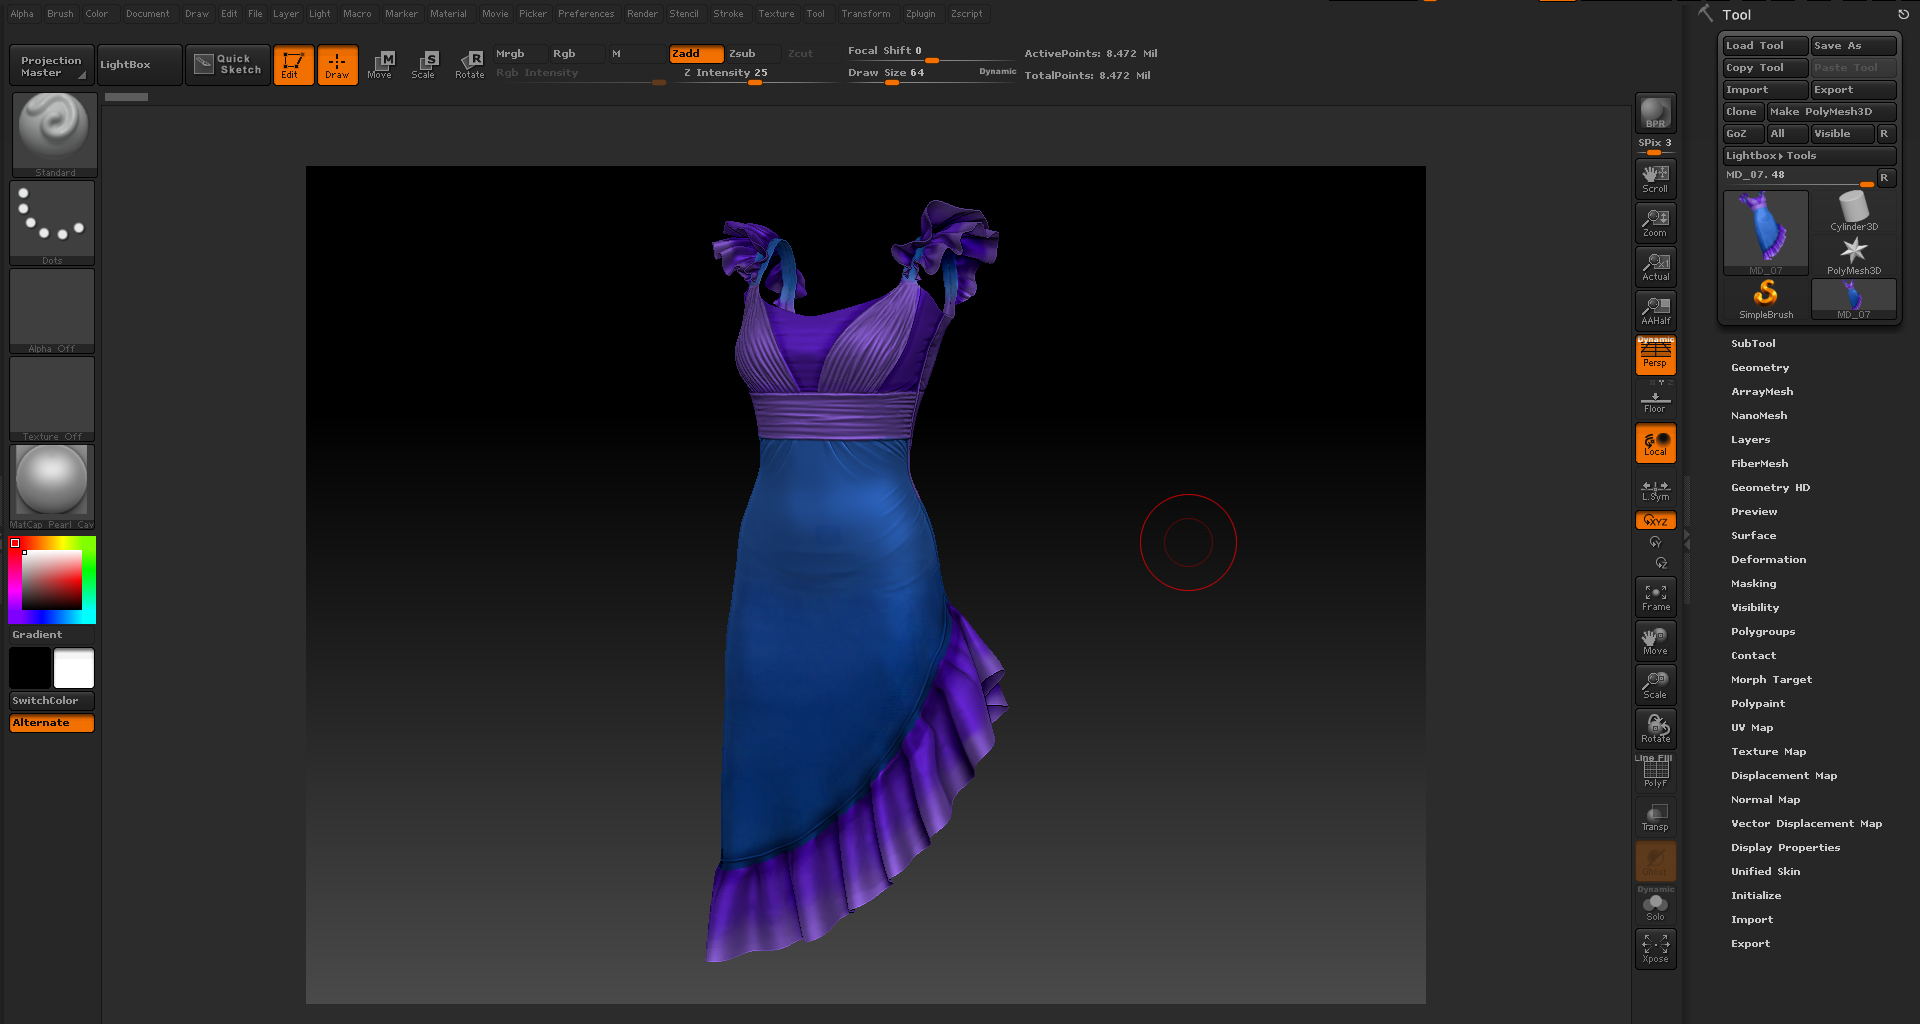
Step 03: Sculpting the Details
Next, enhance the details of the dress by making a high poly version by exporting an OBJ of the dress from Marvelous Designer and load it into Zbrush. Also, load the base body template as a sub tool because the smoothing function in Zbrush will also distort the clothing and the base body template will serve as a reference for fixing areas that no longer fit. Sculpt the details into the dress like small wrinkles and fabric surface details. This is also a good time to lay down a color foundation with Zbrush poly paint feature.
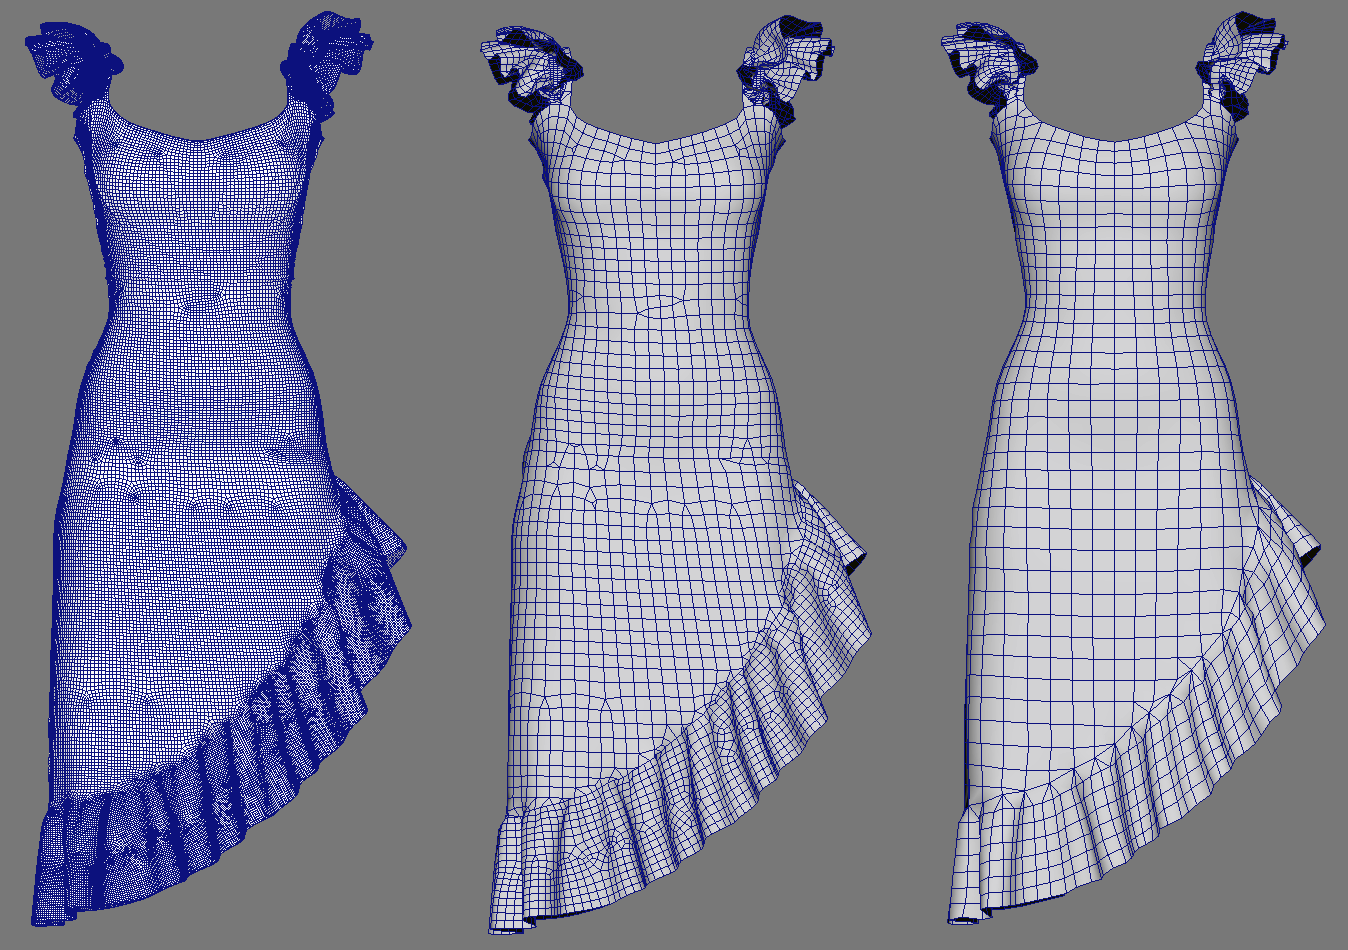
Step 04: Retopology
Creating a streamlined mesh is necessary to simplify the weight painting process and allow iClone’s real-time environment to work more efficiently. First, export a middle subdivision level mesh from Zbrush into a 3D modeling application. I prefer to use Maya for its handy Modeling Toolkit and Live Surface function. From the high-density mesh, derive a dress model with ideal edge-flow and mesh density and finish off by UV mapping the new model. Make sure there are no distortions in the UVs by using a series of test maps.
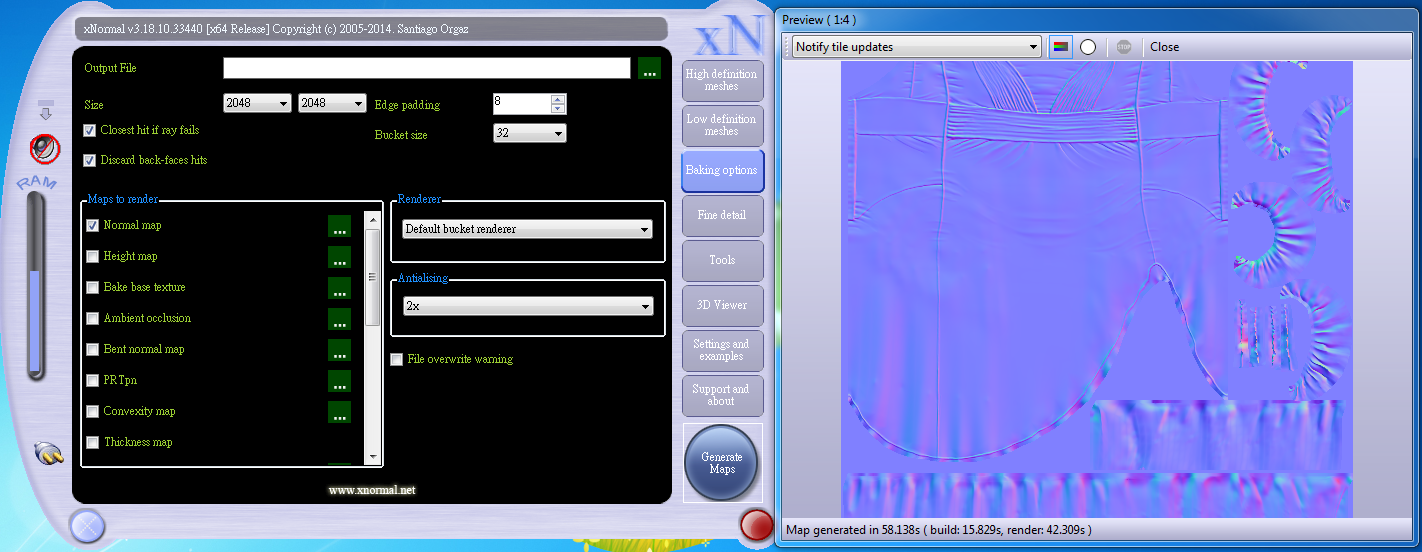
Step 05: Texture Projection in xNormal
I use xNormal for most of my high to low poly projection needs due to its simplicity and efficiency. Even with mediocre system specs, xNormal can process millions of polygons without depleting the memory. First, take the highest subdivision model from Zbrush and the low poly re-topologized model from Maya into xNormal and begin the projection. Once the vertex color, normal, cavity, and ambient occlusion maps are generated from xNormal, take everything into a 2D paint application for editing. In this case, I use Photoshop.
Step 06: Texture Editing
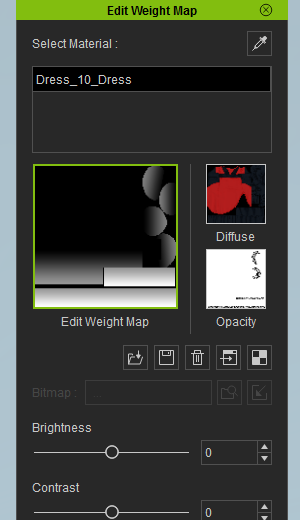
By utilizing the prior projected textures, one can create the final diffuse, normal, specular, and physics map. Take this opportunity to experiment with different color combinations veering away from the foundation colors laid down in Zbrush. The physics map is a grayscale image with light parts of the map having the most cloth physics influence while the dark parts have more bone skin influence. Keep in mind that at this point, the physics map might not be ideal. Only when we bring the map into the physics properties of the dress inside iClone can we start to tweak and iterate over the map for the best results.

Step 07: Preparing the Dress
Now it’s time to prepare the dress for Character Creator. Do this by skinning the dress to the entire skeleton of the base model and copy the weights from the body over to the dress. Then fix and adjust the skin weights, particularly in the middle regions of the dress where it is not spread evenly between the legs. Then, create and apply a Blinn shader with the input diffuse, specular, and normal textures. As a final step, export the character along with the dress in FBX format.
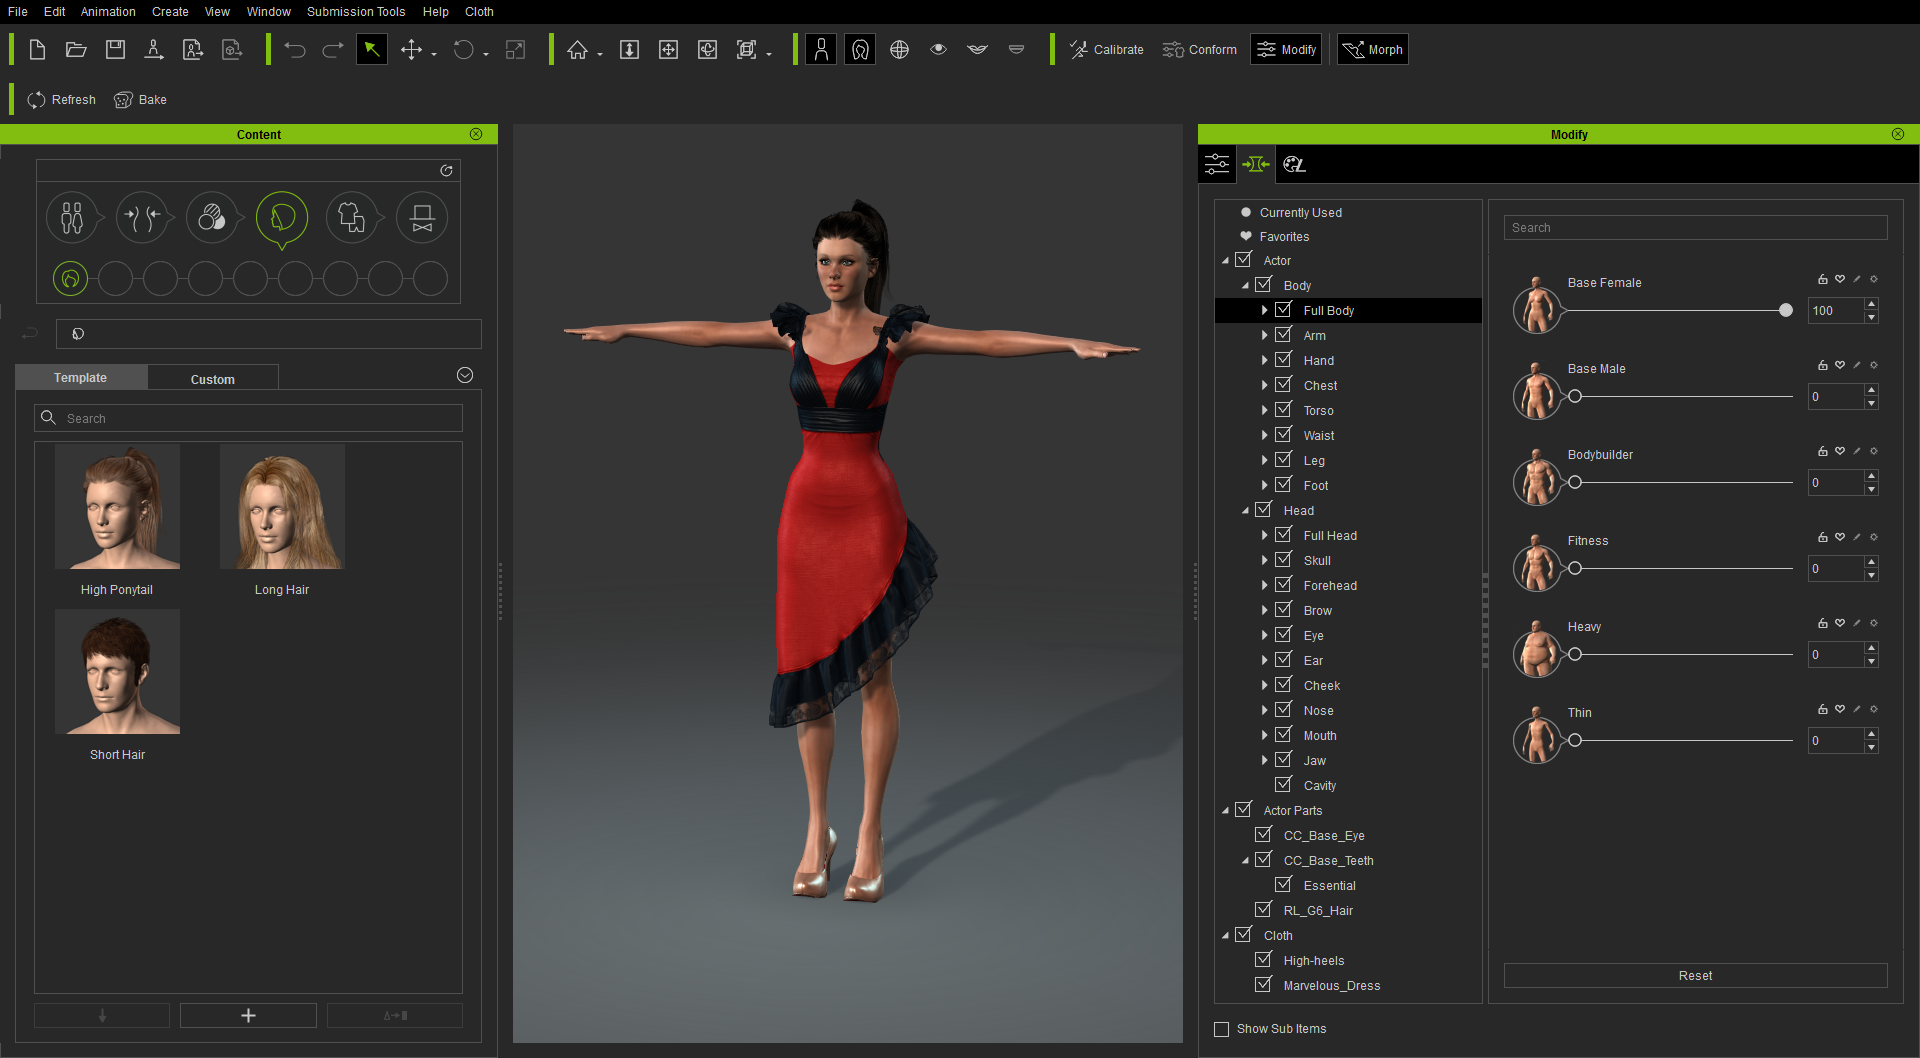
Step 08: Setup in Character Creator
Drag the FBX file directly into Character Creator and adjust the material of the dress and save as an article of clothing. With the custom dress ready, reset the scene and apply it to a new character. Then apply the shoes and hair while adjusting the shape of the character using CC’s powerful morphs and its textures with CC’s versatile Appearance Editor. There are a lot of possibilities here, as the dress can also conform to a plethora of morphs available in CC.
Step 09: Setup inside iClone
Once the customization is complete in CC, save out a project file and send the character to iClone using the direct export button. Inside iClone, set up the lights and stage and apply a dance motion from the expansive motion library.
Step 10: Soft-cloth physics in iClone
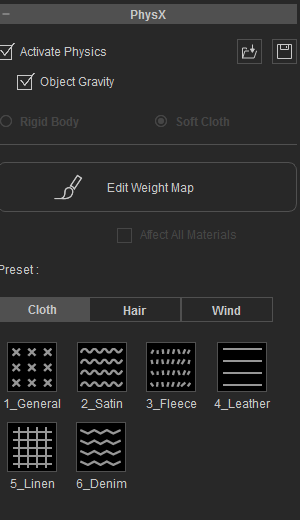
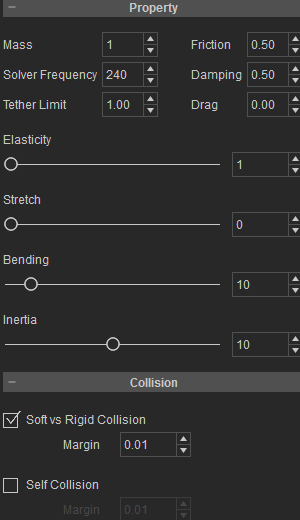
To setup the cloth physics in iClone, load the physics map into the PhysX WeightMap input of the dress. Next comes the iterative task of trying out different soft-cloth settings and adjusting the collision parameters on the body parts, particularly to fix areas where the cloth will intersect into the body. This back and forth process involves tweaking the collision setting of the cloth and the collision shapes on the body parts of the character. If all else fails, try readjust the physics texture map.
Download Character Creator HERE
Grab a copy of iClone


4 comments
I got lost at retopology. Please lead me to a tutorial on reTopology in Maya that is useful to this particular project.
The process involves a lot of stages and application. But if anyone else can do it, so can I. All I need is the proper guide and devotion. I have the later in abundance.
Thanks
Here are good references teaching us how to retopology:
Maya: https://www.youtube.com/watch?v=I7YqK-E1l6c
Blender: https://www.youtube.com/watch?v=iB7rUN1XGu8
please explain more details of weightpainting and component editor, there makes me frustrated