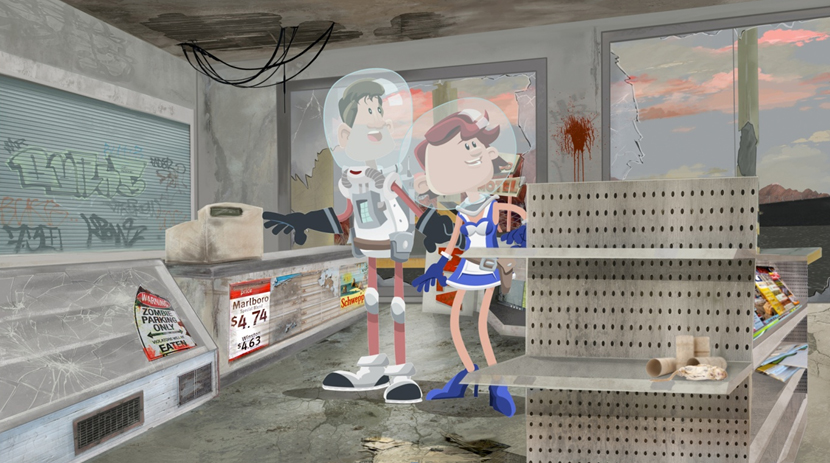
Using this scene as an example, we will demonstrate how PSDs can best be layered inside Cartoon Animator as .ctScene or .ctProject files. This is especially useful when creating artwork. Here is an example of a finished scene created by artist Kel Harper.

Layer Elements
As a .ctScene for Cartoon Animator 4, we need to layer the scene with individual elements so that props and characters can be moved within the scene in a proper perspective. So a character needs to be able to walk past the window outside, or behind the service counter. By creating each individual element in the scene, on its own layer, it gives us the chance to do this.

In the image above, we have broken up the scene into different individual elements that need to be layered. When creating your scene, it is best to create the entire prop, even if it will be partially blocked by another object. For example, even though we cannot see all of the counter, it is best to draw all of it in case we later want to delete the glass box. If all of the background is painted in, then we are able to remove the magazine rack and still see the scene as it exists behind it.
Drag & Drop PSD into Cartoon Animator
Once your layered scene is finished and saved as a PSD file, drag and drop the PSD file directly into the Stage Mode of CTA4 and select ‘Scene’ as your import option when prompted.

Once your layered file is imported as a scene, select ‘Camera Record Mode’ and set your scene within the red bounding box to see the scene as it will be exported. Now all your layers are set in order. You need to set their Z-axis values to give the scene a sense of depth. Each layer should be set to its own Z-axis value. The higher the Z-axis value, the closer the object will be to the camera.

In the screenshot above, using the ‘3D View’ we can see the relation of each layer within the scene according to its Z-axis value. You can also drag each item to make adjustments. Now you can save your .ctScene in your Content Manager.
TIP: Do not put your layers into a folder in your PSD file. Otherwise it will import into Cartoon Animator as a flat image.
Camera Height
When setting up a scene that will be used in Cartoon Animator 4, try to keep a low camera height as currently all 2D characters are viewed straight on with a camera height at about eye level.
Learn More:
How to Sell your Art to 2D Animators in the Reallusion 2D Marketplace: https://bit.ly/3u9o85L
How to Upload your 2D content to the Reallusion 2D Marketplace: https://bit.ly/3n2TkS3
Contact:
For more information on selling your Artwork on the Reallusion Marketplace, contact 2D Community Mananger – Garry Pye


3 comments
Great tutorial!!!
Garry, thank you! You know I needed help with this.
Utile pour la caméra 🎥