Greetings, my name is Peter Alexander, a 3D Generalist, and freelancer who works heavily with iClone and Character Creator.
iClone’s Facial Animation Technology includes facial expressions, lip-sync animation, and facial mocap which provides real-time facial animation with facial capture equipment. AccuLips provides a very intuitive way to generate procedural, editable lip-syncing animations, allowing users to easily create accurate, natural, and smooth-talking performances. It detects and extracts text and viseme from audio, or imports a prepared script for precise lip-syncing which saves a massive amount of time when animating dialogue.
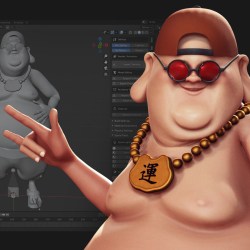
In this article, I’m going to run you through the process of using AccuLips to create lip-sync animation for my Laughing Buddha. I’m also going to show you how to export your animation from iClone to Blender for Eevee rendering.
To keep the focus on AccuLips, I’ve already done the character’s movements using elements from a previous project. You can see the lip-sync animation tutorial in the following video:
Prepare Recorded Voice MP3 File Compatible with iClone
For the character’s audio track, I recorded my voice using Audacity, an audio manipulation application and altered the audio’s pitch and reverberation. After editing the track according to my needs, I save it as an MP3 file, which is compatible with AccuLips and iClone.
Import and Edit the Audio in iClone
In iClone, go to Animation and Create Script, choose AccuLips, and import the saved audio. Select Generate Text. AccuLips will analyze the audio and attempt to approximate the speech into text. The words that can’t be identified will be in red, much like a spell check. You can manually correct this for a better generation of visemes.

Adjusting Text for Better Visemes and Modifying Visemes
When you apply the AccuLips data to the animation, it will produce the various visemes to accompany the audio. I then go through the timeline, and if I want a sound to be emphasized or replaced with the lip-sync, I click on the viseme indicator and adjust it. The key point is that you want to emphasize visemes at certain points during the animation. If the dialog emphasizes a sound, the animation should as well. You can keep the lip editor open as you go through the timeline, to make things easier to adjust.

Export the Audio and Character from iClone
If you choose to render in Blender, you’ll want to do two things. First, export the audio from the range of the video, then select the character and export the FBX from the same range. This will ensure that the audio and animation are in sync.


Importing Character into Blender via Auto Setup
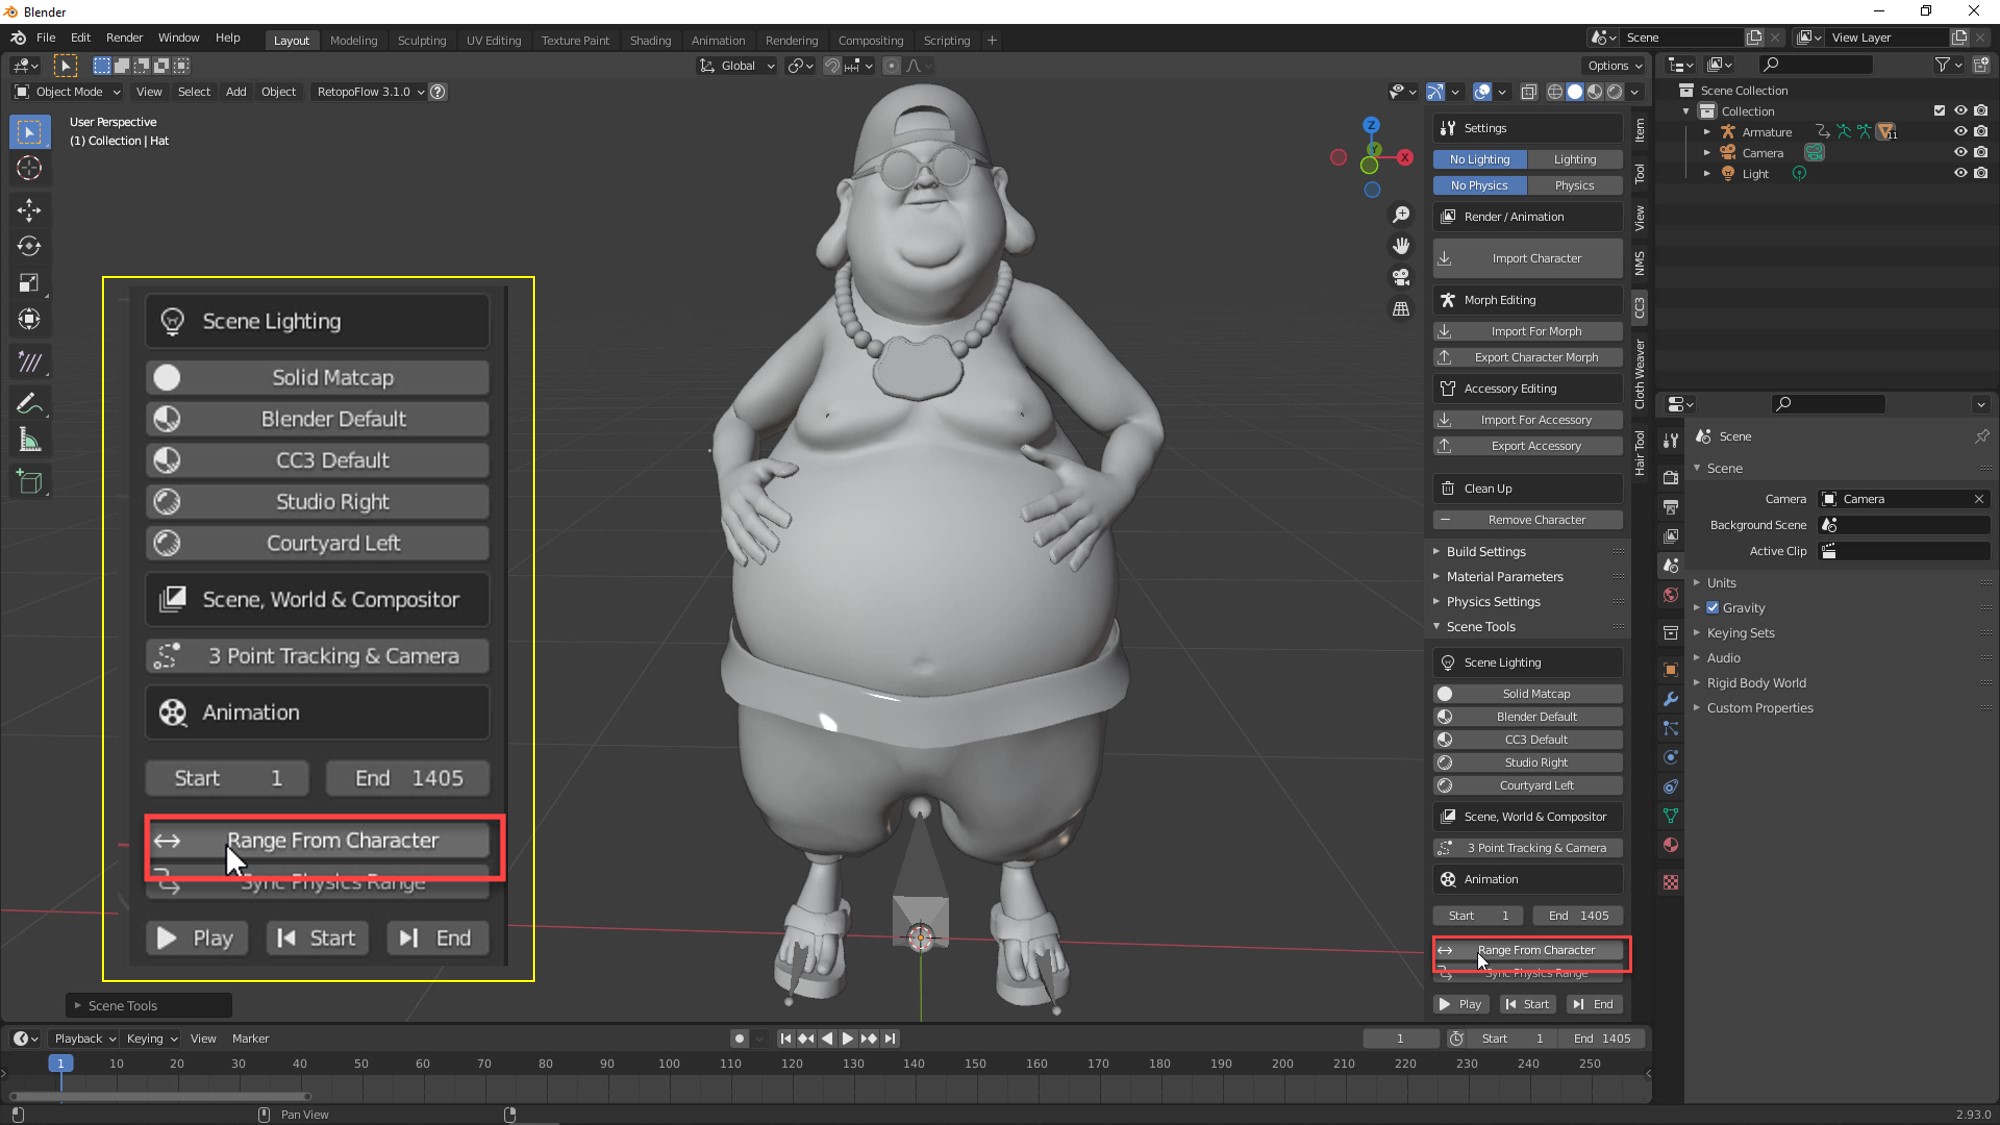
In Blender use the Blender Auto Setup, located in the CC3 tab, to import the FBX file as a character. In the CC3 tab, click the Range from Character option to set the proper animation range for the timeline.
Importing the Audio into Blender
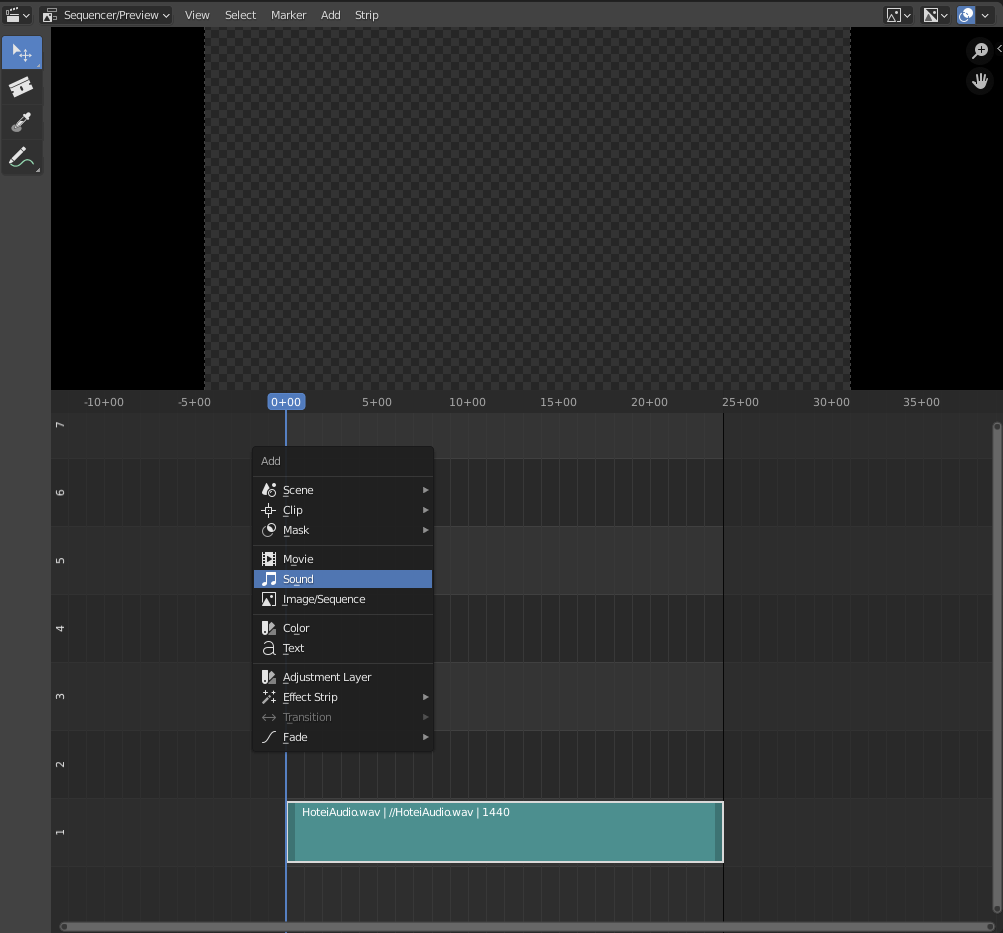
To import the audio, go to the Video Sequencer, press Shift+A, then select Sound from the menu. Or you can go to the Add menu at the top of the Video Sequencer section and add Sound from there. This will allow you to select the previously exported audio file. You can select the Playback panel on the timeline to enable scrubbing so you can hear your audio as you go through your animation timeline. If you don’t hear the audio, open preferences, go to System, then check your Sound settings.

Saving the Animation as a Video File
To save the animation as a video, go to the Scene tab, go to Output, and choose to save it in a video format rather than as an image. Also, remember to choose an audio encoding option. If you plan to do some compositing, you can set up a green screen or save this as a video with transparency (RGBA).

Rendering to Video File in Blender
Now with everything set up, choose Viewport Render Animation, rather than the full render (depending on your rendering preferences). This will render things as they appear in the Eevee Preview window.

Examples of other lip-syncs and facial animations: