Richie Castellano
My name is Richie Castellano. I’m a New York based producer and musician. I’m a YouTuber with over 30 million views and I’m a member of the classic rock band, Blue Öyster Cult. I’ve been using iClone and Character Creator for several years.
I’m in the middle of producing an animated sci-fi musical that has pretty much been built around what Reallusion’s tools have allowed me to do. I’m a musician, not a 3D artist. Before I learned about iClone and Character Creator, I had totally dismissed the idea of trying to produce this musical as an animated feature. The 3D animation learning curve was far too steep. When I saw that iClone and Character Creator could give a non 3D artist like me the opportunity to tell stories without the daunting barrier to entry, I saw the path to completing this massive project.
While getting familiar with these tools, I had a few opportunities to use what I’d been learning on some other projects. In 2020, Blue Öyster Cult released a new album, The Symbol Remains. As part of the music video for the song Box In My Head, I used iClone to create a trippy sequence in which the band performs inside one of the album covers from the 70’s. I also used iClone to create a few Blue Öyster Cult live DVD menu animations.
With production on my sci-fi musical underway, I was really getting a handle on iClone 7 and Character Creator 3. Things were slow going, but I was making progress. The main sticking points for me were linking together motion capture clips, walking in general, having characters touch things, reflective surfaces, stiff looking character expressions and having to constantly revert to earlier saves after butchering my motion layers. I was getting things done, but I was frequently tripping over these stumbling blocks and it was costing me a lot of time.
Then, Reallusion answered my prayers. iClone 8 and Character Creator 4 were released and literally addressed all of the issues I was having. Let’s break it down.
“Then, Reallusion answered my prayers. iClone 8 and Character Creator 4 were released and literally addressed all of the issues I was having.”
Richie Castellano- Producer, Musician
Non-Destructive Layered Animation
This is easily my favorite new feature. It might not be as sexy as some of the other new features, but we’ll get to those. Let’s face it, no matter how great your motion captures are, you always gotta tweak something. Maybe your character’s elbows are going through his body, or maybe your character is supposed to be holding something while he’s performing the motion. So you open up the motion layer editor and start rotating and re-positioning joints and bones.
You get about 20 minutes into it and you realize that something you did negatively impacted another part of the character animation, so while your character’s elbows no longer intersect his torso, his hips are somehow twisted and he’s developed a severe limp. You try to correct the limp, but it has a ripple effect, ruining everything you’ve just done. What do you do now?

Well, if this were still iClone 7, you’d have to start from scratch again. Luckily, iClone 8 has firmly squashed this major problem forever. In iClone 8, you can now add layers to your motion clips. Layers that can be activated, deactivated, deleted and even faded in and out (thanks to the ingenious animatable weight control that I never knew I desperately needed!) You can make a total mess of your new motion layer and never affect the starting 3D animation. You can add as many layers as you need and always be able to backtrack to quickly identify problems. You can have separate layers for different body parts, or different actions. I use this constantly. Especially now that I’ve been creating my own mocap files using a VR gaming setup. These homemade mocap files are rife with glitches. With the motion layers, I can quickly and non-destructively correct all of these glitches and make my cheapo mocap files look much more professional.

Motion Direction Control
The new iClone 8 Motion Direction Control feature does what used to take me hours to do, in less than a second. I think I might’ve cried the first time I put 2 walking animations next to each other on the timeline and they seamlessly looped in the correct direction! The old method of combining different mocap files to create a single performance almost seems cruel now.
” The new iClone 8 Motion Direction Control feature does what used to take me hours to do, in less than a second. I think I might’ve cried the first time I put 2 walking animations next to each other on the timeline and they seamlessly looped in the correct direction! “
Richie Castellano- Producer, Musician
The fact that I can even grab totally unrelated mocap files from different sources and make them work together is mind-blowing. When I was able to seamlessly blend a Mixamo running sequence with a homemade fighting sequence, my brain exploded. I have no idea how they’ve achieved this. The new alignment tools are doing some kind of sorcery to get these different files to work together.
The other absolutely earth-shattering feature here is the simple arrow that pops up when you go into Motion Direction Control mode. It clearly shows you the path of your character animation represented by an arrow on the ground. You can quickly see all the directional paths associated with your motion clips and just nudge them where they need to go. It’s fantastic!

The Motion Director
Before this feature was included, I actually used to avoid writing scenes with background actors. Getting my main characters to walk was hard enough. I couldn’t even imagine having to animate walks for a dozen background actors too! iClone 8 introduced an entire suite of tools specifically for this. Now, I can drop a bunch of extras in my scene, load them up with their own walking styles (by using iMD files) and get them moving in a matter of minutes.

The amount of control options here goes beyond what I even imagined. I would have been more than happy with WASD walking, but I can already think of a bunch of ways that I’m going to use the path control options, zone mode and follow mode. And if that weren’t enough, I can even control characters using my XBox controller!

Improved Reach Target
Another thing I used to avoid in my scripts was having a character touch things. Sure, the reach target option was a fine way to have your character interact with other characters or objects, but using it almost always negatively affected your character animation. Joints would move strangely or your character would contort in an unnatural way.
The improved reach target controls in iClone 8 are a game changer. Now you have much greater targeting control. The best improvement here is that you can target without affecting the rest of your 3D animation. It works in a much more fluid and pleasing way. I’ve actually gone back through my script and added more interaction because of this feature.

Mirror Props
There are several moments in my script where characters look at reflections of themselves or at other characters. I had completely given up on trying to get reflective surfaces to work inside iClone 7. For whatever reason, the reflections were always distorted and I couldn’t manipulate them to reflect what the script called for. I’d basically resigned myself to making every shot involving a reflection a VFX shot that I’d have to figure out in a 2D compositing app like After Effects.
The new iC8 mirror props completely eliminate this problem and have saved me the headache of trying to do this in compositing. The mirrors work perfectly and can easily be manipulated to work as other types of reflective surfaces. Lower the opacity on a mirror and you’ve got a window.

Volumetric Lighting
This solved a problem I didn’t even know I had. In my movie, there are a few scenes where characters use flashlights. Something looked off about them. I wasn’t totally selling the effect. Since volumetric lighting was added to iClone, my flashlights and other dramatic light ray effects look totally convincing. Adding it to my shots has really stepped up the visual quality I’m able to achieve.

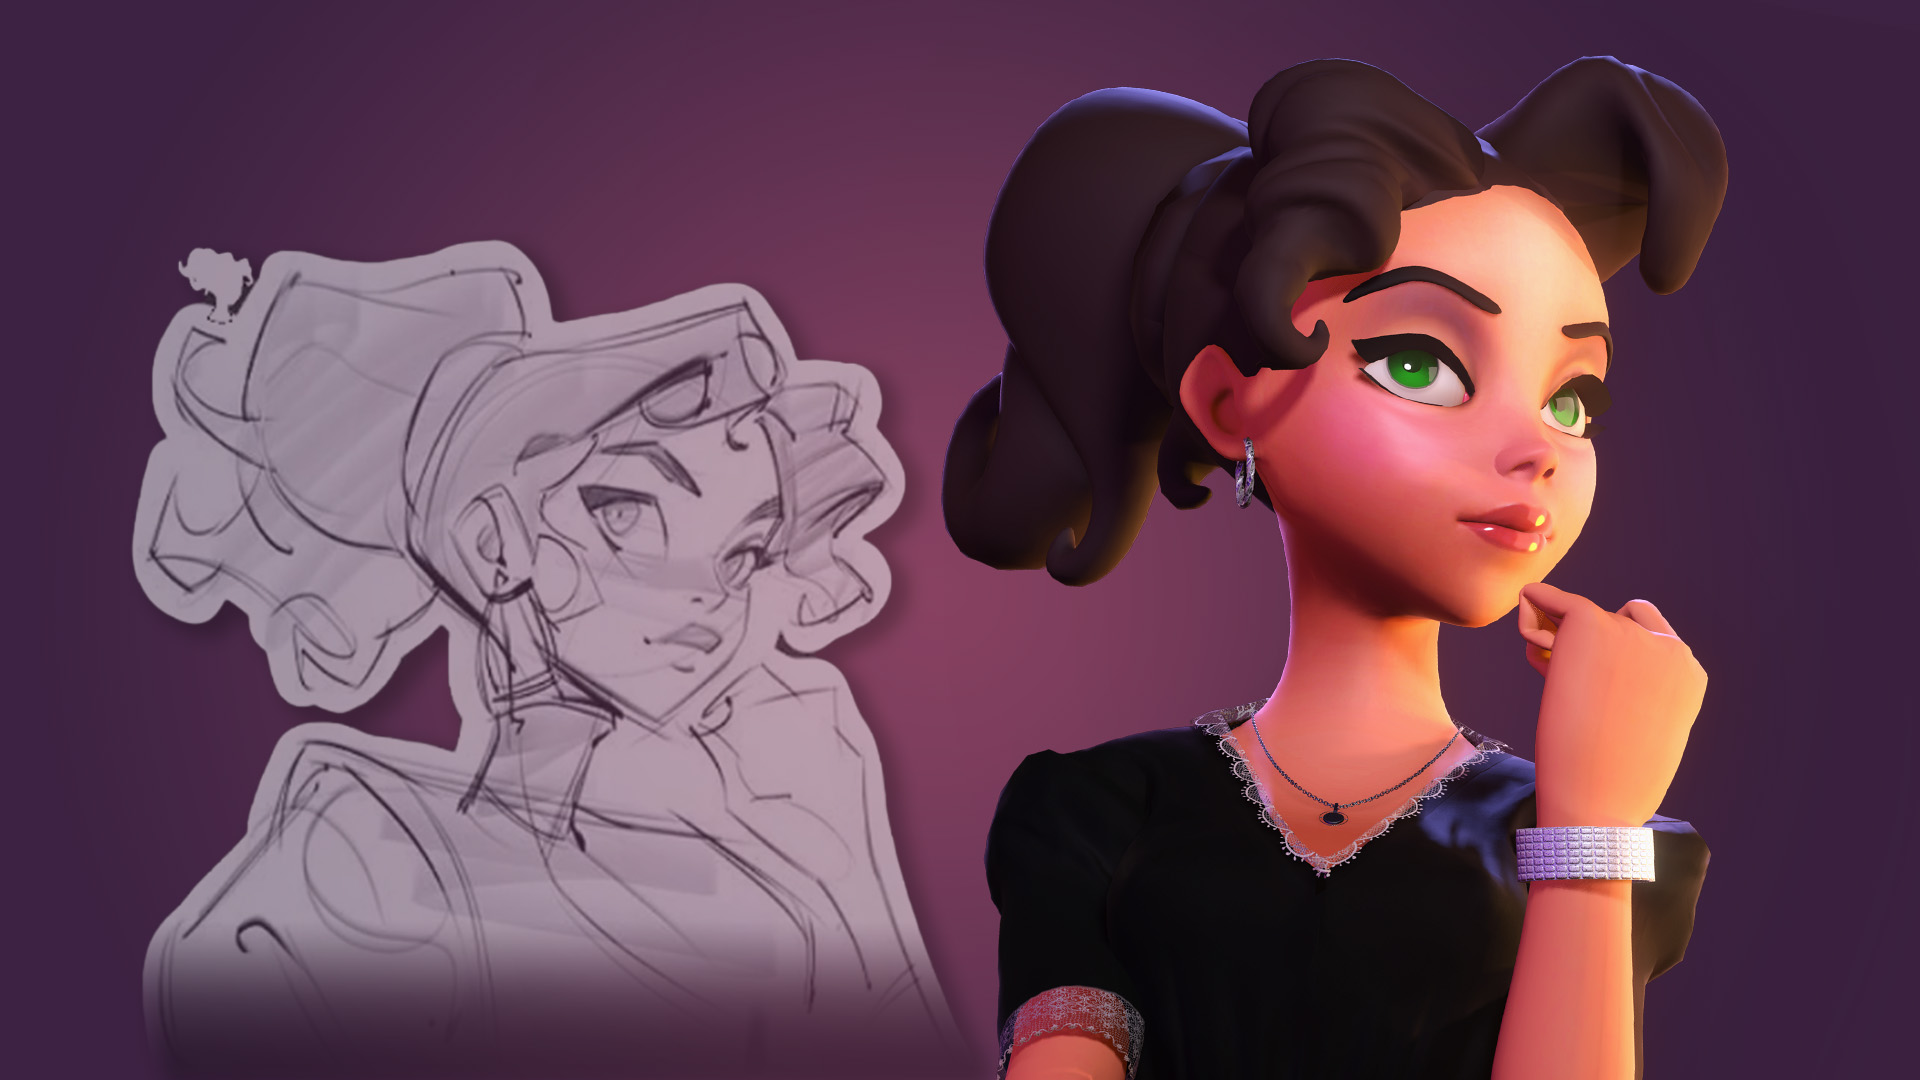
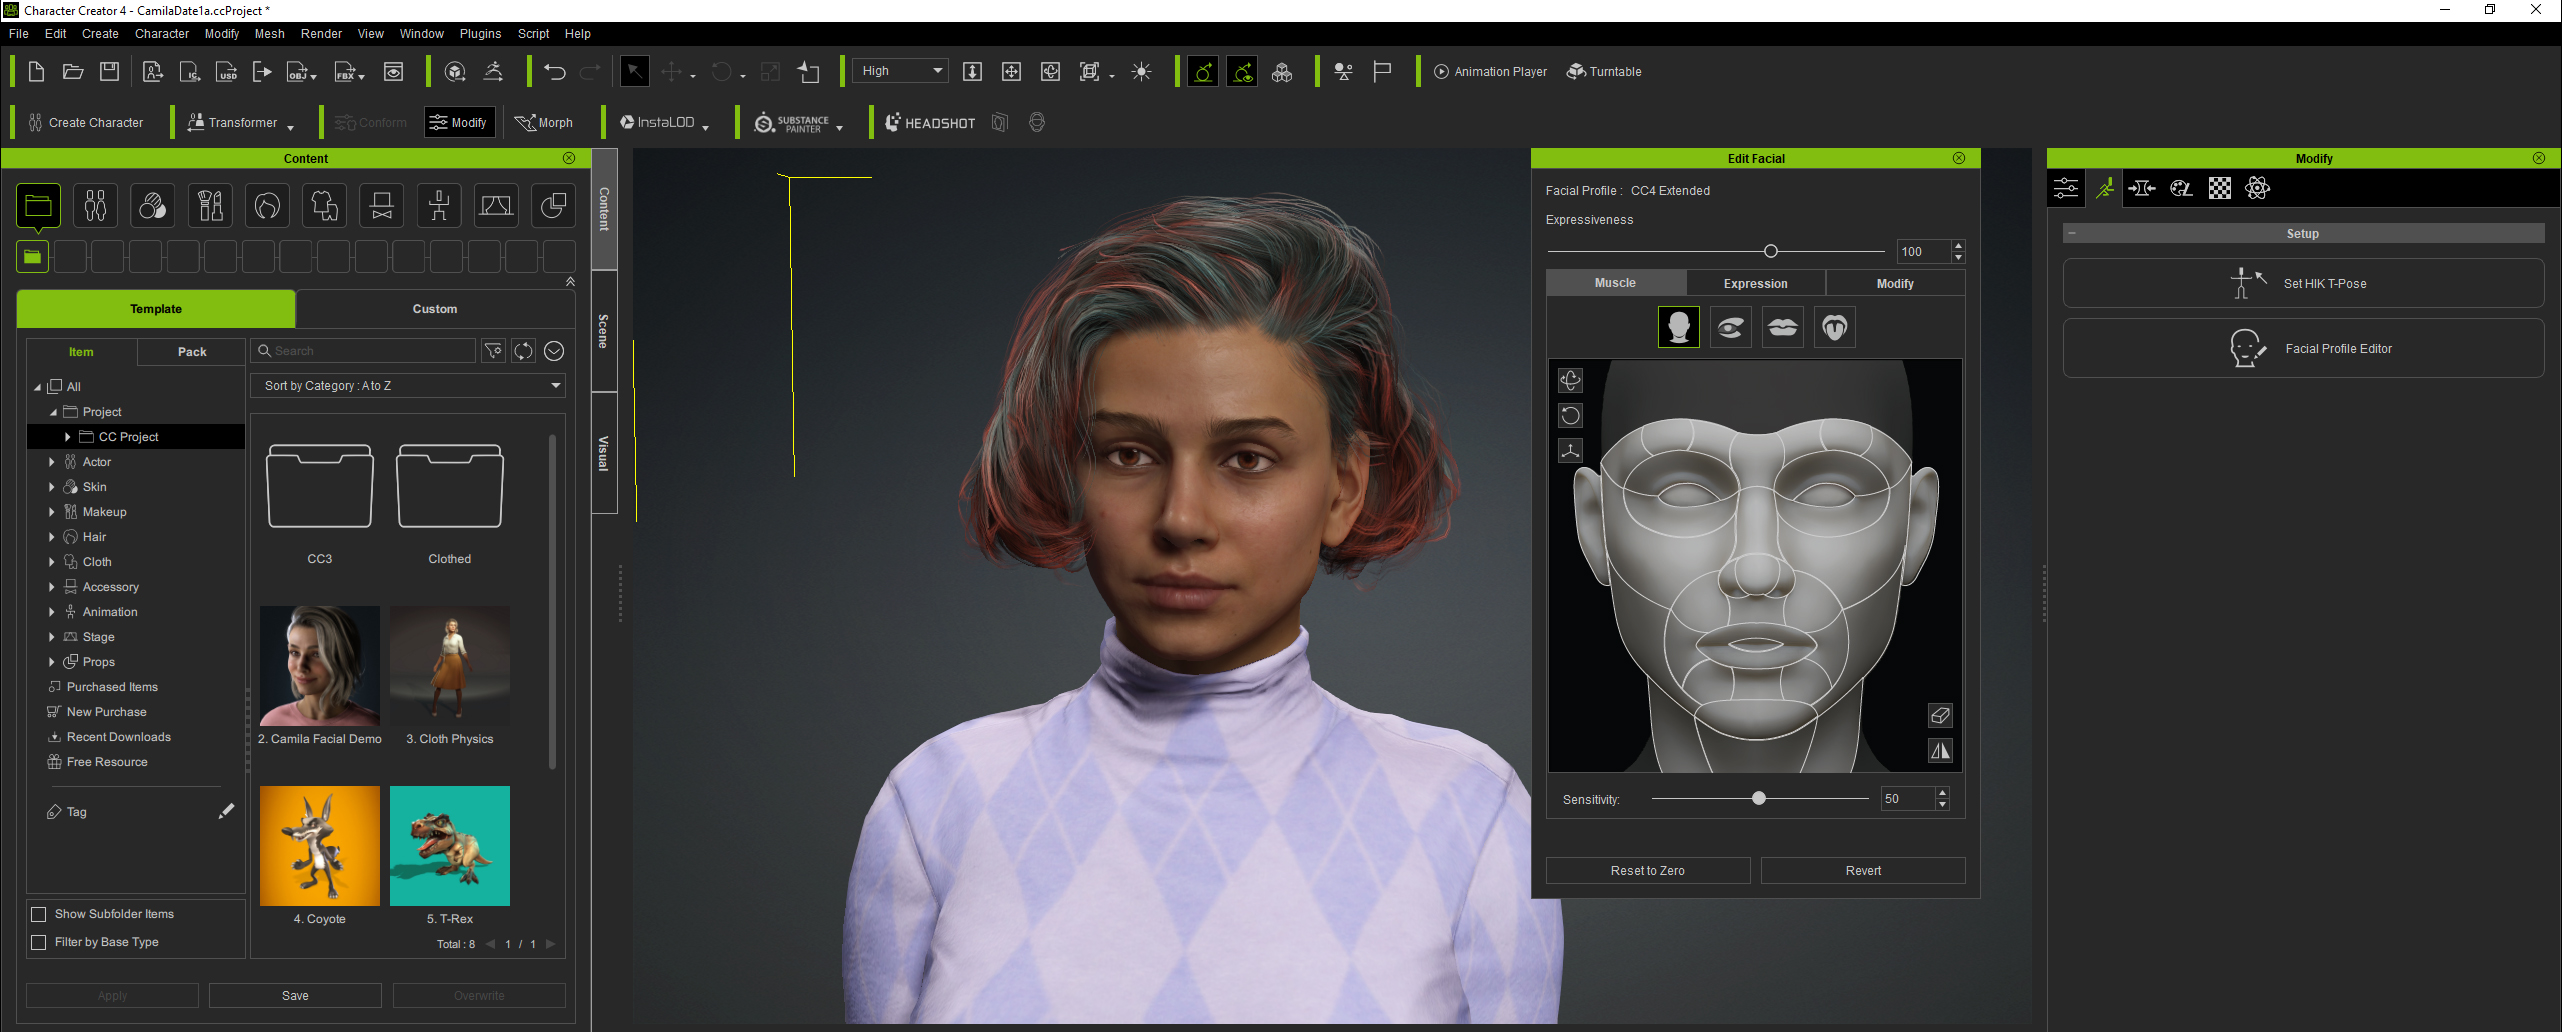
Extended Facial Animation Profiles
I know it seems like I’m giving iClone all the love here, but Character Creator 4 has some equally cool new features… my favorite being the extended facial animation profiles. I have a few scenes where characters are singing. Singing can be a much more expressive and emotional way of communicating an idea. While I was getting good results with the Character Creator 3 avatars I made, the Character Creator 4 facial animation profiles have helped me make the singing expressions much more convincing.


The release of iClone 8 and Character Creator 4 has just brought me a lot closer to my goal of completing a full length animated feature. Where it used to take me several weeks to complete a scene, I’m now getting the same amount of work done in a couple days. I’ve also raised the bar on acceptable quality. The limitations of the previous versions of these apps caused me to settle in certain areas. I would rewrite shots that were too complex or too ambitious given my limited 3D art skills. With iClone 8 and Character Creator 4 I’m able to aim higher and create a much more cinematic product.
” The limitations of the previous versions of these apps caused me to settle in certain areas. I would rewrite shots that were too complex or too ambitious given my limited 3D art skills. With iClone 8 and Character Creator 4 I’m able to aim higher and create a much more cinematic product. “
Richie Castellano- Producer, Musician
I’m thoroughly impressed by these recent updates. Most software companies give you small, incremental improvements in their new versions. Reallusion just moved lightyears forward.

Follow Richie Castellano:
Website:
https://richiecastellano.com/
YouTube:
https://www.youtube.com/richiecastellano
Facebook:
https://www.facebook.com/richiecastellano.bandgeek
Twitter:
https://twitter.com/rich_castellano