

Nathan Smith
Greetings, my fellow 2D animation enthusiasts! I’m Nathan Smith, a member of Studio Ghibletz. Today, we’ll take a behind-the-scenes look at Anomaly Karen, the latest “Stu Jibby” production, and offer insights regarding how you can raise the production value of your own projects while taking advantage of the latest vector workflow in Cartoon Animator 5.
Vector Animation for Fancy Camera Work
Most shows we watch nowadays switch camera angles frequently to bolster storytelling. Here at Ghibletz, we believe that camera work is the core component for achieving high production value in 2D animation. Each scene ought to include three basic camera angles to switch between while editing to give the scene more depth and immersion.
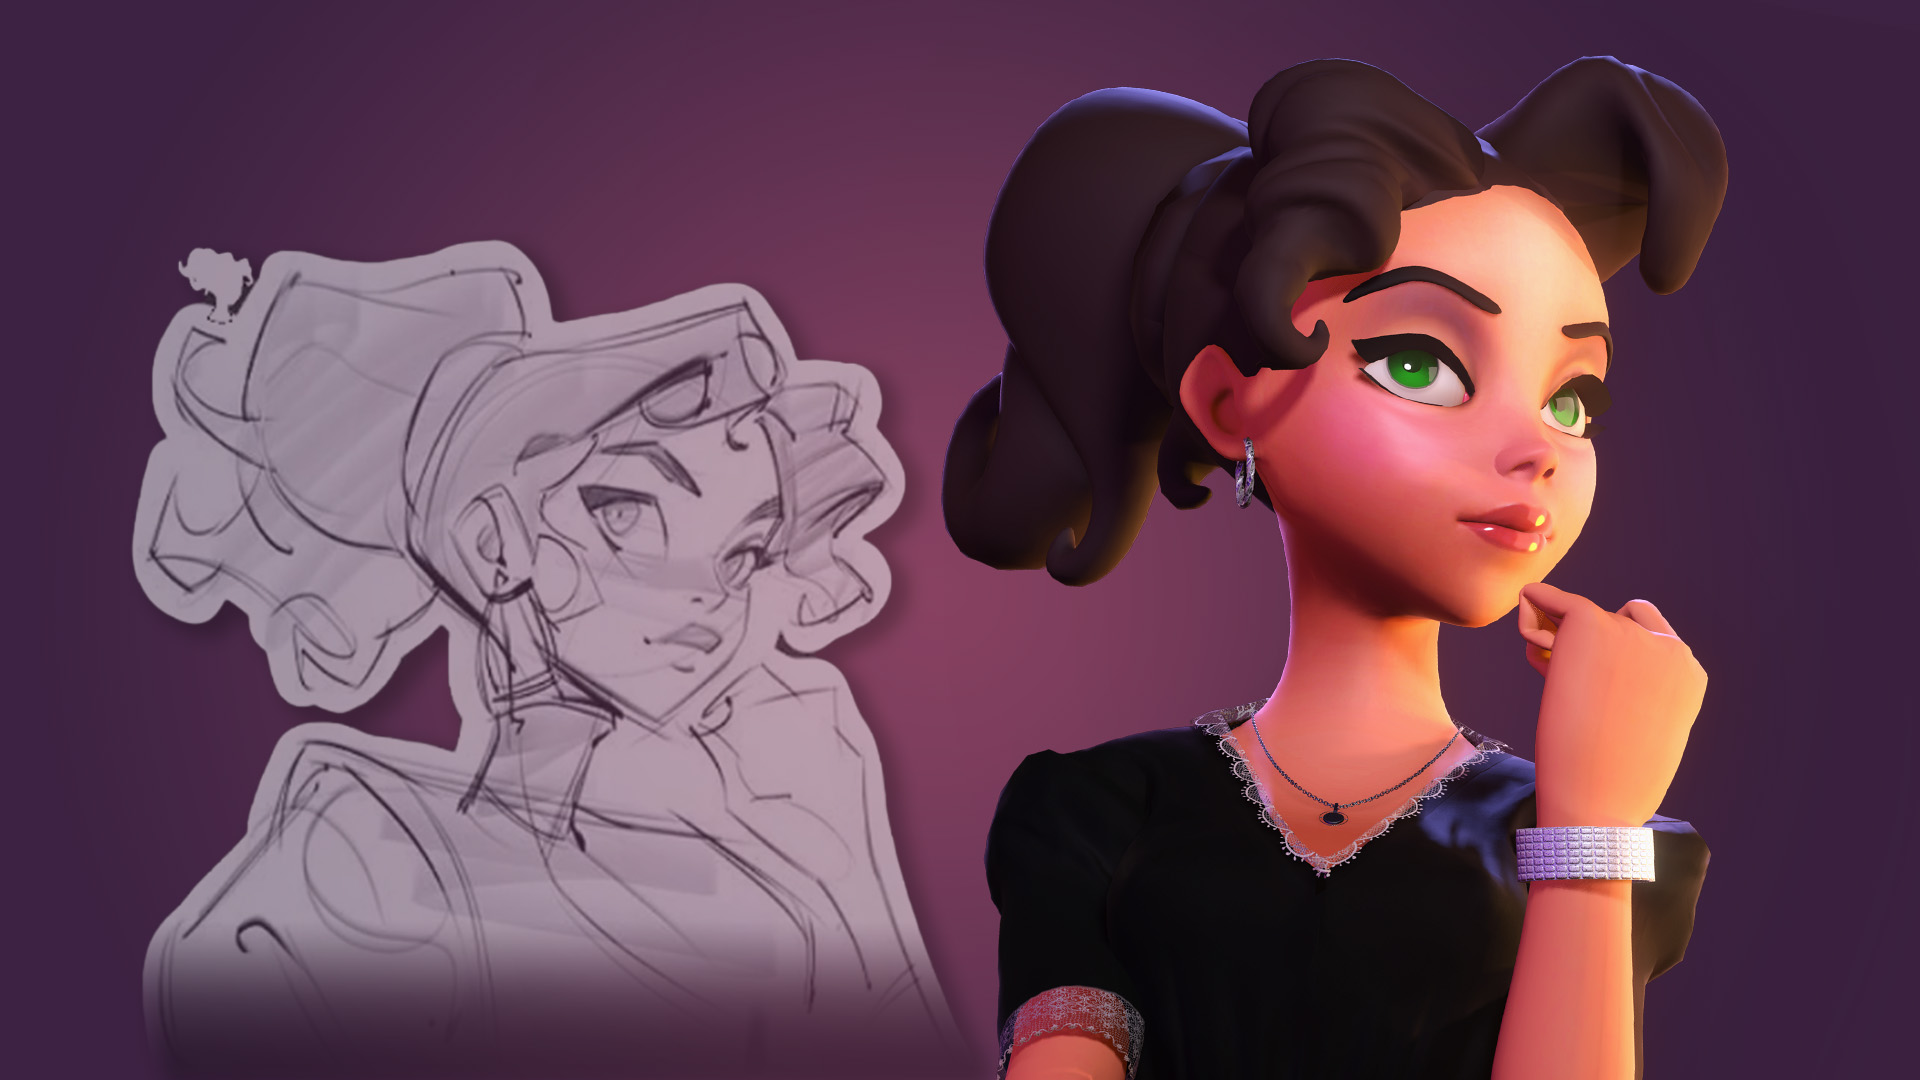
Ever since Rick Lander joined our team, he has been instrumental in incorporating multiple camera angles into every project he has touched. Not only that, he has also mentored us on how to translate real-world camera angles into 2D animation. But, we quickly encountered a problem inherent in the flat world of drawings. That is, rigged characters limit the shooting to a small range of possible camera angles and positions. For example, zoom far enough into a character and pixelation will appear. That’s why we’ve changed things up with Anomaly Karen, where we deployed characters made with vector graphics instead.

As one of CTA5’s latest features, vector animation lets animators create characters with SVG elements. Ghibletz, brought Zorby and Galaxtar to life in CTA5 using the Adobe Illustrator pipeline. By using vector characters, we were able to shoot closeups without losing a single pixel of detail.
Easy Lip-Sync Animation for Witty Dialogue
At “Stu Jibby”, we take pride in our scripts and witty dialogue. To bring these scripts to life, we use CTA 5’s automatic lip-sync tool. Without it, lip-sync animation would remain a daunting and arduous task, especially for animated episodes of Anomaly Karen that are completely comprised of dialogue.

We start by importing the WAV file and then we manually adjust the lip-sync. Personally, I like to remove some of the lip movement added by the auto sync tool. I feel this gives the characters a smoother, more natural-looking lip sync. This is also an area where you raise production value and save money at the same time. If you design your characters cleverly, you can recycle lip poses. Our characters, Karen, Zorby, and Galaxtar all use the same mouths for instance. And we recycle this same lip sync system for Mouse Bros characters, Richard, Duncan, and scientist.

Color Grouping for Faster Color Variations
Color grouping proved to be an invaluable tool during the production of Anomaly Karen. It gave us a “two for the price of one” deal with Galaxtar and Zorby as we have designed them with similar features to take advantage of this tool.


For the two characters, Jop had only needed to rig one character. From there, I used color grouping to change the skin tones and eye color, then I exchanged one sprite to give them different clothing. I ripped the eyebrows off of Zorby and — BOOM! Galaxtar was born. Color grouping gives a lot of bang for your buck when it’s used to create multiple characters from a single set of assets.

Identifying Important Details to Animate for Staging
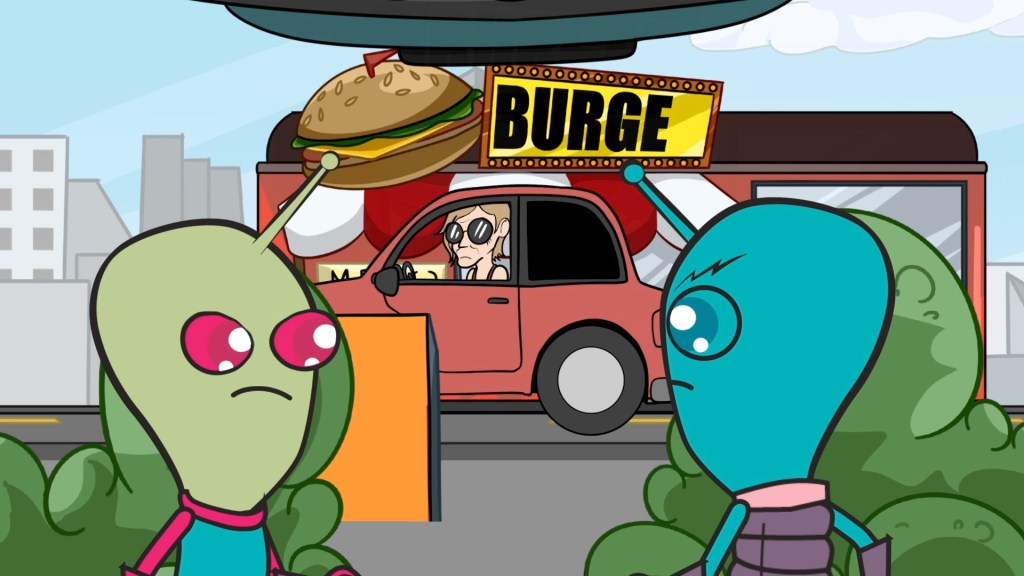
For the first four clips of Anomaly Karen, not much happens: You see Karen in her car, the restaurant, a different angle of Karen in her car, and the restaurant again. In the last clip of the restaurant, however, a letter falls off the sign for comedic effect. We could have added loads of details to that scene like a group of children walking by, grass blowing in the wind, and a flock of birds for instance. Instead, we chose to animate a single letter falling off the sign.
But, why?

With full-fledged software like Cartoon Animator, it’s tempting to over-animate a scene. But that’s something that animators should resist because it’s so easy to populate a background with movement, making it overcrowded with activity. An abundance of details is distracting to viewers. Instead, one should practice the principle of staging.
Staging is the setting up of a scene with a purpose. Don’t just add details will-nilly — Just because one can add a tumbleweed or two with a few clicks, doesn’t mean one should. Identify which details are needed to tell your story, then use these details to draw the viewer’s attention to the important plot points. A well-staged scene instantly tells the viewer what is happening, why, and how.
Applying Secondary Motion with Spring Bones
Animated characters in CTA 5 can be brought to life with secondary motions by using spring bones. In my opinion, spring bones are a game-changer. They have the ability to instantly raise the production value of a scene. However, be sure to use them selectively as any technique becomes distracting when overused. For example, Zorby and Galaxtar only have one spring bone for each character, as that’s all is needed to properly apply secondary motion to the antennae on top of their heads.

Using Secondary Motion to Improve Character Turns
At Studio Ghibletz, we dream of pushing rigged characters further than they’ve ever gone. Ultimately, our goal is to use puppet animation to produce net-work quality content. Part of this goal includes perfecting character turns.
Turning a rigged 2D character is a sticky business. Sure, you can switch between angles but ends up looking choppy and cheap. While producing Anomaly Karen, we realized that we could smooth out a turn by applying spring bones. In the episode, Zorby and Galaxtar turn twice. Once, they are abruptly flipped, and for the second time, Galaxtar turns his whole body. The spring bones on their antennae help to smooth out these turns. Essentially, spring bones trick the viewer’s eye into thinking the turn is more fleshed out.
And this is just the beginning! As I write, Rick and Jope are tinkering with iClone to perfect a new technique to create even smoother character rotations. By using a combination of spring bones, intermediate angles, and 3D source files, we hope to develop an entirely new technique for turning characters in CTA 5… but, that’s a story for our next production.
Thanks so much for taking the time out to read this behind-the-scenes article on Anomaly Karen. If you haven’t already, be sure to subscribe to Studio Ghibletz’s YouTube channel so you never miss any of our exciting content.
Know more:
2D Animation Software for Cartoon Maker | Cartoon Animator
FREE for 30 days & get 1,700+ ready-made assets:
2D Animation Software Download | Cartoon Animator
———————————————————————————————————————————————————————————————————
The original article is written by Nathan Smith and also featured on Cartoon Brew.