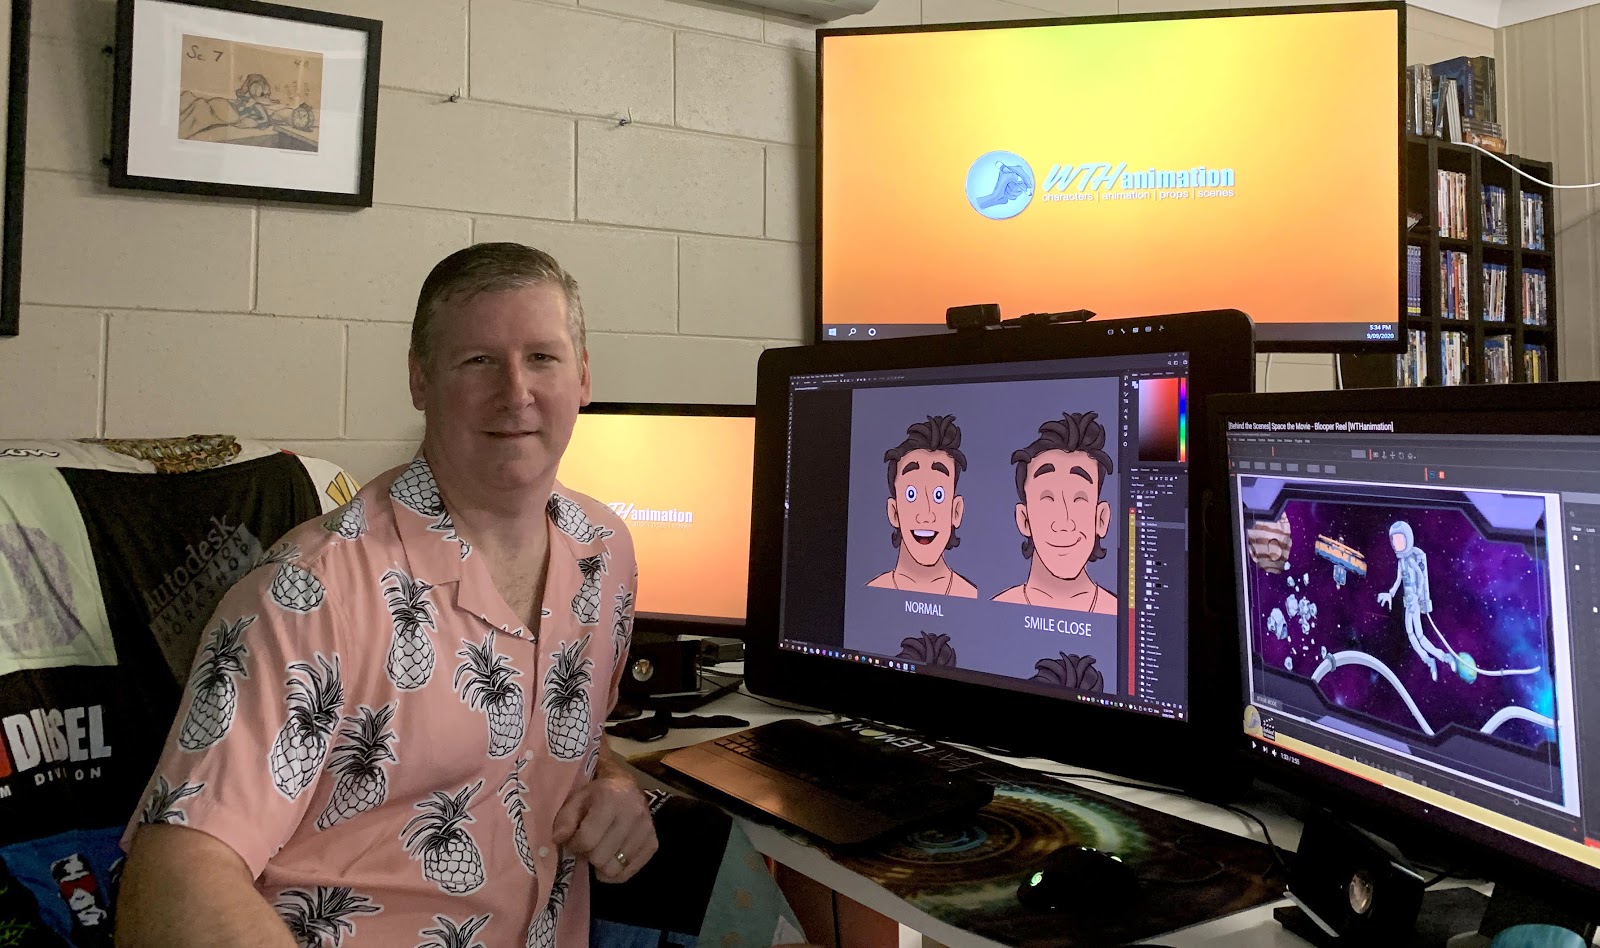
My name is Warwick Hays and I’ve been creating content for Cartoon Animator for many years now. I am a featured content developer on the Reallusion’s Content Store and I love combining 2D with 3D assets to make things a little different.
I created the above video with the help of Reallusion’s ActorCore, iClone and Cartoon Animator. So let’s run through how I did it.
STEP 1: Gathering Resources –The characters
I’ve been creating these characters for some time now, after a survey I sent out to the Cartoon Animator community last year. I wanted to know what everyone wanted in the characters they purchased, so I asked about the overall style of characters, line weight, and look, and from the answers have come up with ’The Family’.
These 3 characters (3 of the 9 that make up The Family) come with a front, three-quarter front, and three-quarter back view. So you can have them moving in almost any direction.

At this point, I also selected the music track for the clip so I could make sure the animation I choose would fit.
ActorCore – Motion Clips
Let me introduce you to my new favorite friend – ActorCore! ActorCore is an amazing resource to have for your animation projects in general, but even more so now that we can edit and apply those 3D motions to our 2D characters in Cartoon Animator with the iClone-CTA4 Motion Link. Now we have access to a mountain of animations with the flexibility to combine and apply them to our characters from any angle we wish. This workflow is so powerful, easy to use, and saves so much time.
Finding motions was harder than I thought because there are so many great options. It’s much easier going in to select your motions when you know exactly what you want your character(s) to do. Either way, it’s easy to narrow down and find specific animations with ActorCore’s search system, animated thumbnails, and preview pane! You can search by tag/ keyword, or by category. So easy.

Once we have purchased our motions, we then add them to the iClone Smart Library.

STEP 2: Edit and Blend Motions in iClone
We are now ready to go. Let the fun begin!
First, we open the Motion Link plugin in iClone and create a dummy character to apply our motions to. Once we get the animation correct, we can apply it to our 2D character in Cartoon Animator (CTA).

I like to apply the motions to the character here in iClone, before I create the link to my character in Cartoon Animator. Adding motions in iClone is very similar to how we add motions in CTA; just select your dummy character and double-click the motion or drag it onto the dummy character.
It’s also very easy to edit and blend motions in iClone before sending the finished motion over to CTA. Blending between motions is done in the same way that we do in CTA; just drag out the extra section on the motion to mix the two motions for a seamless animation.

Helpful Tip: If you want to repeat the motion, for example to make the character run further; you can’t just drag it out in the timeline to repeat it (like we do in CTA). Because the character has Z-depth motion it just jumps back to the starting position. Instead, you need to copy, paste it and then align the motion to the root of the character.

STEP 3: Link with Cartoon Animator
Now that we have the motion we want. We can create the link with Cartoon Animator and see how it looks on the character. First off, click the Activate Link in the Motion Link plugin in iClone.

Then in Cartoon Animator, we need to run the Motion Link plugin too. And link the body and hands to the selected character.

There will be a bit of back and forth between the two programs now. If we go back to the iClone Motion Link window and click the ‘Send to Cartoon Animator’ checkbox and click the ‘Preview in CTA’ below it, we can see the motion from the dummy character in iClone being applied to our character in Cartoon Animator.


From here on it’s just a lot of tweaking and fiddling around with the different options to get it looking right in Cartoon Animator. The amount of adjusting all depends on the character you are using and the look you want.
The first adjustment we need to make is to rotate the dummy character in iClone so that it is applying the motion to our 2D character at the correct angle. Essentially the motion is being projected flat onto our 2D character so it needs to line upright. This will be different for each character and the angle they have been created on.
The other adjustment here is to turn ON the ‘Auto Hand Flip’ option in Cartoon Animator so that the hands will flip to face the right way for the angle of the character. You might find that throughout the motion the hands and other body parts might flip to an angle you don’t want, but this is easy to fix once you have recorded the motion onto the character in CTA.

Another option to look at is the Z-depth of the motion. This is the distance the character is toward and away from the camera. This one is a little hard to visualize but it’s one of those things you just need to do a little trial and error to see what works. I like to do the extremes first and then find the happy medium between the two. It’s also easier to see what’s happening if you have a background in your scene with elements that are at different Z-depth positions. I have just used my Winter Slopes background as an example to show the character moving in Z-depth. This is an effective effect for 2D animation and so much easier to do with the Motion link. The Z-depth option is in the Motion Link plugin in Cartoon Animator.

In the preview between the two programs, the character is tracked as it moves through the scene, so it can be a little hard to know what you are going to get. But if you just record the motion to your character in CTA then you will know if you have gone too far with the effect or not.

So, to record the animation you have on the dummy character in iClone, all you have to do is change the option in the Motion Link plugin in iClone from Preview to Record and click the Record in CTA button below it.

Now you have the 3D motion you created in iClone saved and applied to your 2D character in Cartoon Animator!
STEP 4: Fine-tune animation in CTA
The last part is all Cartoon Animator. Here is what I like to do.
First off, I’ll go through the animation and create keyframes to flip the hands to the correct positions and change some of the hand poses to look more natural, the animation always looks wrong and gumby when the character has limbs and parts in positions that aren’t how we naturally move.
This it is easy to do with the bone hands which is why I choose to use them for The Family characters.

Next, I’ll change some of the foot sprites to be more natural and dynamic too. My characters have extra foot positions so you can pose them in a way that doesn’t make them look like rigid dolls. We don’t stand with both feet pointing in the same direction, they move independently and do their own thing. It’s a small thing but you do notice the difference in the overall animation when you do this.

Finally, it’s onto the head. The easiest way I’ve found to deal with the head is to go into your timeline and the facial animation clip and delete the keyframes in it.
Then go through the sequence and create your own with the sprite character looking where you want it to.
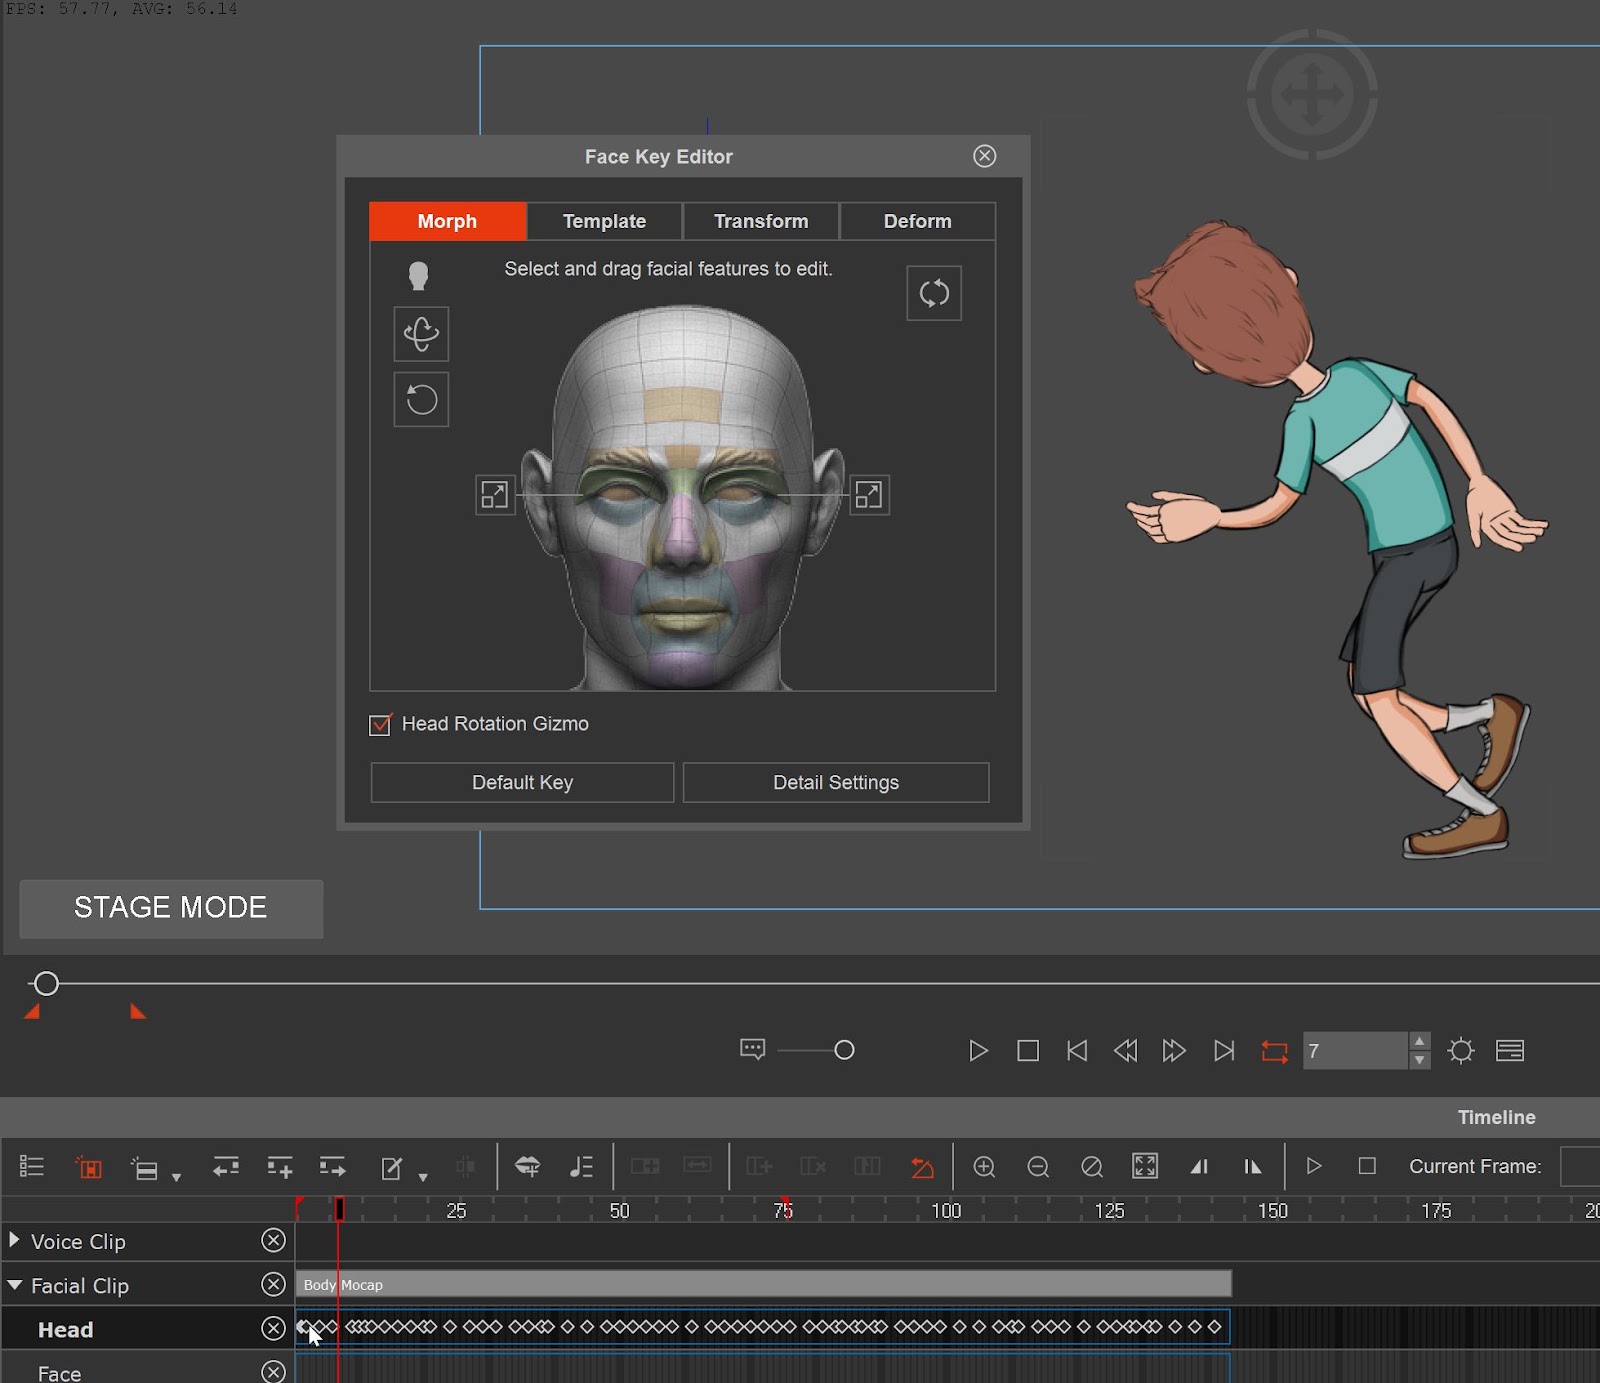
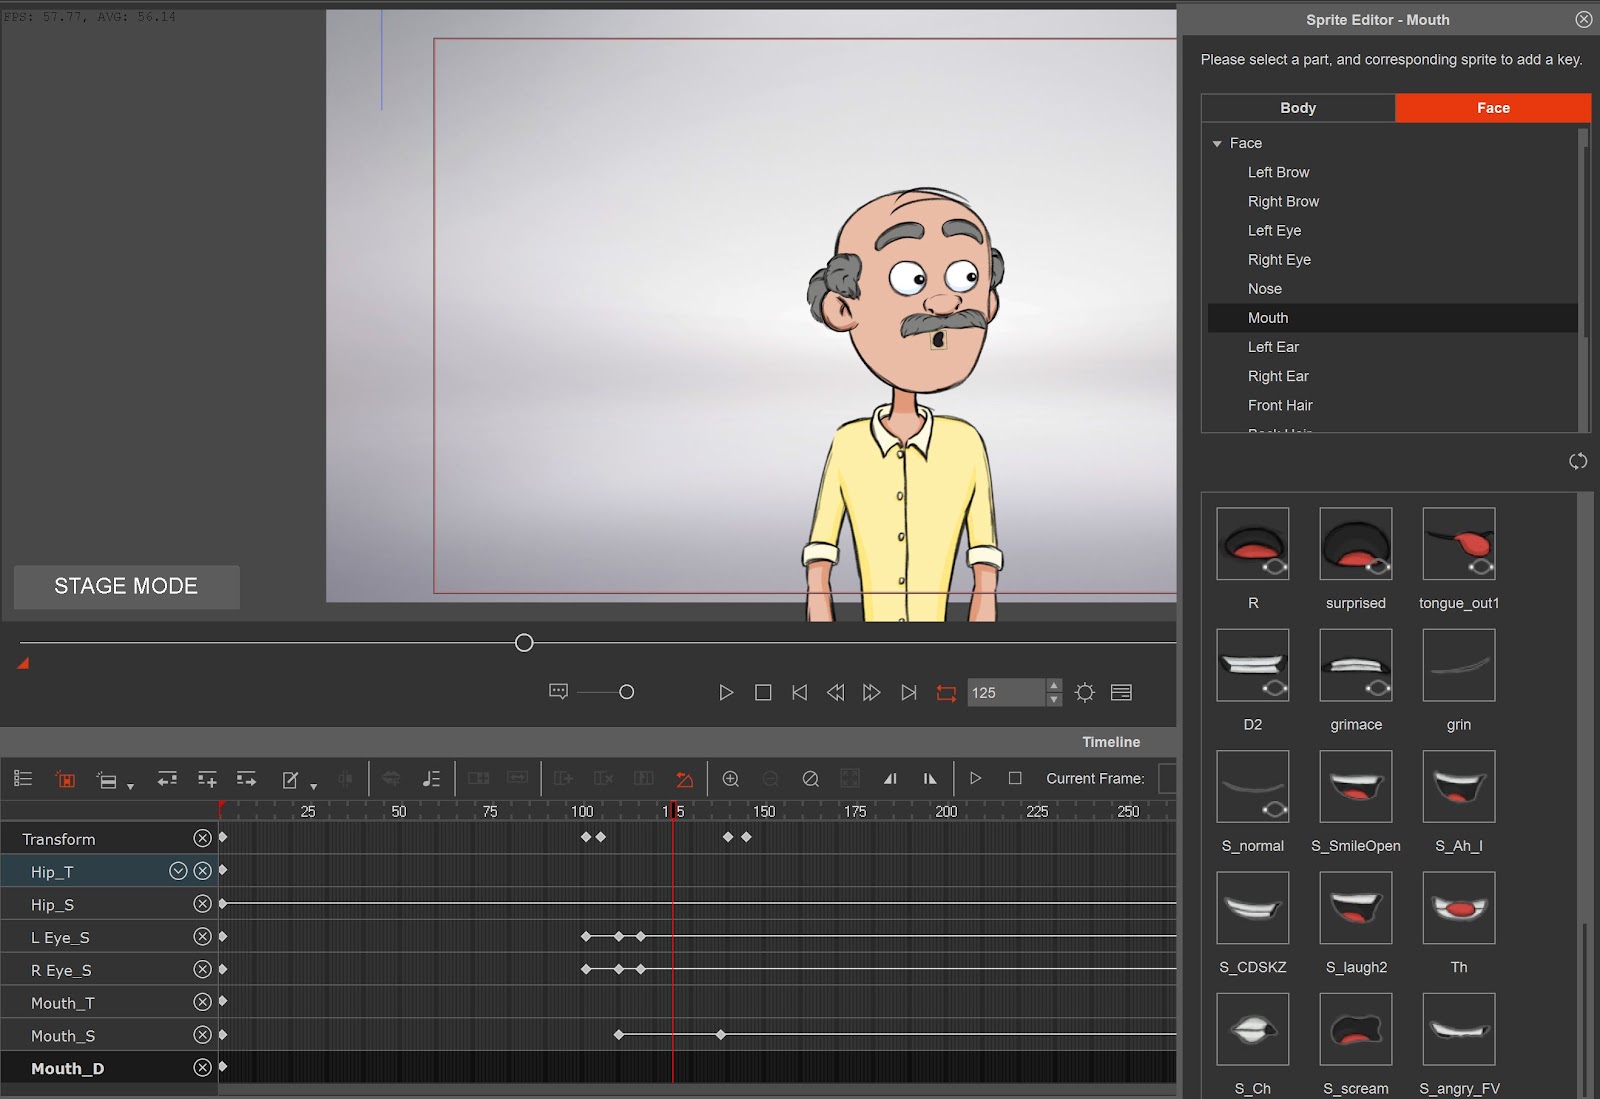
Then it’s the usual addition of eye blinks, brow movement, and mouth sprite changes (with a little sprite deformation animated here and there to make the transition a bit smoother between sprite changes) to bring the sprite character’s face and overall performance to life.
So, each character sequence in the clip was done this way. The motions were put together in iClone, then linked to the 2D character in Cartoon Animator and recorded. Then the finer details of the performance were fixed and altered in CTA (ie. the hands, head, and facial animation).
For the finishing touches to the final animation, I exported the entire project from Cartoon Animator to After Effects to add color transitions for the background, music to the whole piece and some of the masking needed for the leaping through the window sequence. You can see how that is done in my previous tutorial here.
CONCLUSIONS
ActorCore is a fantastic resource for 3D and 2D animation. And with the Motion Link plugins in iClone and CTA4, it’s so fun, fast and easy to put large complex animation projects together with the interaction between characters and realistic movement to help deliver your story.
Once you try this workflow it will be your ‘go to’ for every project.
Follow Warwick:
Website: https://www.wthanimation.com/
Facebook: https://www.facebook.com/wthanimation
YouTube: https://www.youtube.com/wthanimation
Instagram: https://www.instagram.com/wthanimation/
Content Store: https://marketplace.reallusion.com/store/wthanimation


