Learn to take advantage of Character Creator 3 to empower your render pipeline.

José Tijerín is a digital illustrator and 3d sculptor, he is currently a videogame developer at Tijerín Art Studio.
Character Creator 3 is a powerful 3D character creation program used for video game and video production. It is capable of producing highly believable – yet stylized – images when used in conjunction with Maya and V-Ray.
In this article, Jose will explain his workflow with Character Creator and Maya V-Ray for creating Pixar style characters. You can download a free trial of Character Creator to create yourself.
Why Character Creator
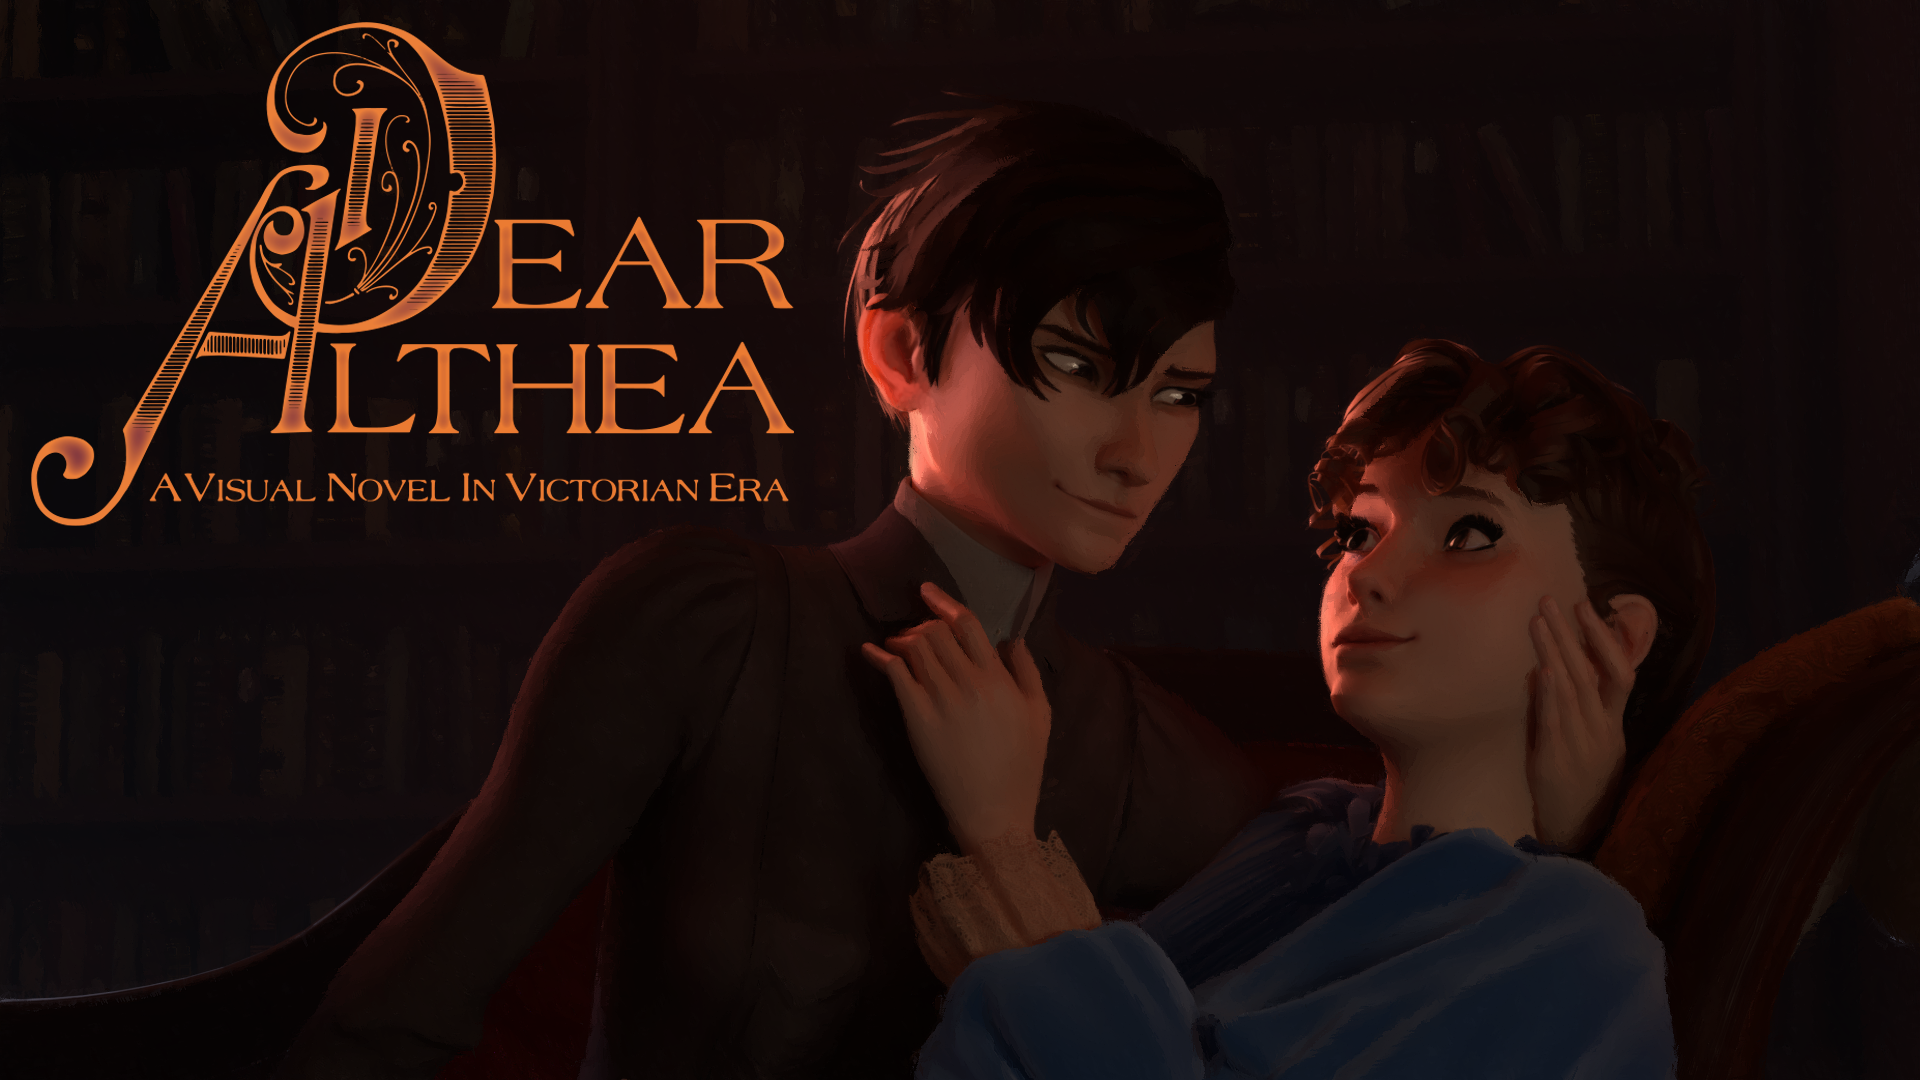
For this tutorial, I will use one of the cartoon characters from my videogame “Dear Althea” which will be released this summer on Steam and Itch.io, and whose characters were created entirely with Character Creator. In my game I use rendered images with an oil painting filter to create beautiful illustrations that resemble old paintings, so you can see just how many options Character Creator has to offer when it comes to making projects.
Using high quality textures offered by Character Creator
When creating a character with Character Creator we will automatically have the face morph, the full rig and textures at high quality. All this can be exported perfectly to 3D Maya saving us several days of work and increasing the speed in the workflow if we have many characters. The aspect we will focus on will be the use of these textures in V-Ray to create fantastic materials and render images of our characters at high resolution.

In this case, I start first with looking for references and making some concept art of the character. Then for me it is important to start modifying the textures before I start modelling because, especially in the cartoon style, this can completely change the features of the face.

Thanks to Character Creator we can easily save the textures to our project folder; but it is also possible to first create the character in 3D and then send it to Substance Painter to create the textures later.
Keep in mind that each skin is unique and it is not enough to change the general tone of the texture, even if your character has a cartoon style, so it is advisable to consult the appropriate references.
To achieve a stylized finish in the textures I recommend redrawing the opacity texture of the eyelashes, redrawing the eyebrows in the facial texture and replacing the texture of the eyes with cartoon eyes. We can also slightly blur the skin and nail textures to get rid of the pores and create a more uniform texture, but we won’t do that in this tutorial.

Modelling a cartoon style character
After updating the textures of the model in Character Creator we can start modifying its physical appearance. If we activate the Morph option we can modify the facial and body features by clicking and dragging the areas we want to modify. I recommend to start doing this to get a rough resemblance of our previous character drawings and then go to the Morphs section in the Modify menu to have more control over the changes, and further adjust the resemblance.

Finishing modelling in ZBrush for a great finish
Once this process is finished I always send the character temporarily to GoZ directly.
To do this remember that you have to have ZBrush installed, with the plugin already installed and the program open with a project already open. I also recommend working without perspective and having symmetry activated.
To model the character you will see that the size of the brushes is very small compared to the character. To modify the size of any brush we have to go to the menu Preferences / Draw / Max Brush Size and increase the size of the brush to work more comfortably.
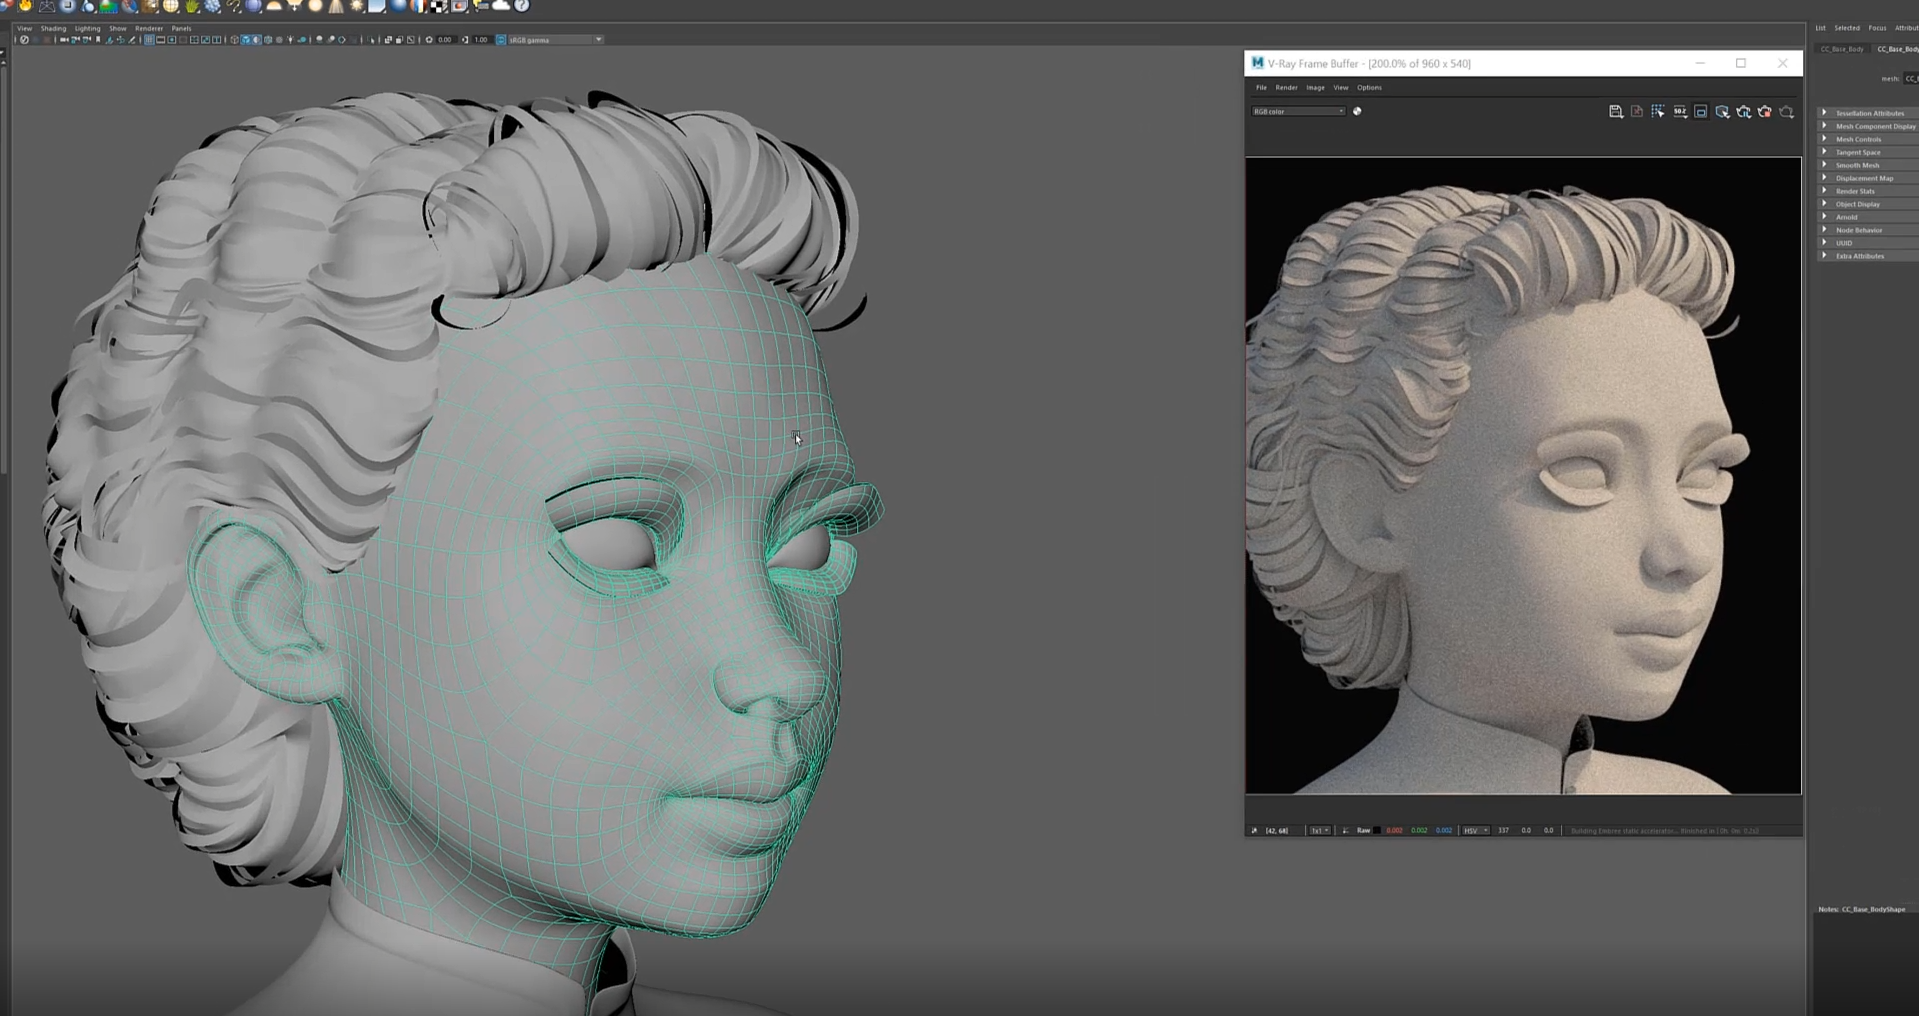
Working with a cartoon model in ZBrush until it resembles the references I have drawn is very simple and does not require us to increase the number of subdivisions. We just need to smooth the model to visualize it in the same way as we will do in 3D Maya when we lay out the character and work with the polygons.
To work with the polygons we have to activate the PolyF option, although at first it may seem unintuitive and it may seem that we need more polygons; remember that animation companies often use even fewer polygons in their animated characters.

Back to Character Creator
I don’t want to finish this section without giving a warning: that if we deform some parts of the model too much, several errors can happen, such as texture distortion (for example if we stretch some part of the model and our texture will be very distorted), morph deformation (if for example we make the eyes too big it is likely that the eyes can’t close properly) or rig deformation (if for example we deform the shoulders the rig of the hands will stop working properly). Fortunately for all these problems Character Creator offers solutions.
When we have finished we will only have to use the GoZ again to return the character to Character Creator, but remember to remove the Diffuse and Normal Map textures if you have not modified them before because the Normal Map textures that Character Creator offers by default will modify the appearance of your character and can confuse you if they are not the textures that you will use in the final version.

The perfect hairstyle
Character Creator has just updated its hair system and now offers several hairstyles, beards and even eyebrows (suitable for video production) that you can use on your characters, but for my project I decided to create a very personal style of hair.
In my case I start creating the base of the hair using the Topology tool. The hairstyle gives a very important definition to the character, so you have to pay special attention to its shape and volume. When I finish creating the clothes I make a retopology of the hair and start shaping the polygons to create tufts of hair. Once I do this process on the whole base of the hairstyle, I make a copy and take it to Maya. There I select a few rows of polygons to create hair tufts.
I don’t apply any texture to this hair because I leave all the work to the hair material offered by V-Ray, but later in the tutorial we will see how to work with realistic hair.

The clothes that define the character
To create the clothes I usually use ZBrush and its new fabric simulation options; although sculpting the clothes is still one of the options I like the most when we have very complicated garments. I always create these clothes on top of the character and when I have finished them I make a good retopology and send them to Substance Painter with the orderly UV maps.
Although I used to attach the clothes to the Maya character rig, I have now realised that Character Creator offers a lot of advantages when it comes to dressing characters. It offers several clothing items in addition to the ones we can import and use on future characters.

Exporting from Character Creator to Maya
Now we can export our character by opening the File menu and clicking on Export to have our character in Fbx format. In the window that appears, remember that the most important thing is to select the Maya option, everything else can be left as default.
To put this FBX file in Maya we only have to open the program and drag it in.

Configuring Maya to use V-Ray
Once we have imported the 3D character from Maya we have to go to the Render Settings menu and in the pop-up window we have to go to the Render Using section to select the V-Ray option. In that same window, in the Overrides section, activate the Viewport subdivision option to render the smoothed geometry (as long as we have selected this geometry and we have previously smoothed it using the numeric button 3). Further down in the same section we can find the Environment section. Finally, go down the tab and activate the Override Environment option.
Get good lighting quickly
If we now activate the render by clicking on the “Render the current frame” button we can see that the scene has basic general lighting. To improve the lighting quickly we can add sun and sky to the scene through the same window in the Environment section.
In order for the rendered scene to not appear over-exposed because the default camera in use is not well configured, we must select it in the Outliner menu and within the camera menu, activate the physical camera option. If we go into the properties of the sun we can also reduce its intensity and add some turbidity.
Applying the normal skin texture well
Now it’s time to use textures, you can look for them in the folder that the Character Creator has generated or you can save them directly from Character Creator. The most important images for the skin are all the diffuse textures and the normal micro map texture that can be obtained in the Shader Settings section.
To apply the skin texture just hold down the right mouse button and release it on the Assign New Material option. The properties window of the image we are going to add to the material will appear. Normally this normal texture is too strong. To lower the intensity just go to the Bump multi parameter and lower its intensity.

Applying two normals textures to the skin with a single material
Rendering the material with this texture we can see that it works perfectly, however if we zoom in we can see that we need much more detail. To add the micro-normal map we have to open the Hypershade menu and load the texture we just created. In the node representation we can see how the only texture associated with the material is the normal map that we have just placed and that now we have to unlink.
If we go to the Create section we can look for the Layered Texture node and click on it. This node will allow us to combine several textures in the same material. If we click on the node we can see its menu, inside we can create two spaces for two textures by clicking on the Add New Item button. If we already have the textures inside Maya we can simply drag them to the section we want. Before we continue we have to link the Out Colour parameter of the Layered node with the Bump Map parameter of our texture.
To add the second texture which would be the Micro Normal we can simply drag it from the folder to the node window. Now we just have to click on the Layered node and drag it as we did with the previous one to its section.
Now we have the two textures in the same material, but one of them covers the one underneath. So for the moment I’m going to deactivate it to leave only the Micro Normal texture. As you can see the Micro Normal texture is not working properly, this is because the texture size has to be reduced. To do this, click on the Place node of this texture and in the menu look for Repeat UV and enter a value of about 40.

Now we can see that the quality of the skin has improved a lot, but we still need to blend both textures. If we go to the Blend Mode section of the Micro Normal texture inside the Layered node we can select the Add option. And then we lower the opacity of the layer. We can see how both textures have been combined. Now we can increase or decrease the intensity of these combined textures to get the perfect result.
Creating a V-Ray Skin Mtl material
You already know how to set a basic skin volume. But now let’s go one step further. Again we will select the face of the model and add a new texture. But this time we will choose the V-Ray AI Surface material, but first, I’ll remove the basic material.
This material already incorporates a texture blending system for normals, so we’ll remove the layer node. Now we will attach the facial normal texture through the Out Colour section to the Bum Map of the new material. And the Micro Normal texture is introduced in the same way in the Reflection 1 Bump Map section of the new material. The first thing to do is to lighten the skin. To do this, we go to the Diffuse section and set it to black.
In my case I’m going to modify the Character Creator glow texture and place it in the Reflection 1 Strength section. And I’m going to lower the volume values in Reflection 1 Bump Amount and Bump Amount to make the skin less rough and have a better glow. Now that I’ve set the glow I’m going to introduce the Diffuse texture in the Diffuse section of the material.
Creating realistic skin
When rendering the material, we can see that although it has the diffuse texture and the shiny texture, it doesn’t look like real skin but like a painted sculpture. To bring it to life we need to go to the SSS Density Scale section of the material. I will give it a value of 0.05 so that the effect is clearly noticeable.
This allows the material to be more translucent; it allows light to pass through, but diffuses it by diffusion in the same way as real skin. Next, let’s modify the value of the Sss Mix section to 0.5. This will mix the Fuzzy component and the SSS component. To intensify this concept I will darken the colour of the sss1, but you could also try different SSS settings to get different effects like in the dragon statue example.
In these comparative renders we can clearly see how the skin now transmits lighting and feels warm and natural; in the backlit ears we can see that they are much more realistic.

Creating realistic material for Character Creator hair
Now that we have finished with the skin, it’s time to continue with the eyelashes. We will select the polygons of the eyelashes and apply a basic material as we did at the beginning of the tutorial. In my case I just want to make some cartoon eyelashes; so I’m just going to change the diffuse colour to black. And I’m going to apply the opacity texture I drew at the beginning in the Opacity Map section.
If you want to make realistic eyelashes you have to do the same steps as for realistic hair. I’m going to make an example hairstyle: let’s take a hairstyle from the Character Creator and extract the opacity textures from the hair.
Once in Maya we have to apply a material called V-Ray Hair Next Mtl. And of course, then we must apply Transparency to give the desired colour to the hair. For a natural looking model, all the polygons of the model must be smoothed. This makes the results much more realistic, especially the hair.
However, I chose not to apply textures to the hair of my character because I want to give it a cartoon look. This way I leave all the work to the material; which gives a very good final result.

Creating perfect V-Ray material for teeth
Now we come to the part that everyone forgets, the mouth and especially the teeth. If we select the character and hide it, we can have better access to the teeth. We are going to use Character Creator textures using the same material as the skin but increasing the brightness. However, we can see that the teeth need a different material to look correct.
If you are also making a cartoon character I recommend you to make the teeth whiter. I set the glow colour to white and lower the Reflection Brightness a little. Then I go to the Reflection Colour section and set a grey colour. At the bottom, in the Refraction Glossiness section I give it a value of 0.5. If we now look at the render we can see a translucent glass material. To give it colour, we go to the Fog Color section and place the same texture we used in the Diffuse section. For it to look less like glass, we have to increase the colour density in the fog multiplier. And finally, what I do is to activate the Subsurface Scattering option. If, as it has happened to me, the teeth look too shiny, we just need to darken the texture we have set in the Fog Color section.

Creating cartoon eyes with V-Ray materials
Let’s move on to the eye texture, I could show you how to create a realistic eye with the Character Creator textures but that would take a whole tutorial; so let’s create some eyes in the Cartoon style. Let’s start by hiding the Eye Occlusion and Tearline geometry. Then I’m going to select the geometry of the two eyes and extract it. Don’t worry, the eye rig will still work perfectly afterwards. I select the polygons of the geometry that I haven’t extracted in the shape of the iris and flatten them.
When I go back to the geometry I had extruded, I deform it so that it can fit into the hole I just created in the iris-shaped eye. To this geometry I like to apply very colourful materials, so starting from the V-Ray base material, I try out various combinations. This is one of the most creative parts of V-Ray, because I like each eye to shine differently. This allows me to make materials similar to gems or precious crystals.
In this case, as her cartoon eyes are brown, I have created a material with the same parameters as the material of the teeth, but with a metallic touch that will give a lot of life to the cartoon eyes. When I like the material, I select the pupil-shaped polygons and put them inside. To these polygons I assign the basic V-Ray material but I leave the diffuse texture totally black so that it doesn’t reflect any light. For the eyes to have good brightness we have to unhide the Occlusion geometry of the eye and deal with its material.
Again the V-Ray base material will be perfect to create a crystalline material. For this we have to put a white colour in the Refraction Color section. And to make it shiny we just have to put a white colour in the Refraction Colour section. We can control the intensity of this brightness using the Amount parameter. To finish with the eyes we have to unhide the Tearline geometry and of course apply the basic V-Ray material. The material I use is exactly the same as the one we just applied.

Applying textures to V-Ray materials
I finish the textures section by applying the rest of the body textures with the same skin material and the same parameters. And of course I apply the clothing materials that I had previously created in Substance Painter. Remember that if you want more definition in the clothes you can apply a second texture of Normal map of a fabric in detail as we did to the textures of the skin to give it much more realism.
To visualize the whole rendered cartoon character I usually apply the render inside the scene, to do this I go to the Render menu and select the V-ray IPR option.
Character Creator and V-Ray to achieve different environments
Now that the cartoon character is complete we must make sure for the last time that we have respected the original design or idea. We won’t be able to make major changes at this stage, but we should be able to adjust some tones and brightness.

If in addition, as in this case, the character is part of a larger project such as a video game, the overall result must be compared with the rest of the work. These are concepts that must be taken into account throughout the project and that, fortunately, Character Creator helps to do. Character Creator allows us to save Morphs to be able to apply them to all the characters we create equally.
For example, if you want to make characters with bigger heads, you can apply the same parameter to all your characters. A good way to check that the materials look correct is to subject them to various types of environments. Character Creator offers several high quality HDRIs to light up your renders.
You can find the HDRIs in the Atmosphere menu. Within the IBL submenu we can view them and search for their location on the computer by entering them and selecting Find File. We don’t need to copy them anywhere as they are large files, instead, we can use them from the same folder in V-Ray. To apply these backgrounds to our Maya scene, we have to go back to the Display render Settings menu. And just like at the beginning we have to go to the Overrides menu, but this time when we enter the Environment menu, we will remove the sun and the sky. In the same way that we apply the textures on a material we should apply the HDR Background texture on all the sections of the menu.
To save time, remember that you can copy and paste the address where the texture is located so you don’t have to look for it again and again. Even after we have applied all the textures, they still can’t be seen because changes were made to the camera. For these textures to show up, we’ll need to deactivate the physical camera inside the Extra Attributes section of V-Ray.
When moving from one environment to another we have to pay attention to the brightness of the skin, as it is very common for shiny spots to appear in unwanted places. These backgrounds are not only useful in these kinds of tests, they can also be used as Reflection Textures for improving the quality of your render.

Final optimisations for complex scenes
Before we get to the end of the tutorial with the final render settings, we have to talk about optimisation. Character Creator characters are perfectly optimised to work in video games, but if in Maya we smooth the polygons of the character we will be multiplying those polygons three-fold. And very complex scenes can slow down the workstation.
A good trick to solve this is to apply V-Ray Displacement to the models, this will make the models look smooth when they appear in the render. When applying this parameter it will appear in the Outlinery, inside it we will be able to drag all the geometries that we want to smooth. To activate it we will have to enter in the Attributes menu and open the V-Ray menu. Inside we will activate the Subdivision option. As you can see, although the model has few polygons in the final scene, it appears smoothed when rendered.

Final rendering
To start with the final render, let’s open the Display render Settings menu. To find out where our render files go we have to go to the Edit menu. If we go to Change Project Image Directory we can see and change the location where all the renders are stored. If we look inside the Common menu we can find the Animation section that can be activated if we want to render several frames. In the V-Ray menu we can find the Image Sampling section.
Here we can control the sum of divisions and the way the render is sampled. When a render is started, a series of rays are drawn to get the geometry information that will be visible in the final image. The more subdivisions we put in, the more rays there will be and the better the final image will be. However, the more rays, the longer the computer takes to render. It is not necessary to touch them, the default figures given by V-Ray are the optimal ones to work with both types of samplers. In a nutshell these two types of sampler are:
- Progressive which is mainly used to preview a render, as it prioritises speed over quality.
- On the other hand, Bucket prioritizes quality and is the one mainly used for final renders, giving very good results.
If we go to the Render Elements menu we can select the render passes we want to output from our render. Among all of them I recommend adding the Denoiser to the render. Besides giving render passes as the diffuse (which serves to see only the textures of the render), it allows us to obtain a special render pass in which, as you can see, has removed much of the noise that would have otherwise cost additional hours of rendering. Although there is a limit in reducing render times in which Denoiser begins to adversely affect quality.

Render passes
Finally it is important to see the resulting render passes in the drop-down menu of the render window. Vray allows you to make the following render passes: SSS (for skin materials), Diffuse, Atmosphere, GI, Reflect, Light, Reflection, RGB, and zDepth (useful for applying lens blur filters in After Effects and Photoshop).

I hope this article has helped you with your creations and please remember to check out my video game on Steam. If you want to keep expanding your knowledge, visit Magazine Reallusion and read their interesting articles, or go to their YouTube page and subscribe to it so you don’t miss any of their upcoming video productions.
Follow José
ArtStation: https://www.artstation.com/tijerinart
Instagram: https://www.instagram.com/art_tijerin/
Dear Althea: https://store.steampowered.com/app/1571910/Dear_Althea/


