
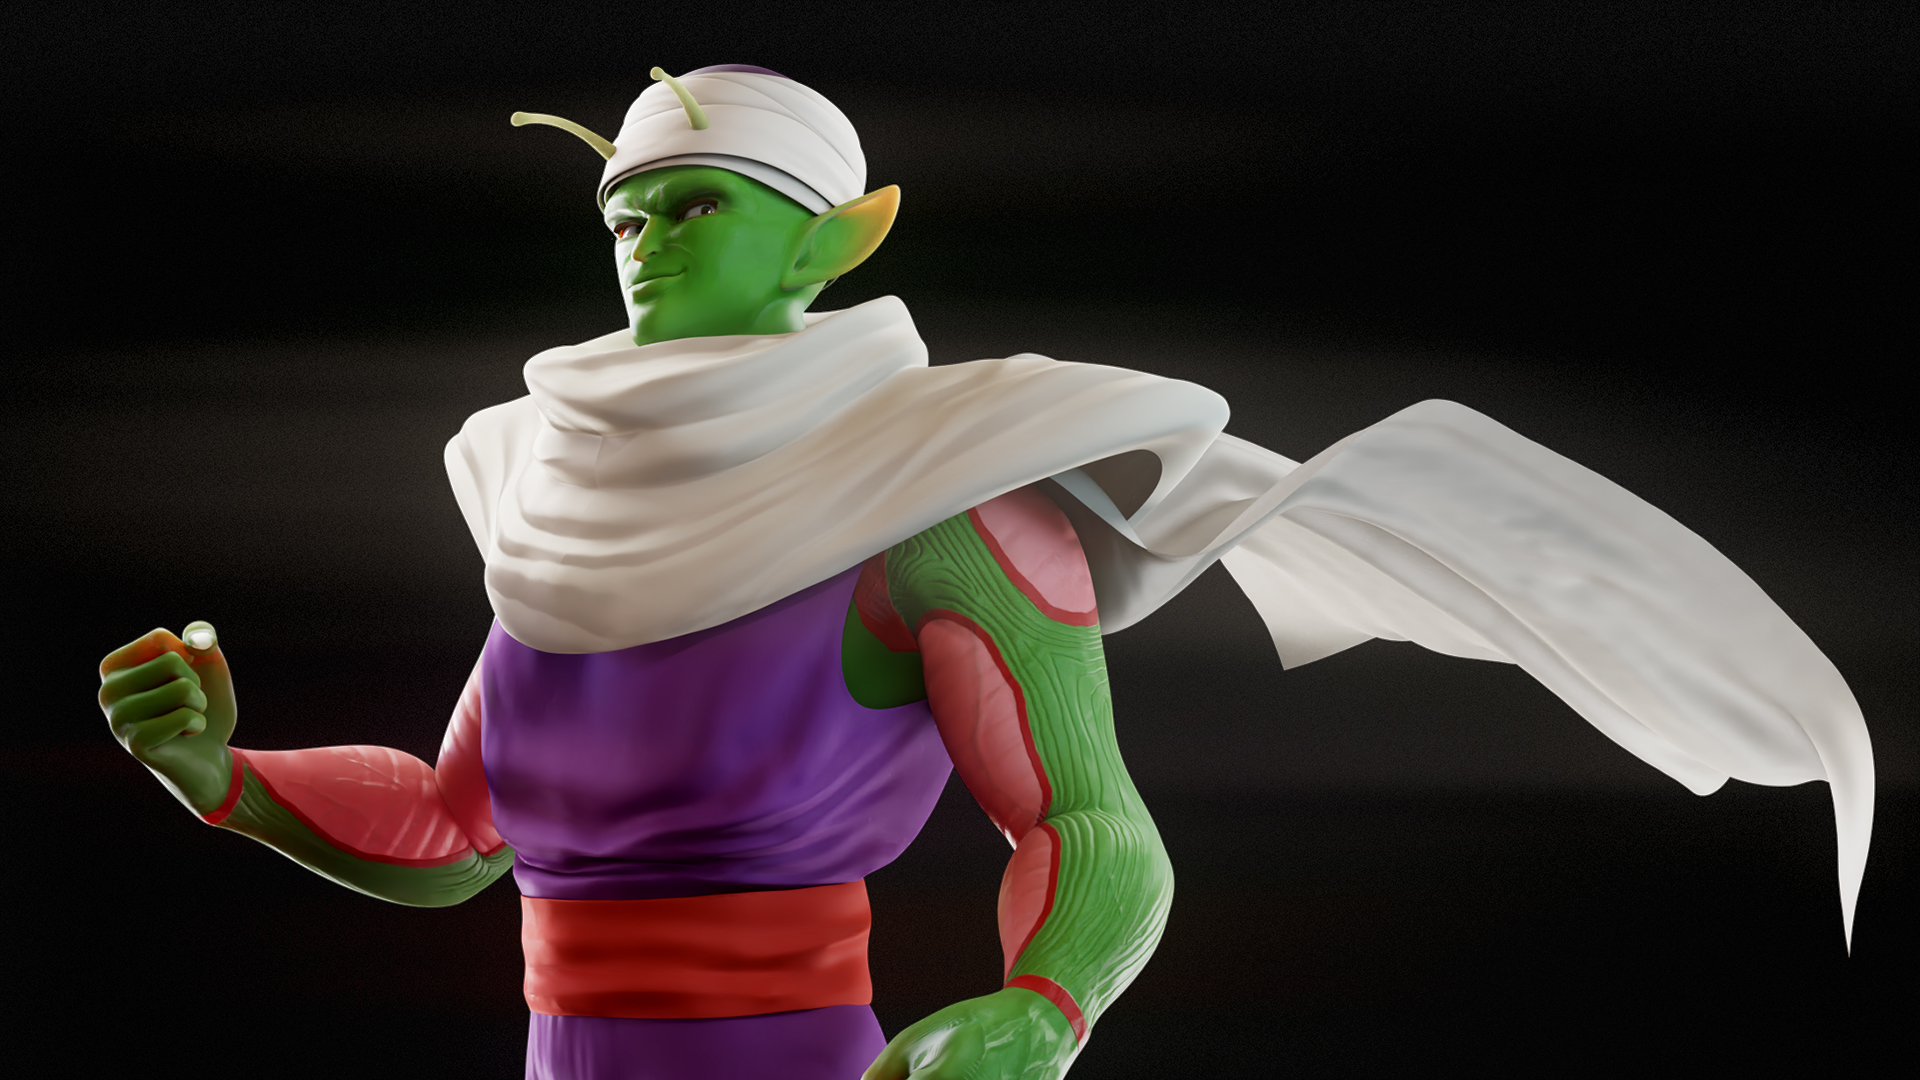
Greetings, my name is Peter Alexander and I specialize in Character Creator related workflows. In this video, I’m going to detail the process of adding physics to an article of clothing on my Piccolo character, specifically, his cape. I’ll also show you a few other tricks along the way. This feature tutorial leverages the CC4 Blender Pipeline Tool (Installed in CC4) and CC/iC Blender Tools (Installed in Blender) for Character Character and Blender.
Clothing Attributes
This character’s outfit consists of several layers of clothing, and proper layering is important when utilizing various functions in Character Creator, such as the Conform and Auto Hide Mesh features. However, physics is currently not impacted by these layers.

By default, if you have no clothing items, your first imported clothing item will start at the layer one slot, then after that, it’s two, three, and so on (the clothing layer menu allows you to rearrange these layers). Originally the layers were limited to twenty or so, now the limit is 252, so there’s plenty of room for adding clothes — the exceptions being the Gloves and Footwear slots, which are still limited to two layers.

Material Renaming
I created some of these items in ZBrush, and by default, the same material name is applied to all items imported through GoZ. However, Blender is strict in not allowing materials or items to share the same name ; For this reason, you must change the names of the materials before importing them into Blender.
Cape Weight Mapping
For the most part, I’ve weighted the cape to the Spine02 bone, which is just below the neck. I find this works best for capes, but your settings may vary. I would probably not weight the cape heavily to the legs or arms, as these bones move too often in a way that wouldn’t affect an actual cape.
Since we are using physics, I want the cape to move and follow the character, but not be impacted by a lot of movement beyond the torso.


Exporting to Blender
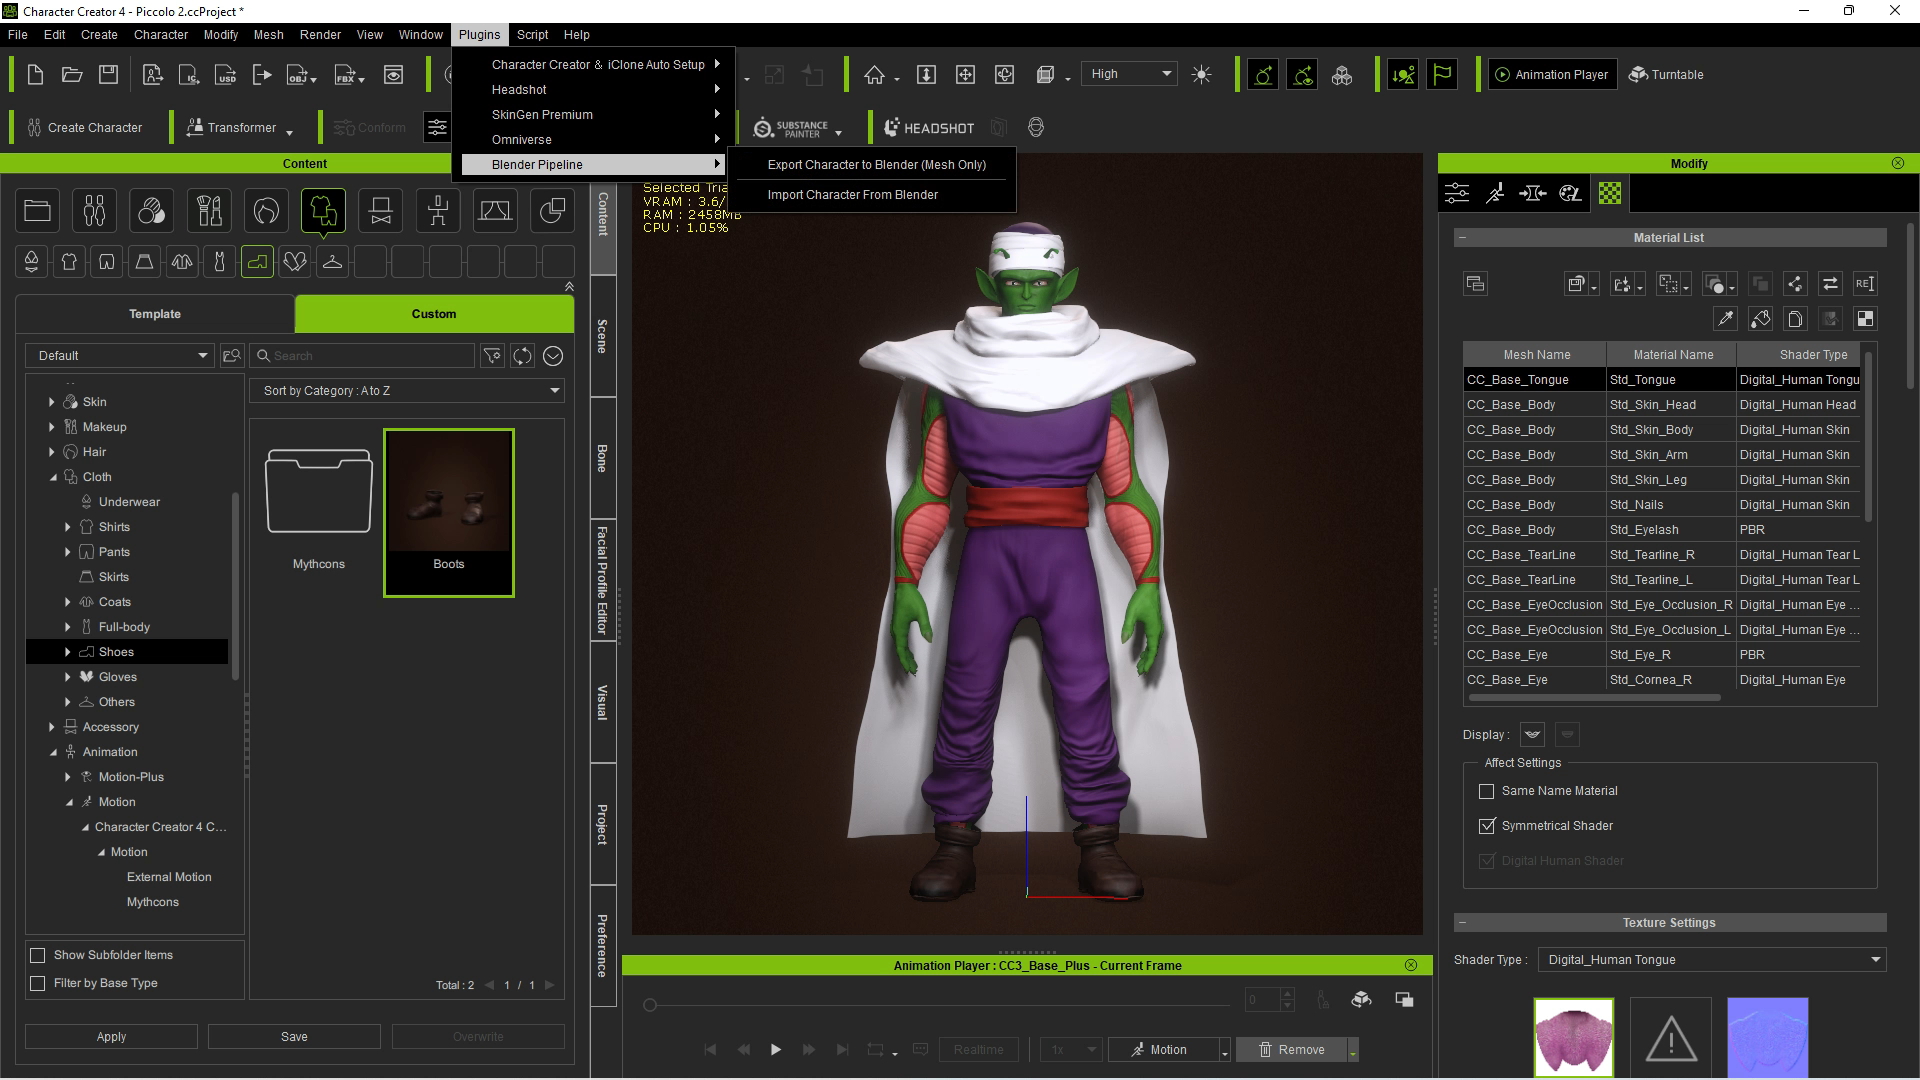
When you are ready, export the character using the CC4 Blender Pipeline Tool (Installed in CC4). Then go into Blender, go to the CC/iC Blender Tools (Installed in Blender), and import the FBX you just saved.
Adjusting Clothing with Sculpting Tools
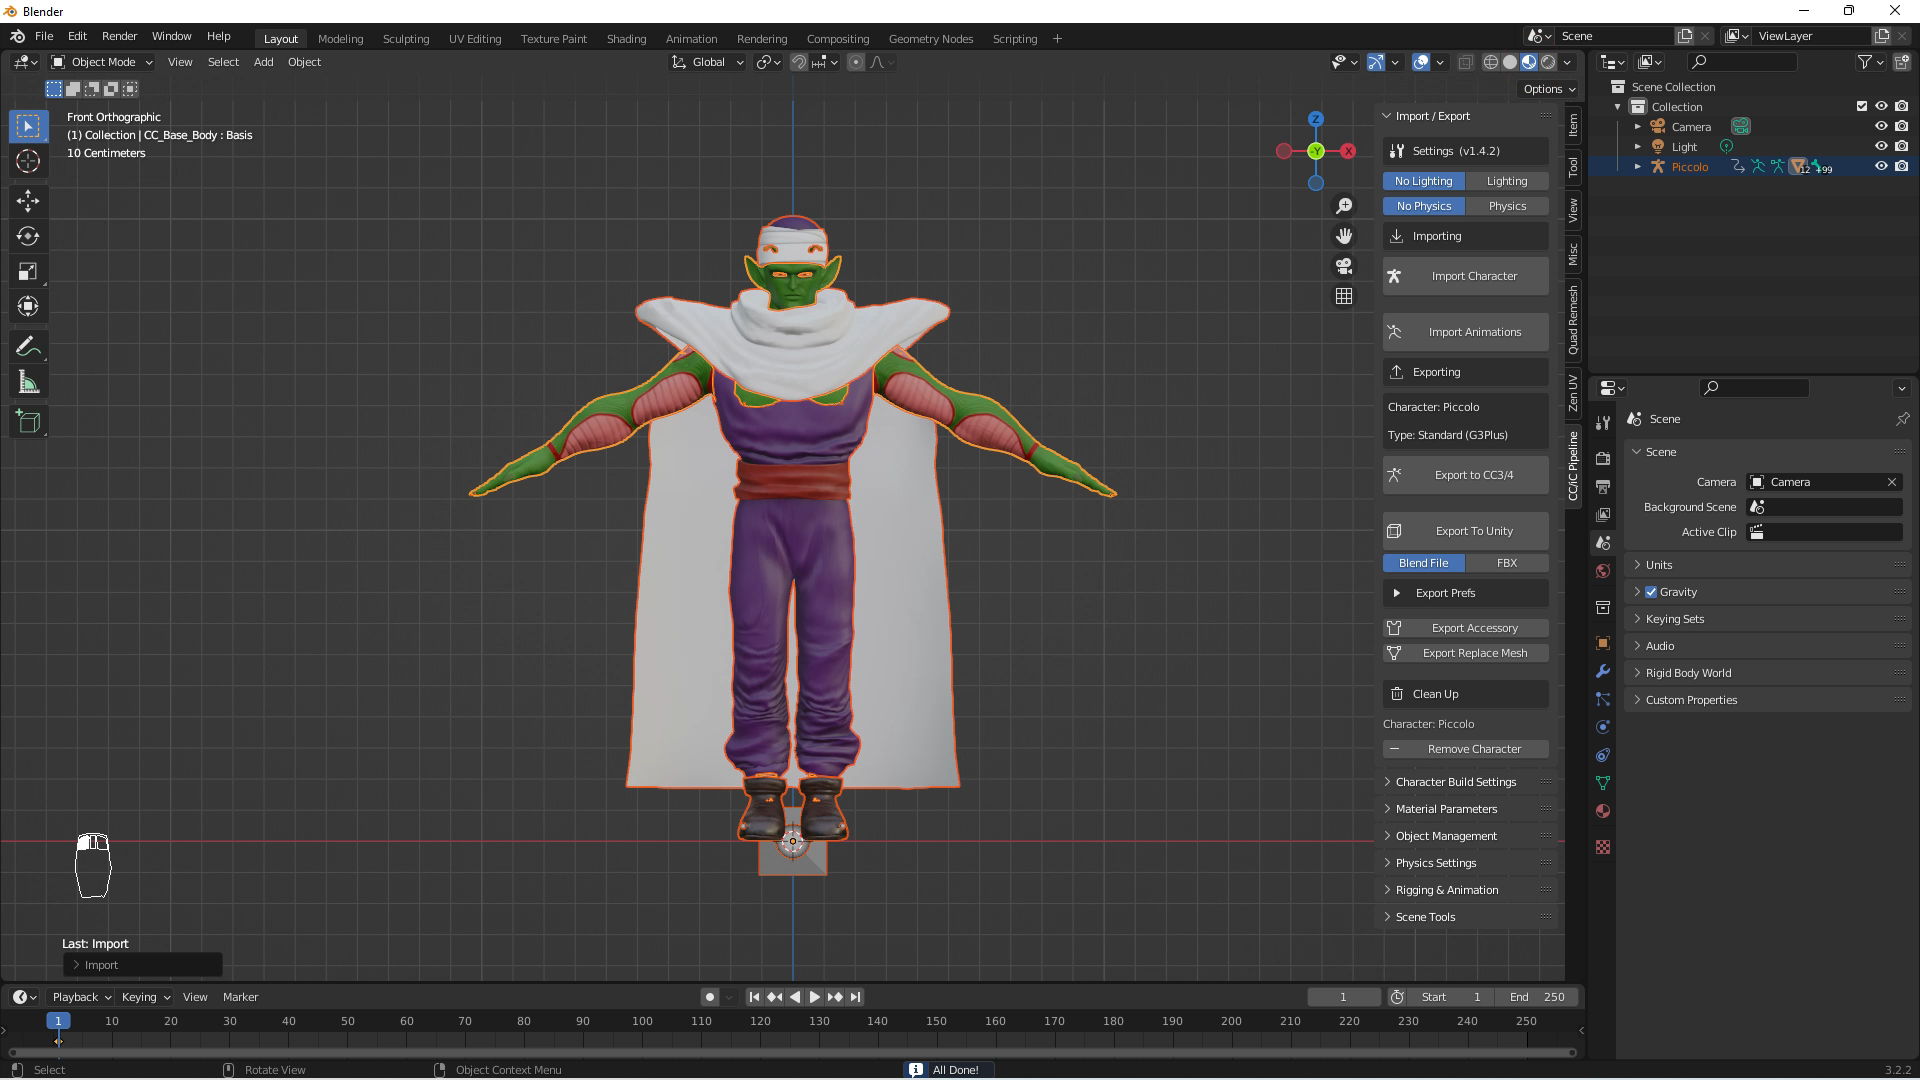
Using the edit and sculpting tools, I will fix the various clipping issues that are apparent upon import. Note that the cape is not draped, as that can be handled by physics. Also, note there are no normal maps on this cape; In my experience, clothing folds faked with normal maps tend to look odd when actual physics are applied; So, I avoid applying cloth-fold normal maps for an item such as a cape.

Mesh Smoothing and Normals
For whatever reason, I find most imported items need to have Smooth Shading applied. After this, in Edit mode, you can recalculate the normals by average. This is not entirely necessary, but it saves from having to deal with miscalculated normals in Character Creator.

Adding and Painting a Physics Weight Map
A clothing weight map can be applied through the Cloth Settings area of the addon. When Add Weight Map is initiated, you can paint the map as you would a regular texture. Remember that White adds physics, and Black negates physics. A black weight map will have no physics, but adding black in areas can serve to pin your garment.


I found that using the Gradient tool was the best method of painting a weight map for a cape, though getting the right area to initiate the gradient can take some trial and error. When you are done weight painting, click on Done Weight Painting and save your map.


Exporting & Reimporting into Character Creator
Export the character through the CC/iC Blender Tools (Installed in Blender), and import it into Character. Hidden mesh settings will be lost in this process, so they must be set up again.


After the character has been reimported, you can see that the weight map has been automatically loaded. If you want to adjust the weight map further, you can play with the brightness and contrast settings.


Testing Physics
Using the Animation Player, I can see that I needed to add some collision shapes to the main character to prevent clipping with the cape. Collision shapes, based on my understanding, lessen the resources necessary to calculate physics. If you were to calculate between meshes with a high polygon density, many systems would stutter.

Adding Collision Objects
There’s currently no physics on the rest of the clothing, therefore, I’m setting up these colliders so that the cape will also not clip with those items.
Colliders can be scaled on the X-, Y-, and Z-axis, rotated, repositioned, as well as changed from capsule to sphere shape.

With the colliders set up, I’m going to try another physics test. The new Animation Player in Character Creator 4 is very helpful in troubleshooting physics before a character gets sent over to iClone for more detailed animation.
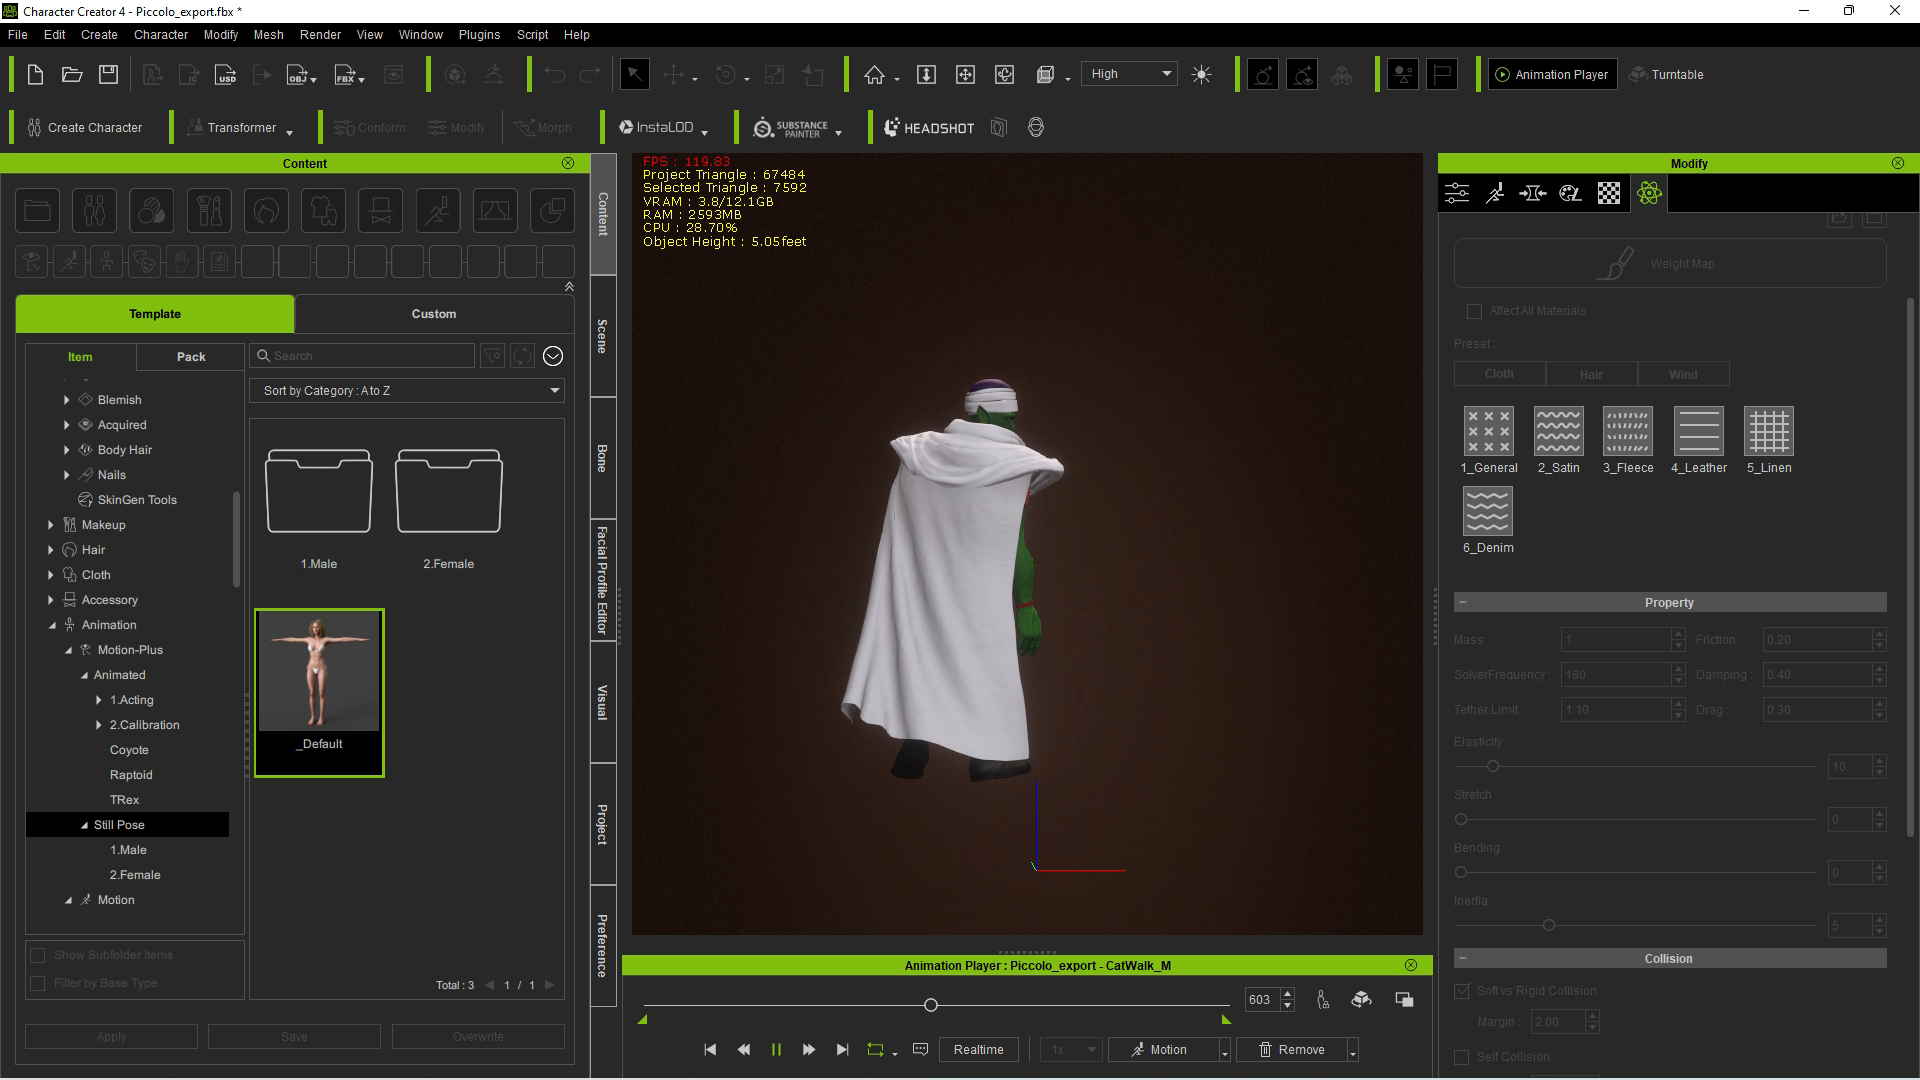
If you’re still having trouble at this stage, I would play with the physics settings a bit and be patient with the results. I found that the cape shrank a bit during some simulations, so I adjusted the Tether Limit. Also, adjusting the Dampening setting can add or decrease air resistance. There is a breakdown of these properties listed in the iClone online manual.
▪ The Properties of a Rigid Body (click here)
▪ The Soft Cloth Simulation (click here)
While this demo covered some relatively common knowledge, I hope there were some tips along the way that were beneficial to your workflow. The CC4 Blender Pipeline Tool (Installed in CC4) and CC/iC Blender Tools (Installed in Blender) add-ons make the process much more streamlined, permitting an easier path for optimizing clothing and physics settings.
The ability to export and import content from Character Creator to Blender has never been easier and more accessible to the average user, and it’s getting better with each update to these wonderful tools.

Free Download :
• CC/iC Blender Tools (addon installed in Blender) https://github.com/soupday/cc_blender_tools
• CC4 Blender Pipeline Tool Plugin (addon installed in Character Creator 4) https://github.com/soupday/CC4-Blender-Tools-Plugin
• Character Creator https://www.reallusion.com/character-creator/download.html
Learn more :
• Peter Alexander (Mythcons) https://www.artstation.com/mythcons
• Blender-Character Animation Pipeline https://www.reallusion.com/character-creator/blender.html
• Character Creator https://www.reallusion.com/character-creator/
• iClone https://www.reallusion.com/iclone/default.html
• Reallusion https://www.reallusion.com/





1 comment
thank you