In the previous article, we sent a prop from Character Creator to ZBrush, modified it, and sent it back again with new baked color and normal details, using CC GoZ Plus. In this article, we’ll use CC GoZ Plus to send an accessory we made in ZBrush to Character Creator, complete with color and normal maps. We’ll also discuss techniques to fine-tune your roughness and metallic maps to complete the look of your new PBR asset, and finally add it to our custom library so we can use the asset on different characters.
Requirements
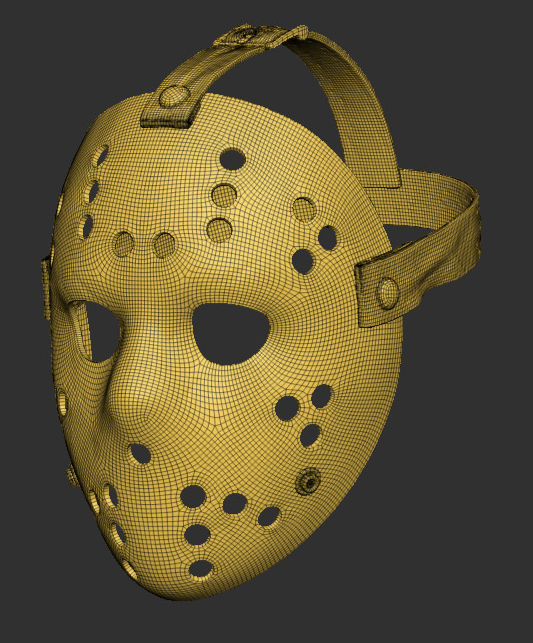
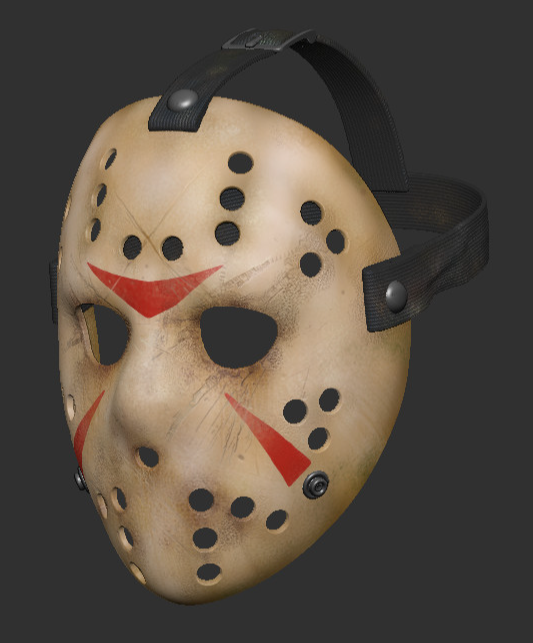
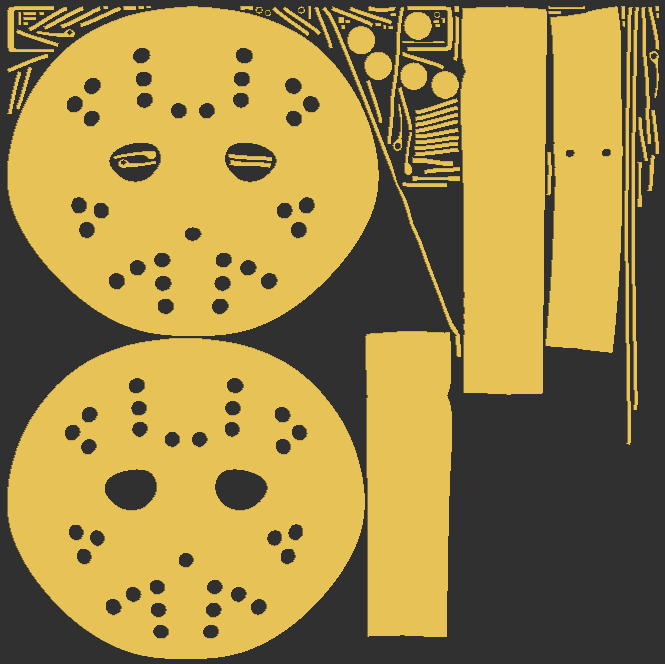
In order for this to work, there’s a few things our asset will need. First, you’ll need a low-res SDiv 1 for your asset. You can have as many subdivisions as you want past subdivision 1 that will hold all of your high-res sculptural and polypaint details, but your lowest subdivision level needs to be something reasonable to send over to Character Creator to attach to a character and animate. For example, SDiv 1 for the above mask is 46k polys — not exactly lightweight, but way better than the 3.17 million polygons that SDiv 4 has. For more information on how to make a quick game-res model and project your detail to it, you can watch this video here. Second, our asset needs UVs; UV Master and other UV techniques in ZBrush are covered in this video.
I’m also going to load up a character in Character Creator; This can be a character you previously made, one from the Reallusion content browser, or just a neutral base body — it doesn’t really matter, just something to put this mask onto when it gets to Character Creator.
CC GoZ Plugin
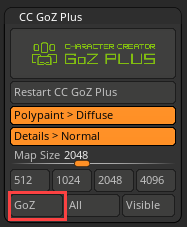
If your asset has subdivisions and UVs, you’re ready to send it over to Character Creator. Go to the ZPlugin menu and open the CC GoZ submenu. Because we have “Polypaint > Diffuse and Details > Normal” buttons on, it will bake out a Color Map texture and a Normal Map texture with our polypaint and sculpted high-res details, respectively. We’ll keep the map size at the default 2048, but feel free to choose 4096 for the most texture resolution (you can also change what size the incoming texture will be later in Character Creator). Since we’re only sending over one asset this time, we’ll press the “GoZ” button to send the SubD 1 mesh of the selected subtool to Character Creator to update our mesh, and send over the baked maps for our asset.


In the “GoZ Options” window back in Character Creator, choose the “Create Accessory” template along with “Update Mesh & Texture”. That will set the “Action” to “Create Accessory”, and check the “Mesh” and “Texture” checkboxes. If you’d like, you can change the action to create a clothing item or a prop, and you can uncheck mesh or texture if you want to skip a part of that import process. In our case, we’ll leave everything checked.
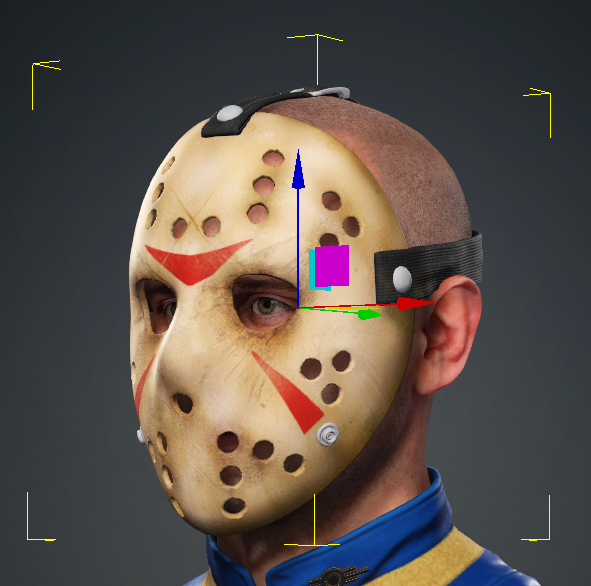
If you brought over an accessory, you’ll probably have to move it into place on the previously loaded character. First, set the pivot by scrolling down to the bottom of the “Attribute” tab, and clicking one of the “Quick Set” options. We’ll also choose a joint to attach to by using the “Pick Parent” button and clicking on your character, or using the 3 buttons menu to select the correct joint (in this example, it’s a face mask, so we’ll choose “CC_Base_Head”). Now just move the accessory into place on your character.
Materials and Textures
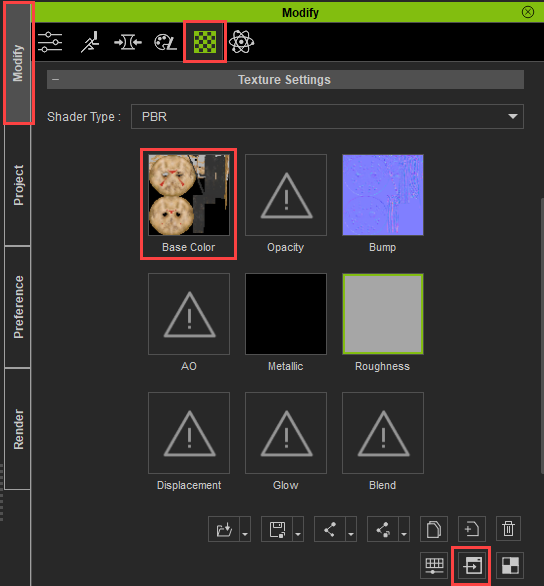
Our metal buttons aren’t looking very metallic — let’s create a custom Metallic map! Go to the “Material” tab with your asset selected, and you’ll see the Base Color and Bump (Normal) map from ZBrush is applied to this object. Select your Base Color map, and press the “Launch” button.
In your image editor, I’ll use the wand tool to select the gray section of the color map, which is what the metal parts are filled with. I’ll fill these areas with white, and the rest of the image with black — this will create a texture map where all the white parts that correspond to our metal button UVs will appear metallic, and all the black parts wont.
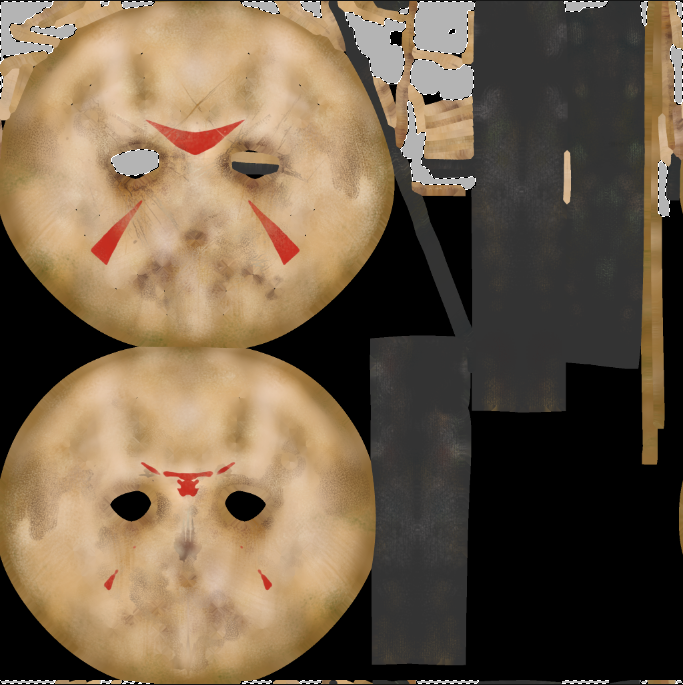
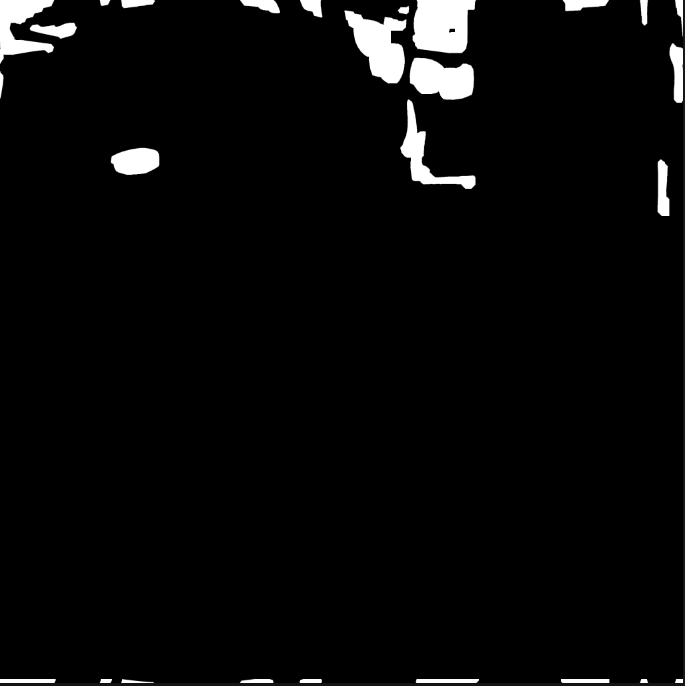
If we were to save this now and close the window, it would update our Color Map to this black and white image intended for our Metallic map. Instead, go to “File > Save As”, and save the black and white image as “HockeyMask_Metallic.png” (or whatever makes sense) somewhere on your computer.
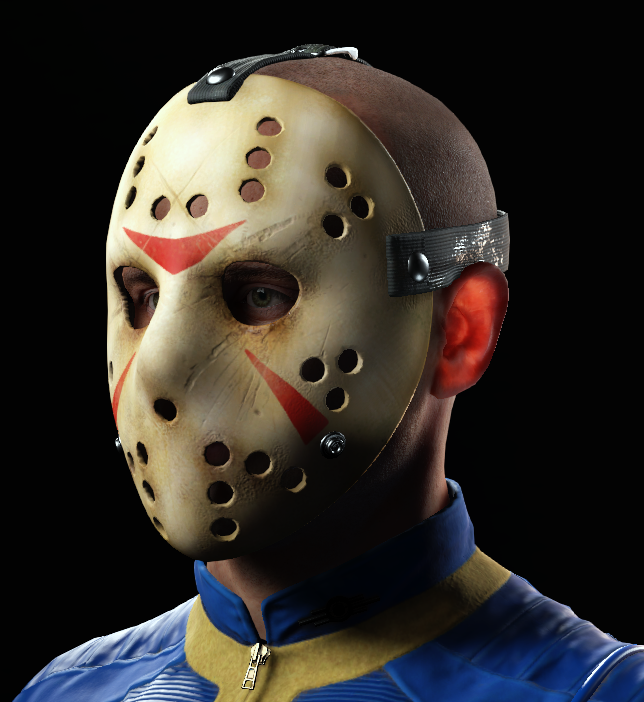
Back in Character Creator, double-click the Metallic map image, and load in your custom Metallic map texture. You’ll see your metal buttons are now metallic! For the Roughness, if we just want to change how shiny or matte the image is overall, we can click on the “Adjust Color” button with the Roughness map selected, and change the “Brightness” slider to choose a Roughness value (darker is shinier, lighter is more matte):

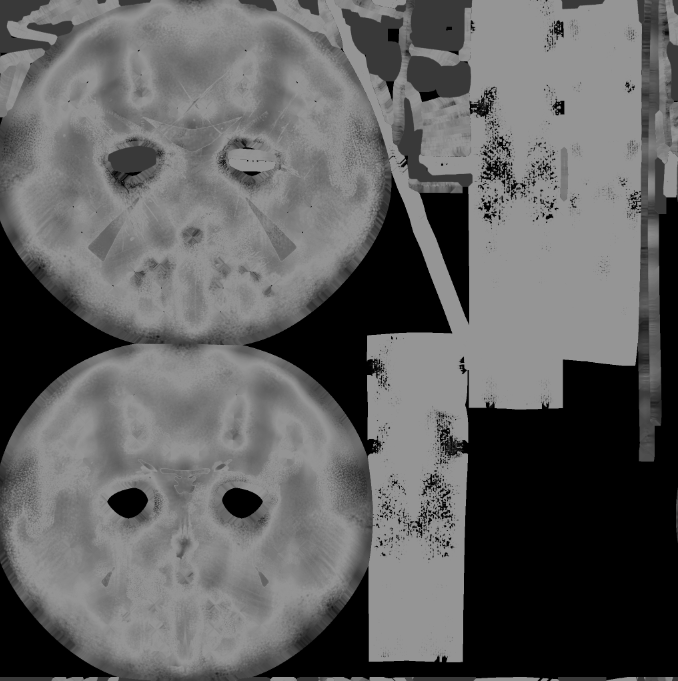
Or just like the Metallic map, you can Launch the Base Color map, desaturate it, and adjust the image to make certain areas lighter or darker (matte or shiny):
Saving a Clothing or Accessory Item
Let’s put this mask into our custom library so we can use it on other characters! Go to the “Scene” tab and make sure your asset is selected:

Next, choose the “Custom > Content” tab. Since this is a mask attached to the head joint, it makes sense to save this into the “Accessory > Head” directory. Navigate to that folder, and click the “Save” button. In the “Save Options” dialog box, give it a file name, and ensure the correct directory is chosen for the Asset Type (if not, you can manually navigate there through the down arrow menu). You now have a hockey mask saved in your “Custom” panel. Load up another character, then just double-click your new hockey mask and move it into place. It will animate along with the character’s head, with the object pivot where it should be, just like how it was set it up on your original character.


About The Author

Michael Pavlovich earned a Bachelor’s degree in Computer Animation from RSAD in 2005. Initially, he contributed to the development of environment and character art for popular video games such as Madden and NCAA Football. Later, he relocated to Austin to join Daybreak Games, where he worked on the creation of art assets for DC Universe Online.
Presently, Michael holds the position of Director of Character, Weapon, and Vehicle Art at Certain Affinity. His expertise lies in implementing iterative pipelines for Certain Affinity artists helping develop renowned video game franchises, including Halo, Call of Duty, and DOOM. To stay updated on his latest tutorial projects, you can visit Michael’s YouTube or ArtStation page.
>> Check Michael’s Artstation
>> Check Michael’s Youtube Channel
Related Posts
- PavMike CC GoZ Plus Tutorial Part 1 – Prop from Character Creator to ZBrush
- PavMike CC GoZ Plus Tutorial Part 3 – Body, Clothing, and Accessories from ZBrush to Character Creator