The 2024 2D Animation at Work Contest left us with a collection of fascinating entries. This time, our star Cartoon Animator lecturer, Mark Diaz, hand-picked 9 award-winning animation techniques depicted from three contest winners:
- Stephen Townsend, who won 1st place for Business & Commercial.
- Sasapitt Rujirat, who won 2nd place for Comic & Art.
- Weronika Posemkiewicz, with an honorable mention.
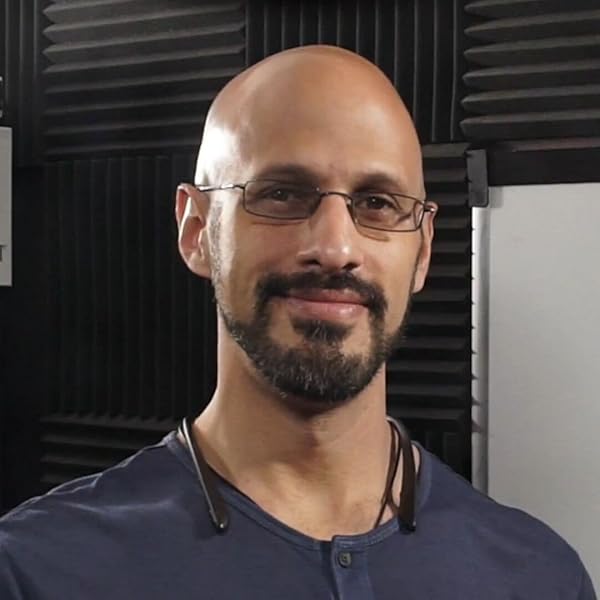
About Mark Diaz of 2DAnimation101
Enthusiastic about both animation and teaching, Mark Diaz is the CEO and Founder of 2DAnimation101. As a dedicated online instructor, he has guided over 52,000 students worldwide in developing their animation and drawing skills.
Mark is also a TED Talk speaker, presenting “Can Anyone Become a Genius?” Beyond teaching, his versatile talents extend to filmmaking, where he has worked as a Short Film Director and Editor for Autumn Leave Films.
Technique 1: Creative Rigging
I start by generating a stylized samurai with ChatGPT. Then, break the image into parts: arms, legs, torso, and head. Each piece was cleaned and exported from Photoshop as individual PNGs. Inside Cartoon Animator, I imported the parts and placed them at different z-depths, so in the 3D view, you can see that all parts are positioned differently. But when looking at it through the correct angle, the elements merge into one cohesive picture.
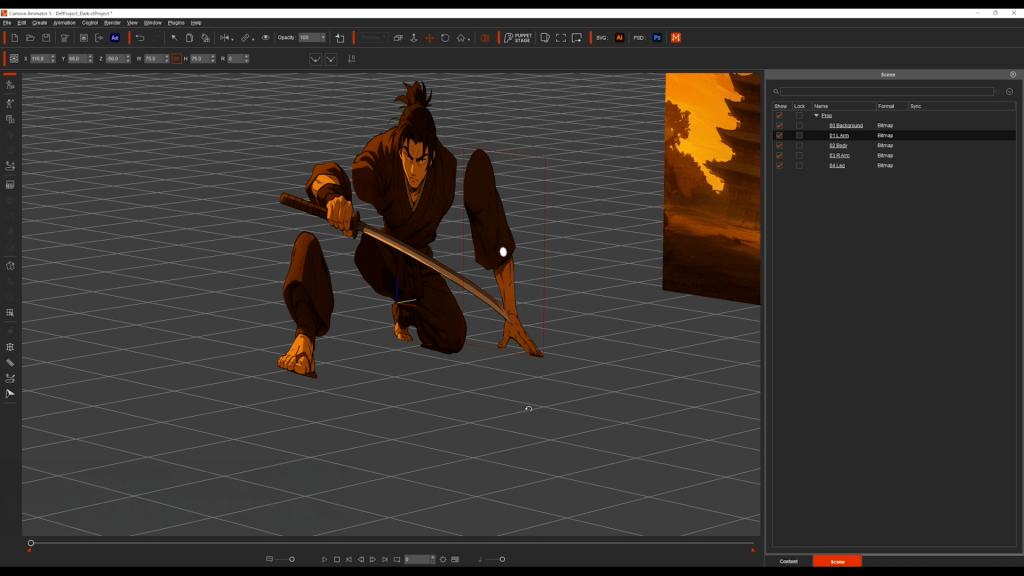
After that, I’ll move on to animation. I used the transform tool for big movements, and the FFD (Free From Deformation) tool to simulate depth, making the samurai feel like he’s stepping toward the camera. In the end, what started as a flat image becomes a dynamic warrior in motion.
Technique 2: Instant 3D City
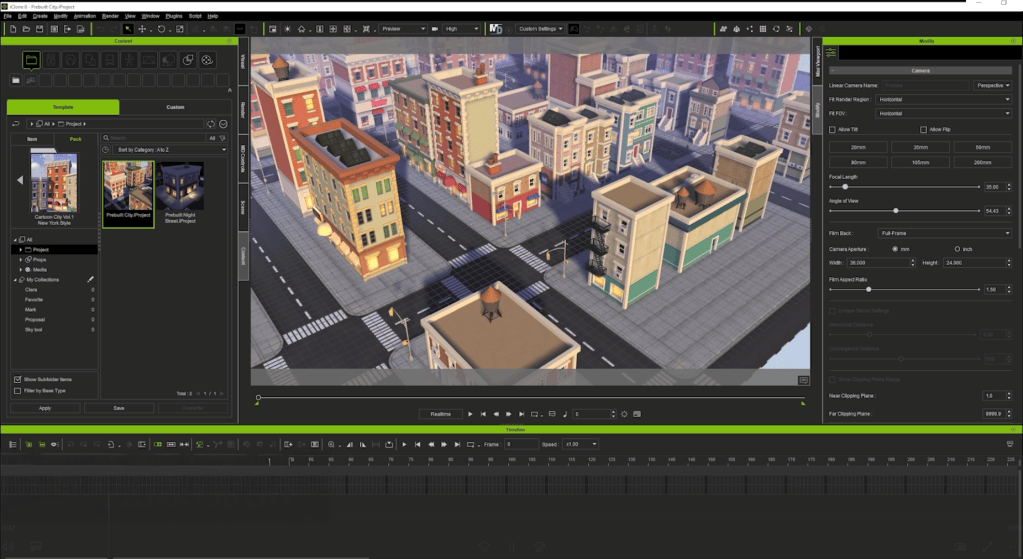
Stephen, the winner in the Reallusion contest, modeled a full city from scratch. Which is impressive, but time-consuming! Here’s my shortcut: I used iClone with pre-built 3D assets. Just drag and drop, and in less than 10 seconds, I’ve saved hours of modeling. Then I took a few screenshots at different angles — and just like that, I got a full city background.
Technique 3: Motion Pilot for Drone Animation
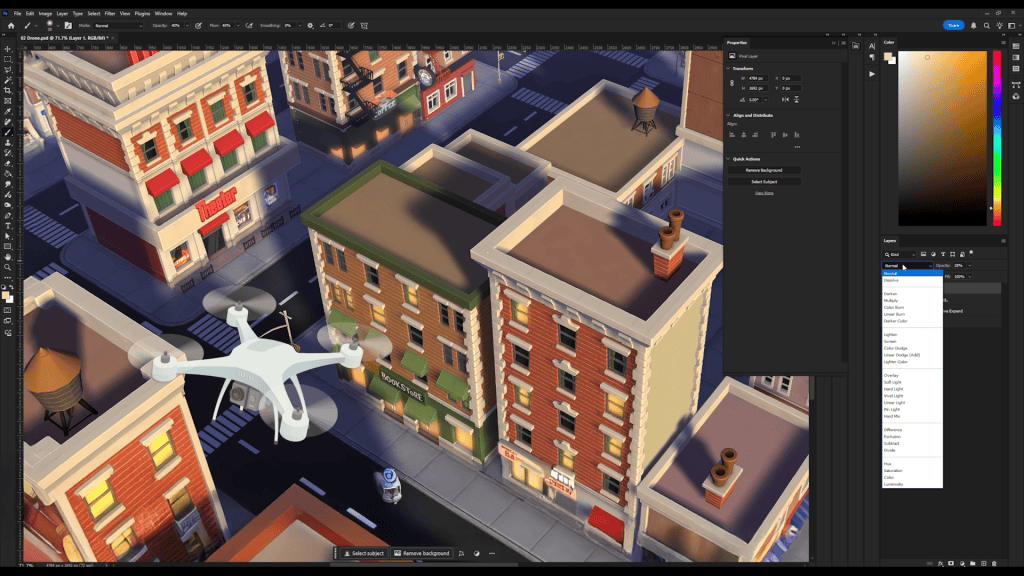
I grabbed a drone image from Freepik, adjusted its perspective in Photoshop. To match the scene, I added a warm color tone on the drone, and I encourage you all to customize it when using this technique. In Cartoon Animator, I animated the background using a simple transform and flew the drone using Motion Pilot. I disabled the face cursor, boosted the Y-axis depth. Then simply hit the record button, move my mouse, and I have the animation ready. It instantly feels like a drone flying through a cinematic sky — no complex keyframes needed.
Technique 4: Paths for Car Traffic
For this technique, I understand that a lot of people don’t have iClone or have time to learn Blender, so instead I went to Sketchfab, searched for a cartoony city, and took a screenshot. I layered the scene like a sandwich: road at the bottom, cars in the middle, and city buildings on top.
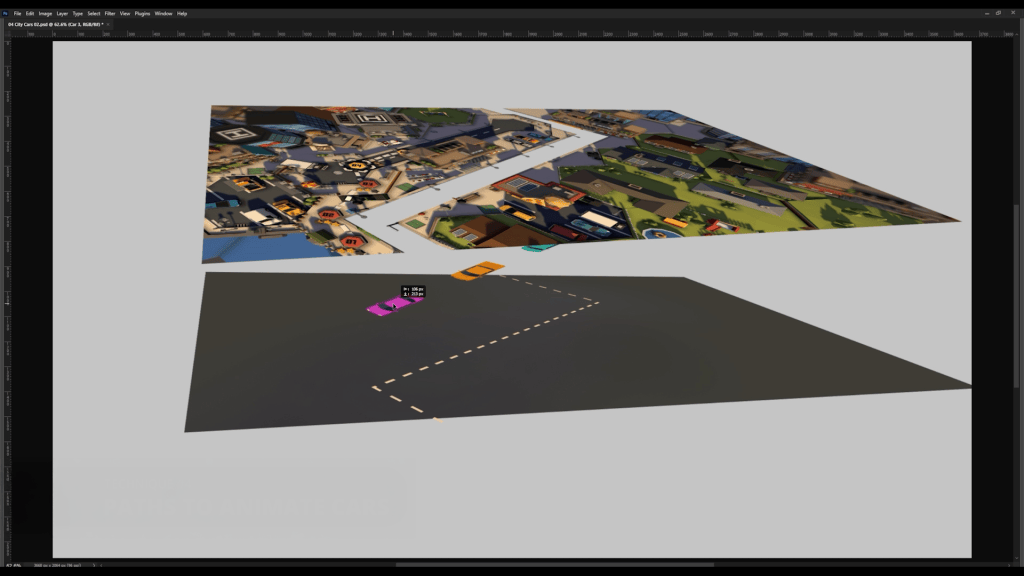
Between layers, I placed a shadow element and had the cars pass under it, adding to the realism of the environment. Then I animated one car with the path tool, duplicated it, staggered the timing, and created a flowing city scene full of moving traffic. Animating in Cartoon Animator is so easy that anyone can do it.
Technique 5: Motion Pilot for Flock Animation
To simulate movement in space, I started with a space background and drew a single star. In Cartoon Animator, I duplicated the star many times, activated the Motion Pilot flock mode, and set the delay to uniform.

After that, I simply moved my mouse — and all the stars followed in formation, creating a parallax-style flight effect. Then I brought in a spaceship and animated it using Motion Pilot with “Face Cursor” mode disabled. The result is a space chase that feels alive.
Technique 6: 360 Head Masking for Phone Scroll Animation
This is a clever technique demonstrated by Stephan’s entry. For this, I got an illustration of hands holding a phone and separated the thumb and screen layers. Inside Cartoon Animator, I used the masking feature normally meant for facial rigs to keep all face elements inside. Now, what if, instead of a mouth, I placed a long scrolling screen, and instead of the face, I put a screen? We get an animatable smartphone!
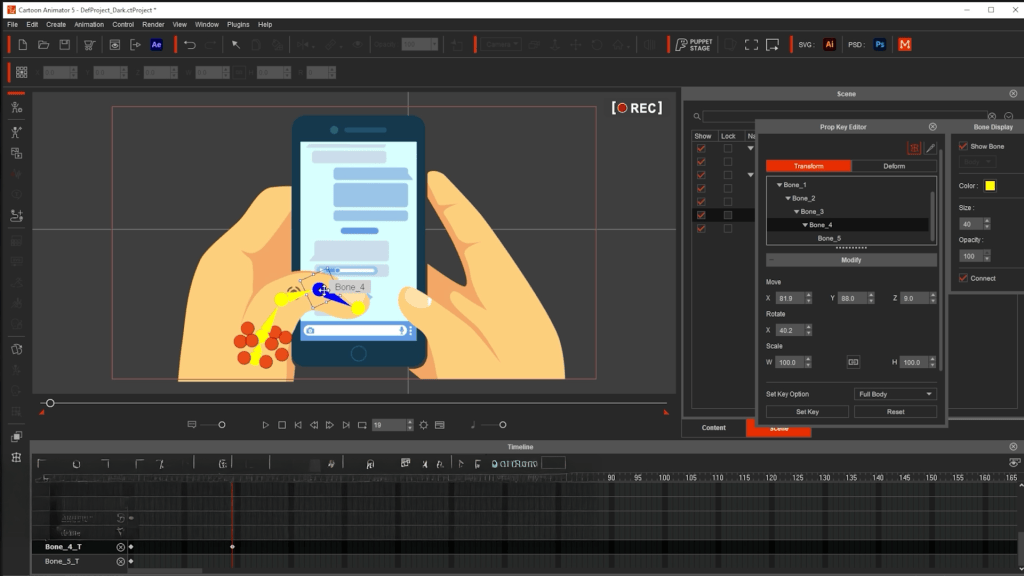
So I just animated the thumb flicking up and down and moved the content behind it. The outcome made the phone scroll realistically, powered by Cartoon Animator’s facial animation tools.
Technique 7: Masking for Classroom Scene
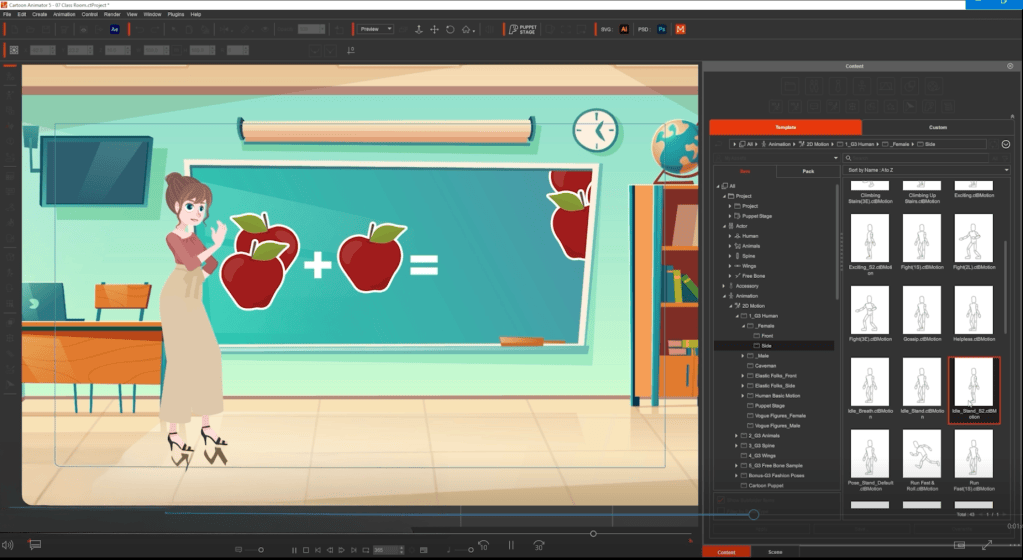
I split a flat classroom illustration into two layers: the chalkboard and the rest of the room. That turns the board into a window. Behind the board, I added animated content, like apples appearing for a math lesson. I used an AI-generated voice with 11 Labs, added lip sync in Cartoon Animator, and dragged in pre-made motion clips for the character. With just a few layers and smart masking, the scene feels like a live cartoon lesson.
Technique 8: Enforcing Background Consistency with 3D
Want multiple camera angles in a consistent world? I could spend days learning Blender and building a 3D environment, but iClone serves as a nice alternative.
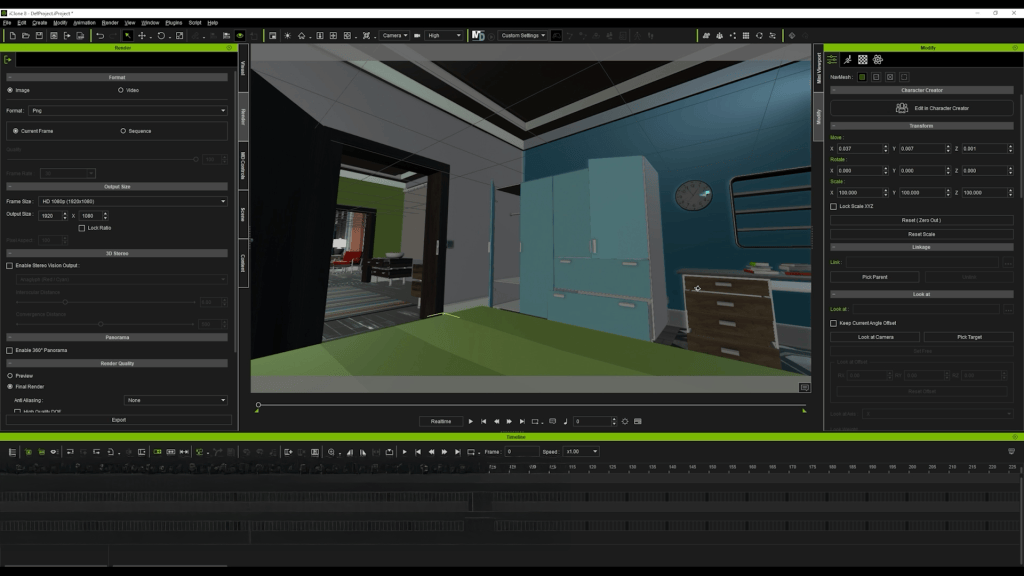
I picked a pre-built 3D set, positioned cameras from different angles, exported the images, and ran them through an AI tool to turn them into cartoon backgrounds. And now I have all the matching scenes with consistent style — all done in minutes, not days.
Technique 9: Creative Use of FFD
I found a gooey slime image and imagined a character interacting with it. After isolating the slime in layers, I drew a long slime trail and a thicker layer, then brought everything into Cartoon Animator.

Using Freeform Deformation (FFD), I animated the slime stretching and bouncing as the character moved across the scene. With just two layers and FFD, the illusion is complete, with the character pulling on a sticky, viscous substance.
Conclusion
So there you have it! Download the FREE Cartoon Animator trial in the link below and bring your first animation to life using these techniques. And if you want to go deeper, I hosted a full webinar where I break down each technique step by step. Check that video to start mastering your animation journey. Also, special thanks to Stephen Townsend, Sasapitt Rujira,t and Weronika Posemkiewicz. It’s their talented techniques and selfless sharing that contributed to this article. To support them, it would be nice if you like and share their articles with your friends and family!
Related Posts
- Made with Cartoon Animator: The 2024 Animation at Work Contest Winners!
- Easily Turn Yourself into an Animated Livestream Host