The most effective way to create 3D characters and animations for Blender using Character Creator & iClone.

Marko Matosevic is an enthusiast with Blender for over 8 years, runs his own YouTube channel (YouTube.com/Markom3D) and is now a multi award winner of several short films using the Reallusion suite and Blender.
In this 4 part tutorial series, Marko documents the process of creating a fully-rigged character in Character Creator 3, animating the character with iPhone facial mocap and the Reallusion motion library in iClone, and importing character and motion into Blender. Marko showcases two methods in working with motion data in Blender, one is using Auto-Rig Pro, another is using Non-linear Action Editor (NLA).
PART #1 – CHARACTER CREATOR TO BLENDER WITH AUTO-RIG PRO
If you are someone like myself who just wants access to a library of character, then Character Creator 3 (CC3) is the tool that you are after. CC3 is an amazing character creation tool that can be imported into Blender with no issue and a little setup. Character creation is a skill set where you can spend tens of hours working on the one character, but with CC3, you can have an unique character within as little as ten minutes using the intuitive sliders to change body and facial shapes.
In this article, we are going to go through the process of exporting the character from Character Creator 3, importing it into Blender, setting up the materials, and then rigging the character with Auto-Rig Pro.
Export Character from Character Creator

Reallusion provides tons of tutorials on how to create a unique character with Character Creator. Please visit the website for more information. Once your character is complete, you can export your character by simply selecting File > Export > FBX (Fully Clothed). This will bring up the panel below. In the panel, you will see the setup for exporting to Blender.

CC3 is compatible with mainstream 3D tools. We change the Target Tool Preset to Blender, and change the FBX Options to Mesh as we are only exporting the character, and not any motions. The next step is a personal preference, but unticking the Embed Textures box as this allows for the .fbx to be smaller in size, and for all the textures to be placed into the one main folder. The bind pose of CC3 character base (CC3+) is A pose. What this means is that if the T-pose armature is removed at any point, the mesh of the character will revert to the A-Pose. This becomes apparent if you want to rig the character with Rigify or Auto-Rig Pro.
Import Character and Textures in Blender
From here we jump into Blender and select File > Import > FBX, and find our fbx file and simply double click on it. As soon as we go into Rendered Mode with Eevee, we will see that the eyes and hairs will be black as transparency will not be set up correctly.
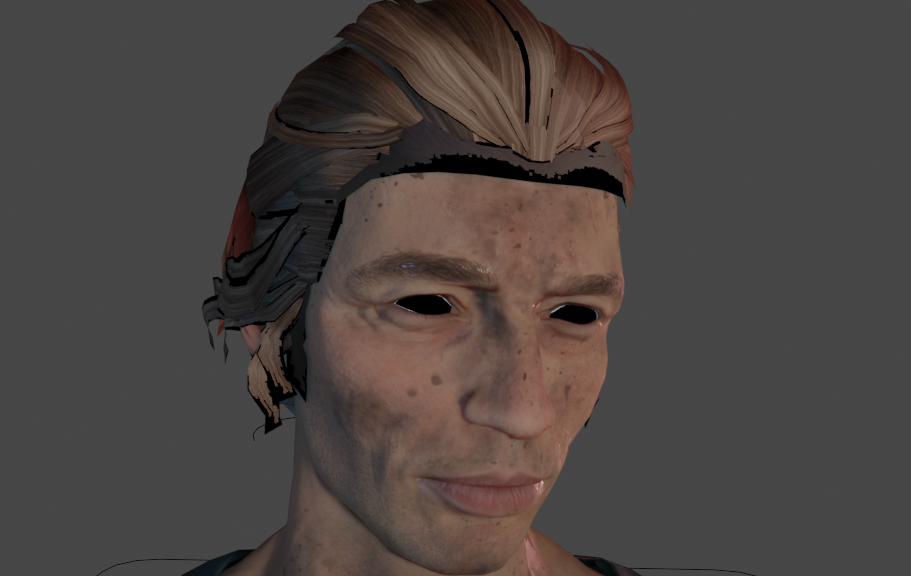
We will use the hair as an example. Select the hair and then go into the Material tab. Within Settings, change the Blender Mode to “Alpha Blend”, and Shadow Mode to “Alpha Hashed”.

Next we need to add some extra steps to the materials for the character. Select the shading tab at the top of Blender. Here we will see a list of materials for each object. When we open the material, we will see that there is a diffuse and normal image texture connected to the principled shader. For those items that have transparency such as the hair, there is an opacity image texture as well.
We need to add another three image textures by pressing Shift+A in an empty spot, Search, and typing in “image texture”. From here we can select the folder icon and find our textures for the corresponding material. The three textures that we will need to be added are the AO (ambient occlusion), SpecMask and roughness. We will also need to add a Mix RGB node where we will plug the ao and diffuse into it, and set the blend type to multiply. For the SpecMask and roughness, we will add an invert node between the image texture and the principled shader. Lastly, we need to change the color space to non-color for all except the Diffuse.


Rig the Character with Auto-Rig Pro
When it comes to setting up the character with Auto-Rig Pro, the first thing that we need to do is select the armature properties, expand Viewport Display, and enable In front. This will bring the armature to the front of the mesh and will come apparent later when we use the previous rig as reference for the Auto-Rig Pro rig.

What we need to do now is to lock all the vertex groups on all the objects. This is because part of the face is controlled by bones that Auto-Rig Pro is not set up for. To do this, we select each object, and in the vertex tab, select the drop down, and Lock All. The most important objects that this needs to be done for are the Body, Eyes, Teeth and Tongue.

From here we will select all the objects of the character minus the armature, and in the Auto-Rig Pro panel, we will expand Auto-Rig Pro: Smart, and select Get Selected Objects.

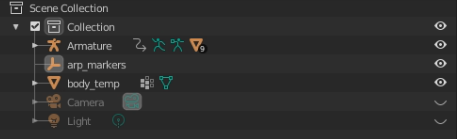
Once we press Get Selected Object, the view of the scene will change to just the objects that we selected previously (The character). We will then need to unhide the armature by going into the scene collection, which is normally at the top right, and clicking the closed eye to unhide.
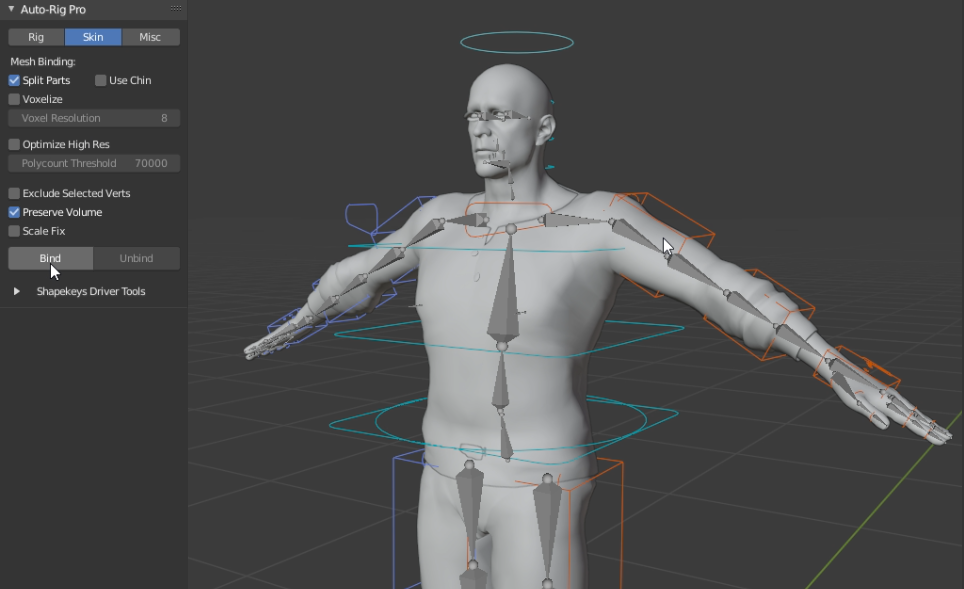
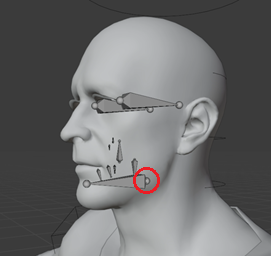
From here we can go back to the Auto-Rig Pro: Smart tab ,and click Add neck. A green circle will appear over the mesh and left click to set the marker on the character, using the previous rig as a guide. Do the same for the chin, shoulders, wrists, spine and ankles. Once they have all been set, click Go. This will then generate a rig. From here ensure that all the objects are selected once again and select the new rig last. Under the Auto-Rig Pro tab, select Skin, and then Bind.
Now for facial motion capture to work, we need to combine the two rigs. Select the original rig and go into Edit Mode. We need to select all the bones from Neck.01 and down, and delete them. There is a little catch here and that at the base of the Facial bone, there is a tiny bone called Head. We will also need to keep that one.
Once we have done that, go back into Object Mode, select the two rigs, and press Ctrl+J to join them. Now we can go back into Edit Mode for the single armature and select the head bone that was well hidden at the root of the facial bone. Now we can fix the relationship of this bone and attach it to the whole rig by selecting the Bone Tab and setting the parent to c_head.x.
We have now successfully exported our character from Character Creator 3 and imported it into Blender, set up the materials, and rigged the character with Auto-Rig Pro.
PART #2 – Animating Characters in Blender
PART #3 – Facial Motion Capture for Blender
PART #4 – Combing Facial Shape Keys and Armature Animation in Blender with Auto-Rig Pro


