Most of us start out with single camera shots since not all of us are even aware of the camera switch or what it does when we first start using iClone. While there are times you might want to use a single camera, it can make animation harder since that camera has to be carefully used to not have to animate things in a scene when it isn’t necessary.
Multiple cameras give you a lot more flexibility. I usually cite walking up to a door, opening the door, and going through it versus using multiple cameras to show the approach to the door, the door opening, movement through the door, and so forth. Putting enough onscreen to “sell” that walk through the door is the name of the game.
It can be very tempting to use a single camera and, in a 3D asset, tutorial or tech demo that could be appropriate. For a cinematic endeavor, multiple cameras are the tool of many creatives. Multiple cameras make the dull and mundane more interesting when used with a carefully framed camera angle. It can add life to an otherwise dull scene by adding well-timed camera cuts that quickly switch from one camera to another providing a visual narrative for the viewer.
You may have seen the commercials where people are partying it up on the beach and all the camera cuts make it look like a large party when in fact there are less than a dozen people shown from many different angles and situations to mimic a small crowd or large party.
Animation is not so much recreating everything but more of getting the viewer to believe nothing was left out by judicious use of camera angles, camera cuts, assets and timing.
Again, a single camera has its place in many different situations but research using multiple cameras and you’ll quickly find out it’s a preferred method for live events, sports and drama.
THE SWITCH AND THE TIMELINE
The Switch or camera switch is just that. It changes from one camera to another depending on its location on the timeline. You can find the switch on the timeline under the Project subsection. If you do not see the Project section, click on the square button in the upper left corner of the timeline to open the Project section.

You can see the Switcher line within the Project section. You may have more lines showing on your timeline than in this example as that depends on settings. The Switcher is where everything happens as far as camera cuts go.
It’s very easy to use. You start by right-clicking at the beginning but within the Switcher line and select a camera from the list. This list is populated by the cameras you have created in your project. From here you move down the timeline right clicking and choosing whichever camera you want to switch to. This is the timeline in its most basic usage.
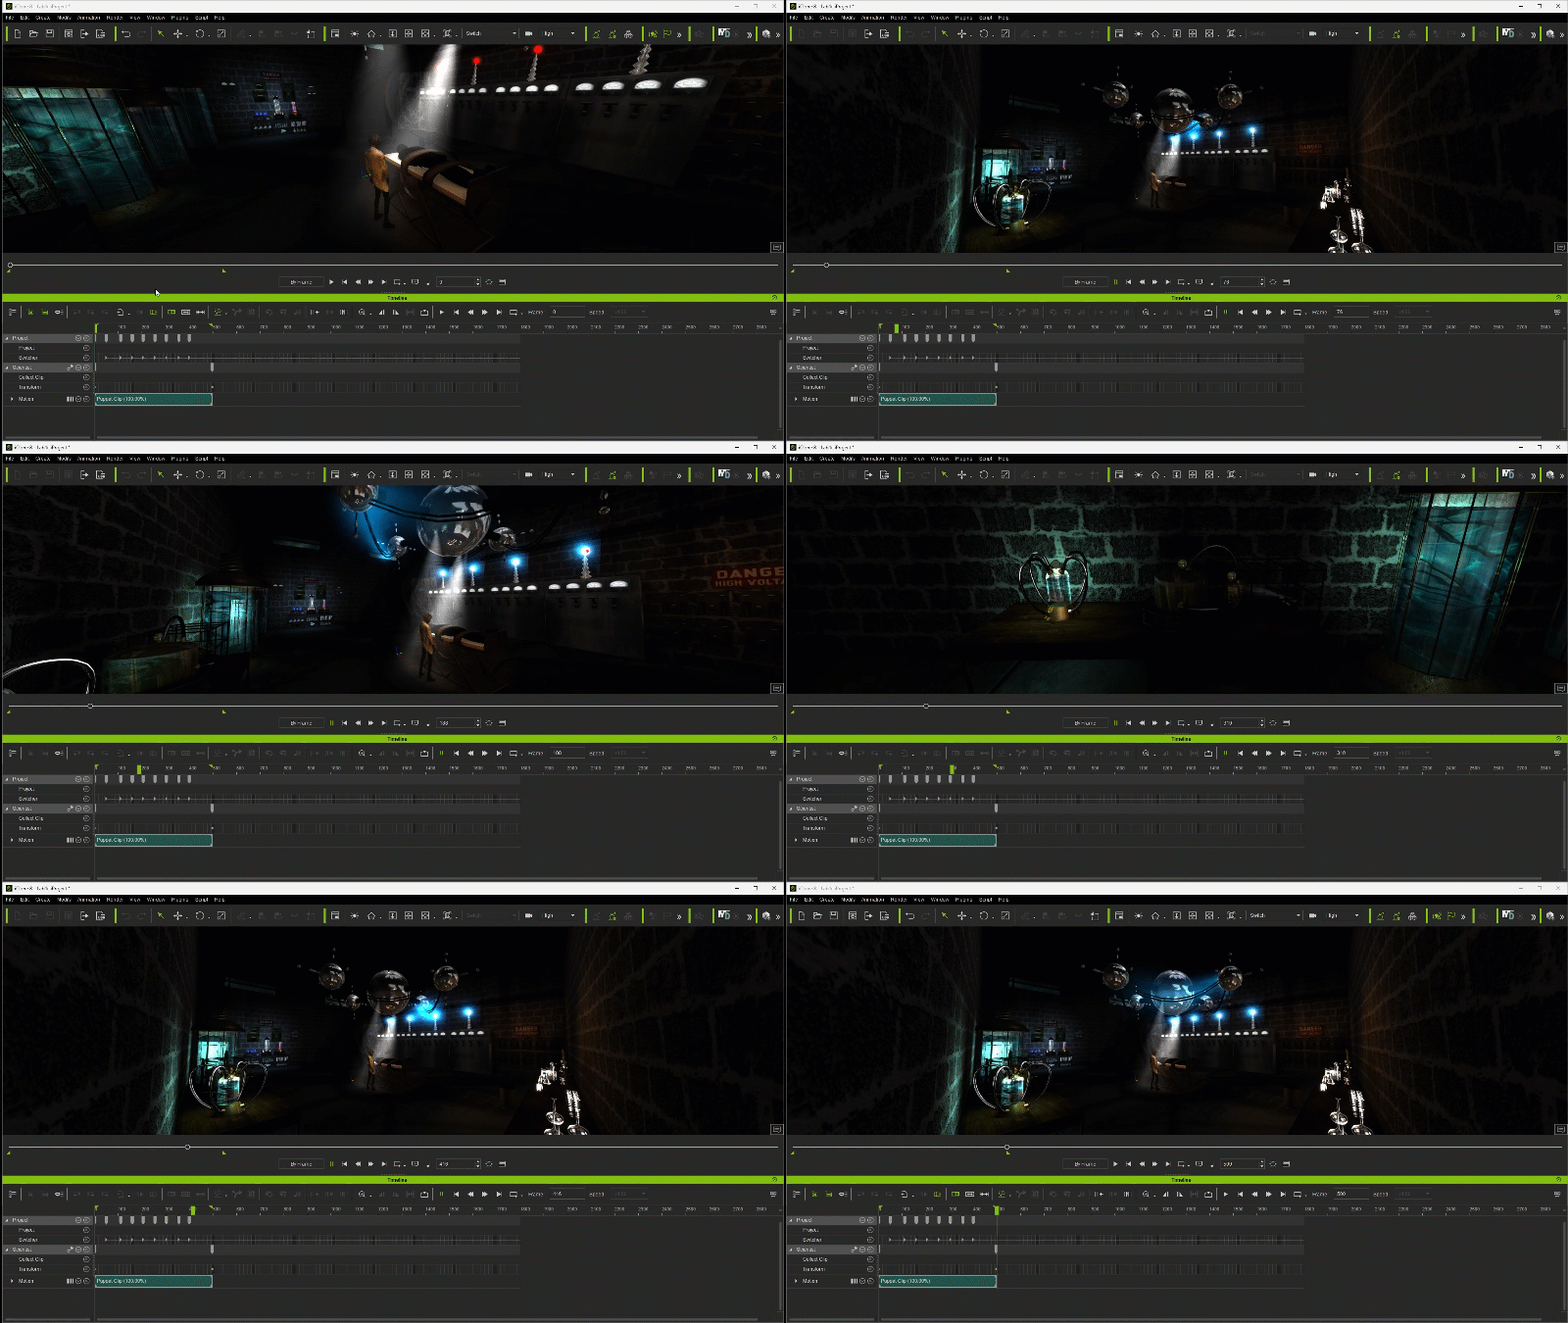
The above GIF shows the timeline Switcher with individual keyframes for each time the camera changes. As the play head moves down the timeline you can see each camera change as its keyframe is passed. That camera will stay active until the next keyframe.
CAMERA POSITIONS

The Switcher is deceptively simple to use. You’ll spend more time thinking out the shot angles than you will setting them up in the Switcher.
Unless you are being very dramatic or extremely comedic, I would recommend you have enough space between camera shots to seem natural when showing an environment like the outdoors or indoors. Dialog and other shots can dictate the placement of cameras to a large degree but in general filler or transitional scenes you don’t want to linger too long as the shot can get boring or go too fast and some of the viewers could miss important plot points.
TUTORIAL EXAMPLE
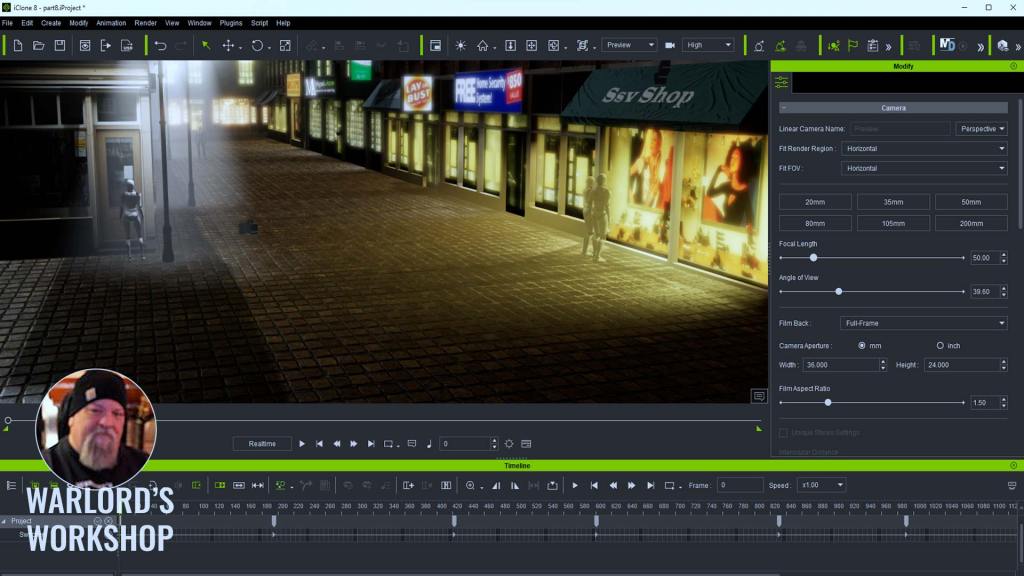
In the video tutorial, I used the Volumetric Lights & Lens Flare project in Visual Effects in IC Project. I have set the textures to smooth so we can see what is going on. I also added some Male and Female Motion Dummies with some simple drag-and-drop motions. These will be our points of interest when creating and switching between cameras.
The plan is to create a camera for the female motion dummy at the door of a building. Create another camera for the couple window shopping and then one more camera for the male motion dummy taking a walk down the street. None of these cameras will be linked or attached to anything but the camera for the walking character will use its look-at feature to follow the character.
CREATING THE CAMERAS
This is a very simple task:
- Create a Camera
- Set the View to the newly created camera
- Select the female motion dummy at the door
- Press the Home key to move the view to that character
- Set the camera angle (or animate a moving shot)
Repeat the process by selecting one of the motion dummies of the couple. Create a new camera and home in. Repeat the process one more time for the walking motion dummy and with that new camera selected locate and use the look at feature in the Modify Menu to force the camera to always look at the character while it walks by, towards, or away from the camera.

See the video tutorial below for more information and detailed instructions.
CLOSING
In today’s world, the audience is a very spoiled bunch, and rightly so, particularly if they are shelling out hard-earned money to see content. The persistent inflation, nagging economic doubts, corporate layoffs, and any other number of negatives, mean the viewer wants a break from all that madness. And they have a right to be picky about the content they consume.
With this in mind, it’s very important to experiment but also to be consistent where consistency is required or desired by the viewer. If they cannot keep up with a conversation between characters, they might not be open to second chances.
Why multicam is possibly the best way to shoot drama (Redshark News): https://www.redsharknews.com/production/item/5284-why-multicam-is-possibly-the-best-way-to-shoot-drama
REALLUSION TUTORIALS
Camera
Camera Switcher
Path Constraint & Look At
Depth of Field – How to Focus
iCLONE 8 MANUAL
3RD Party Tutorials
iClone Tutorial Multiple Cameras – Mark Pleasant smallWstudio
Two camera setup to record all your angles – iClone 3D

MD McCallum – WarLord
Digital Artist MD “Mike” McCallum, aka WarLord, is a longtime iClone user. Having authored free tutorials for iClone in its early years and selected to write the iClone Beginners Guide from Packt Publishing in 2011, he was fortunate enough to meet and exchange tricks and tips with users from all over the world and loves to share this information with other users. He has authored hundreds of articles on iClone and digital art in general while reviewing some of the most popular software and hardware in the world. He has been published in many of the leading 3D online and print magazines while staying true to his biggest passion, 3D animation. For more information click here.