One of the best things to come along in 3D work was the scatter script. It didn’t matter what tool you were using as long as it could read a script of some sort because somewhere out there someone was going to create that script, share it, and make our 3D life a lot easier. In time these scripts became tools that were incorporated into many leading and very expensive 3D applications like Maya and 3DS Max.
Before the scatter tool became a thing everything was done manually. Back in the early days even duplicating a prop might not have been possible depending on the software application you were using. In that case, props and particularly characters had to be imported one at a time and then placed in the scene. Direct drag-and-drop was another major improvement.
As iClone and computational power have improved, we are able to add a lot more 3D items into a scene, but we were back to spending a lot of time building and less time animating. The more our computational power could handle the more we piled in. How many of us have NOT locked up a computer? No matter how much tech improves, we will always push it past its point of no return. It’s what we do.
Now Reallusion has introduced the Prop Distributor tool released with the crowd sim which is a major addition by itself. This is basically a scatter tool with the ability to drag and drop items directly to the pop-up window to populate the scene. Make some choices, push some buttons and you are done. This is the main point of any scatter tool. Populate a scene with items and do so very quickly with as many options as possible.
Over the years I have used a lot of crowd simulators and scatter tools. Being a grunt in the animation trenches means you find ways to cut down on repetitive tasks and the Prop Distributor is Reallusion’s way of giving us a time-saving and powerful scatter tool.
The tool is straightforward and easy to use like most tools Reallusion provides and it has the very small learning curve that we’ve come to expect from iClone. Like a lot of users, I dive in first and then read the manual. Or I watch a tutorial as I’m diving in then go to the manual to find all the things that weren’t covered in the tutorial.
This is a big change for me as I used to not even know a manual existed. iClone has matured far beyond that stage so reading up on new features makes sure I don’t miss anything or do something the hard way when iClone has a shortcut for it. That’s right… read the manual. You’ll be glad you spent those extra minutes being educated on new features. It’s hard to cover everything in a video tutorial anyway.
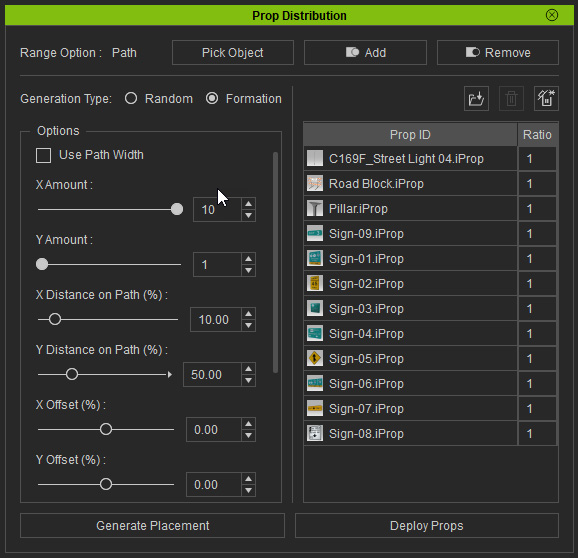
REALMS (RANGE OPTIONS)
Not just landscapes or terrain but realms. These are objects (props) you pick to use the scatter tool on (my apology for referring to the Prop Distributor as the scatter tool. I’ve been trained on that word for ages and, more importantly, I can type it easier. It’s more like a scatter tool on steroids). Upward-facing surfaces will serve as the distribution areas. Height map terrains do NOT work with this tool.
So just about anything with an upward-facing flat surface can be populated with the scatter tool. You can orient the props to other angles, and it will populate the upward-facing surfaces according to the angle. The distribution will follow surfaces like rolling terrains but keep in mind that a terrain must be selected from the Scene Manager. You will need to select it in the Scene Manager with the scatter tool range option.
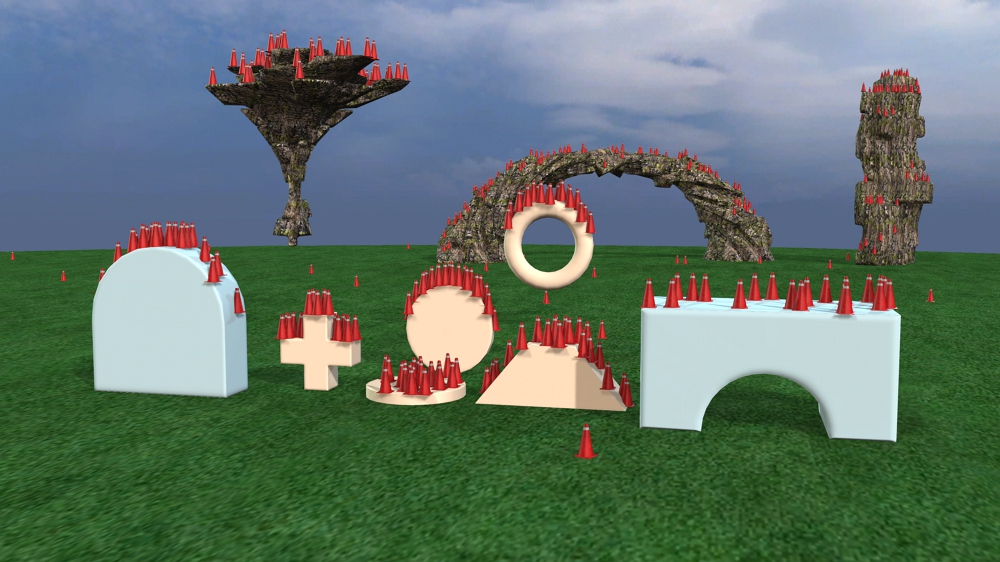
You can have “floating” props that aren’t attached to anything that will populate with the scatter tool in a few clicks. There is an option for Random or Formation placement. Controls include Amount, Spacing, Orientation, Random Orientation, and Scale.
DISTRIBUTION POOL
This is where we drag and drop the assets we want to scatter. There are Add Props, Delete Selected Props, Reset, and Ratio. Most of it is self-explanatory with the Ratio for each prop (default is 1) set to a number like 5 meaning there will be one of those props scattered for every five of the props set to 1. It’s hard to explain here but you’ll quickly grasp it when you try it out.
SCATTERING PROPS ON A NAVMESH
What is a NavMesh? From the manual:
iClone provide NavMesh feature for you to distribute props, deploy actors or animate actors within the NavMesh with the Motion Director feature. You can trim a NavMesh’s shape with props by different NavMesh setups, including Static, Dynamic, Passable and Impassable. Furthermore, you can split pedestrian flows with Avoidance and Barrier volumes.
This is another method of placement that, with some thought, can be used in many circumstances including tabletops and pedestals. A NavMesh is generated by iClone, so prop placement becomes critical as it takes props into consideration when creating the NavMesh from the scene.
SCATTER ON NAVMESH
Below you see an image on the left showing the blue NavMesh and the impassable box props used for the borders. You set props to one of four states in the Scene Manager with static, dynamic, impassable, and passable options.

SCATTER ON PATH OR WALKWAY
We can also use a path or walkway to scatter props. In the example below I used two paths, one for each lane to place the traffic cones. I used a path but widened it out after the fact so we could see it in the example image.

I used the formation setting with equal spacing and it was done in a snap. This will also be great on curving walkways or streets as it will adapt to the curve. The example below demonstrates using a path to place streetlights down the center of a curving road.

USING PARTICLES WITH PROP DISTRIBUTOR
The Prop Distributor will work with particles but there is a caveat that the particle MUST be attached to a dummy like a low poly cube and saved out as a prop. The Prop Distributor can then see the dummies with the attached particle. You can also attach multiple particles to a dummy. Both legacy and Popcorn FX particles worked with this simple method. By attaching and saving out particles to dummies as you need them, you will have them to use in future projects.
As shown below, you can get a great start on a scene in a matter of minutes with the scatter tool.

Here is another look at a battlefield scene populated with the Distribute Props tool and Crowd tool. The scene size is massive as you can tell by the distance between objects and not cinematic but just imagine what can be done with more time as this was thrown together as a test.
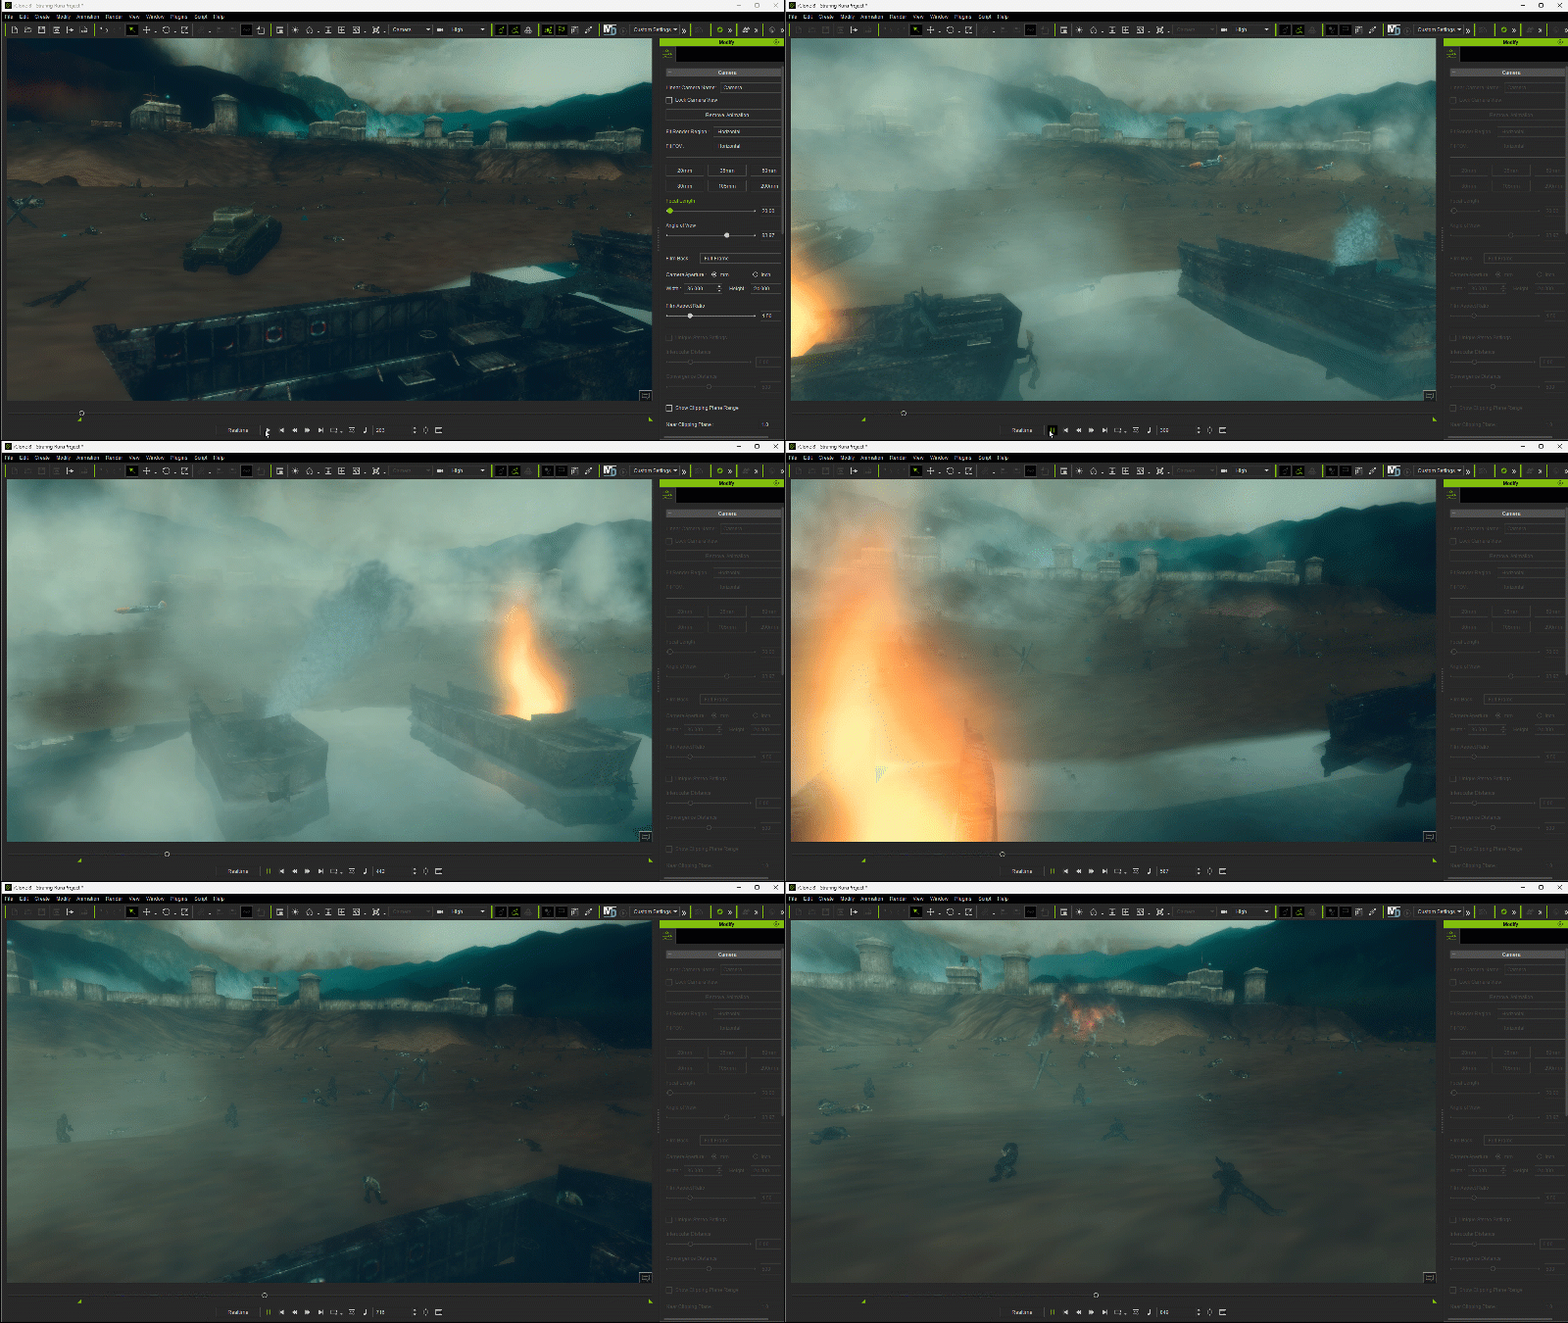
The Distribute Props tool is quick to learn, easy to use, and makes fast work out of placing items either randomly or in formation. Adding street props will be a matter of minutes if not seconds depending on the complexity of the scene.
And speaking of complexity, this tool will easily allow us to overload a scene both aesthetically and in practical terms. Just like any other tool, we don’t want to overuse it as a large, busy crowd could easily distract from the main action of the scene. We want a full scene, but not so full we can’t easily spot the main characters at any given time.
Once again Reallusion has provided a major update with lots of new features and the Distribute Props feature is just one of them. Combine this with the new Crowd Sim feature and we can say goodbye to sparse or empty iClone scenes.

MD McCallum – WarLord
Digital Artist MD “Mike” McCallum, aka WarLord, is a longtime iClone user. Having authored free tutorials for iClone in its early years and selected to write the iClone Beginners Guide from Packt Publishing in 2011, he was fortunate enough to meet and exchange tricks and tips with users from all over the world and loves to share this information with other users. He has authored hundreds of articles on iClone and digital art in general while reviewing some of the most popular software and hardware in the world. He has been published in many of the leading 3D online and print magazines while staying true to his biggest passion, 3D animation. For more information click here.