Lighting is one of the most powerful tools for defining mood, realism, and style in Character Creator 5 (CC5). The free 3D lighting presets give you an excellent foundation to start with — but to truly make your character shine, you’ll want to move beyond simply applying a preset. Fine-tune the lighting to match your character, theme, and camera angle for the best visual results.
This guide walks you through how to make the most of CC5’s Lightrooms and how to adjust presets so they perfectly complement your scene.
Corresponding Lightrooms to CC5 Key Visuals
Reallusion’s Lightrooms are designed to reflect the aesthetics of CC5’s promotional visuals, making them ideal reference points for achieving professional-quality lighting. Each Lightroom offers a ready-made setup that you can adapt to your own scene instead of starting from scratch.
Before making adjustments, take a moment to study the Lightroom you’re using — observe the direction of the key light, how the fill balances the shadows, and whether rim lights are adding separation and depth to your character.
Refer to the Content Resource Page for related examples and presets.
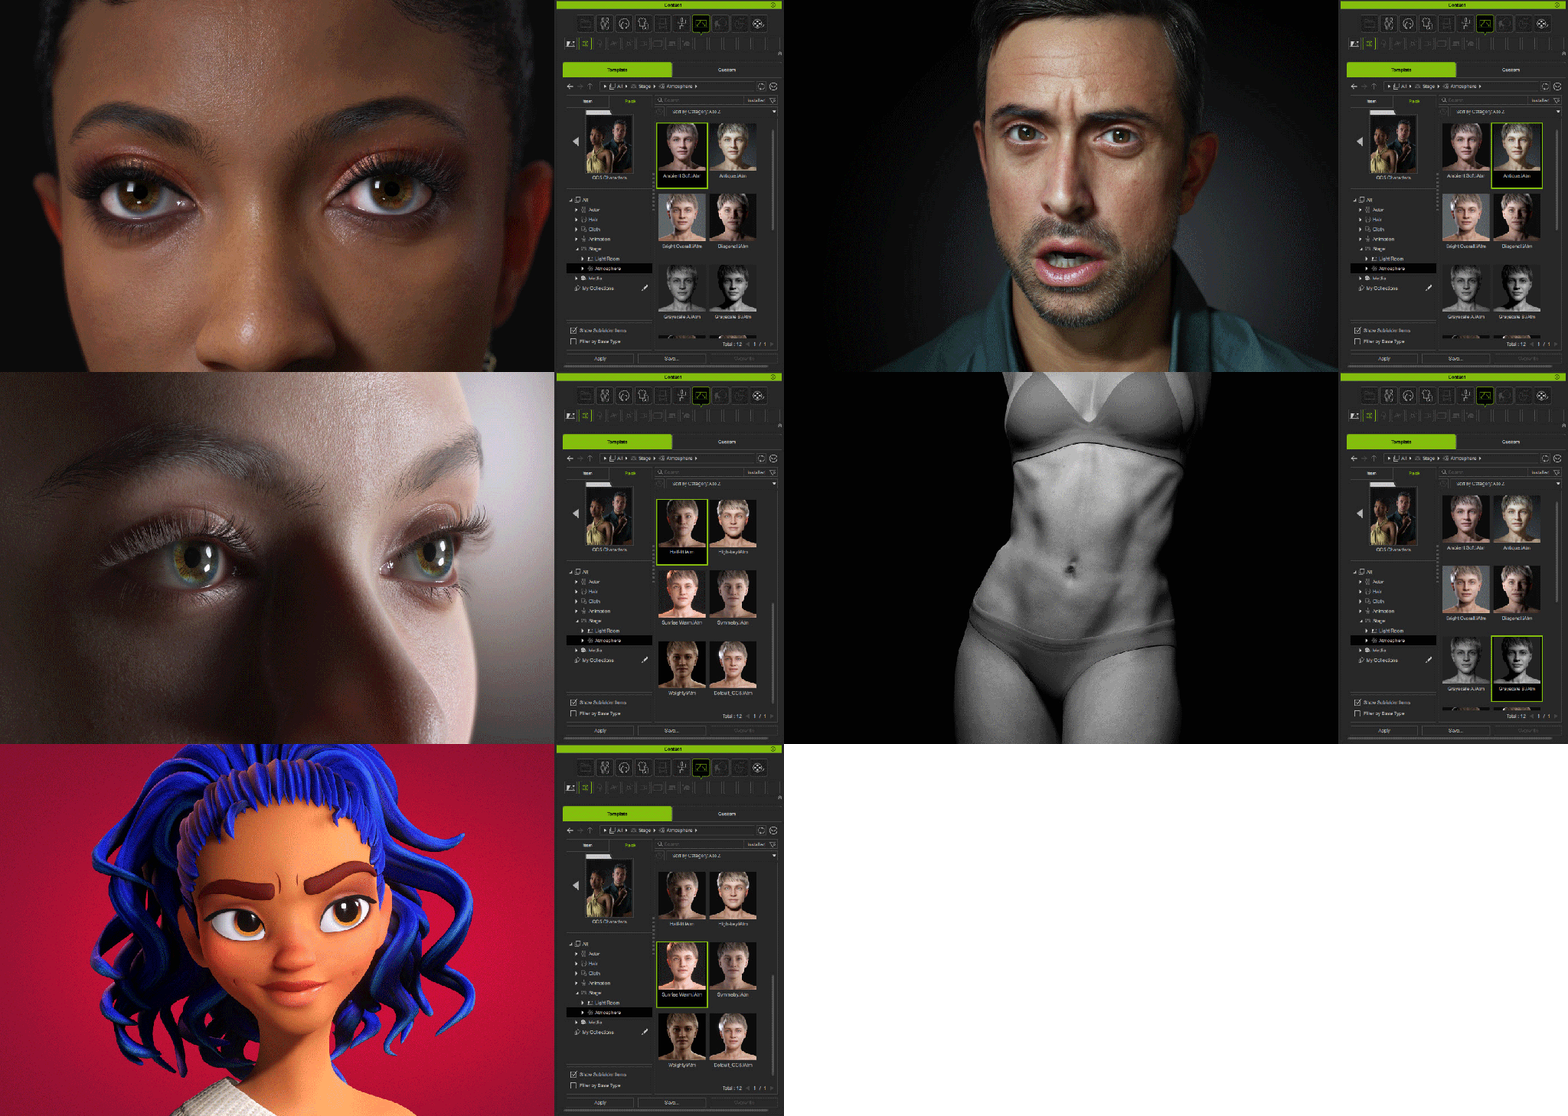
Drag and Drop to Switch Light Presets
Switching between lighting setups in Character Creator 5 is as simple as dragging and dropping. Each preset instantly updates your lighting, letting you preview different moods and angles without manual tweaking.

Apply the Same Light Preset to Different Characters
Apply one light preset to multiple characters to keep a consistent visual tone. Subtle differences in skin tone, facial shape, and materials will still stand out—keeping your renders unified yet distinctive.
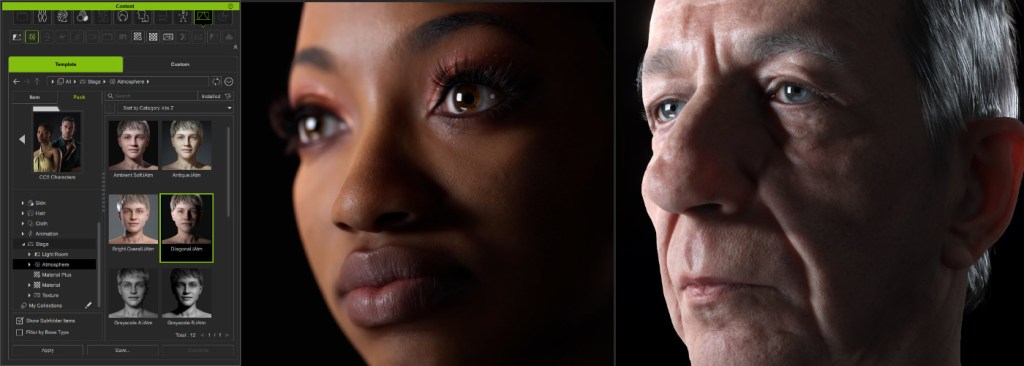
Using Lightrooms Effectively
1. Break Down the Lighting Setup
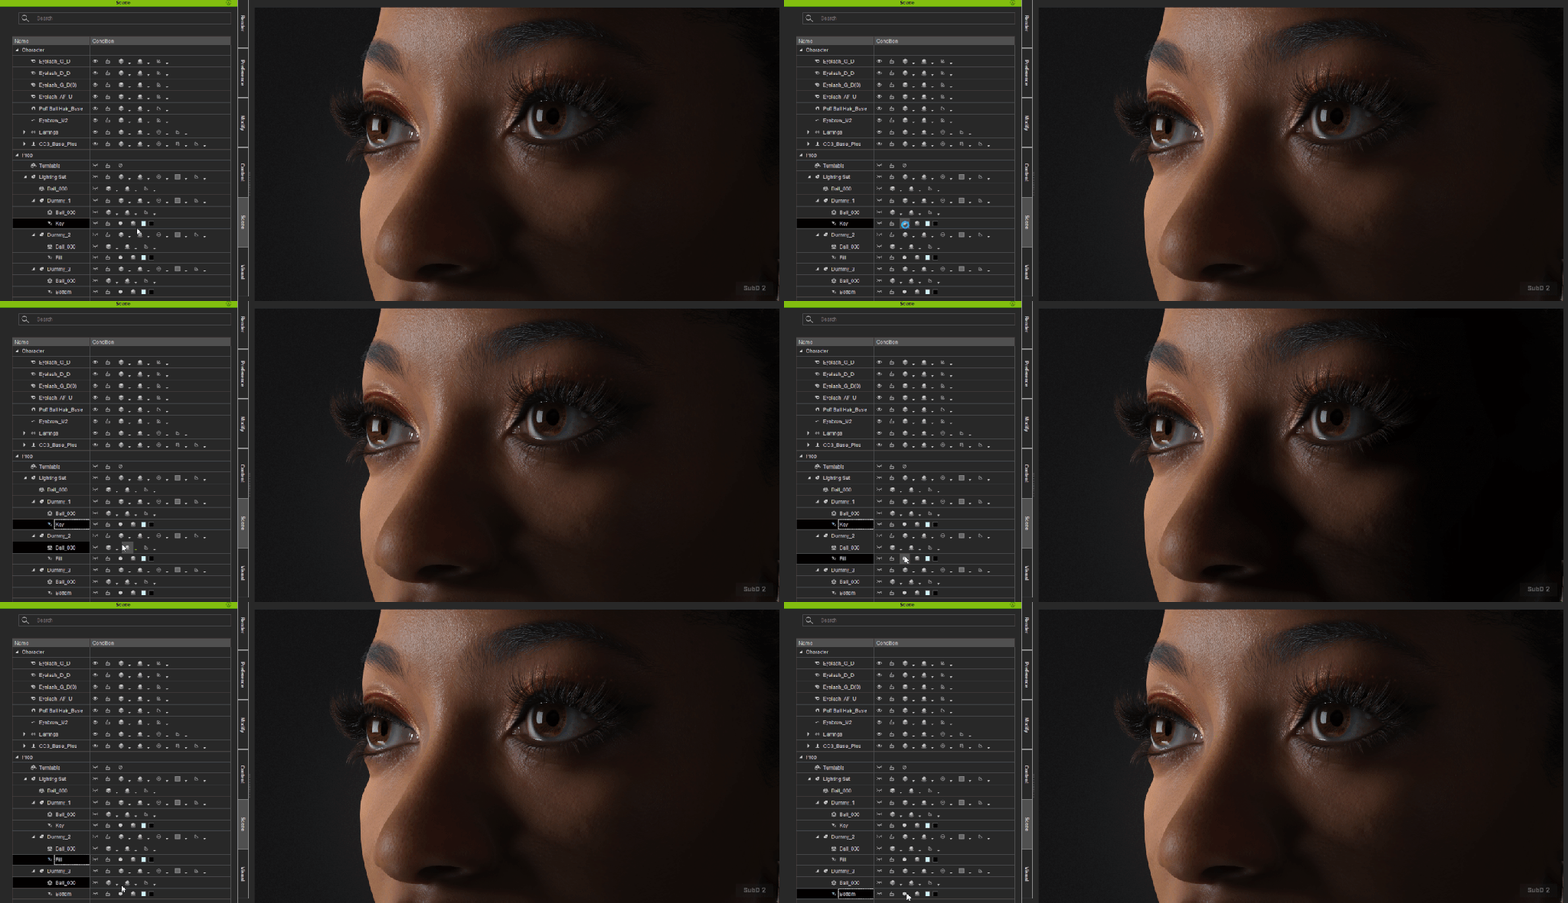
Understanding the default lighting setup is essential. Open the Scene Manager and toggle each light on or off to observe how it shapes the scene. Notice which light defines the face, which adds depth to the shoulders, and how they interact to create balance. Once you understand each light’s role, refining the look becomes much easier.
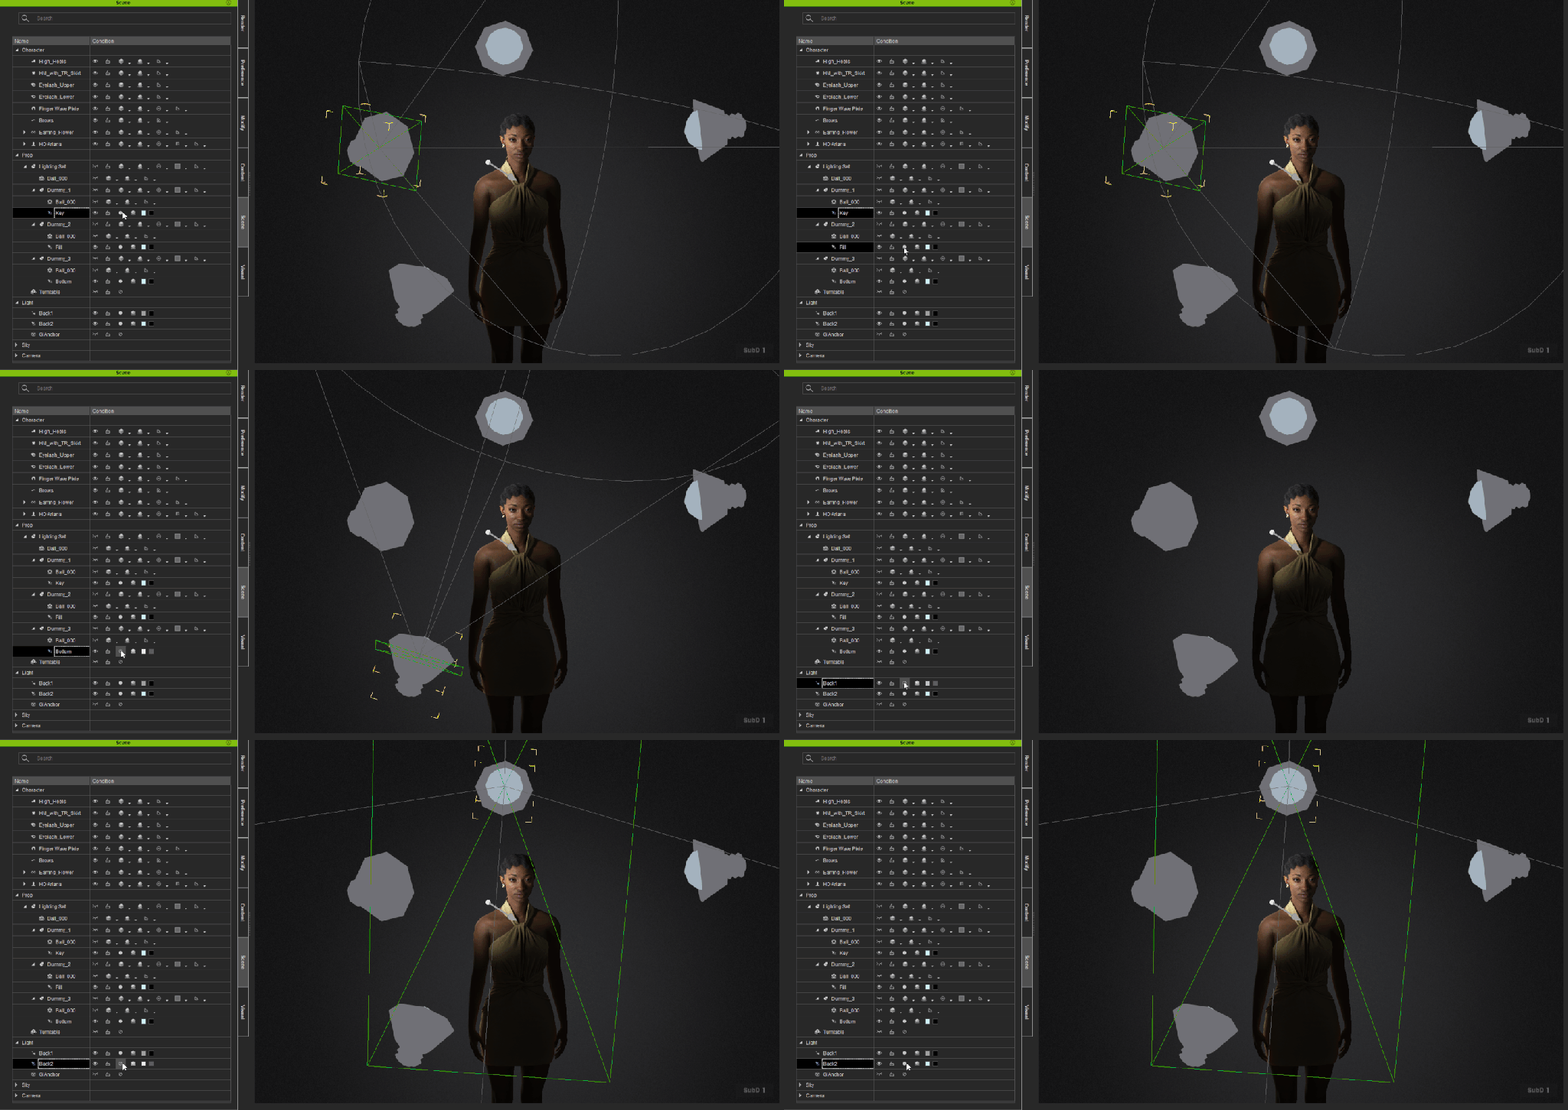
2. Troubleshoot with On/Off Toggles
If your character appears too bright, flat, or lacks shadow definition, toggle off one light at a time to identify the cause. This method helps isolate problem lights quickly and prevents overcorrecting with unnecessary adjustments.
3. Adjust Light to Match Character Height
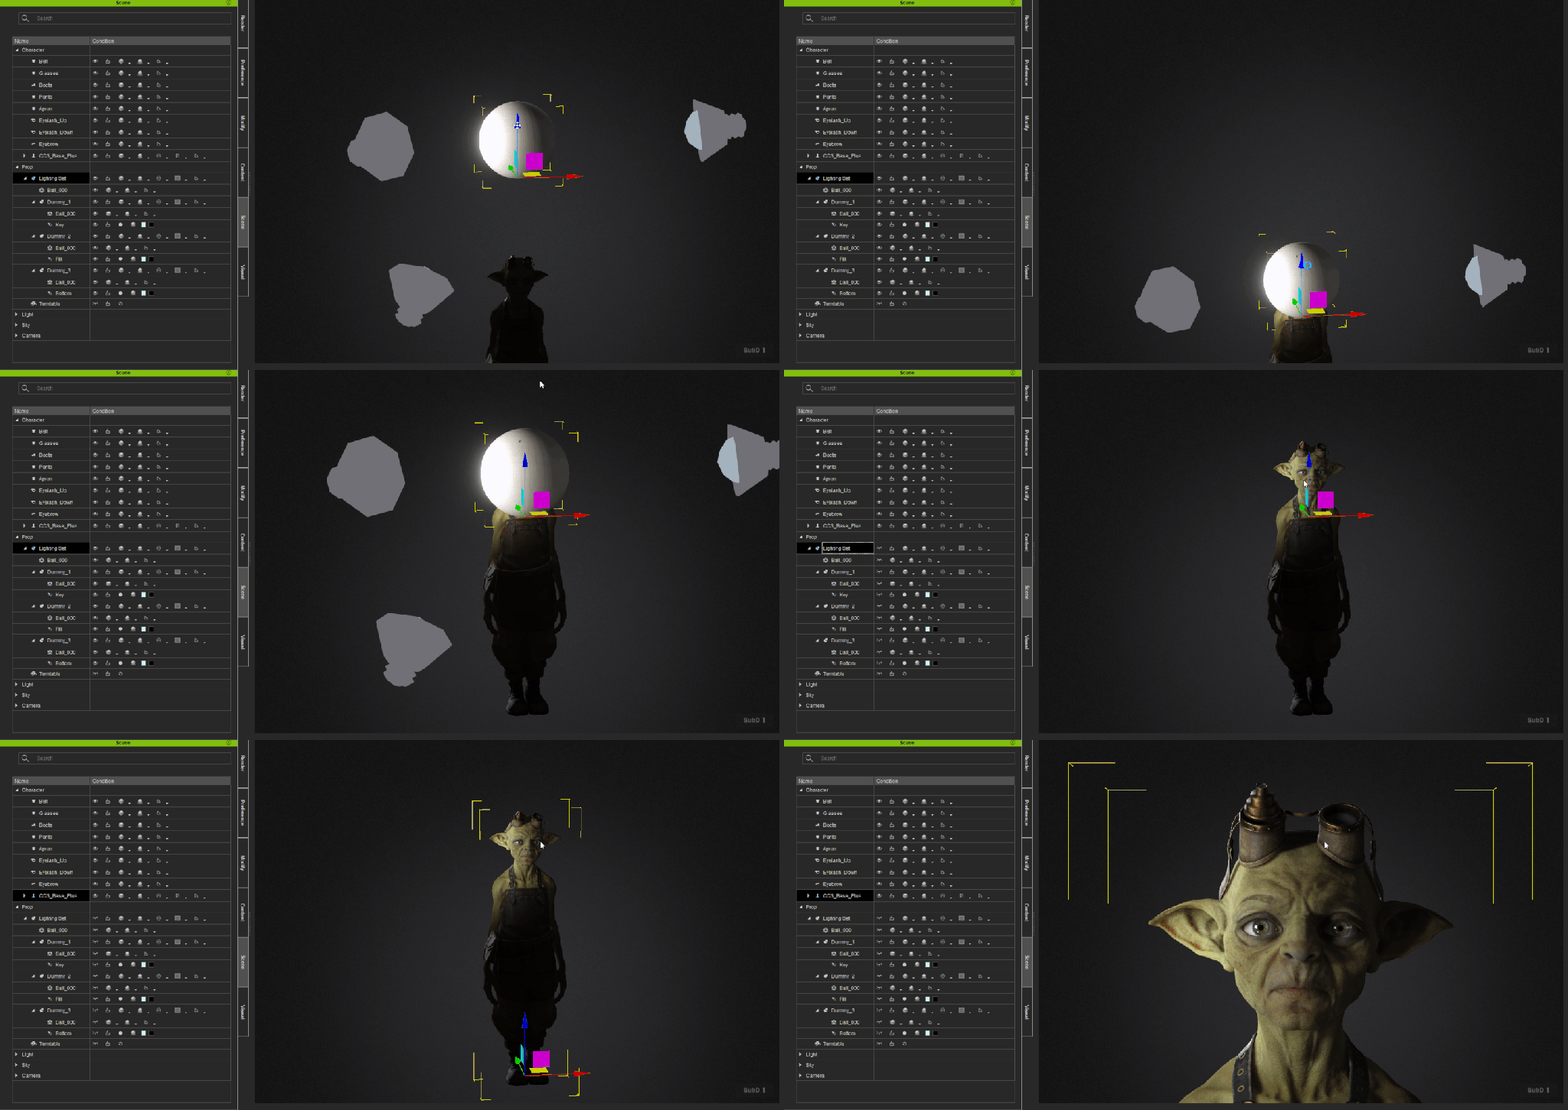
Lighting presets are designed for average proportions. If your character is taller, shorter, or posed differently, the light may hit at the wrong angle. Raise or lower the lights so they illuminate the character’s face naturally.
4. Rotate Lights Around the Character
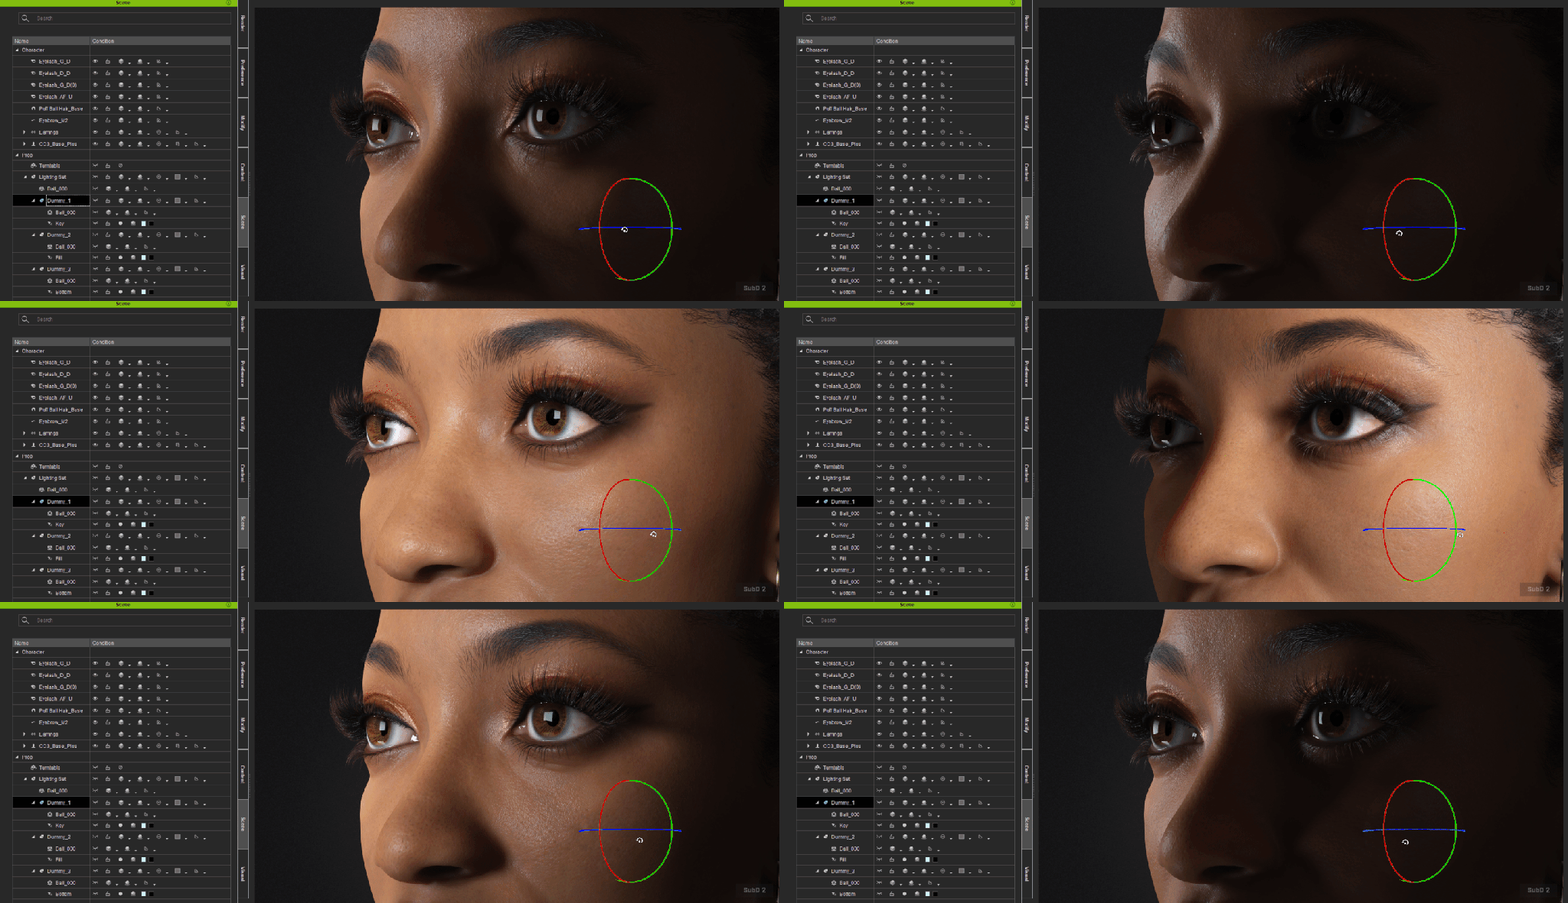
Pivot your lights around the subject to refine highlight and shadow balance. Even a subtle 15–30° rotation can dramatically shift the mood and emphasize your character’s best features.
5. Extend Portrait Lighting to Full Body
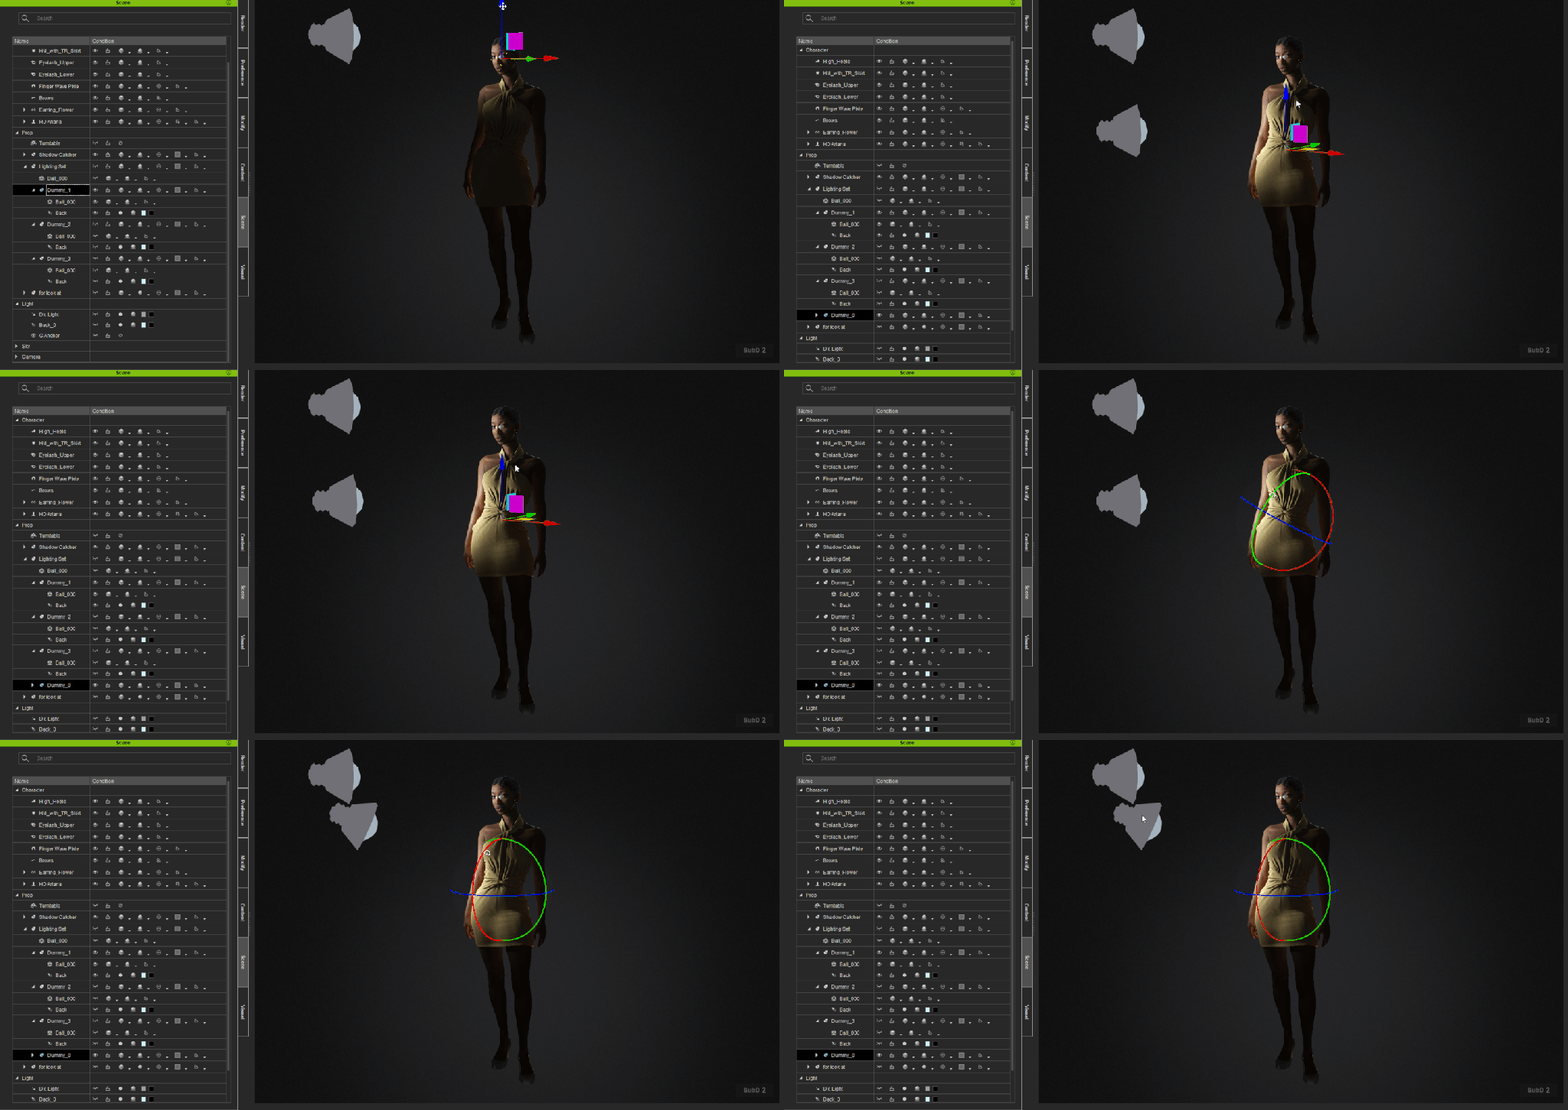
Most presets are tuned for upper-body shots. For full-body renders, extend the light range downward so the legs, feet, and shadows are properly illuminated. This ensures the character doesn’t appear to be floating under inconsistent lighting.
5-1. Duplicate Existing Lights with Dummies
If one light works well but doesn’t cover enough area, duplicate it and link the copy to a light dummy. This extends coverage while keeping the original lighting balance intact.
5-2. Add a Shadow Catcher
Ground shadows add realism. Use a shadow catcher plane to anchor your character in the scene—without it, even good lighting can look artificial.

5-3. Adjust Shadow Darkness and Range
Avoid setting shadow darkness to zero or your scene will appear flat. Increase intensity for more weight, and extend the range so shadows fade naturally to the ground.

5-4. Duplicate the Full-Body Light to Add a Fill Light
Duplicate the main light to create a soft fill. This secondary light reduces harsh shadows and adds surface detail while keeping the key light dominant.
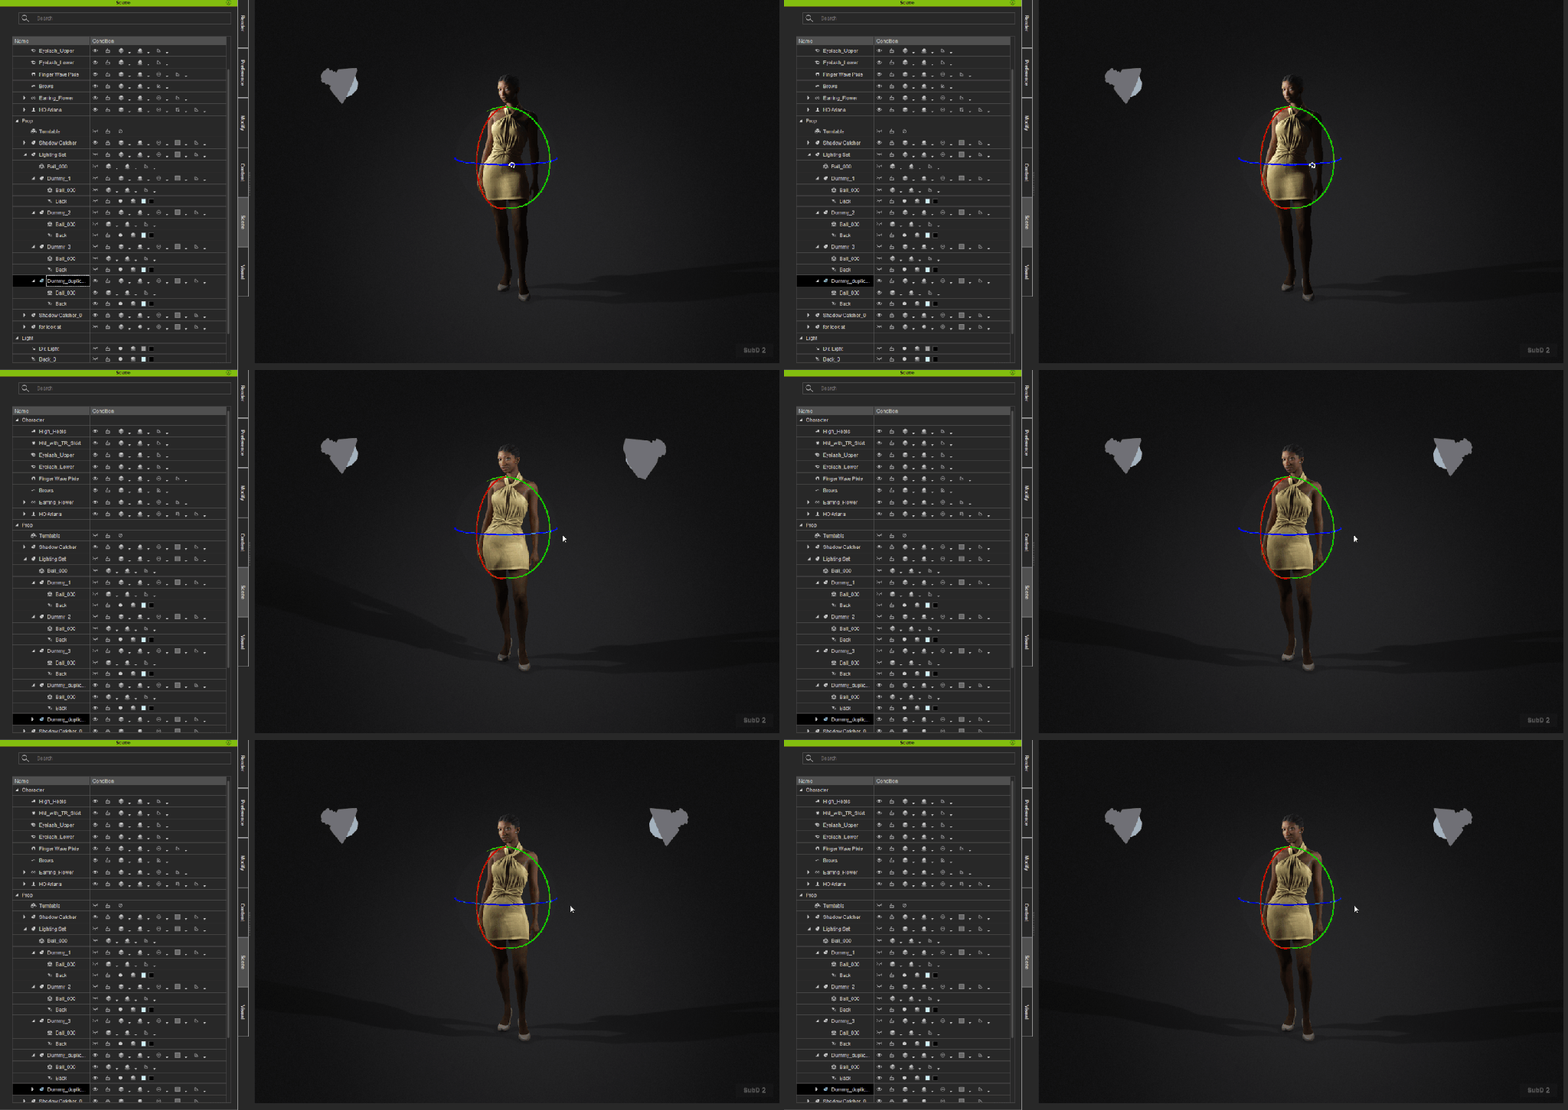
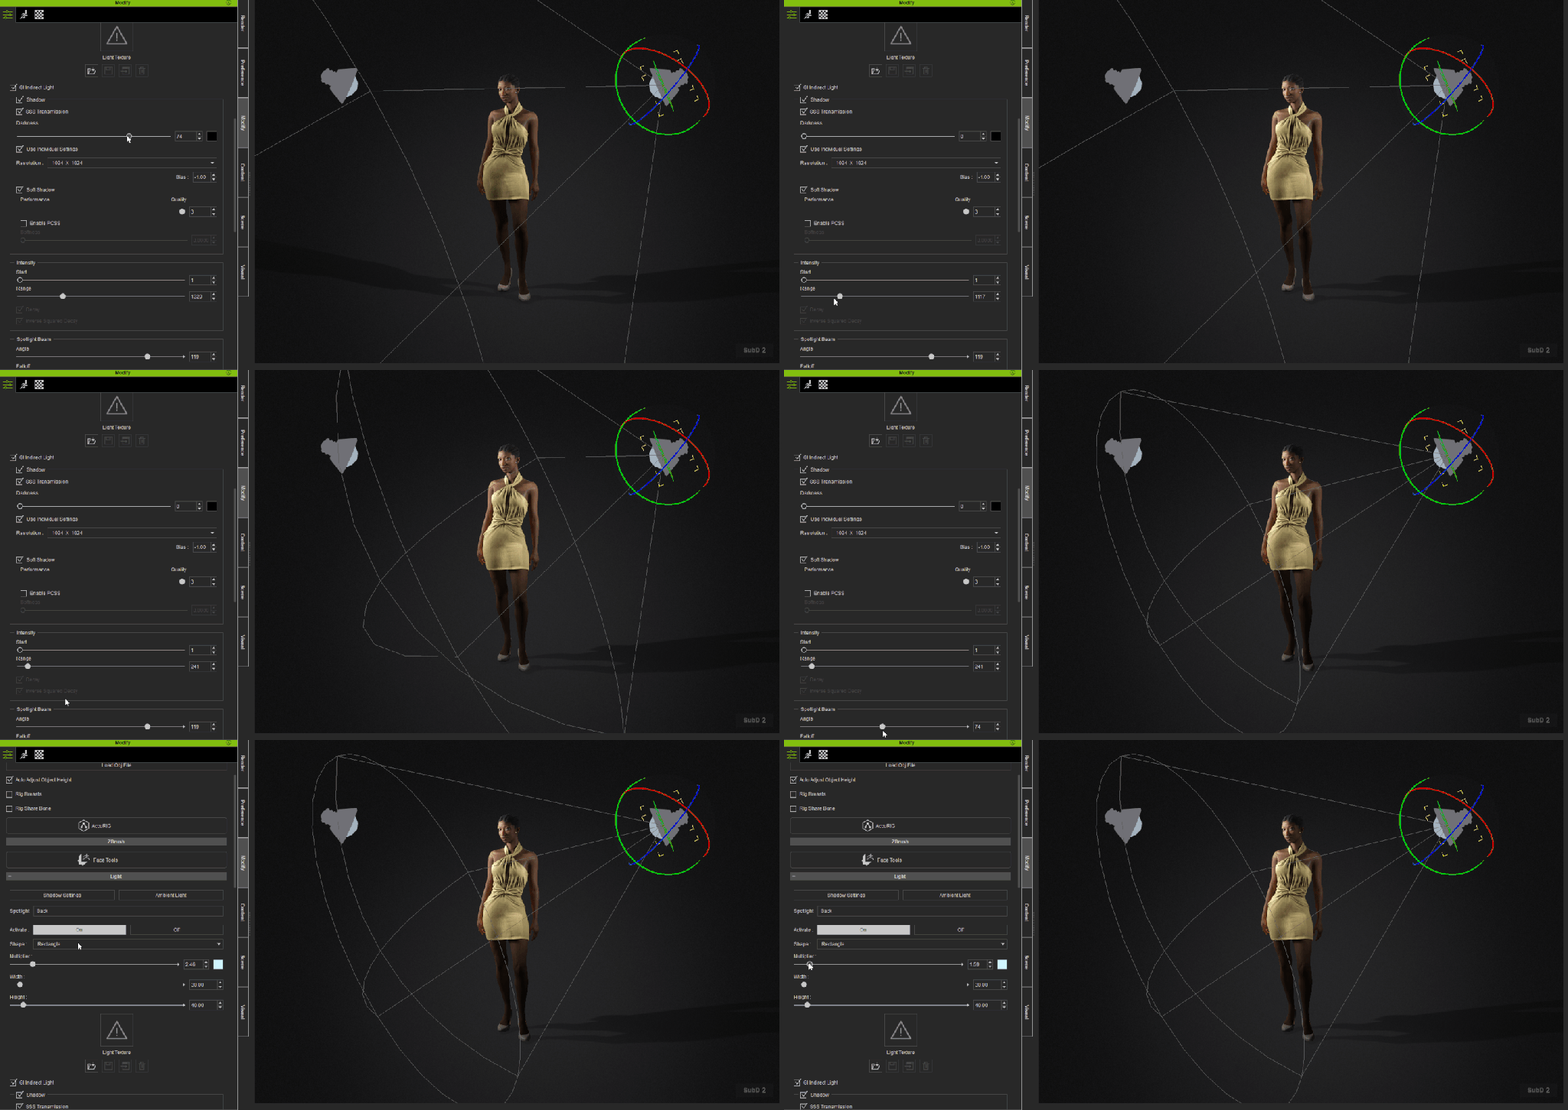
5-5. Reduce Fill-Light Shadow and Adjust Intensity
Lower the fill light’s shadow strength to prevent double shadows, then fine-tune brightness until it complements the key light smoothly.
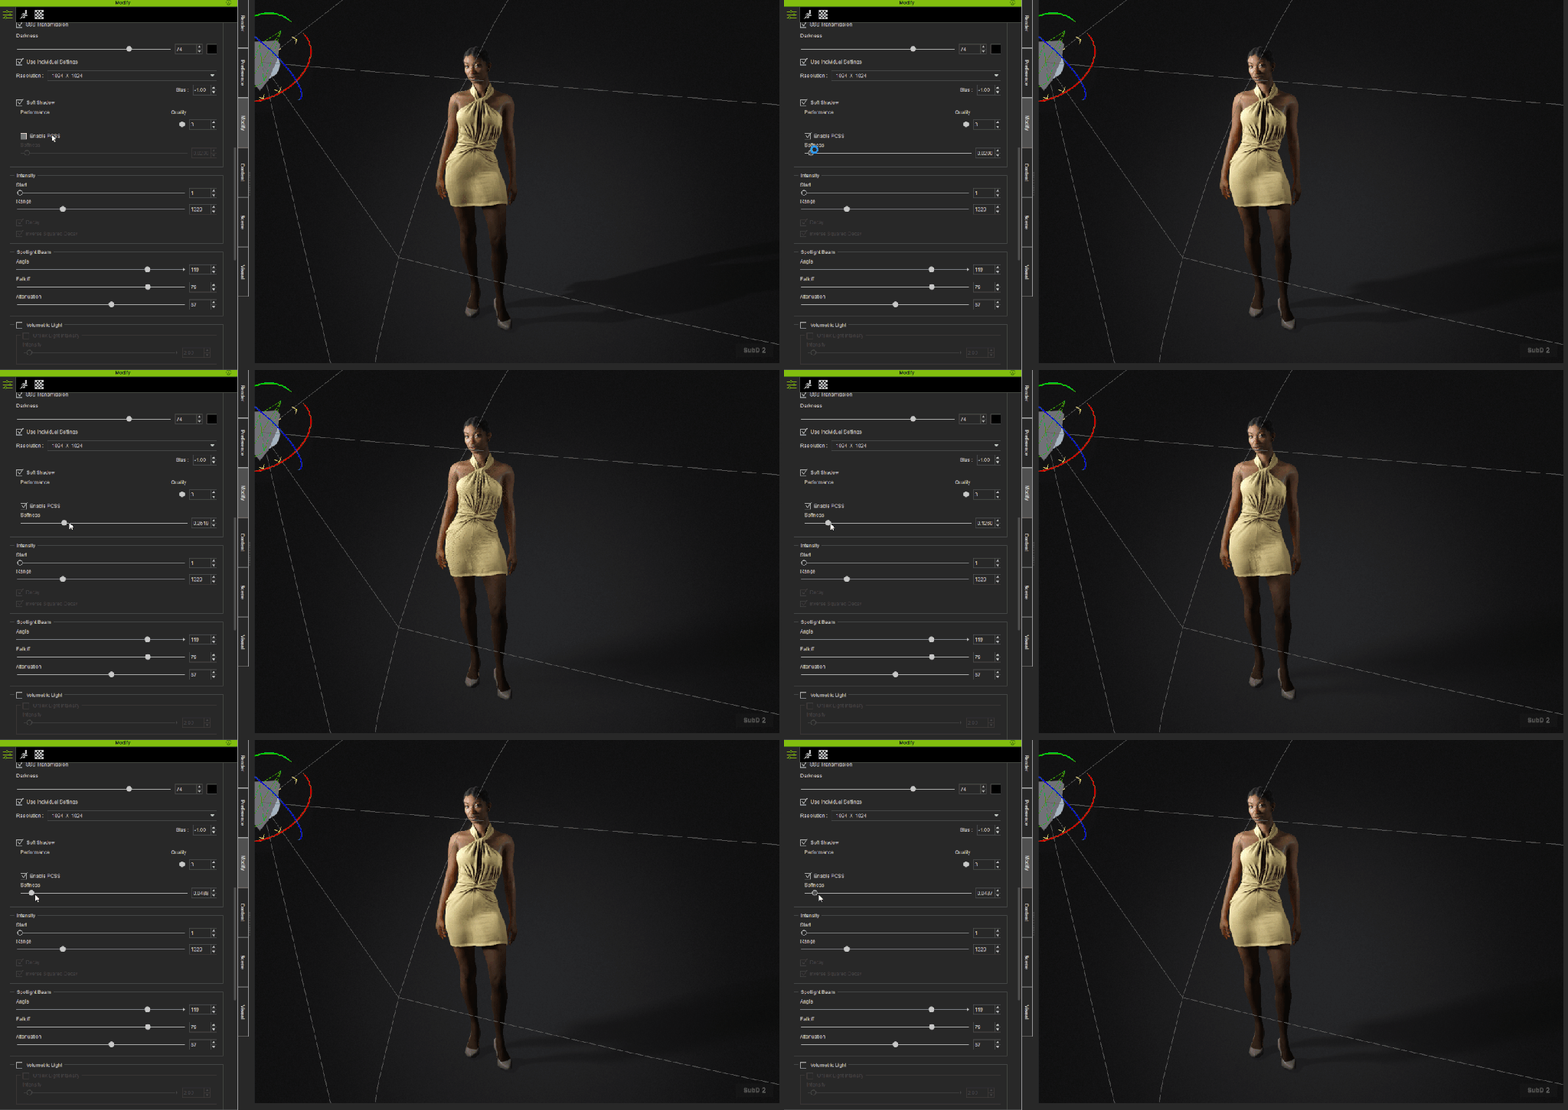
5-6. Use PCSS as an Optional Choice
PSCC (Percentage-Closer Soft Shadows) softens shadows farther from the object for a more natural falloff. It may, however, cause visual artifacts—use selectively and check results from different angles before final rendering.
6. Enhance Eye Reflections
Eyes bring characters to life. Slightly adjust the light position to create strong catchlights in the eyes. This subtle touch adds realism and enhances the emotional depth of your character.

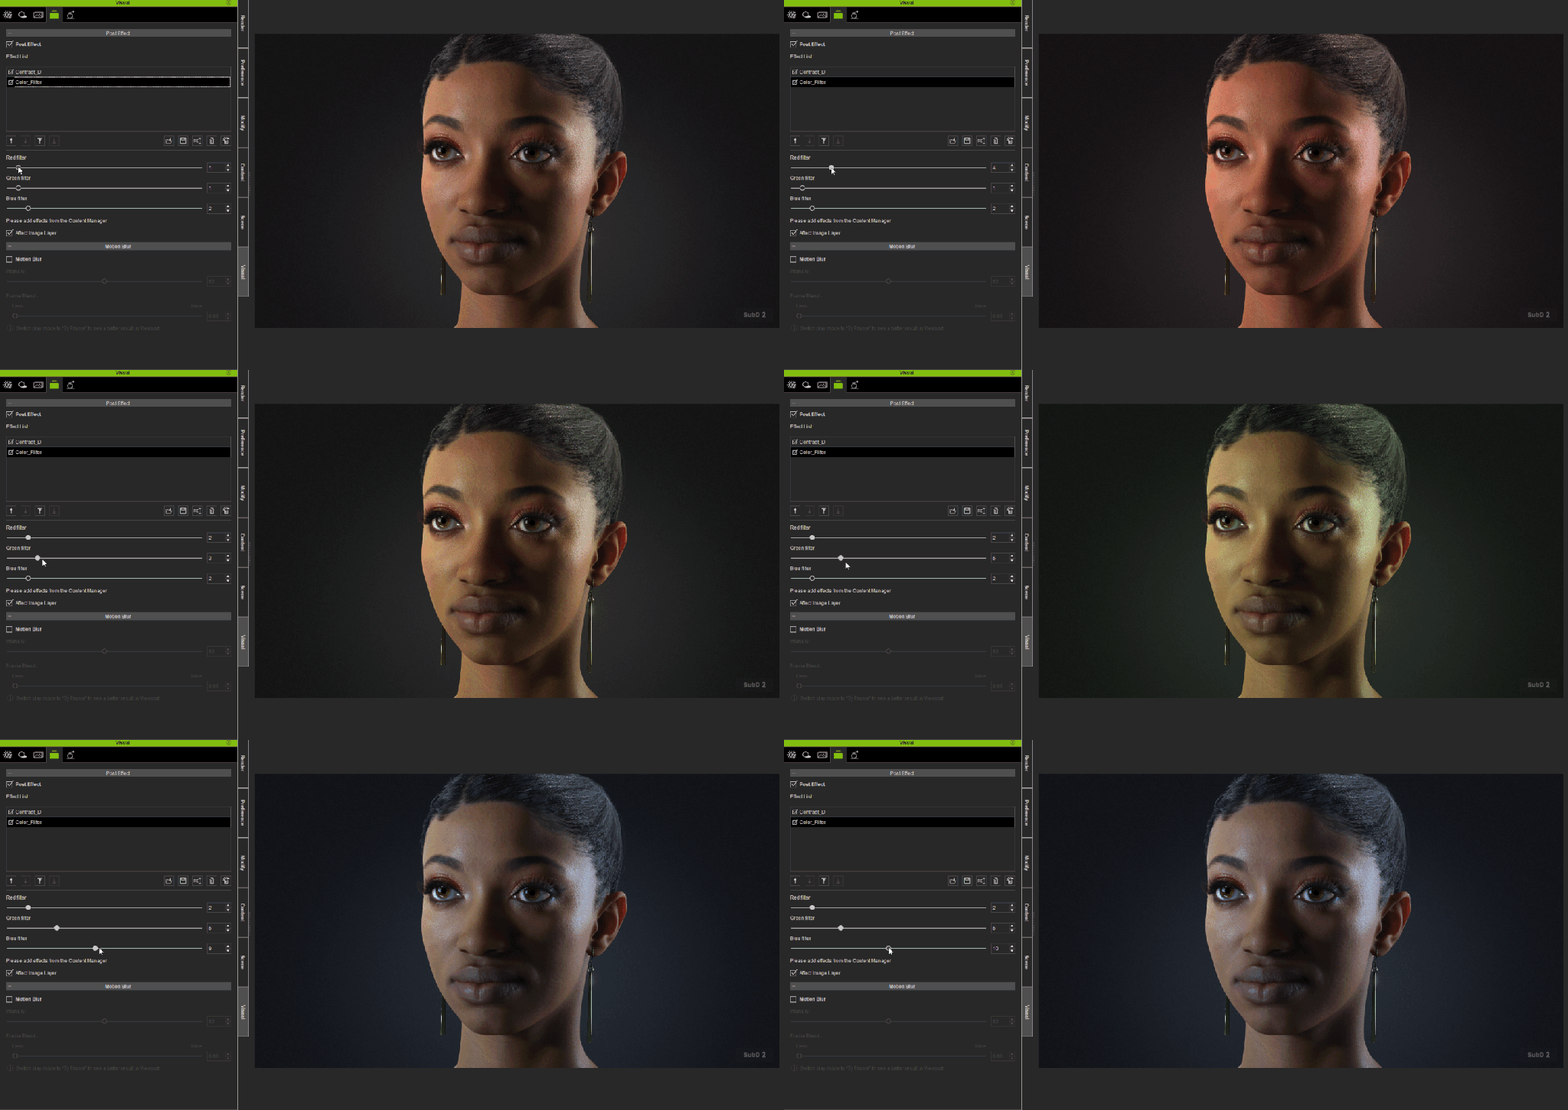
7. Post Effects
Lightrooms and iAtmosphere include built-in post effects for instant visual enhancement. Free LUT resources can be added, removed, or adjusted to refine color tone and elevate the overall mood and atmosphere.
8. Use Depth of Field (DOF) for Focus
DOF not only adds a photographic touch but also draws attention to your character’s face. A subtle background blur enhances the mood and helps separate your subject from the scene.

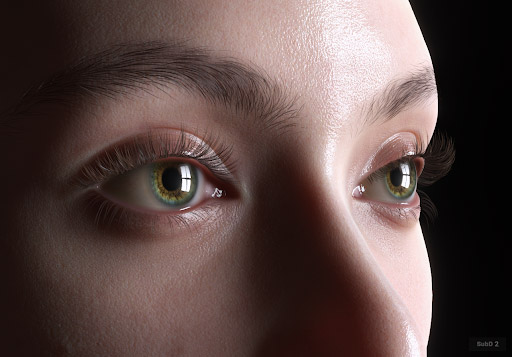
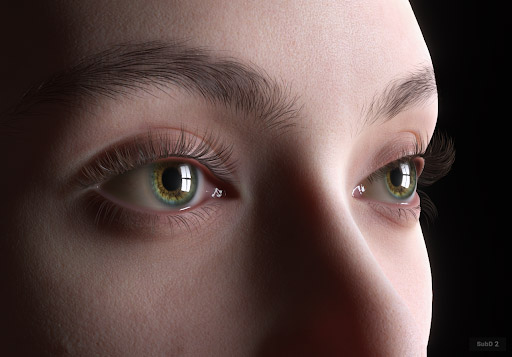
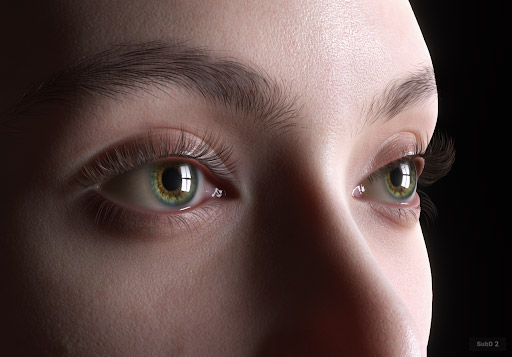
9. Don’t Forget Shader Adjustments
Lighting alone won’t achieve realism if shaders aren’t properly set. Adjust skin, hair, and clothing shaders to respond correctly to your light setup. For example, fine-tuning roughness or specular levels helps prevent skin from looking plastic or overly shiny.
GreaseMicro Roughness Scale: -0.4
MatteMicro Roughness Scale: 0.2
NaturalMicro Roughness Scale: -0.2
Final Thoughts
The free lighting presets in Character Creator 5 are more than quick solutions—they’re powerful starting points for creative customization. By breaking them down, adjusting for character proportions, extending their range, and fine-tuning shadows, reflections, and shaders, you can achieve cinematic, expressive lighting that feels uniquely yours.
Related Posts
- CC5 – Big Step Up for Beginners & Pros
- 20 Year Animator Veteran Brian Dean Reviews Character Creator 5