
Inside PixelArtistry’s Workflow: AccuRIG Auto-Rigging Meets Video Mocap
Philipp Sieben, the creator behind the growing YouTube channel Pixel Artistry, has built a reputation for turning complex AI workflows into easy-to-follow tutorials. In his latest video, he demonstrates a full end-to-end pipeline that transforms a single 2D AI image into a fully animated 3D shot — all without traditional modeling or motion-capture gear.
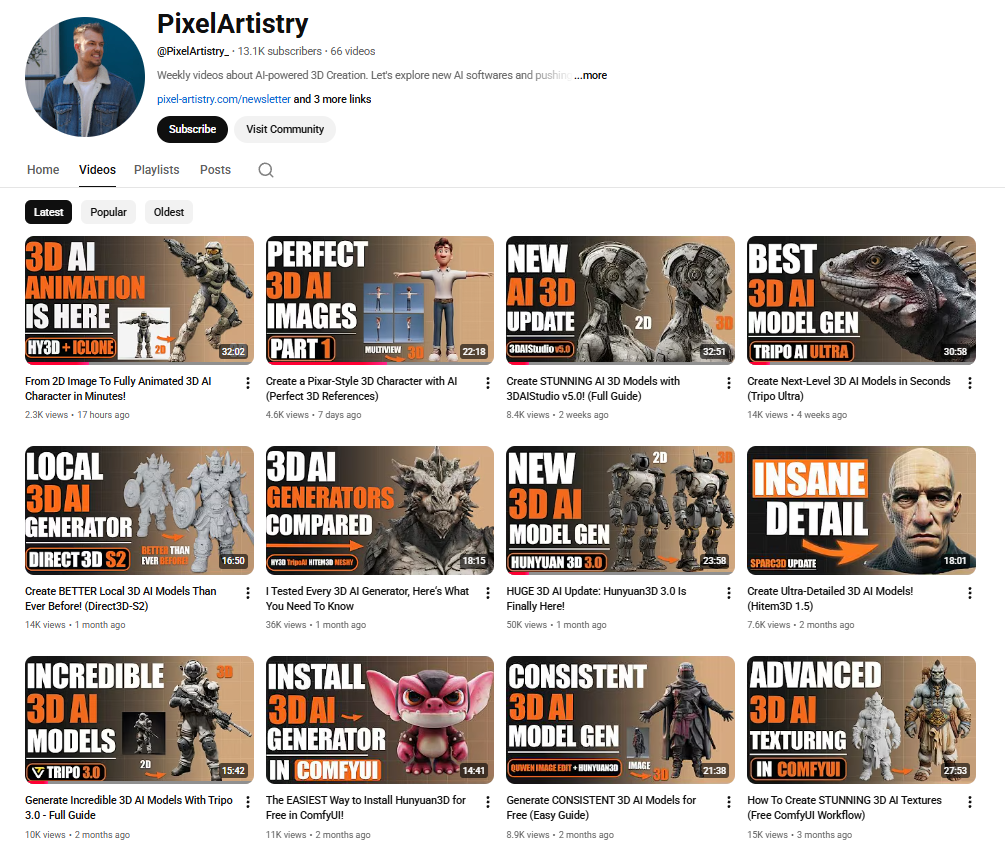
The core of his workflow revolves around Reallusion’s AccuRIG and iClone Video Mocap, which bridge the gap between AI-generated assets and production-ready animation.

Philipp Sieben / PixelArtistry
Philipp Sieben is a 3D artist with seven years of experience in the VFX industry, contributing to major productions such as Netflix’s The Witcher and Marvel’s Fantastic Four.
His recent work focuses on the intersection of traditional 3D and artificial intelligence, where he explores how AI can accelerate artistic workflows and open new creative possibilities. He now runs the YouTube channel Pixel Artistry, helping 3D artists, developers, and tech enthusiasts master the latest AI-powered tools.
Step 1 — From AI Image to Full Character Blueprint
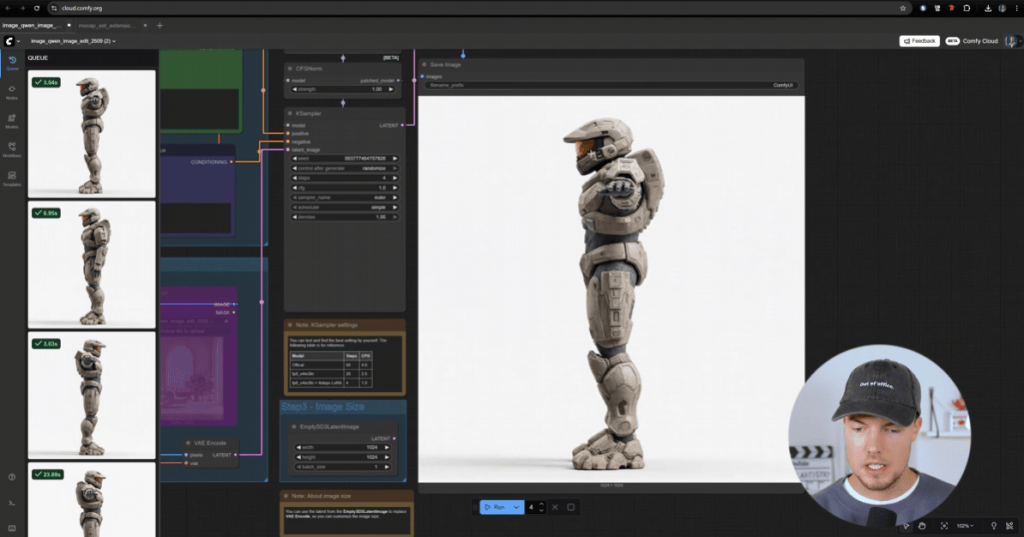
Philipp begins by generating a concept character using Midjourney. To prepare the model for 3D reconstruction, he uses ComfyUI to produce clean front, side, and back views in a proper T-pose. These multiviews act as a “turnaround sheet” for the next stage.

Step 2 — AI-Driven 3D Model Generation from Images
The multi-views are then inputted into Hunyuan 3D 3.0, which reconstructs a full 3D character. Philip opts for a 50K-face mesh, which is detailed enough to look good and lightweight enough to rig instantly. Hunyuan outputs a textured FBX file, ready for animation tools.
Step 3 — Get Animating Quickly with AccuRIG Auto-Rigging
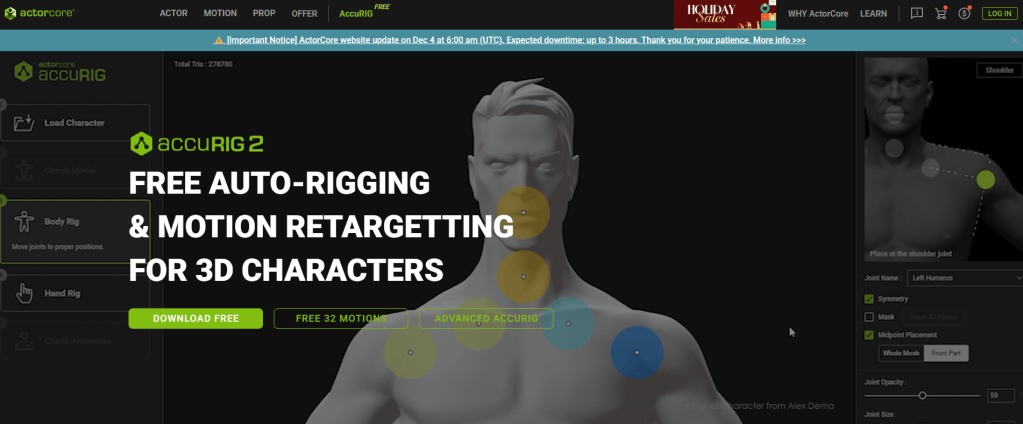
To prepare the character for animation, Philipp turns to AccuRIG, Reallusion’s free auto-rigging tool designed to quickly turn static 3D models — even AI-generated ones — into fully rigged characters ready for animation. AccuRIG’s guided marker system makes the process simple, and its direct export to iClone keeps the pipeline smooth.
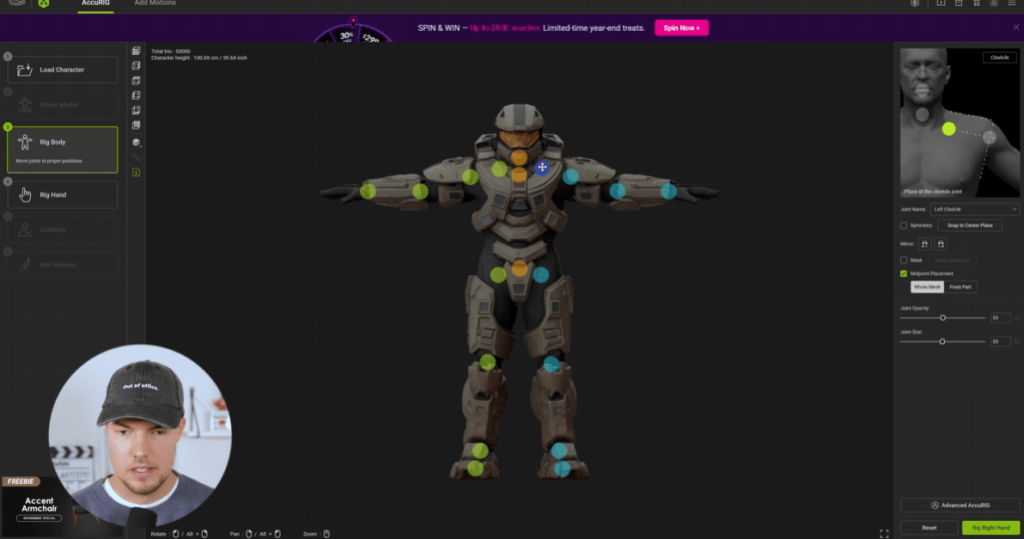
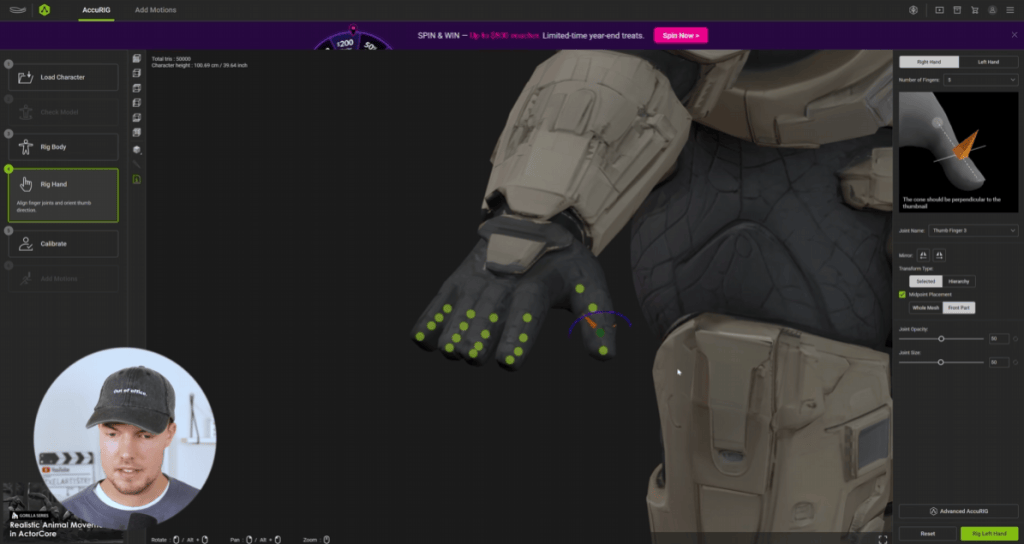
Philipp’s AccuRIG workflow:
- The FBX imports with textures intact
- AccuRIG auto-detects major joints on the body
- Fine-tunes shoulders, knees, and fingers for better deformation
- Hand rigging is mirrored to speed up setup
Within minutes, the AI-generated mesh becomes a fully rigged iAvatar, ready to animate in iClone.
Step 4 — Real Motion, Zero Suits: Animating using iClone Video Mocap
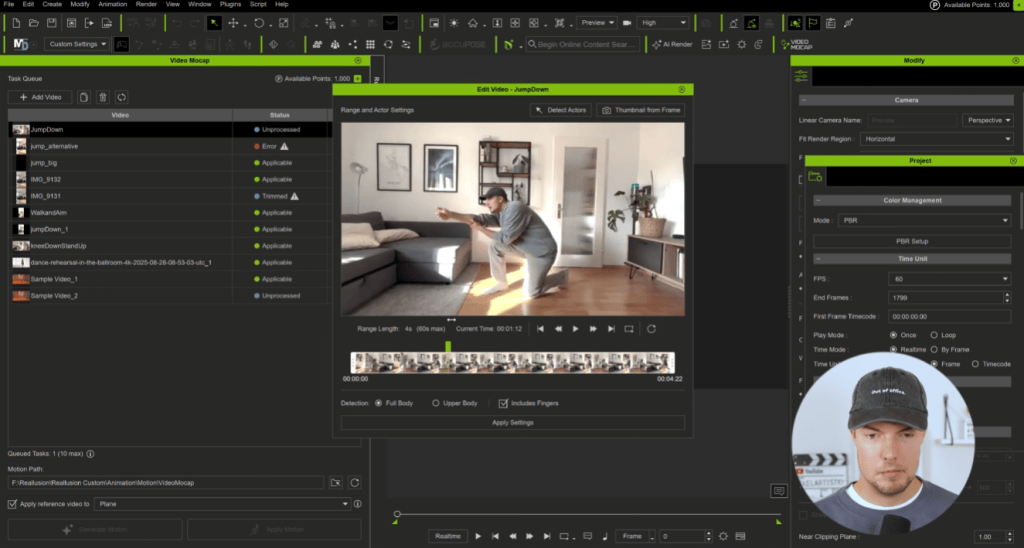
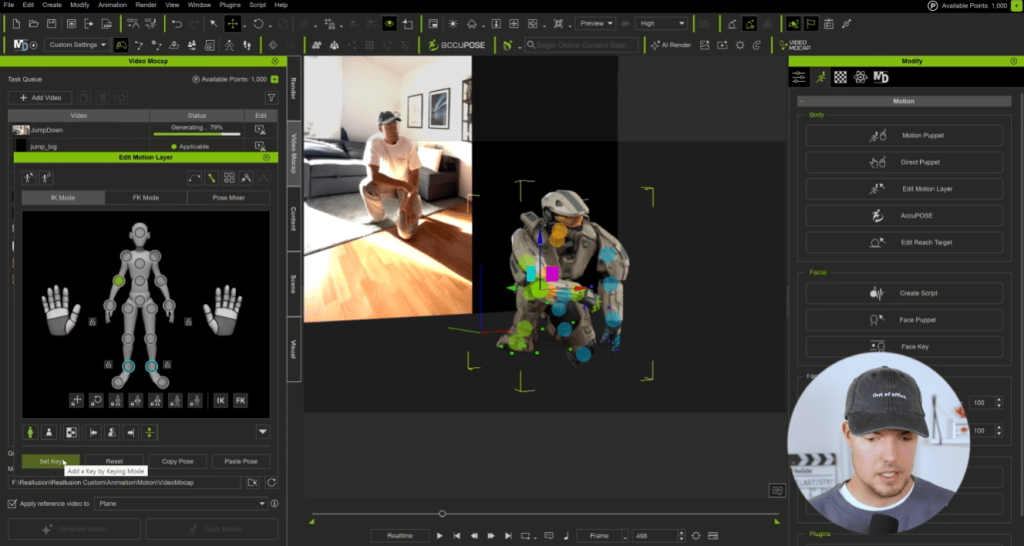
To animate the character, Philipp captures his own movements using iClone Video Mocap, which extracts motion directly from standard video. He records simple actions in his living room, including jumps, punches, gestures; then imports the clips into iClone. The plugin detects full-body and finger motion, analyzes the footage in the cloud, and generates a 3D animation that he can apply to his character with one click.
Most of the motions worked “on the first try”, and Philipp uses iClone’s Motion Layer tools to clean up subtle limb penetrations and pose issues. This tool combination gives him natural movement with full control for refinement.
Step 5 — Assembling the Cinematic Scene in Blender
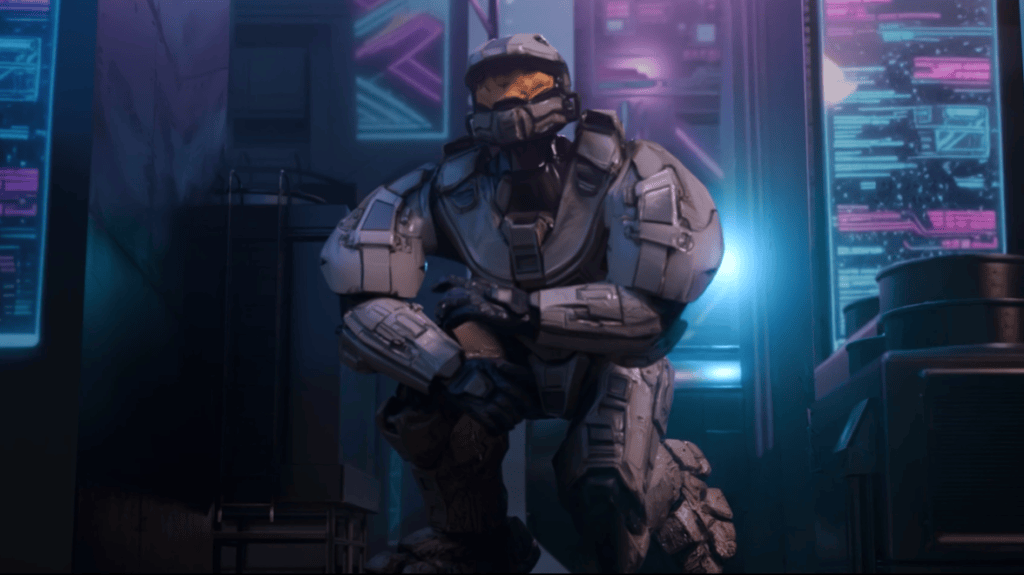
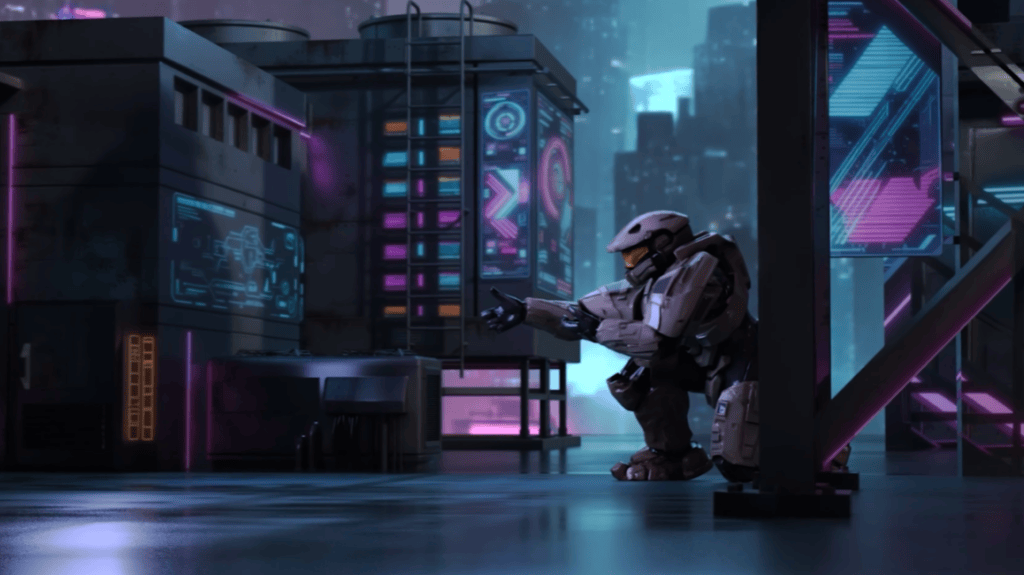
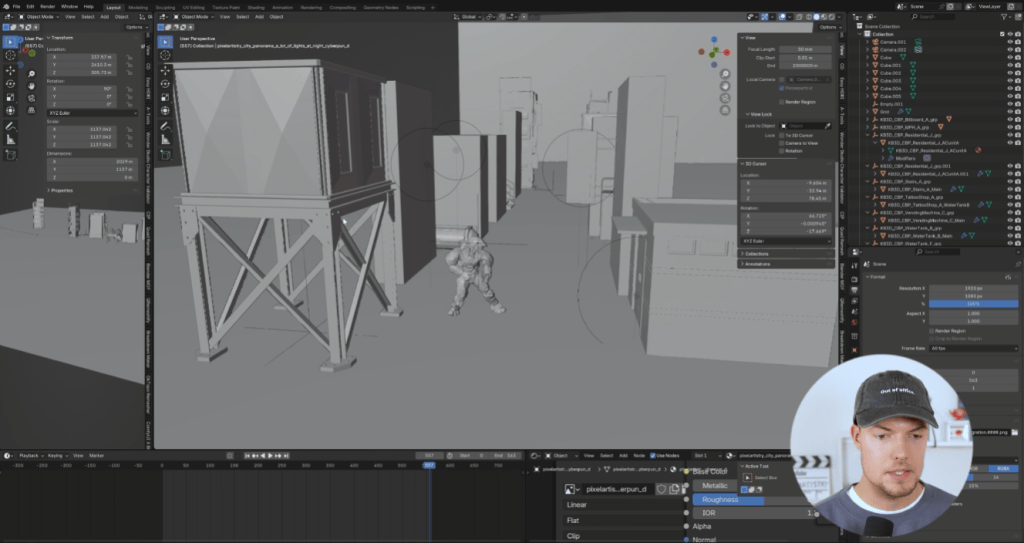
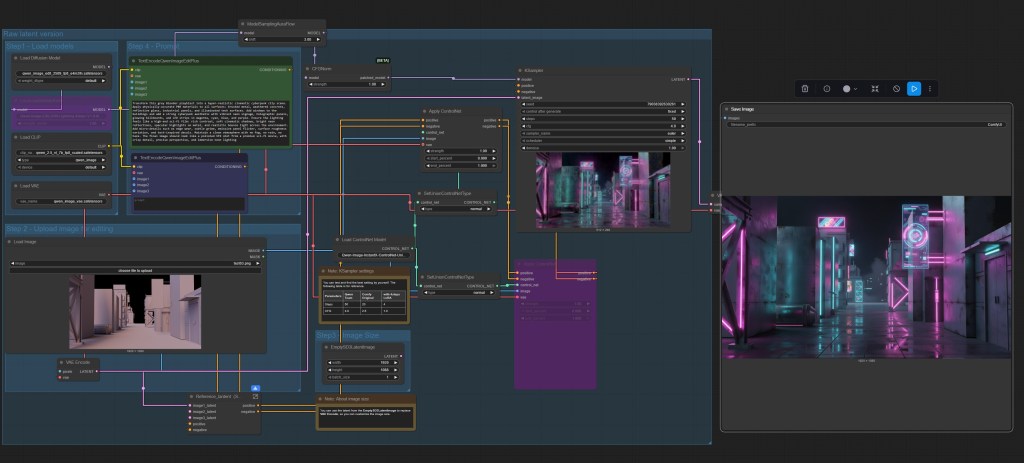
For the final shot, Philipp exports the animation into Blender using Alembic. He blocks out a simple environment, positions his camera, and then uses ComfyUI again to create a stylized texture pass. Using classic camera projection, he maps the AI-generated textures onto his scene for a rich, cinematic look.
The soldier character is lit to match the environment, and the final render showcases a fully animated AI character integrated into a fully 3D environment.

Why This Workflow Matters
Philipp’s work demonstrates a new, accessible way to build animated 3D content:
- AI art → multiviews → 3D reconstruction
- AccuRIG → instant production-ready rigging
- iClone Video Mocap → natural full-body motion from any camera
- Blender → final scene + render
For creators without traditional 3D modeling or mocap resources, this pipeline opens the door to fast, high-quality character animation.
Related Posts
- Influencer Highlight: Character Creator 5 Review by Virtual Production Insider
- iClone Video Mocap Delivers a Studio-Free Lifesaver for Indie Artists





1 comment
Film students and avid enthusiasts are now producing entire 2D and 3D movies at home this way, and anyone can do the same anytime, as long as they can afford to buy this software and have at least a few voice actors, unless they use cloned AI voices, of course. In this case, “one-man-orchestra” is possible as well, and all one needs is a small budget and a bag of ideas. The rest is… “the sky is the limit only for those who aren’t afraid to fly!” Godspeed.