
Cliff Paul/ Round Table Animation
Hey, I’m Cliff, the creator behind Round Table Animation, a YouTube channel dedicated to helping aspiring 3D animators master fight choreography and cinematic storytelling. I’ve worked with indie studios and creative teams to bring action sequences to life using tools like Blender, Unreal Engine, and Reallusion’s Character Creator 5.
My goal is to make animation less intimidating by breaking down complex workflows into clear, creative steps. Whether it’s crafting stylized fight scenes or building custom characters, I love showing how anyone can bring AAA-quality animation to their projects.

From Concept to Combat
Tired of using other characters for animation? Imagine animating your next fight, but instead of using Goku or Spider-Man, it’s your own character. The way they move, the way they fight, their story is built by you. I’m going to walk you through exactly how I created my own original fighter, bring them into Blender, and animate them to life through combat.

This time, I wanted to try something easier than Blender’s character creation tools, especially since I’m not a modeler. That’s when I decided to check out Character Creator 5.
CC5 Interface and Customization
At first glance, the CC5 layout looks super clean, though the many icons can be intimidating. However, once you start playing, it’s really straightforward. I thought of it like an RPG character creator taken to the max.
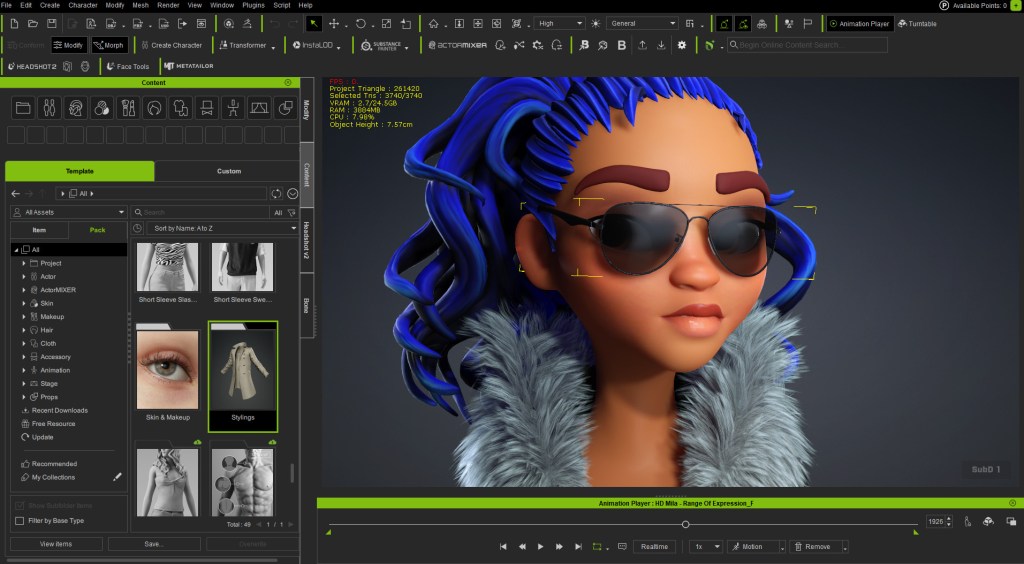
CC5 comes with new high-quality base characters. Instead of digging through endless sliders, you can simply click and drag on the model to stretch the neck, broaden the shoulders, or sculpt the jawline, all in real time. I wanted something more stylized, so I chose the CC5 character, Mila, to customize.
Assembling the Fighter’s Outfit
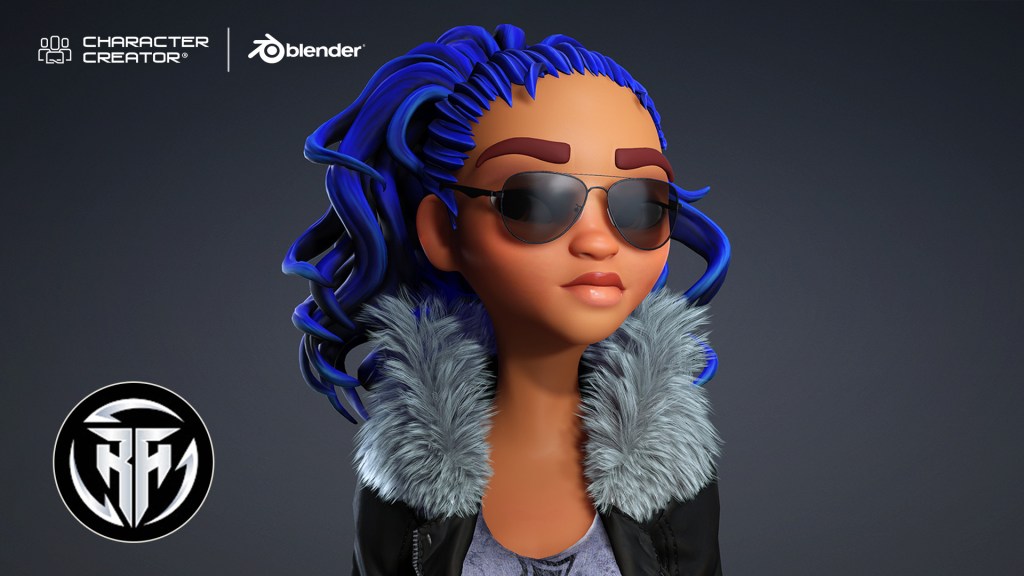
Mila looks great as a base mesh, but I wanted her to look like a fighter. I was going for a cyberpunk, futuristic type of style. You can change and click, and drag any available outfit onto the character, and it automatically adjusts.
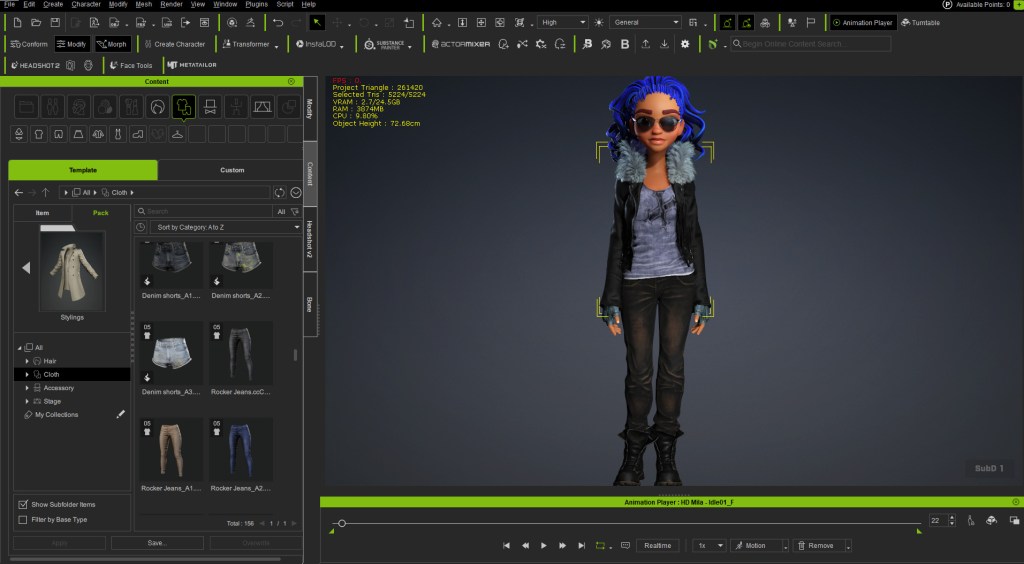
I mixed and matched several CC5 assets: a badass shirt, jeans, a nice leather jacket, boots, a cloud wrap, and gloves. The clothes look great and fit because they’re automatically tailored to her.
If there is any clipping (e.g., the jacket touching the body or clipping on the pants), you can go into the mesh edit tools and use the calculating collisions feature to automatically adjust the mesh and fix the part.
Final Checks and Export
I adjusted the sunglasses to fit her face better. From here, we have our custom fighter ready to transfer to Blender. You can check if the clothing works by using the in-program motion check feature, like playing a walk cycle. This also lets you check the facial rig and range of expression. Crucially, all these facial features will transfer as shape keys over to Blender.
To export, I went to File > Export as an FBX, choosing the clothed character and selecting Blender in the tool set. I chose to export just the mesh, not the temporary animation I used for the check.

Rigging and Animating in Blender
In Blender, I used File > Import as an FBX. The character loads in immediately with the textures automatically applied. For rigging, I prefer to use the Auto Rig Pro plugin because it’s easy to put controls on a mesh that already has a base rig. However, you can use Rigify if you are more familiar with it. Once rigged, we have our character ready to go.
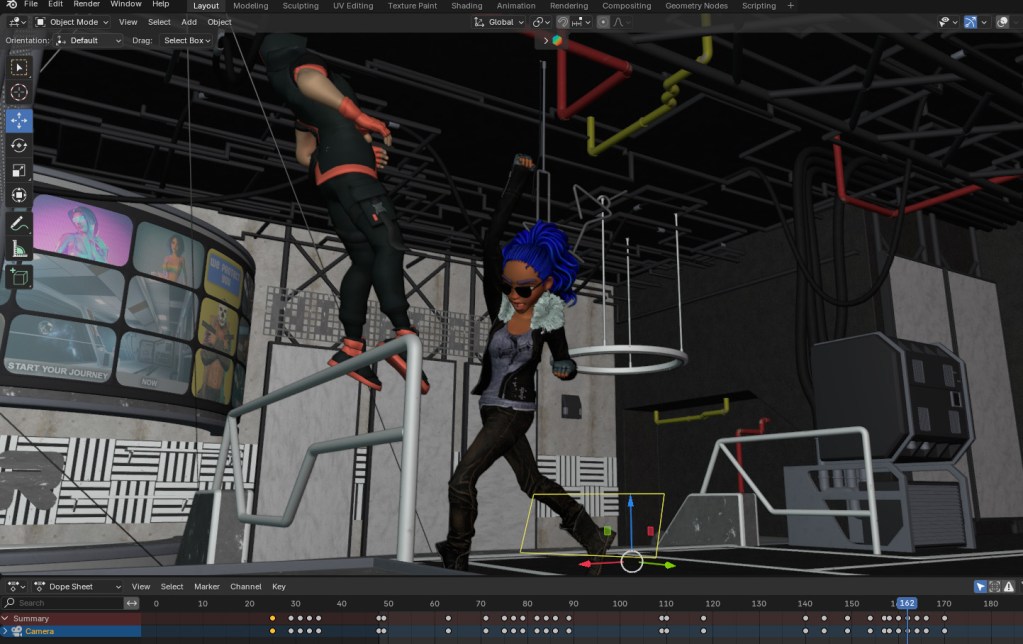
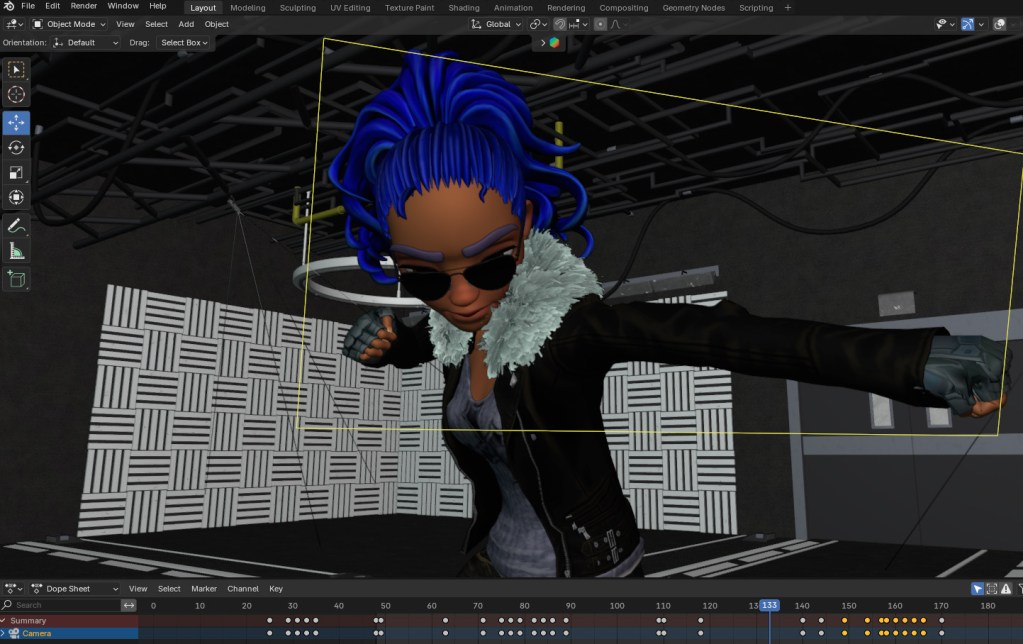
I placed her in a cyberpunk nightclub setting to fight a character. The smooth transition from CC5 to Blender makes the creative process work well. Seeing your own customized character perform a short punch combo is a nice feeling compared to using stock characters.
Final Thoughts
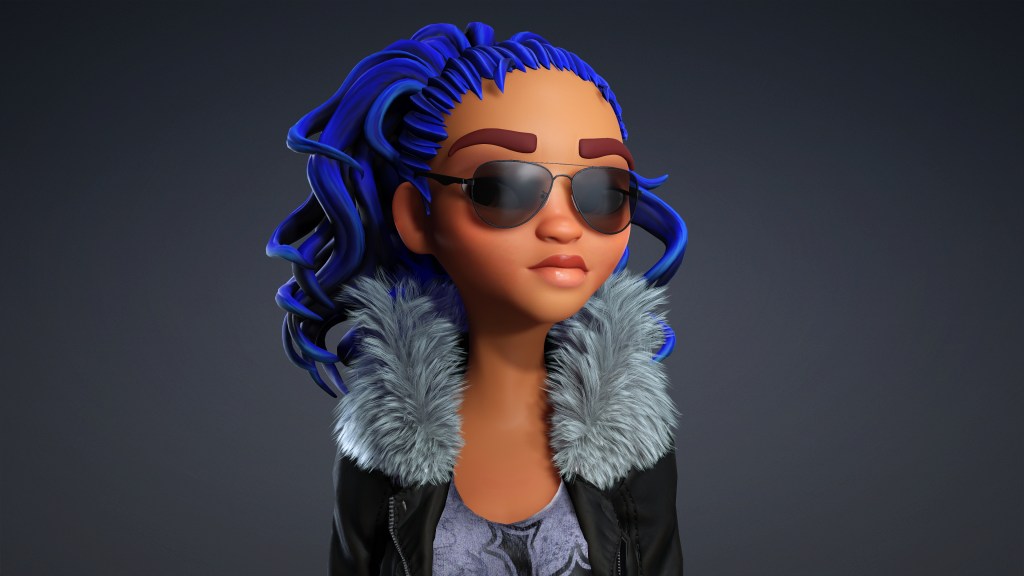
I think CC5 is definitely the tool to make more extravagant, out-of-the-box characters like this, though it takes practice. The following images are the final looks for the character. In the next tutorial, I’ll cover the character animation of impact, so you can ensure that your hits are landing accurately.


Related Posts
- Influencer Spotlight: Character Creator 5 Review by Deli Productions
- Influencer Highlight: AI Concept to Animated 3D Character