
John Yim
Hi I’m John Yim. I am a Chartered Architect and CGI Artist based in London. Obsessed with creating beautiful imagery, my passion has taken me beyond architecture into fashion design, character design, and landscape design, enriching my artistic vision with fresh perspectives and diverse influences. As an architect, classical architecture and ballet speak to my artistic DNA. I have always loved how extravagant, ornate architecture and elegant ballet movements complement each other so naturally.
At the same time, modern anime has been my greatest inspiration for personal projects—even more so than live-action films or CG animations. Of all the anime I have watched, dance sequences capture something essential about the medium—a unique energy, mesmerizing rhythm, and playfulness that can only be achieved when animators have complete control over every frame transition and moment of stillness. These moments embody the spirit of anime in a way that has always resonated deeply with me.
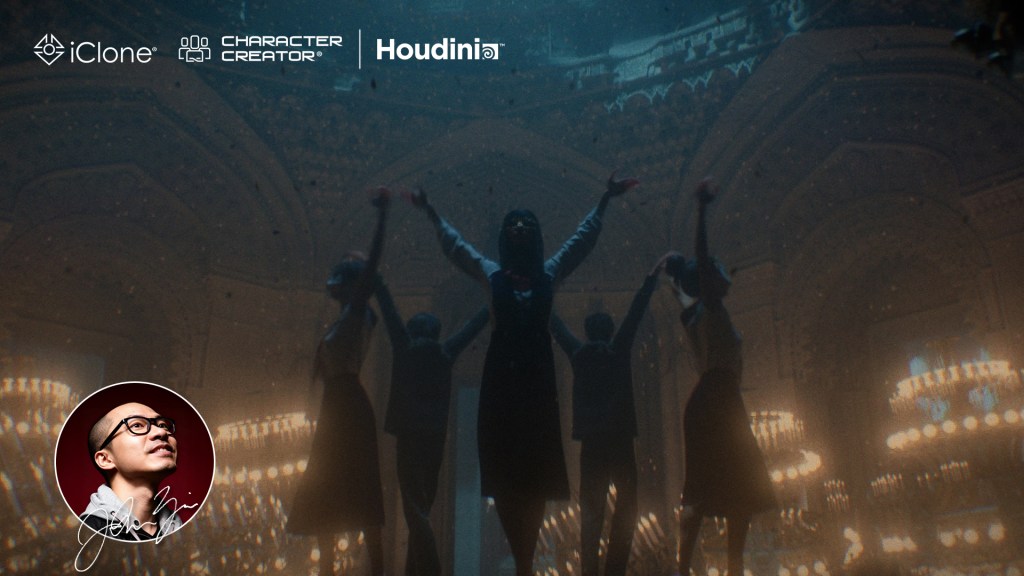
Project “Big Heart” started as a simple weekend experiment with a playful mocap anime I found on Reallusion ActorCore. As I added more details and drew inspiration from music videos, it gradually evolved into one of my most ambitious CG projects yet, spanning nearly a year. I wanted to blend both sides of myself—the anime enthusiast and the architect—together in a single fantastical CGI project.


Character Creation & Character Animation
Out of all the 3D software I use, CC, iClone & Marvelous Designer remains the ones I have not replaced with Houdini. Houdini’s character rigging and animation capabilities are powerful but overly technical and counterintuitive. Without any formal training in rigging or animation, CC & iClone simply works better for my needs. Its intuitive interface lets me focus on being an artist rather than getting bogged down in technical problem-solving.
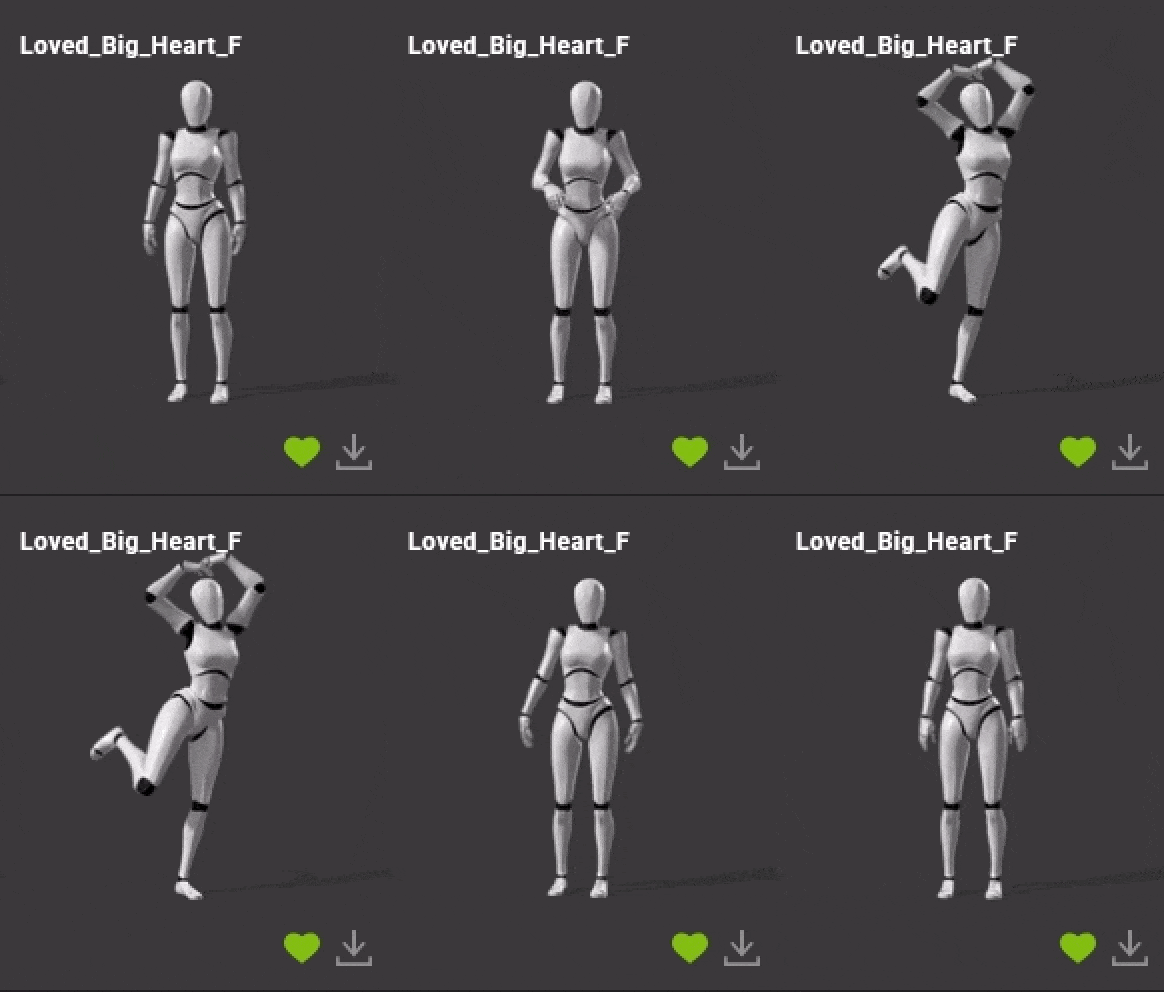
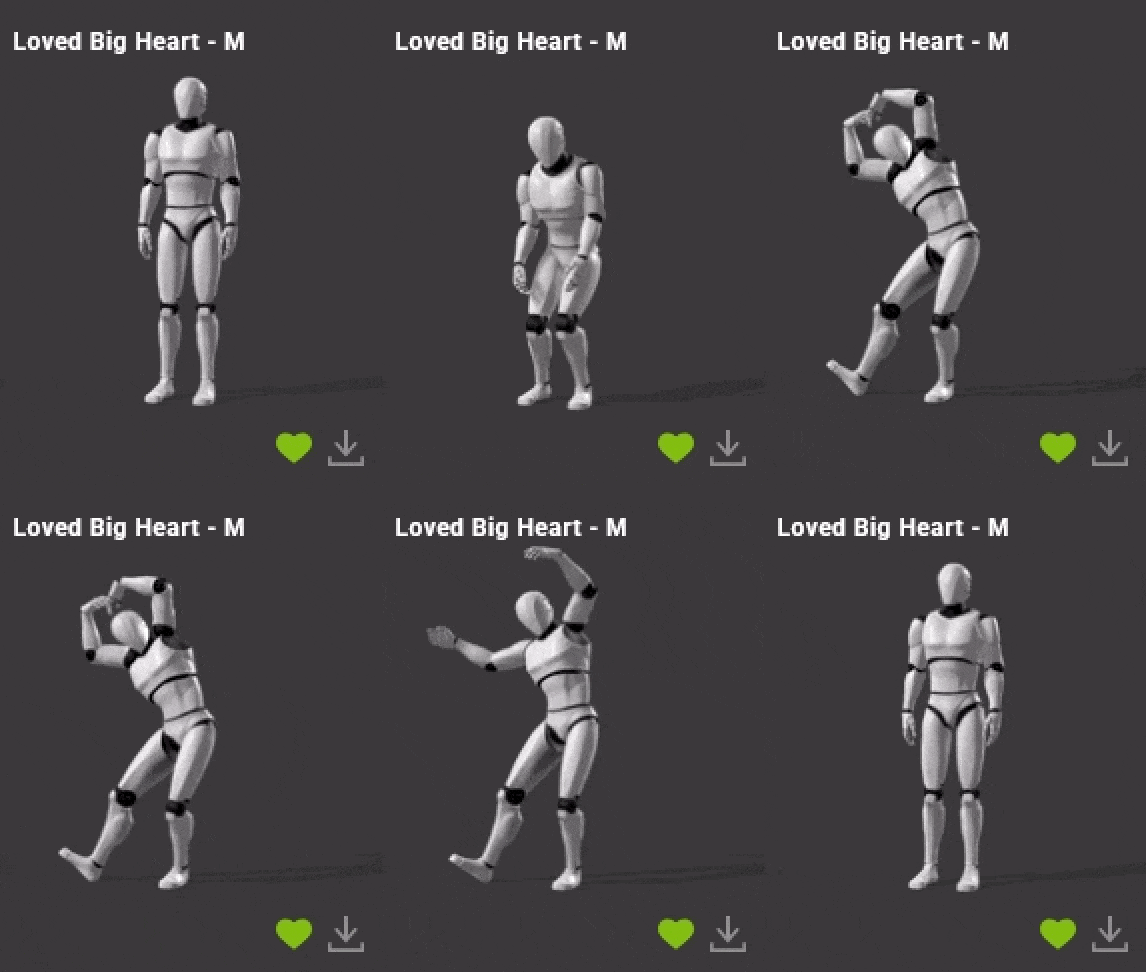
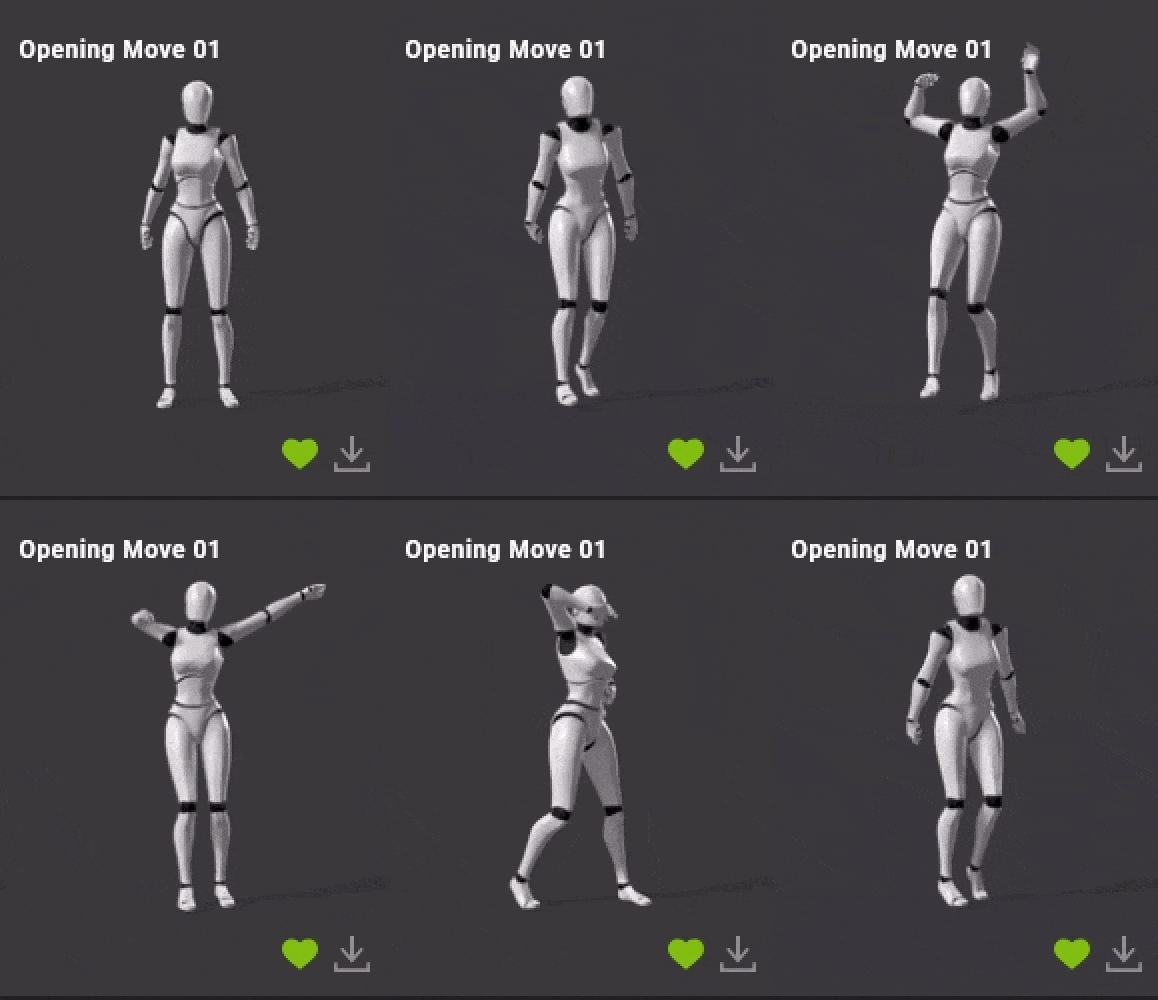
I kicked off the project by creating 2 characters in CC, in which I used the body morphs to tweak their height, body shapes and facial features. Then I exported them to iClone, downloaded three motion sets from ActorCore and blended them together to create the initial sequence. Those ended up becoming the final sequence of the animation, in addition to a couple more motion sets that I gradually added later on.
Edit Motion Layer is my go-to iClone tool. It lets me manually keyframe character movements using IK joints, which was crucial, especially for fine-tuning the characters’ hands to avoid colliding into their clothes in simulations down the line.
Looking back at my earlier projects, “Henshin” and “The Playful Deity”, one notable critique is how the characters looked and moved identically—at times creating an uncanny effect. In reality, even the most rehearsed dancers exhibit natural variations in their movements.
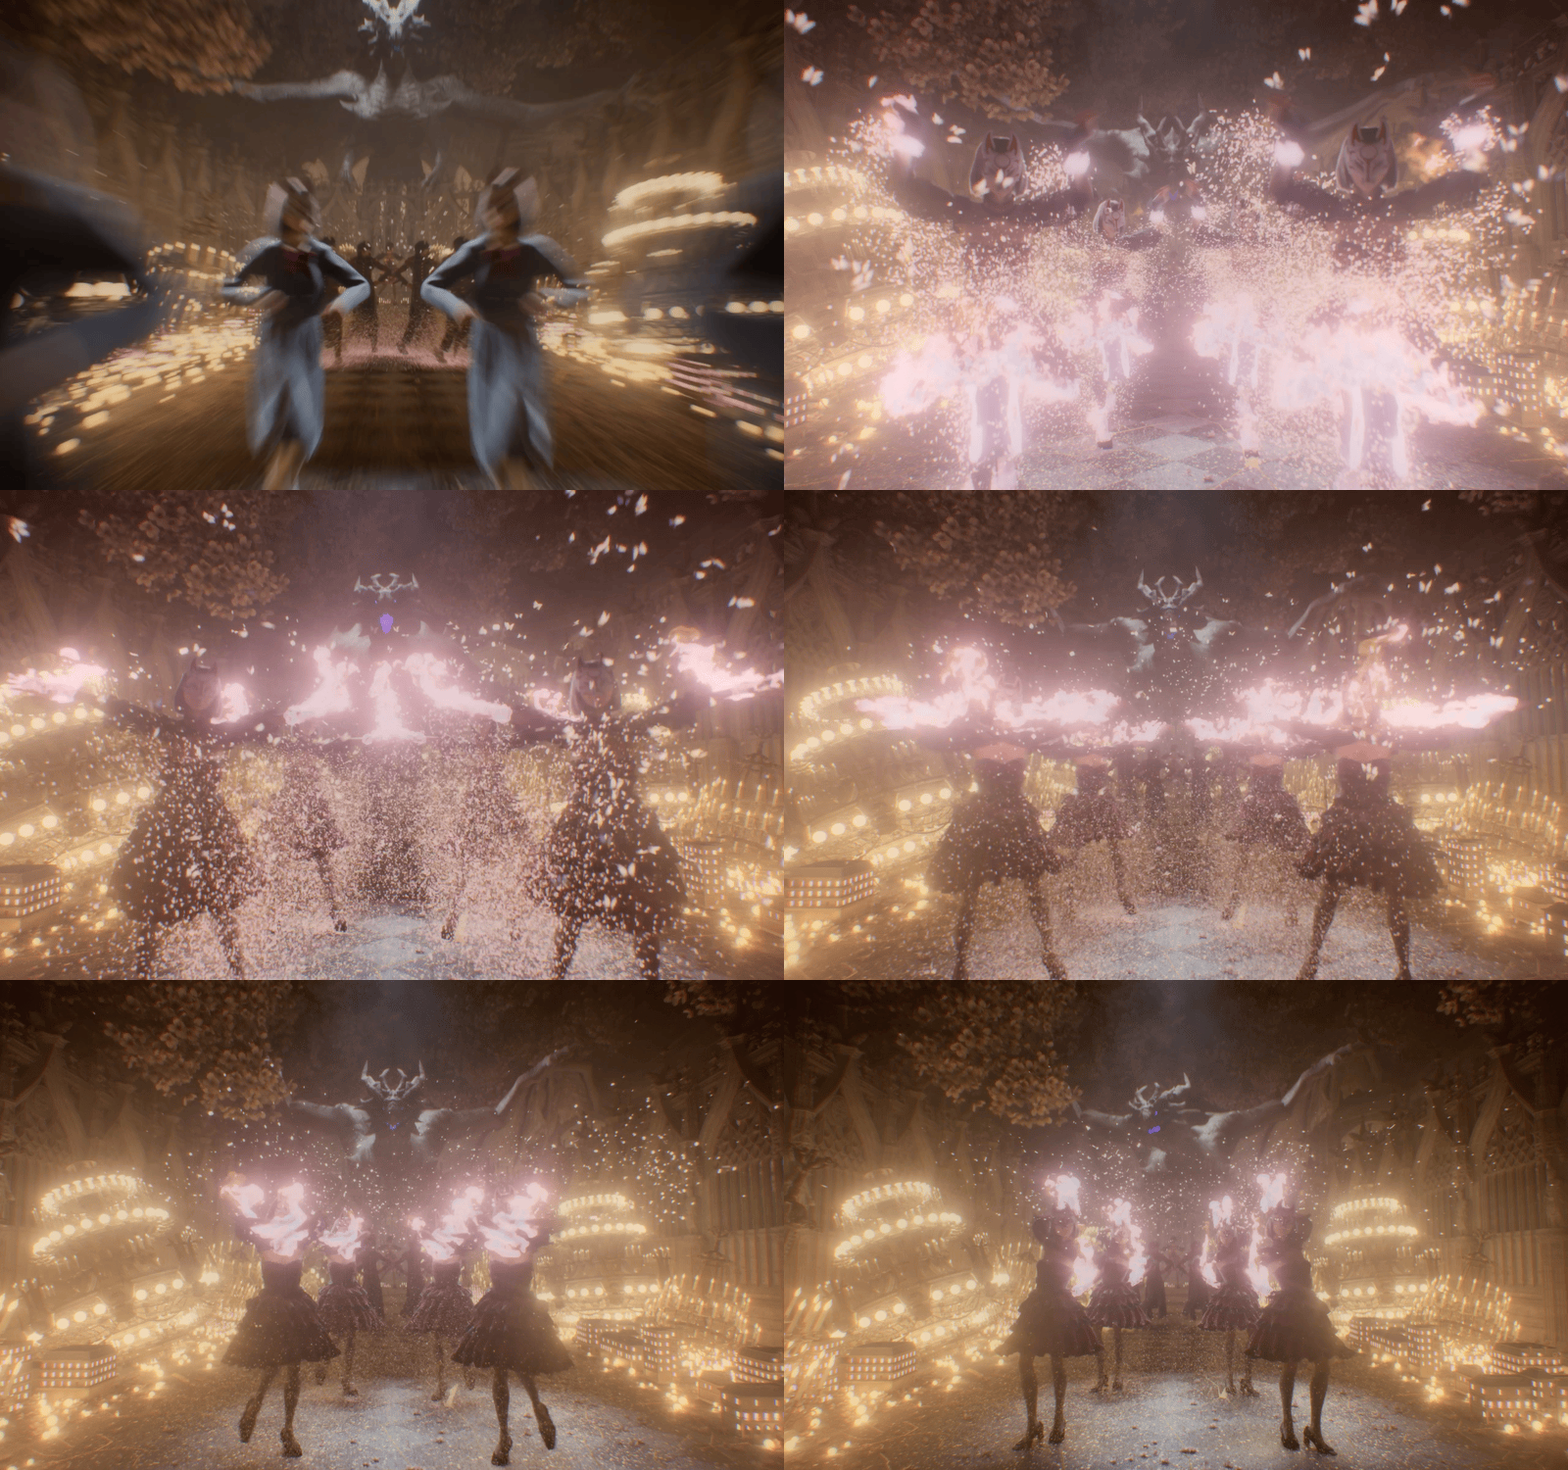
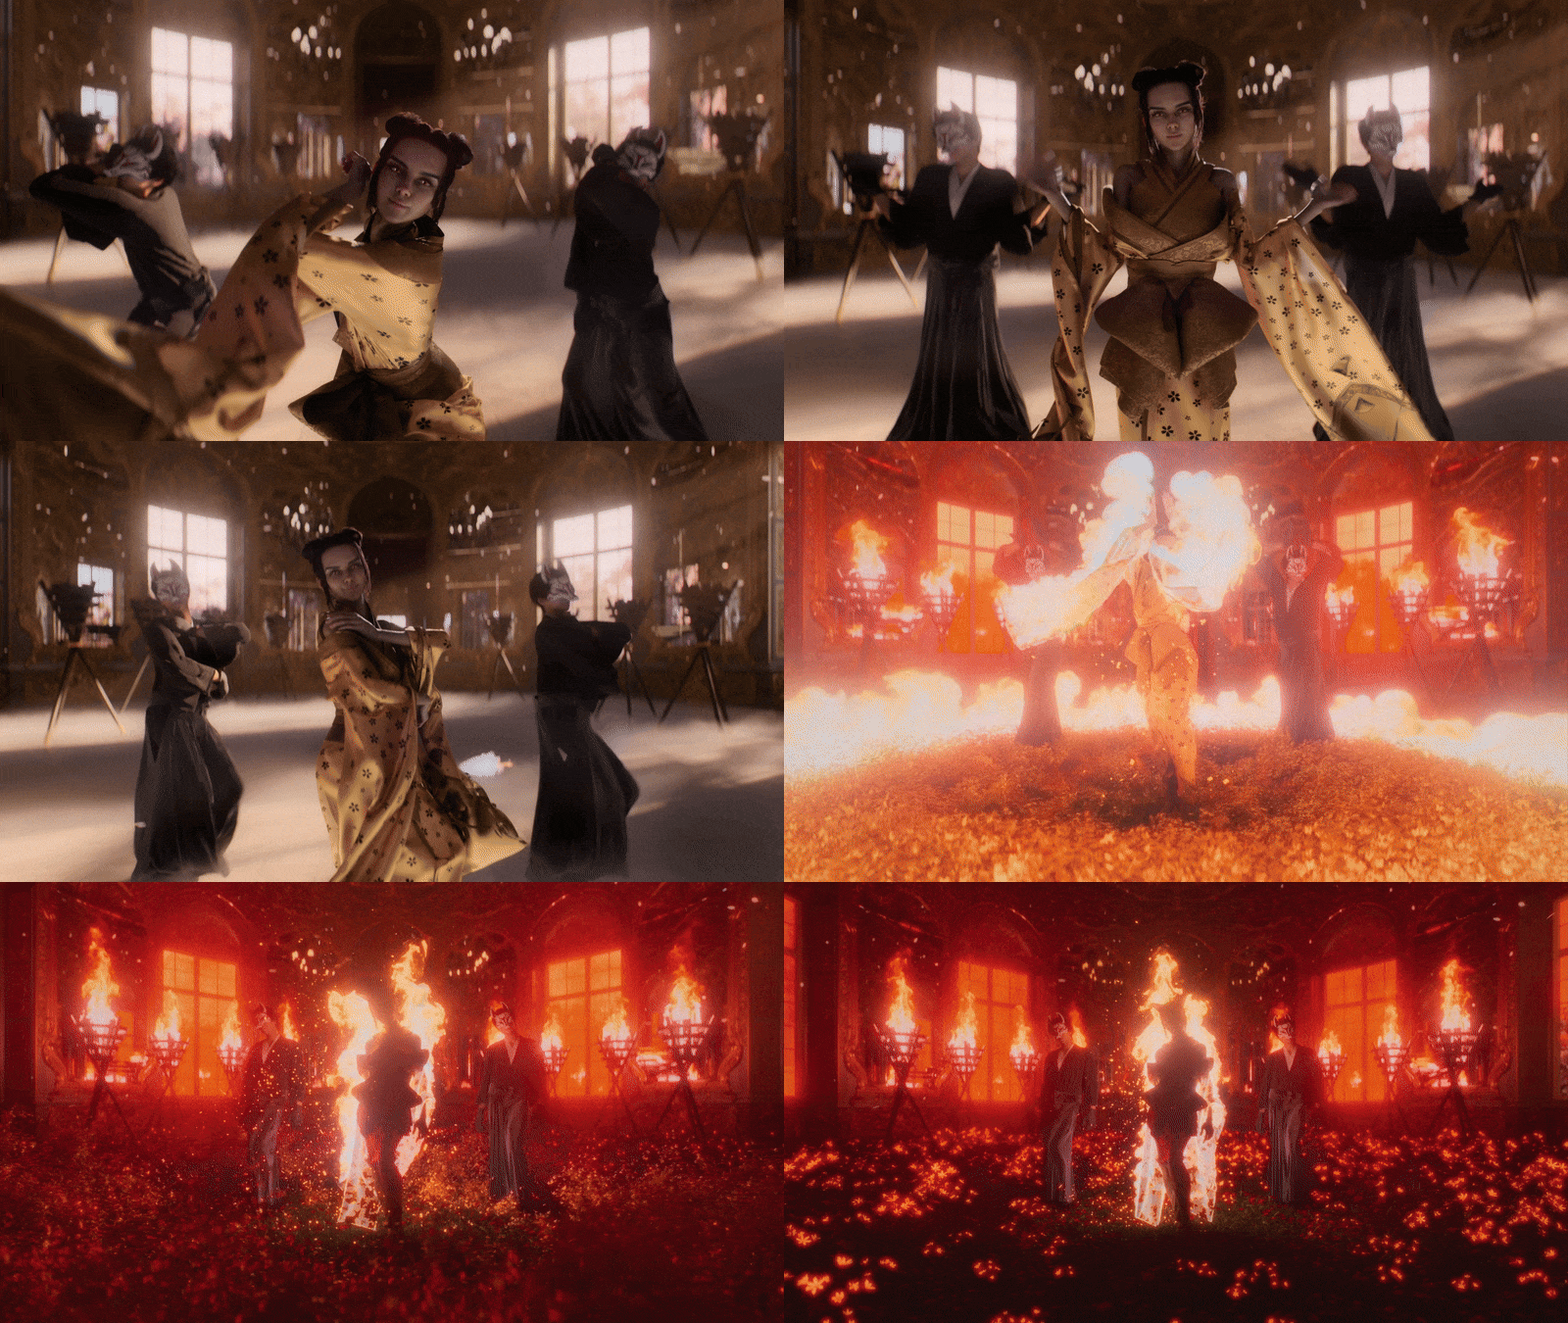
To create character variation without significantly increasing rendering time, I used two character bases—one female and one male—five different hairstyles, and three costume variations. This approach provided just enough diversity to avoid the identical uncanny appearance while maintaining the dance troupe’s visual cohesion. For the movements, I vary the mocap through one of two methods: either adding an extra layer with keyframes on top of the mocap data, or slightly shifting the mocap keys. I believe subtle variation serves the best here, because there is something mesmerizing about perfectly-synced movements while excessive variation can be distracting.
Cloth Simulation
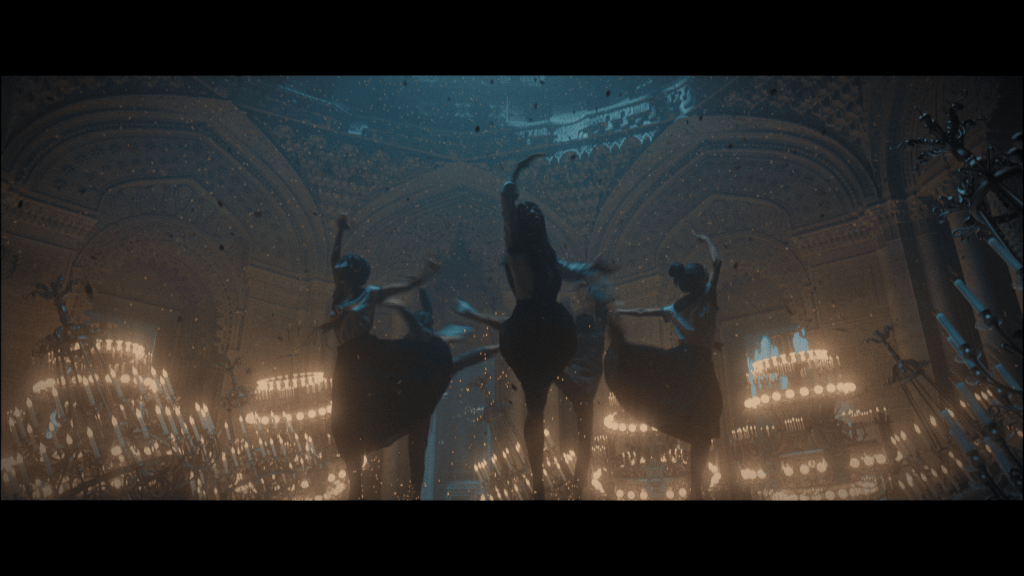
I used Marvelous Designer for the initial cloth fitting, and used Houdini to add details (stitches, hems, garment thickness, zips and buttons). While Houdini is more than capable of creating garments from scratch, it still lacks the real-time feedback of Marvelous Designer, which disrupts my creative flow during cloth-fitting.
Two things mattered most when creating the garments. First, I tried to avoid overlapping cloth as much as possible—Vellum in Houdini hates overlapping geometry. Second, particle density settings needed some thought. I kept particle distance at 10 units minimum. A lot of tutorials say to crank it down to 2 for more detail, but I found that just made simulation times ridiculous without much payoff. 10 units was the sweet spot for me.
Once I had all the garments fitted to the character A-pose, I converted everything to quad meshes and exported as welded OBJ files straight into Houdini, as OBJ was the only format that kept material data from Marvelous Designer intact during export. I split the imported OBJ by materials and applied different Vellum properties to each piece. Then I painted masks to control what simulated and what did not. Usually I masked out the entire back and waist area, using Point Deform to stick those parts directly to the character animation. This gave me a hybrid setup where some parts followed the character rigidly and other parts simulated freely.
While a lot of Houdini artists prefer using the Remesh node to convert everything to triangles before running Vellum – as triangles capture more detail with fewer points- I personally preferred quad meshes as they worked good enough in most cases without the trouble of deforming the triangular mesh back onto the quad mesh afterwards for rendering.
Vellum parameters do not correspond to real-world values and their behavior changes based on mesh density, so achieving a specific fabric appearance requires extensive trial and error. For final simulations, I typically use 20 substeps and 200-400 constraint iterations for multi-layered cloth simulations. Once I was satisfied with the simulation (an iteration process that took months), it was simply a matter of using Point Deform to attach buttons, chains, stitching, and seam details onto the simulated clothing.
Hair Simulation
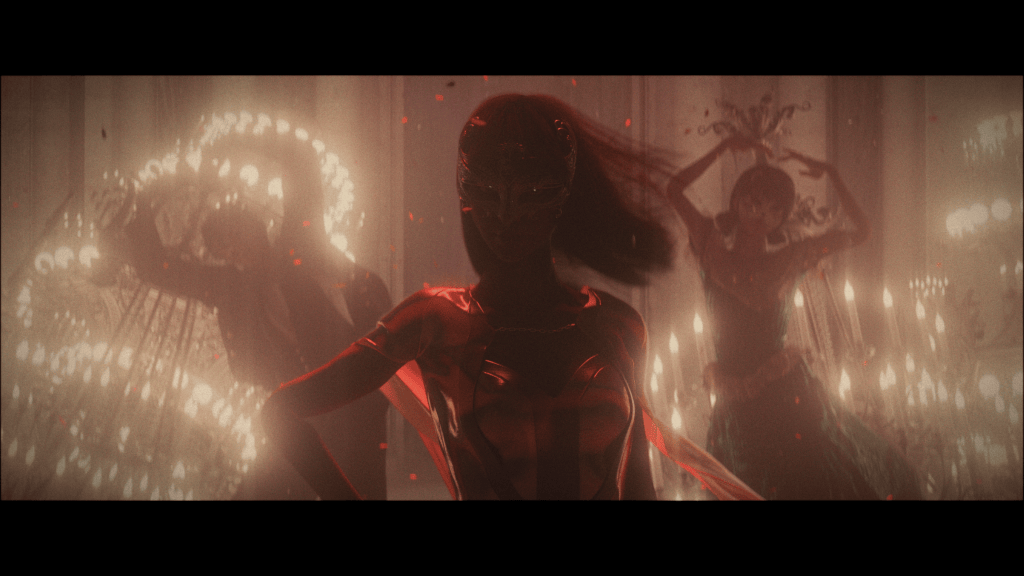
In preparation for hair simulation, I started with iClone Hair Mesh as the base, then used “Cards to Curves,” an HDA found on GitHub — a simple solution for hair mesh conversion in Houdini. During early test simulations, I realized that apart from the main character’s long hair, the other hairstyles simply did not move enough to make a noticeable difference, even when blown by wind. Consequently, I only simulated the long hair and kept the remaining hair meshes exported from iClone, intact without modification. The main takeaway is that one must add “glue” as a Vellum constraint to prevent individual hair strands from becoming excessively separated during simulation. I also used “Pin to Target” Vellum constraint to keep the upper portion of the hair attached to the scalp, which reduced simulation times.
FX Simulation
I used Axiom Solver for the pyro sims and Embergen for the fog and shockwave sim. In order to add more depth to the final shots, I experimented with creating ground-level fogs using Embergen. I exported the animated characters and a poly-reduced geometry of the environment, then imported them into Embergen as collision geometry. The fog is created from a box volume with randomized vortex noise. The collision geometry would then interact with the fog. Then I exported the simulated fog as VDB into Houdini.
I also used one of Embergen’s shockwave presets to create the heart-shaped shockwave in the final shot. The only change I made was swapping the emission source to a heart-shaped geometry, then I exported both the volume as VDB and the particles as Alembic into Houdini. I rendered the particles with an emissive material in the final render to add an extra layer of detail on top of the VDB shockwave.
Since both Axiom and Embergen are exceptionally fast pyro solvers, the challenge in FX simulation for this project shifted from optimizing simulation time to perfecting the timing — particularly for rapid simulations like the shockwave effects. Rather than simulating over and over again in Embergen, I used “retime” and “timeshift” in Houdini to shift the VDB’s timing around to match the overall rhythm of the dance in a way that felt satisfying.
Some shots contain less movement than others. To ensure the sequence consistently feels animated and dynamic, I added falling petals throughout all the shots. The petals are Houdini Vellum simulations that were essentially reused across all sequences. This addition also enhanced the fantastical quality of the final render.
CGWorld has shared a workflow by Junichi Akimoto demonstrating how to create a similar setup: https://cgworld.jp/regular/202303-hcb-129.html
Environment
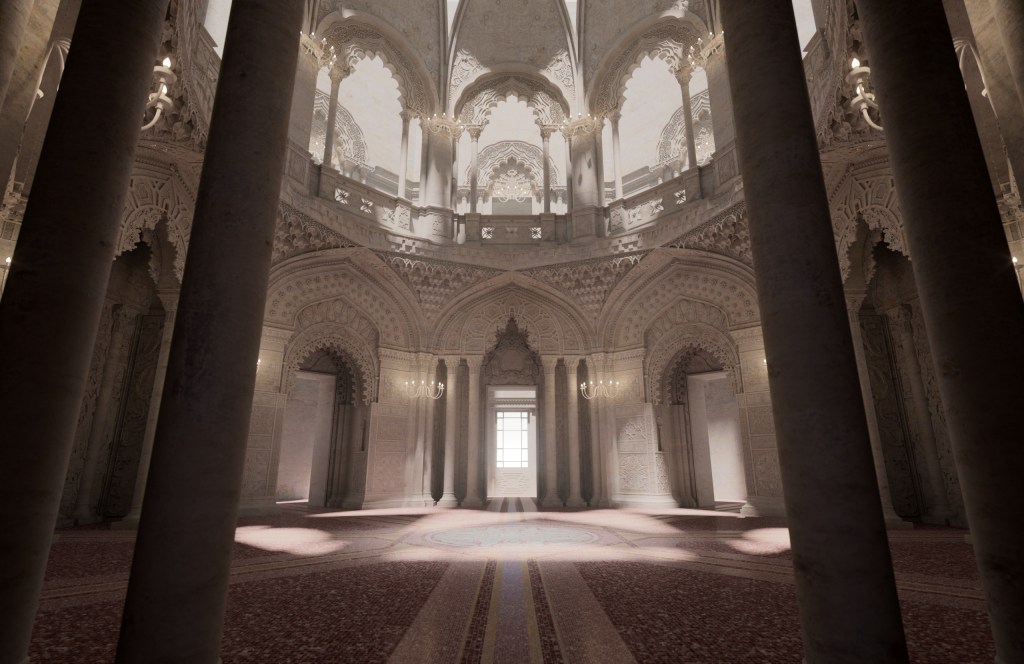
The environment draws inspiration from the Castle of Sammezzano in Tuscany, one of the finest examples of Moorish Revival architecture. The castle features 365 rooms, each with unique and elaborate Moorish decoration, though it sadly remains abandoned today.
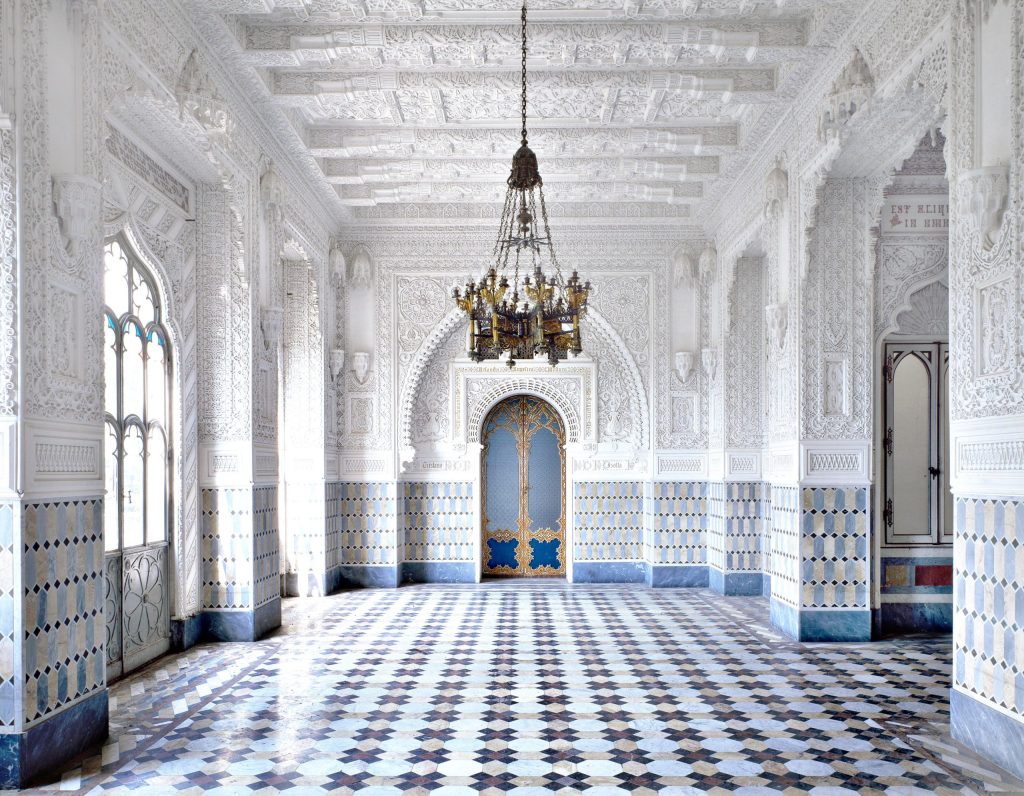

In appreciation of this remarkable interior, I began recreating several of its two-story spaces in Rhino five years ago, though it has only recently become possible to incorporate the model into animated sequences due to its size. The breakthrough that made the model usable was straightforward: using a render farm to run polyreduce operations on the model. It had not occurred to me earlier that I could utilize a render farm for Houdini operations beyond rendering alone. This saved me from countless crashes and headaches.
Rendering
Once I was satisfied with all the simulations, I exported everything as Redshift Proxies. This essentially pre-processed geometry for rendering, which saved considerable time during iterative render tests when lighting and materials were the only remaining variables at this stage. Based on test renders, I estimated it would require at least six months of continuous rendering on a local workstation with dual 4090s. This was impractical, as I still needed to use my workstation for other work during that period.
Upon further investigation, I discovered that “Bokeh” was the main culprit in the long rendering times. Simply by turning off bokeh I have cut down the final rendering time from 6 months to less than 2 months. The remaining challenge at this stage is to composite depth of field to all the rendered sequences in Nuke, which is something I have been postponing for years.
Compositing
Learning to composite in Nuke was one of my personal goals for the year, and it proved essential for this project, particularly in reducing rendering time. I use Nuke primarily for adding depth of field, lens/heatwave distortion, and chromatic aberration to the final renders.
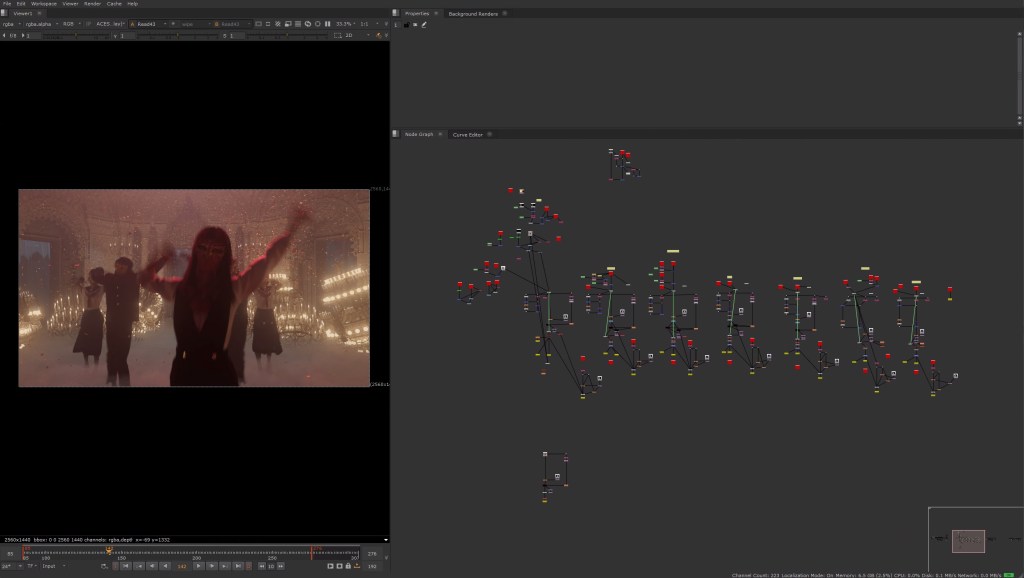
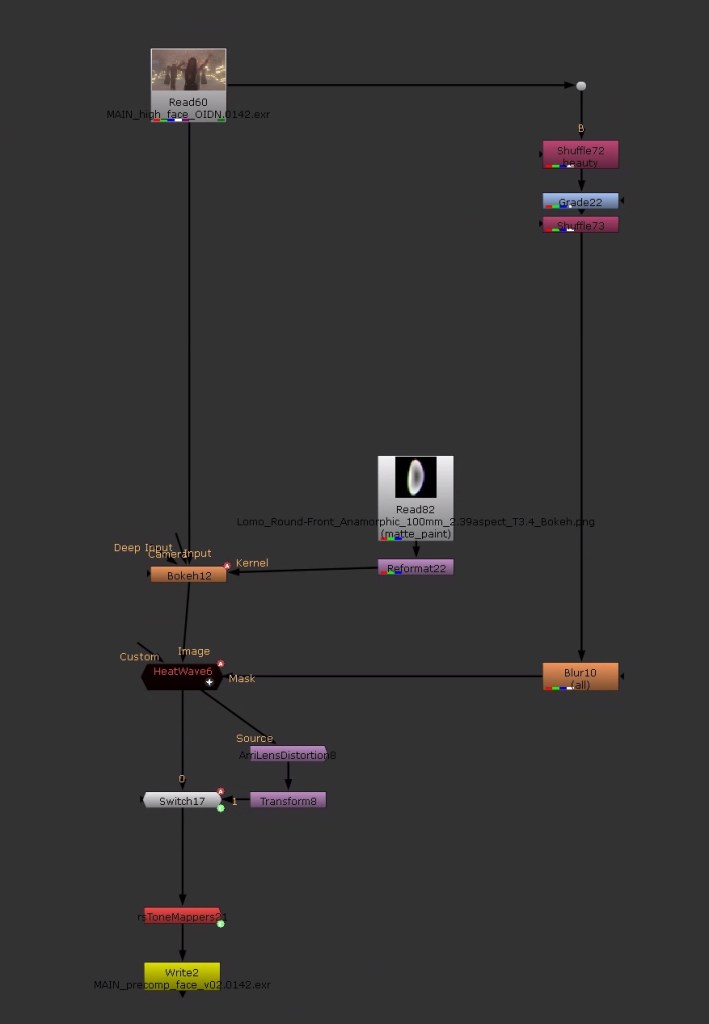
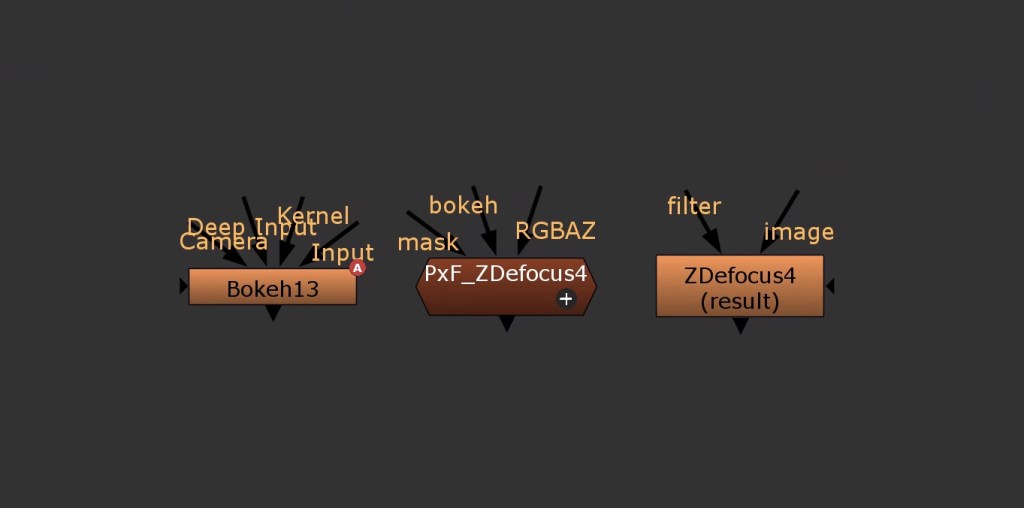
On the left is a typical script in Nuke. After testing three different nodes — ZDepth, Pxf_ZDepth, and Bokeh — I narrowed it down to either Pxf_ZDepth or Bokeh.
Pxf_ZDepth offers decent quality with nearly real-time results, making it genuinely enjoyable to use, especially with the ability to pick directly on screen and shift the focal plane to the selected spot. Bokeh produces the best quality but runs much slower than Pxf_ZDepth, and lacks interactive focal plane selection. I opted for Pxf_ZDepth to maintain workflow efficiency during early stages, then switched to Bokeh for final rendering for the best quality.
Switching to DaVinci Resolve from Adobe Premiere Pro was another personal goal for the year, as Resolve excels in all aspects of editing in terms of speed, features, and color correction. Resolve allowed me to bring ACEScg renders directly from Nuke and perform non-destructive color correction. It also includes an excellent built-in denoiser that rivals Neat Video—a third-party plugin that had to be purchased separately for Premiere Pro. Additionally, exporting videos in Resolve is multiple times faster. The only obstacle was that I had to take the time to retrain my muscle memory.
Afterthoughts
“Big Heart” stands as one of my most enduring projects to date, spanning almost a year from ideation to completion, with the primary takeaway being the meaningful improvements that can be achieved through subtle variations in hairstyle, clothing, and movement, as well as the efficiency that compositing can bring to a CG project. This project reinforced my conviction in the power of procedural workflows in Houdini—once I established the pipeline, I could iterate between Houdini and iClone to update expressions and motions without redoing any of the technical setup.
While I appreciate the intuitiveness of animating in iClone, the inability to see real-time changes in clothing and hair while adjusting poses remains a persistent pain point. I plan to integrate iClone more closely with Houdini’s native rigging to address this, particularly with Houdini 21’s new machine learning tools for simulation—a challenging path I am nevertheless prepared to pursue.
At the time of writing, Reallusion AI Render has also been released. Like many artists online, I initially held strong reservations about the flood of AI imagery and videos, as the majority lack artistic intent and represent low-effort output … the antithesis of art. However, Reallusion’s AI Render in iClone revealed a new level of control that demonstrated how artists could art direct generative AI using ComfyUI. I did a week-long experimental project utilizing a combination of CG and AI tools to bring myself and my CG model into a professional photoshoot setting.
AI was mostly used for iterating through different expressions and upscaling for the final render. Although it required significant effort to combat AI hallucination and control the output, I believe that with advances in finer controls, AI Render and ComfyUI could become powerful tools in a CG artist’s arsenal. With the release of Reallusion Character Creator 5, which introduces ActorMIXER and more detailed skin textures, creating character variations for multiple-person shots has become significantly easier. I am genuinely excited to explore integrating both AI Render and Character Creator 5 into my workflow in future projects.
Related Posts
- Festive Character Animation with iClone BuildingGen, Character Creator and Houdini
- Winner Select: A Modern Twist on Inari Folk Dance | Houdini, iClone & Character Creator
- Architect-Artist Innovates CG Film Production with CC AccuRIG, Redshift SSS and iClone