TL;DR:
- Concept & Base Models: Jeet Shah created a dual-character piece (“Rosaline” and a “Mandrake”) by rapidly generating 3D bases from AI-adapted 2D concept art using Character Creator 5 and the Headshot 3 Plugin.
- Clothing & Sculpting: Garments were simulated in Marvelous Designer, while high-poly detailing and accessories were sculpted in ZBrush.
- Texturing & Grooming: Assets were baked and layered in Substance Painter, and the complex hairstyle was groomed using Maya’s XGen.
- Posing & Rendering: CC Auto Setup for Maya was used to import the fully rigged characters, allowing him to pose facial expressions and render the final scene with V-Ray entirely within Maya.
How I selected my contest entry
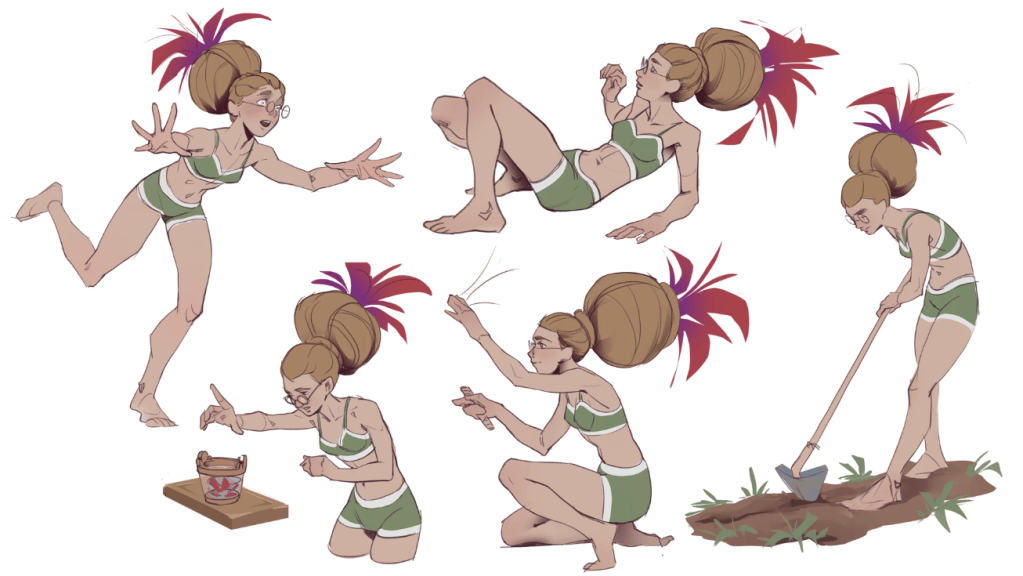
I asked my wife to pick some interesting concept art from ArtStation. And we shortlisted about 6-7 different concepts.
Now, out of those, Rosaline looked quite interesting, and I had the opportunity to showcase my grooming skills given her complex hairstyle.
One another concept was the Weird Plant, I liked the mandrake-like creature and I had the idea of putting the weird plant in her hand instead of the plant she was originally holding in the concept art.
And that could also give me another opportunity to showcase an entirely different character in the same entry and allow me to leverage the speedy workflow of Character Creator 5.
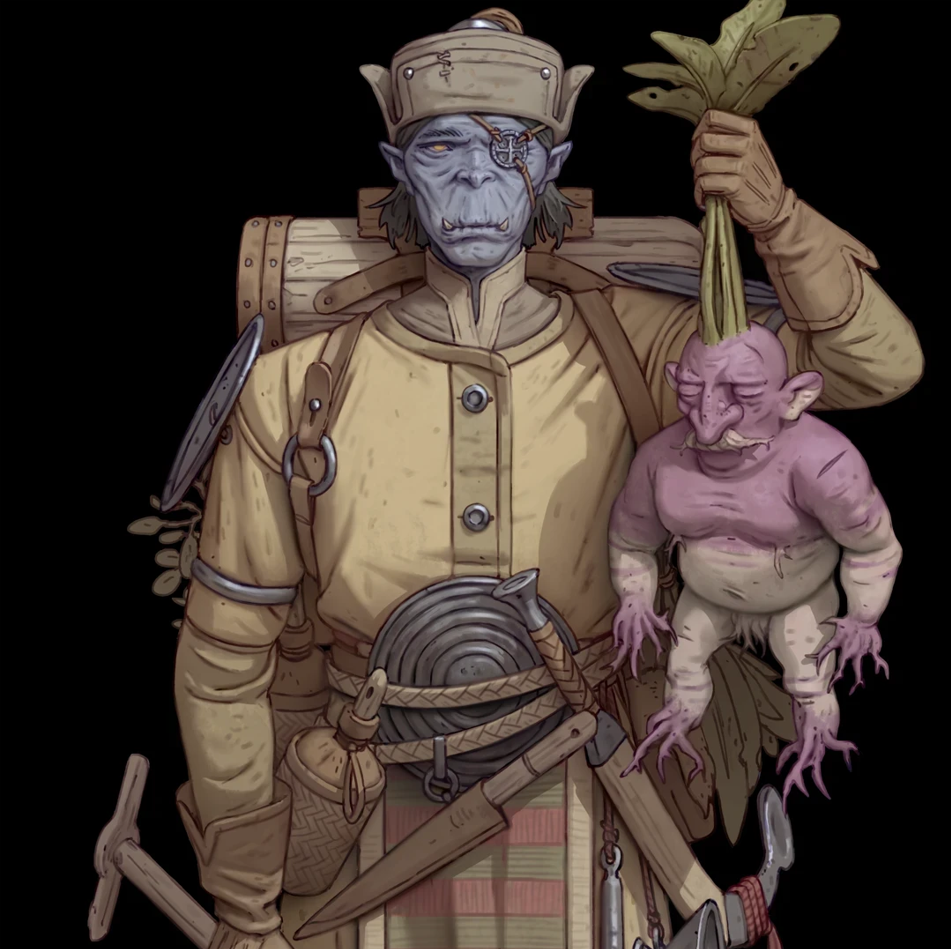
I took both authors’ permission to use their concept art for my entry, and I even got their permission to bring them to a realistic realm. I used Gemini AI to reimagine them in a realistic style from their original stylized art style. And for the contest entry, I have combined multiple software programs to reach the level of artistry that I wanted. So let me break down the process and share my tips and tricks for it.
Image to 3D Workflow: Character Creator 5 and the Headshot Plugin
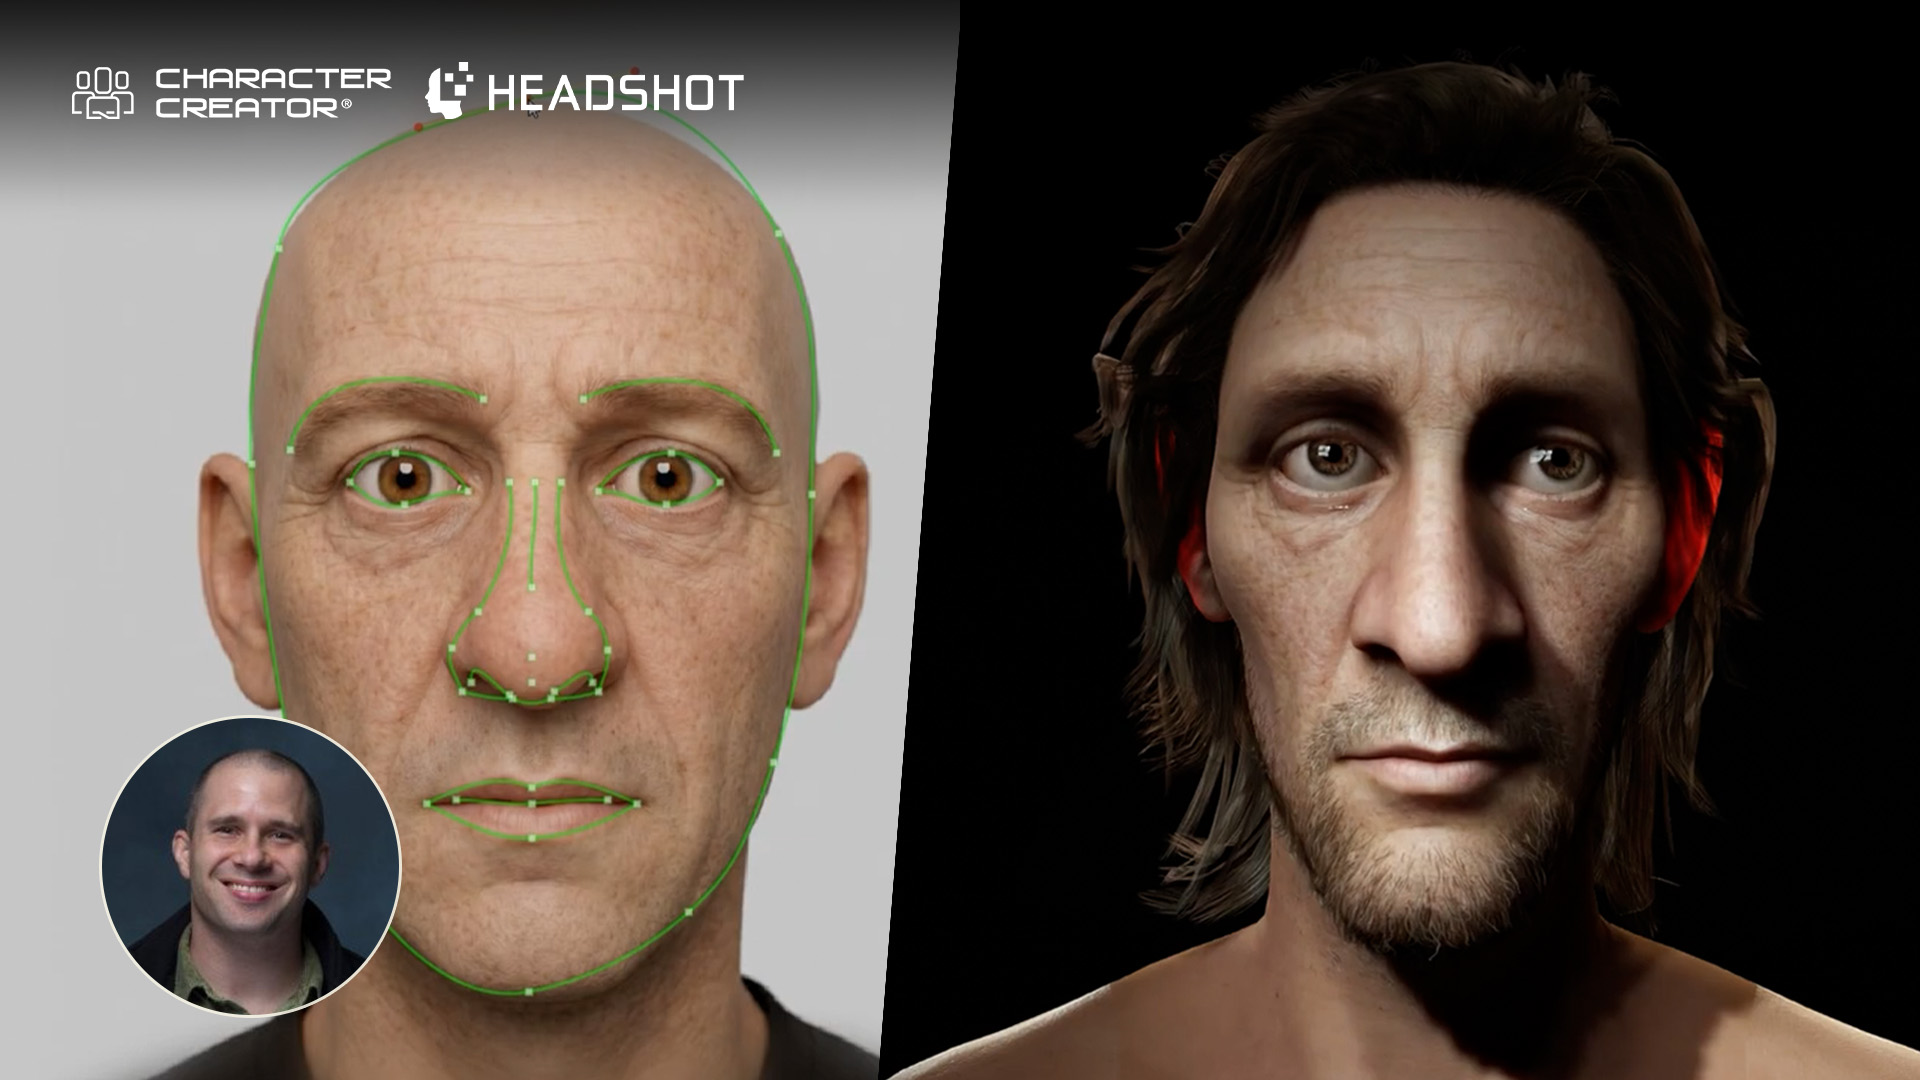
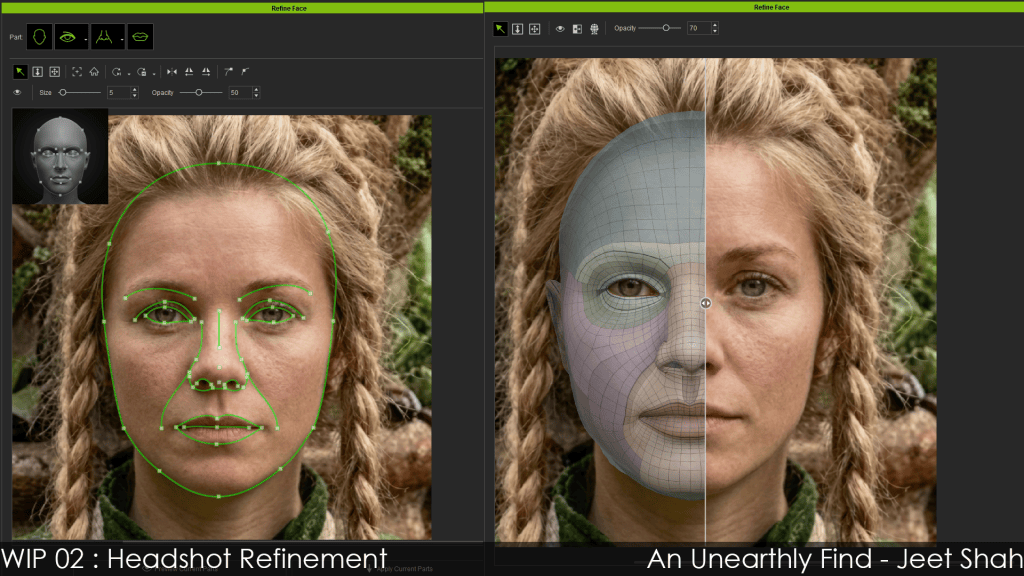
I started with the Headshot 3 Plugin to get the basic head shape and tweaked with curve tools and tweaked further with additional morph sliders. This image-to-3D workflow is completely revolutionary for making realistic 3D characters. It saves a lot of time to get the likeness, and this character also became an animatable avatar for multiple uses.
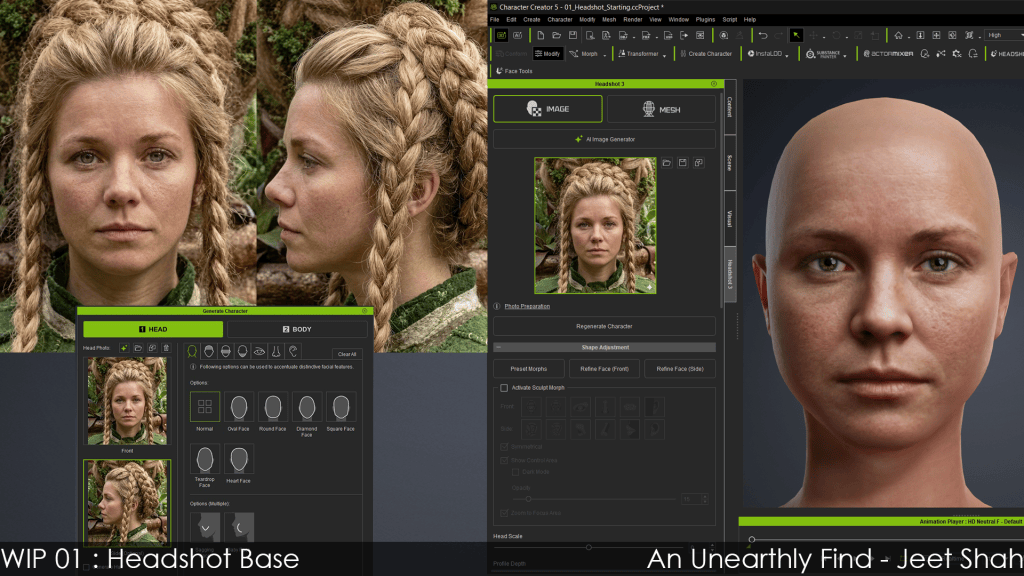
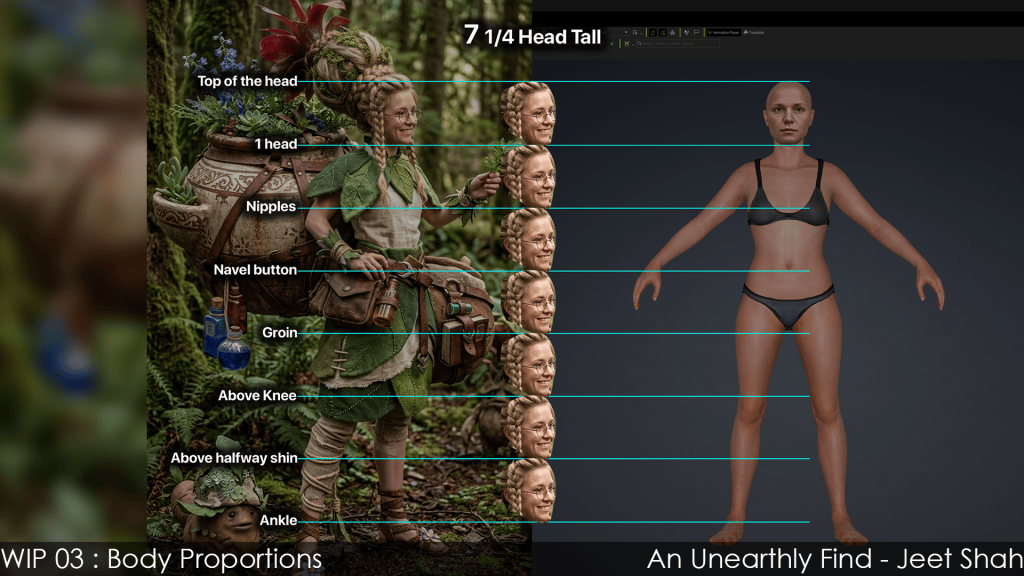
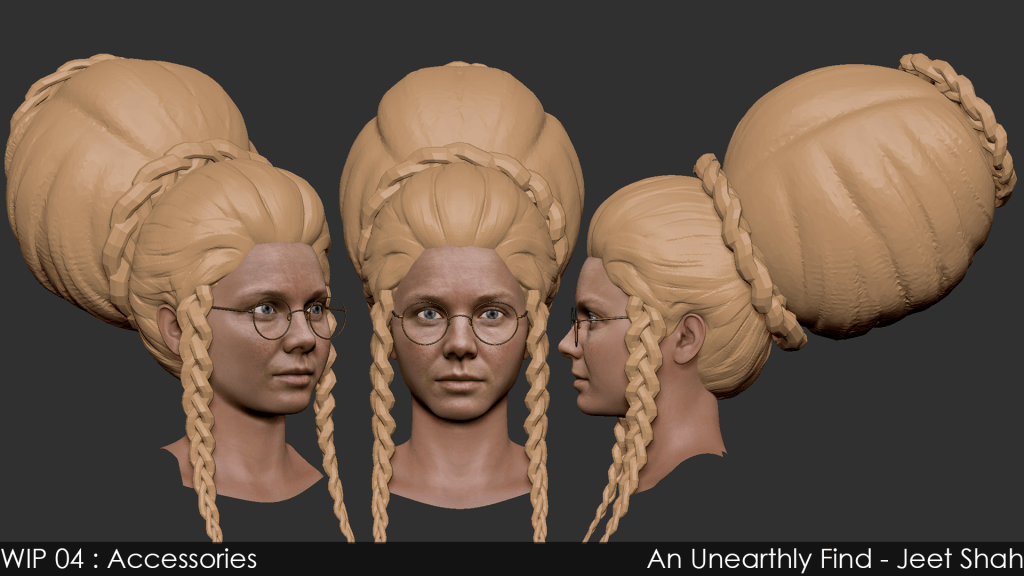
I tweaked the body shape with body morph sliders and used ZBrush to add some basic hair proxy mesh to get an idea of her overall silhouette.
Clothing Design with Marvelous Designer
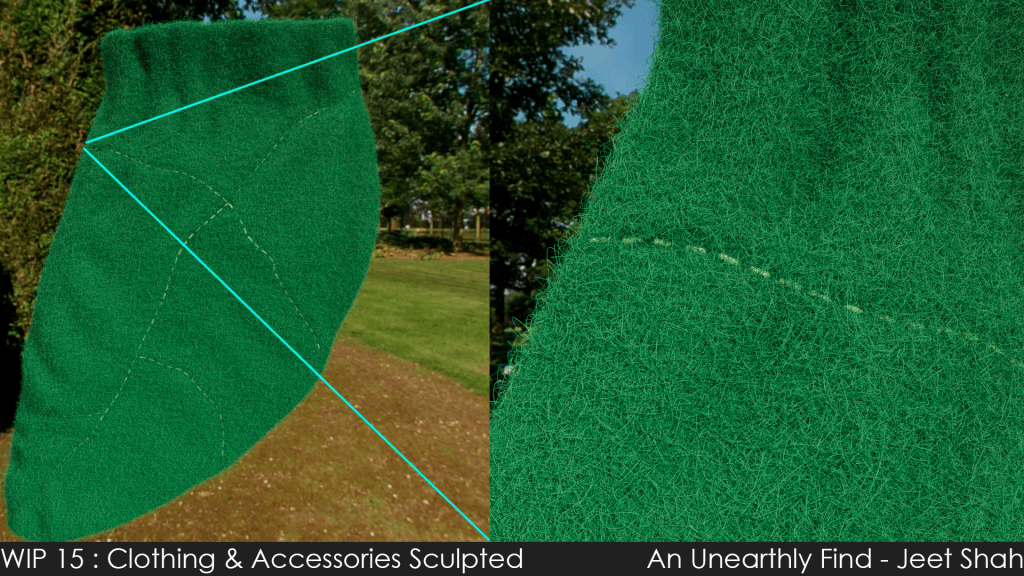
I took the finalized body to Marvelous Designer to the two pieces of garments that I was planning on making from Marvelous Designer.
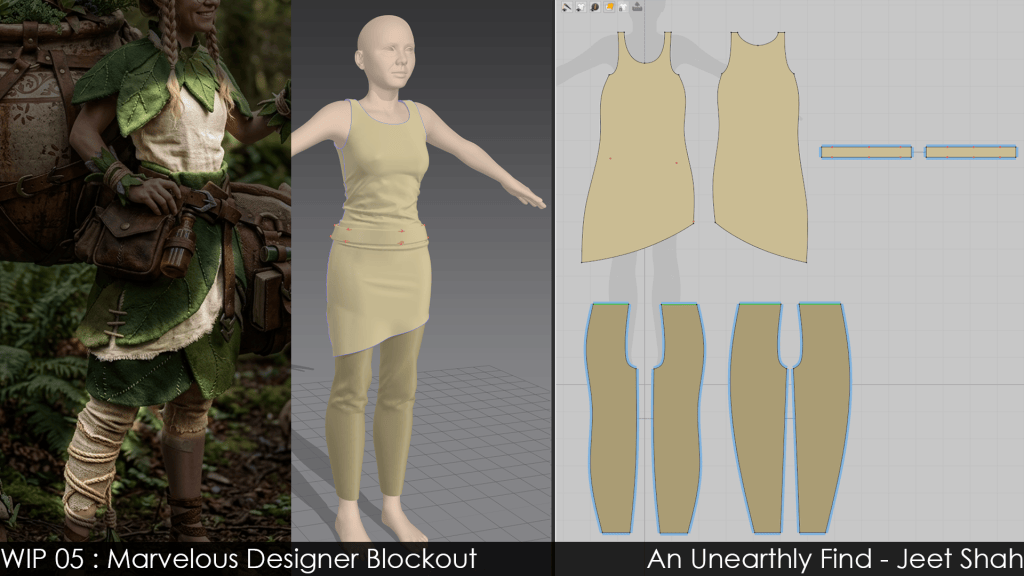
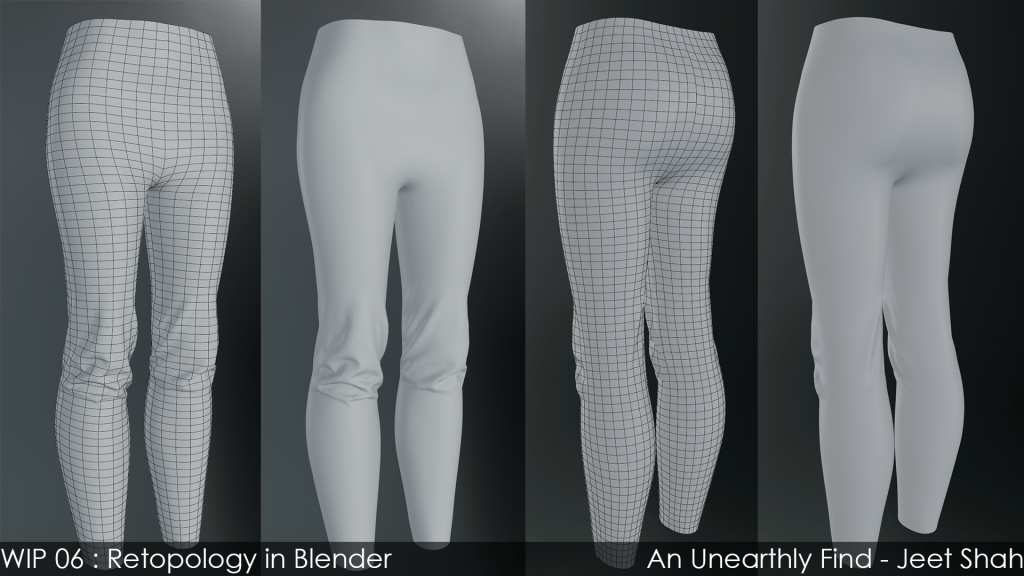
After the basic shapes of the clothes were completed, I exported them to Blender for some retopology and detail transfer for further sculpting.

Maya and ZBrush blocking for clothes and props
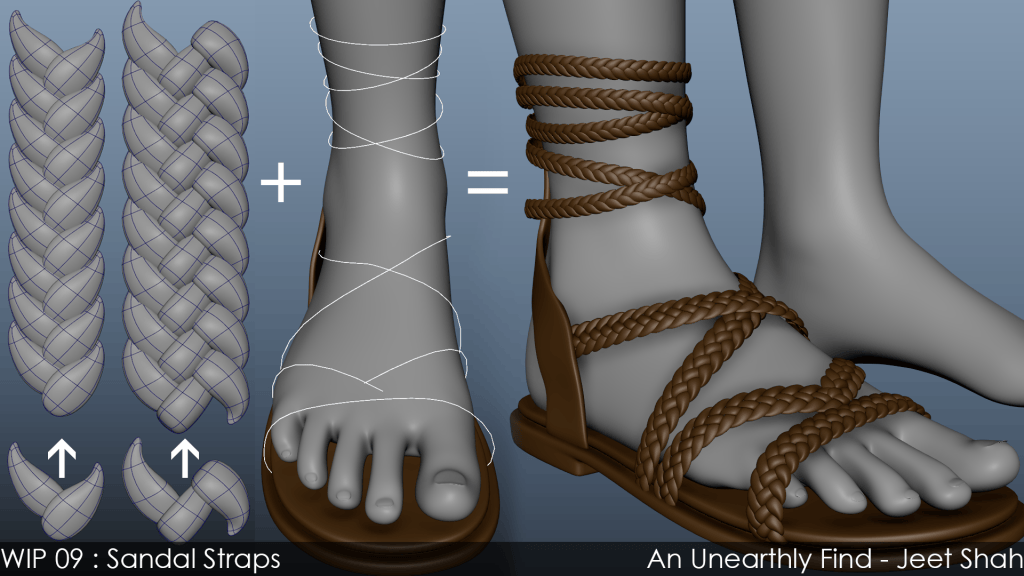
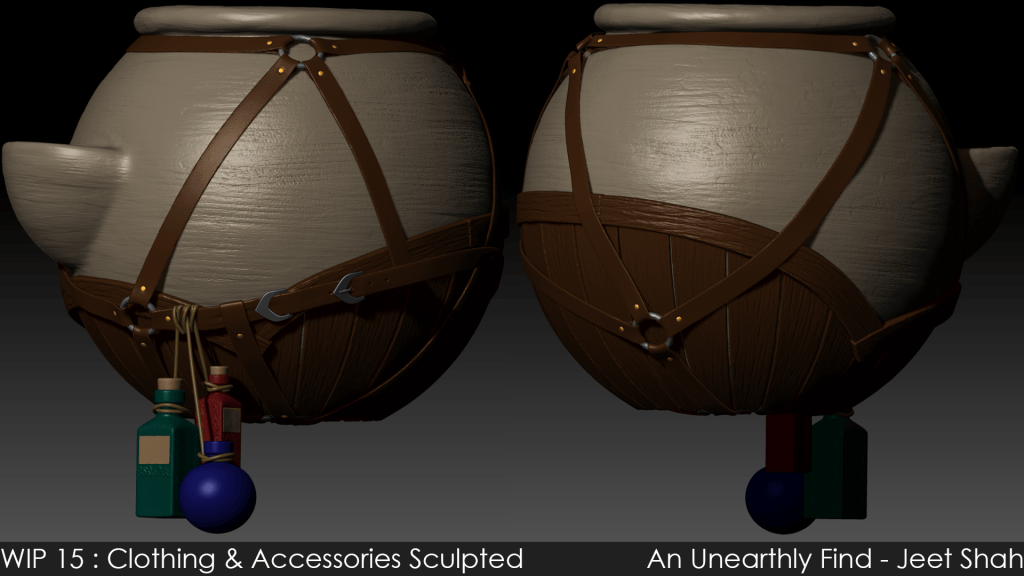
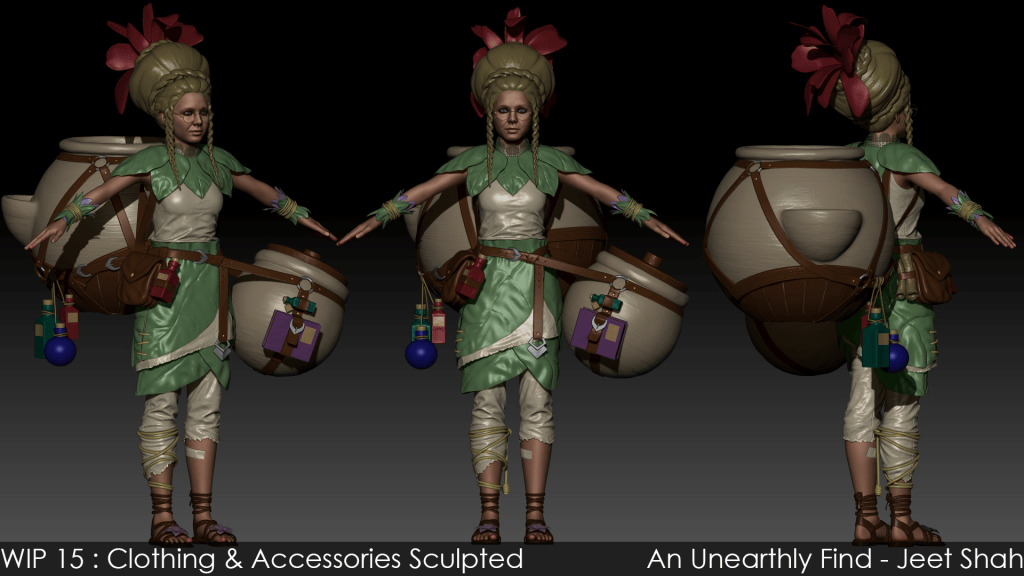
After I am satisfied with the main clothing, I can focus on the accessories, especially making all the meshes that were going on top of her garments.
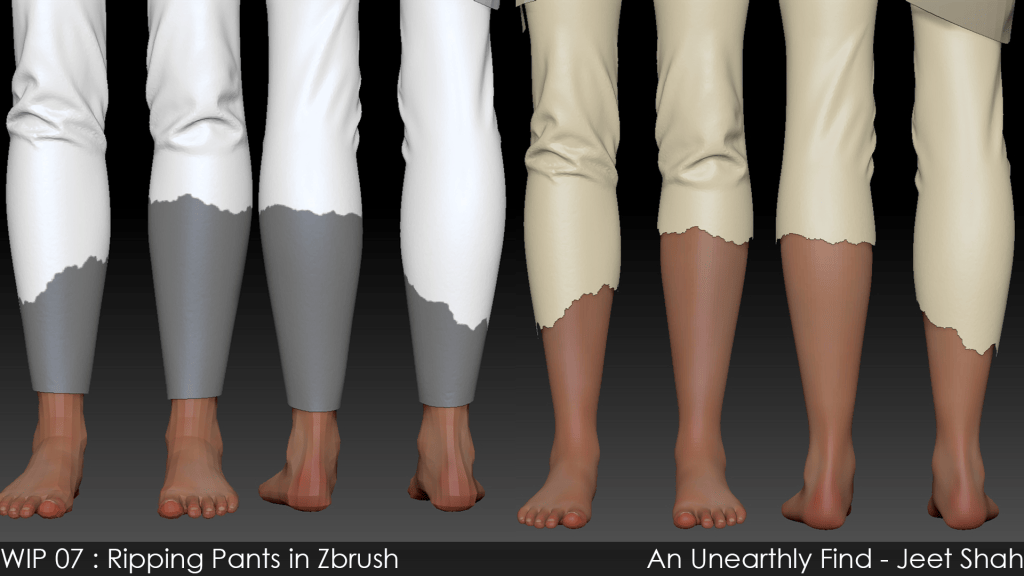
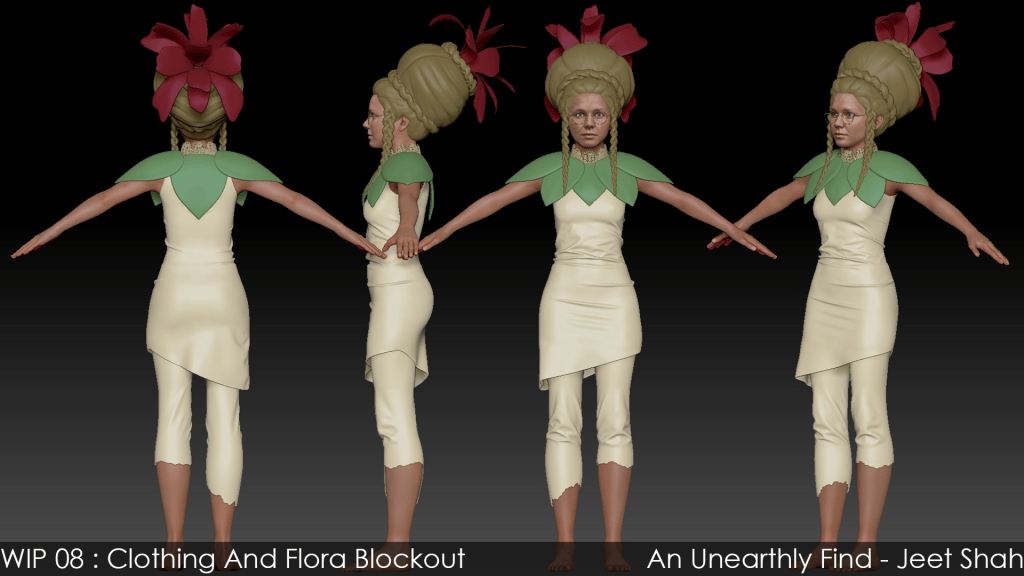
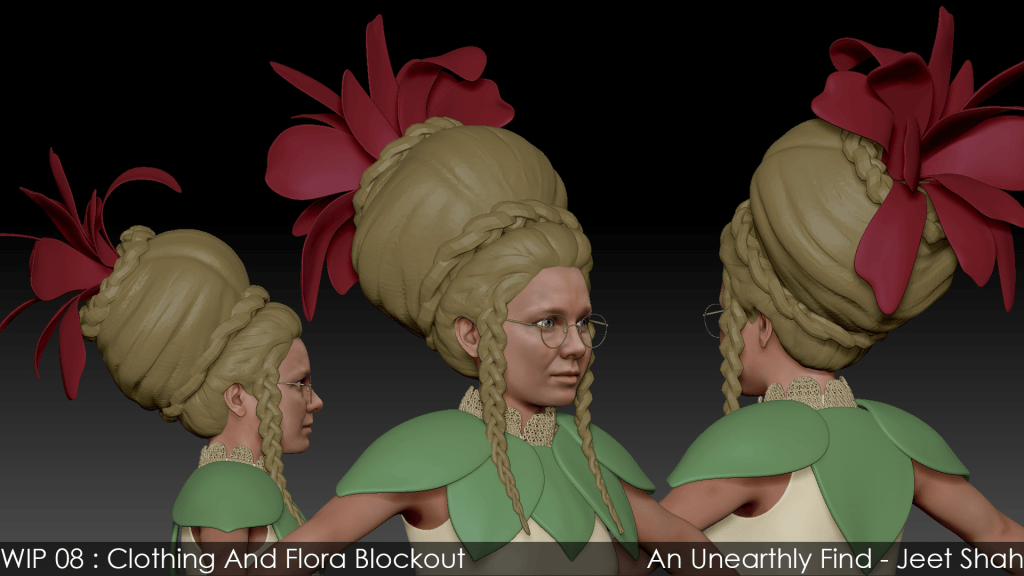
All of them either started as rough Maya low-poly blockouts or as ZBrush DynaMesh sculpts. All of them ended up being re-topologized inside Maya.

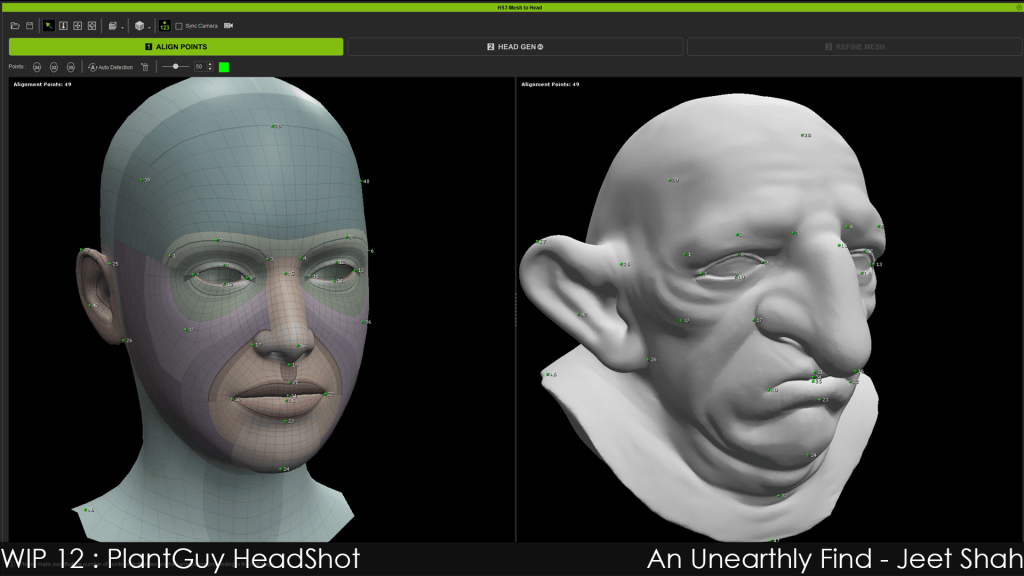
Mandrake Sculpt and making into a detailed CC character
Mandrake is my second character of the story, and it played a vital part in making my story complete. I started with a rough head sculpt for the charcater, using Headshot 3 mesh to head function.

Then, I used a Baby Preset from Character Creator 5 to get his proportions roughly where I wanted them.
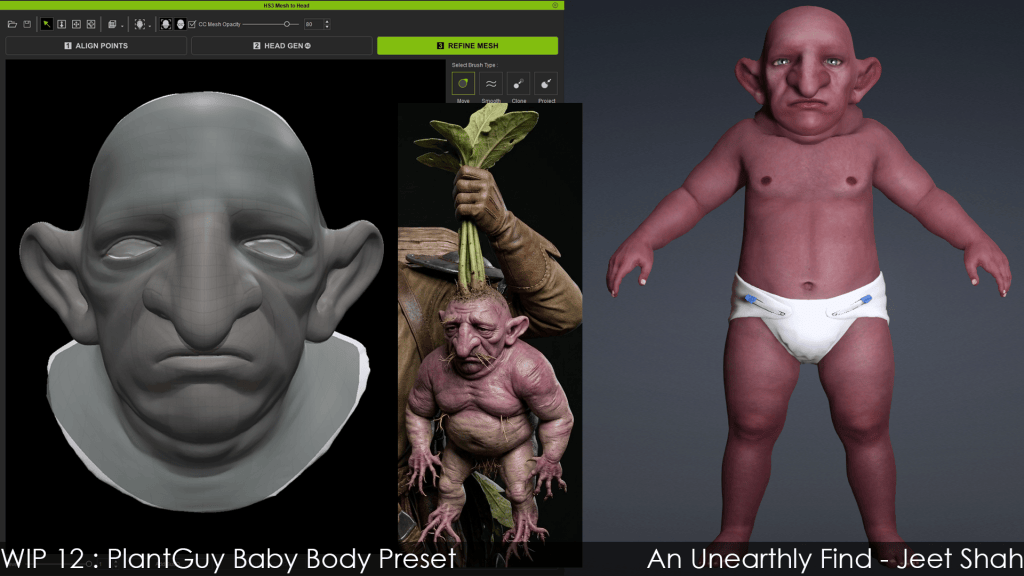
Lastly, I tweaked the proportions even further in ZBrush and Body Morph Sliders.

Detailing in ZBrush
ZBrush has always been perfect for adding extra push and carving on my character. In this case, I want my Mandrake to look senior enough and with an edgier look. So I went to ZBrush to add surface details.


I also used various detail alphas and surface noise function in ZBrush to mask certain areas and sculpt with the mask on.
“The new HD morphs in Character Creator 5 are certainly an upgrade to the previous version where the lack of base mesh resolution made the morphs a bit less detailed, the new ones stay come out quite detailed. One other feature I’ve heavily used is the new addition to Auto Setup for Maya. That allowed for a seamless experience in making the facial expressions on the characters directly in Maya where I rendered them.”
Jeet Shah — Technical Game Artist
Map Baking and Texturing in Substance Painter
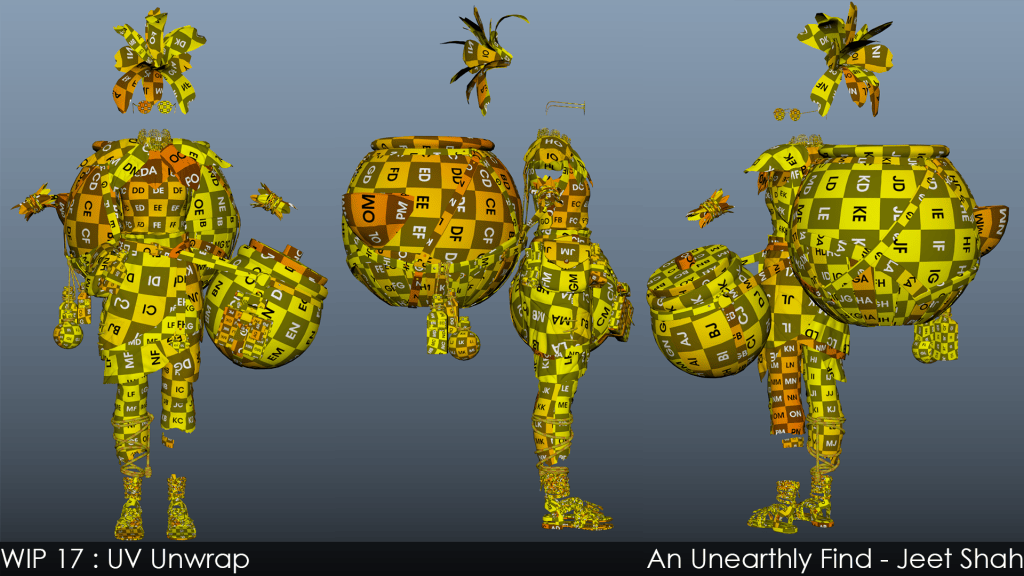
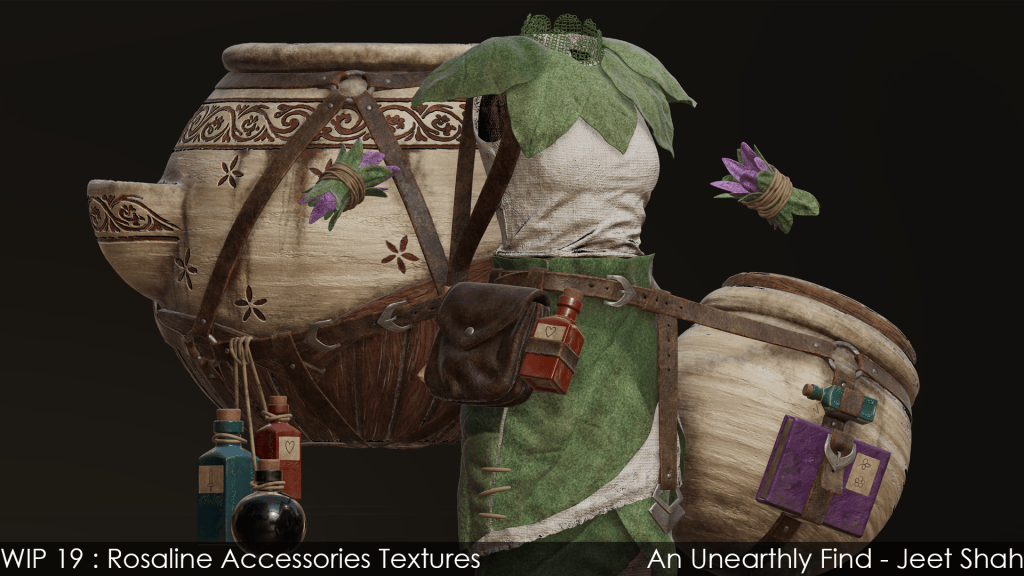
I know my character has a lot of details and accessories. So I had to look for the tools that I am familiar with and work on the UV. After UVing everything in Maya, I brought the low-poly (2nd or 3rd subdiv) to Substance Painter and baked all the maps.
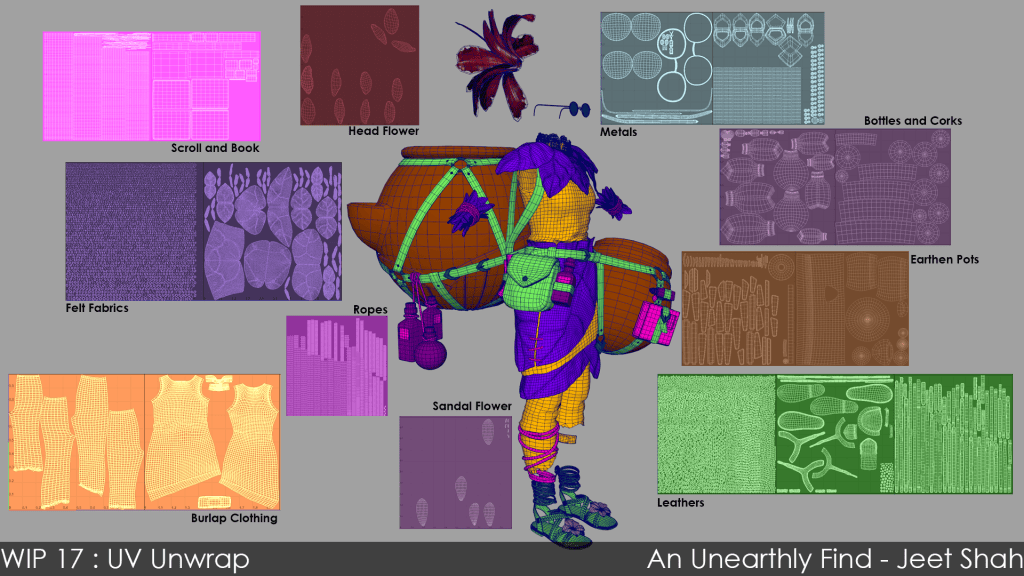
I also textured everything in terms of materials and details. The dirt layer was kept as a separate top layer to serve as a mask inside Maya, providing precise control over its coverage and intensity; this made it easy to dial the dirt down significantly in select final renders to visually convey that Rosaline had cleaned up the Mandrake when offering him berries.
Grooming with XGen
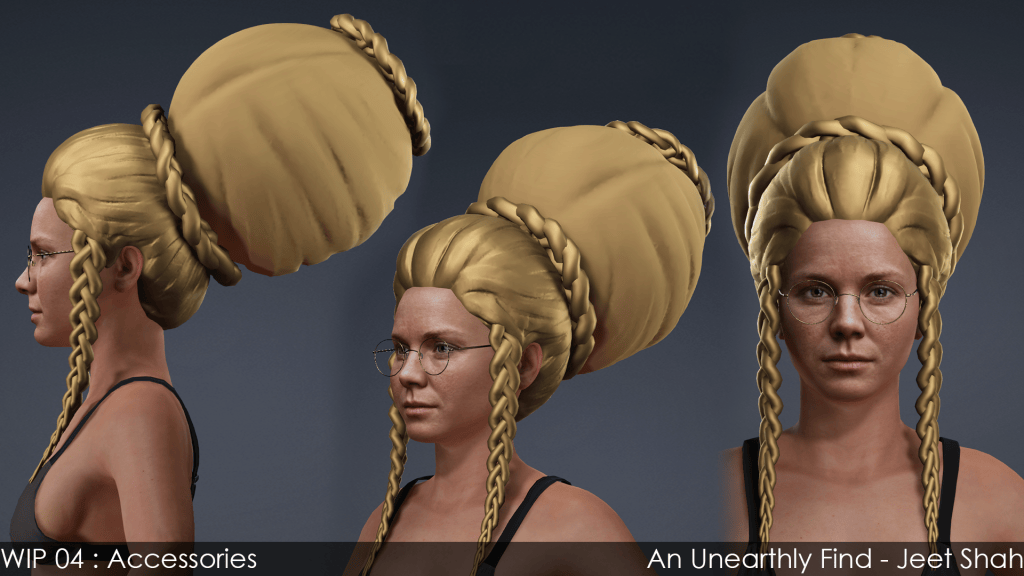
And because the hairstyle is really complicated, I feel like the 3D Hair Cards may not be achieve the best results on Rosaline. So I turned to XGen Groom Hair, starting with some basic tube geometry to get the overall shape and guide curves created for the complex hairstyle.

Tips for you: I tackled the hairstyle in chunks, and see the breakdown below. You can certainly find a lot of free tutorials online about how to make the hairstyle in chunks.

Adding Flora elements
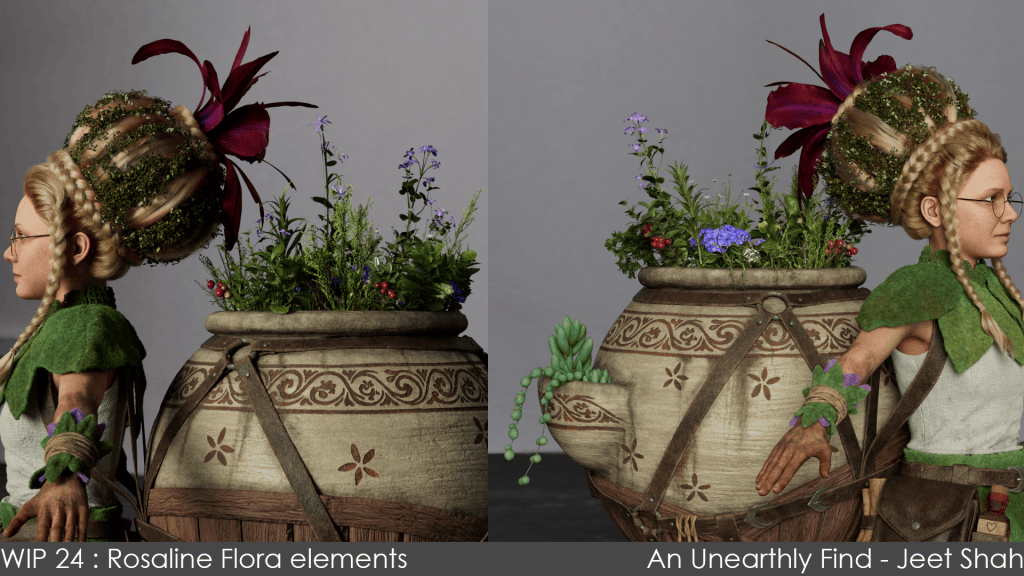
Due to the limited time, I figured out that I could use some external content to fulfill my storyline. For the plants and flora elements, I went on to search Textures.com and Quixel Megascans for some free assets. If you know how to leverage the existing items and mix and match, they will become valuable resources and add more flavor to your character.

And just like that, some plants are placed on the Mandrake’s head, and some flowers went for Rosaline’s headpot decoration. Now, I am sure that this art piece has a sense of earthy and herbal look. And of course, you can also search the Reallusion Content Store or Marketplace for more free or paid content.
Maya Auto Setup and Posing inside Maya for shots and LookDev
I used Maya Auto Setup for Character Creator to get the character with all its facial blendshapes and skeleton inside Maya.
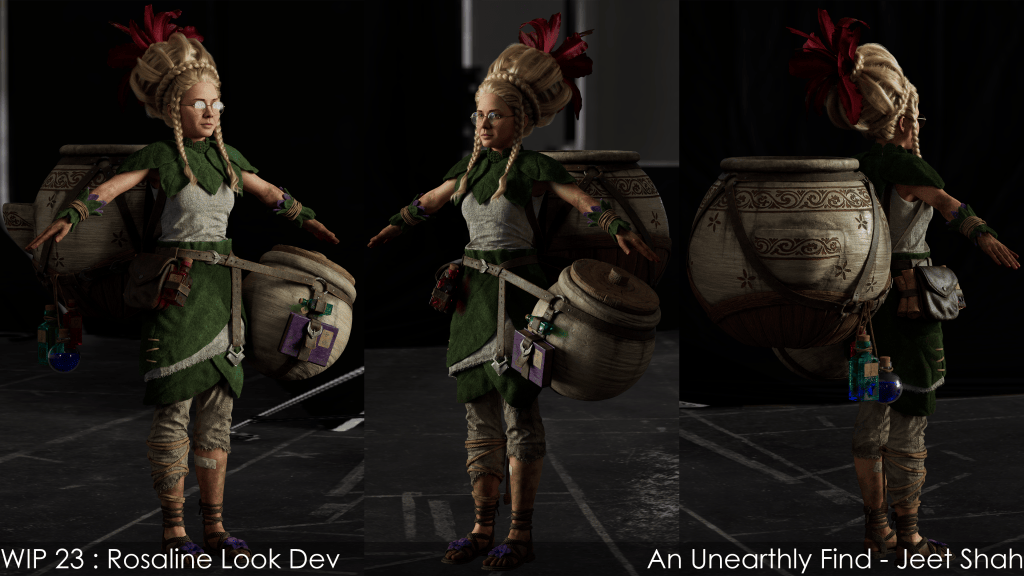
I did not use Arnold Shaders. Instead, I converted them all to V-Ray shaders, as that’s what I’m more used to. But the Arnold shaders worked well too in my initial tests, and I hope you can all try it out and select the best tools that work for you.
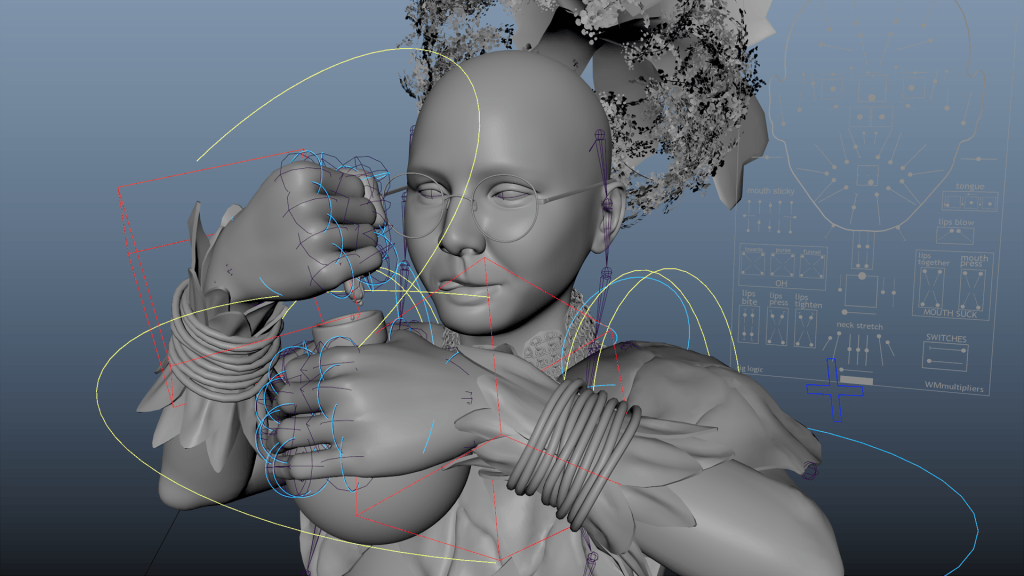
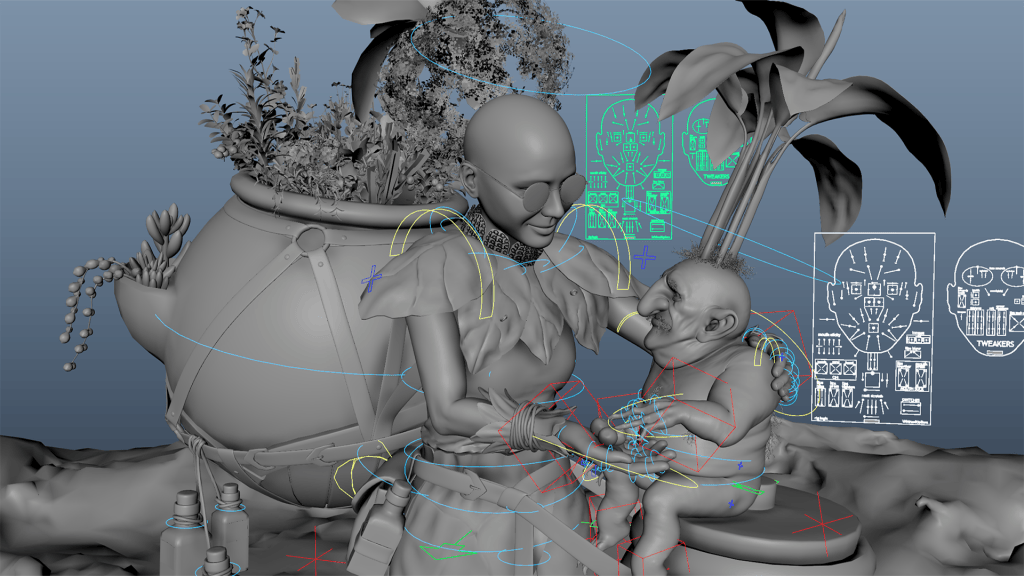
My main intention was to use the facial rig that gets added automatically with the Auto Setup, and it helped me experiment with the facial expressions directly inside Maya with the lighting and final shaders.
In my previous year’s attempt, I had to make the expressions inside Character Creator 4, and then bring them over to Maya. After that, if I needed any further tweaks, I had to redo the expressions again in CC4 or go through the hundreds of blendshapes inside Maya. But Auto Setup let me stay in Maya and tweak the expressions as needed.
Final Render
In all, I would say this image-to-3D workflow has been working in my favor. This saves me tremendous time with the character likeness, allowing me to allocate more time to the details and accessories!
Frequently Asked Questions
Q: How did Jeet Shah select and adapt the concept art for his entry?
A: He and his wife shortlisted concepts from ArtStation, ultimately combining two separate pieces: a girl named Rosaline and a Mandrake-like creature. After securing permission from the original artists, he used Gemini AI to reimagine their original stylized art into a realistic aesthetic.
Q: Which tools were essential for the initial character likeness?
A: Shah used Character Creator 5 alongside the Headshot 3 Plugin. This image-to-3D workflow generated the basic head shapes quickly, which he then refined using curve tools and body morph sliders, saving tremendous time on the initial blockout.
Q: How was the character’s complex hair created?
A: Because of the intricate hairstyle, Shah opted against standard 3D hair cards. Instead, he used XGen Groom Hair in Maya, tackling the groom in manageable chunks using guide curves and basic tube geometry to nail the overall shape.
Q: What was the workflow for the character’s clothing and texturing?
A: The base garments were simulated in Marvelous Designer and retopologized in Blender. Props and accessories were blocked out in Maya, detailed in ZBrush, and UV-mapped in Maya. Finally, everything was baked and textured in Substance Painter, utilizing layered masks for precise dirt control.
Q: How did Maya Auto Setup improve his facial posing workflow compared to previous years?
A: In previous attempts, Shah had to create expressions in Character Creator and export them, requiring him to redo the process in CC if tweaks were needed. With Maya Auto Setup, the full facial rig and blendshapes imported perfectly, allowing him to tweak expressions directly inside Maya under final lighting.
Jeet Shah
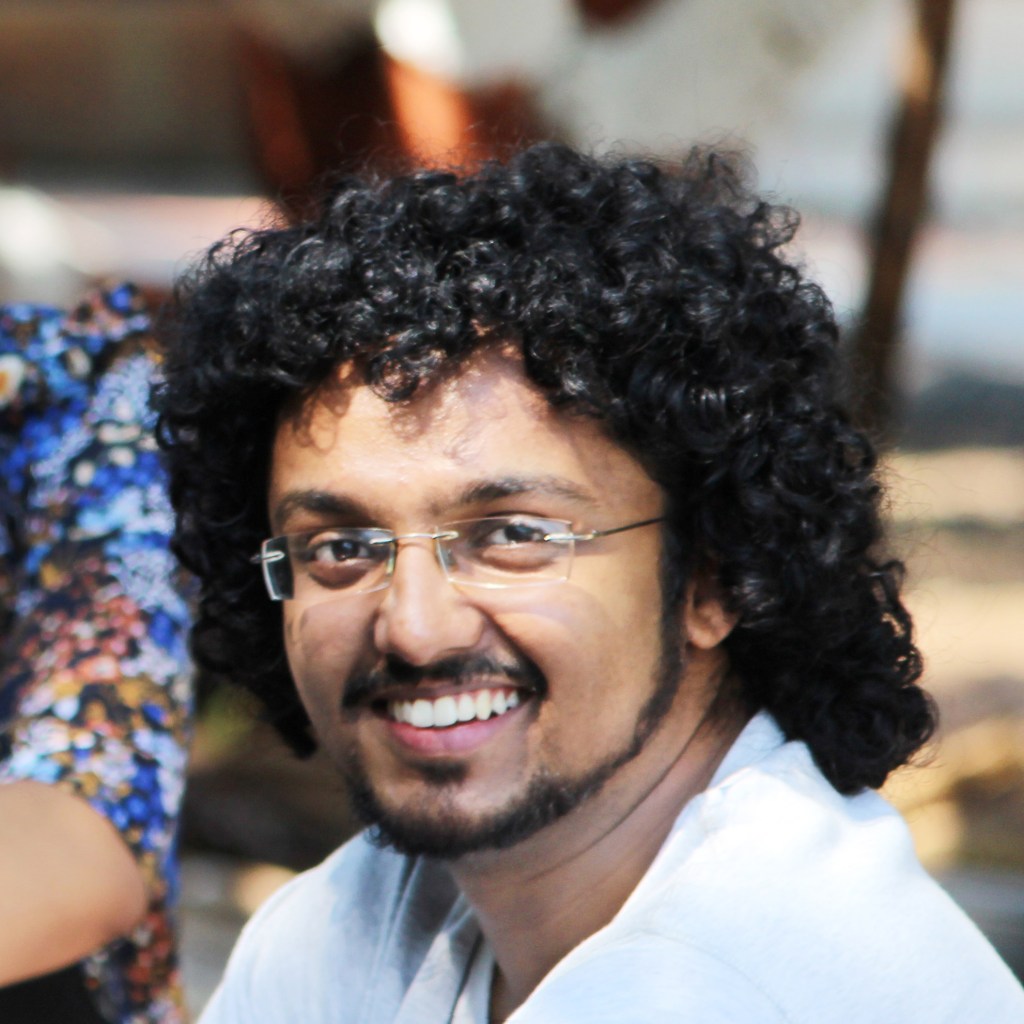
Hi there! My name is Jeet, and I am a Technical Artist specialising in characters and hair/fur grooming with over 10 years of professional experience. I come from Rajkot, India. I am currently working remotely as a Technical Artist with a London-based company. I am an IT engineer by degree and a self-taught 3d artist.


Read Next:
Mastering Photo to 3D Character Likeness with CC5 and Blender
How Adur Game Uses Stylized 3D Character Creator for Unreal
Headshot 3 Plugin Guide: AI 3D Head Generation in Character Creator