Founded in 2000, Reallusion software simplifies character creation and animation like nothing before. Major products include Character Creator (CC) for character creation, iClone (iC) for facial and body animation, and ActorCore an asset store dedicated to scan-quality characters and AAA mocap animations.
In early 2021, Reallusion introduced the Blender Character Pipeline, a streamlined workflow between iClone, Character Creator and Blender. Now, Reallusion is commiting to the Blender Development Fund and becoming a Corporate Silver partner while planning a string of new features that will harness the best of both programs to unlock entire new synergies.
Reallusion’s 2021 iClone Lip Sync Animation Contest launched in July 2021 with the aim of delivering the best 30-second talking animations that showcase lip-sync, facial animation, and great characters. Within 3 months, there were 468 submissions documented among 60 countries. Contestants were inspired by comedy, movies, music videos, storytelling and remaking them into detailed talking animation performances. Besides using iClone and Character Creator software, the contest also welcomed diverse entries using different renders and engines including Blender, Cinema4D, Unreal, Unity, and more.
The final result exemplified iClone’s game-changing facial animation workflow for accurate voice lip-sync, puppet emotive expressions, muscle-based face key editing, and professional iPhone facial data capturing. A third of submissions using Blender and MetaHuman demonstrated that iClone is a highly compatible facial animation pipeline tool used by Unreal MetaHuman and Blender users, along with Replica’s AI-voice plugin that made talking animations easier than ever.
“At Reallusion we are proud to see an influx of high-level artists that are adopting Character Creator and iClone into their pipelines. The contest proved the viability of using iClone’s powerful lip-syncing and facial animation tools in professional production, when time and budget are of the essence. We congratulate all who participated, and look forward to bringing more innovations to the industry.”
– Enoc Burgos, Reallusion Director of Partnership Marketing
The 2021 iClone Lip Sync Animation Contest was hosted by Reallusion and sponsored by industry leaders including; NVIDIA, Epic Games, Noitom, Rokoko, Replica Studios, Pixologic, CLO Virtual Fashion Inc, FXHome, Boris FX, and Razer. Through this contest, iClone and Character Creator prove to be one of the most powerful facial and body animation pipelines for all animators.
Watch Overview Video:
WINNERS
The iClone Lip-Sync Animation Contest 2021 offered cash and prizes valued at over USD $40,000 thanks to A-list sponsors that partnered with Reallusion.
BEST CHARACTER DESIGN CATEGORY
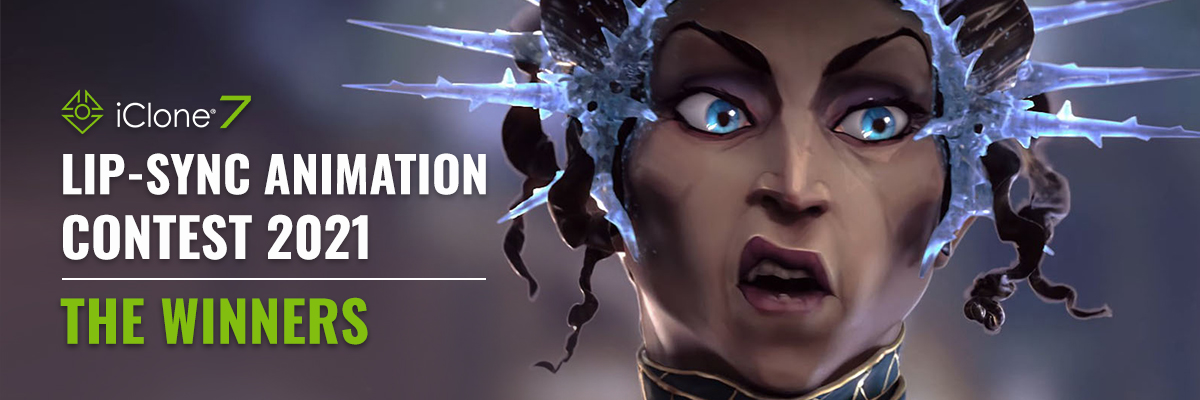
1st Place: Ice Queen
By Loic Bramoulle, Cinematics for indies and AA studios. Render: Blender
“I used an iPhone XR for capturing a base performance, while simultaneously speaking over the audio clip, and video capturing my face, which allowed me to manually polish the expressions more easily while aiming for hand-animated, keyframed facial animations. The process was pleasingly fast, as the motion capture was essentially used as an animation blocking, but without all the manual work. Polishing it by hand wasn’t as fast, but it seems much more efficient overall than animating from scratch.” – Loic Bramoulle
2nd Place: Do Right, Jessica Rabbit
By Jasper Hesseling, Story loving, professional 3D Artist. Render: iClone
“Using Reallusion’s tools to breathe life into my characters has been a thrilling experience. They can save time, which is a huge boon, but they work so well that it makes daunting tasks enjoyable. Using iClone AccuLips for the 2021 contest was incredible! The accuracy blew my mind and combining it with iClone Motion LIVE and the Live Face iPhone app for layering allowed me to do far more than I expected.” – Varuna Darensbourg
“iClone has been a game-changer for me. I love the ease of use for lip-syncing and the ability to fine-tune facial animations using facial keys and facial mocap. Amazing stuff. Thank you.” – Jason Taylor
SPECIAL AWARDS & HONORABLE MENTIONS
The judging process for the Lip-Sync Animation Contest 2021 proved to be quite difficult and took many hours of deliberation. Besides the top 3 placements from Best Character Animation & Best Character Design, Reallusion also selected 41 winners for special awards and honourable mentions. See the Winner Page for winner details and showcases.
Discover how director Solomon Jagwe transformed ActorCore’s 3D people into an all-singing and dancing music video audience.
(Image credit: Solomon Jagwe)
Solomon W. Jagwe is the co-Founder of Sowl Studios and the creator and director of The Adventures of Nzoka and Nankya, an app and animated series that helps children and adults learn Luganda and other Ugandan Languages. Jagwe has a passion for writing stories and creating 3D animated short films and cinematics, with his most recent endeavours seeing him use Unreal Engine and iClone to create his content.
Jagwe latest project saw him transform ActorCore’s 3D people into an all-singing and dancing crowd animation for a music concert. Here he reveals how…
The challenge
“I was super excited when Reallusion released the first batch of the ActorCore Characters, mainly because I had this vision of creating a music video featuring a MetaHuman lead singer with a fun audience dancing to the song he was performing.”
“My idea was inspired by the Bob Marley track, No Woman No Cry. I wanted the video to feature a group of Non-MetaHuman characters attending a concert, with a song encouraging them not to worry or cry because they weren’t MetaHumans. So I wanted to play on that idea, and have fun with the line, “No Metahuman, No Cry”.”
The final result
Before we get into how Jagwe created the video, let’s take a look at the final result showing ActorCore characters as a 3D audience:
The characters that you see in the background are all from the ActorCore series, animated in iClone, using ActorCore mocap, Perception Neuron Studio mocap suit data and rendered in the Unreal Engine.
Creating the song
“The first step to creating the final video (above), was to come up with the ‘No MetaHuman, No Cry’ reggae song. At first I tried to create the song myself, but it didn’t have quite the sound I was going for.
“So I partnered with a very talented Ugandan artist, Andereya Baguma, whose awesome music I chanced upon when doing some research on YouTube. I wrote the lyrics, and then sent him a recording of myself doing a rough beatboxing version so he could understand the idea. He did such an awesome job with the production, creating an unbelievably cool track where he sang the lyrics and matched them up perfectly.
“Once the song was finished, I was able to turn my attention to bringing the music to life. The time had come to create a 3D audience – and that’s where the ActorCore characters came in.”
Creating the 3D audience
“To gather the characters for the music video audience, I first logged into my Reallusion account. This then automatically logged me into the ActorCore catalogue, after typing in the ActorCore website in my browser. This is a key step if you want to browse and purchase the ActorCore characters.
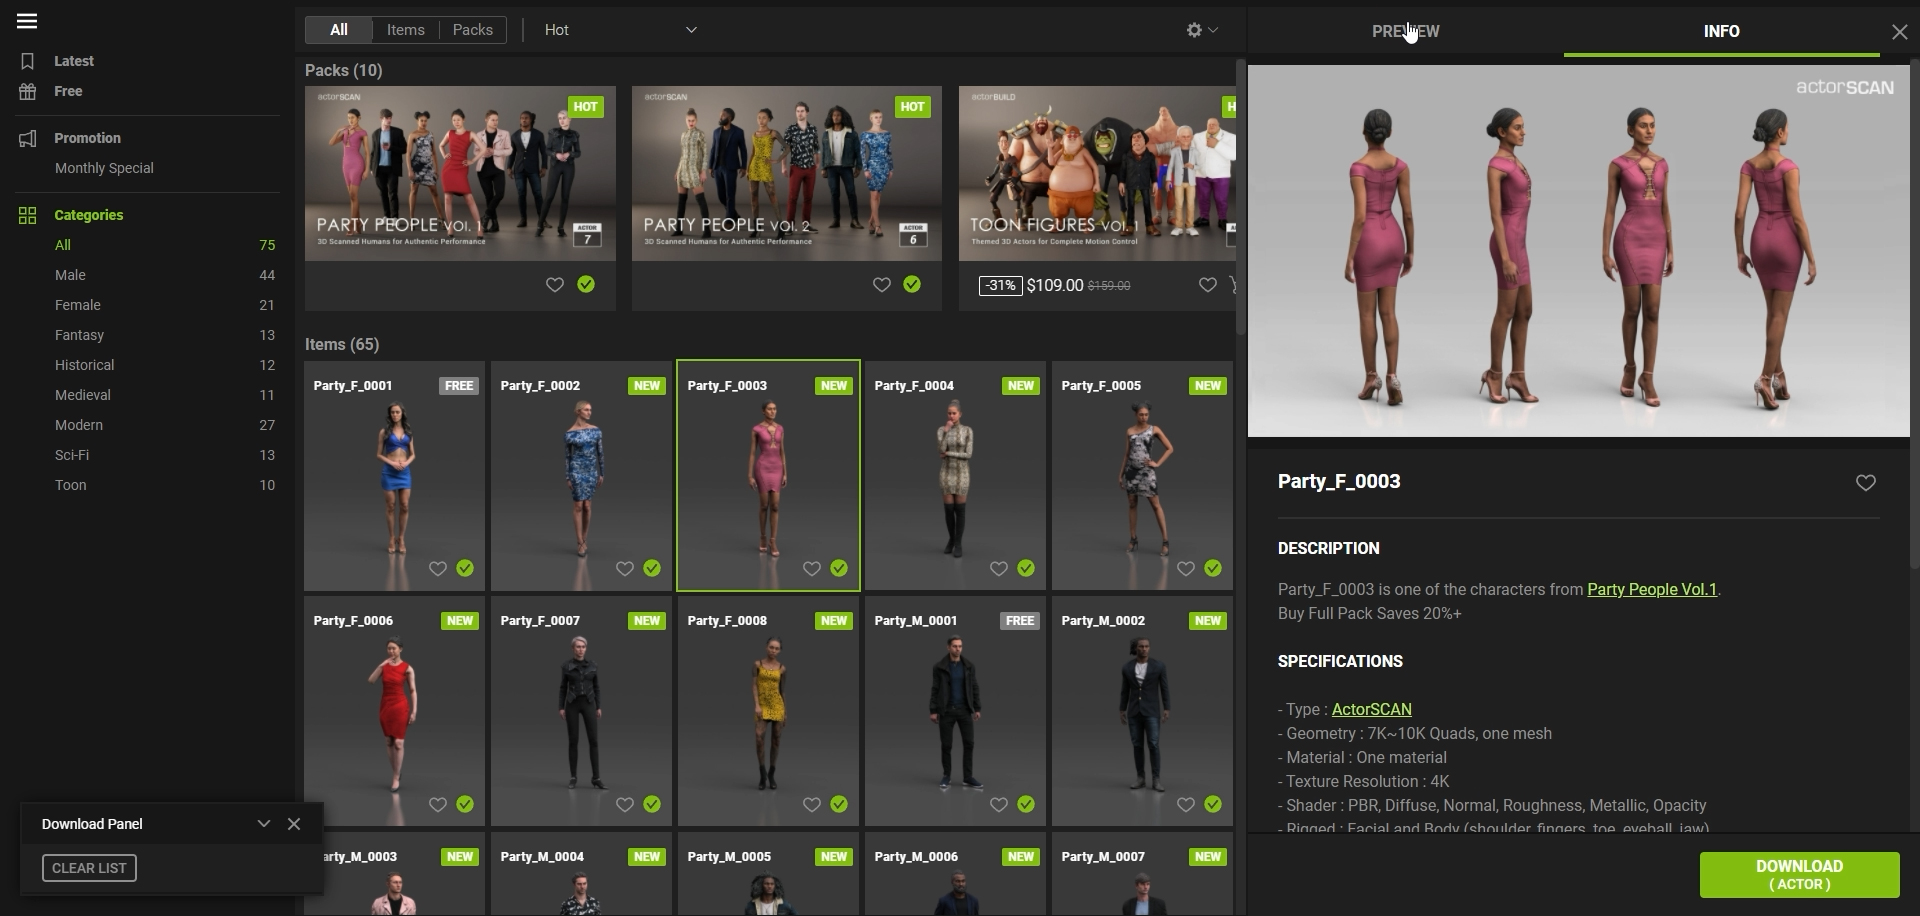
“The ActorCore catalogue offers a wide range of beautifully diverse, textured and fully rigged characters. I started by choosing the Party People Vol. 1 and 2 and the Casual People Vol. 1 packs.
“Probably the coolest thing about ActorCore is it allows you to select characters you like, and then preview it and test the different mocap animation files on the ActorCore catalog, right there in the browser. You can also download the characters in several file formats.”
“In the top right-hand corner of the ActorCore interface, there is an Info tab, which, when selected, shows more details about the character chosen. The ActorCore photo scanned characters are between 7K-10K polygons, which makes them perfect for a crowd animation setting. I was so relieved when I saw that because I needed my audience to have at least 30 characters.
“Another really important vision for my video was the characters being able to sing along to the ‘No MetaHuman, No Cry’ song. So I was pleasantly surprised to find out that the ActorCore characters were already prepared and rigged for facial animation.
“My plan was to edit the body and facial animation of the character in iClone, so chose the iClone download option for all the characters I needed. The iClone option makes it possible to download your character selection into your Smart Gallery.”
“Once downloaded, the characters become available for pulling into the iClone interface for facial and body animation, so I went ahead and loaded all of the ones I wanted.”
Animating the characters’ bodies
“I needed some of the characters in the audience to dance in rhythm to the song, and for that I turned to my Perception Neuron Mocap suit. I suited up, played the song, and acted out the full song while recording in Axis Studio. I did multiple takes so I could have some variation of the background characters waving their arms in the air.
(Image credit: Solomon Jagwe)
“For the foreground ActorCore characters, I relied on the ActorCore mocap pack of the nightlife. The files are nicely looped, which works very well during the playback in Unreal Engine. After I created the mocap animation files in Axis Studio, I recorded the motion capture to a stand-in character in iClone, using Motion Live and the Perception Neuron plugin.”
I saved the iClone mocap files from the Perception Neuron Suit session, into the Motion folder so I could repurpose them and apply them to each character. I then created an entire scene, setup to mimic what the set was going to look like in the Unreal Engine, and applied mocap data to each character.”
I was also able to take advantage of the 3D animation tools in iClone to adjust the Perception Neuron data. This gave me the ability to alter the height and spacing of the mocap data of the characters waving in the air.
Animating the characters’ faces
For the facial animation, I used an iPhone X, together with the Live Face plugin in Motion Live to record myself singing the ‘No MetaHuman, No Cry’ song from beginning to end.
“I played back the stand-in character with the dancing mocap while I was recording the facial motion capture. Now I have to use the Default Facial profile instead of the Artkit version as ActorCore characters, however, Reallusion said they will make them available in early 2022.”
I saved the edited facial motion capture along with the body into the MotionPlus folder, so I could use it on all the other characters in the audience.
Sending the ActorCore Characters to Unreal Engine
After perfecting the crowd’s 3D animation of the ActorCore characters in iClone, I proceeded to export all them all as FBX files with animation enabled, covering the full range of the timeline.
I made sure I had the CC Setup/Autoconvert plugin installed in Unreal Engine, so the materials and character rigs could be imported and formatted properly once imported into the software.
“After successfully importing all the characters into Unreal Engine, I moved them into their different locations to face the main MetaHuman lead singer on the stage. I then created a level sequence and dragged all the characters onto the timeline so they could line up with the sound track.
“All the animations were tested to make sure they were working properly in Unreal Engine 4.26. I then moved to Unreal Engine 5 as I wanted to take advantage of the beautiful lighting offered by Lumen in the software”.
(Image credit: Solomon Jagwe)
“After setting up all the lighting in the scene, I was able to do a test to see if the animation was still working. When I saw the ActorCore audience dancing away in realtime in front of the MetaHuman lead singer, I was super-thrilled! All my hard work had paid off.
“The ActorCore characters looked awesome in the Lumen lighting, and the facial and full-body animation worked very well while the song was playing in Unreal Engine. I was really impressed to see all this come together from ActorCore, to iClone, and then to Unreal Engine.”
(Image credit: Solomon Jagwe)
The final render
“Once happy with the entire animation, I added the sequence to the Movie Render Queue and rendered out the final animation at 1920×1080. The render speed blew my mind and the final result speaks for itself.”
(Image credit: Solomon Jagwe)
“I am extremely grateful to Reallusion for creating a brilliant library of low polygon yet fully rigged ActorCore characters. It means filmmakers and storytellers like myself have access to an awesome resource for easily creating background characters for our projects.
“I highly recommend the ActorCore characters for any artist working on similar projects. So go ahead and give them a try. Reallusion offers a number of free versions for you to try before you buy. Check out the amazing new characters and mocap files from the ActorCore Library here.
Eric Andresen – Cinematographer | Producer | Writer | Owner of Gypsy Productions
Eric Andresen
Eric Andresen is the owner of Gypsy Productions where he creates narrative content, commercials, and corporate videos for small businesses and Fortune 500 Companies.
Eric has been involved in filmmaking from a young age, starting out in the 1970’s on his father’s Super 8 Camera. He received his BA in Cinematography from Eldorado College in 1985. He mentored under Andrew Jackson ASC (Rockford Files, Columbo, M.A.S.H. et al).
Eric’s production company moved into the creation of 3D digital content several years ago. The Reallusion pipeline of Character Creator, iClone, and 3DXchange has allowed Gypsy Productions to elevate the level of their production quality while maintaining tight deadlines.
“Reallusion Software has given Gypsy Productions the tools necessary to achieve high level animations in a short time frame. We have been able to concentrate on the story and product rather than focus manpower, time and money on activities that, in the past, were very time consuming. The ability to jump right in and start creating with a seamless workflow was a huge benefit. The user interface, available documentation, and numerous tutorials answered any initial questions. The Reallusion team has also been very approachable, responsive and professional, just like their products.”
Eric Andresen – Cinematographer | Producer | Writer | Owner of Gypsy Productions
Q: Greetings Eric, and thank you for being part of the Reallusion Feature Stories. Kindly introduce Gypsy Productions and the animated web series for – Red Hand Whiskey.
Gypsy Productions is a small video production company based in the US that focusses on branded content, commercials, and corporate videos for major spirit manufacturers, heavy industry, and electrical utilities.
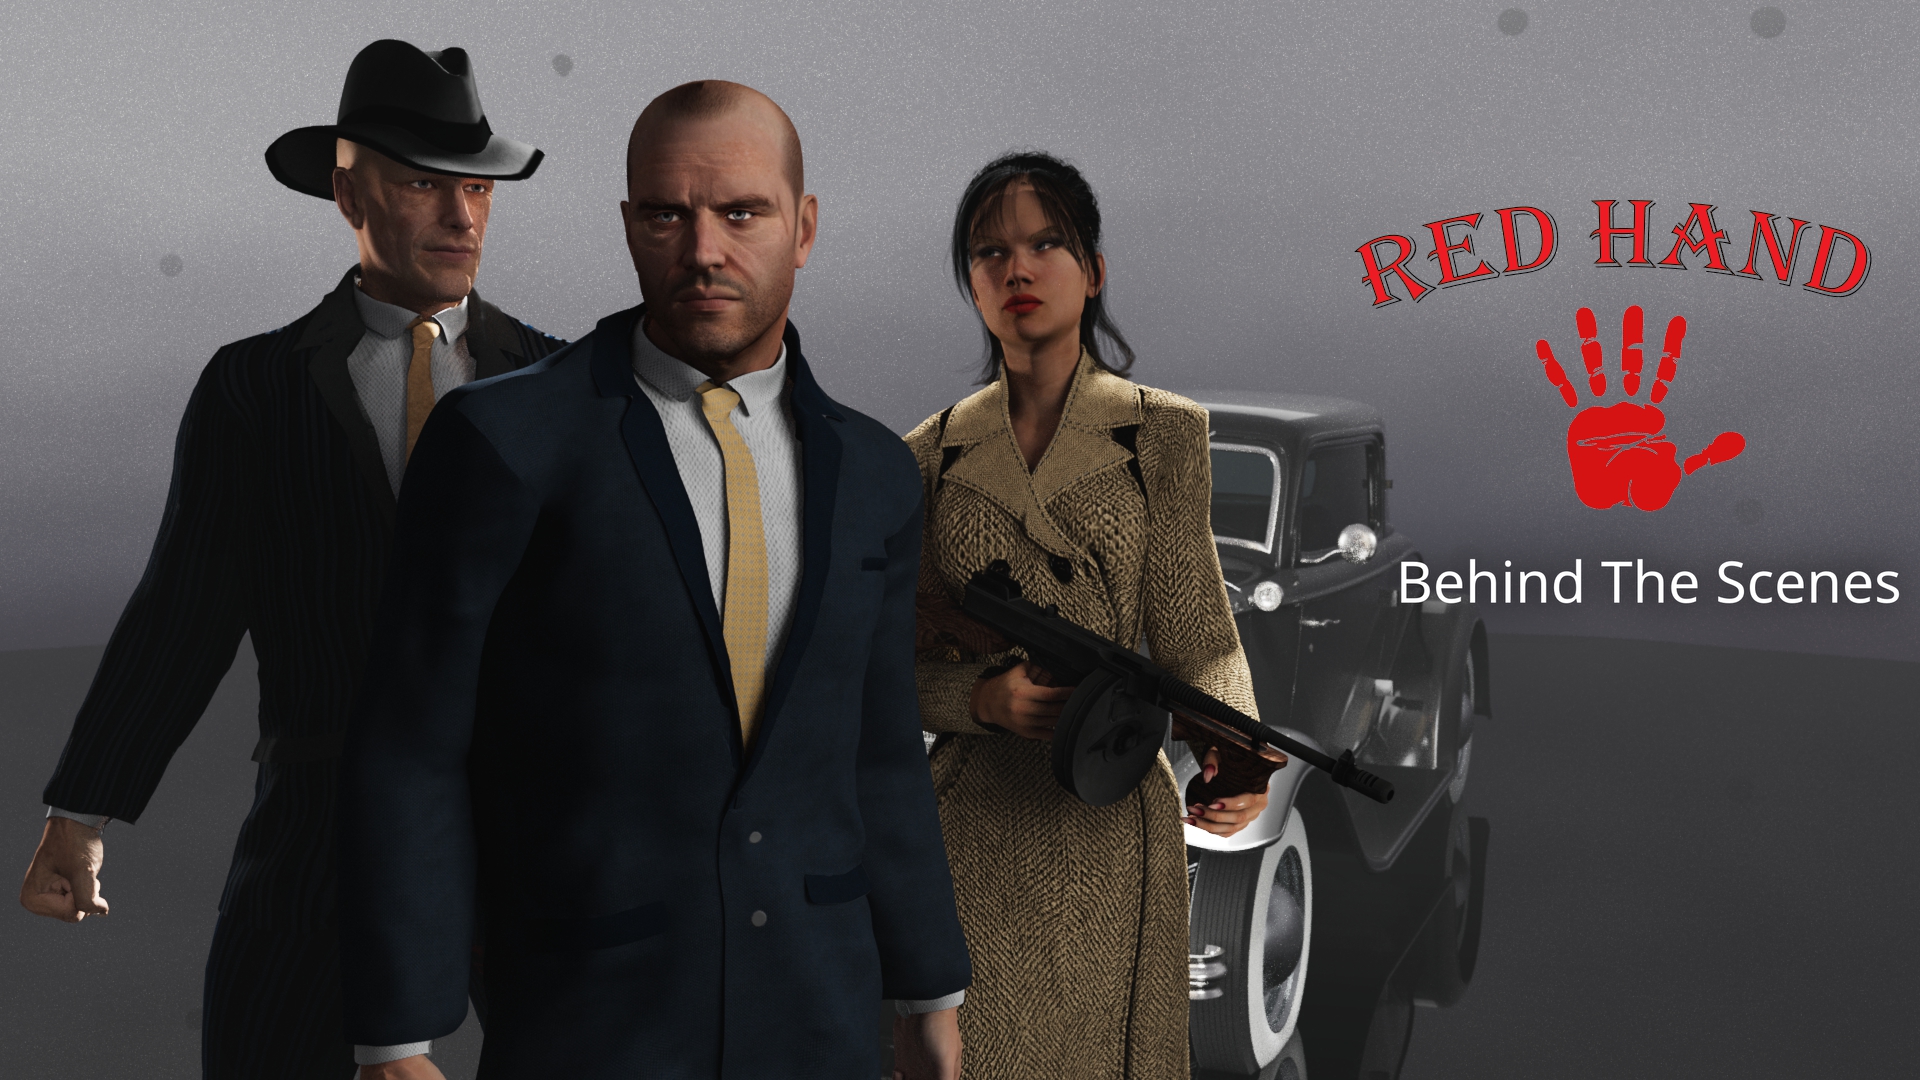
“Red Hand” is our latest creation for a spirit manufacturer in Ireland. It is a short form, animated web series (3-5 minutes per episode) that throws the viewer instantly into 1932 when America was “alcohol free” during prohibition. Red Hand follows the journey of private detective Charlie O’Malley in Boston, MA as he finds himself in the middle of a mob war that centers on the control and distribution of alcohol, namely Red Hand Irish Whiskey.
Q: How and when did you first start working with Reallusion tools? What are the advantages of using CG Animations over traditional film shooting?
We started using Reallusion’s tools when our client decided that they want a real “Hollywood”, big picture look that is character driven. Character Creator, iClone, and 3DXchange gave us a very straight forward workflow. When looking at the various methods to achieve our goals, we ranked all available software based on speed of work, complexity, and final render quality. Reallusion came out on top as we were able to immediately start creating and never lose focus on the story by being bogged down in the technical aspects
“When looking at the various methods to achieve our goals, we ranked all available software based on speed of work, complexity, and final render quality. Reallusion came out on top as we were able to immediately start creating and never lose focus on the story by being bogged down in the technical aspects.”
Eric Andresen – Cinematographer | Producer | Writer | Owner of Gypsy Productions
CG has given us complete control over every aspect versus traditional shooting. We can create a period piece easily without the headaches traditionally associated with the complexities of wardrobe and locations. The look and feel of Red Hand that the client is looking for would break the budget if we shot traditionally. With CG, anything can be done with the right people and resources.
Eric Andresen – Filmmaker / Producer
Q: When creating a new character, what is the first step? Do you consider personality when working on facial features? What is your typical process when starting with Character Creator?
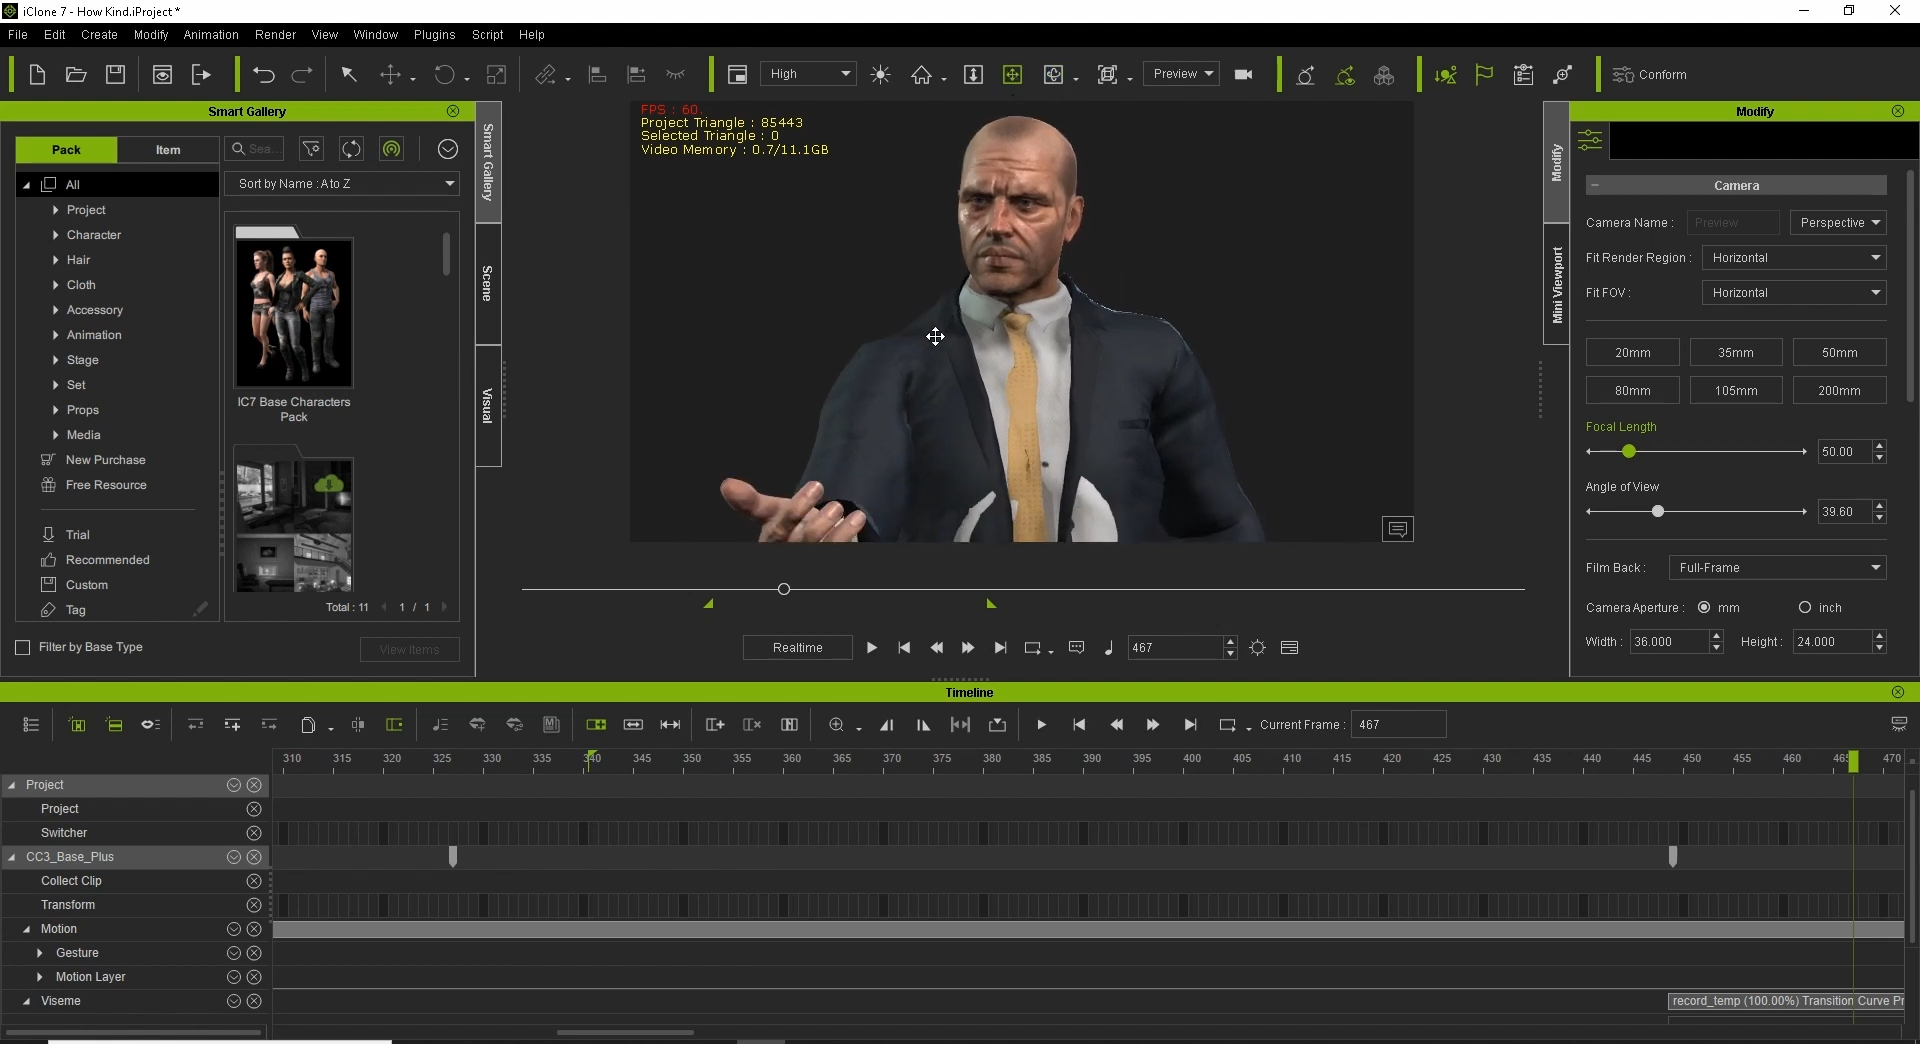
Our first step is to completely define each character in writing. Who are they? What are their flaws? Etc. We then asked, “Who would we cast if we could have any A list actor?” Once this was agreed upon, we designed unique characters, based on A list actors. Charlie O’Malley is based on Jason Statham for example. We would design 3 or 4 versions of each character and then ask the client for input.
We always started with body type, then face, unique features based on the story, then wardrobe.
Q: You used iClone’s 3D animation tools and AccuLips with some great voice actors. What was it like using iClone, and ActorCore in this production?
Using iClone with Acculips took the mystery out of lip sync animation. The entire process is painless! It was the one thing that we initially thought would be the stumbling block when our client decided they wanted dialogue between characters versus voice over. To our surprise, this has been one of the easiest parts of the process. Combined with ActorCore for some key lip sync animations, the production could remain focused on the artistic side versus becoming bogged down in time consuming technical problems.
Actor Tommie Grabiec is the voice actor for Charlie O’Malley. I have worked with him on numerous projects previously, none being 3D animation however. He has a VO studio at this home and he would record 4 or 5 iterations of each line and send them to me. We picked the best and simply applied this with iClone’s AccuLips.
Q: Please share with us how you worked the scenes, the props and the final steps when exporting to Houdini.
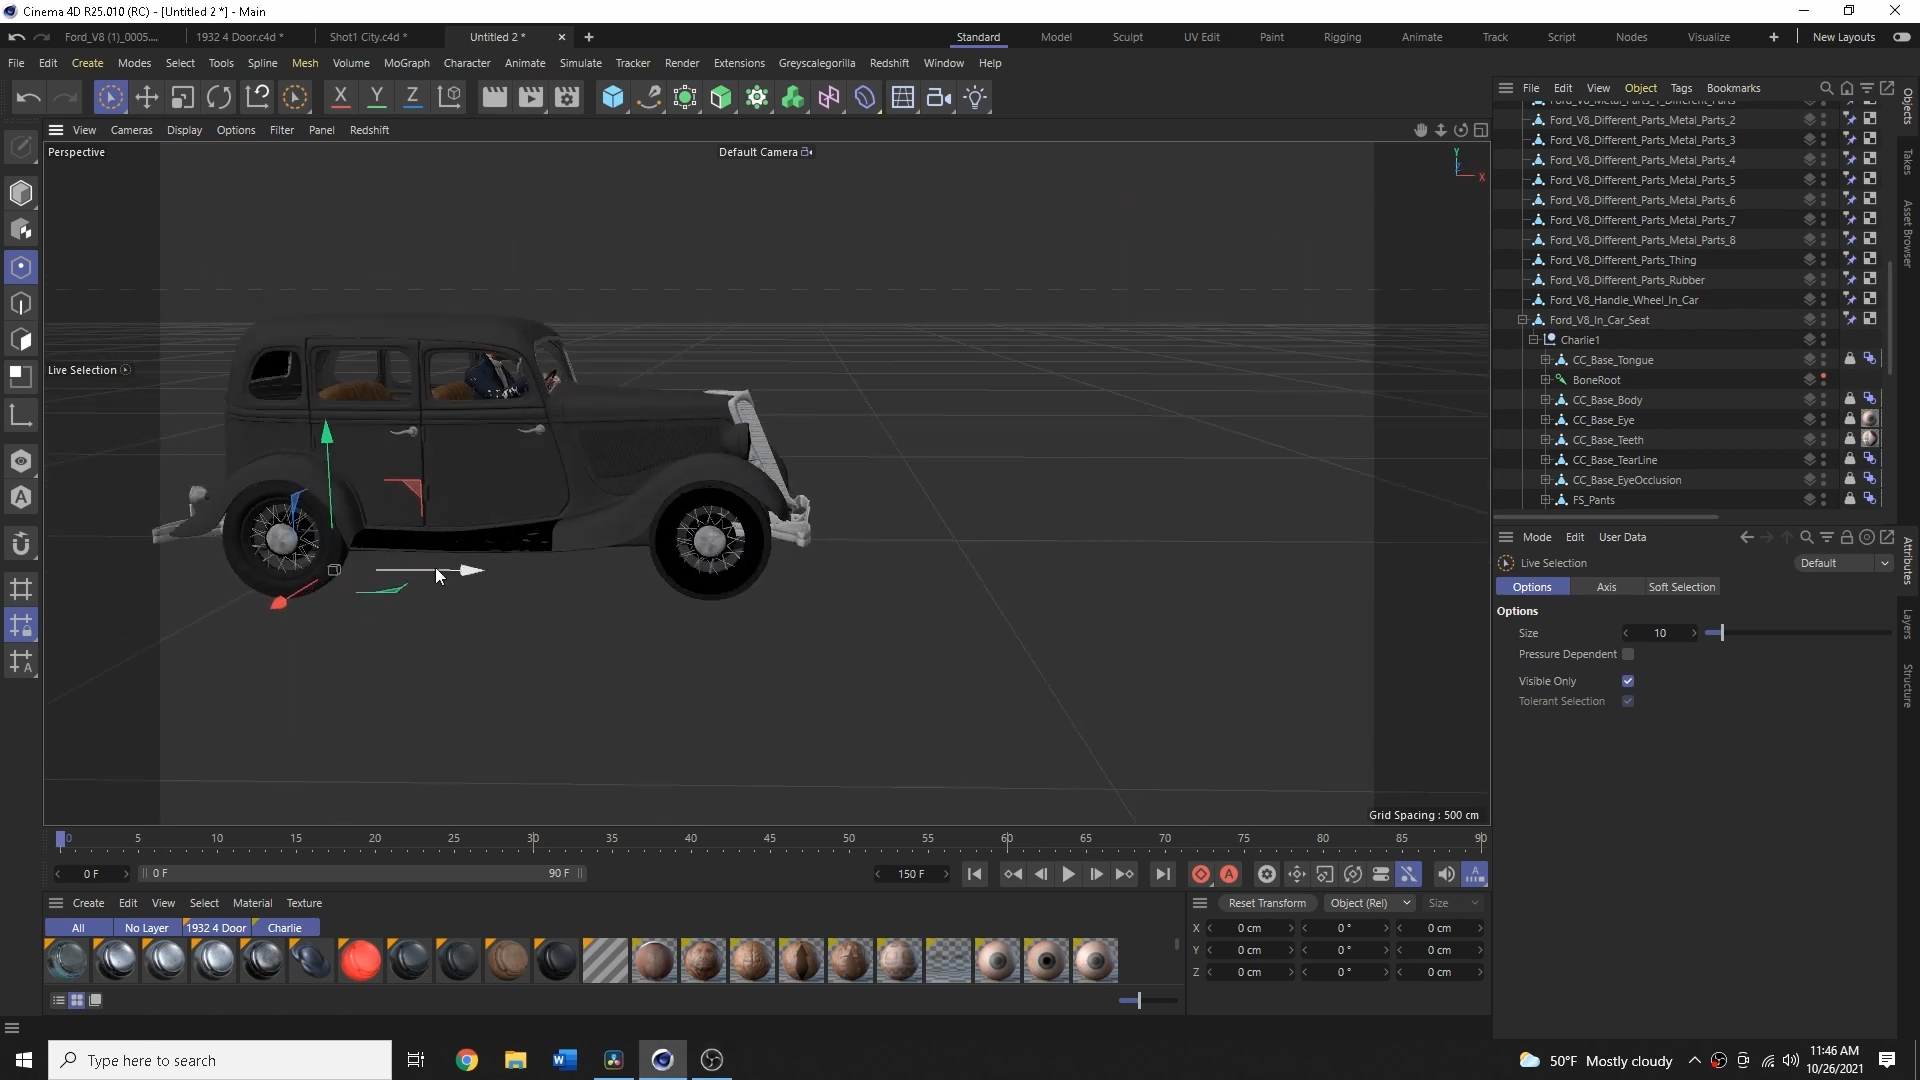
Once the characters were created we moved on to locations and props. The modeling of the props and rigging of the vehicles was done inside of Cinema 4D. These were exported as either OBJ or FBX for use inside of Houdini. Some of the sets, or locations, were built inside of C4D as well and exported as USD to Houdini.
The City of Boston was created inside of Houdini via OSM (open street maps) and we used buildings from Kitbash 3D to populate the area of the city we need for the first episode. We chose Houdini for the first episode because of our familiarity with it as well as Redshift. Moving forward, Unreal Engine will become the final DCC. Any specialized destruction, fluid effects, or volumes will still be done inside of Houdini.
Texturing inside of Unreal is much faster and more flexible for our workflow, especially with large scale environments and landscapes. Quixel Mixer allows us to easily place textures and decals (such as city streets) versus doing this in Redshift.
Q: Could you share some final tips for beginners afraid of getting started with 3D? What advice would you give when final rendering?
My advice is to just jump in and do it! The worlds that open up to you as filmmaker inside of 3D are limitless. Don’t be afraid of roadblocks because every 3D artist hits some sort of wall on every project. One of the key things for any aspiring 3D artist to keep in mind is that the 3D/VFX community is very welcoming. I have met more artists that are willing to help me solve problems or give advice on better/easier ways of doing things.
YouTube is a fantastic asset for all 3D artists. There is some sort of tutorial for just about every aspect. My first project inside of Houdini was an ocean based flip sim. Not exactly the easiest thing to start off with but I met some fantastic people from all over the world that helped me without reservation. One such artist told me that “one day you will be working inside of Houdini and all of the sudden, everything will just click”. He was correct! Don’t give up because things appear to be overwhelming or complicated.
Our workflow is to export out of Houdini as EXR, composite in Fusion with color grading, sound design and final render in Davinci Resolve. We render one or two frames from each shot prior to any final rendering in Redshift. These are then placed on a white board and the shots are critiqued and examined for both quality and context prior to the final render. It is much easier and more cost effective to make any changes or corrections before, rather than after.
This “Winning Tips & Tricks” article series covers the best Works In Progress from the 2021 iClone Lip Sync Animation Contest. Learn key steps from winning entries and be inspired by the featured artists that rendered with; Unreal Engine, Unity, iClone (iC), Blender, and Cinema4D – all of which will be mentioned in separate articles. Let’s now take a look at Gergana Hristova’s Character Creator(CC) + iClone entry: “Judar”.
Gergana Hristova
Hello! My name is Gergana Hristova, and I am from Bulgaria. I am also a freelance product designer, children’s book illustrator, character designer… pretty much anything that can be done in Photoshop. I have been very lucky to work with some amazing clients such as Warner Brothers, Hasbro, and others. Thanks to that Toy Design developed gradually as a passion of mine.
Although drawing is both my hobby and career, a few years ago I started realizing the need to expand my skill set to stay competitive in the market. My role was always limited to a concept illustrator, so in 2020 I finally decided to sign up for a month-long ZBrush beginner’s course. Later, I started learning Blender through all the free tutorials on YouTube and I eventually discovered Character Creator 3 and iClone 7.
Why I created this showcase
For the contest, my goal was to take something stylized and 2D and see how well it would translate into 3D. Almost instantly I decided to go with Anime as I highly admire the industry.
My dream was to one day create toys, but when I decided to participate in the lip-sync animation contest, I was blown away by how easy and fluid the animation process in iClone felt. Creating characters and giving them life took very little time, and I was only scratching the surface!
Anime characters tend to be designed in a way that works best when drawn. To recreate them in 3D I debated whether I should keep this stylization, which was going to be too tricky for my skill level, go more realistic or attempt a balanced mix with (my favorite) Disney/ Pixar styles.
Trying to get as close as possible to the original source without turning the character into a Disney Princess was an interesting experience, and the result still leaves a lot to be desired. Nevertheless, for the first time, the 3D world felt accessible and limitless with possibilities!
How I do it with iClone
3D Judar Tutorial #1 and #2 :
Step 1: Finding and building the character in Character Creator
For my character pick, I decided to go with Judar from a show called Magi. I enjoyed the voice actor’s performance and I also thought animating long braided hair would be fun.
Thankfully, Character Creator saves me days building and rigging the models from scratch. In addition, I used the already stylized “Steve” from the Cartoon Character Bundle to save even more time. From then on, it was only a matter of playing with the convenient sliders in the software until I reached the desired result. And adding details like abs, arm muscles, and even make-up was made super easy through the Realistic Human Skin feature in the program.
Step 2: Additional software
One of the fun parts is customizing your character. Since I was following a model sheet I had to consider other programs to get what I needed.
With the help of Photoshop, I created the PBR maps for the eyes and even adjusted some of the details on the skin.
The scarf I created in Marvelous Designer to make it look more realistic.
Blender helped with pretty much everything else. Using simple shapes, I was able to sculpt them into jewelry, pants, and even a braid-looking thing. And the Blender Hair tool Plug-in is probably the best and most enjoyable way to create any specific hairstyle. For the anime look, all you have to do is taper the ends slightly to make them look pointy.
Step 3: Creating and lighting the sets
The “super complicated” sets are actually flat surfaces covered with PBR textures. Even the arches in the 4th sequence are a simple plane with the creative use of an opacity map. There are plenty of Royalty Free images on the internet, but I also created/modified some in Photoshop too. Basically… I am lazy when it comes to backgrounds. I prefer to focus on the characters.
For the Lighting, I limited the palette to blues, teals, and a bit of orange as a complementary color.
Step 4: Animating the Body and Hair
The scenes I picked to recreate in 3D had little to no character animation. Nevertheless, I took advantage of the Motion Puppet tool to create some simple movements and avoid having the character stand in place like a statue the whole time. In the first sequence, for example, I positioned his hands above his head and only recorded the movements of his lower body using Motion Puppet’s “Bored” option. It’s super easy to customize and probably one of the best features in Iclone7.
Similarly, the braid’s subtle animation in most scenes was quick to pull off by using the Spring Effect option and the Prop Puppet tool.
If there was one thing that I was worried I would completely mess up, it would be lip-syncing. Lip-syncing was what made me give up on traditional character animation a decade ago. It can be the most time-consuming, mind-numbing, tedious task and I wasn’t looking forward to it… So when I saw what AccuLips could do, I almost wanted to cry with relief!
With a large chunk of the job automatically completed, I was able to focus more on better matching the mouth shape to the sounds, facial animation, and expressions. There are many ways to animate the head, but I decided to use the keyframes method as it allowed me to better control the movements.
Final Step 6: VFX
And finally, it was time to add all the cool effects, such as smoke, lighting, magical butterflies, and, of course, floating dust particles. I had already bought the PopcornFX plugin and I was dying to see what it could do. Surprisingly, its library covered all the effects I needed and some more! They were easy to customize, simple to use, and fast to preview. I might not need an exploding fireball for a video any time soon, but some of the features, such as the Steam, Raising Dust and Dust Particles effect I imagine are a wonderful finishing touch for any scene.
Final Thoughts and Conclusions
As you can probably tell, I am a very lazy and yet picky person. That’s why I found Character Creator and iClone to be a perfect match for me. The most tedious, time-consuming tasks can be done in an instant, allowing me to focus on being creative and having fun!
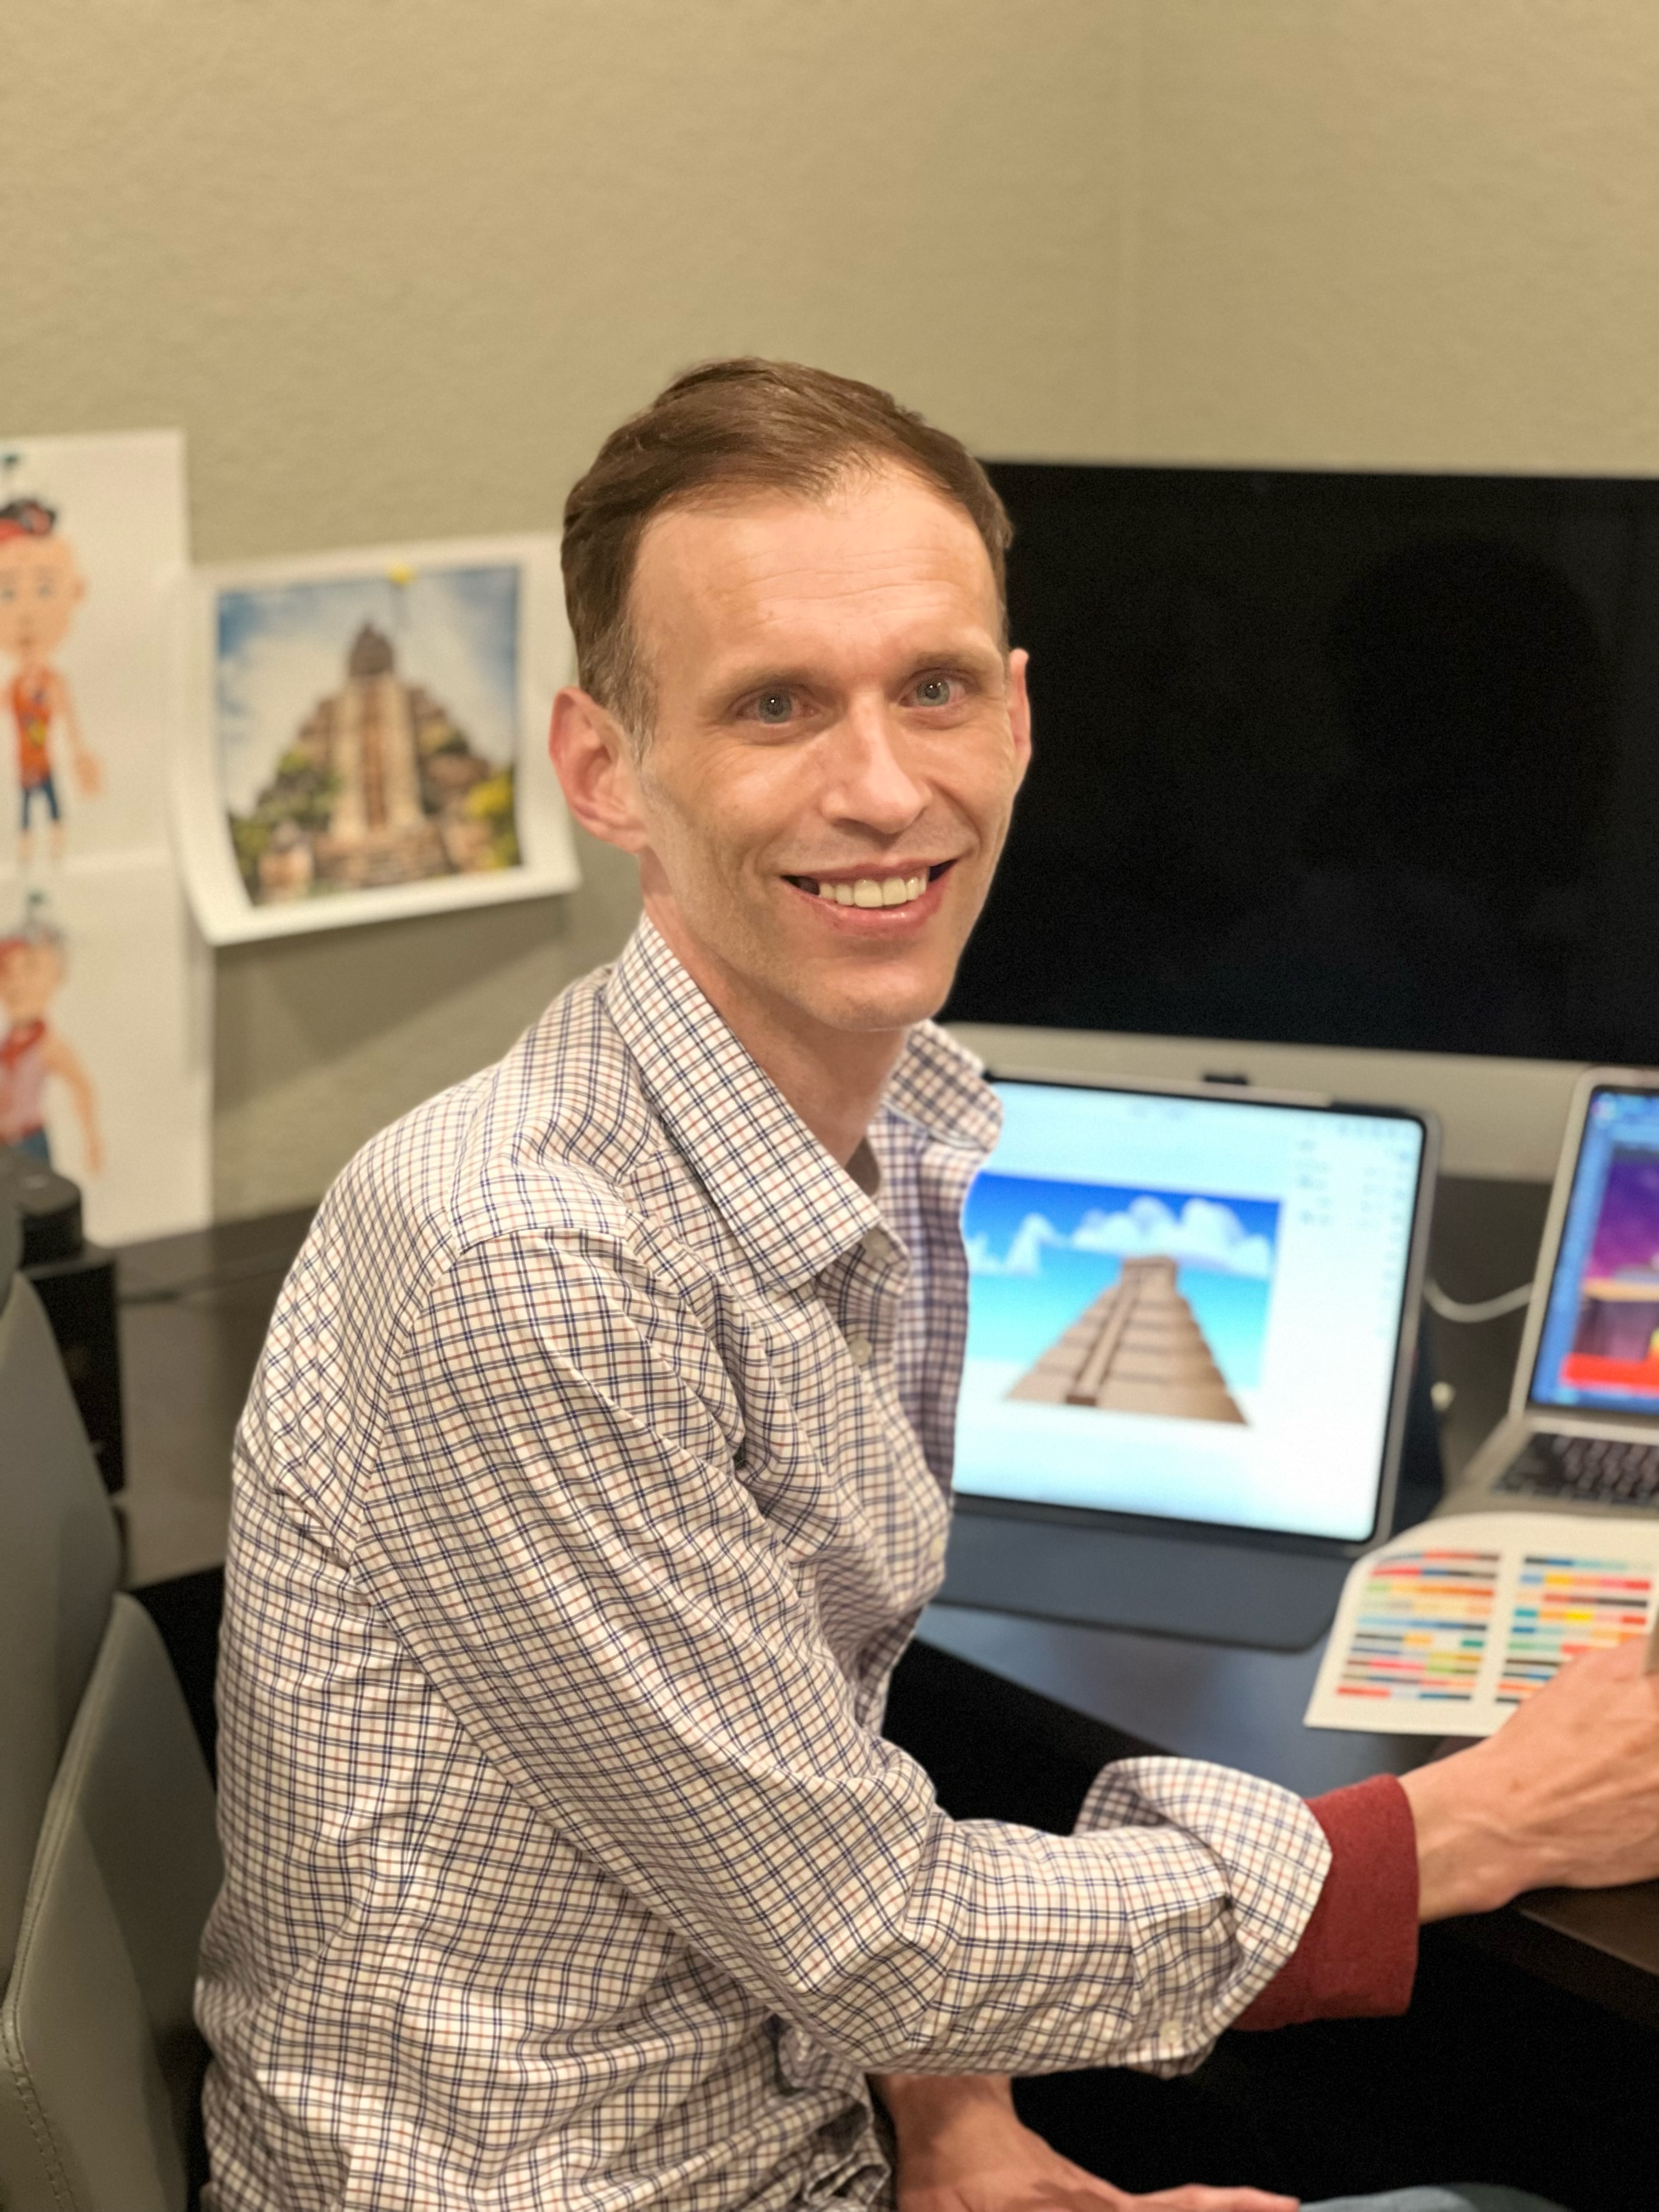
Michael Choate – Artist, Content Developer, Animator
Michael Choate
Michael Choate is a part-time artist, but after discovering Cartoon Animator, he now has a strong desire to take his art to a new level and become a full-time artist and 2D animation content developer, creating entire worlds of assets for other animators.
Drawing inspiration from the world around him including his own neighbourhood, Michael’s enthusiasm and passion for his work are the driving forces in his goal to dominate the 2D Marketplace.
.
.
“When it comes to ease, Cartoon Animator is unmatched! I found Cartoon Animator and the ease of it blew my mind. It is so quick to just open Cartoon Animator and start animating, and this program has attracted so much talent and kind people that the benefits of the community are a plus.”
Michael Choate – Artist, Content Developer, Animator
Hasraf ‘HaZ’ Dulull – Filmmaker / Director / Animator
Hasraf ‘HaZ’ Dulull
HaZ started his career in Video games before moving into Visual Effects, and then later transitioning over to Directing & Producing with his breakout feature film THE BEYOND, the indie sci-fi was released in 2018 and was number 2 in the iTunes Charts before being licensed on Netflix and turning into a profitable movie.
His second feature film – 2036 Origin Unknown, starring Katee Sackhoff (Battlestar Galactica, The Mandalorian) earned a limited Theatrical release before landing on Netflix. He was then hired by Disney to helm the pilot for action comedy series Fast Layne, where he also served as EP / Creative Consultant on the entire series.
HaZ is the co-founder of production company HaZimation producing animated feature films, series and video games based on their propriety pipeline utilizing Reallusion’s Character Creator, and iClone with Unreal Engine. He is represented in Hollywood by The Vendetta Group.
“The Reallusion toolset empowers me as a filmmaker to have hands on control with the animation, thanks to the intuitiveness with the tools available from iClone’s Face puppet, to AccuLipsync, Hand Gestures and more, which I use on a daily basis when creating shots and collaborating with my team. I don’t think we would have been able to have this creative flexibility and high-quality output for our feature film and video game simultaneously, without the integration of Character Creator and iClone in our pipeline. ”
Hasraf ‘HaZ’ Dulull – Filmmaker / Director / Animator
Skye Russell – Sr. Producer, Level Designer & Environment Artist, Character Designer
Skye Russell
I’m the Sr. Producer, the Level Designer & Environment Artist, and the Character Designer for TwilightStar: Heart of Eir at Dragonclaw Studios. I am what many would call a wearer of many hats- or crazy! I like to think both.
When I first joined Dragonclaw Studios, I did so intending to build a community around the games they were going to make, as well as spearhead crowdfunding campaigns and marketing efforts. Though the direction quickly changed. I found myself needing content that wasn’t being produced. I began getting involved in the project directly in Unreal Engine. At first, I was just using Sequencer to create video renders to showcase the game. However, the environments at the time were not what I would call compelling- not at all the direction that the project lead saw for Heart of Eir (there wasn’t an environment artist or level designer on the team).
So for me to be able to create the video renders and screenshots that I wanted to give to the community, I had to start creating environments and scenes- and I like to think I got relatively good at it in quite a short space of time. My skills were constantly evolving and so too were the environments. This process was made easier by the fact my fiancée is a creative writer, she helped craft the story and lore for the game & Twilight Star universe. But even with these developing environments and meaningful story, something was missing- people!
And this is when we discovered the Reallusion ecosystem. I dove right in, and as I did with the environments, I did with characters. Iteration after iteration to better my skills and in turn the characters I could produce with this amazing suite. Soon enough I found myself assisting in the day-to-day management of Dragonclaw Studios, and its TwilightStar franchise, starting with TwilightStar: Heart of Eir.
“The entire Reallusion suite has been paramount to our studio’s success. For anyone looking to add production value to their indie studio/games that allow you to go up against even AAA quality- Reallusion’s suite will really allow you to transform your workflow, game and success. A must have tool for all creatives!”
Skye Russell – Sr. Producer, Level Designer & Environment Artist, Character Designer
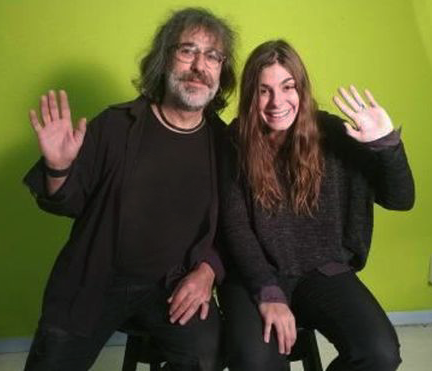
Indigo Studios is an independent game development company, created by Judit and Kim, two professionals with long experience in the audiovisual world, as directors and scriptwriters.
The main focus of their productions are games with great stories, deeply developed characters and suggestive atmospheres with elaborate scripts. It also focuses on the creation of original soundtracks and the treatment of scripts of all kinds.
“We believe that in the future, even beyond video games, there will be new realities, distinctly wonderful and exciting, where you can feel everything from the heat of the desert to the cold of winter, where you can even smell from a garden rose to a dusty old book. A new dimension, where virtual characters will accompany you in an immersive way through realities imagined by the most creative and surprising minds. From Indigo Studios we will try to improve every day and do our best to try to bring the player closer to these new experiences. ” – Indigo Studios
“As a small studio, we have achieved incredible results in record time, previously only possible for big studios. Reallusion makes this magic possible as in the world of video games it is so difficult to choose the right development software. Reallusion was for us the unquestionable best choice for realistic characters and animations. Thanks to their tools, our games can reach the next level of quality.”