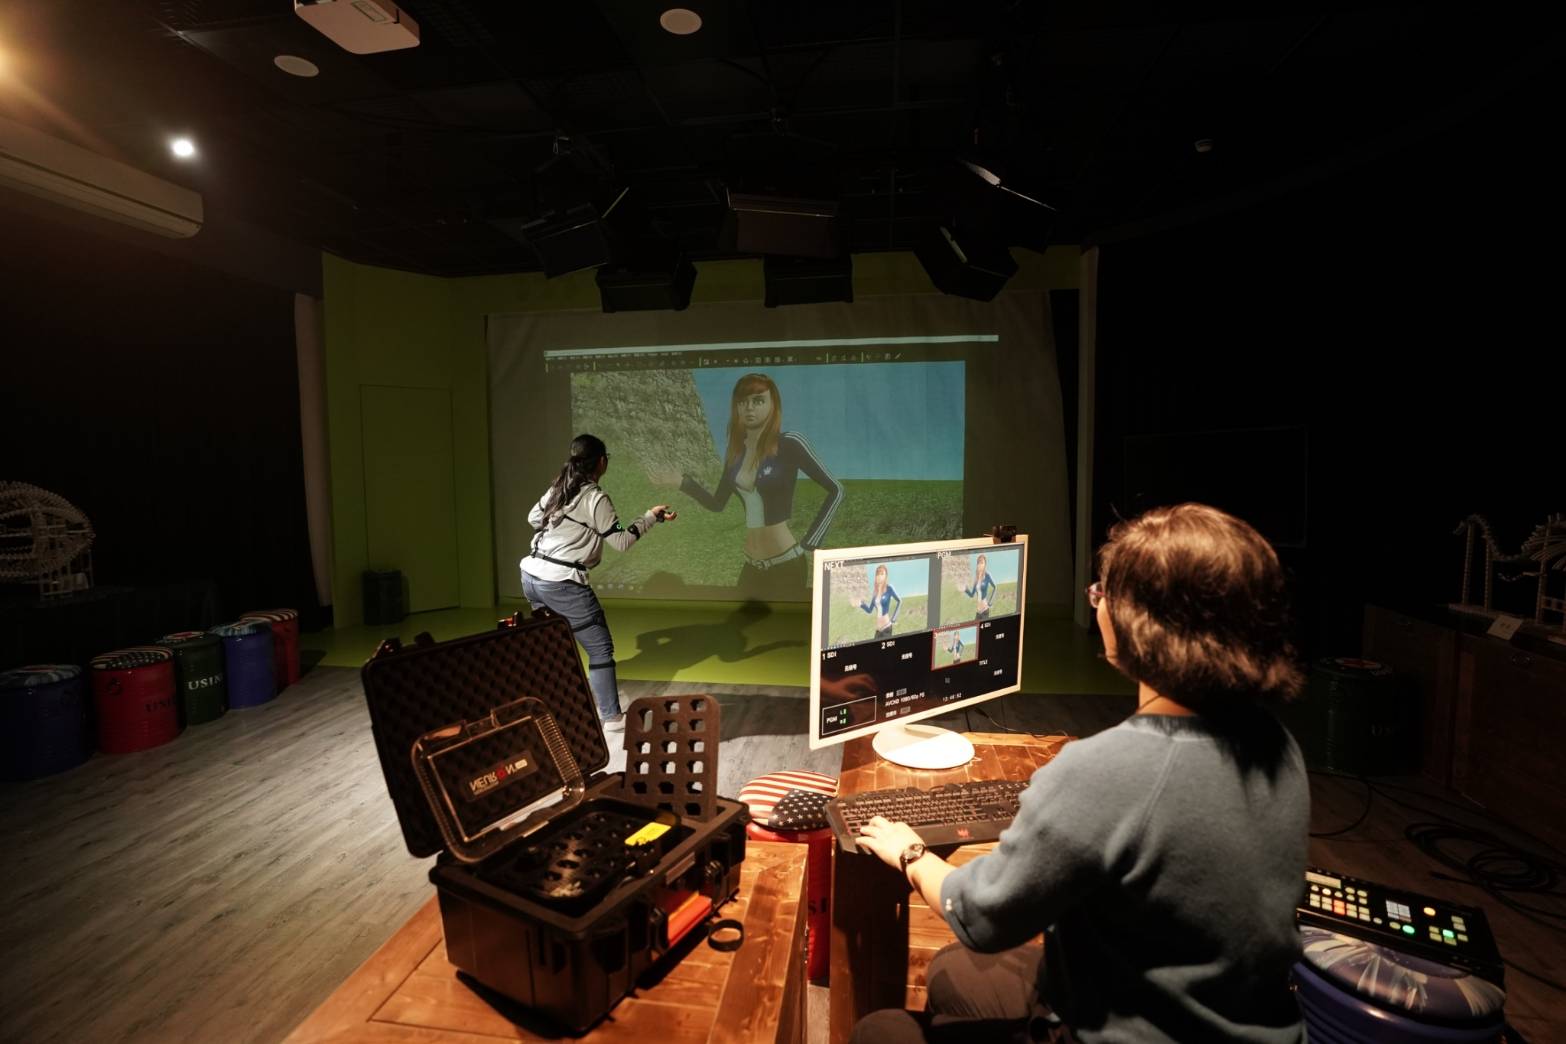
Reallusion, a pioneer 3D / 2D software developer, has developed a partnership with Pingtung University in Taiwan to establish a real-time animation lab for young people – The Media Learning and Research Center for Youth. Reallusion supports Pingtung University 2D and 3D software to boost industry-academia cooperation. Pingtung University integrates innovative technologies from international 2D and 3D animation software to animate research projects, VFX, and previz courses that foster animation talents.
Pingtung University procures $75,000 in software to fully equip their labs and classrooms with iClone, Character Creator, Cartoon Animator, Motion Live mocap, and a massive library of assets to build characters and animation for making animated videos, government projects, and research.
Besides training talents in the university, Reallusion is also supporting Pingtung University to create educational 3D/2D animation programs for elementary schools and senior high schools. With the help of this revolutionary technology, students can easily turn anecdotes into animation to promote the beauty of their hometowns. To encourage more talents, the county governments also hold animation contests to raise awareness of the importance of animation education.
Bringing a picture book to life – Malin Who Turns in A Stone
Huang Wen Ju, a professor at Pingtung University invites new immigrant women from Southeast Asia to write about their hometown tales, and then completes a picture book “Southeast Asian Bilingual Folktales Series”.
However, to fully convey the ideas of these folktales, students from the Department of Science Communication have a big ambition. They have decided to turn the storybook into 2D animations while adding the voice of new immigrants to tell the stories with their dialects in the project. They started this ambitious animation project with 2D software – Cartoon Animator.
YU JIA HAO, the leader of the animation team, chose the Indonesian folktale “Malin Who Turns in A Stone” and made the script. The story talks about a seditious boy who did not want to accept a poor lady as his biological mother, which caused him to be cursed into a stone.
With a team of seven members, students completed the animation in one month. Making animated videos should have been time-consuming, but thanks to Cartoon Animator’s fast workflow, students were able to spend more time thinking about how to make the story more engaging rather than spending too much time in the animation process. On top of faster production, Cartoon Animator was also able to help with natural movements and good visual results. This really elevated the story and successfully showed the beauty of their tales.
Television Commercial Animations on a Budget: Ubik’s Story with Reallusion iClone.
In this story, Italian commercial production house UBIK shares how it applied real-time animation tools iClone, Motion LIVE, and 3DXchange to successfully overcome a challenging deadline within budget.
Paolo Lato, owner of Ubik Studio and their iconic showcase: Findus Carletto Capolavoro (Image credit: Ubik Studio)
Formed in 1994, Ubik Visual Effects (UBIK) has developed projects for many reputable clients over 2 decades, including the Findus brand from Nomad Foods Ltd. UBIK brought their chameleon mascot Carletto (originally created by Jim Henson Studios) to life in a 3D animated version, helping Findus gain huge success throughout the country.
After seeing the initial results, Findus was convinced of the communication potential of using a 3D version of Carletto, and gave UBIK a tougher challenge: to complete a 5-episode web series featuring Carletto to celebrate 45 years of Sofficini products. The concept was to make Carletto the protagonist, rummaging around in the attic and coming across a photo album from the past.
The challenge: the traditional pipeline can’t meet our deadline and budget
The challenge was to conceive and create a minute-and-a-half of 3D character animation in just two months, but all the while keeping the quality and artistic standard high – despite the episodes being intended only for web and social channels. Therefore, with a considerably lower budget than that of television commercial productions, UBIK was eager to find a solution that would help them complete the production. Being impossible both in terms of time and cost, producing the commercials with UBIK’s traditional 3D production software like Maya, was no more an option, and they started looking for an alternative production method.
Finding the right tools for motion capture & animation
(Image credit: Reallusion)
Although UBIK had had some experience using motion capture in the past, it had always been for human animations and never for stylized characters. Following some in-depth research into online blogs and demos, UBIK’s team realized that of the many hardware and software options, it would utilize Noitom’s Perception Neuron Pro for motion capture, and Reallusion’s iClone for real-time animation. Before putting this real-time pipeline to the test, their key concern was transferring the model from Maya to iClone, and the complexity of facial and body rigs too.
Putting it to the test
(Image credit: Ubik Studios)
UBIK began to carry out tests using a copy of the 3D model without optimisations. This helped them understand where to intervene in order to adapt the characteristics of the Carletto character to the technical needs of real-time software. The first animation test gave satisfying results, and from these, it was easy to understand how and where to intervene to correct the defects caused by overly complex models and rigs.
Then, after making all the necessary corrections, UBIK immediately moved on to the animations. These had to restore Carletto’s personality of typical funny and somewhat clumsy gestures, accentuated by the fact that the original character was a puppet. Both the client and the agency’s creative directors loved the first tests. So the production was immediately begun: the realisation of each 15 and 20 second episode with simple and complex features like lipsyncing, the addition of props, with accessories and clothes which took on average a full week’s work.
The tests brought extraordinary results when compared to the animation requirements of using Maya. Moreover, given the differences between Maya animations and iClone, combining the two was no sure-fire certainty.
Final results & feedback
(Image credit: FIndus.it)
In the end, the studio was pleased that both from a technical point of view, and considering the ease and versatility of the hardware and software used, the final results proved to be both highly effective and economical. Indeed the final results were so convincing that the clients decided to use the animations of the character for TV commercials.
Paolo Lato’s feedback: iClone and Motion LIVE are intuitive and a perfect fit for facial and body animation
“Carletto Sofficini is our first production with iClone and Perception Neuron Pro. We are satisfied with the results, and seeing real-time production as an alternative method for 3D animation projects. It did not take us too long to figure out how to animate Carletto in iClone, because the UI was pretty intuitive, and Motion LIVE did serve as a good platform for capturing both facial animation and body animation. We were able to find online tutorials if we needed help, and you can also turn to the Reallusion forum and learn from other users. It is good to know that now we have other ways to complete a production quicker without compromising the quality, while keeping our customers happy!’
Since the beginning of 2020, we were hoping to create an open platform for script and plugin development. Our goal was to invite new and advanced developers to create tools for sharing and pushing the boundaries of the iClone application. Therefore we’ve produced the iClone Python API, inspired by Maya’s Mel script and 3ds Max’s Maxscript.
The python project overview will be discussed in the following three sections:
How we started
Highlights of 2020
What to expect in 2021
How we started
The iClone Python API officially started production around June 4th, 2018, and was released six months later. It was a daunting endeavor that started from just an idea into a full-fledged working scripting language capable of automating most of iClone’s current innate features. This is evidenced by a comprehensive API covering a range of capabilities such as 3D math, scene elements, animation controls, motion capture, user interface, and much more.
iClone Python API wraps up the year with a combined total of 75 modules representing 688 readily accessible functions. With this many options, there’s something for everyone.
We would also like to take this opportunity to mention some highlights of 2020 during the API’s development:
Python of the Month
Python of the Month was a monthly to bi-monthly event that featured a full-fledged free plugin along with five relevant mini-lessons to acclimate new scripters to the full potential of the iClone Python API. It started in June, 2019 and ended in March, 2020, wrapping up a series of tailor made exercises for all to learn from. These lessons are kept for posterity and will continue to be relevant for anybody who wants to get their feet wet in scripting. We’ve handpicked 2 API courses on the WIKI page, and please refer to our Developer WIKI for more details.
Python of Month culminated to seven free example plugins with powerful features and the accompanying 35 lecture articles -a resource that is invaluable for beginners and veterans alike.
Notable plugins: Sprint Joints and Pose Manager
Spring Joints allows you to apply spring physics to designated bone and prop hierarchies in the scene. The spring effect is calculated using an algorithm that takes into account several physics elements such as stiffness, bounciness, and damping. See the Spring Joints Python API page for more information.
Pose Manager can be used to record a character’s pose for the current frame as snapshots. These pose snapshots can be edited, organized and saved as part of a Pose Library. See the Spring Joints Python API page for more information.
Teaming up with Reallusion
Adolf Navarro working with Reallusion on improving Smooth Camera Follow and Hand Gestures Puppeteering. The process was fruitful and made for a much better and user-friendly product. You can install and start using the much improved version of Smooth Camera Follow 2.0 and Hand Gestures Puppeteering 2.0 right now!
Stand out plugin: Motion Trigger
Our partner Digital Puppets took advantage of our available python scripts to create three fantastic tutorial videos. Taking Motion Trigger as a prime example: one can use hotkeys to quickly invoke custom motions. For anyone interested in getting familiar with the power of iClone scripting, watch this video now to experience the charm of working with this exemplary plugin.
Practical usage in indie filmmaking
Solomon Jagwe is an indie filmmaker who was looking for a specific camera solution for one of his productions. In response to his request, Reallusion advised him to download our free Smooth Camera Follow script to satisfy his directorial needs. Check out The-Any-Key’s Move that Camera plugin.
Old hand weighs in
BigBoss gave us some valuable insights during the API’s evolution. We are also grateful for providing another source of revenue for this established super developer, and he had some nice things to say about the API. Take a look at his Marketplace, and please check out the API documentation.
“I really like the Plugin interface. I found it very solid and quite extensive and powerful. Initially, I thought the documentation was a bit difficult to understand but after a few days, I figured it out and it is not bad at all !!!”
– BigBoss
Most prolific developer: The-Any-Key
The-any-Key hit the ground running and submitted a whopping 17 plugins within a few weeks. We hope to see more from this talented developer, and recommend you to check out his Marketplace.
As you can see, 2020 has been an eventful year, and has now come to a close. We hope you stick around for the exciting events slated for 2021. Here are some samples of what’s to come:
More cooperation with super developers
We will continue to improve our plugins on offer in the Reallusion Marketplace. Check back from time to time, and look forward to announcements of new releases!
If you have a great plugin idea and wish to work with us to make it a reality, please contact marketing@reallusion.com, and include “Python Plugin Development” in the email’s title.
Reallusion’s Digital Human Contest launched in September 2020 with the aim of introducing game-changing solutions for character artists to add speed and creativity to 3D character creation. Within 2.5 months, there were more than 160 submissions across Realistic, Stylized and Animated characters categories. 35% of the entrants were new to Character Creator and successfully adopted it into their creation pipeline.
“We are elated by the number of new 3D artists excelling with Character Creator. Among the entries, concept artists, animators, game developers and 3D generalists presented characters with work-in-progress that demonstrated the excellent and diverse skills brought to the competition. We also learned a lot from them. We believe that real-time character creation is the future for artists to revolutionize the process of building quality characters with an efficient workflow and adaptable pipeline.”
– John Martin, VP, Product Marketing
The Digital Human Contest is hosted by Reallusion, and sponsored by industry leaders in character design, including Noitom, ArtStation, ZBrush, Substance, Texturing.xyz, Marvelous Designer, and Faceware. Character Creator’s native pipeline functions allow artists to seamlessly integrate a new workflow designed for rapid creativity with zero sacrifice in character quality.
Watch the video overview of submissions and outstanding entries:
WINNERS
REALISTIC CHARACTER CATEGORY
Under this category, entrants create a realistic human character in Character Creator by combining the character base with tools like ZBrush, Substance Painter, Marvelous Designer, Blender, Wrap, Texturing. xyz, and Maya.
1st Place: Scout Annie – by Rafael Benedicto, 3D Character Modeler
“Character Creator helped a lot in this project as I was able to build and iterate an anatomically-accurate human in just minutes, then spend more time on other things like her outfit and equipment. And the results speak for themselves.”
“It was a whole new way of creating for me. Character Creator 3 is a tool that blends perfectly with other software and makes it an undeniable asset in the creation of characters like the Cyber Boxer. The topology is flexible and you have the possibility to have a rigged character to do your poses and animations.”
– Miguel Soudjay
3rd Place: The Evil Queen of Divine Troop – by Joe Lo, Freelance 3D Artist
“My story began 4 years ago, I spent countless nights mastering various 3D tools after finishing my daytime accounting job. I couldn’t tell you how excited I was to successfully render and illustrate the transformation of a wounded old lady to a perfectly shaped evil queen.”
– Joe Lo
STYLIZED CHARACTER CATEGORY
Under this category, entrants create a non-realistic bi-ped character in Character Creator by combining the character base with tools like ZBrush, Substance Painter, Marvelous Designer, Blender, and Maya.
1st Place: Tech Witch – by Angel Alonso Garcia, Concept Artist / Art Director
“I used CC3 Base+ as the basis for the characters, then I did the high poly modeling in ZBrush. Once the stylized anatomy was designed and modeled, I baked the information on the LOW poly model in ZBrush and Marmoset. The difference of the maps created in both programs gave me more variety, to be able to bake different textures.”
– Angel Alonso Garcia
2nd Place: Deep One Hybrid – by Konrad Hetko, Freelance 3D Artist
“In the beginning, I was wondering if Character Creator would be able to deal with such big deformations of the face. But the results were really good. Going back and forth between ZBrush, CC and Substance wasn’t a problem. I would be happy to participate in the next CC Digital Human Contest if it takes place.”
– Konrad Hetko
3rd Place: Sienna – by Andrea Antillon, Character Artist & 3D Fashion Illustrator
“A pipeline where all the tools are fully integrated with each other, allowing the project to flow, and giving the artist more freedom to focus on their actual art, is a delight to use. Participating in this challenge was an enriching experience.”
– Andrea Antillon
ANIMATED CHARACTER CATEGORY
Under this category, entrants animated their CC character using any 3D animation tool like iClone, Unreal Engine, Maya, Unity, Blender, Cinema 4D, etc.
1st Place: Time Intruders – by Angel Alonso Garcia, Concept Artist / Art Director
“The contest gave me the opportunity to present my project. A story that begins with an action sequence, with several characters and in environments that allow a variety of different spaces to be shown. In order to do this, I had to focus all my efforts on developing characters that I could create and animate in a very short space of time, with a stylized visual style, that had its own personality.”
2nd Place: The Cyborg Doctor – by RJ Lin, 3D Artist
“Being a 3D artist, I can build up a character from imagination which is really a cheerful thing. Sometimes I’m not sure if I am a pro artist or not. This award makes me feel that I’m a good one. I don’t think my work is better than other entrants, but I really love it!”
“We only made the switch to Character Creator shortly before the contest. We had previously used a character model from a 3D asset store with various modifications. Our primary reason for the switch was the variety of characters we wanted for our game – and it was immediately clear that it was the right choice. Character Creator was the enabling factor for our somewhat unorthodox setup in Unity, like the dynamic wrinkles which are based on wrinkle assets from CC. Overall it was a great experience and well worth it!”
Entrants who created digital double characters by using ZBrush, or Character Creator’s Headshot, plugin, an ideal tool combination to generate 3D likeness characters.
Beetlejuice Likeness – by Anthony Hayes, Senior Character Artist
Benedict Cumberbatch Likeness – by Konrad Hetko, Freelance 3D Artist
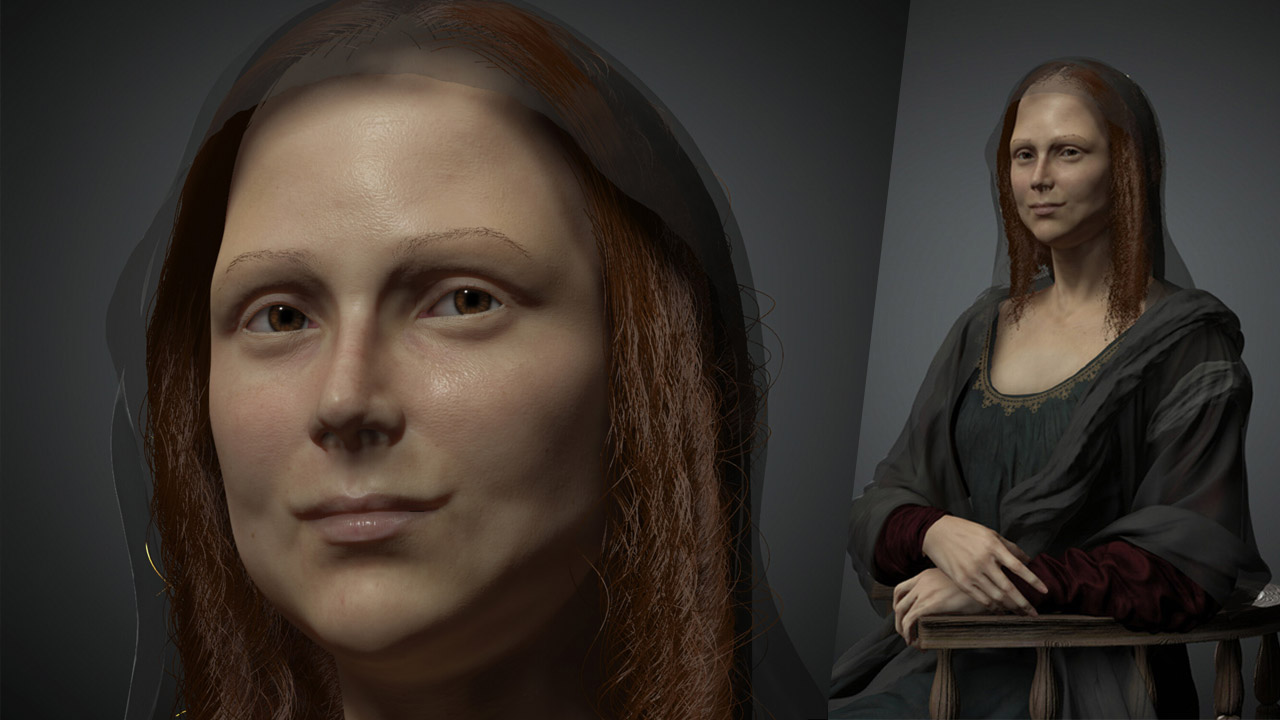
Mona Lisa CG Portrait – by Jayesh Shriniwas Naik, Film Character Digital Sculptor/ 3D Character Artist
This award goes to the Best use of iClone on character body animation, facial expression, physics assignment, environment setting, and final rendering.
There were tons of amazing entries and it was extremely difficult for the panel of judges to rate all entries as top honors in all categories. 42 artworks have been selected as Honorable Mentions, and received awards from Reallusion to recognize the amazing work by all.
Using Cartoon Animator to entertain and educate young children, artist and animator Jared Smith talks about why he chose Cartoon Animator as his preferred software and how its tools and features help him create everything from music videos to interactive books in a professional way that saves time and money.
“There is a magic to seeing artwork come to life, and I’ve been looking for a user-friendly way to do this through software that allows me to quickly and easily animate my artwork. Cartoon Animator has done that by helping me unlock my creative outlet.”
Cartoon Animator 4.4 Releases with 3D Motion Converter and Motion Link Plug-in
The world of animation traditionally has a set of tools devoted to 2D or 3D, now with the release of Cartoon Animator 4.4, 3D Motion Converter, and the Motion Link plug-in the benefits of 3D motion have arrived for 2D animators. The new motion transfer technology from Reallusion connects Cartoon Animator and iClone for a blend of features for 3D motion import and editing through the two animation applications. Even motion libraries like ActorCore are now able to import into Cartoon Animator. The Reallusion ecosystem is innovating to bring the vital resource of 3D motion to 2D animators with Cartoon Animator 4.4 and the Motion Link Plug-in.
Why do 2D Animators & Creators need 3D Motions?
Quantity – There are a massive amount of 3D motions available on the market through the ActorCore online motion library, Reallusion Content Store, and iClone’s ability to bring in any 3D motion and project them to any angle, 2D storytelling is made easier with more motion resources.
Quality – 3D motions are mocap that provides delicate & realistic animation that can fully translate to the Cartoon Animator 2D character rig. Balance speed with productivity and complex moves with moving on with your story. 3D motion for 2D animation achieves z-axis animation that’s almost impossible for most to keyframe.
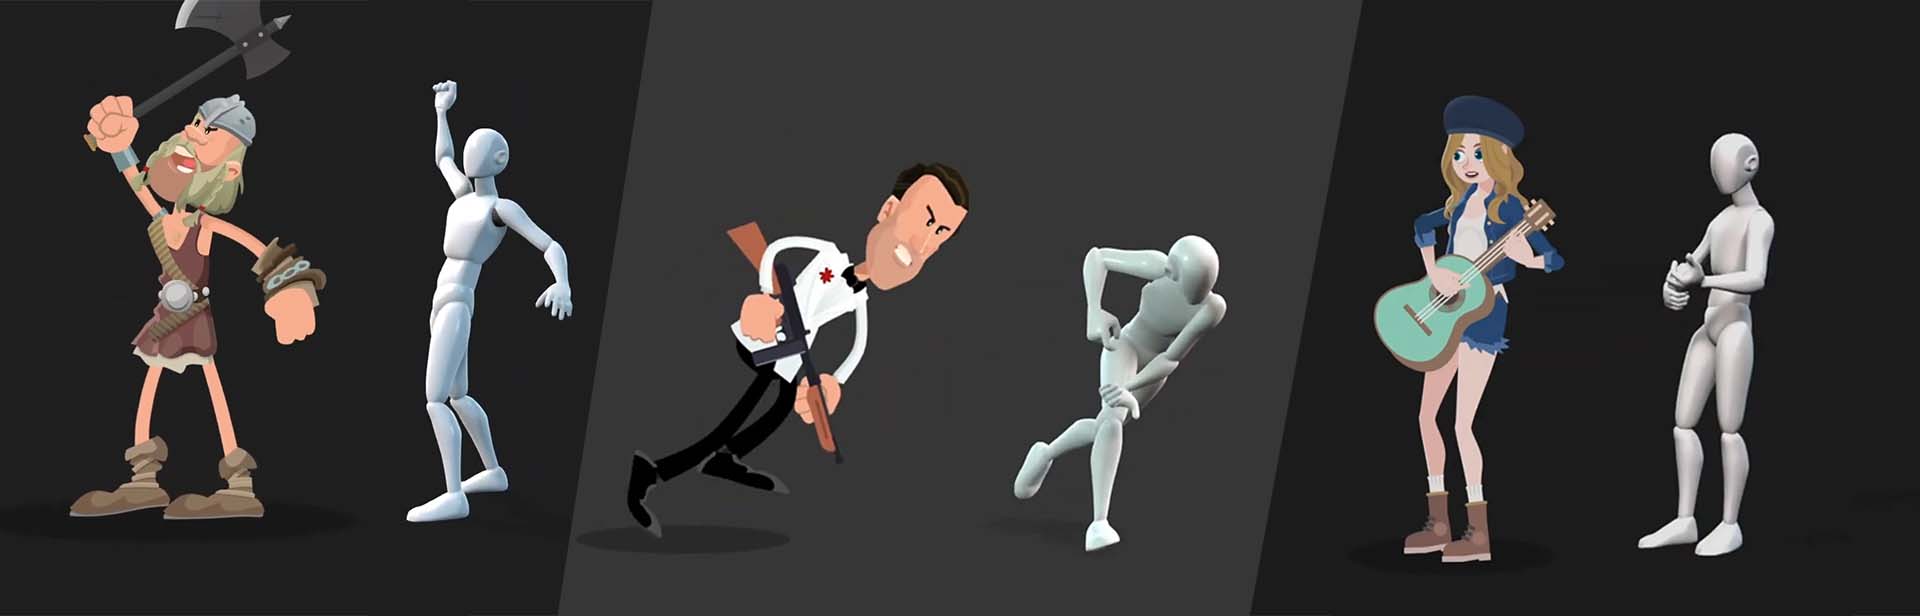
3D Motion Converter – Import 3D motions to 2D animations
Cartoon Animator develops a revolutionary animation approach with the proud advancement from 3D motion to 2D animation. It extends its compatibility to 3D Motion, allowing users to import 3D animations and project the motion to 2D characters with an unprecedented, game-changing feature for 2D animators to unlock tons of 3D motions for high-quality and diverse character animation.
“What actually got me was the simplicity of the product. The 3D to 2D motion conversion was easy to set up, and it really works.”
– Disney FX animator Declan Walsh
Key Features:
Simply control 3D motion projection angle for 2D animation with a slider.
Delicately transfer hand, body, and toe animation
Z-Axis makes your 2D animation shots more appealing with 3D motion.
Experience the best practice of side scroller animation for 2D games
Motion Link is a plugin that links iClone and CTA for a 3D motion pipeline to 2D characters. Users can real-time preview 2D animation with 3D motions from iClone, fine-tune the animation with customizable projection angles, and record the editing process to ensure the best animation quality. Reallusion takes a huge leap by building an ecosystem that combines 3D motions and 2D animation together, removing the barriers that commonly constrain 2D creators.
“It’s really easy to control 2D characters with iClone.The animation itself worked great, didn’t need much or any adjustments in 2D,” – Matt Bissett-Johnson, Cartoonist and animator.
Key Features:
Live Link 3D (iClone) & 2D (CTA) for 3D motion editing
Powerful real-time motion editing
Create multi-character animation
Bring in any 3D motion data(BVH, FBX) to Cartoon Animator.
3D Motion Resources Available for Speedy Production
Not only does Reallusion develop the technology to bring in 3D motion for 2D animation, but it also broadens its ecosystem by providing a vault of motion resources to help creators access more resources. Especially with the new ActorCore platform release, it will also explore the potential for more motions coming from the developers.
ActorCore&Reallusion Content Store, the premium online 3D motion marketplace now serves 2D animators with thousands of themed motion-capture animations
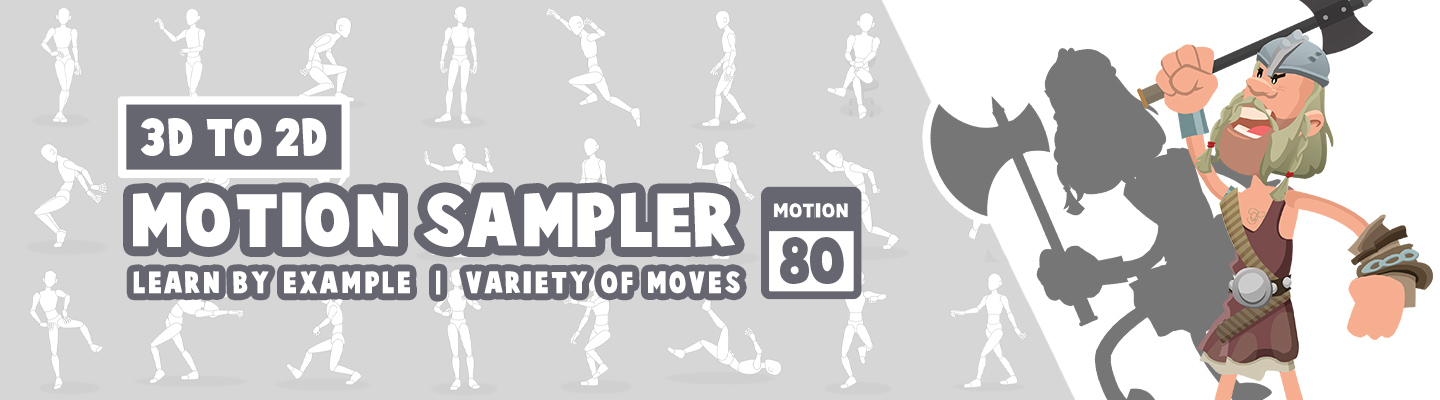
Sampler Pack, the 3D Motion Sampler contains 80 2D animation sequences converted from 3D mocap animations in various genres. This sampler is designed to show how 2D animators can easily achieve these performances by using 3D motions.
iClone 300+ Embedded Motion, if the users have iClone, 300+ motions included with iClone are compatible with Cartoon Animator. Moreover, you can bring in any format of motion and convert it through iClone to Cartoon Animator.
Pricing and Availability: One can now get Cartoon Animator 4 with a sampler pack starting at USD$159 in Reallusion Software Store. For purchase and pricing, please visit – https://www.reallusion.com/store/product.html?l=1&p=cta
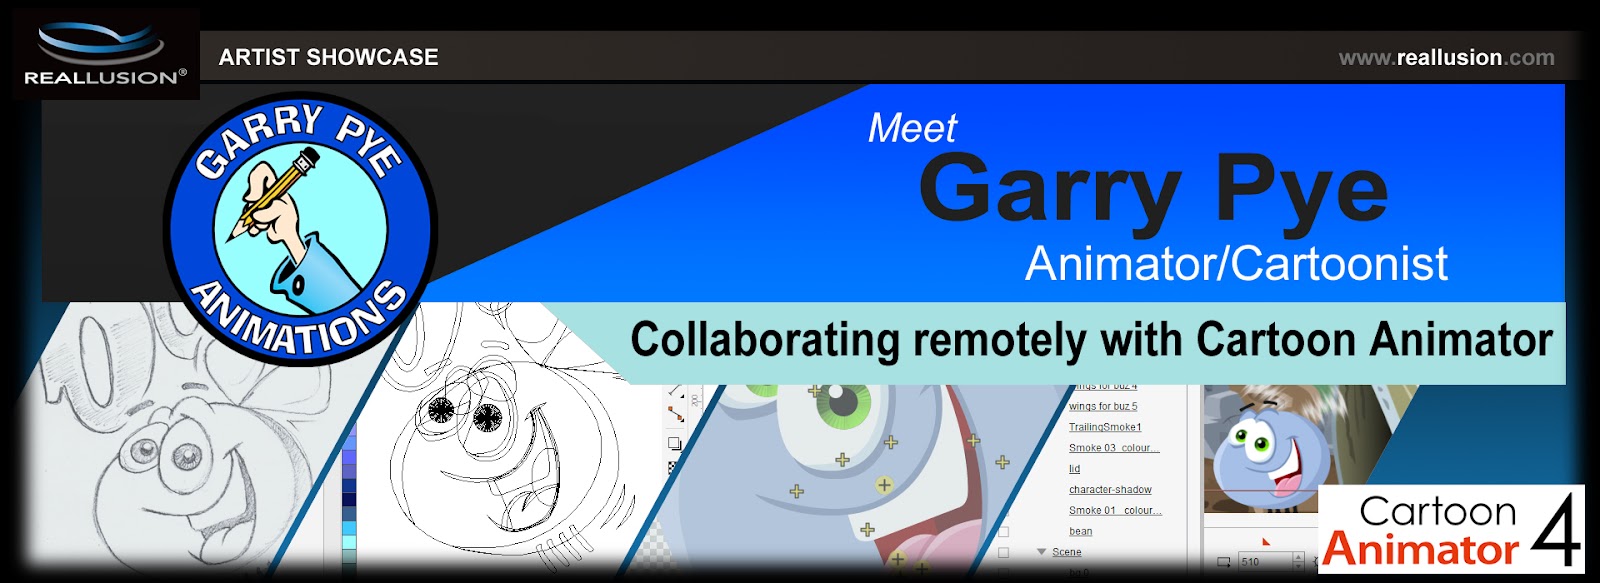
Veteran Cartoon Animator character designer, and 2D animator Garry Pye discusses how he was able to assemble a small group of talented designers, animators and voice over artists working remotely across the globe; to produce a broadcast quality, 2D animated short film from concept-to-finished project in under two weeks using Cartoon Animator.
My name is Garry Pye and since 2014 I have been a content developer for Reallusion. I am privileged to work with a number of talented people, experienced industry seniors from across a wide spectrum of skills in the animation industry. For some time, several of us had floated the idea of collaborating on the production of an animated short film inspired by the television cartoons of our youth.
Problem was, we were all in different parts of the world and couldn’t get together. So we needed to find a way to all work together with a single goal – Cartoon Animator was able to help us achieve this goal.
It’s fair to say that I like to test myself. Each time I create a new project, I like to focus on specific aspects and set myself goals so I learn new skills. With my new Cartoon Animator G3 360 Degree character Buz Blowfly and his debut film “Steak Out”, I set myself several challenges.
First, to create a character whose design was incredibly basic and see if I could breathe life and personality into him and create a performance audiences would engage with. I chose Buz Blowfly because he is essentially a blue ball with four little black sticks for legs and little else going on. I thought, if we can make this 2D character look more like a traditional hand animated cell cartoon and less like a cardboard cutout floating aimlessly across the screen from one point to another, then that will be an achievement.
In addition, there was now the challenge of working remotely with a group of people, each of whom would be required to work independently and provide their input on this animation to make it work, while never having the opportunity to meet together in one place to discuss it. Everyone would have to do their bit, ultimately requiring all the pieces to be assembled as a finished product.
And finally, the hardest challenge of all. Could we pull this off in under two weeks. Fourteen days from pencil sketch to finished animation.
Step 1: Creating Buz Blowfly
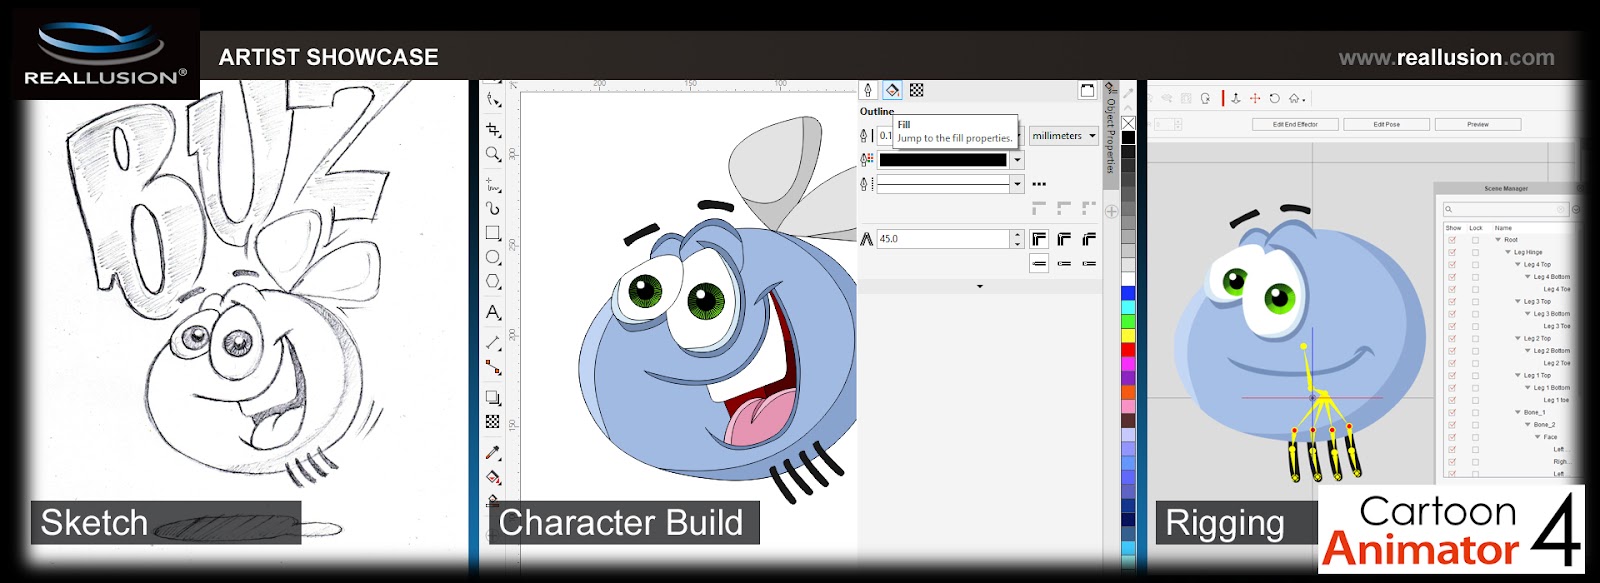
Buz Blowfly is little more than a blue circle with four sticks for legs. As far as an overall character build, that’s pretty much it. And that was very much a conscious design choice. I wanted the challenge of creating emotions for this character using his face and wings as well as his overall body movements. With only a simple sphere to work with, I would have to experiment with squash and stretch movements, as well as being able to incorporate the Cartoon Animators Deform tool, which I had previously toyed with but never really put to proper use.
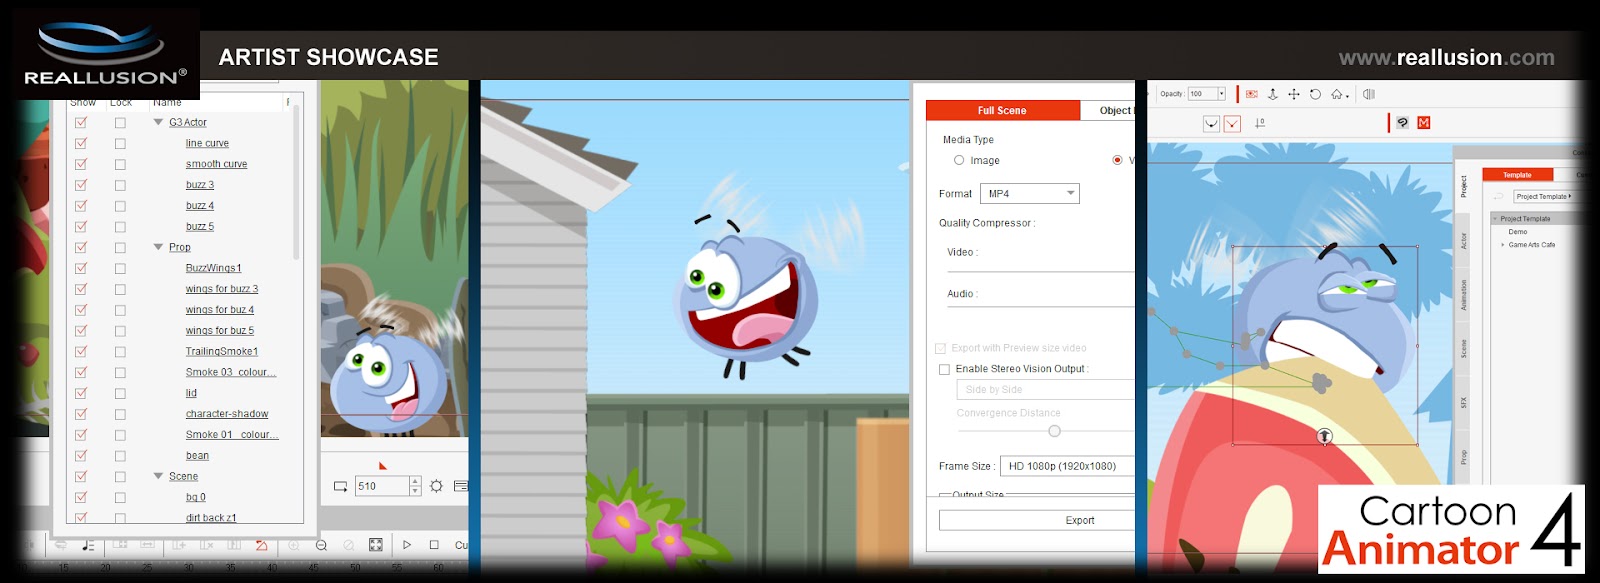
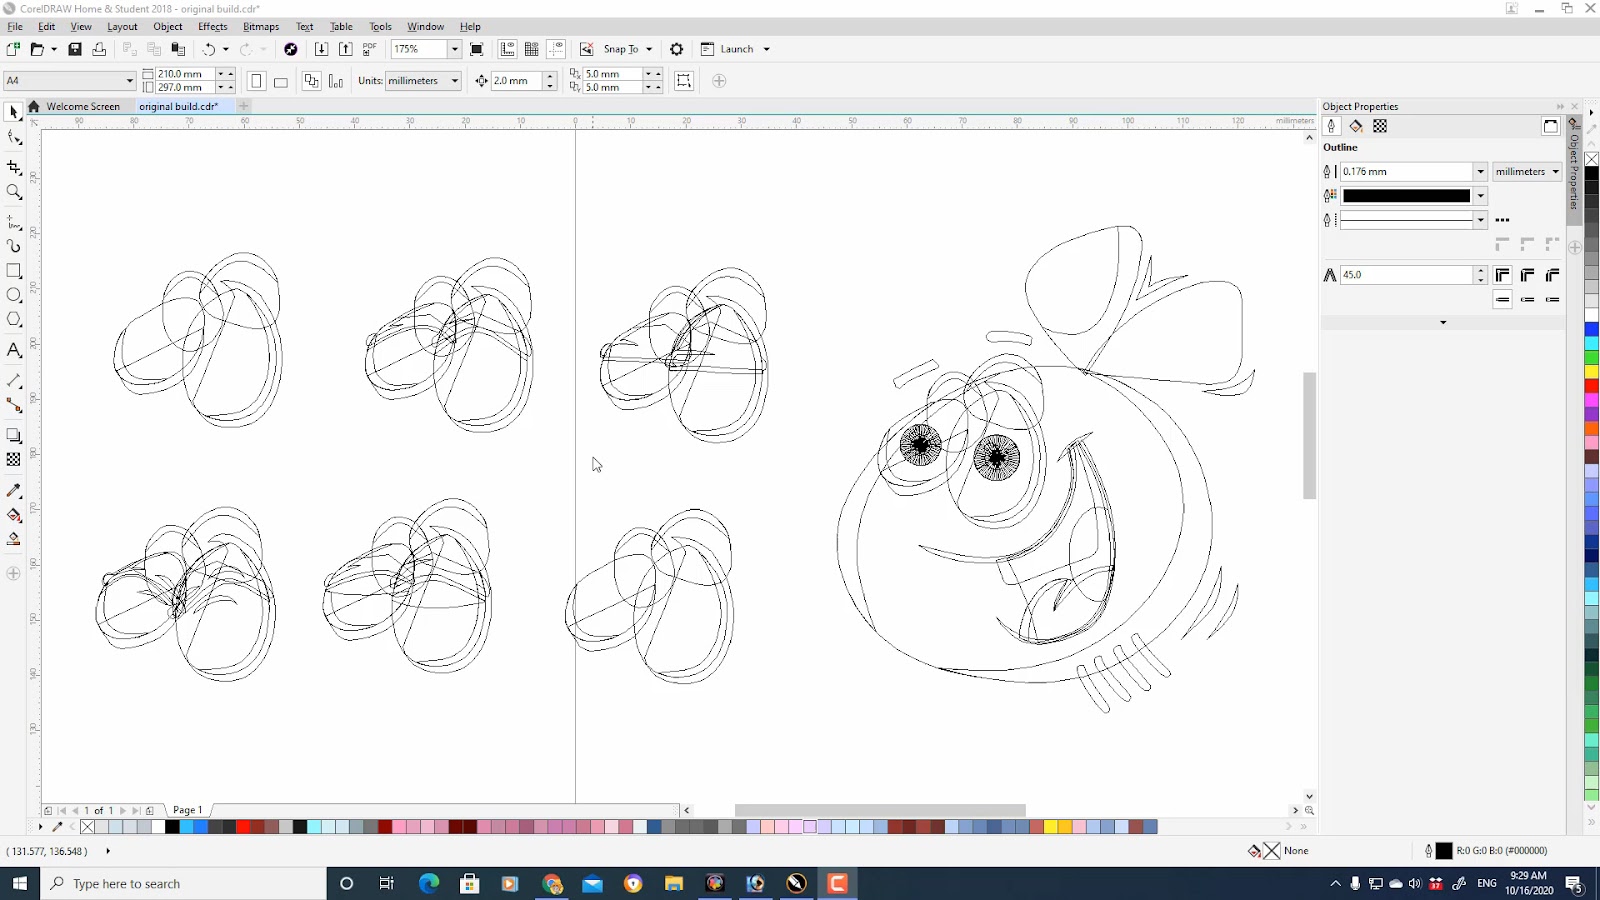
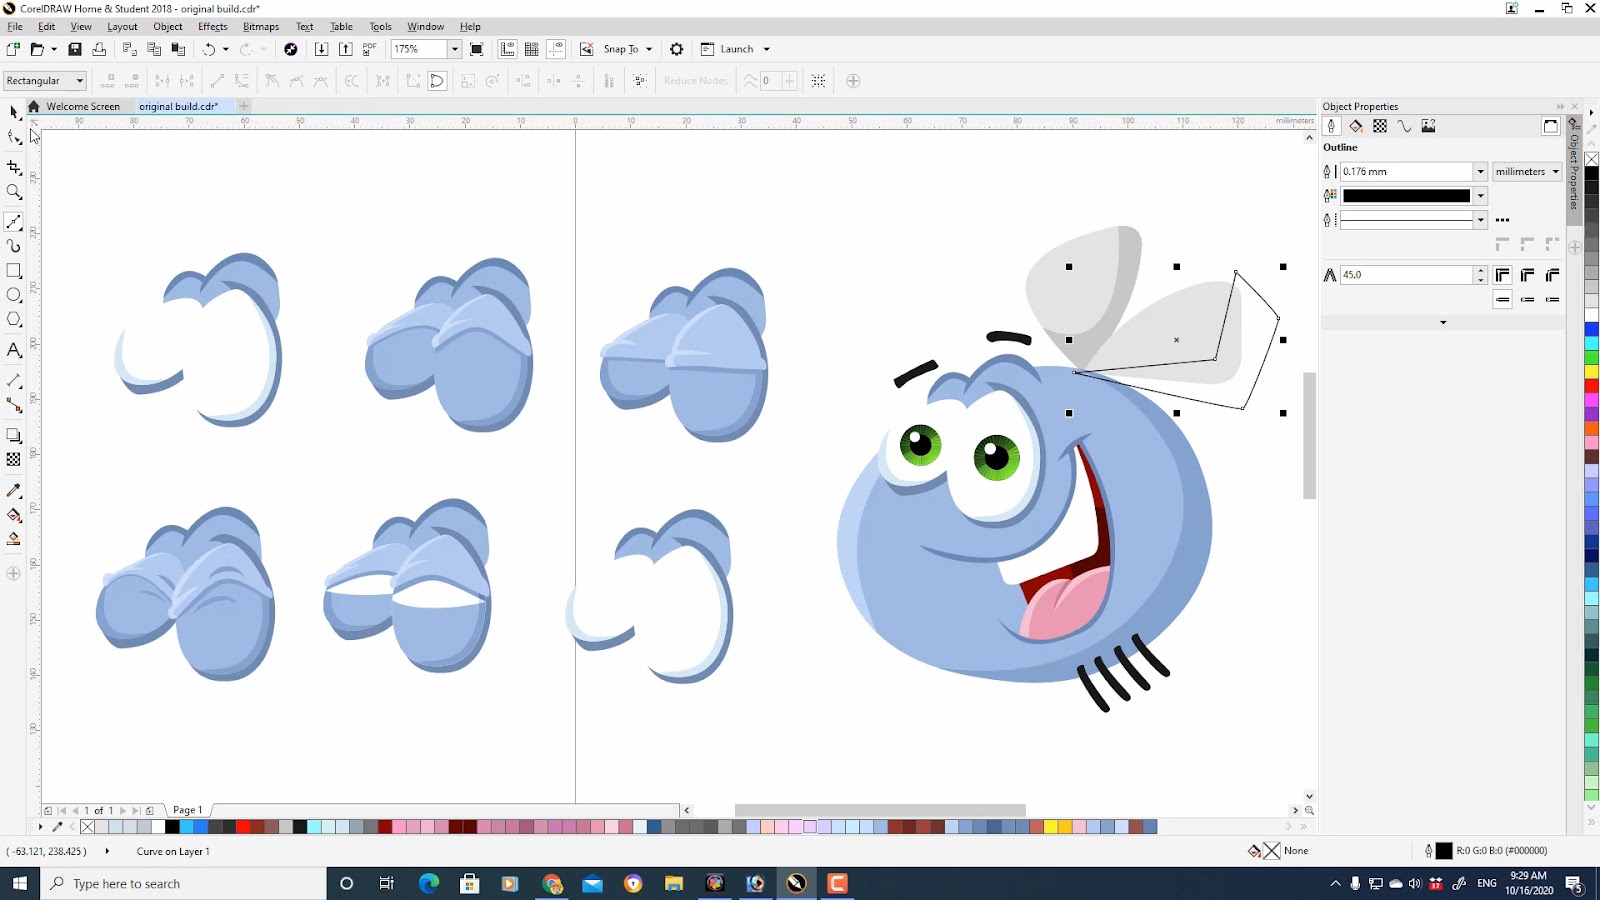
After scanning the original pencil sketch into my PC, using CorelDraw I was able to draw bezier curves over the top of the sketch for each required sprite, creating dozens of new mouths and eyes for almost every emotion possible.
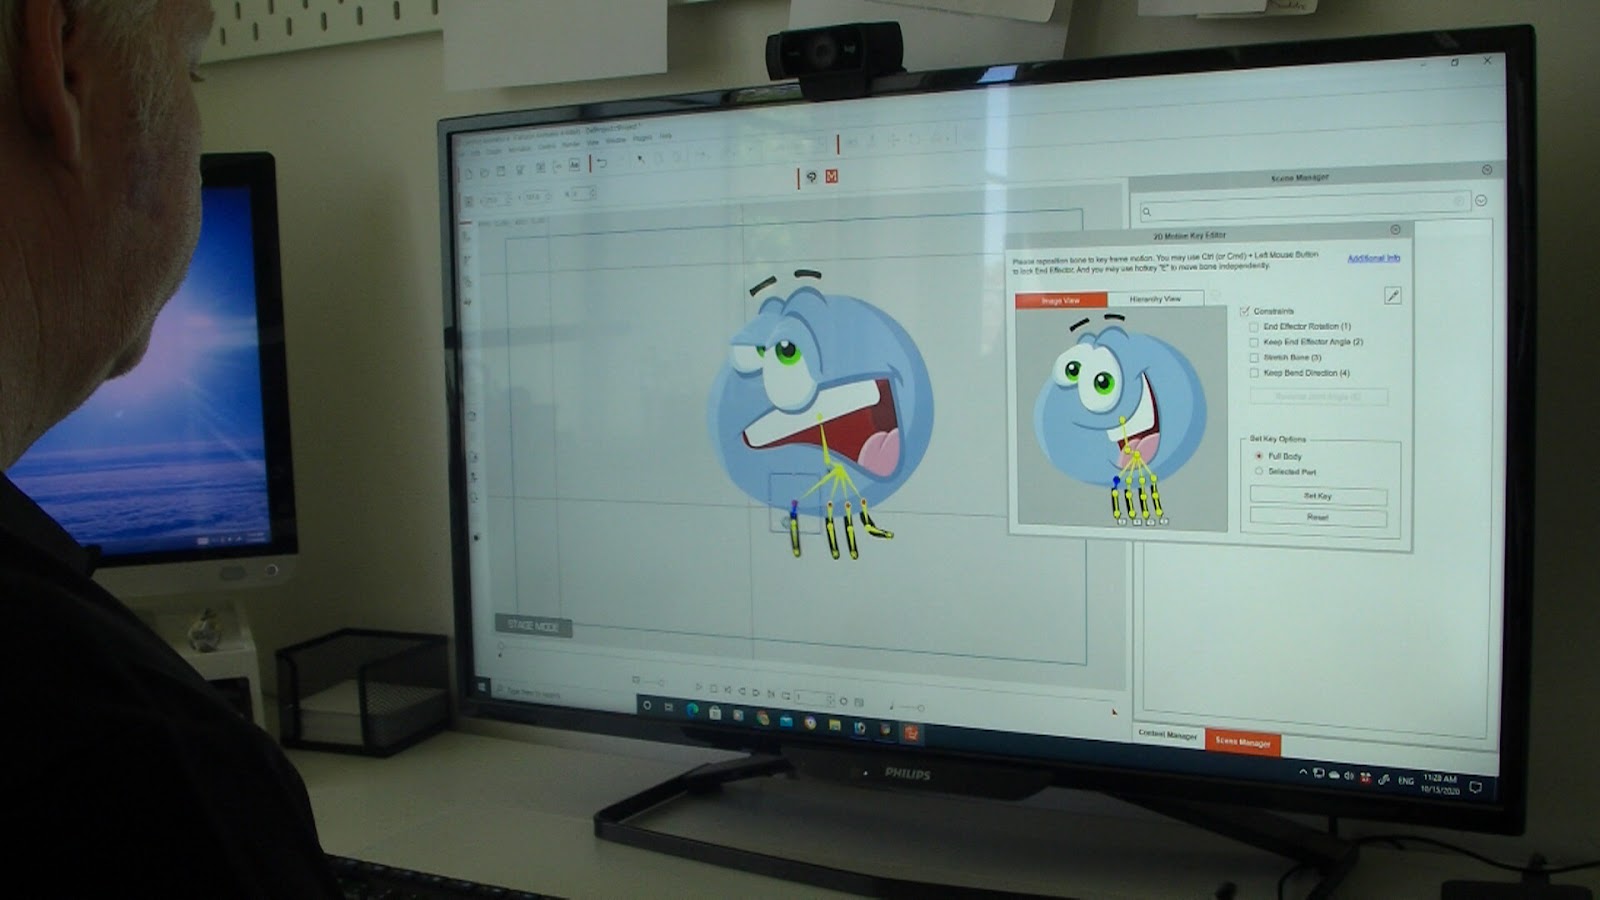
One of Cartoon Animator’s greatest abilities is to take any character design and quickly, and easily, add your own internal skeleton framework, complete with joints, so your character moves freely in front of your eyes within minutes. It is a simple matter of dragging your bones about over the top of the character and previewing the results in real time.
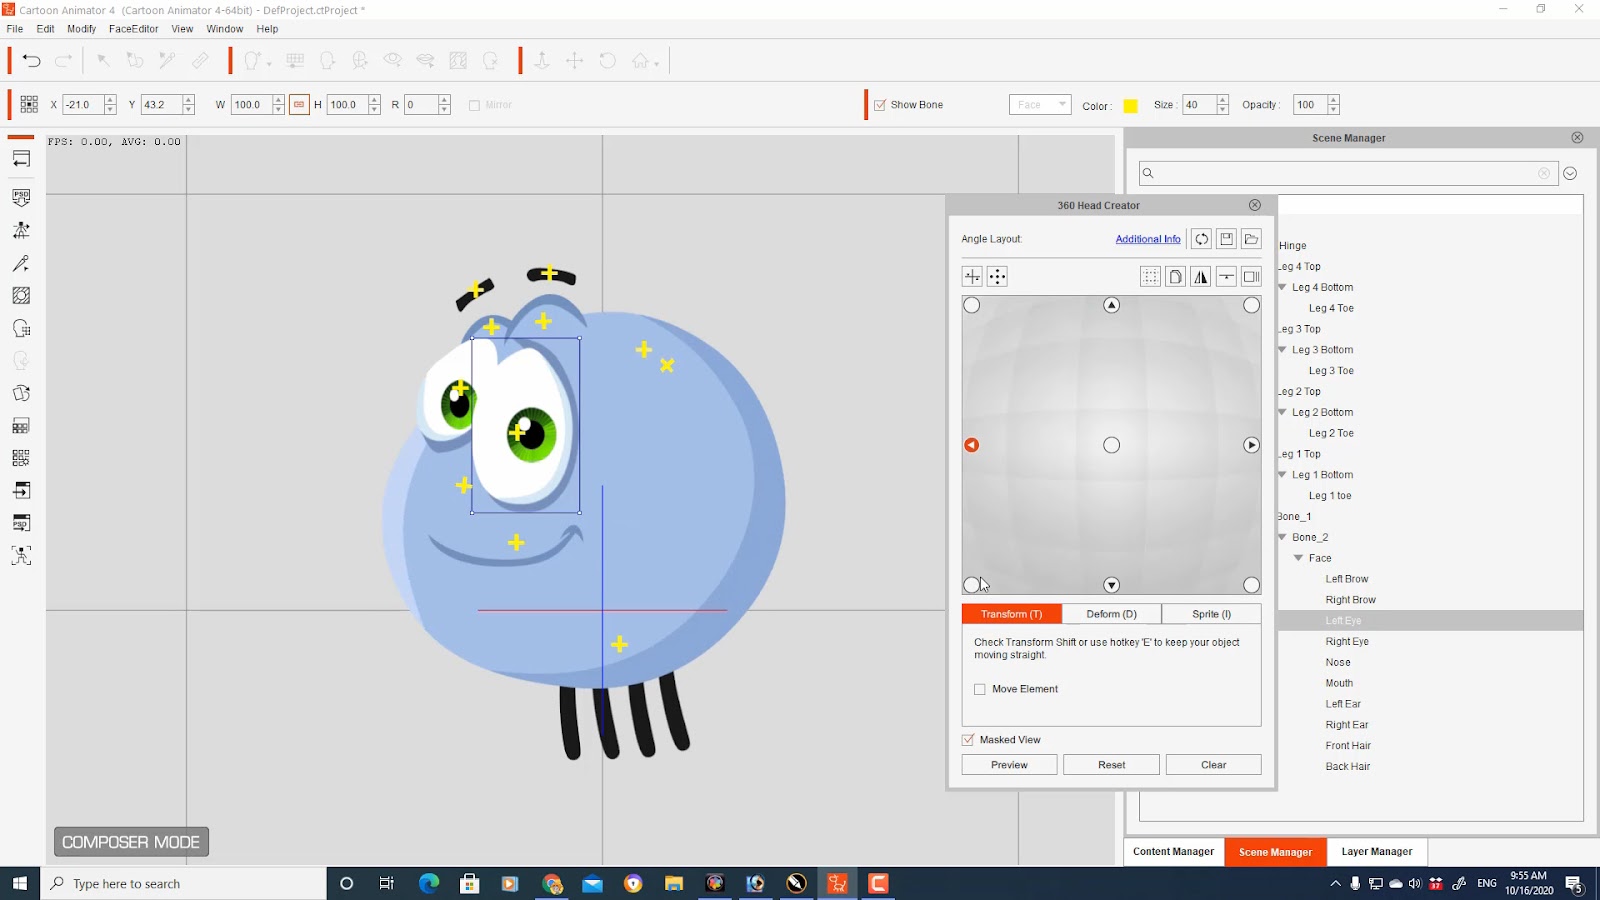
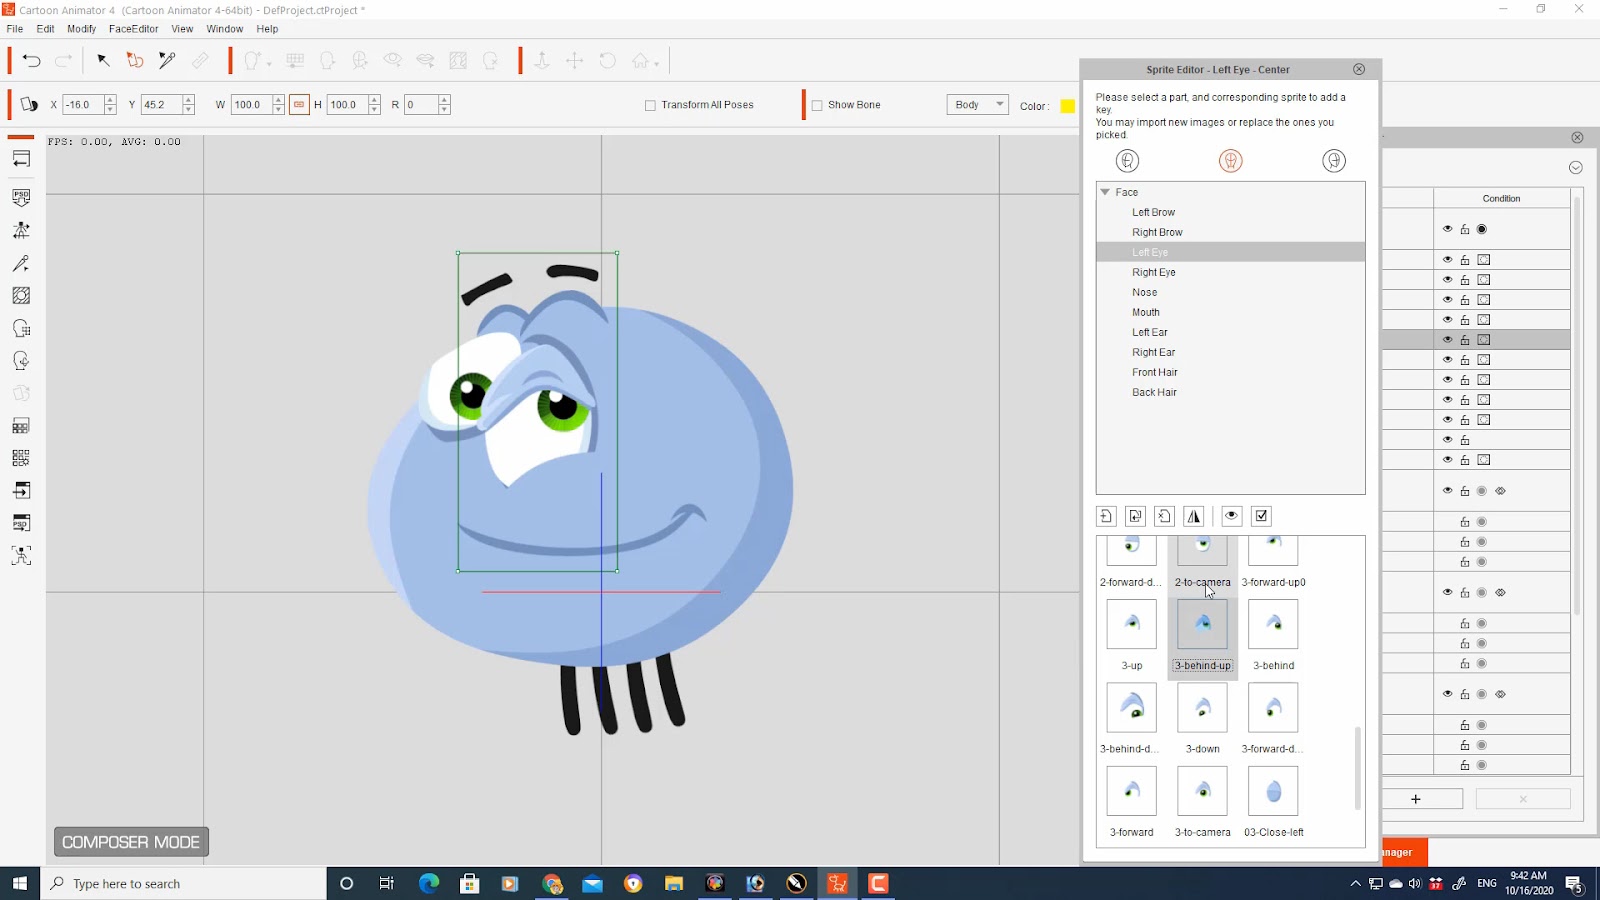
Once the framework of the character and his bone structure was set up, I went about creating the G3 360 Head for Buz as a Talking Head. With this character, his head and body were essentially the same part, meaning his head is also his body. The benefit here was that once I had him set up properly using the 360 Head Creator, Buz would be able to turn his head and look around with natural movement, again making him appear less like a cardboard cutout and more like a hand animated character.
Setting up the 360 Head for this character is not only easy, but for me extremely fun with Cartoon Animator. Being able to make adjustments to your characters face in real time as you’re building them is so satisfying, sometimes it seems more like sculpting than assembling. The 360 Head Creator gives the animator total control over the movement of the facial parts, which can later be fine tuned further with the Transform and Deform tools during the animation process.
Step 2: We Need a Plan!
When working on a larger animation project, planning is essential. Multiple scenes and camera shots require forethought so that continuity is in place and you don’t find yourself having to backtrack to correct mistakes. When working as part of a creative team with a single goal, planning is even more important so all parties know what’s happening and what’s expected of them.
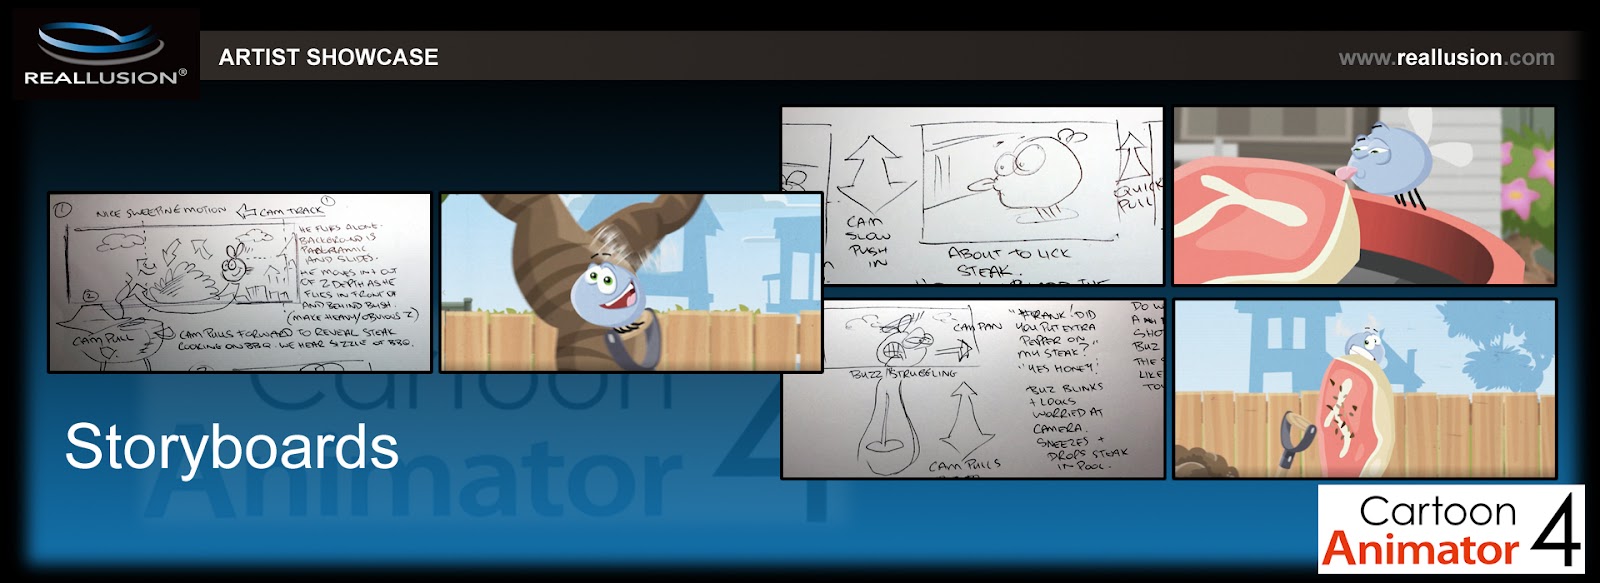
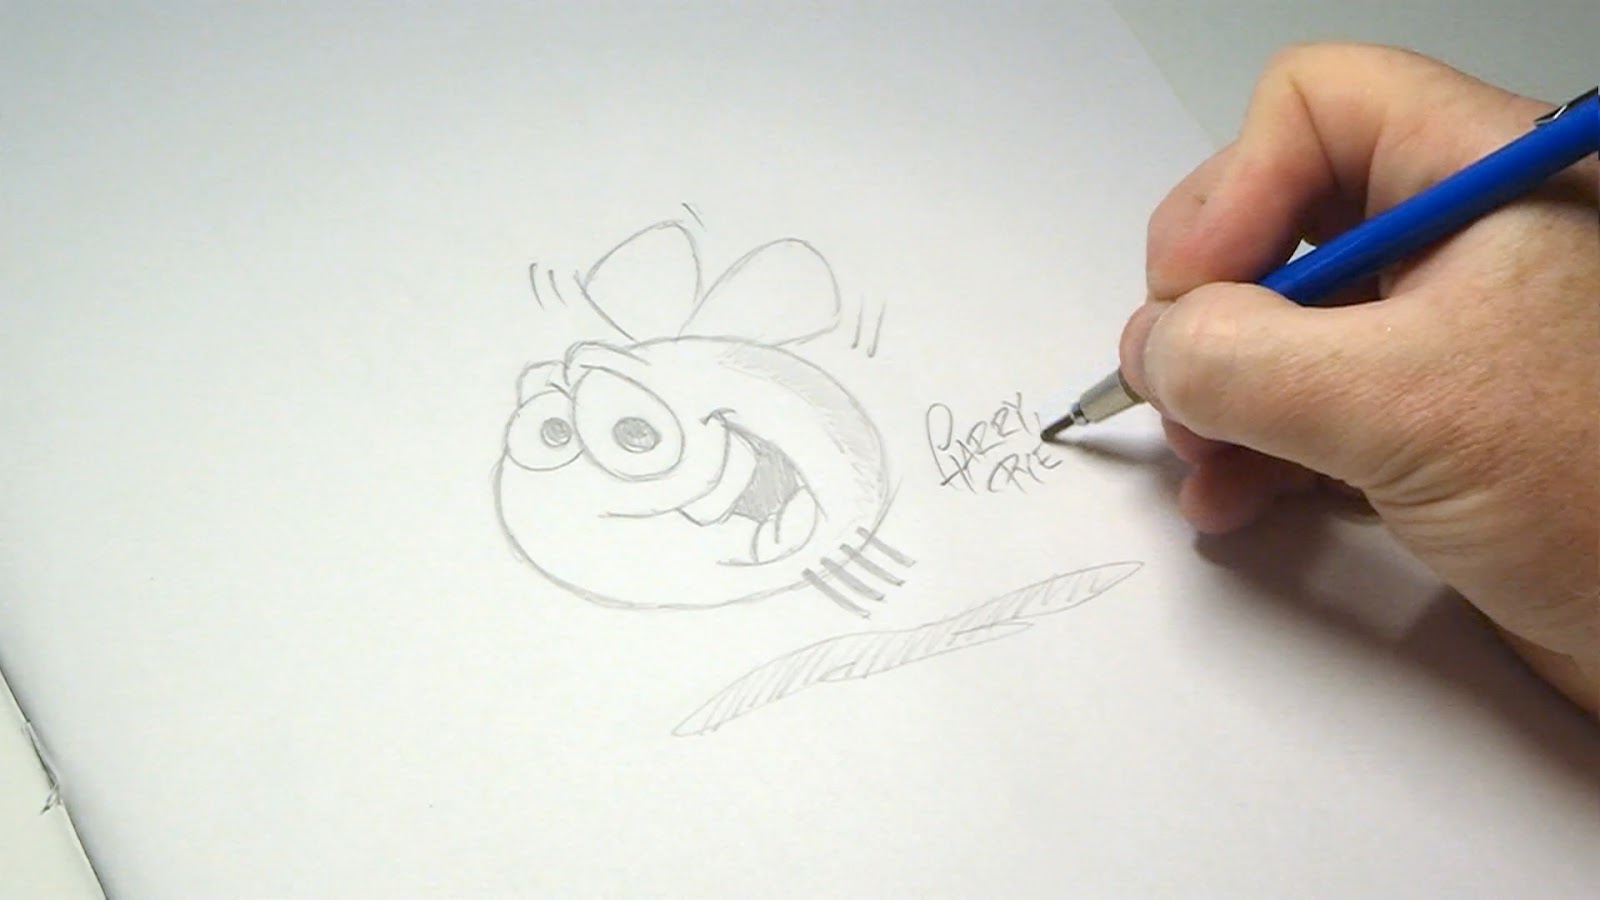
With a story outline and script written, it was time to hit the drawing board with a good old fashioned pencil and paper to roughly sketch out each camera shot in a storyboard sequence so that everyone involved in the project could visualise the cartoon and share their input into how each shot could be made better.
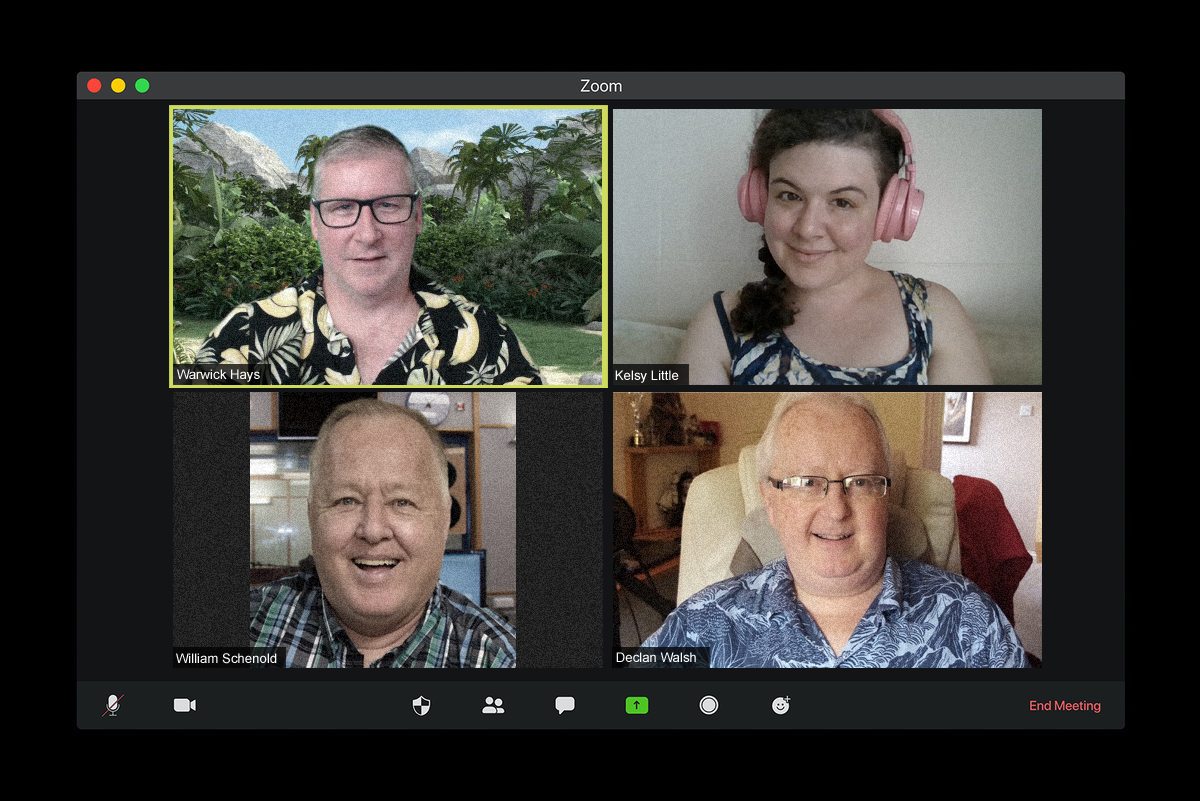
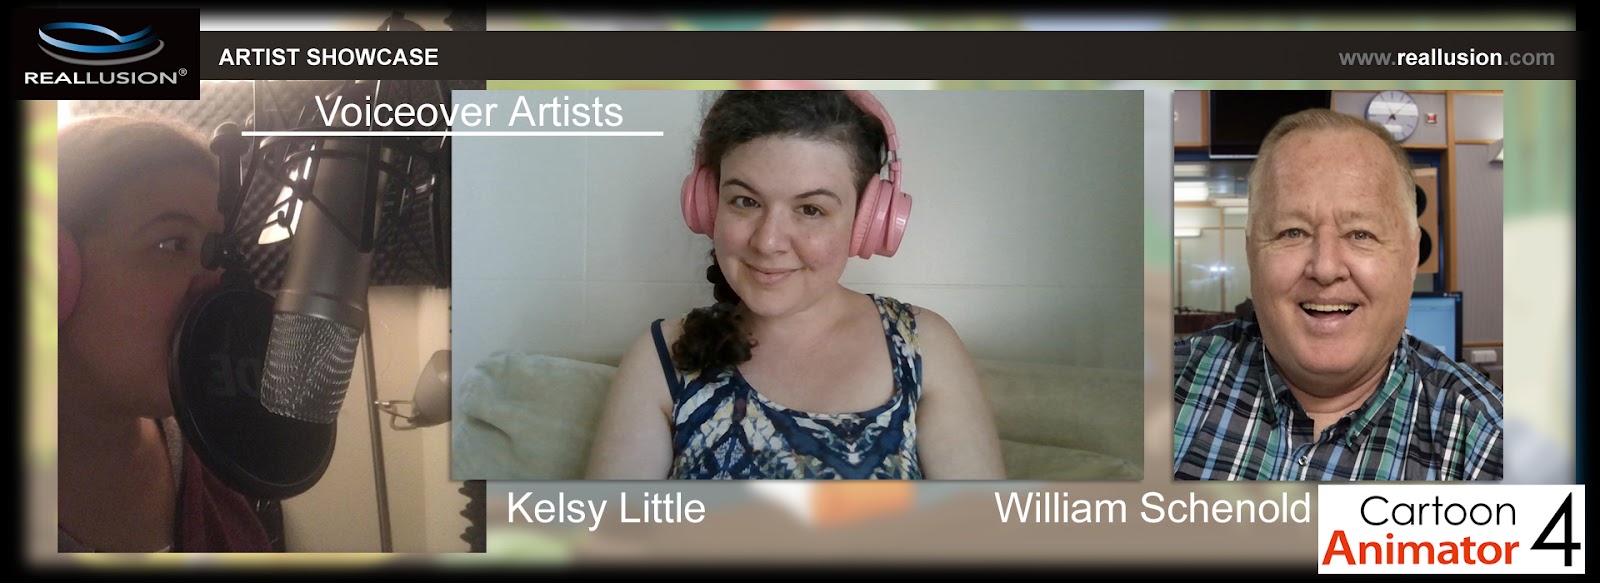
Since our voiceover actors would never get to record together at the same time, each needed to understand their role in order to deliver a recording that would fit each scene. Having worked many times with both William and Kelsy, I knew any lines of dialogue in their hands were going to be perfect.
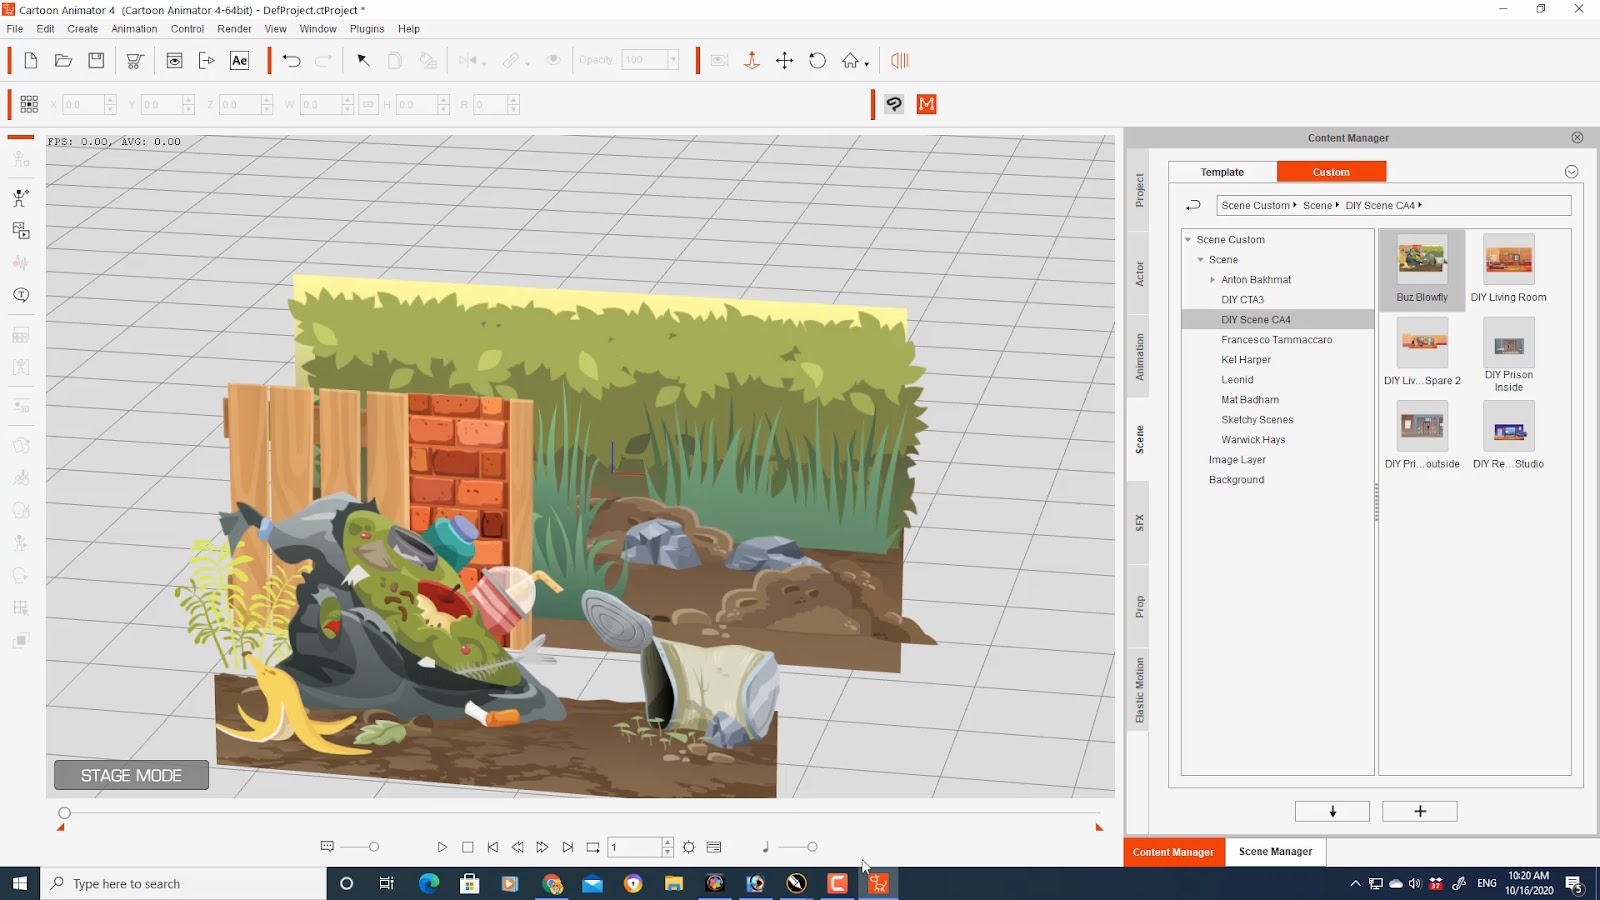
We agreed that the feeling of the cartoon was to be inspired by the old Looney Tunes cartoons of Sylvester and Tweety Pie we had watched on television growing up. So the background elements were kept simple and built inside Cartoon Animator in a way that allowed the Buz Blowfly character to freely move around in the correct perspective. Cartoon Animator gave us the freedom to make changes quickly and easily as each sequence developed and changes were required. One of my absolute favourite functions of this software is the Z-axis which allows correct perspective layering and smooth camera control giving the scenes a depth that would otherwise be extremely difficult to achieve.
Step 3: Veteran Animator brings Buz to Life
My friend and animator Declan Walsh is a legend in the art of traditional hand drawn animation, having worked with Disney, and Don Bluth, and animating films such as Thumbelina and Anastasia. We felt that the wings on the Buz Blowfly character would be used to express his emotions and almost become a character with a personality of their own. So Declan went about creating the most visually impressive animated wing prop (ctProp) for Cartoon Animator. Hand drawing 17 individual frames of motion, when combined in a sequence, Declan was able to give the wings 4 separate motion speeds that could be used to propel Buz across the screen.
So while the head and body of Buz was being constructed on one side of the globe, his wings were being developed on the other, and eventually the two would pair up and Buz Blowfly would take his first flight.
Step 4: Giving the Character’s Voices
I cannot stress enough the importance of using professional voice artists if you want to elevate your animations to a professional level. When we were first exploring the idea of this collaborative project for Buz Blowfly, William Schenold and Kelsy Little jumped at the chance to be involved. I always make sure I have my voiceovers finished before I start frame one of animation because a good audio clip can often steer your scene in a different direction than expected, especially when you have fun people like Bill and Kelsy who like to ad lib and go off script. You never know what you’re in for and often the best line is the one that comes when the actors are goofing off.
Even though both these talented artists recorded their dialogue in totally different countries and were never able to read together, with Cartoon Animator that doesn’t matter, as I was able to instantly drop in both recordings, align and trim them where necessary and then start my animation process.
Step 5: Let’s Get Moving
With the storyboards designed, character developed and voice overs recorded, it was now time to start on the final animation. For me, this truly is the fun part. Taking a flat illustration and bringing it to life. Making him twist and turn, express real emotion and interact with the world around him.
Thanks to Cartoon Animator’s 360 Head feature, I was able to quickly rig Buz Blowfly’s face in real-time, giving him the freedom to look about in every direction and speeding up the animation process by weeks. But for this project, I felt even that wasn’t going to be enough. We needed Buz to move as if he has weight and I wanted his movements to be fast and energetic, while not being so fast that the viewer would miss the action. This is where Cartoon Animator’s Deform Tool became my new best friend. After blocking in the general movements I was able to go back through the scene to squash and stretch everything from Buz’s body to every element of his face, so his performance became much more fluid and life-like.
Previously I had relied solely on the sprite swapping method for facial expressions, which works perfectly well, but the ability to smoothly transition from one sprite to another through keyframing with the Deform Tool enhanced my character performance to a level I had never achieved before. Because animation is much more than an object moving from one point to another. It is about capturing the true feeling of movement and emotion. And the Deform Tool absolutely delivers this result.
Step 6: Editing and Effects
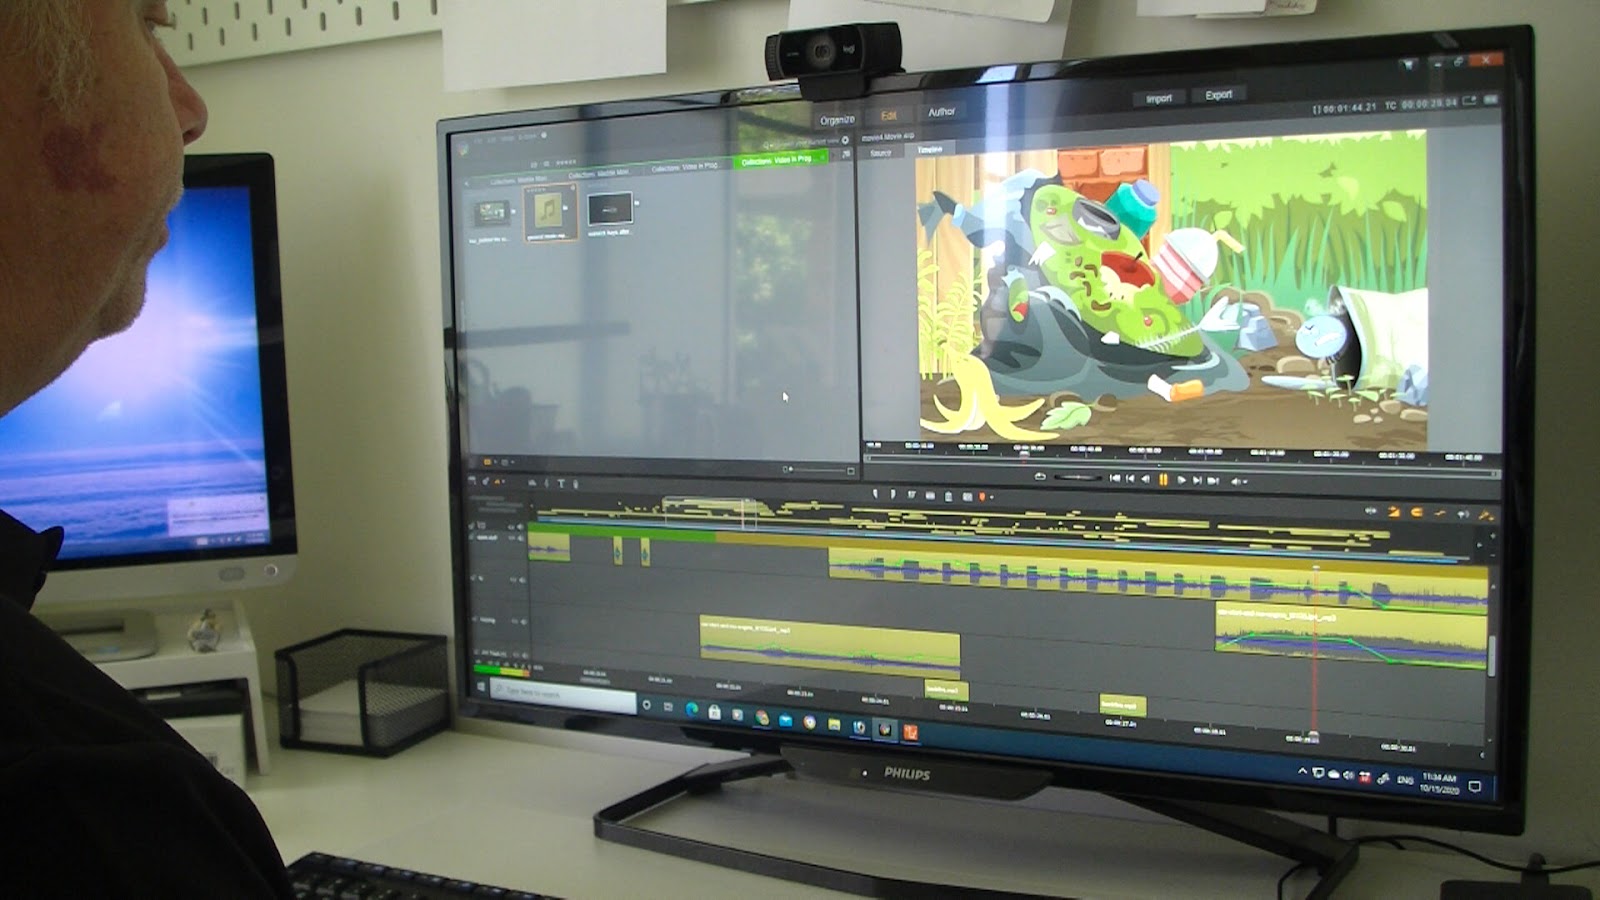
With all the clips completed, it was time to assemble the footage into the final cut, which is a simple process of joining each clip together in your favourite editing software. I use Pinnacle for editing and for my sound effects and music I use Audioblocks.
When the movie was complete, the final decision was made to add some effects using Adobe After Effects which would give it the look and feel of being a retro tv cartoon. This is where artist and animator Warwick Hays brought his skill set to the table. Warwick is a master at using After Effects and with the help of Reallusions plug in which quickly and easily creates a bridge between Cartoon Animator and After Effects, Warwick was able to take the original film and desaturate it to give it a more retro look. In addition, he added a blur effect to Buz Blowfly which gave him more natural movement and finally a vintage film grain effect was added to give the project the feeling of being a recording from an original television program. All of this was done in hours rather than days, and results could be increased or decreased in real-time to get just the look we all wanted.
And We’re Done!
Incredibly, a project that I estimate would have taken several months to complete, had it been created any other way, was finished from pencil sketch to final movie in exactly two weeks, thanks to the passion and enthusiasm of a group of talented artists. And best of all the project was genuinely fun to work on for everyone. This is because Cartoon Animator allowed us to see our results in real-time, making spontaneous adjustments without the need to redo work. All while having fun with the process of collaborating remotely and enjoying animating instead of being impeded with tedious and monotonous technical work. And because we were able to create the project in such record time, it meant that the enthusiasm for the work never had time to wane.
At the beginning of every new animation I try to push myself to learn new skills, polish those skills I already have and discover new possibilities within the limits of Cartoon Animator. As this software grows with new plug-ins and tools, so does the potential for me to create bigger and better animated projects. And at the end of each project I hope to be able to look back and see growth in my work. ‘Steak Out’ was a journey in collaboration and character animation that ultimately demonstrates Cartoon Animators ability to produce a quality production by a remote team of enthusiastic, creative people in a very short time frame.
David Arandle, A.K.A. ‘The Extraordinary Tourist’ or ‘TET’ for short is an Independent Artist, Animator, Writer, and Animated Video Producer.
He writes the blog – Animation and Video Life, detailing the behind the scenes of his own animated projects, as well as showcasing animation and video related applications, books, creators, tutorials and other resources for beginner to intermediate animators.
“Cartoon Animator is still focused on making the animation process as easy and fun as possible.”
Hasraf ‘HaZ’ Dulull – Writer, Producer, Sci-fi Director
Hasraf ‘HaZ’ Dulull
Hasraf ‘HaZ’ Dulull started his career in video games, and then Visual Effects for Film and TV, before transitioning to directing and producing with his breakout sci-fi indie feature film – THE BEYOND, which was released by Gravitas Ventures, and premiered at #2 on the iTunes charts before trending on Netflix and fully recouping its budget quickly and becoming a profitable feature film.
His second feature film 2036: ORIGIN UNKNOWN, which starred Katee Sackhoff (Battlestar Galactica, Another Life) earned a limited theatrical release in the US before landing on Netflix.
He was later hired to direct the pilot for Disney’s action comedy mini series – FAST LAYNE, and was also credited as creative consultant on the entire series and directed three additional episodes when he wowed Disney channel executives with his vision for the 8 part series. HaZ is repped in Hollywood by The Gotham Group, and is the co-founder of production company (http://hazfilm.com/)
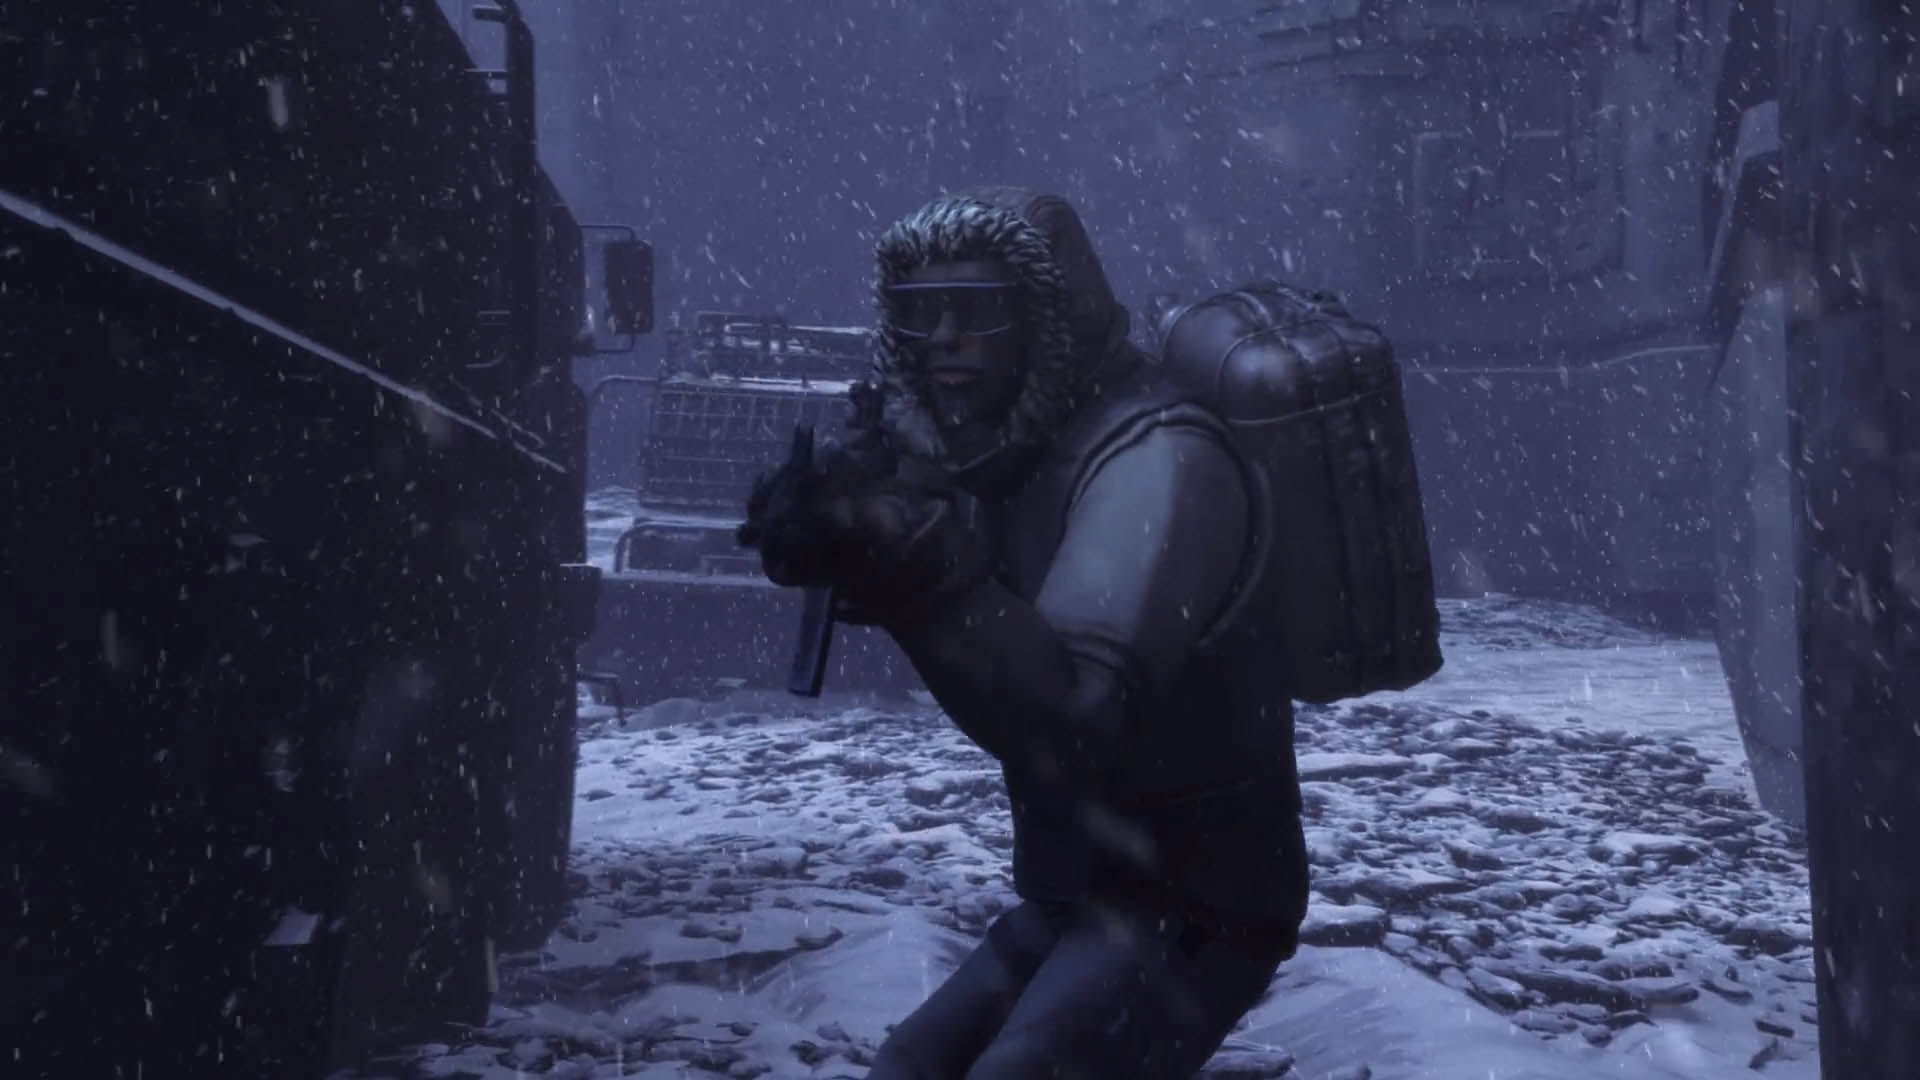
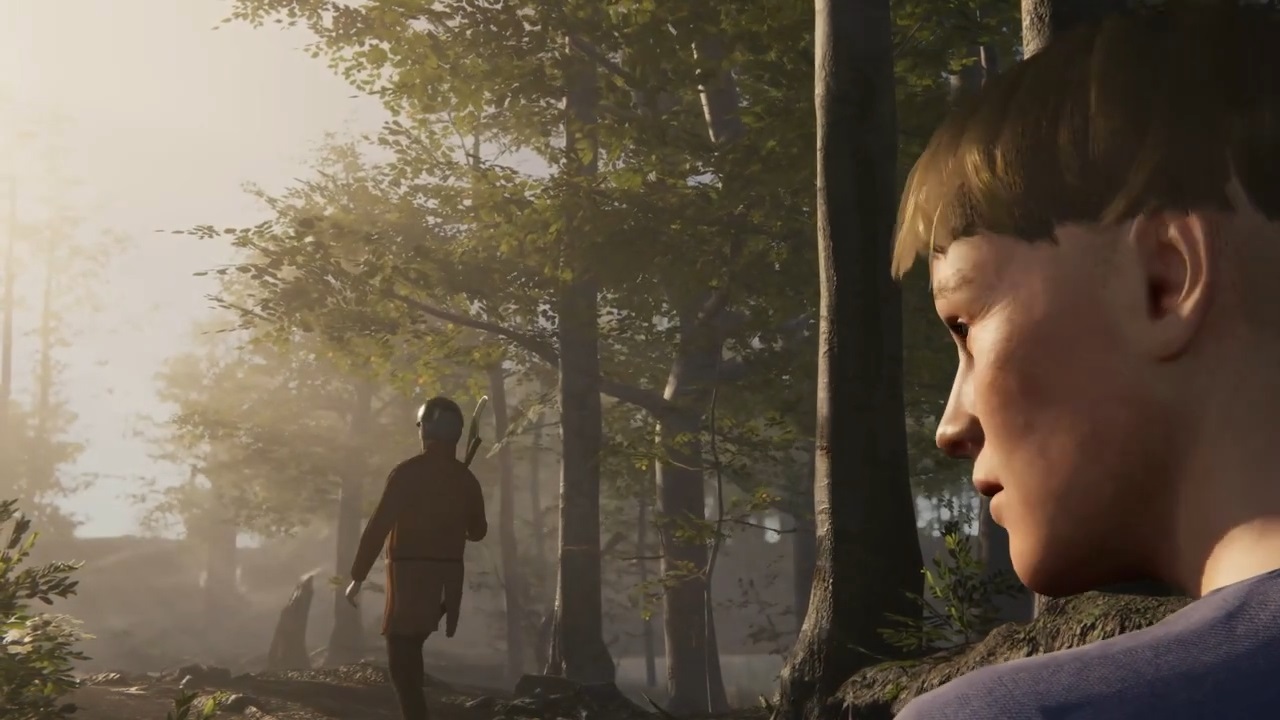
Haz Dulull is currently developing genre TV, feature and animation projects utilizing virtual production and Unreal Engine, his understanding of utilizing ground breaking technology with storytelling has recently lead him to go into production as the director on the CG animated feature film adaptation of the acclaimed video game Mutant Year Zero, where he used Reallusion’s Character Creator 3 and iClone to create his realistic film character in just 1 week.
” The benefits of real-time visuals like Reallusion and Unreal Engine, is that they allow me to be as hands on as possible with every aspect of animation filmmaking such as setting up the camera moves, to choreographing the action all physically hands on, directly inside the scenes. “
Hasraf ‘HaZ’ Dulull – Writer, Producer, Sci-fi Director