
Onur Erdurak
I’m Onur Erdurak, a director, writer, and 3D artist from Turkey and I love telling stories. I earned my bachelor’s degree in Cinema from Izmir University of Economics. While studying in Izmir, I applied and got accepted to the Erasmus Student Exchange Program and studied Cinema in Slovenia for a year.
While studying I made my first short film with no budget, one location, and one actor – which was with my uncle. Luckily my uncle Kemal Erdurak was already a professional actor so I put my skills in VFX, writing, and everything in between to the test, and with the help of a great team we made; my debut short film “STRANDED”. The film premiered at the Cannes Film Festival Short Film Corner in 2018.
Currently, I am a Fulbright grantee, and I am pursuing an MFA degree at Loyola Marymount University in Los Angeles. After a few failed attempts over the years trying to learn Blender. I finally got started after watching Ian Hubert’s “World Building in Blender” video. This was when the COVID-19 pandemic struck, I viewed this as a chance to enhance my skills and knowledge.
After a couple of months of learning, I started @blendreams to share my creations. “Blendreams” got started as and still is my passion project. I share my renders and animations over there and share what I’ve learned during my journey on my YouTube channel as tutorials. I am incredibly grateful that this passion project now has over 100,000 followers on Instagram.
For my next project, I’ve been experimenting with easy ways to create animated Crowds; as this is one of the most difficult, and tedious parts of animation. I wanted to test iClone’s Crowd simulation tools on a large scale city, and share my experiences of using it for populations and Dune 2 inspired scene.
“The crowd simulation tools in iClone 8 are incredibly efficient at populating scenes with high-quality 3D actors featuring facial expressions. This capability allows me to quickly fill out my scenes, enabling me to focus on the finer details of my scene.”
Onur Erdurak – Director / Write / 3D Generalist
First the location with KitBash3D
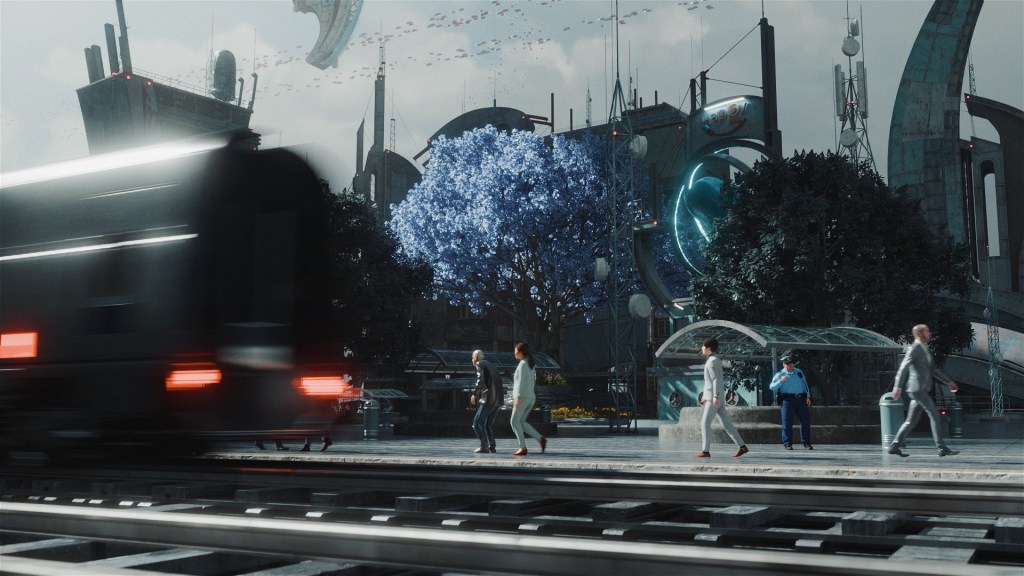
I needed a location for my scene to take place in, and I knew it was going to be a futuristic dystopia. I used KitBash3D Cargo; it is a software that holds the entire asset library of KitBash3D. Any of their assets can be imported into all the popular 3D software with one click with Cargo. They also have a bunch of free assets here and a full free kit called Mission to Minerva. Using that kit, I’ve built this environment inside Unreal Engine, and we did some virtual production tests at home on a TV. Melis Caner is the actress in these shots.
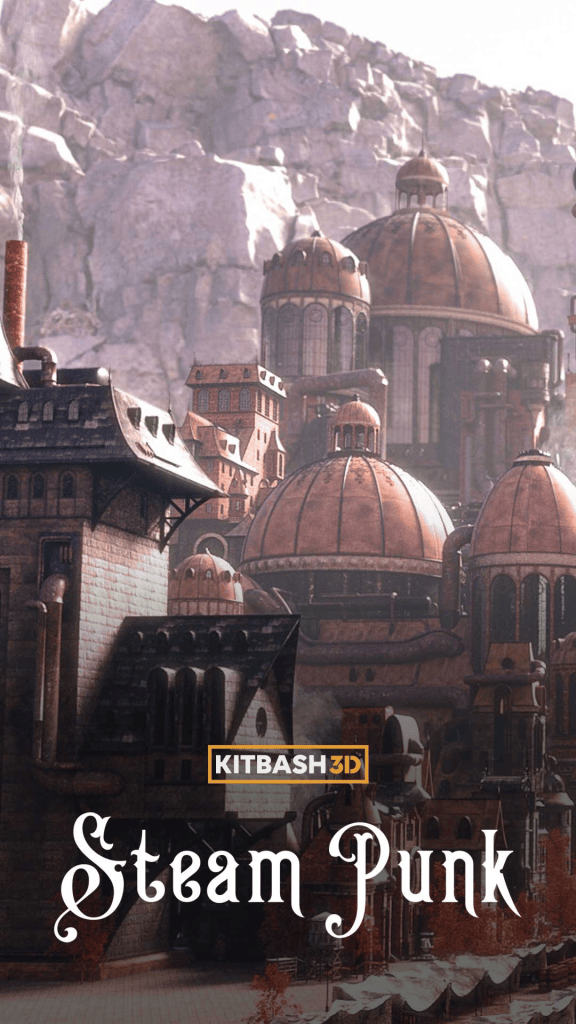
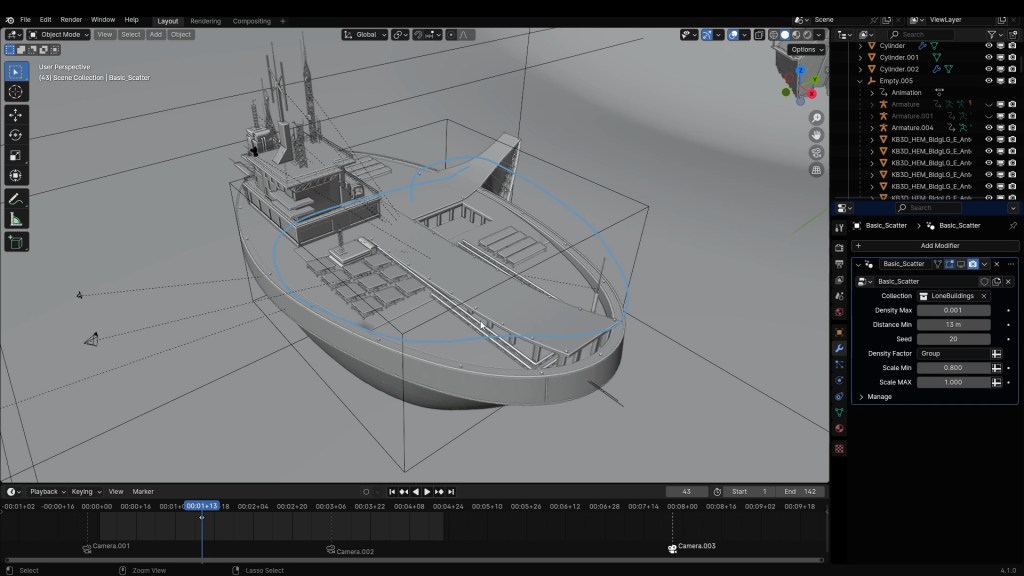
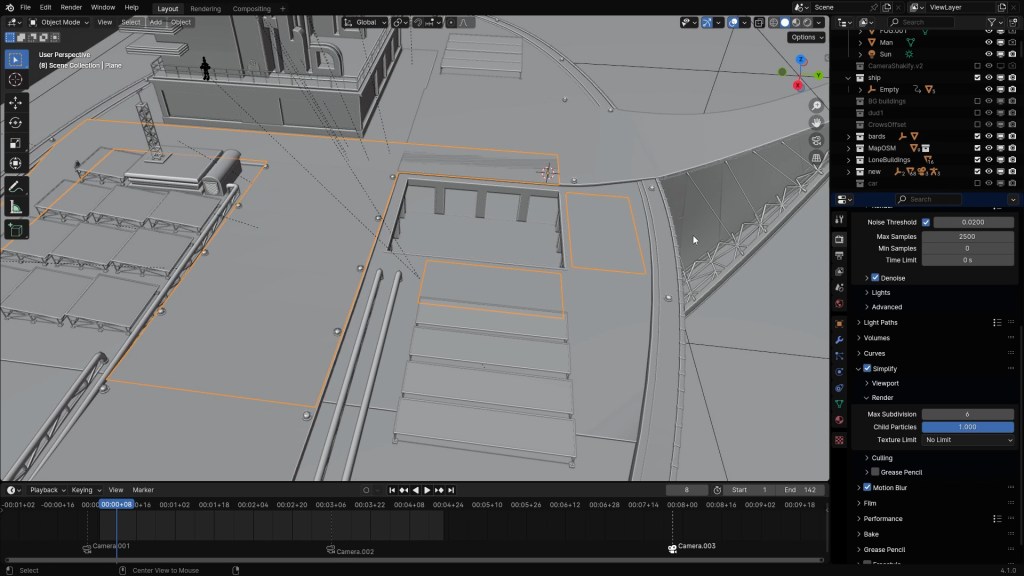
Back to our Metal City – using KitBash3D CARGO, I got a bunch of building models from the “Heavy Metal” and “Steam Punk” kits. After importing in the models, it is a lot like playing with toys. Blocking the buildings together to create the city center. For the wide shots of the city, I used this geometry nodes set up. I have some of the buildings in a different collection and they are distributed on this plane using a basic distribution setup in geometry nodes.

Using iClone to simulate crowds
Reallusion recently introduced crowd simulations inside iClone, these crowds can be exported out to any 3D software, and they are super-fast way to create realistic crowds.
First, when I open iClone:
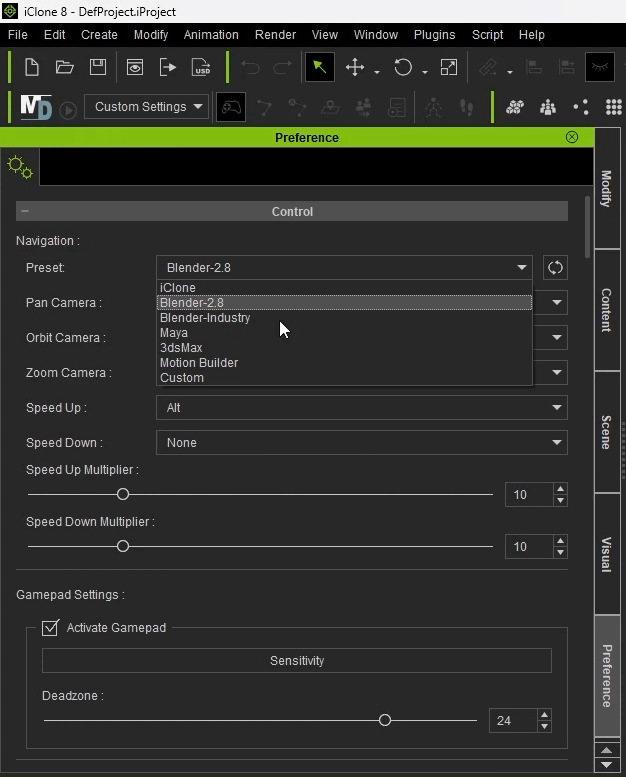
I go to Edit -> Preference -> change the preset to Blender so the navigation buttons are familiar.
This preference is saved and I only had to do it once.
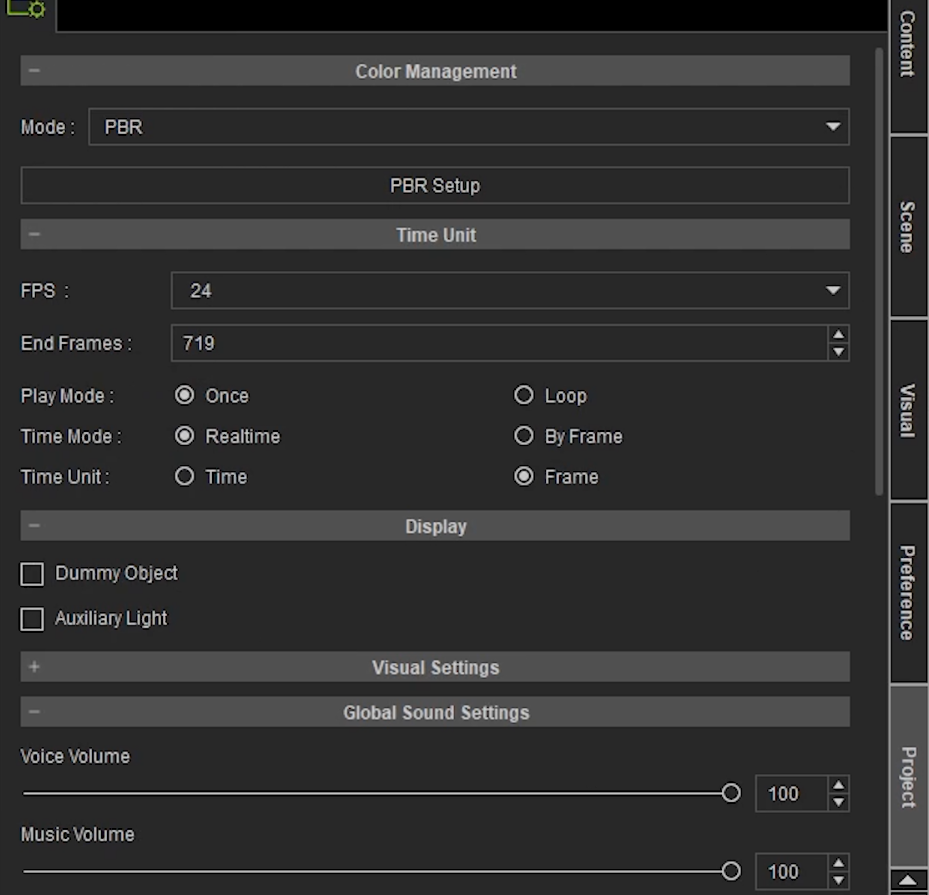
Then, go to edit again, project settings this time, and change the frame rate of the project. I set it to 24 frames per second.
These are the crowd simulation types inside iClone:
- Actor Group
- Volume Blocks
- Walkways
- Navigation Meshes

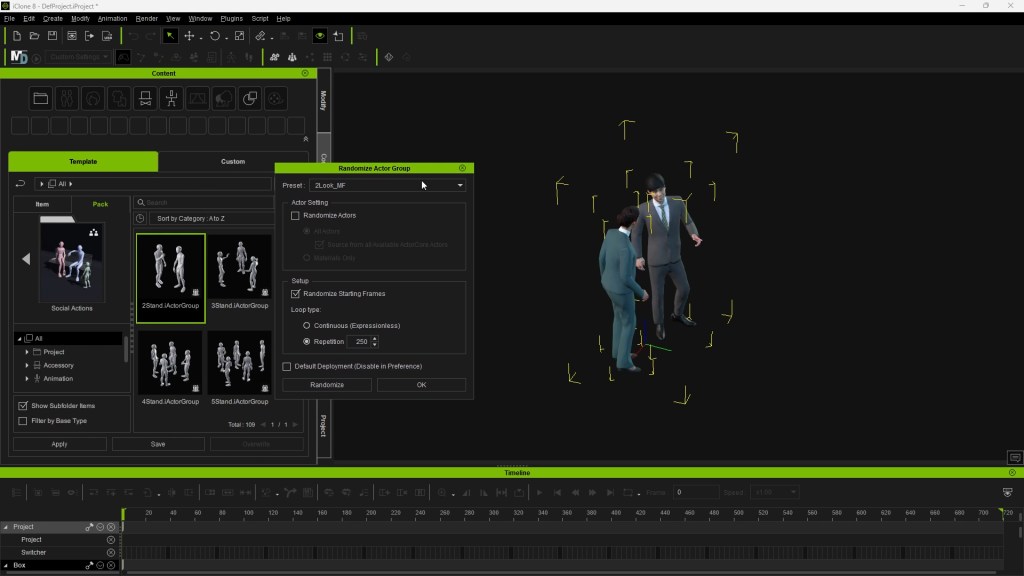
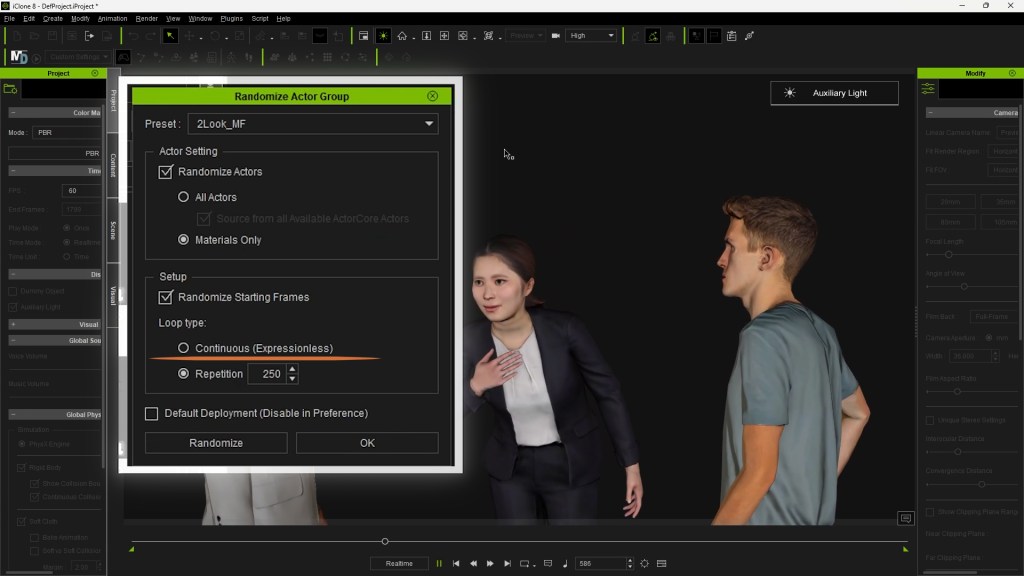
All these types can also be used together. First, the Actor Groups; this is my favorite and quickest way to populate scenes. I pick out the crowd interaction I like, drag and drop it into the scene, adjust their animation length.
Unless you choose the “Expressionless” option for these actors come in with facial animations.
To create the other types of crowds, we go to:
Create -> Scatter -> Generate Crowd
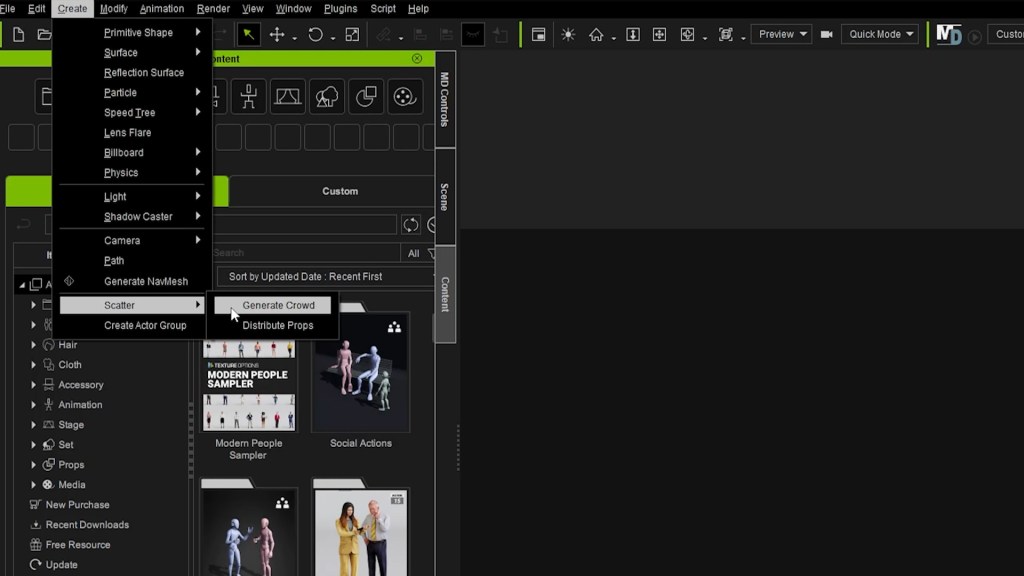
This opens this dialogue box and makes things little more complicated and more exciting. With it we can create the area we wish to scatter crowds in. With the “Create Volume” checked, if I click and drag, I create a volume. This volume can be moved and scaled. The number of characters changes as the scale of the volume changes.
With “Pick Object”, I can choose a surface to scatter the crowd in. This surface can also be a custom modelled surface.


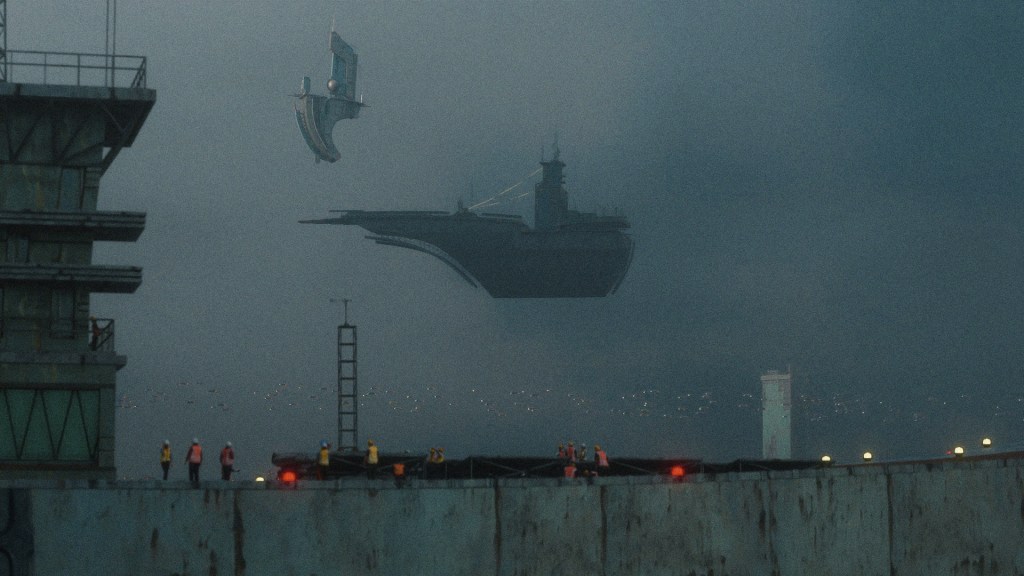
Adding construction worker crowds to the ship
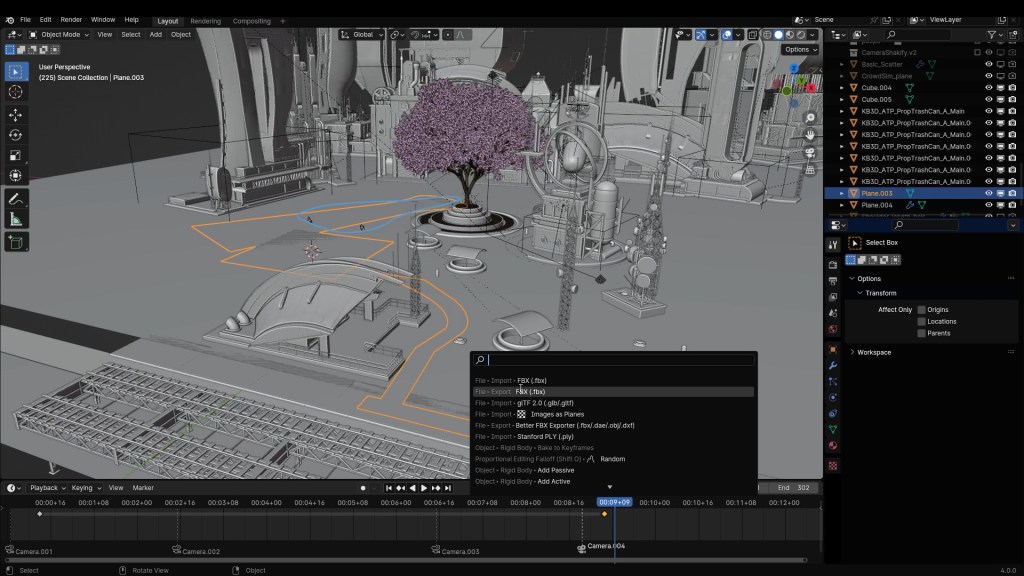
I want to put a crowd simulation of workers on top of this ship. I modeled the surface out of a plane in Blender. Then exported it out as an “FBX”. Import it into iClone, and choose that as the surface. Back to our crowd sim dialogue box.
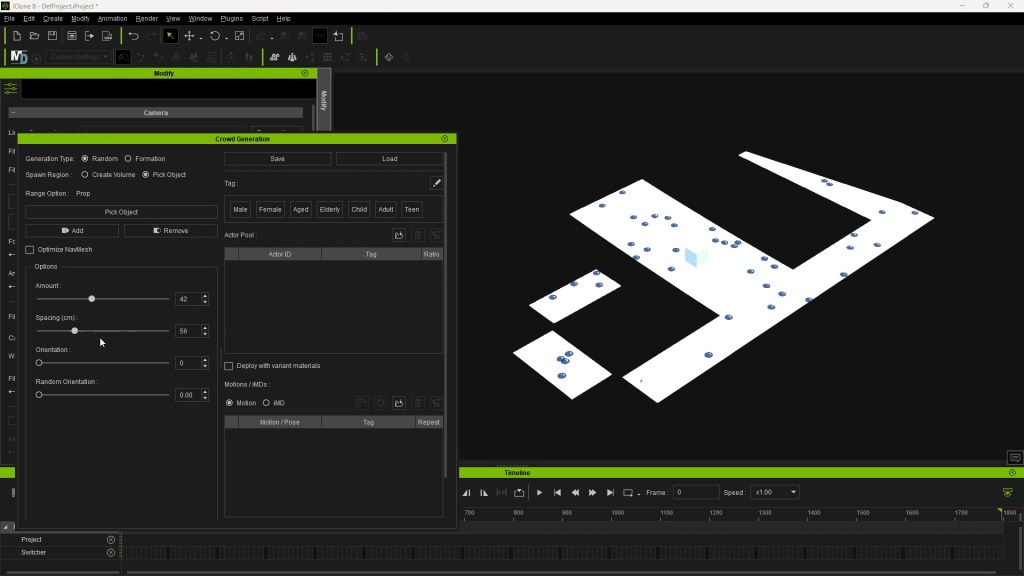
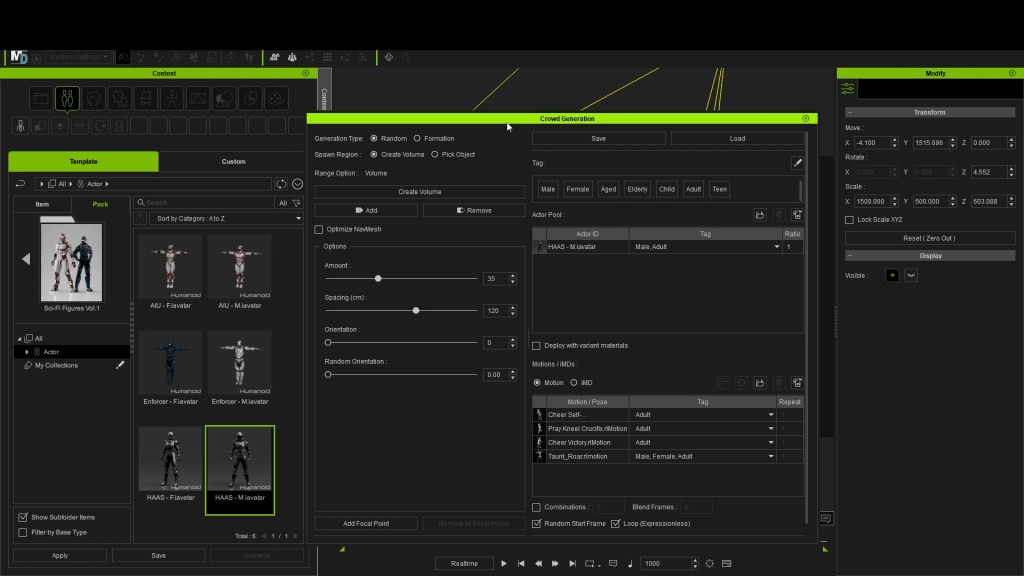
We have a bunch of options here. I go for random, but “Formation” can be used for crowds in stadiums, theaters or for creating army formations.
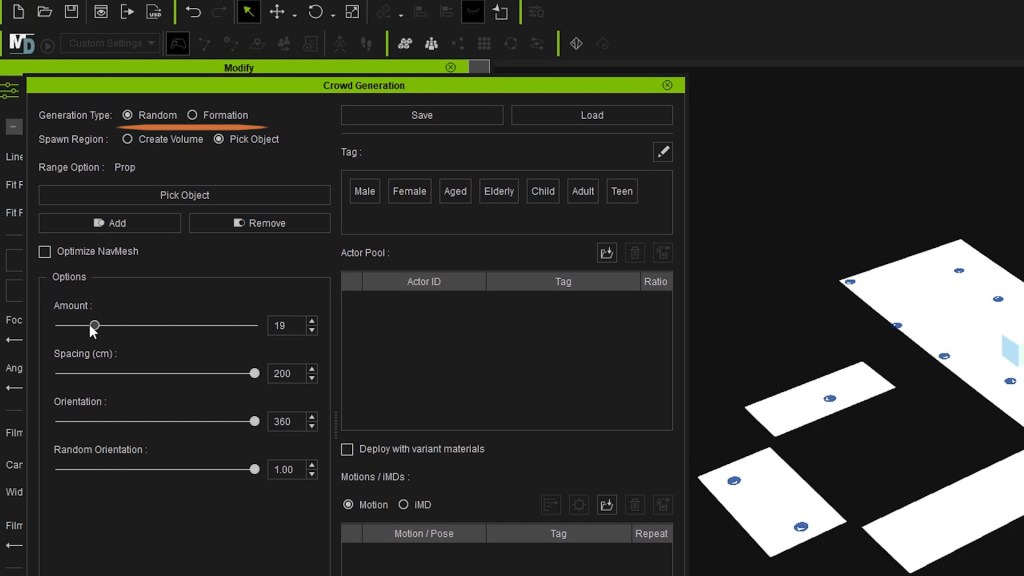
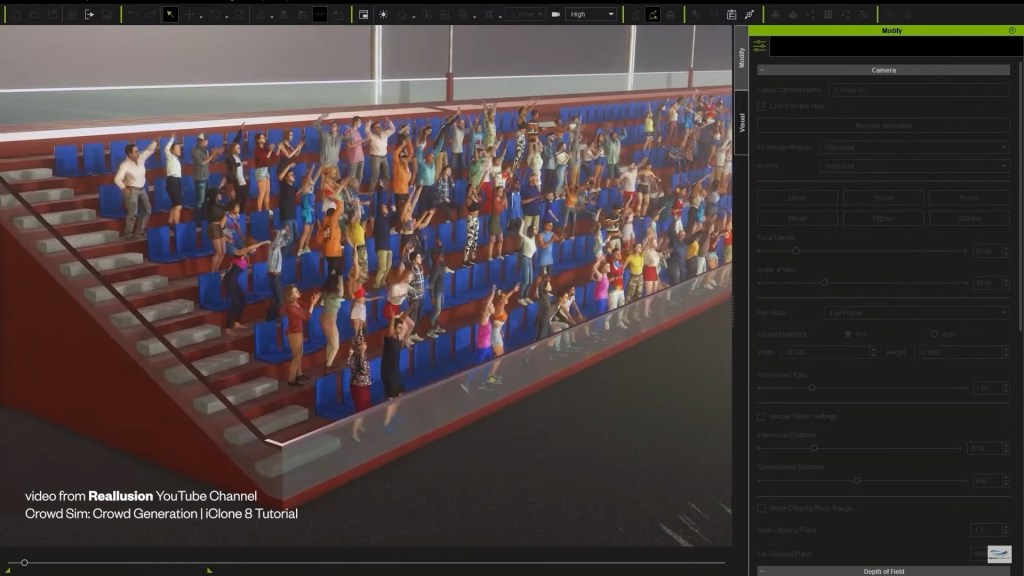
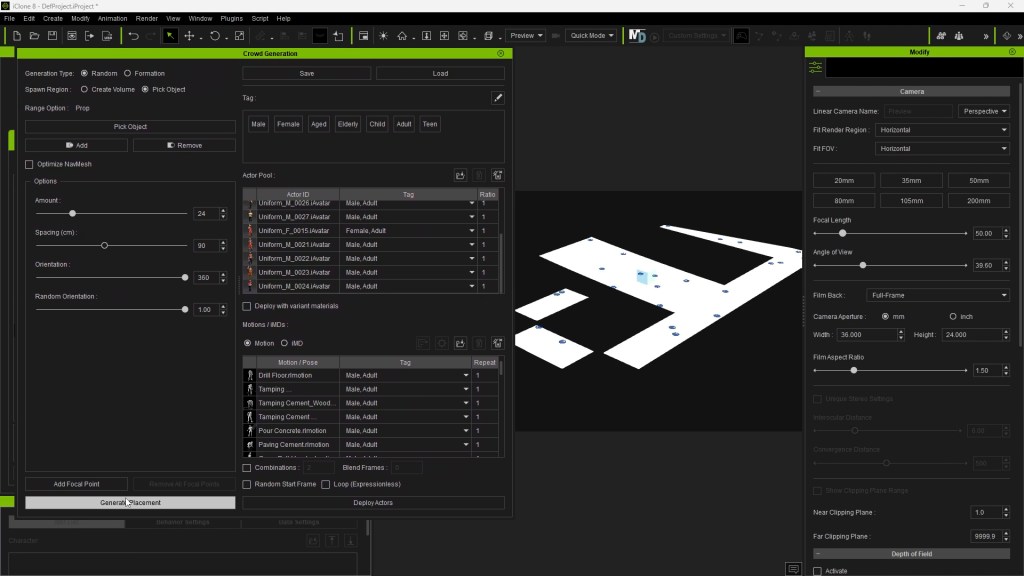
After adjusting the settings, we have to bring in our actors into the Actor Pool and animations into the motion pool.

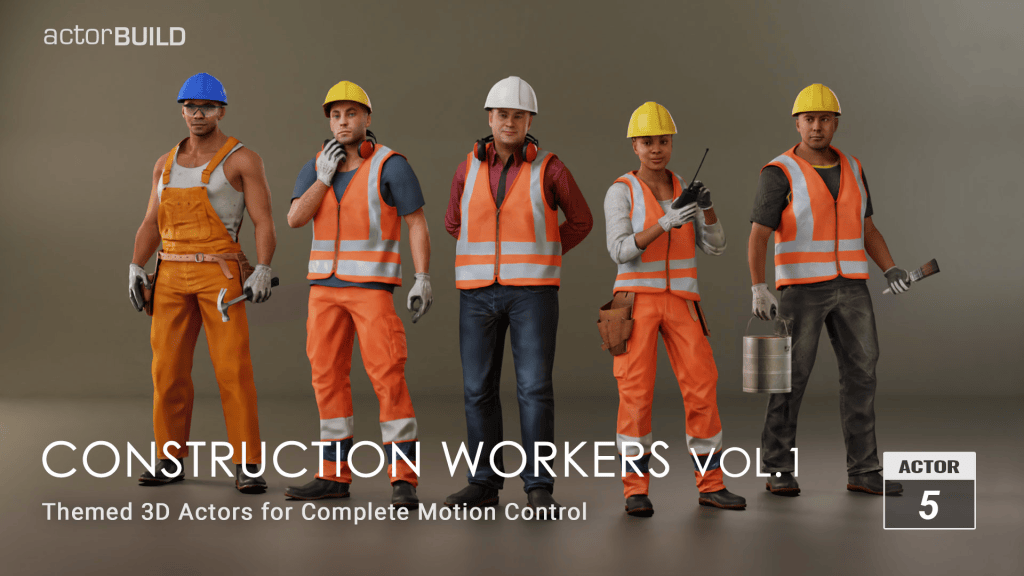
Mixing different animation packs and actors together, many types of combinations become possible for any use case you might have for crowds. I used actors from “Construction Workers Volume 1″ and “Factory Workers Vol.2” and animations from the “Motions for Construction” and “City life” packs.



Clicking on “Generate Placement” is basically changing the seed value, randomizing the placement of the actors. Clicking on “Deploy Actors” throws the actors into the scene, choosing animations from the motion pool with the fitting tag.
We can also add manually any custom tags to actors or animations. After their animations are assigned, they will start moving around. Their animations, however, will end and they will freeze at their final frame. But, if we click on the loop, their animations will loop.
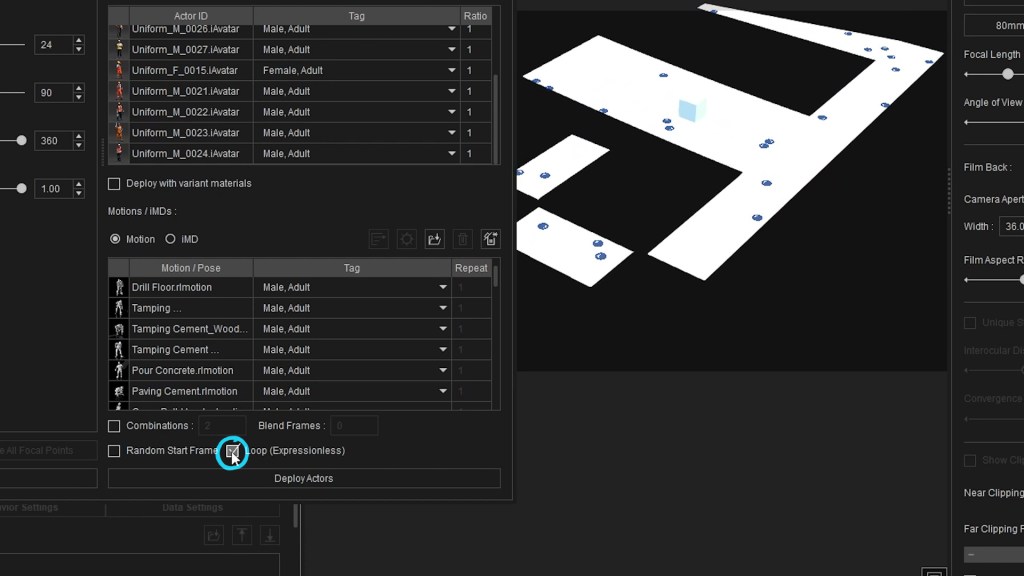
Click drag and box select all of our actors animated.
Then go to FILE-> Export-> Export FBX. Make sure it is set to Blender and 24 frames per second. Click Range and adjust the animation length. Max texture size 1K should be enough. Convert image format to -> JPEG
Create a folder and export it out.


Inside Blender, you can just import it as FBX. I usually prefer using the CC Blender tools add-on to import anything that is coming out of Character Creator or iClone. Although in this case, importing as “FBX” worked just fine.

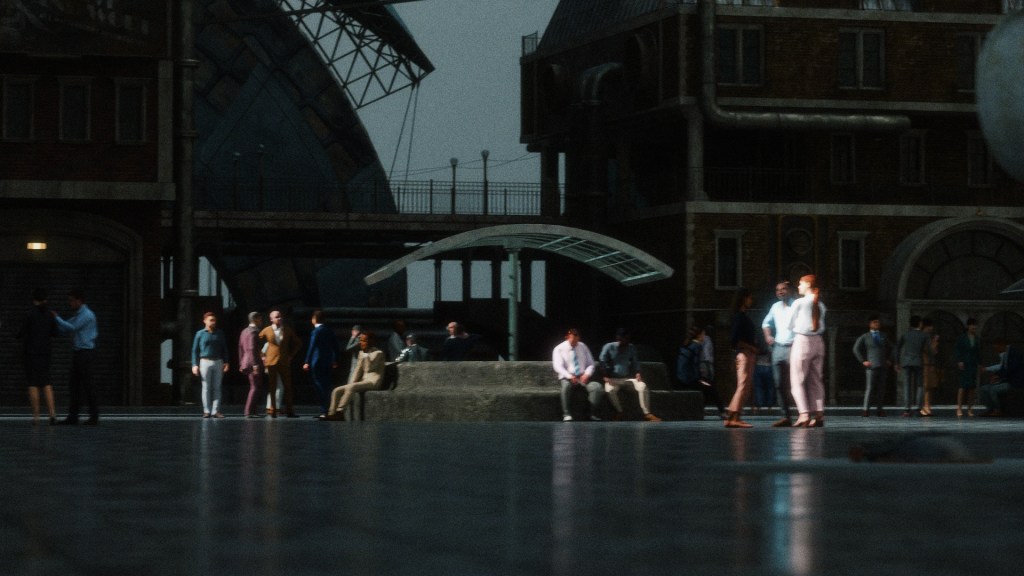
Walkways and Crowds for the City Center
For the city center, I plan to create different walkways and crowds, using all the crowd sim types available inside iClone. I model a basic surface with a plane where I want to have the crowds. Export it as “FBX” and import it into iClone. Go to create and choose path, to create the first walkway. Click to create a walkway, then press “escape” when you are done.

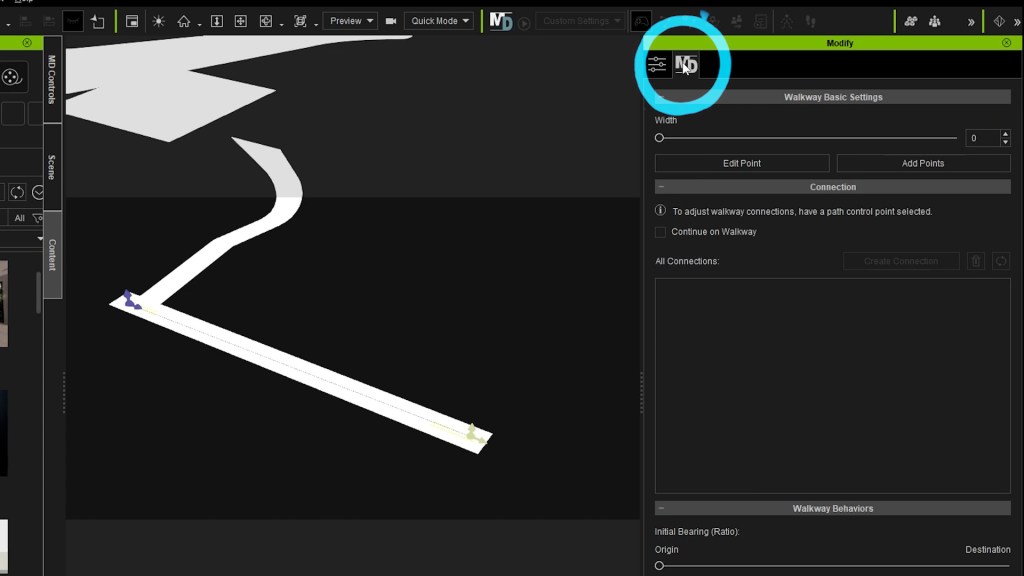
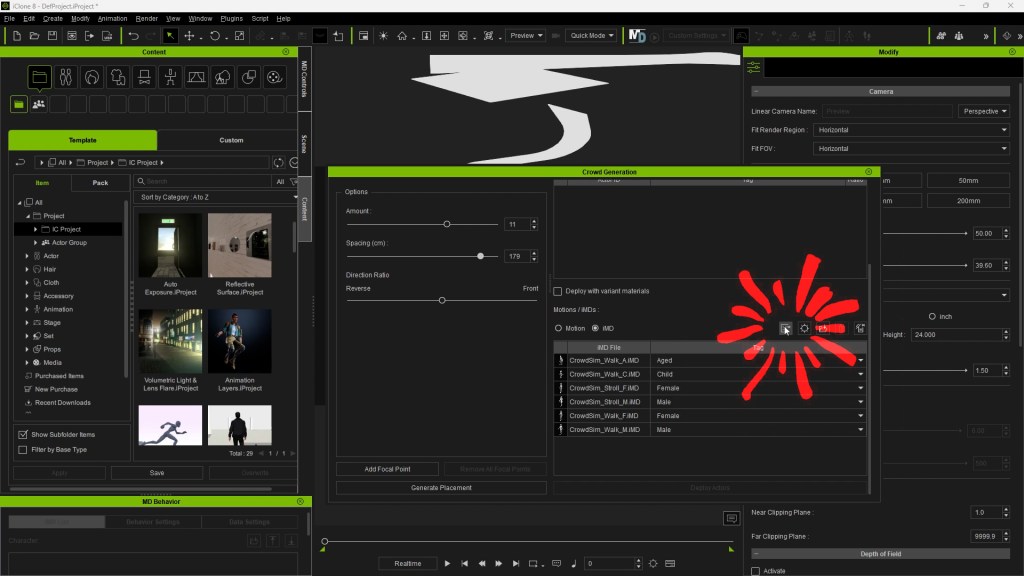
Under the Motion Director (MD) panel, I can adjust the width of the walkway. Create, scatter, generate crowd, pick object, then click the walkway. This time I will choose the “iMD” option here, instead of “motion”. Having selected a walkway as the object, I can click on this and get all the iMD walking animations in here.
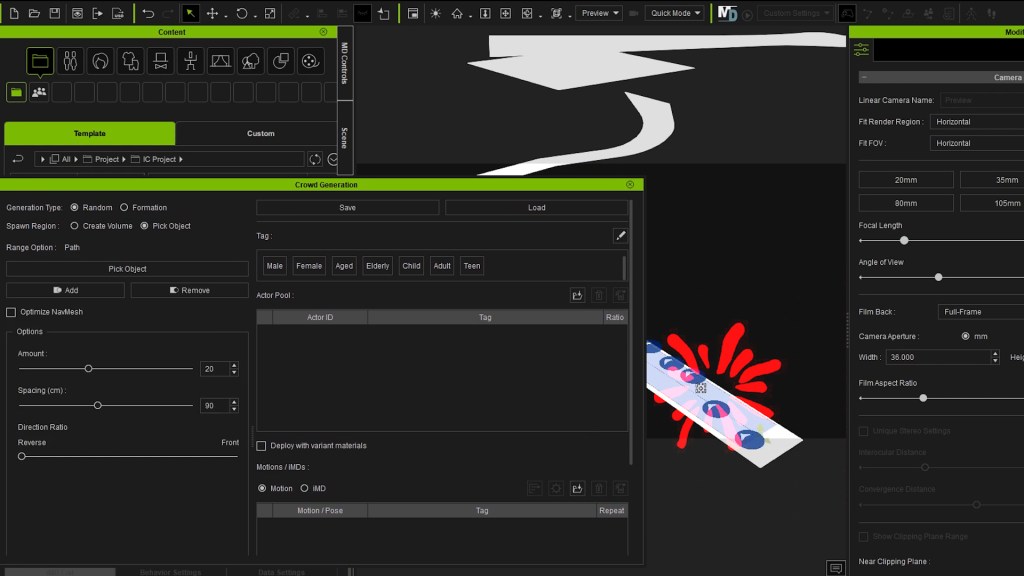
With deploy actors, the actors get in position but there are no animations. For that, we have to click the “play” on the Motion designer play button here. This takes us to the Motion Director workspace.
Choose “Record Selected” from this drop-down menu, select all the actors in the scene and play to the desired length. With iMD animations the actors are smarter as they will avoid each other, and walk back on the path once they reach the end. After the playback is at about 200 frames, I stop it.

Then I used some actor groups then, created volume for more crowds. Export them out to a folder, import them into Blender and we have our city center.

Creating Custom Crowd for Dune Inspired Scene
Inspired after watching Dune: Part Two I wanted to see if I could create a similar scene of this shot with the iClone crowd simulation.
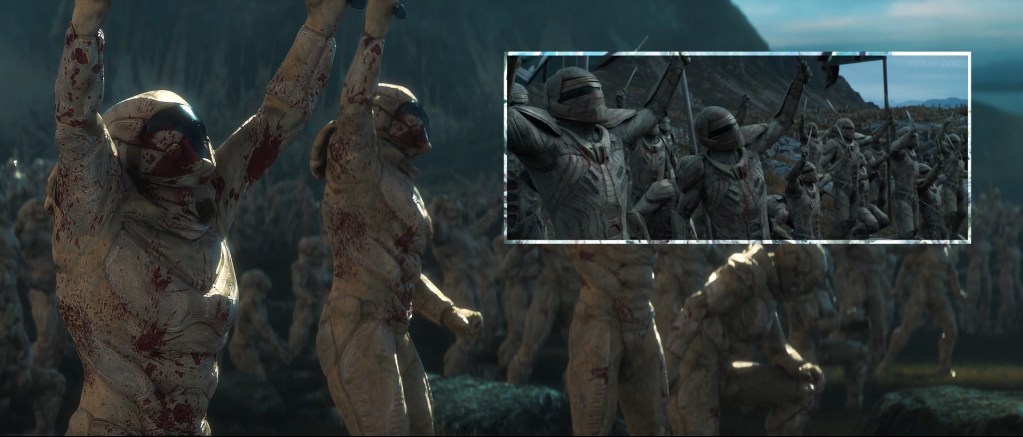
I first started in Blender, creating the environment and the atmosphere. I suggest this video for a detailed explanation of my process:
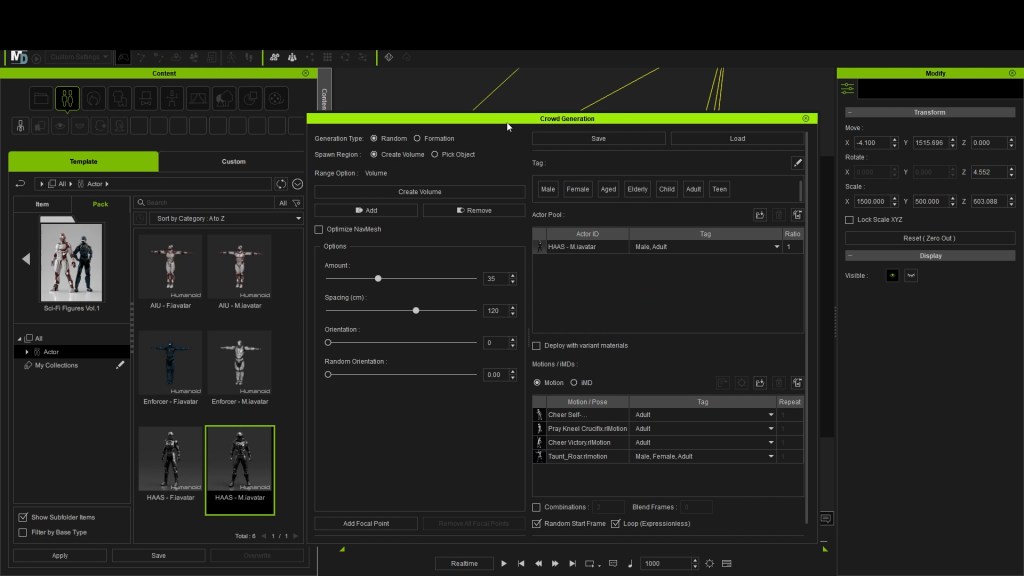
Using a character from the pack “Sci-Fi Figures Vol. 1” I used the character “HAAS – M”. I hand placed the 3 in the foreground and the rest of the actors were scattered using the “Create Volume” in iClone.
I worked on its textures for like a day, mixing in different types of sand textures and texture painting blood on them.
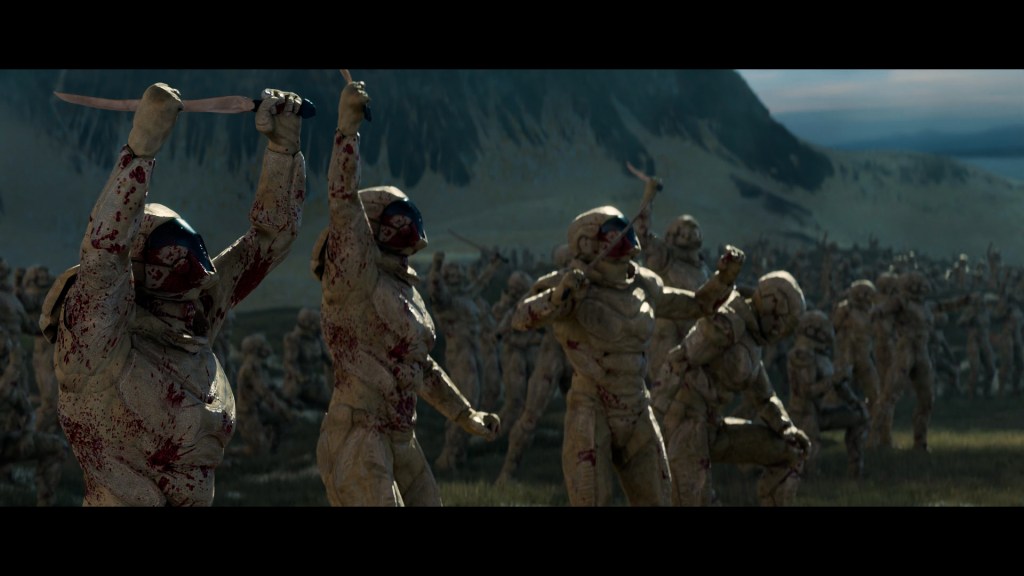
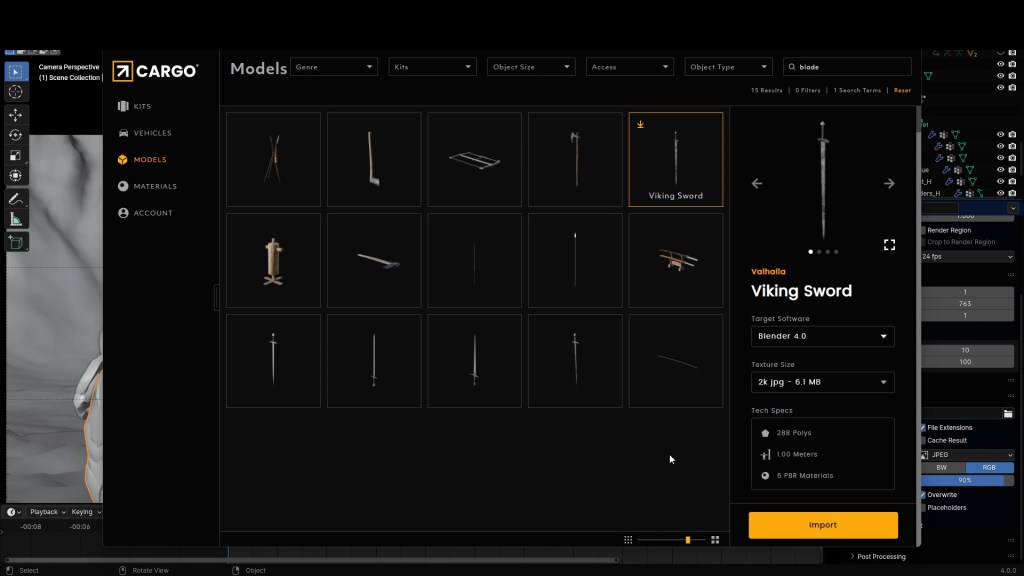
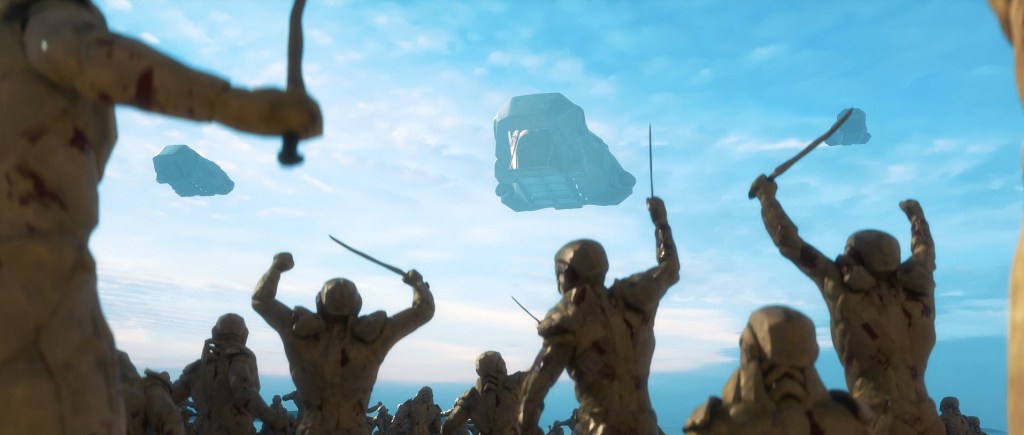
To create the knife from the film I imported a sword model from KB3D Cargo and changed it in blender to look like the “Crysknife” from the film.
I downloaded some animations from ActorCore, searching things like “victory”, “celebration”, “Keeling”, “praying”. Then I threw those animations with the character, and I was almost done. I checked random start frame and loop check boxes.

Deploy actors, import them into Blender. Swap their textures with the custom one I worked on in Blender.
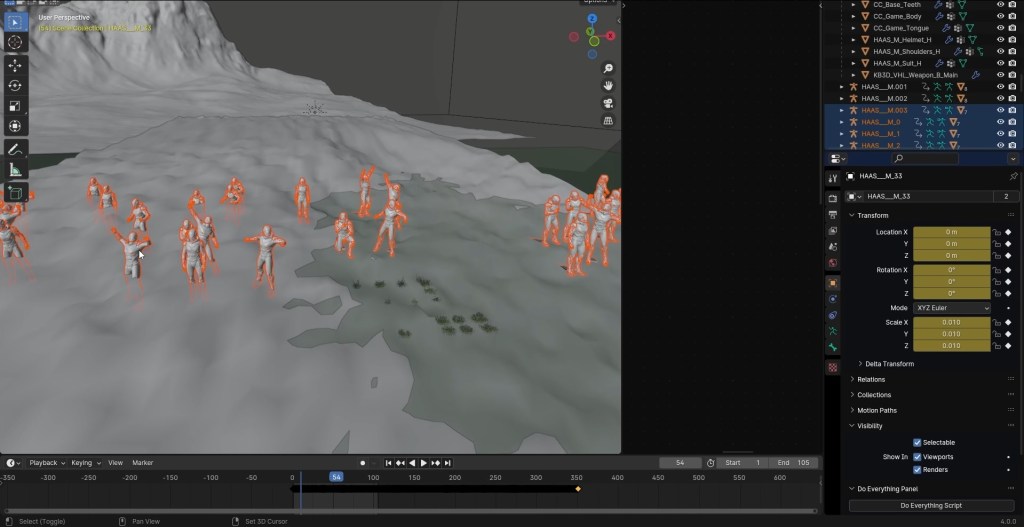
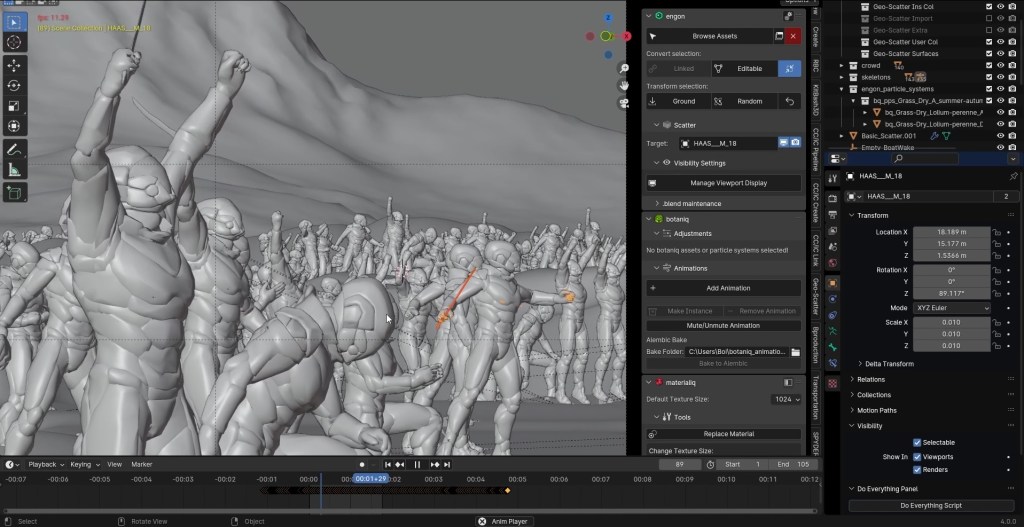
Then to increase the numbers even more, I used a little bit of geometry nodes. You can find the set up I used in this video:
I placed some more Crysknifes into their hands, render it out, a little bit of color grading and we have the final shot.
Follow Onur Erdurak
Website:
http://blendreams.com/
YouTube:
https://www.youtube.com/@onurerdurak
Instagram:
https://www.instagram.com/blendreams/
Twitter:
https://twitter.com/blendreams
TikTok:
https://www.tiktok.com/@blendreams
Related Posts
- Creating a Digital Double with Character Creator Headshot 2.0 for Blender Fantasy Film
- Award-winning Director uses Reallusion, Blender, and Razer
————————————————————————————————————————————————————————————
The original article was written by Onur Erdurak and also featured on BlenderNation.