Luis Duarte
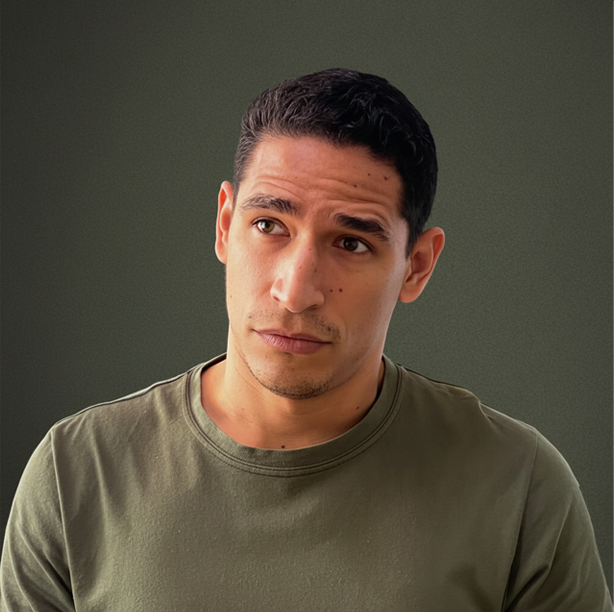
Luis Duarte is a 3D digital artist specializing in character creation for animation and video games. His work is distinguished by a strong focus on stylized aesthetics, crafting characters that are highly expressive and full of charisma. Clearly inspired by the visual language of cartoons translated into 3D, Luis excels at simplifying realism with keen artistic judgment, resulting in clean, well-structured, and visually striking designs.
Overview
As many of you already know, Character Creator 5 (CC5) arrived with a very important update that we did not explore in depth in the previous article, as it truly deserved its own dedicated space. We are referring to ActorMIXER Pro, a powerful tool that allows me to significantly streamline the creation of infinite character variations by blending components together, starting from unique designs created entirely on our own.
My name is Luis Duarte, and in this tutorial I will show you how to create CC5 assets converted into ActorMIXER sliders, which can then be stored inside your own custom content library.
1. Our Character Lineup
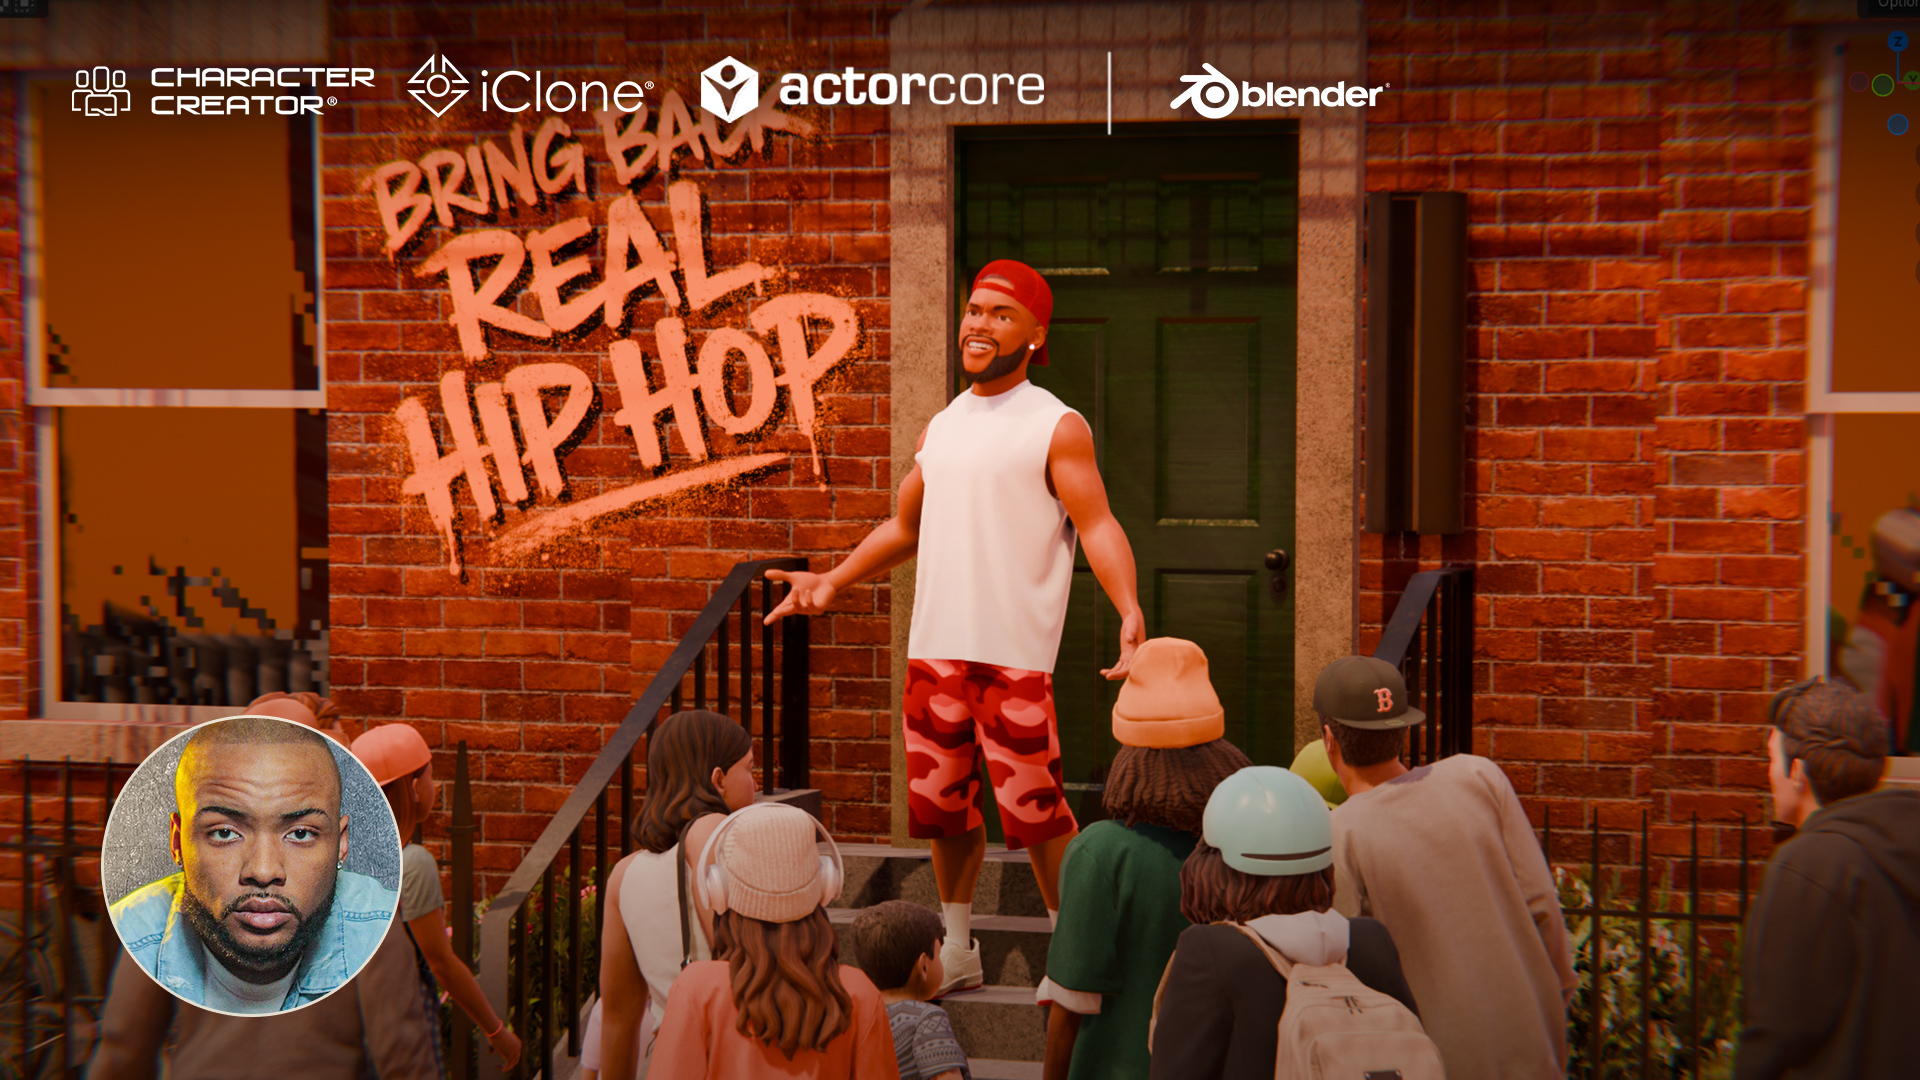
For this section of the tutorial, I am using the main assets from our latest content pack, HD Urban Kings, developed exclusively for use within Reallusion’s 3D ecosystem.

This content pack features five stylized characters designed with a Fortnite-style, battle royale aesthetic, each with different clothing styles and body shapes. These body shapes can range from slimmer silhouettes to more robust builds. Using ActorMIXER, these variations can be combined to create new characters, following the same workflow we used for designing action heroes like Byron. For a deeper look at the full design process, I recommend checking out the previous article on Byron.
As an additional note, it is not strictly necessary to have five different character assets for this process, since the focus is placed solely on body structure. In fact, this tutorial can be replicated using only three characters. The only essential requirement is having ActorMIXER Pro installed, as it enables the necessary combinations efficiently.
2. Creating Mixer Assets
To build a small Mixer asset library, I work with each character individually. As a first step, I start with the character Byron. From the Actor Mixer toolbar, I click on the “Create Mixer Assets” icon. During this process, I assign a name to the resource using the character’s name (Byron). Next, I enable the “Under Parts Folder” option and, in my case, leave all options enabled to generate a complete set of components.
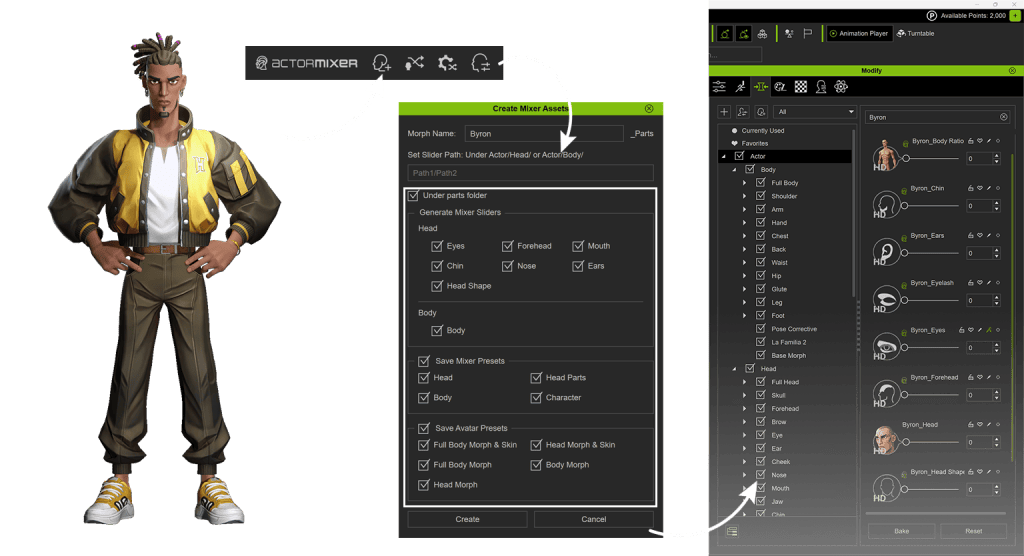
I also enable the avatar preset sets, which allow the sliders to appear inside the morph library. Finally, I press the “Create” button to complete the process.
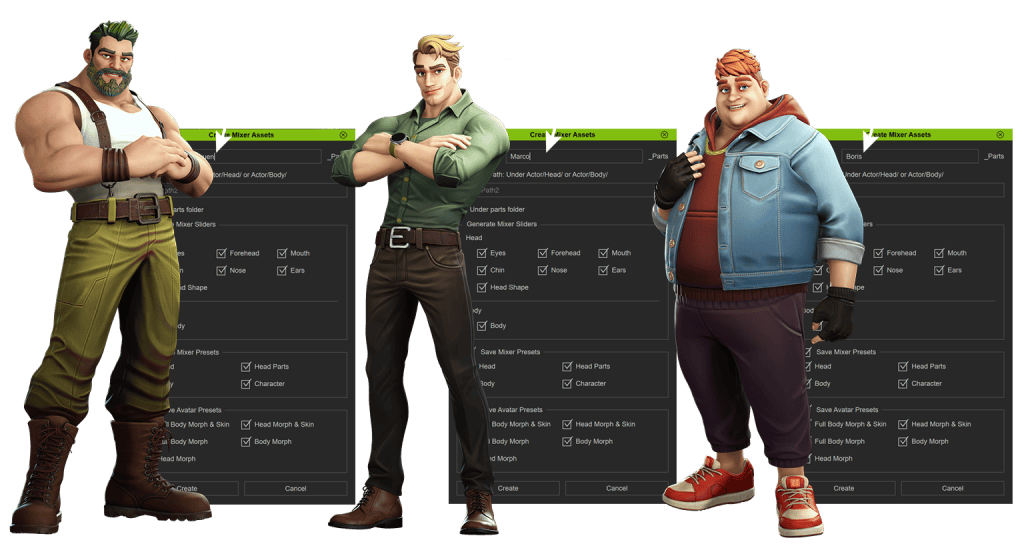
Tip: I recommend repeating this same procedure for every character you want to include in the Mixer wheel.
This process generates several assets that are organized into different sections within CC5. Most of them are controlled through sliders, enabling fast and precise adjustments in an intuitive way. Additionally, the gallery includes various skin materials that help clearly define the character’s final appearance.
3. Creating Thumbnails for Your Assets
If you want to build a personalized content library with a wide variety of assets, organization is key. One of the most effective ways to achieve this is by making each asset easily recognizable, and thumbnails play a crucial role in that process.
Reallusion makes it very easy to create custom thumbnails for each asset. The key is to apply a general gray material to the character and add a basic backdrop; No further adjustments are required. The “Mannequin Gray” material is available from the free content included with Character Creator, as is the grayscale atmosphere.
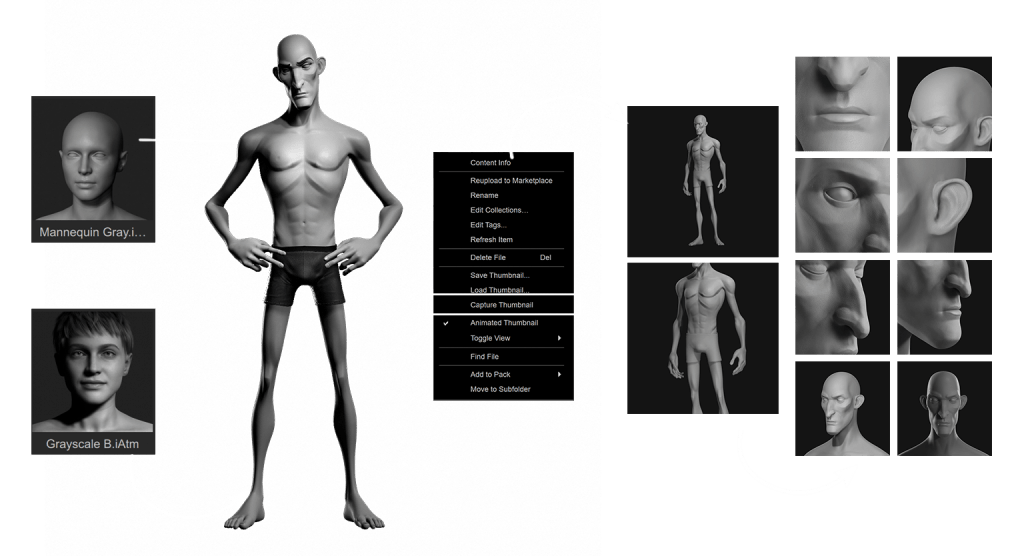
After that, I take close-up camera shots and click “Capture Thumbnail” in the content library. I repeat this process for each part provided by the Asset Mixer. The goal is to clearly identify each segment, making it much easier to manage and locate them within the Mixer wheel, optimizing both workflow and control over the character elements.
4. Managing and Editing Mixer Wheels
I open Actor Mixer from the toolbar and, in this case, use a male base mesh as a template. Upon launching, the system takes me directly into edit mode, where I can customize the wheel I want to use for morphing.
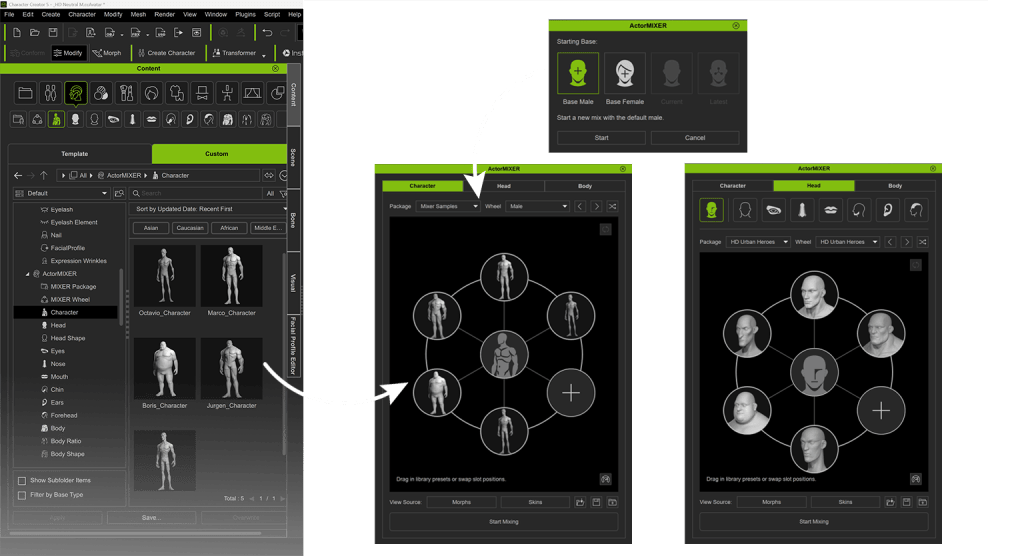
The process is straightforward: I navigate to the content library and switch between the different categories offered by the Mixer, which are already synchronized. From there, I simply drag and drop the elements directly onto the editing wheel.
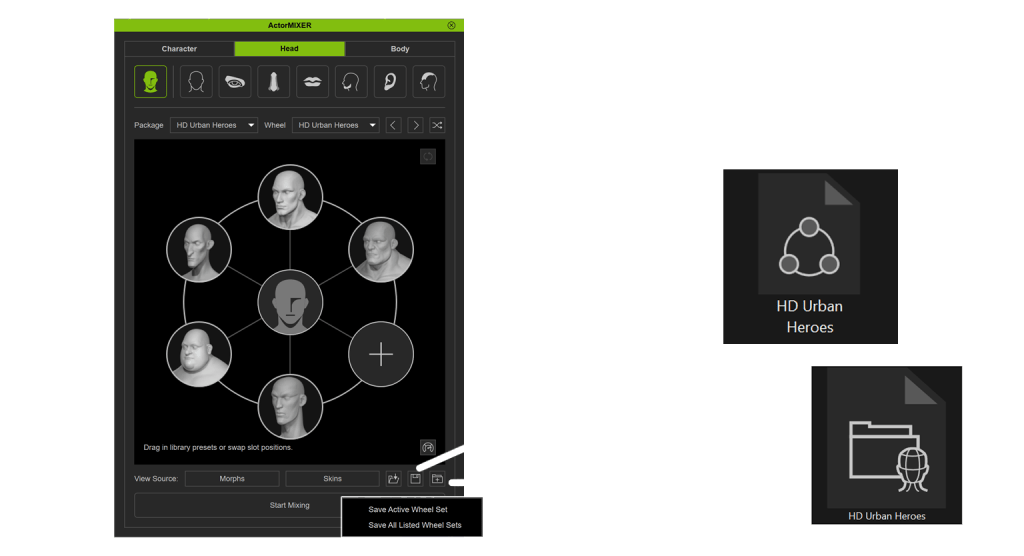
Tip: You can save your wheels for future projects using “Save Active Wheel Set”, which stores only the current wheel, or “Save All Sets”, which is ideal for preserving all wheels across categories and reusing them in other projects.
One of the most powerful aspects of this workflow is that everything can be edited in real time. You can remove, replace, and reorganize elements as needed, while maintaining full control over the final result at all times.
5. Mixing Characters with ActorMIXER
When everything is ready, I click “Start Mixing” (the green horizontal button). Intuitively, I move the green point located at the center of the wheel toward each of the outer circles that I previously configured. As I do this, I can see in real time how the body structure changes as the point moves.
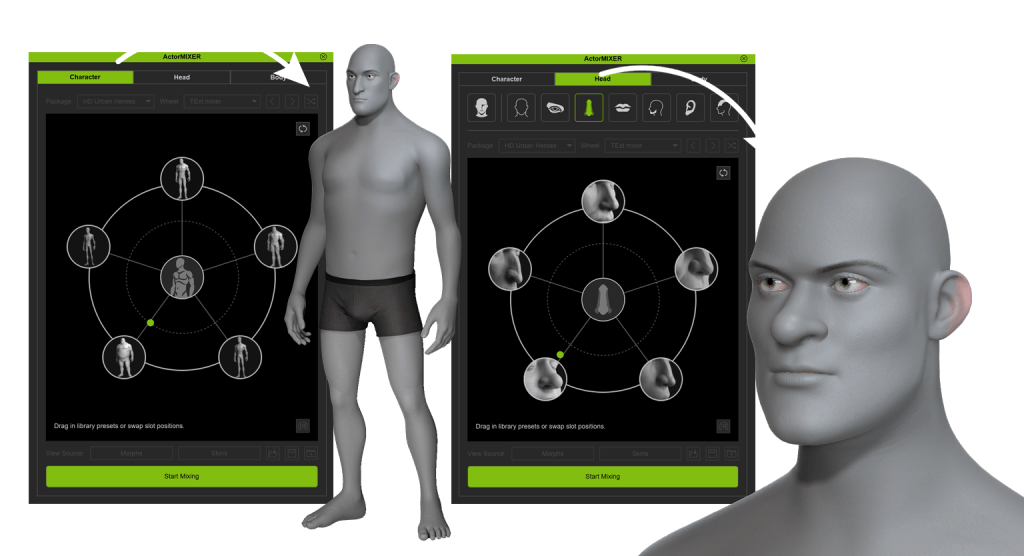
The shapes blend together as the cursor passes through the intersections, creating unique and dynamic combinations. The experience is genuinely fun and closely resembles a video game avatar editor, making the creative process highly interactive and enjoyable.
Actor Mixer is organized into three main categories: Character, Head, and Body. Within the Head section, we find individual segments that allow us to modify specific elements such as eyes, nose, mouth, ears, and the overall head shape. This means the mixing possibilities are extremely broad. Taking advantage of this flexibility, I apply different combinations and merge the results to create a new character that maintains the same artistic style characteristic of HD Urban Kings.
6. Character Ready for Animation
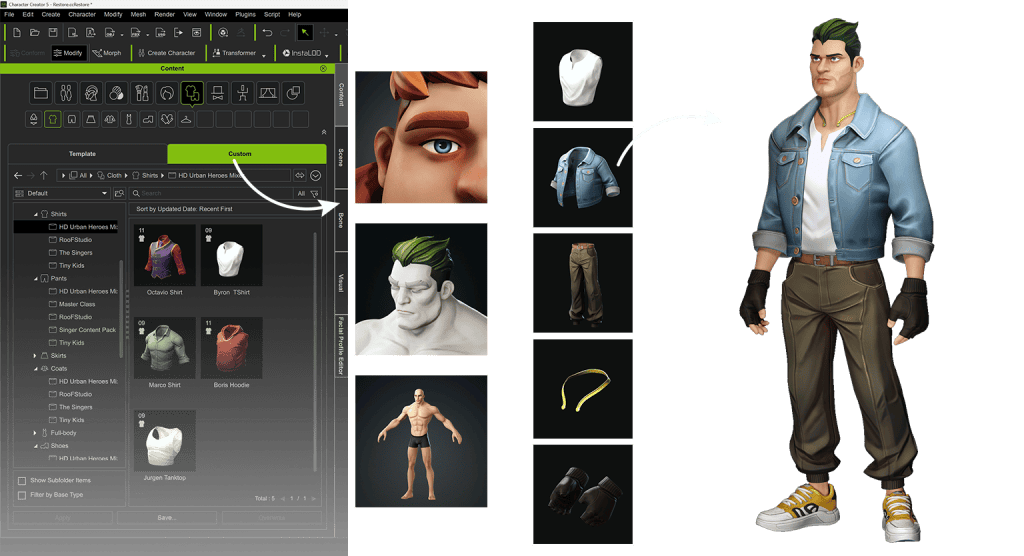
Once the character’s shape is fully defined, I close Actor Mixer and make sure to include all the assets from my gallery that define the character’s final look. I start by dragging in the skin asset, followed by eyes, eyebrows, and hair, and finally add the clothing assets. With this approach, the character is fully prepared and ready for animation, with all visual elements integrated in a cohesive and consistent manner.
7. Random Face Function

To take full advantage of the nearly infinite possibilities of character generation, I use the Random Face function, which can be found in the compact Actor Mixer menu. This tool allows me to quickly and efficiently explore a wide range of facial variations.
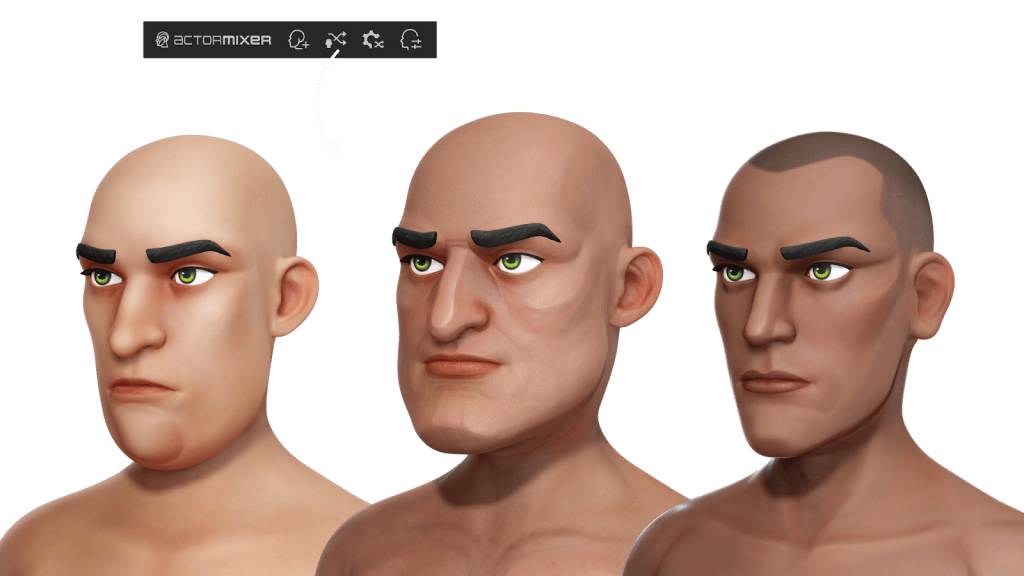
If I want to take advantage of custom shapes, I simply open the Random Face settings window and set the generation path to my own customized files. Once this is configured, I can use the Random Face generation button to create faces randomly, repeating the process until I achieve the result that best fits the character I am developing.
FAQ
Can I create my own assets inside Actor Mixer?
Yes. To create your own assets in Actor Mixer, you will need the ActorMIXER Pro version. This version allows you to take character creation to the next level, offering greater freedom and control. You will be able to combine your own assets with most of those available in the gallery, opening up nearly unlimited design possibilities.
Is the entire content gallery compatible with Mixer-generated characters?
Yes. In fact, by acquiring the Pro version of ActorMixer, you gain access to a variety of HD assets that enrich your gallery and allow you to start experimenting even if you do not yet have your own custom resources.
Can morph sliders be used while mixing?
Yes, but it is recommended to use only the sliders that display the ActorMIXER icon. These are the only ones that remain functional if you decide to resume character mixing later, ensuring consistency and control throughout the process.
Related Posts
- CC5 HD Pipeline Workflow: Creating Fortnite-Style Action Heroes for Animation
- CC5 x ZBrush: Create a HD Sci-Fi Vanguard (1/7)- Character Base Creation with ActorMIXER
- Emmy Award-Winning Producer Develops Unity Indie Games with CC & iClone