TL;DR: This tutorial walks through the complete 10-step Character Creator 5 to Blender workflow used to build Barnabe — the half-bat mascot from The Grimsleys stylized vampire family pack. Starting from CC5’s SubD HD base mesh and Proportion Editor, the character is sculpted in Blender via GoB morph transfers, then returned to CC5 for texturing, rigging, and final assembly — including custom-modeled wings and a signature top hat. The workflow demonstrates how the Character Creator 5 to Blender pipeline, powered by Blender Auto Setup, makes professional stylized character creation both efficient and accessible.
About The Grimsleys Pack
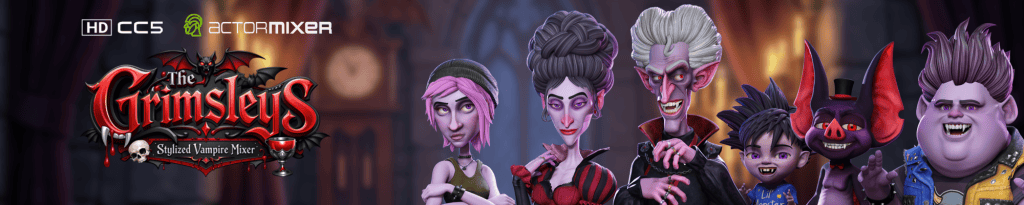
Barnabe is one of six premium stylized vampiric characters in The Grimsleys — Stylized Vampire Mixer, a content pack developed by Vivid Mesh Studio in partnership with Mythcons, built exclusively for Character Creator 5 and iClone. The pack includes the full family: Thaddeus (the imposing patriarch), Belladonna (the elegant matriarch), Lilith (the angsty teen), Morty (the mischievous troublemaker), Bram (the chaotic toddler), and Barnabe (the bat mascot). All six characters come with custom clothing, hair, skins, facial profiles, and 60 ActorMIXER presets — ready for animation in sitcoms, Halloween shorts, stylized games, or any project that calls for gothic-whimsical characters.
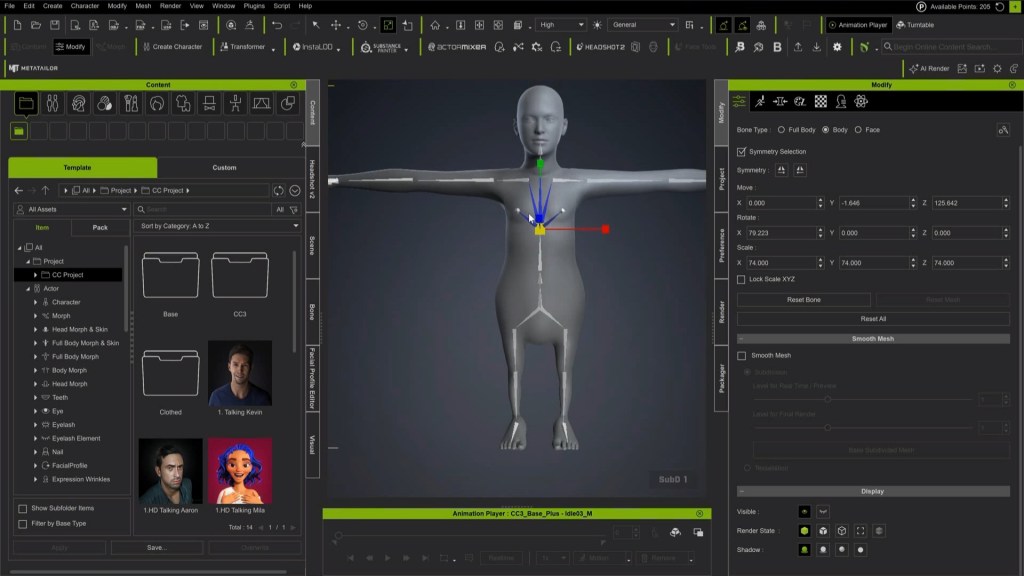
Step 1: Laying the Foundation with the Proportion Editor
The process starts inside CC5 by loading a base mesh utilizing the CC5 SubD HD system. Instead of jumping straight into heavy sculpting, the first goal is to rough out the exaggerated proportions of the stylized bat. The Proportion Editor handles this — scaling bones directly to establish a solid base silhouette before any external modeling happens.
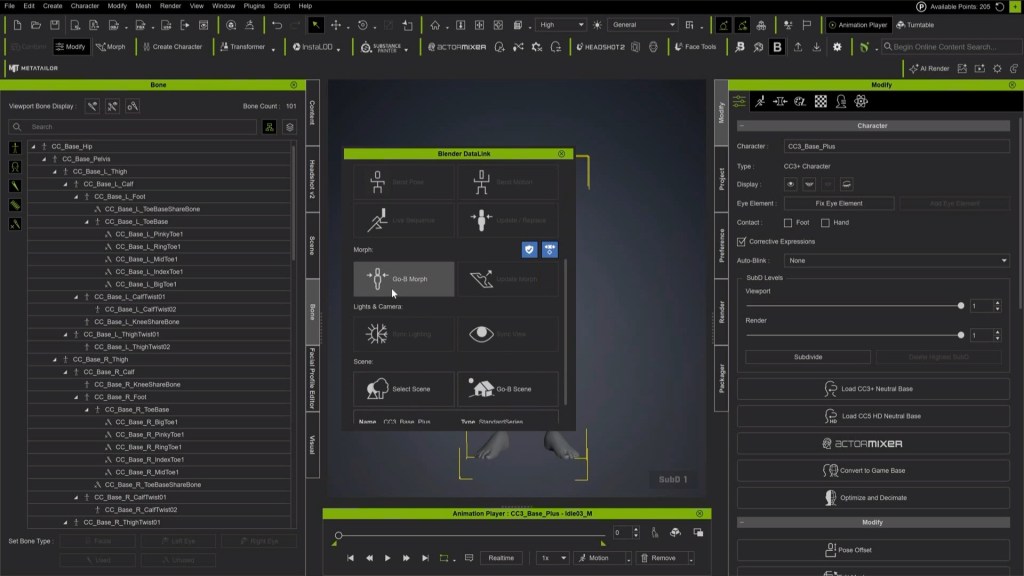
Step 2: Sending to Blender (SubD Level 1 or SubD Level 2)
Once the structural foundation is in place, it’s time to push the shapes further. Using the GoB function in Blender Auto Setup, the character is sent to Blender as a Morph at SubD Level 1 or SubD Level 2 resolution.

Step 3: Sculpting the Character
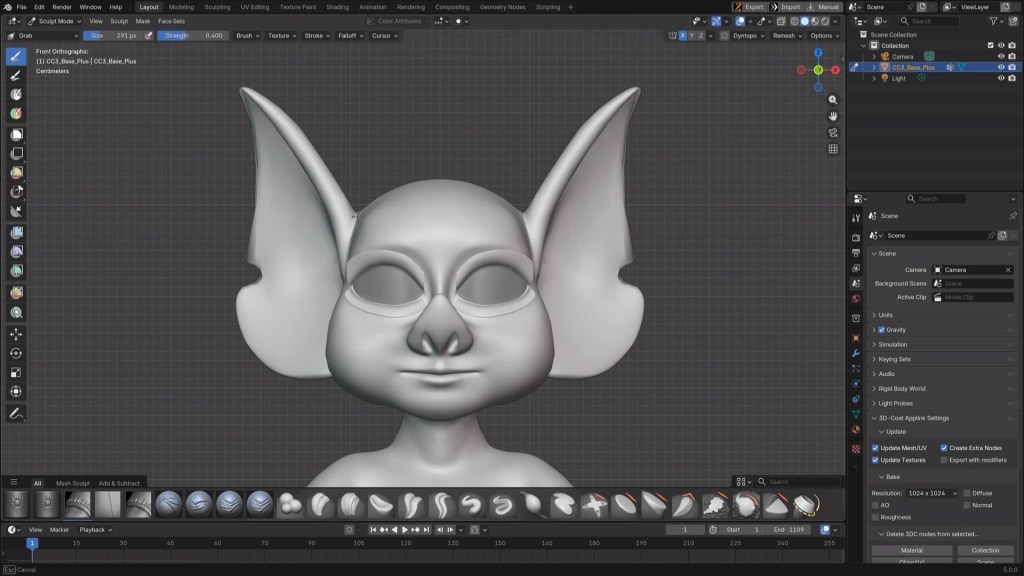
With the character in Blender, the geometry can be pulled into the stylized bat shape.
- The Sculpting Process: Using a mouse, keyboard, and Blender’s Grab brush, you can quickly establish the primary forms.
- Masking: If you want to restrict your detailing to certain areas without affecting the rest of the mesh, utilize Blender’s Auto-Masking functions in conjunction with Face Sets.
Step 4: Returning to CC5 as a Morph
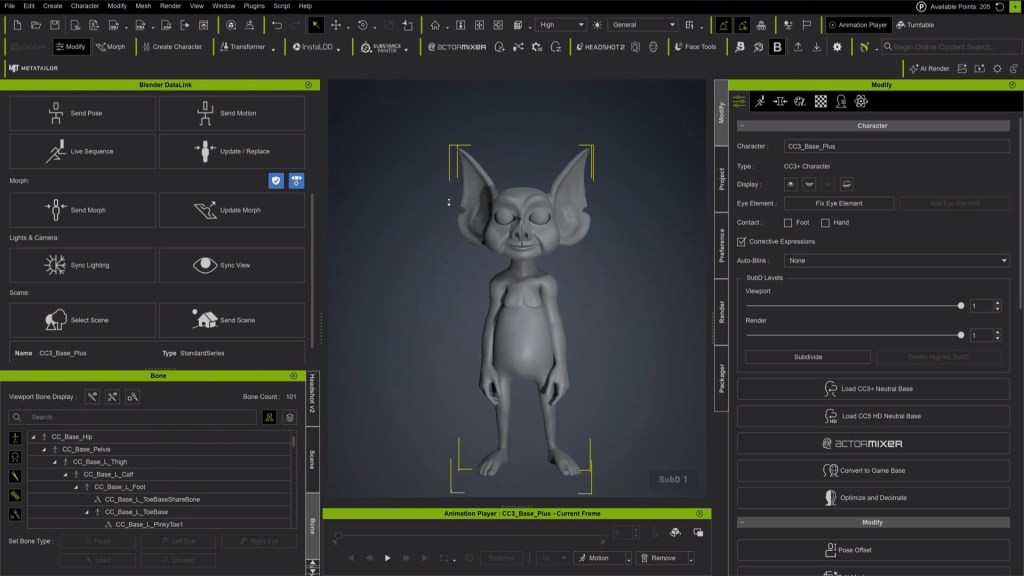
Once the primary sculpting reaches a sufficient point, the character is sent back to Character Creator using the GoCC function. Because this was a Morph Editing session, the character returns as a Character Morph.
Step 5: Mesh Corrections and Adjustments
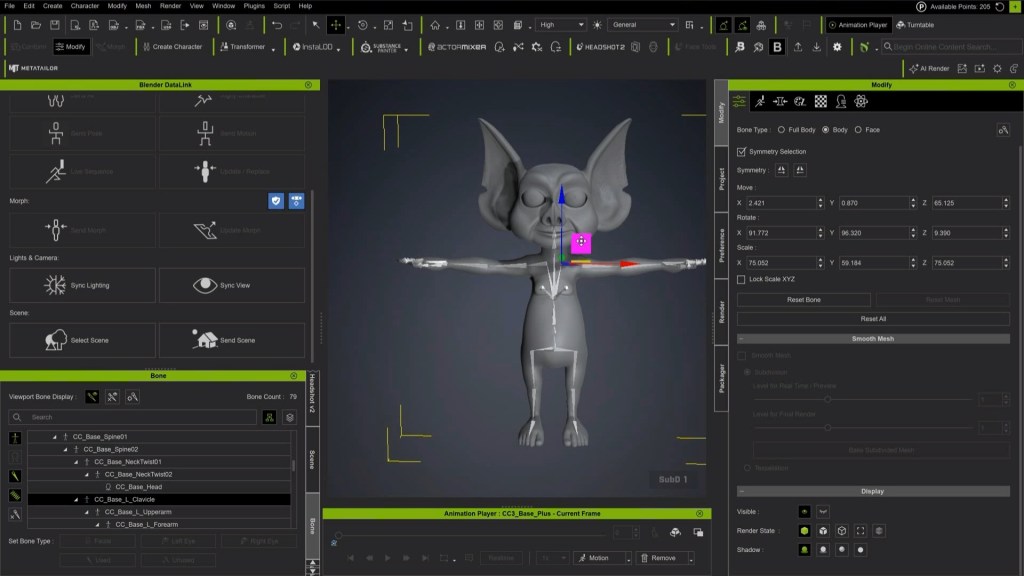
Back in CC5, the heavy sculpting has likely distorted some internal geometry. Now is the time to replace any deformed eyes or teeth with fresh ones. After replacing those elements, use the Proportion Editor again to make any final structural adjustments to the rig and base mesh if necessary.
Step 6: High-Resolution Detailing in Blender
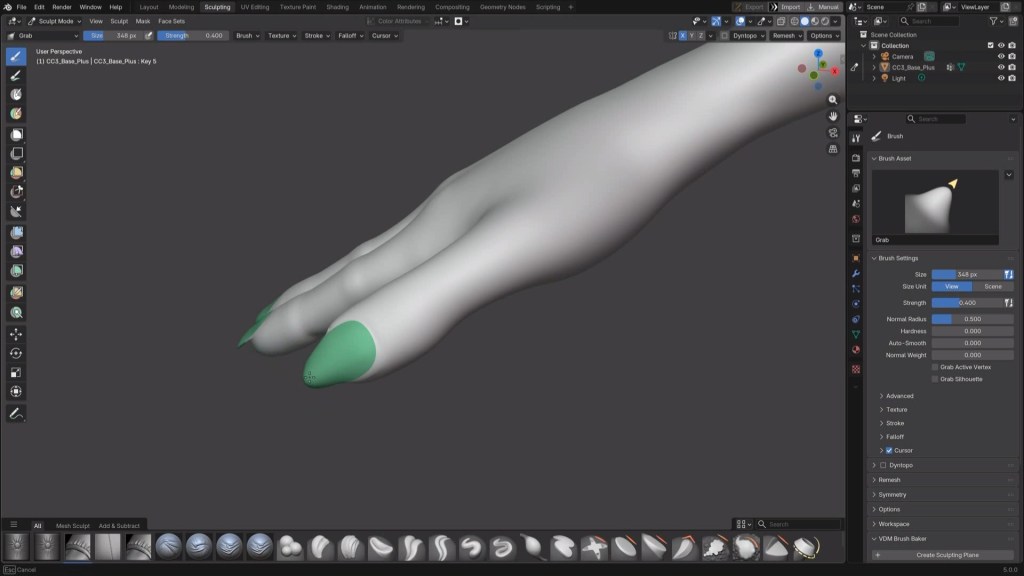
With the base clean and corrected, the character goes back to Blender one more time — but this time at the highest SubD resolution. This allows for sculpting finer, high-resolution details without worrying about breaking the core mesh.

Step 7: Crafting the Wings
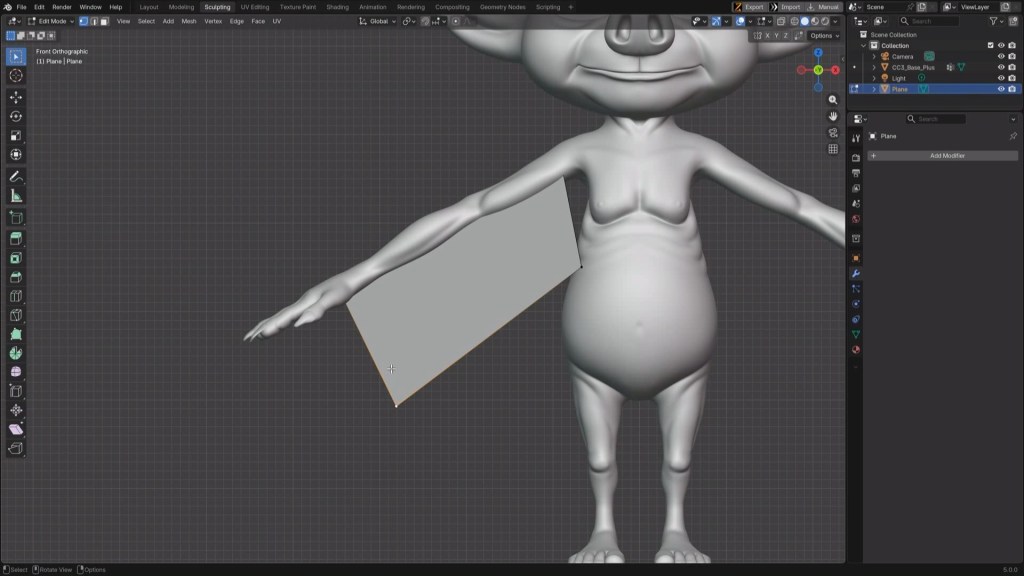
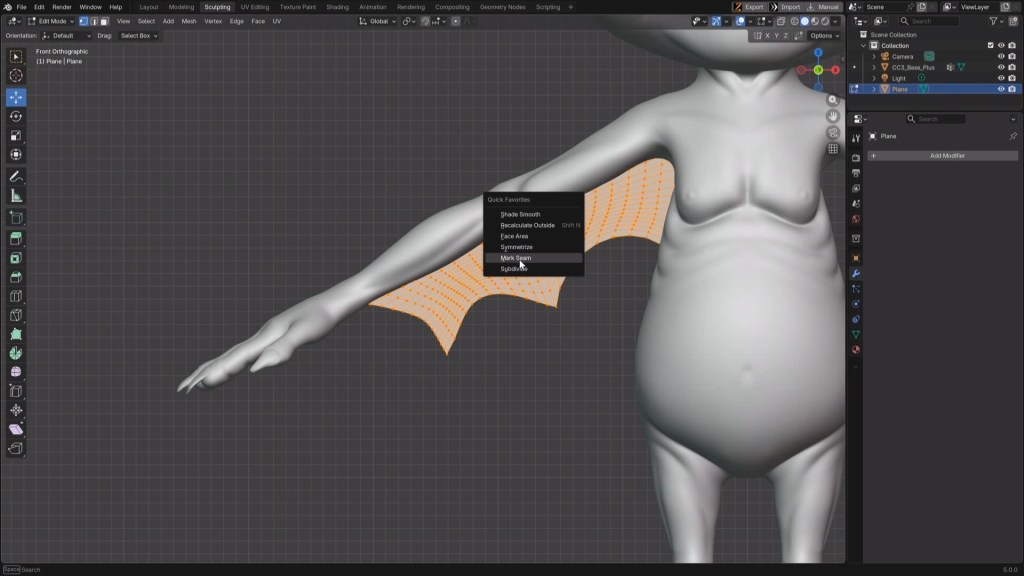
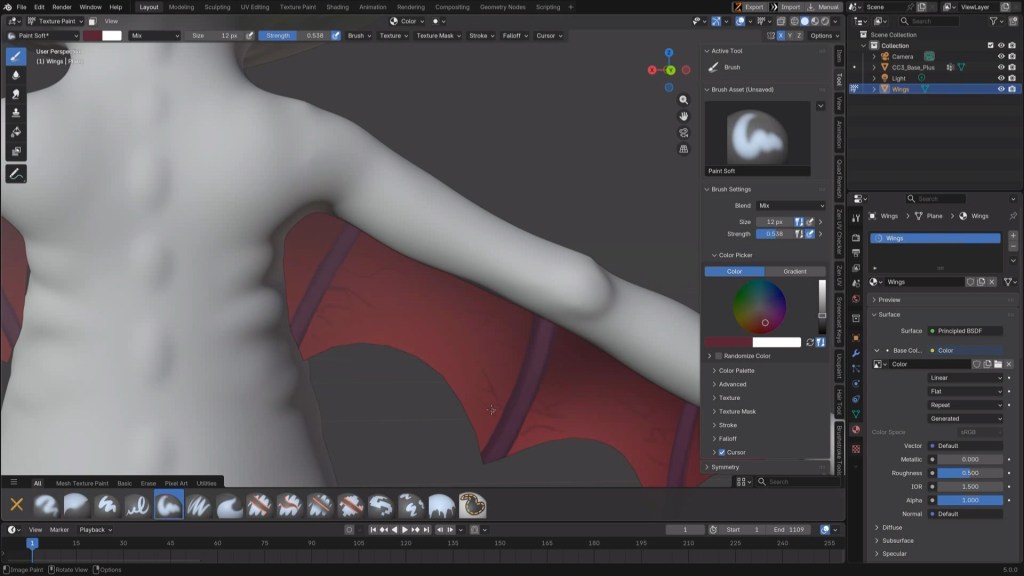
A bat isn’t a bat without its wings. Staying in Blender, the wings are created from basic mesh planes — subdivided and shaped to match the stylized aesthetic, UV unwrapped, and given basic textures.

Step 8: Saving Assets and Returning to CC5
Using the Blender Auto Setup add-on, the newly created wings are saved as an Asset. Then, the core character is sent back to CC5 using GoCC — again returning as a morph.
Step 9: Texturing
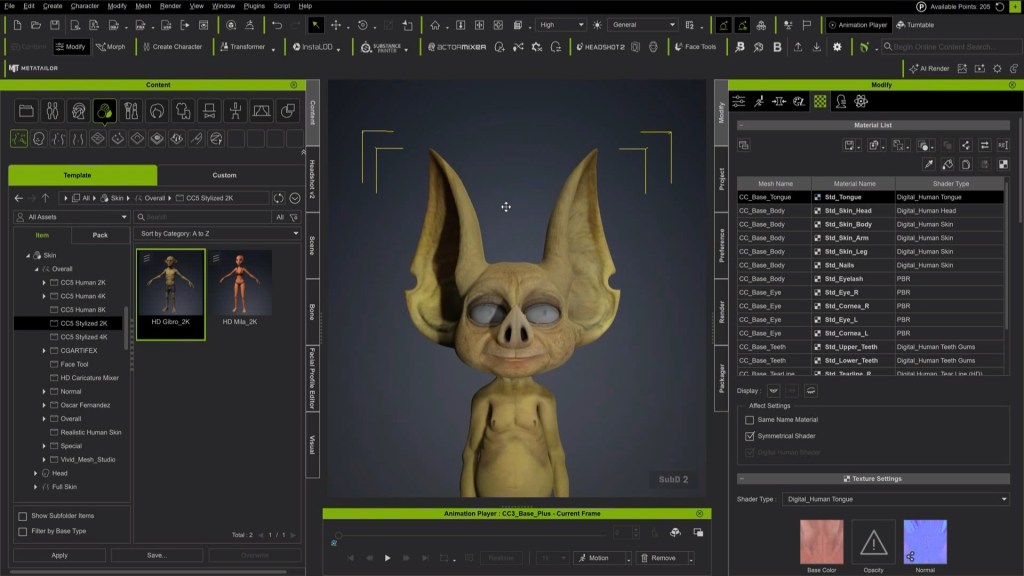
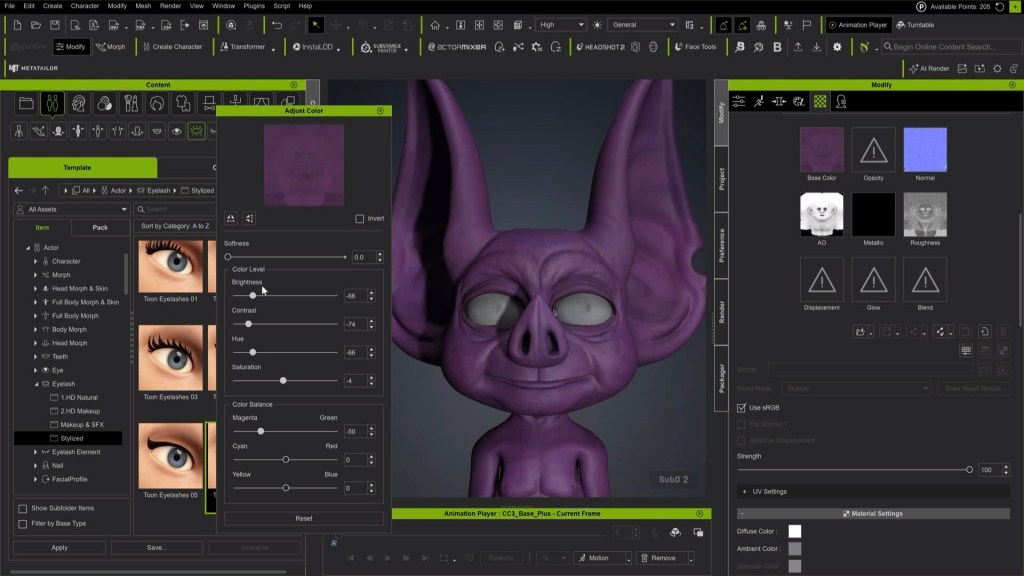
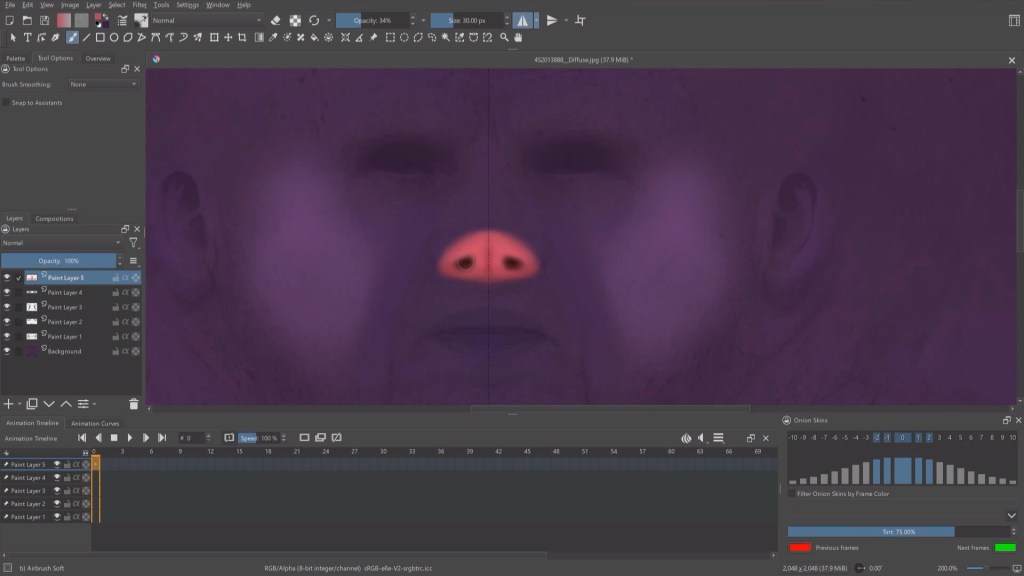
Back in CC5, the character’s textures are adjusted using CC5’s built-in skin presets. For specific stylized variations, textures are taken into Krita for basic painting.
Note: While Krita works well for basic edits, a dedicated 3D texture painting app (such as 3D-Coat, Substance Painter, or Blender) is highly recommended for more complex material work.
Step 10: Final Rigging and Accessories
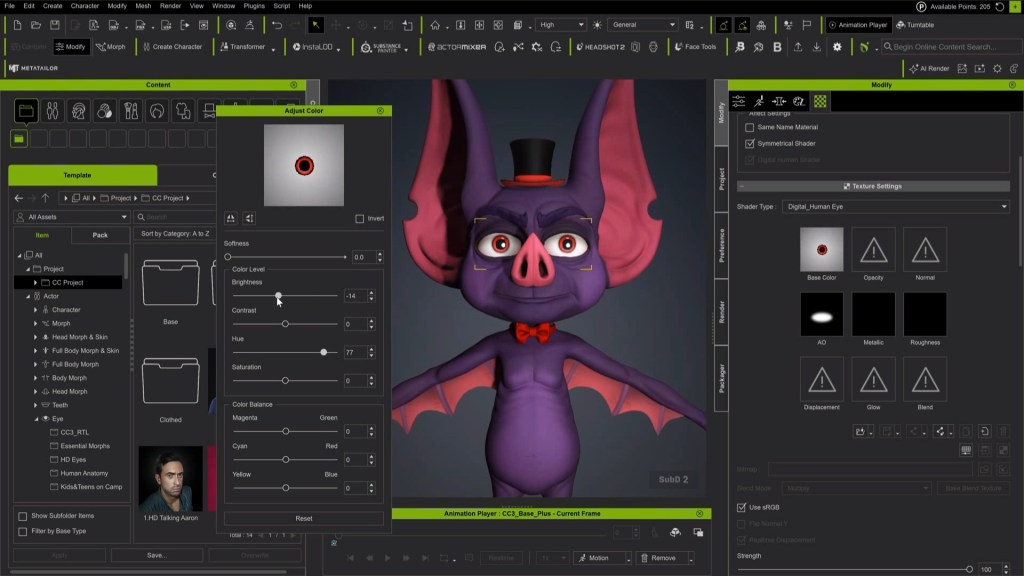
Finally, with the character back in CC5 and the wing assets imported, skin weights are transferred to the wings so they articulate properly with the rig. To finish the look, pre-created accessories — like Barnabe’s signature top hat and red bow tie — are attached, and the character is complete.
Conclusion
This Character Creator to Blender workflow shows how a professional stylized character can be built by moving back and forth between CC5 and Blender — without starting from scratch. CC5’s SubD HD system and Proportion Editor provide the structural foundation.
Blender handles the creative sculpting and custom asset creation, and GoB/GoCC transfers keep the pipeline non-destructive throughout. Once you get the hang of these morph-based round trips, the process becomes second nature. Barnabe and the rest of The Grimsleys family are available now on the Reallusion Content Store.
Mythcons
Greetings, my name is Peter Alexander. In this demonstration, I’m going to walk you through how you can leverage Character Creator 5‘s new ActorMIXER as a powerful stepping stone to create unique, stylized characters. We’ll use the CC Base Mesh as our foundation, and ActorMixer will provide the next layer from which to build, making professional character creation that much easier. For this demo, I’ll be creating a stylized version of Arnold, using the Blender Autosetup pipeline, which is both cost-effective and efficient for creating characters and assets.

Key Takeaways
- Use the Proportion Editor to block out exaggerated silhouettes before sculpting. Scaling bones inside CC5 first saves significant time in Blender and establishes correct proportions early.
- Send characters to Blender as Morphs, not final exports. GoB morph transfers keep the pipeline non-destructive — changes come back to CC5 as editable Character Morphs.
- Replace internal geometry (eyes, teeth) after heavy sculpting. Aggressive stylization in Blender often distorts these elements; swapping in fresh ones back in CC5 is faster than trying to fix them.
- Build custom assets like wings at the scene origin (0,0,0). Centering geometry before rigging prevents bone offset issues when transferring back to CC5 for skin weight assignment.
- Start from a professionally built base rather than from scratch. Packs like The Grimsleys provide production-ready stylized characters with ActorMIXER presets, saving weeks of character development time.
FAQs
Do I need Blender to use The Grimsleys pack?
No. The Grimsleys pack is ready to use directly in Character Creator 5 and iClone. Blender is only needed if you want to follow the behind-the-scenes sculpting workflow described in this tutorial or further customize the characters.
What is the GoB/GoCC transfer in Blender Auto Setup?
GoB sends a character from CC5 to Blender for morph editing, and GoCC sends it back. The key advantage is that changes return to CC5 as non-destructive Character Morphs rather than permanent mesh edits, so you can always dial adjustments up or down.
Can I use this CC5-to-Blender workflow for my own original characters?
Absolutely. The same 10-step pipeline — Proportion Editor, GoB morph transfer, Blender sculpting, GoCC return, and final rigging — works for any stylized character you want to create with Character Creator 5 and Blender.
What version of Character Creator do I need for The Grimsleys?
The pack requires CC v5.06 or above (and iClone v8.70 or above for animation). It also includes 60 ActorMIXER presets for blending and generating character variations.
Does this workflow require ActorMIXER?
The sculpting workflow itself does not require ActorMIXER. However, the Grimsleys pack includes ActorMIXER presets that let you blend the six family members into new stylized variations — which is a powerful creative extension of the base characters.
Related Articles
- A Stylized Wolverine Workflow with Character Creator 5, ActorMixer & Blender HD Workflow
- Create Your Own Stylized Character — An Easter Bunny: Character Creator to Blender Workflow
- Creating and Animating a John Wick 3D Caricature with CC5 & iClone Video Mocap