Creating a Fantasy Character with CC5, ZBrush, and Maya
Darko Mitev
My name is Darko Mitev, and I am a CG Generalist with over 15 years of experience in the VFX, Animation, and Game Cinematics industry. Throughout my career, I have had the privilege of collaborating on a variety of exciting projects, pushing the boundaries of visual storytelling and character design.
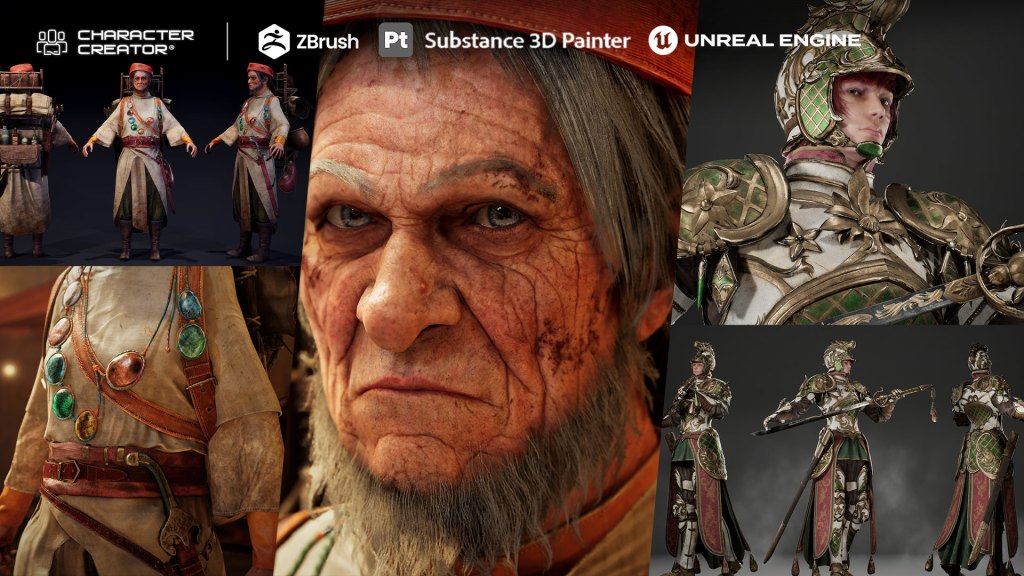
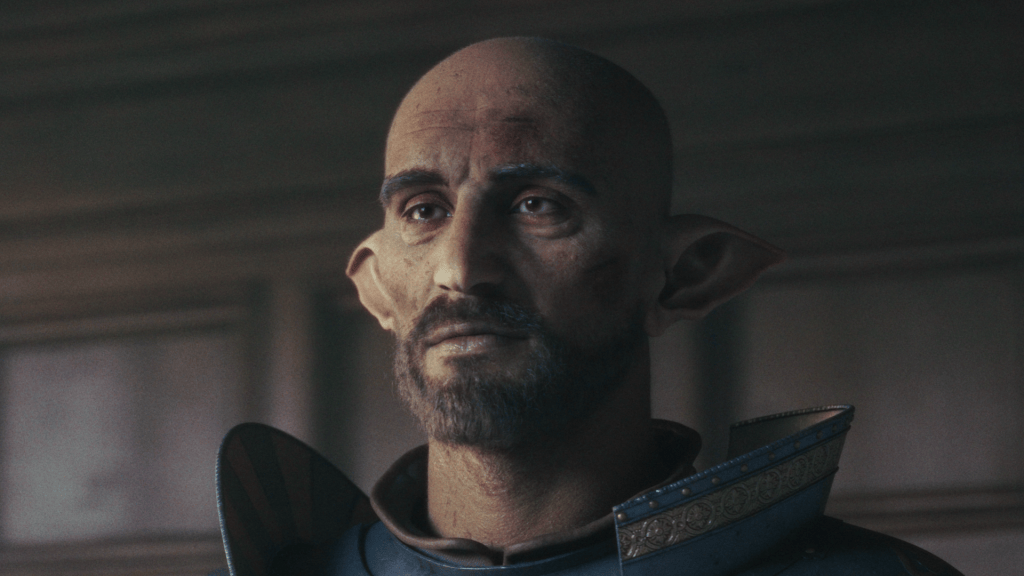
In this article, I will guide you through my complete process of creating my latest artwork titled “The Life of a Guardian.” This piece represents not just a technical endeavor but also a journey of creativity and inspiration. I will share insights into the tools and techniques I utilized, specifically focusing on Character Creator 5, ZBrush, and Maya.
We will delve into each stage of the creation process, from the initial concept sketches to the final rendering. You will learn how I approach character design, the importance of anatomy and proportion, as well as the thought process behind creating textures and materials that bring my characters to life.
By the end of this article, you will not only have a clearer understanding of my workflow but also practical tips that you can apply in your own artistic endeavors. Whether you are an aspiring artist or a seasoned professional, I hope to inspire you to explore and experiment within the realms of digital art. Let’s embark on this creative journey together!
“Bringing a default character from Character Creator 5 into my Maya workflow allowed me to refine proportions quickly and build on a production-ready topology, giving me the confidence to focus on creativity rather than technical limitations.”
Darko Mitev – CG Generalist, Art Director
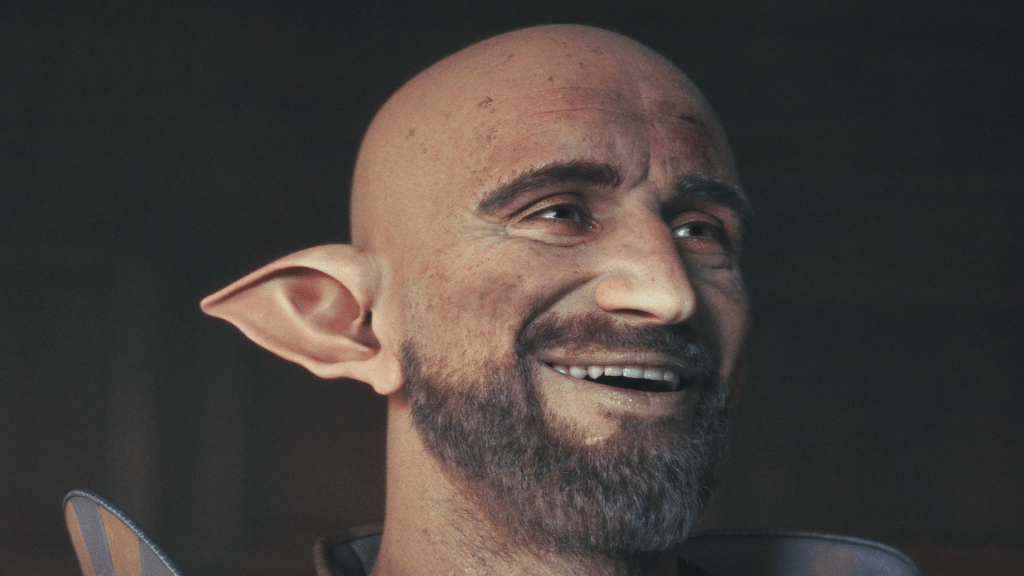
Base sculpt and Character Creator HeadShot
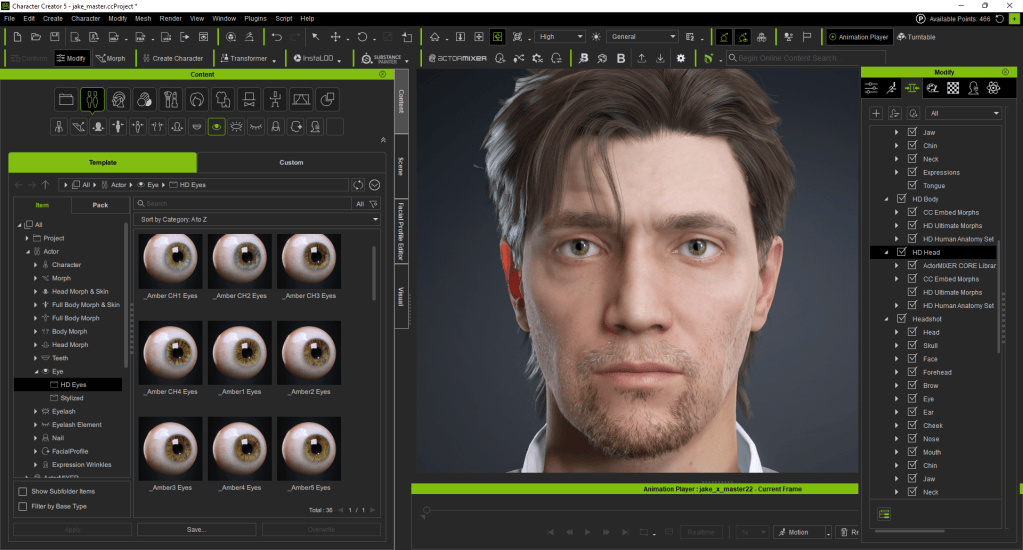
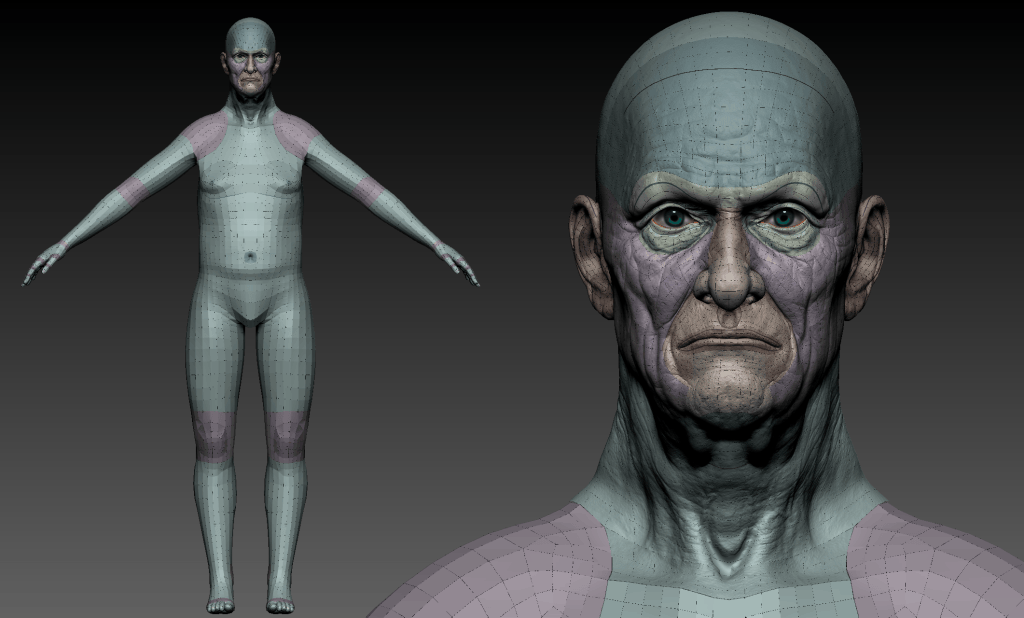
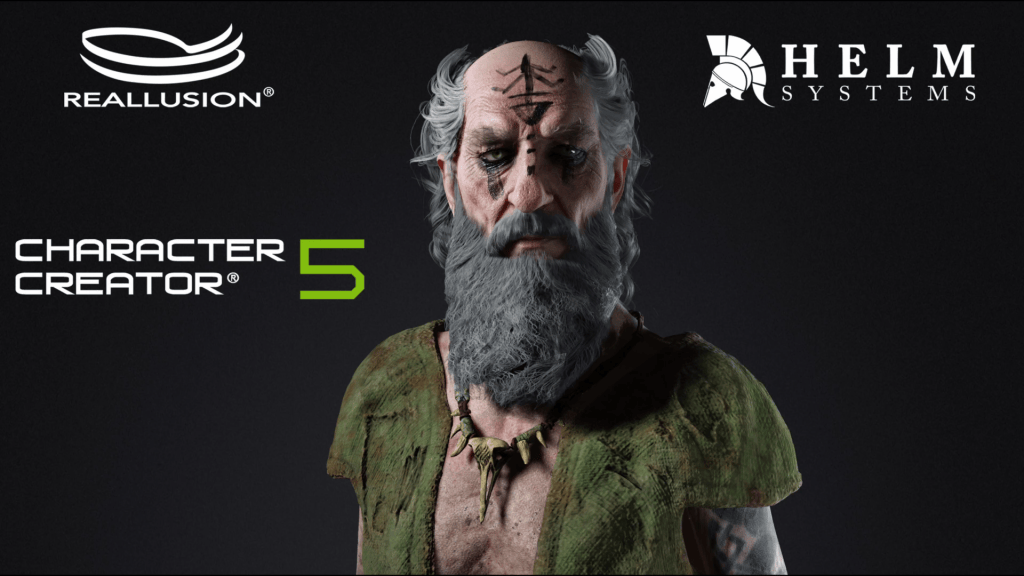
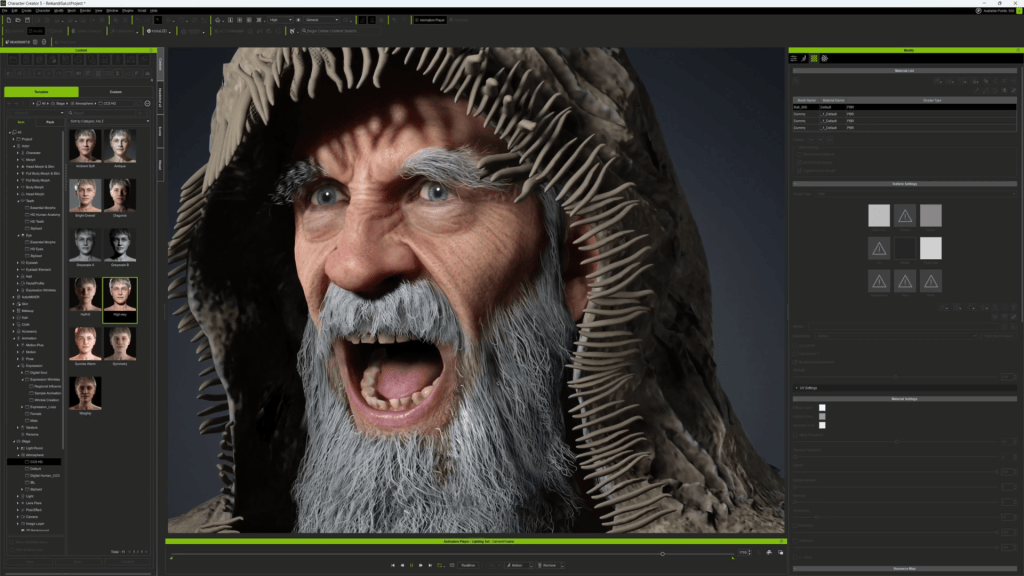
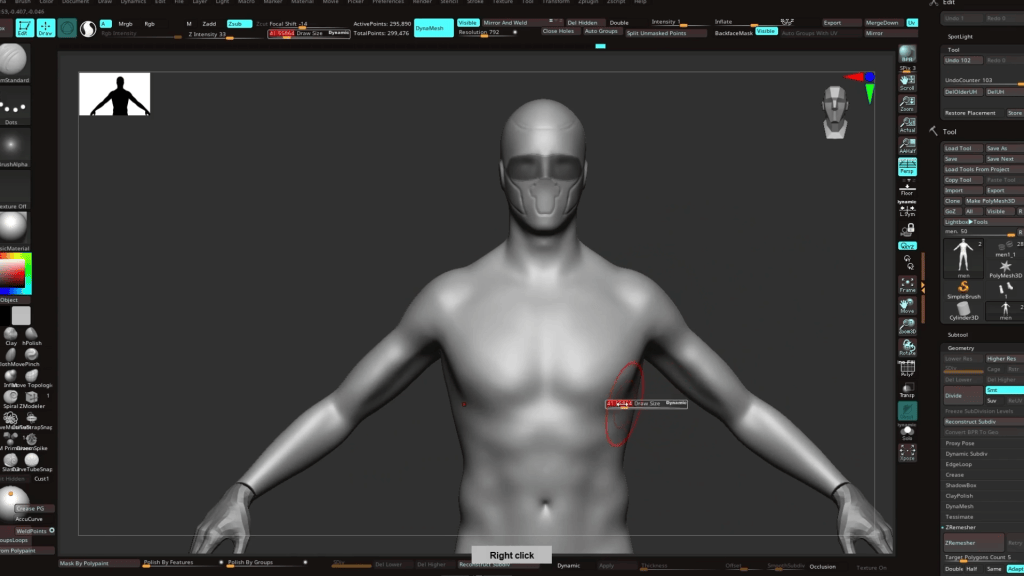
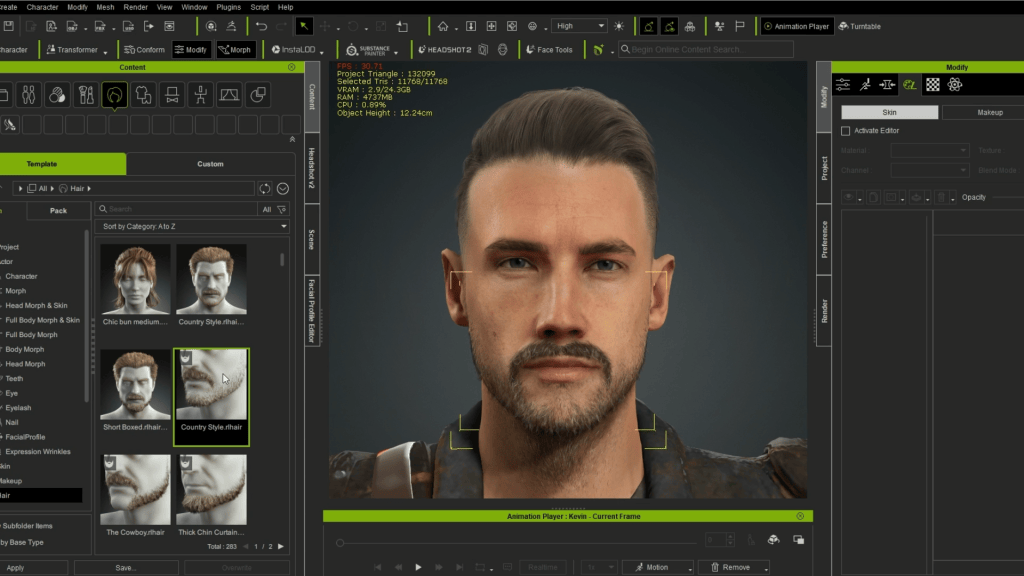
I started the project with a very quick and messy exploration of shapes in ZBrush for iPad, allowing my creativity to flow without the constraints of precision. The portability of the iPad made it easy to explore various designs in different environments, from the comfort of my sofa to a local café where inspiration struck. Once I had something that resonated with me and sparked excitement, I transitioned to the desktop to refine the proportions more carefully by bringing in a default character from Character Creator 5 (CC5).
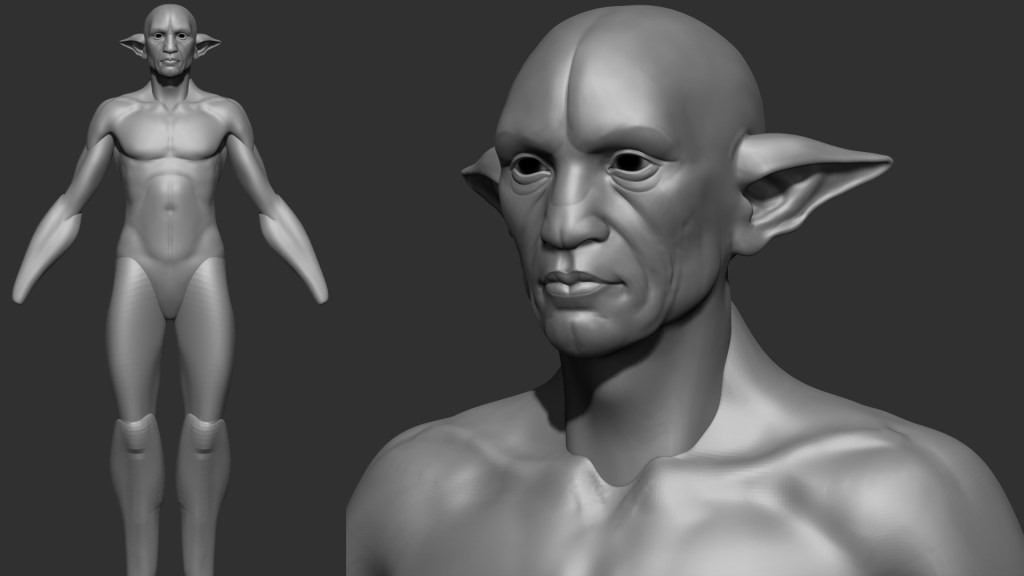
This process was integral, as working on a larger screen enabled me to meticulously adjust finer details that would enrich my overall design. In the later stages, my confidence grew significantly because I knew I was planning to utilize the Headshot 2 plugin in CC5, which promises to streamline and enhance the workflow by wrapping the generic CC5 topology to my sculpt. This integration not only saved time but also ensured that the final result would maintain a high level of quality and coherence, marrying my initial vision with the advanced capabilities of CC5. The entire journey has been a balance of intuition and technical skill, making it both challenging and rewarding.

“Headshot plugin in Character Creator 5 wrapped the CC topology to my sculpt extremely well, saving time while maintaining high-quality results that matched my original artistic vision.”
Darko Mitev – CG Generalist, Art Director
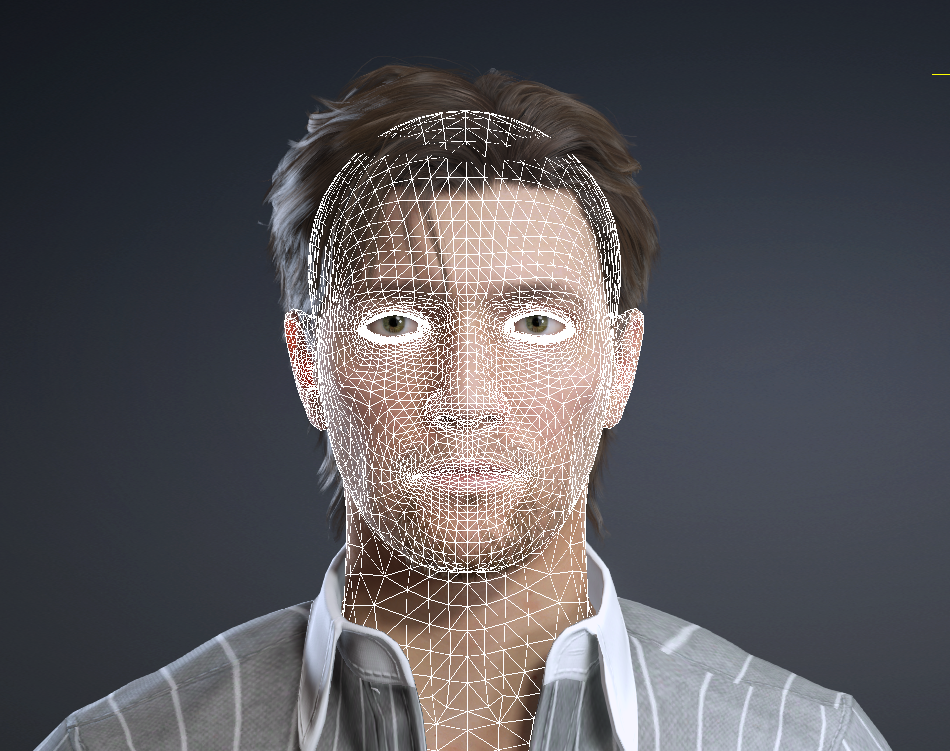
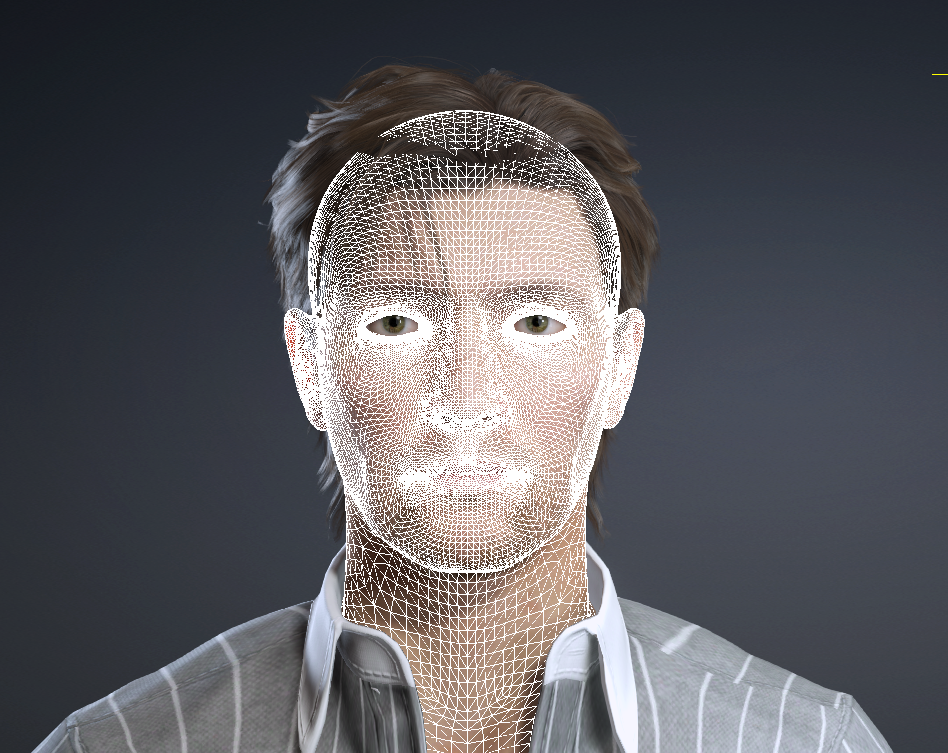
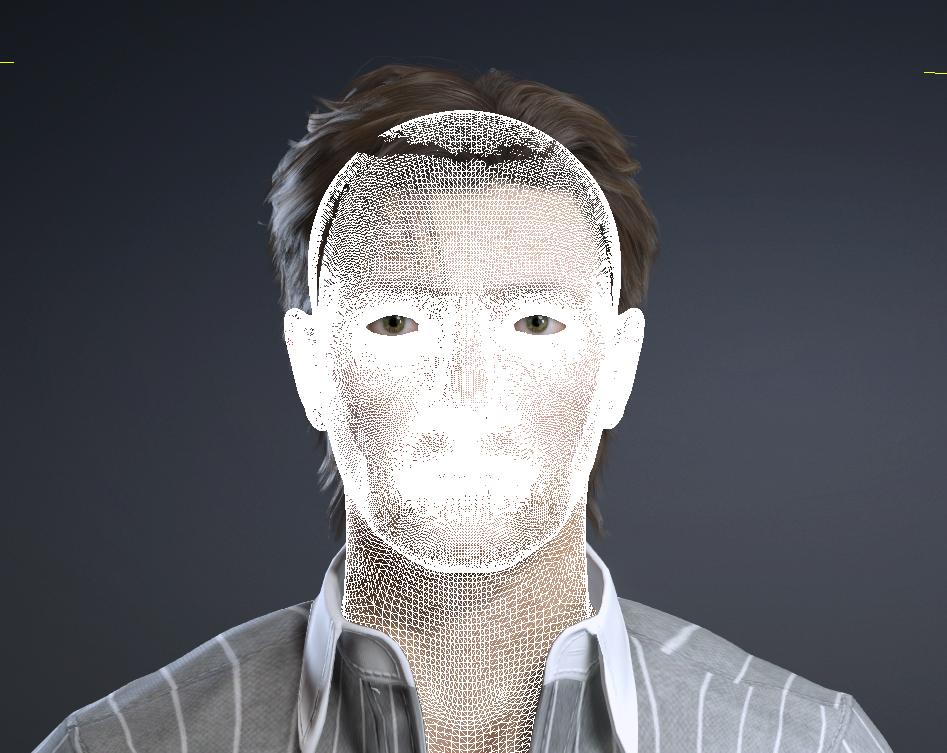
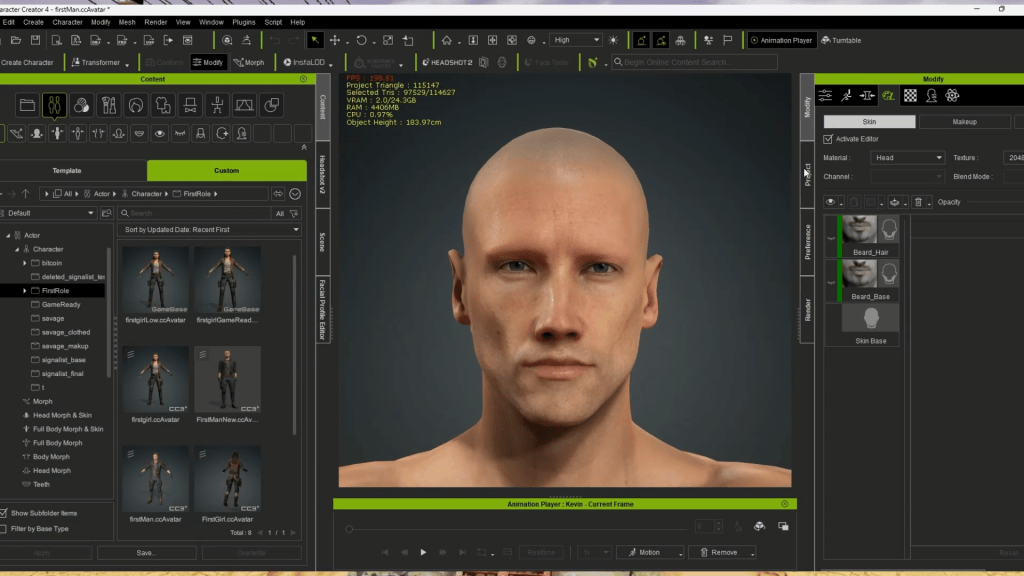
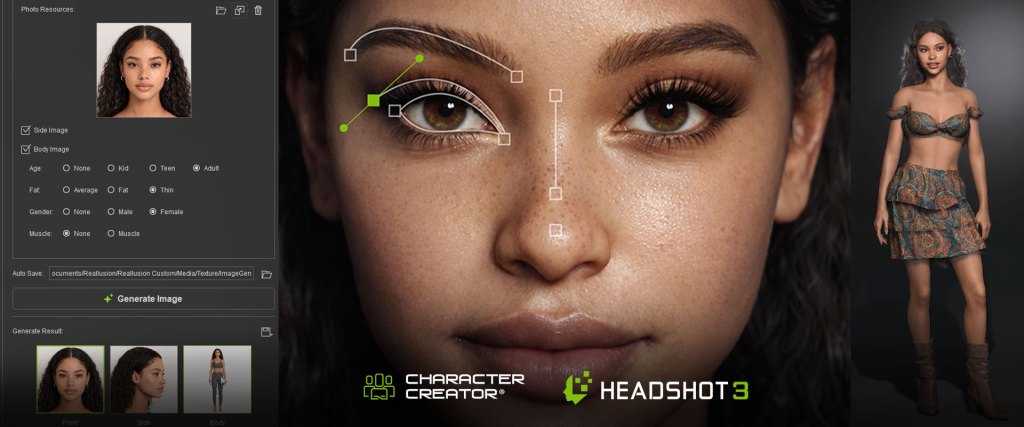
Once in CC5, I launched Headshot 2, and the automatic alignment was actually very accurate because I spent a little bit of time preparing my mesh in ZBrush. I refined the points mostly on the ears and a few on the lower eyelids, and went to the next step.

Once the wrapping was complete, I used the brush system to further refine the placement of the topology on the ears. I must admit I pushed the topology on the ears to the very limits, but with a bit of manual refinement, it ended up working really well.
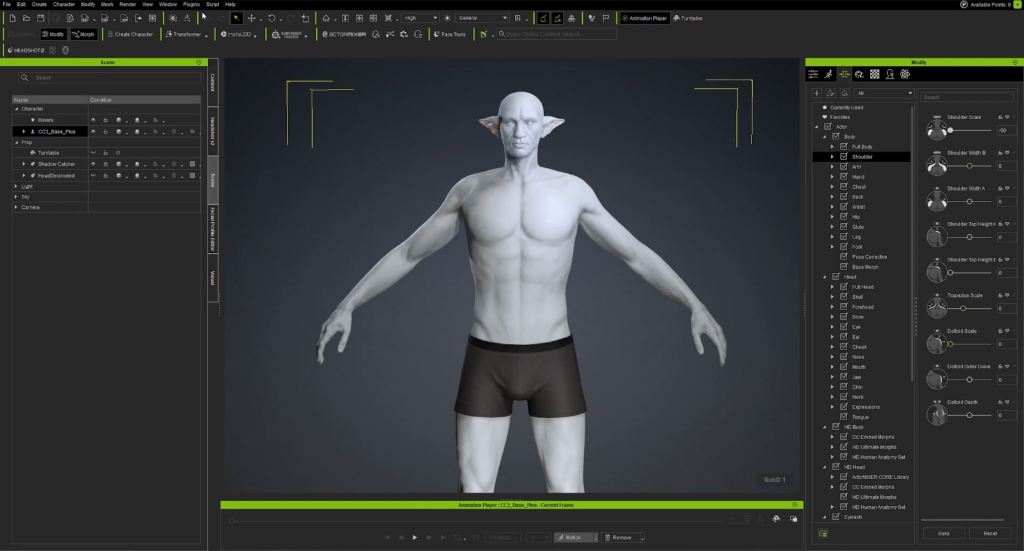
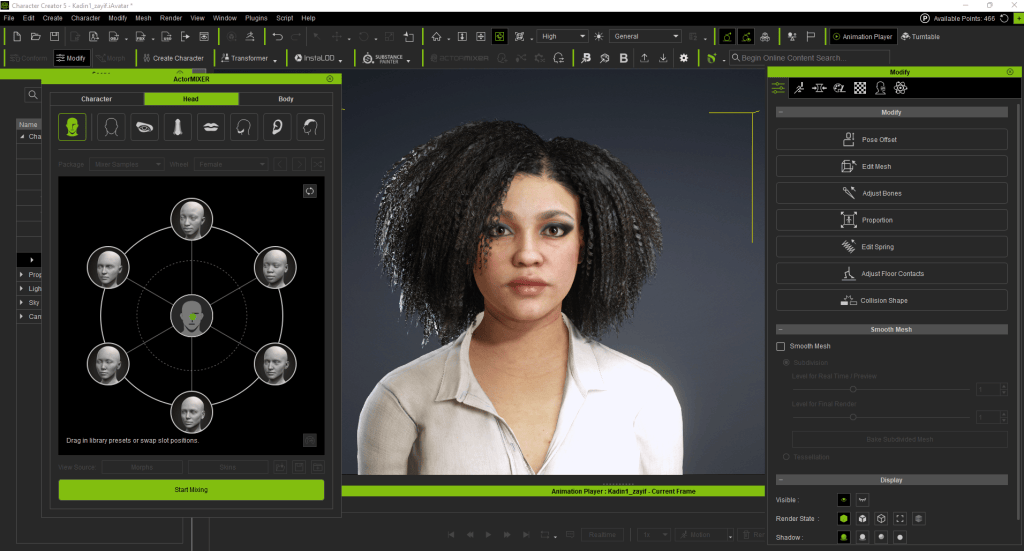
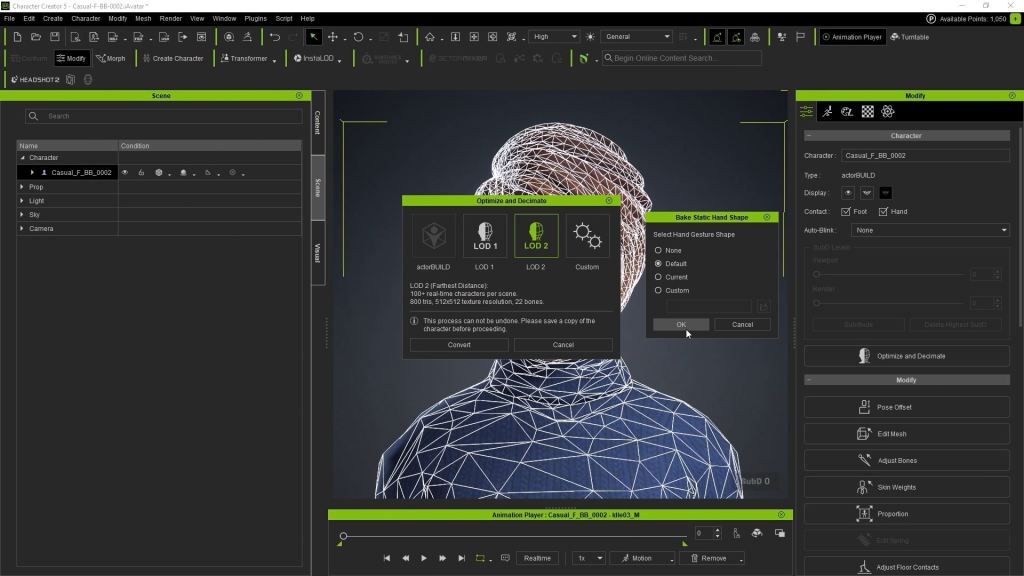
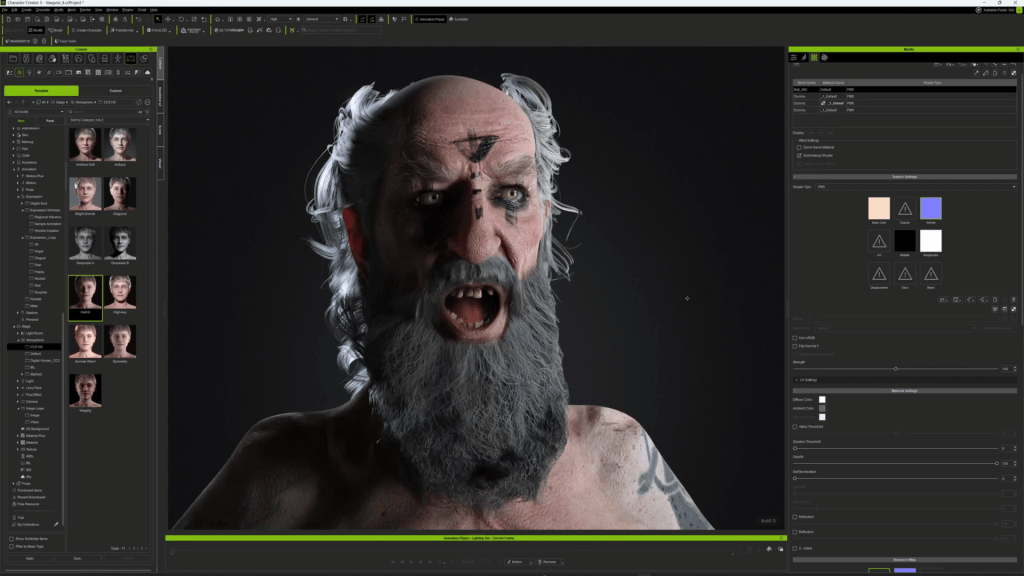
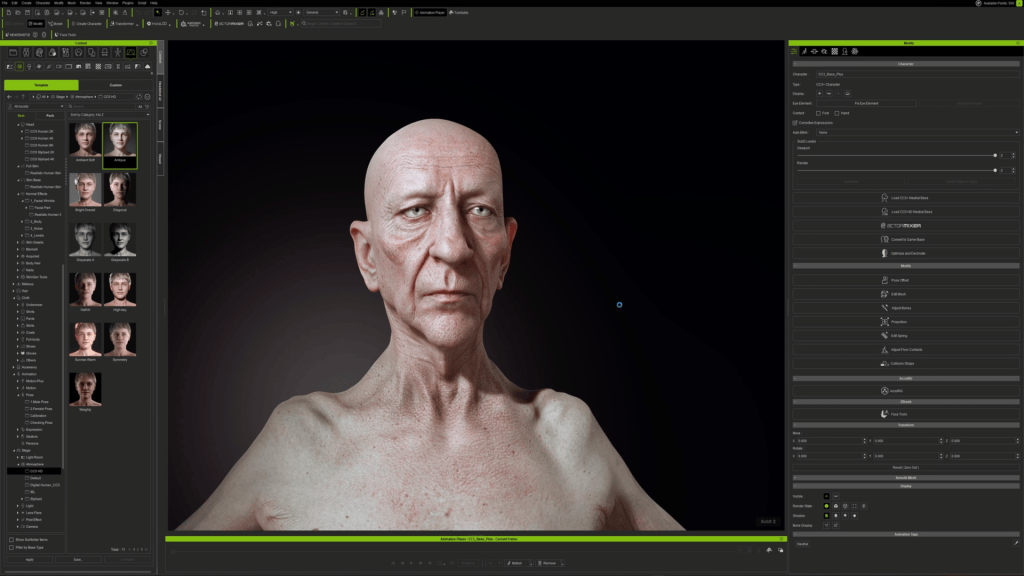
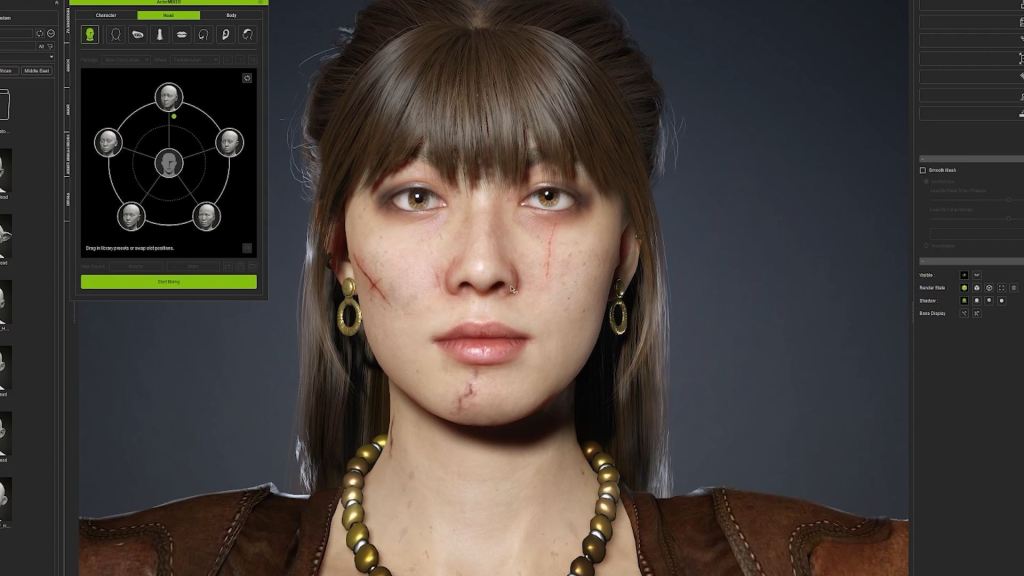
When I was done with Headshot, I picked the option to attach my custom head to a generic male body, and I had a custom character ready to go. At this point, I picked a grey material for the body because I wanted to focus on the forms, and I fired up the new ActorMIXER in Character Creator 5.
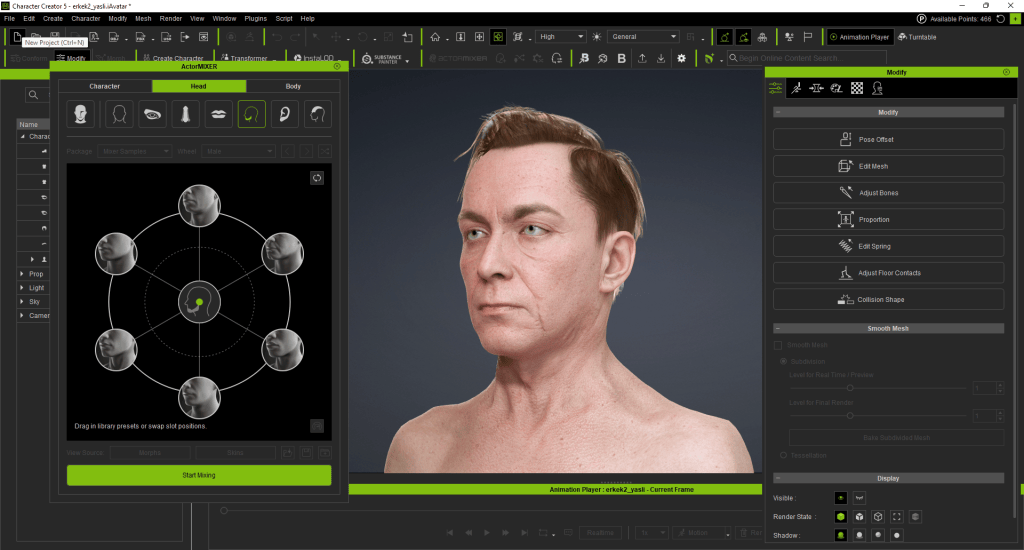
“Using ActorMIXER in Character Creator 5 let me explore multiple body and facial variations in minutes, making it easy to experiment with proportions and quickly evolve the character design.”
Darko Mitev – CG Generalist, Art Director
ActorMIXER + ZBrush Refinement
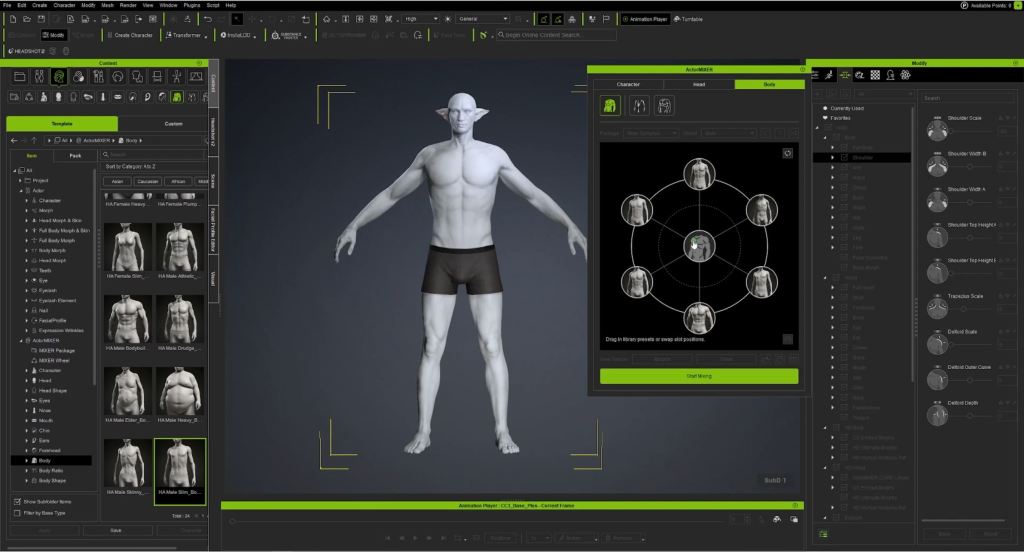
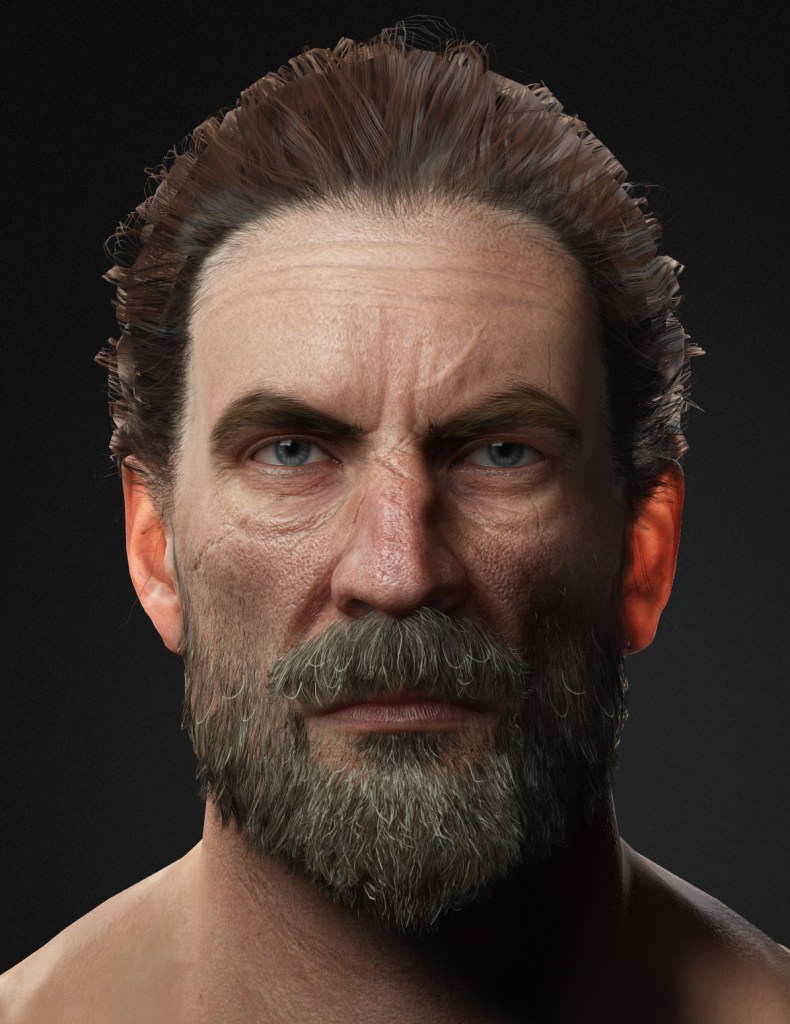
I spent way too long playing with this new tool, haha. I think I made 4 or 5 completely different versions of my character. I tried short and chubby, tall and skinny, and everything in between. The same goes for the face. I ended up pushing the character a lot more towards a realistic look. My initial concept was kind of stylized with a lot more pushed proportions, but through my exploration phase with ActorMIXER, I settled on a somewhat realistic facial structure.
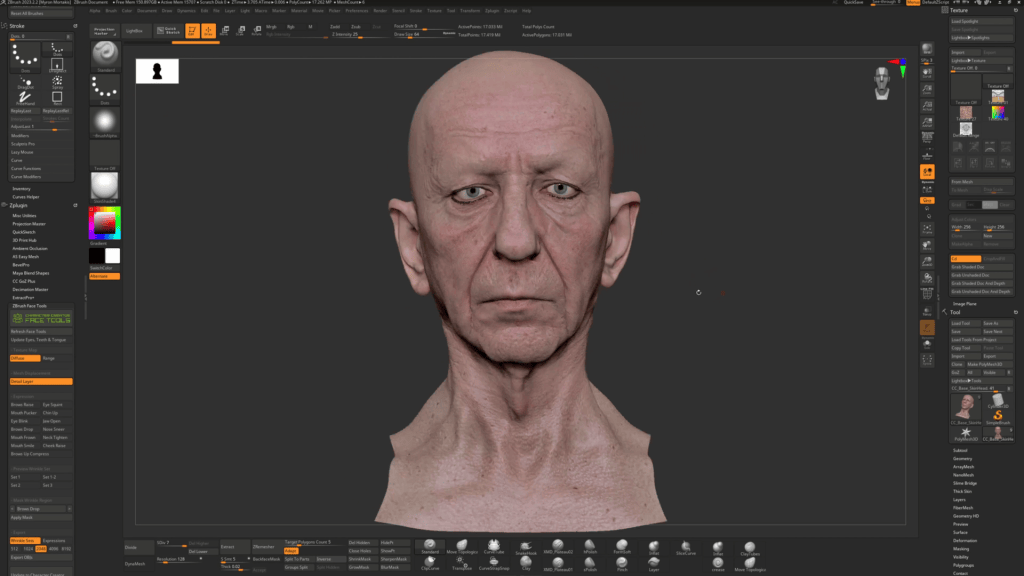
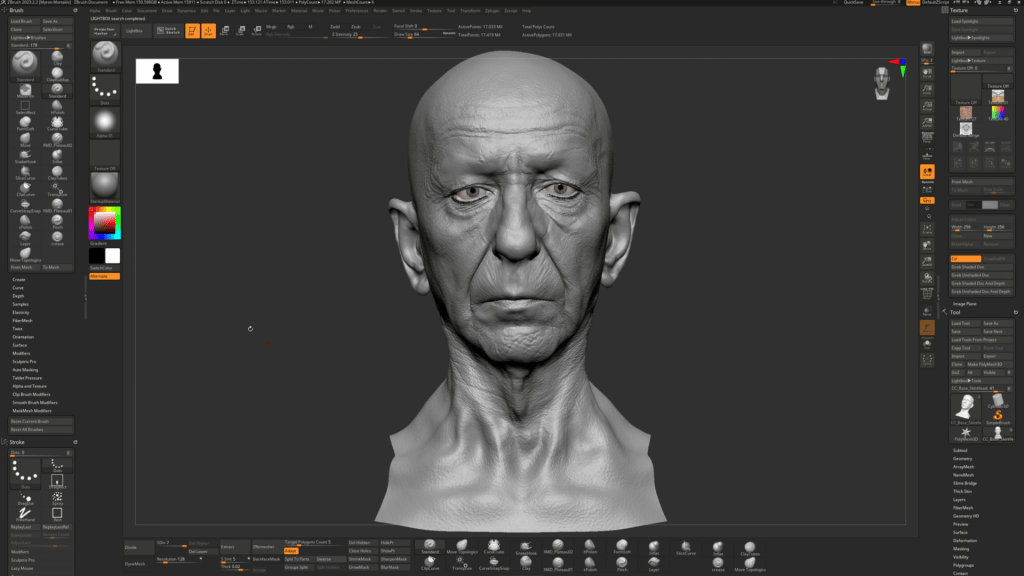
When I was done, I was happy with how the character was looking overall, but I lost some of the key features on his face. So, I used GOZ Plus to send the character back to ZBrush and refine and resculpt some of the facial features.
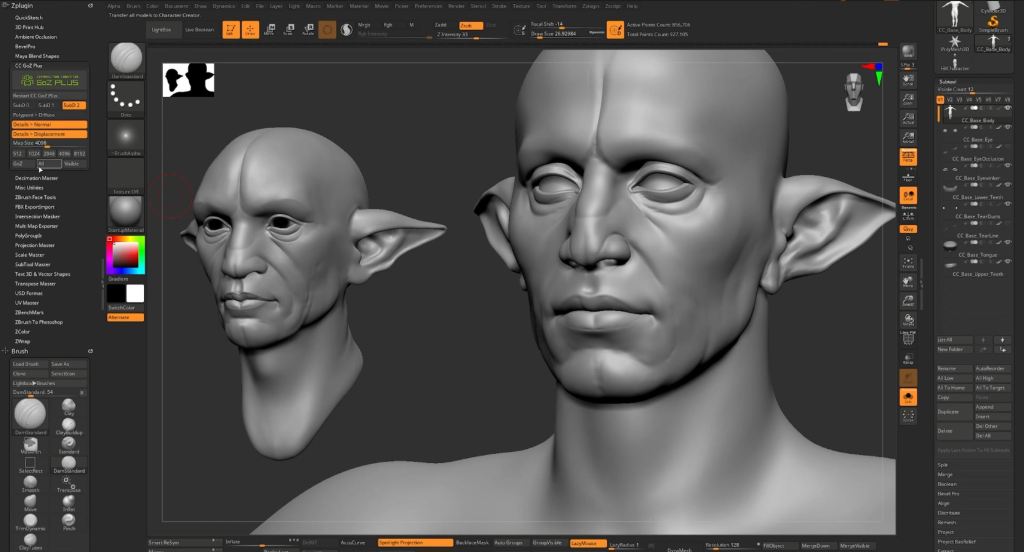
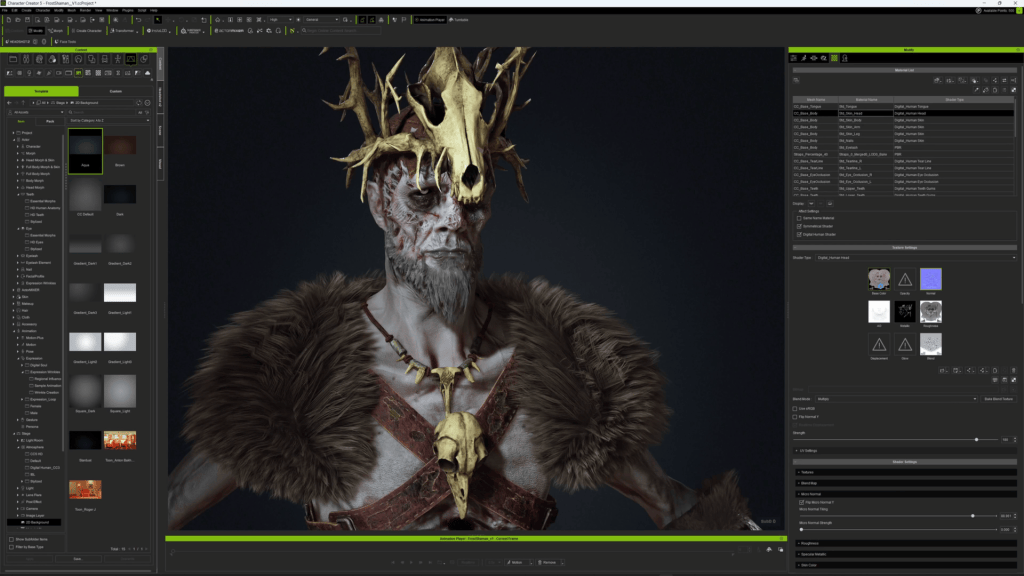
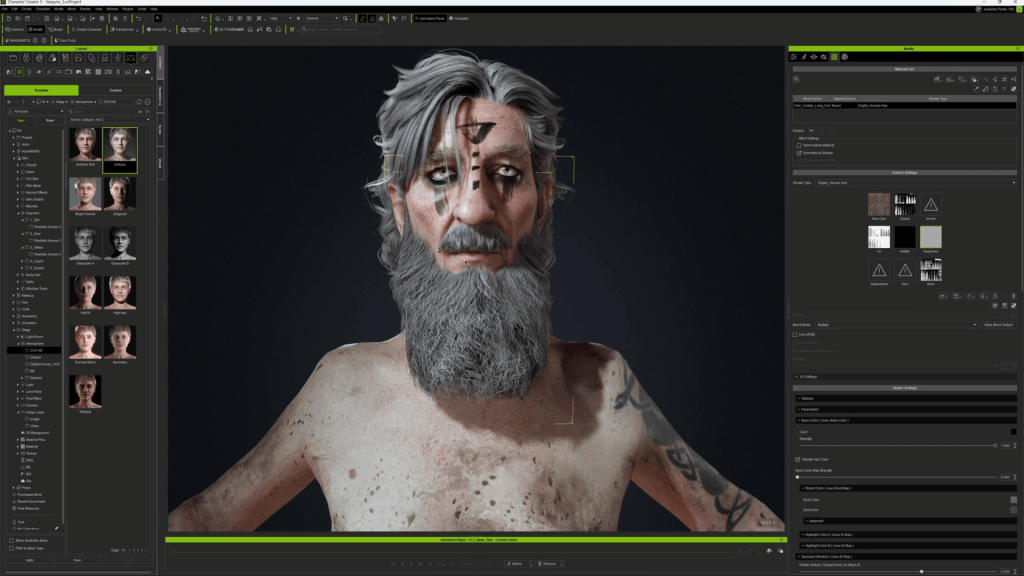
With the face adjusted to my liking, I sent the character back to CC5 using the GoZ plugin and started playing around with different skin materials and accessories, like adding hair, swapping different eye colours, etc.
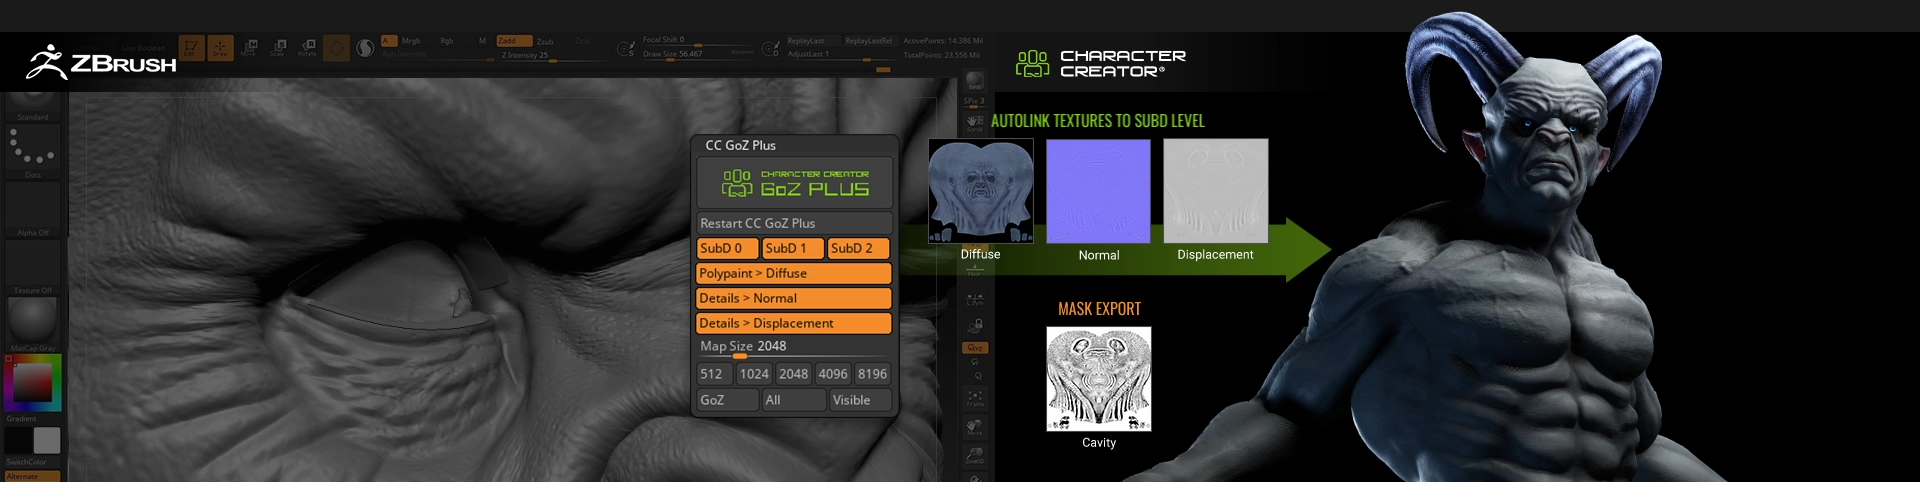
“Using GoZ to move the character between Character Creator 5 and ZBrush made it easy to refine sculpted details and then return to CC5 for materials, accessories, and further adjustments without breaking the workflow.”
Darko Mitev – CG Generalist, Art Director
High Frequency Details
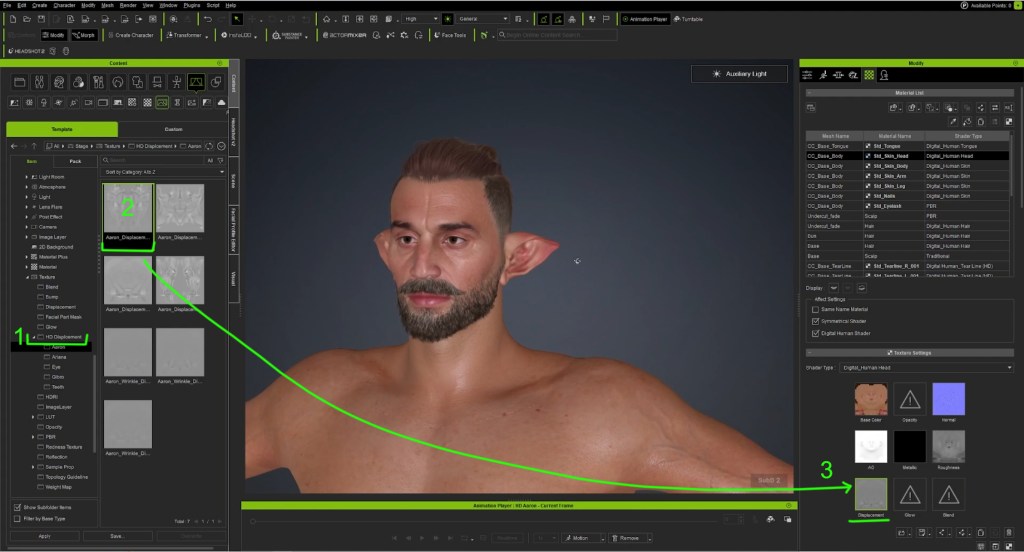
TIP: Make sure you set up the displacement scans in the shader for all the materials and select Displacement in the settings of GoZ Plus; otherwise, the plugin will try to generate the high-frequency details based on the Normal Map, which is less accurate.
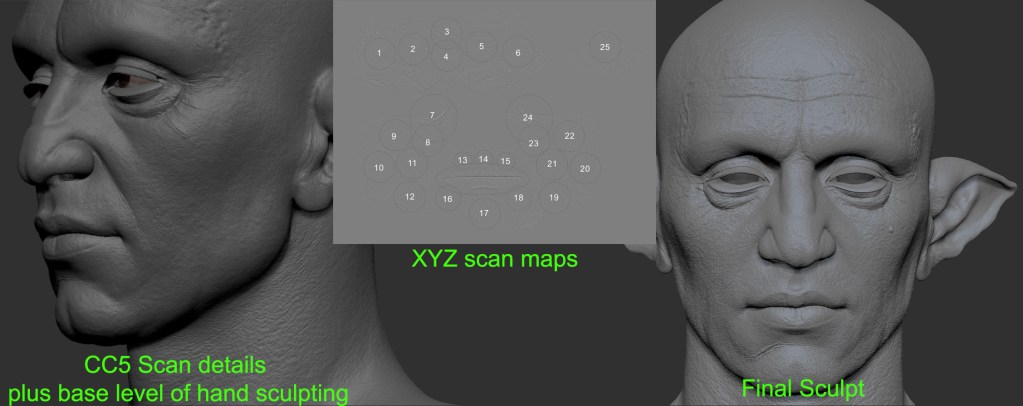
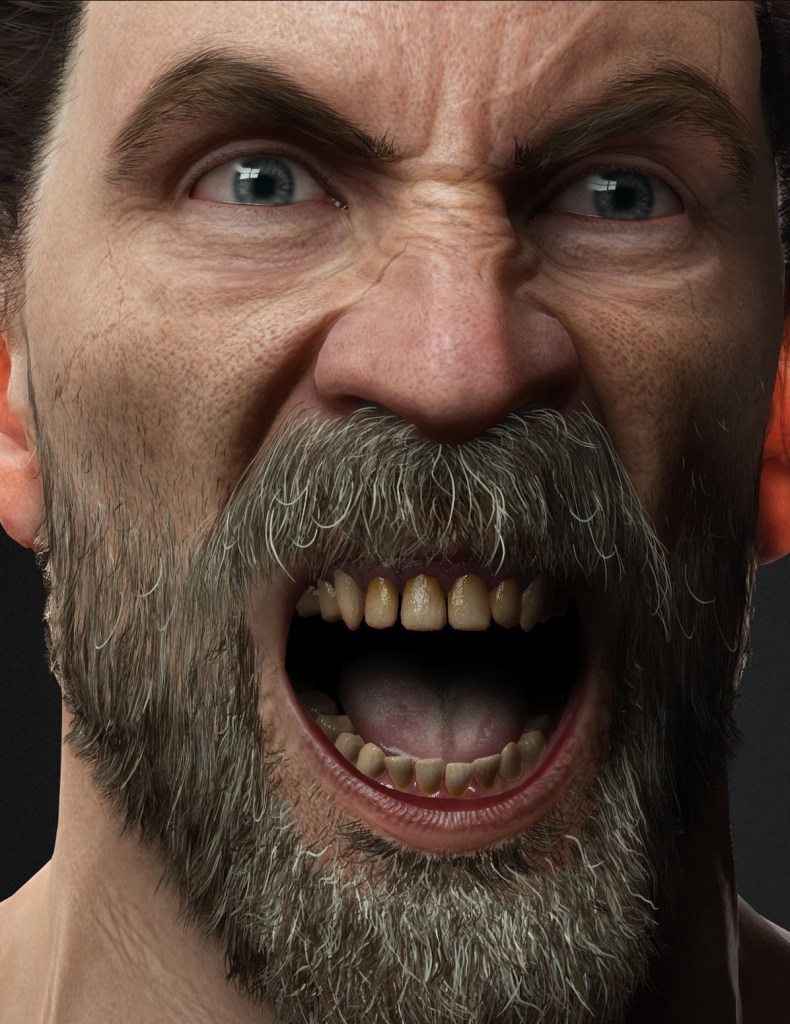
For the pore enhancement, I used Texturing XYZ maps to hand-sculpt some more details.
I intentionally sculpted the wrinkles and pores with higher intensity than normal because I knew I would bake all of this as an 8K displacement, and I would have the chance to control the intensity in the shader itself.
Texturing
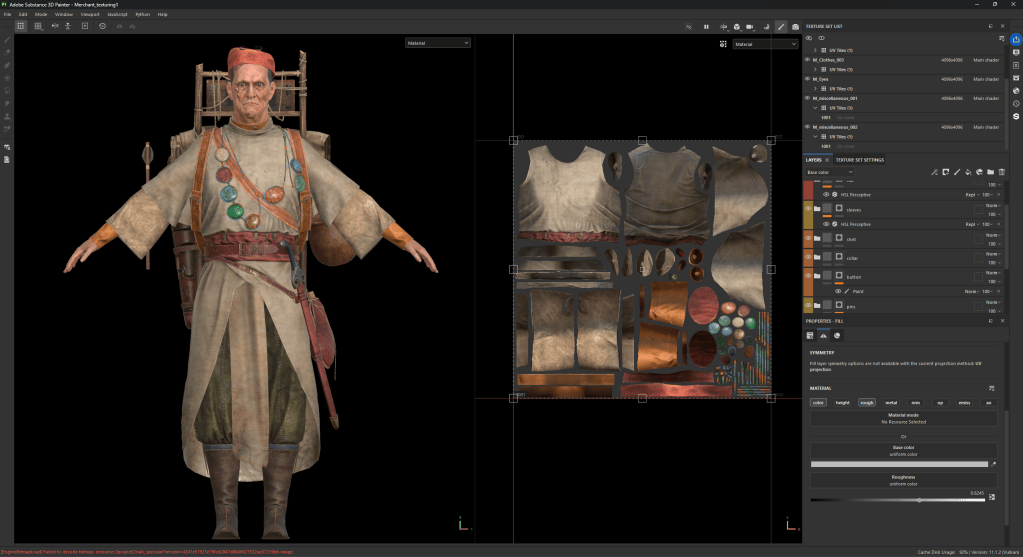
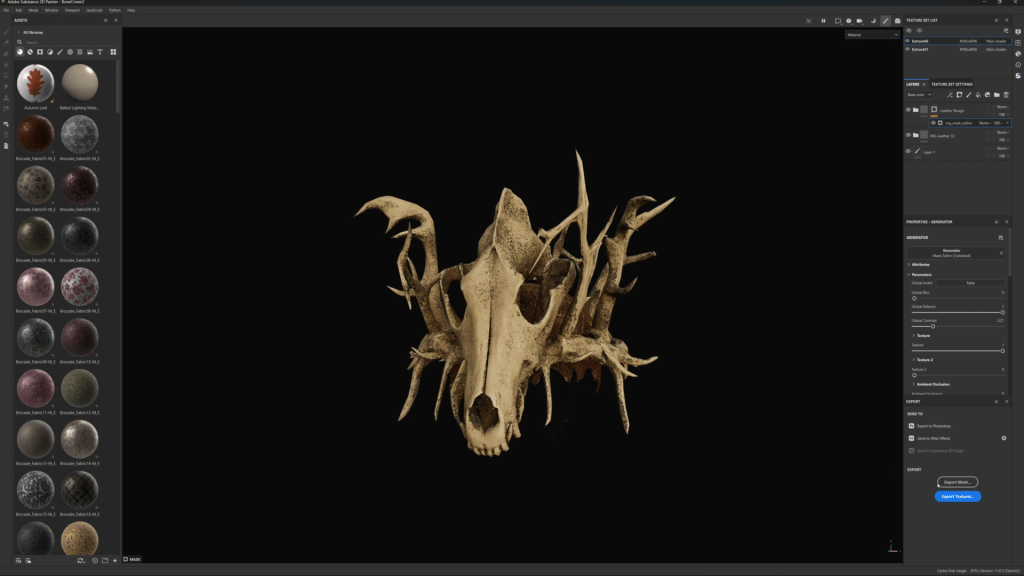
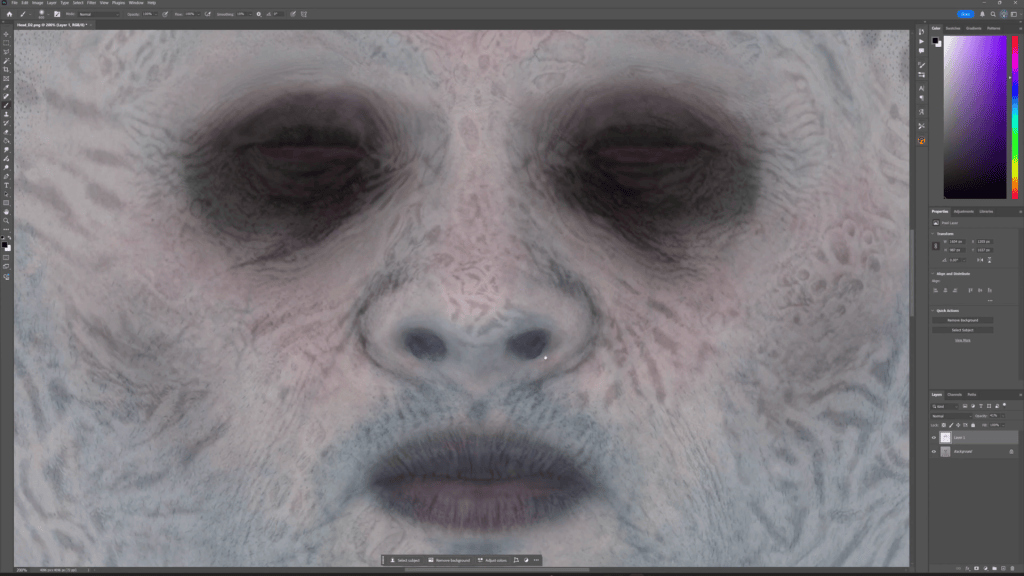
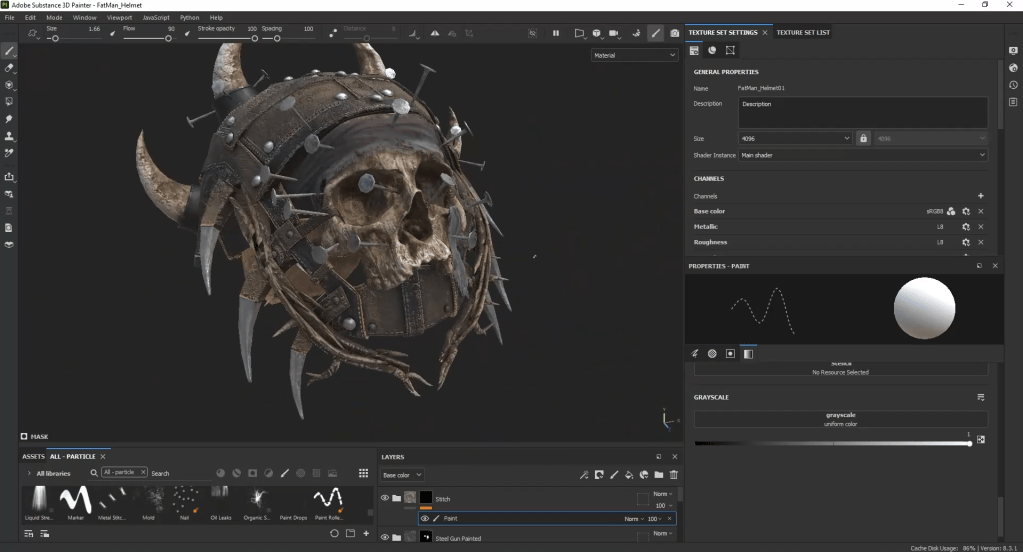
Since I already had the character in ZBrush with all base textures loaded, I baked it to Polypaint and started to hand-paint some details like the colours of the scar on the chin, some darkening around the eyes, etc.
I also used this chance to paint out a bit of texture stretching on the ear from the original projection. This was a destructive process because the Polypaint was then baked back to a colour map when I sent the character back to CC5, but I wanted to limit the amount of software I use for this project. It was a nice little challenge.
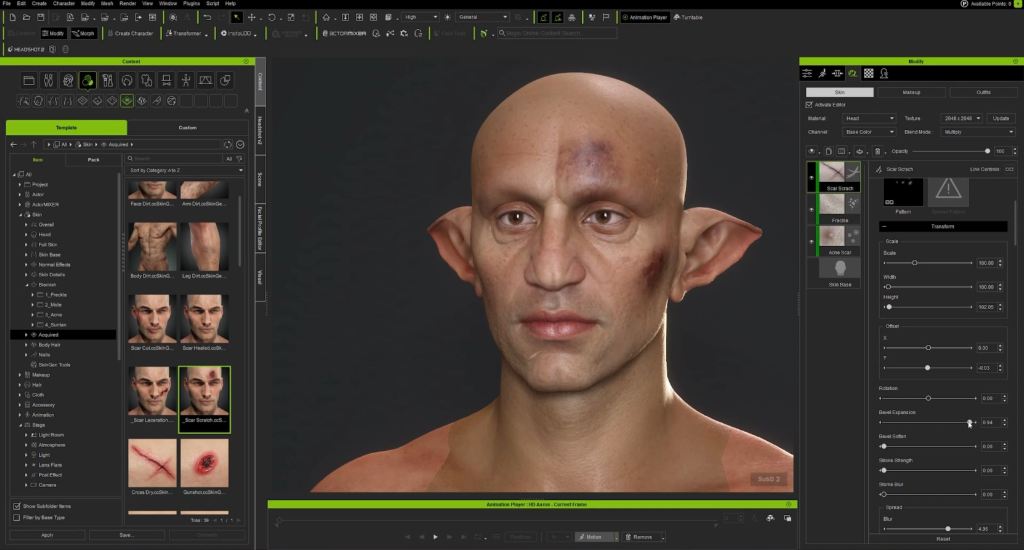
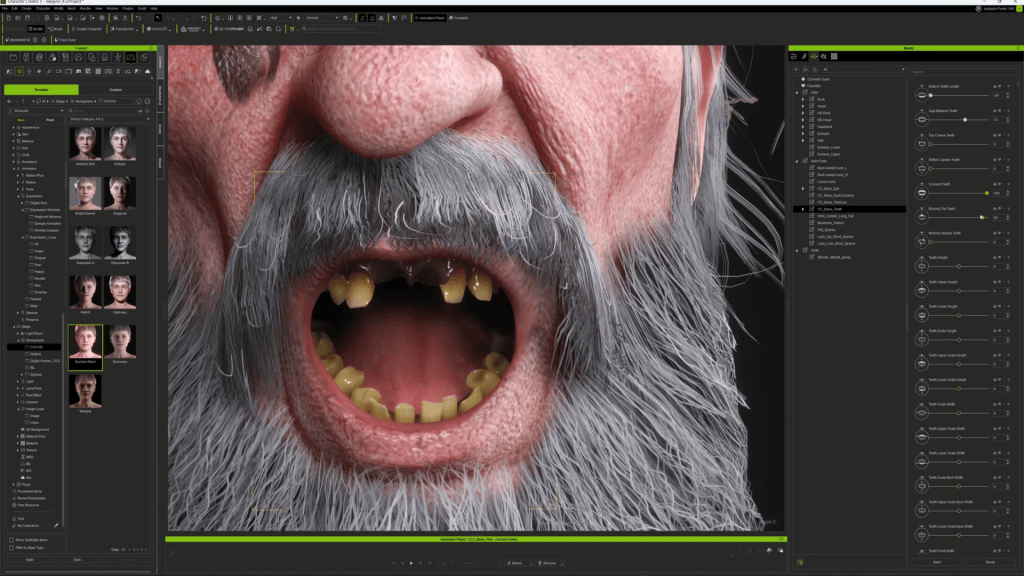
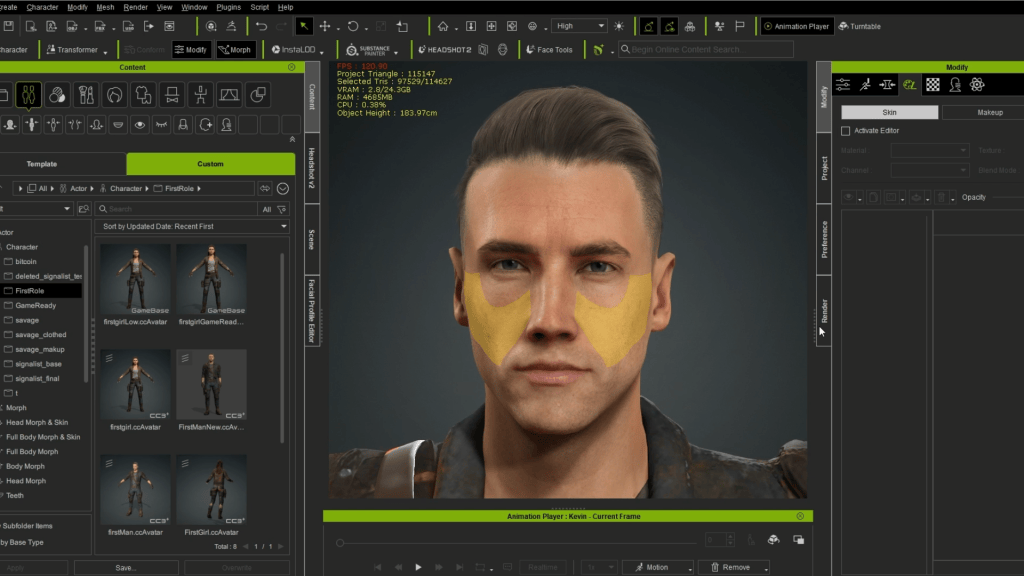
Once back in Character Creator 5, I used the CC5 SkinGen plugin to add more normal map details to the face, as well as some bruises, dirt, and adjust the texture to be less saturated and tinted slightly towards yellow/green.
CC5 Face Tools for Blend Shapes
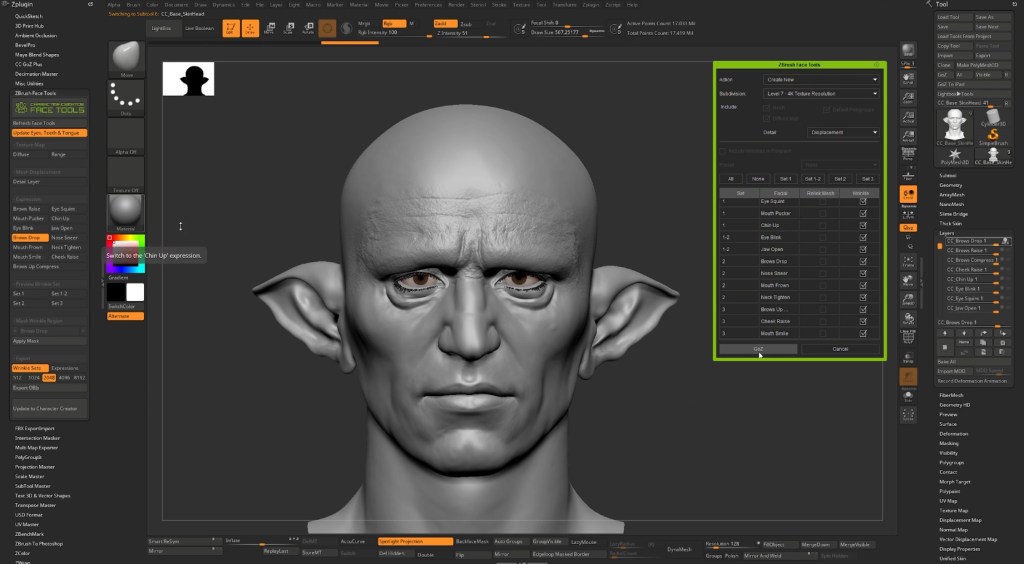
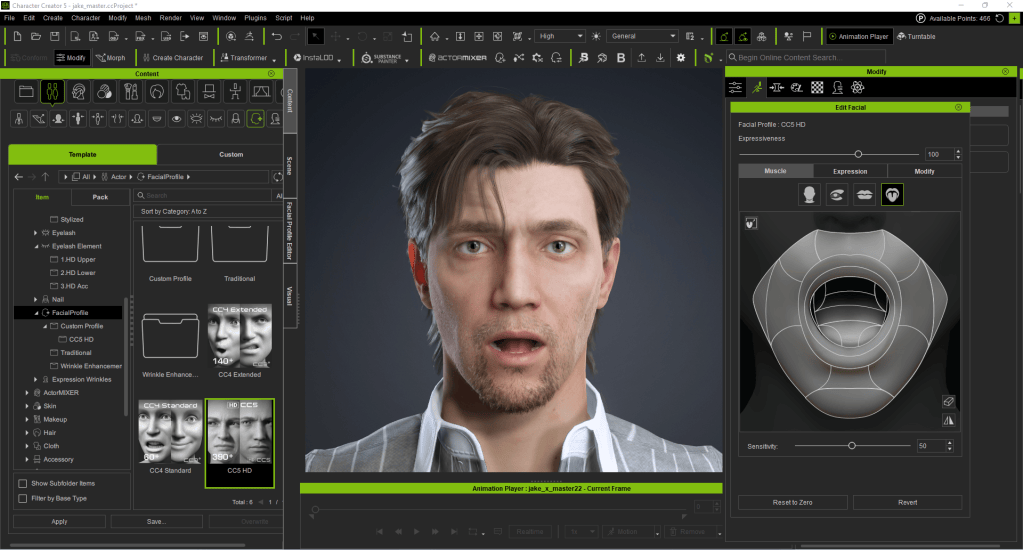
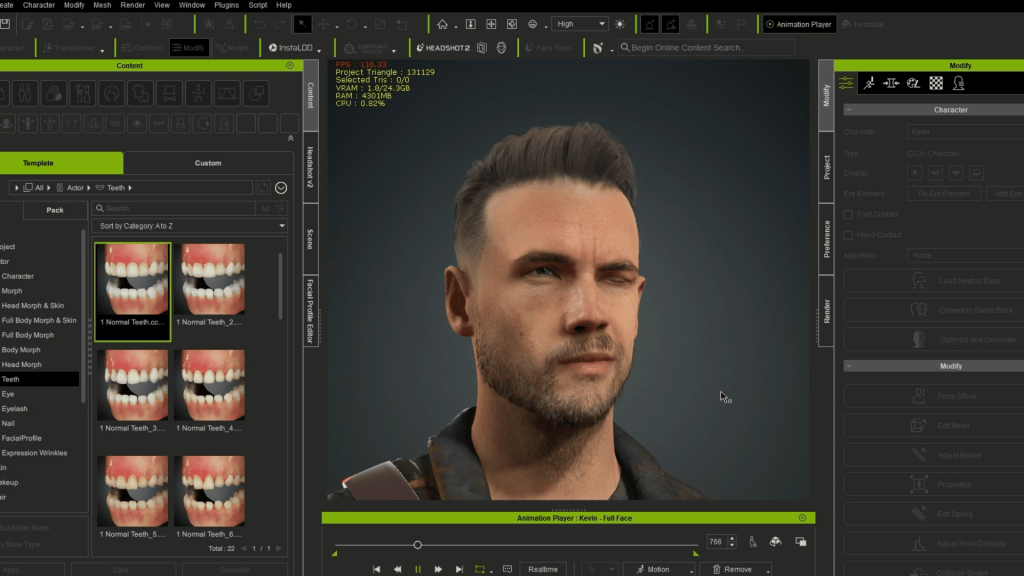
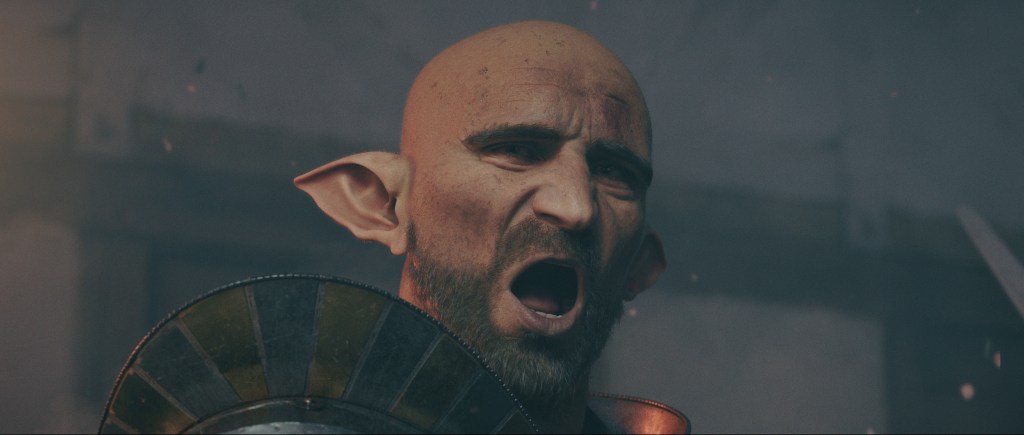
When the character was done, I used Character Creator’s Face Tools for ZBrush to refine some of the facial shapes and enhance the overall realism of my design. These tools allowed me to focus on minute details that are essential for creating a lifelike appearance. Because of the custom features I sculpted, such as the double-baggy lower eyelids, I had to tweak some of the shapes to work well with my character, ensuring they seamlessly blended with the rest of the facial structure.
“Character Creator’s Face Tools for ZBrush allowed me to refine subtle facial shapes and expressions, giving me the control needed to enhance realism while ensuring the features worked seamlessly with the character’s overall facial structure.”
Darko Mitev – CG Generalist, Art Director
Additionally, I experimented with various textures and colour palettes to give the skin depth and character, while also adjusting the lighting settings within the software to see how different lighting conditions could affect the final look of my model. This meticulous process was not only rewarding but also crucial to bringing my vision to life in a way that resonates with the audience.
Armour and Accessories
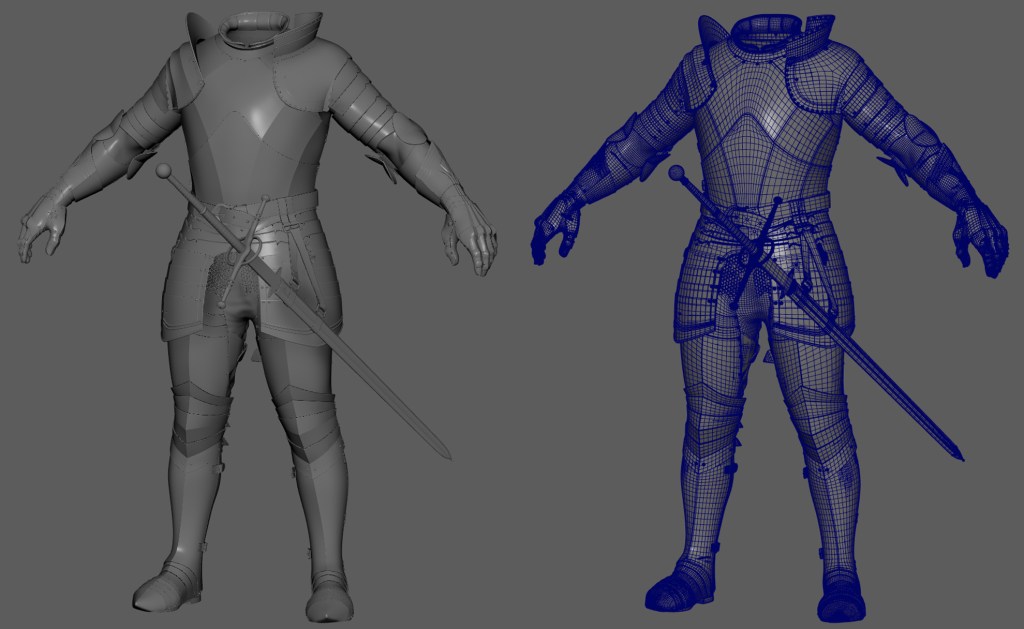
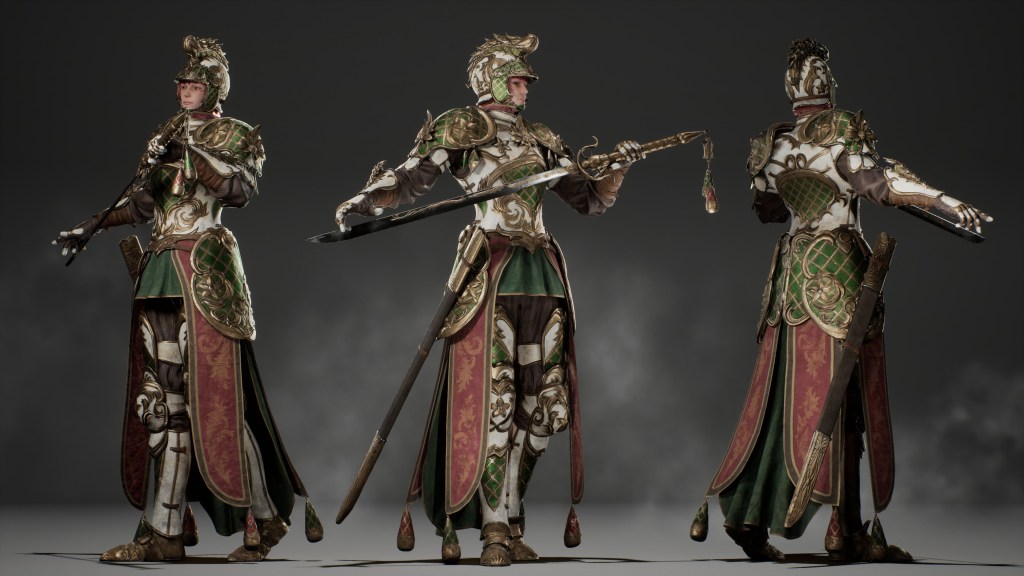
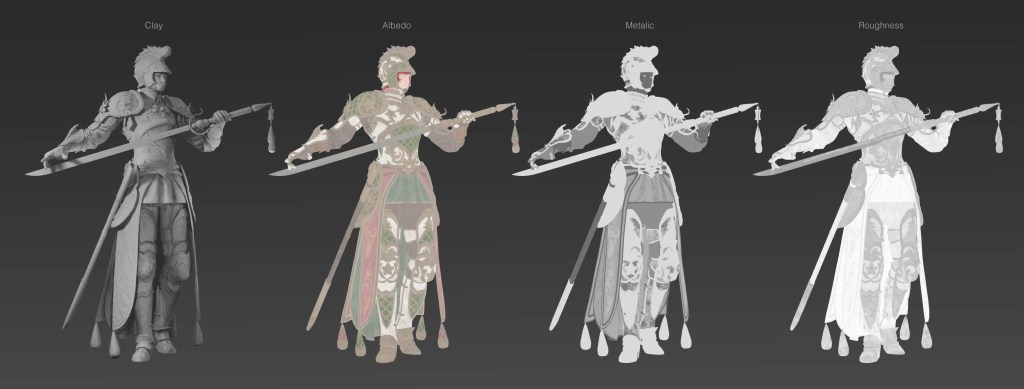
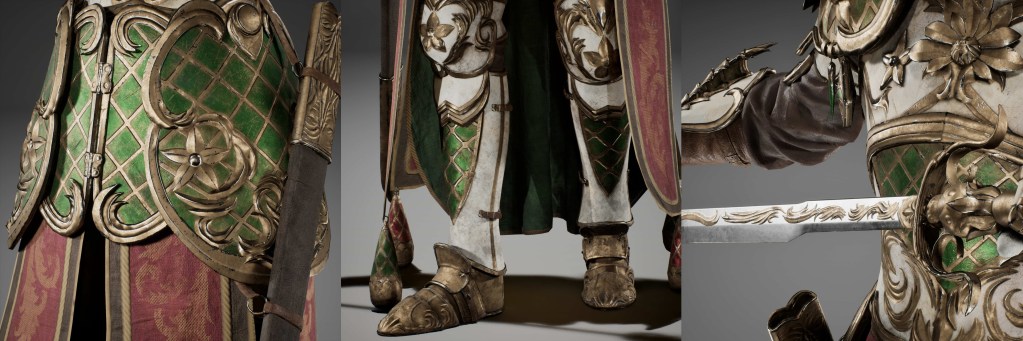
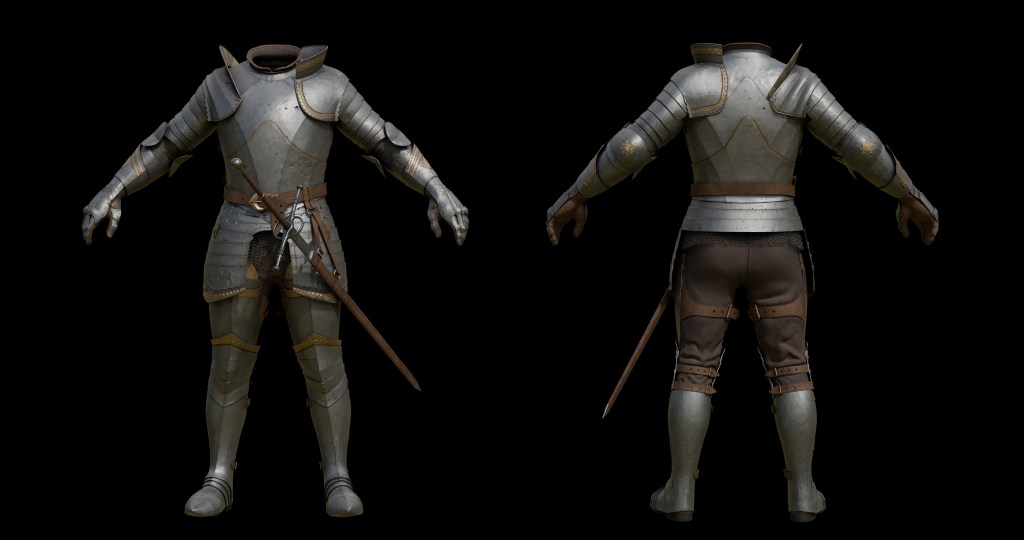
I modeled the armour and the sword directly in Maya using poly modeling, paying careful attention to the intricate details that would bring these elements to life.
To ensure that the design was both functional and aesthetically pleasing, I experimented with various shapes and structures, tweaking them until they aligned perfectly with my vision. Some of the fabric was sculpted in ZBrush, where I focused on capturing the natural folds and textures that would typically be found in actual garments.
Afterward, I retopologized the fabric in Maya to maintain a clean mesh while preserving the high-resolution details from the sculpting process, ensuring that every part of the model would render beautifully in the final output.
Maya Auto Setup for Character Creator
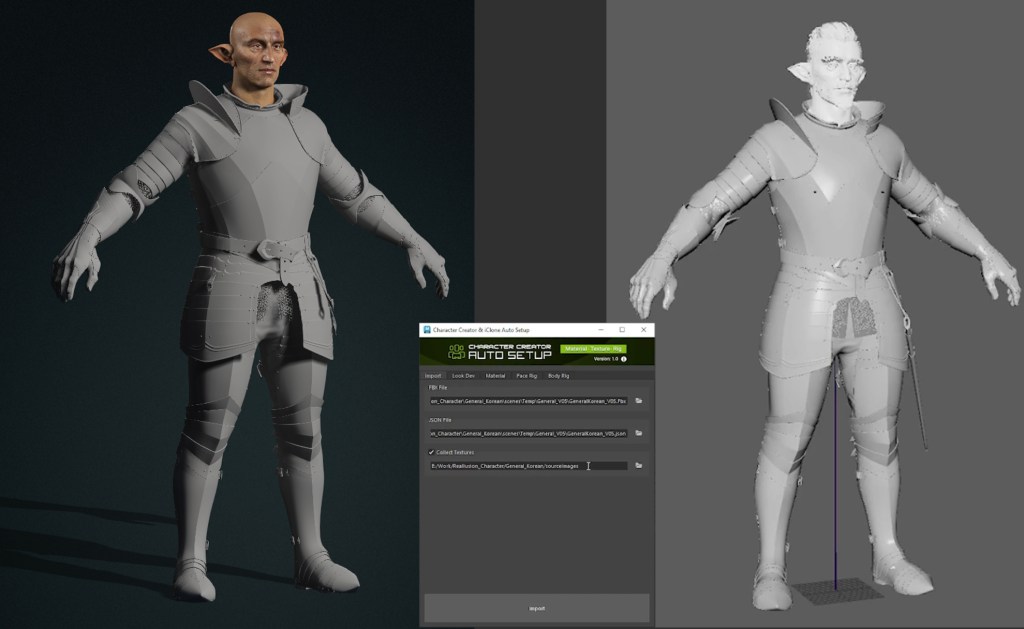
“With the Character Creator Auto Setup for Maya, the character imported with a full skeleton, skinning, shaders, and even the facial rig already configured, allowing me to focus immediately on look development and rendering instead of technical setup.”
Darko Mitev – CG Generalist, Art Director
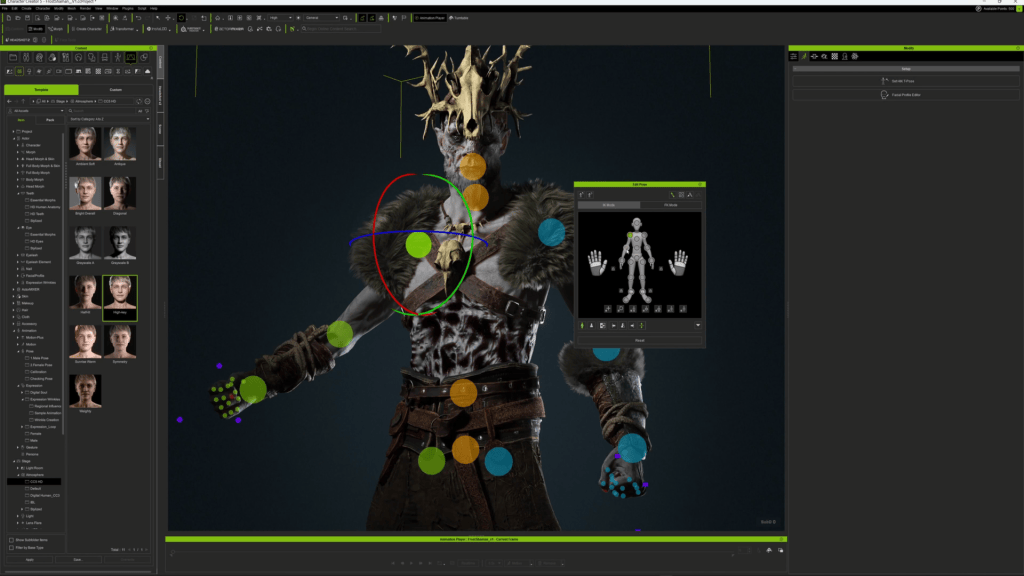
With the Armor done, I imported it into CC5 and did a very basic skinning to the skeleton. I did not spend much time refining it because the Armor was going to receive a full custom rig in Maya, so there was no point in doing the same thing twice.
Once in Maya, I used the free Character Creator Auto Setup for Maya to import the character with full skeleton and skinning data, as well as shaders and even a Facial Rig.
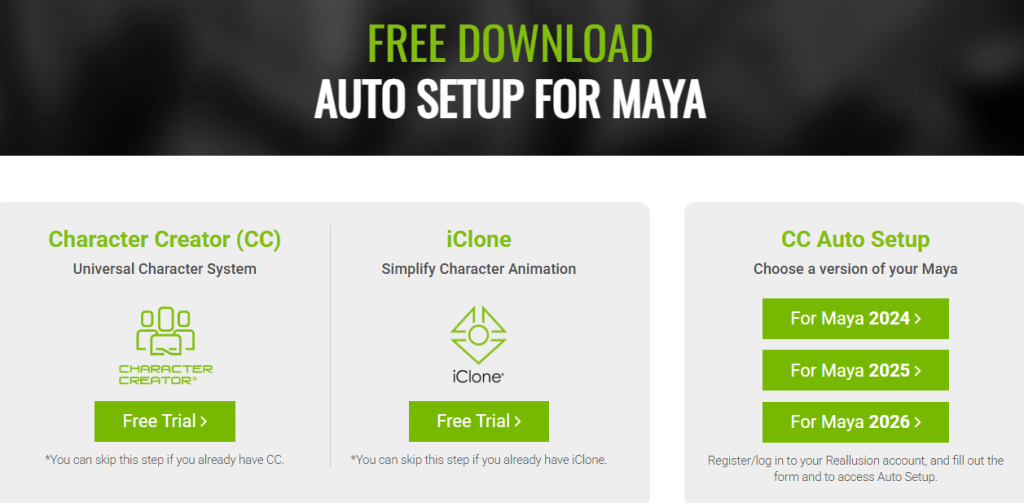
Look Development and Render setup
The Maya Auto Setup is also fully equipped with HDRI tools, lighting presets, and a simplified view of all the materials with the most useful parameters exposed to sliders for easy adjustment.
All I had to do was activate the Arnold Subdivision on the geometry of the head and body, and the plugin took care of most of the setup for me. This let me play with the sliders to get the right roughness and saturation levels of the skin and really dial in the look I wanted.

Groom, Render, and Composition
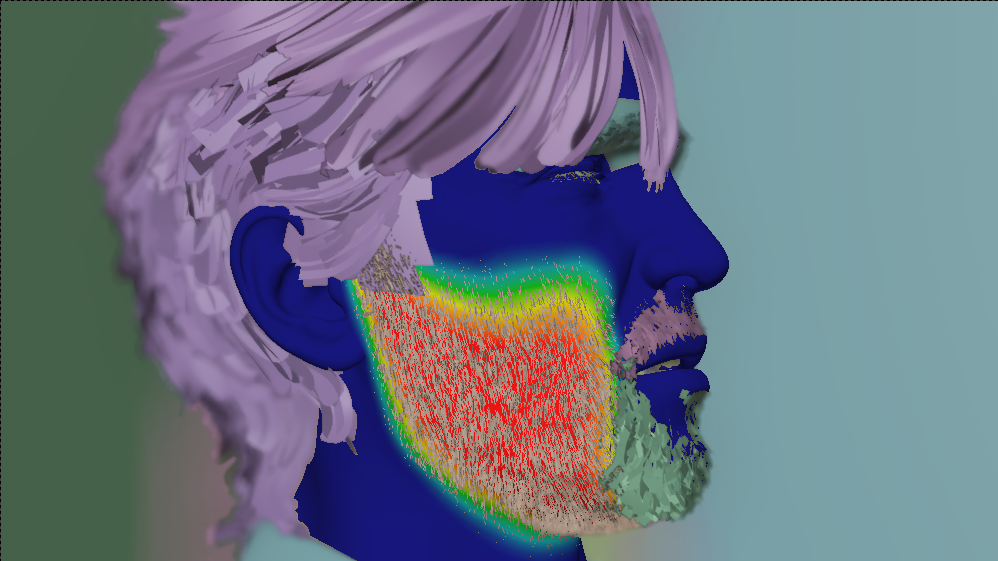
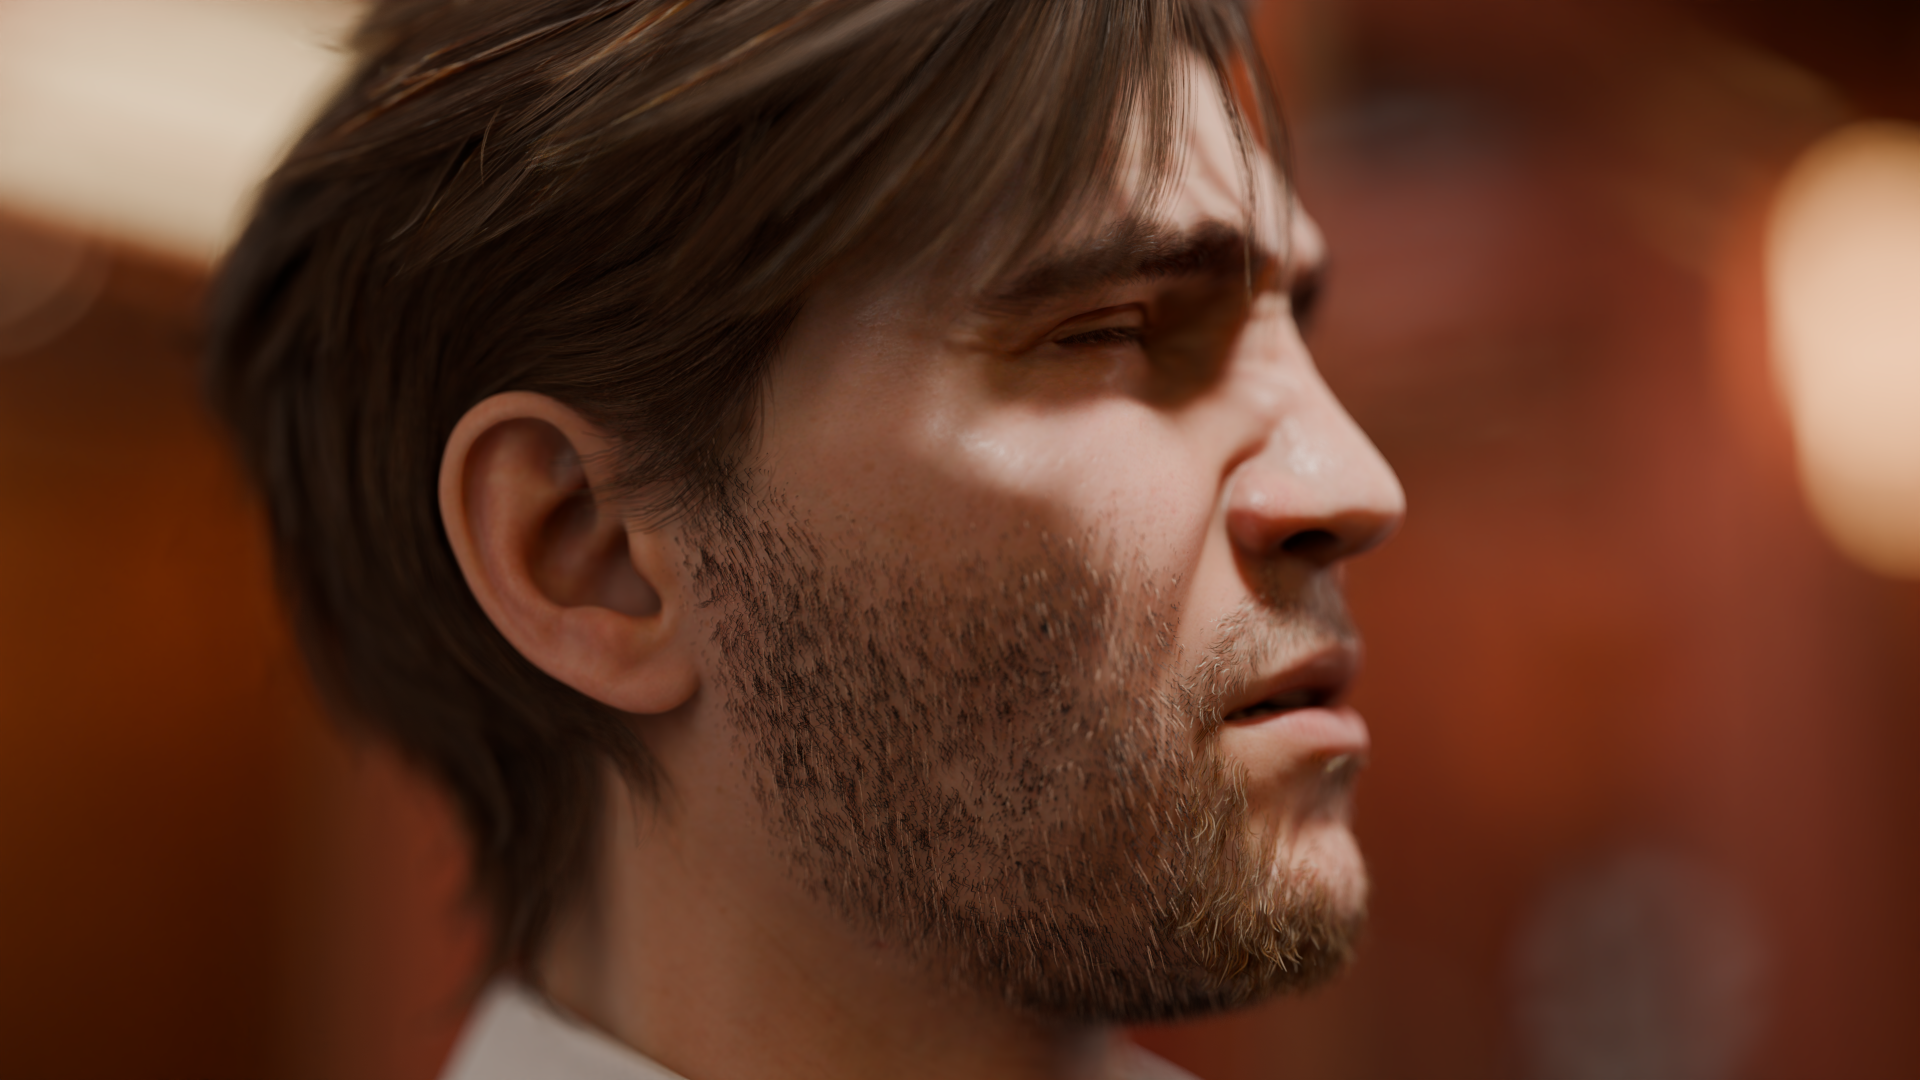
For visualizing the beard and eyebrows initially, I used the card-based system, but once in Maya, I converted that to the XGen Groom system for higher quality.
I generated sculpt meshes from the head and grew the hair on them, then wrapped the scalp geometry to the face, which allowed me to use the XGen groom seamlessly with the facial rig as well.
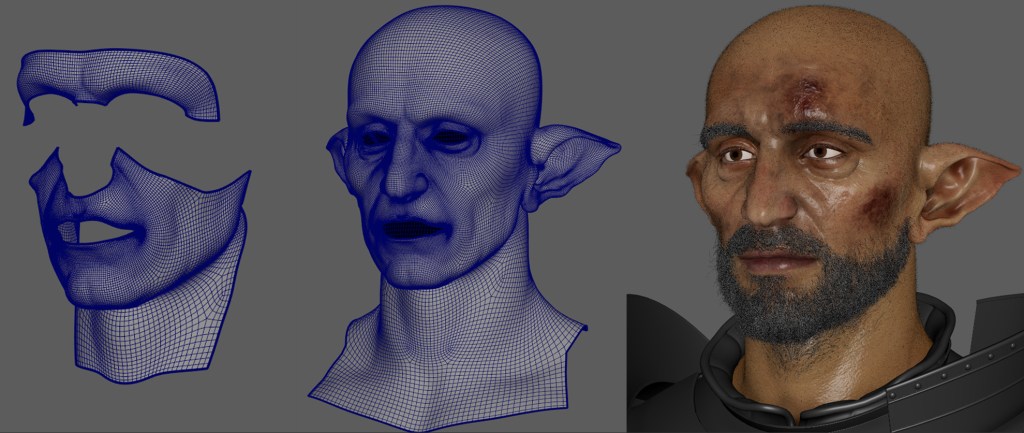
Render Exploration
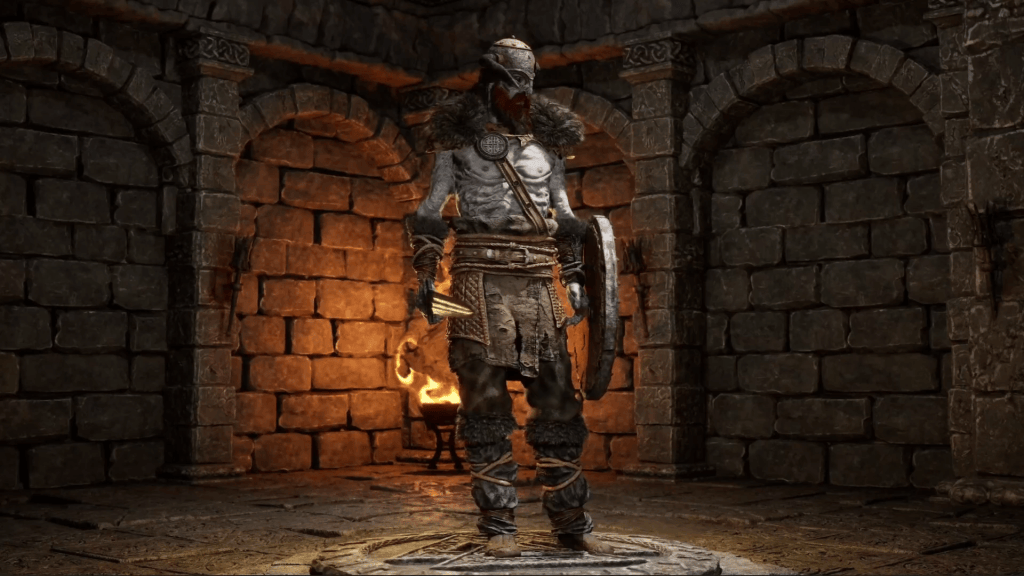
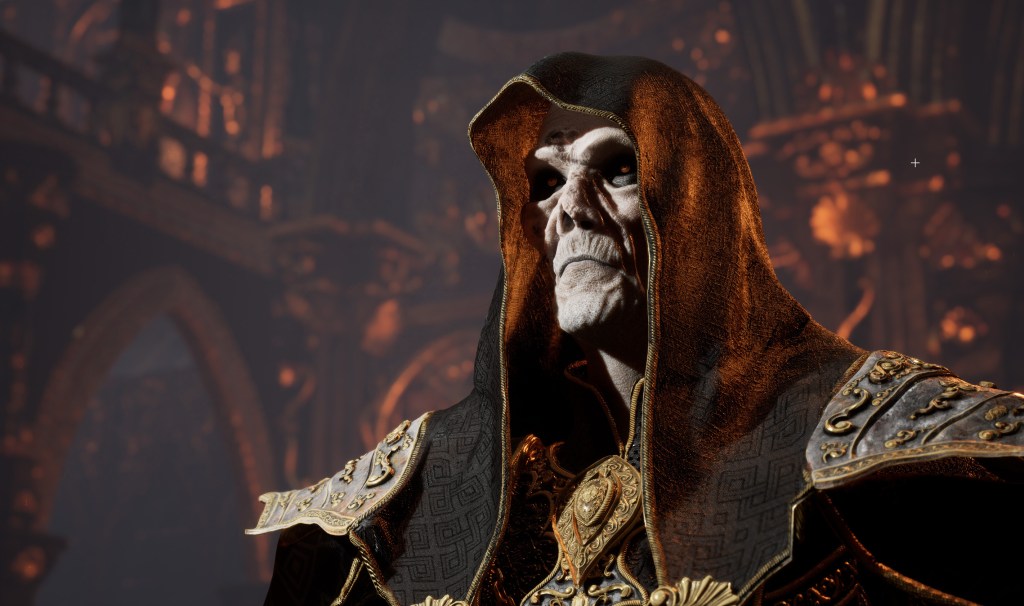
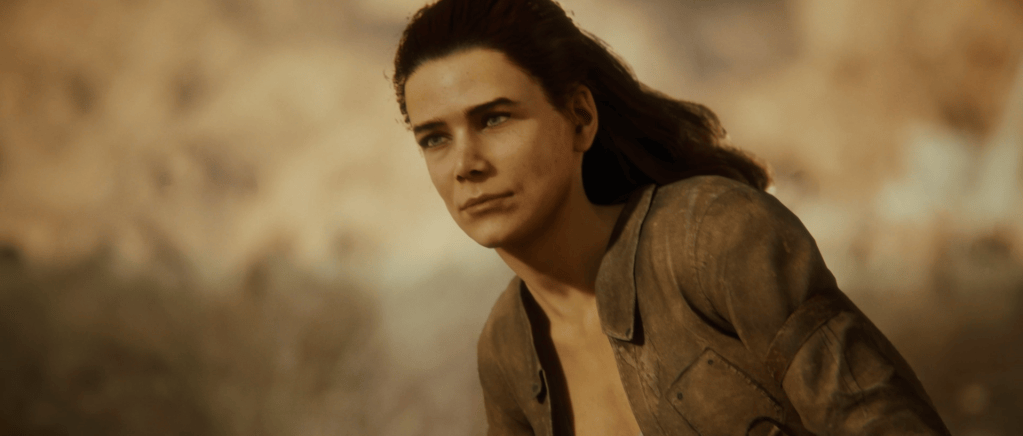
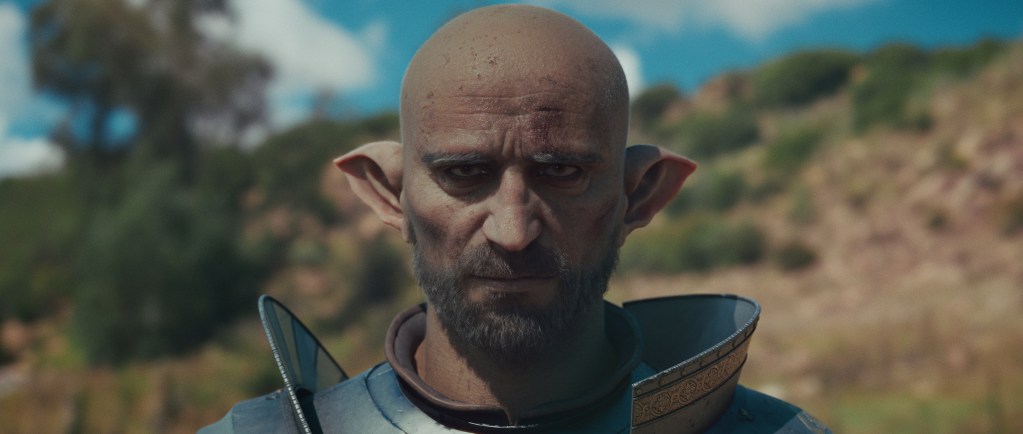
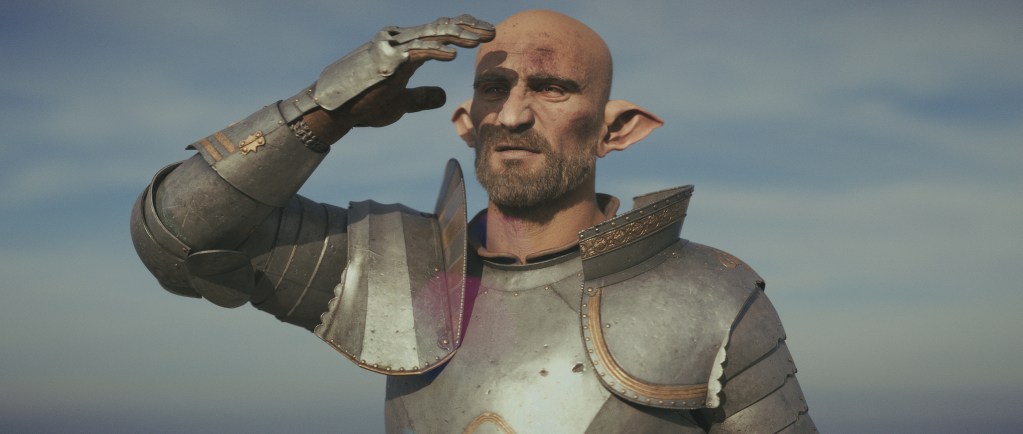
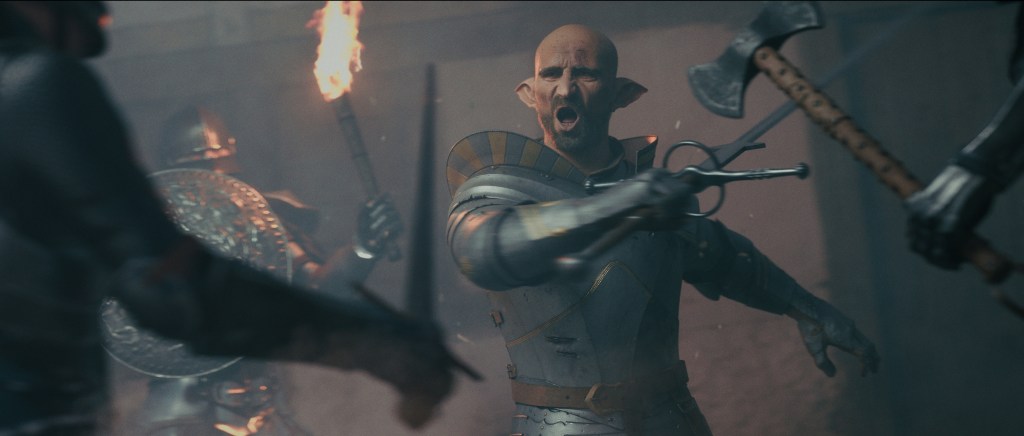
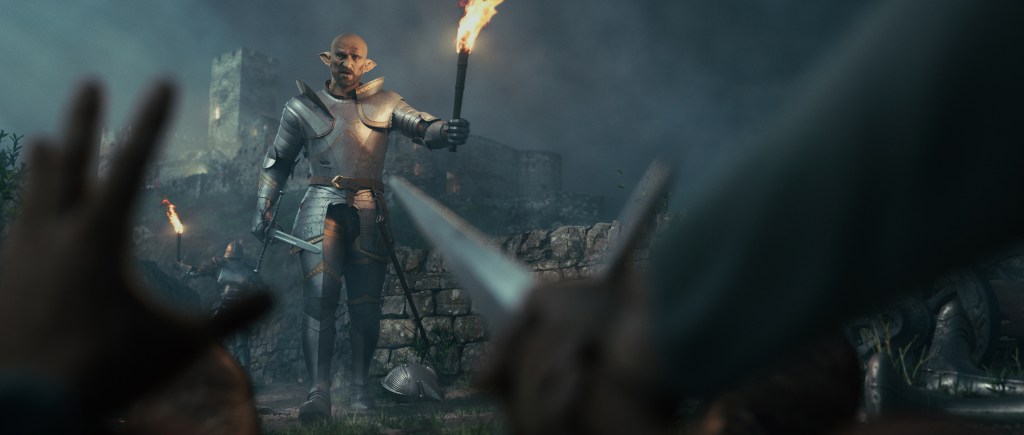
After all this, the setup was done. I started really having fun with the storytelling. I made a lot of different poses and different expressions to really showcase the character. I wanted to depict the life of a late medieval, early Renaissance fantasy general. That is why I explored situations when he is happy, angry, stoic, intimidating, in the middle of a combat, etc.
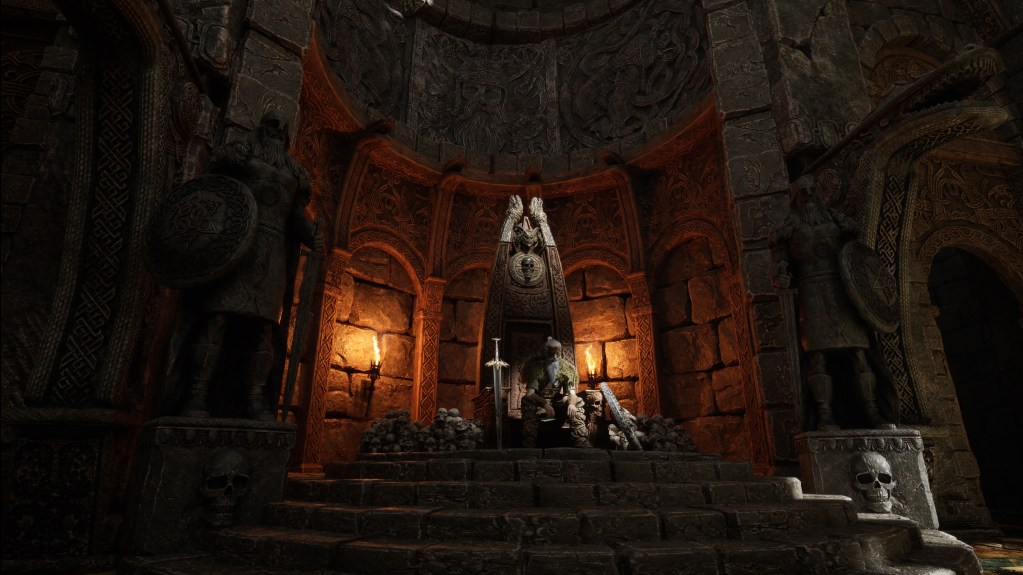
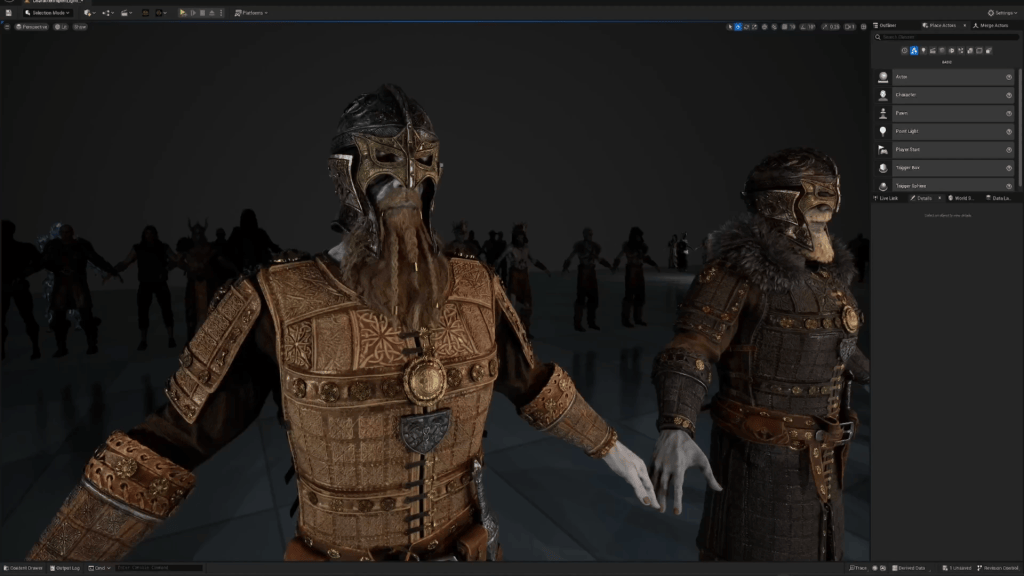
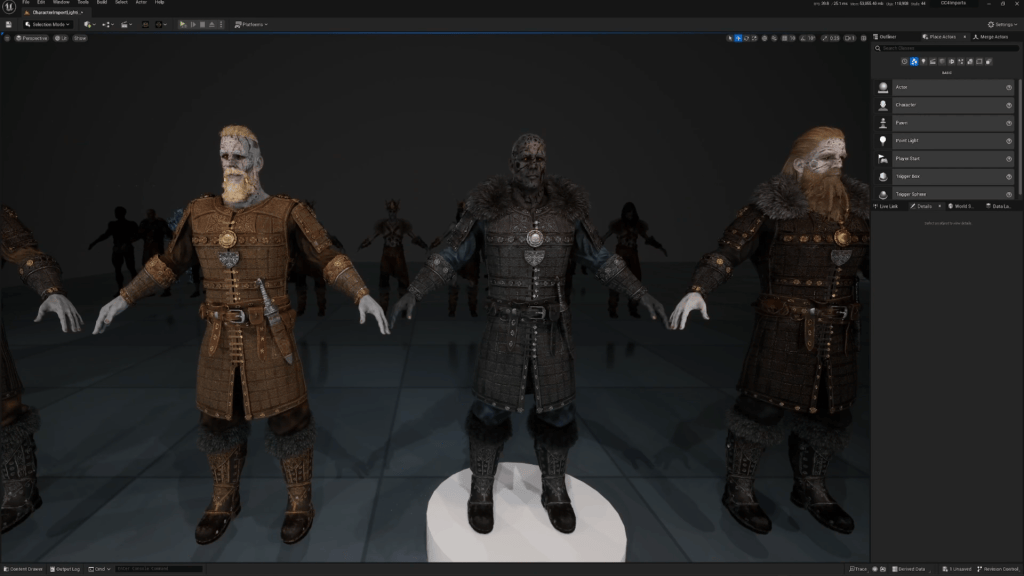
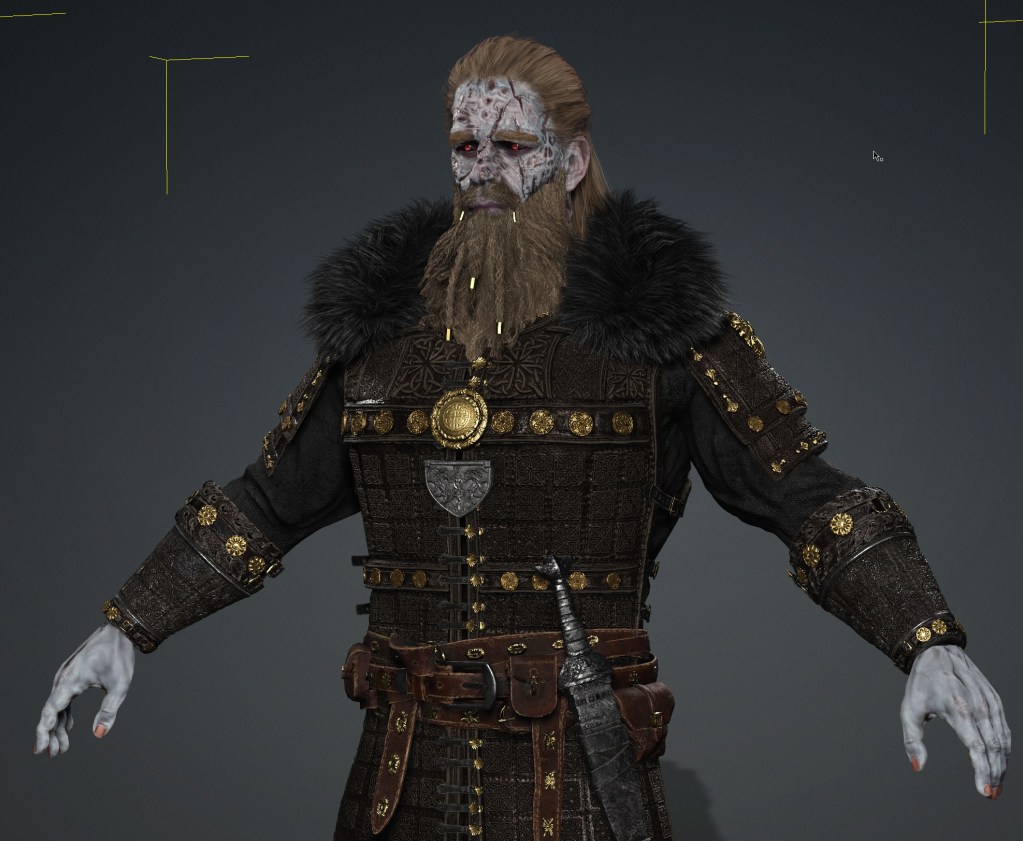
The environment was assembled directly in Maya using assets that I already had and some Megascans assets as well. I went back to CC5 and quickly assembled one more character that I dressed in a suit of armor right out of Reallusion’s Content Store.
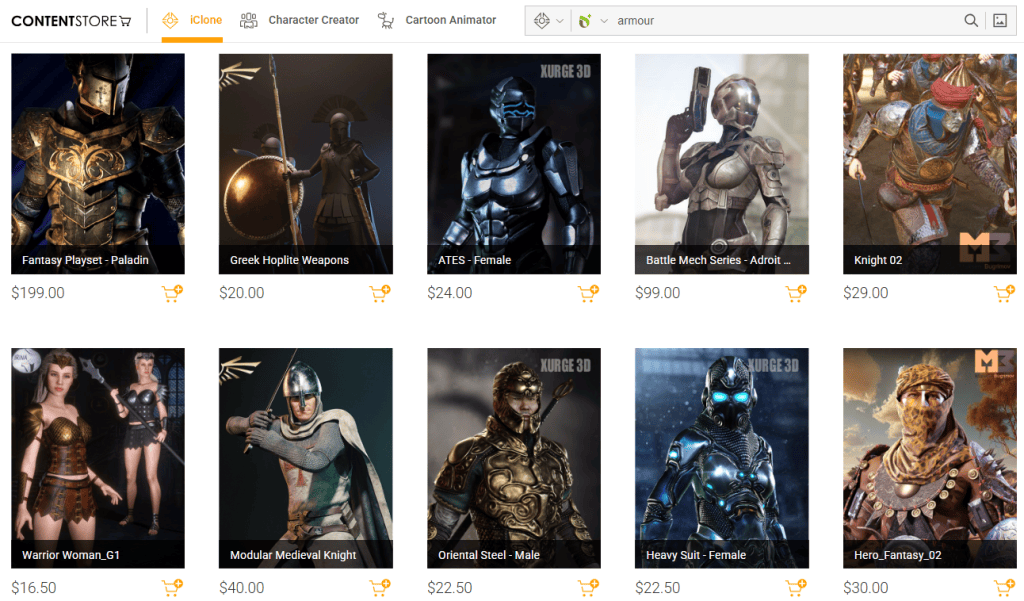
I imported the second character using the same Auto Setup script, which brought the character in with a full body rig, and that allowed me to reference him multiple times in various poses to create interesting compositions.
Finally, I simulated a quick torchlight FX in Houdini and brought it to Maya as VDB.
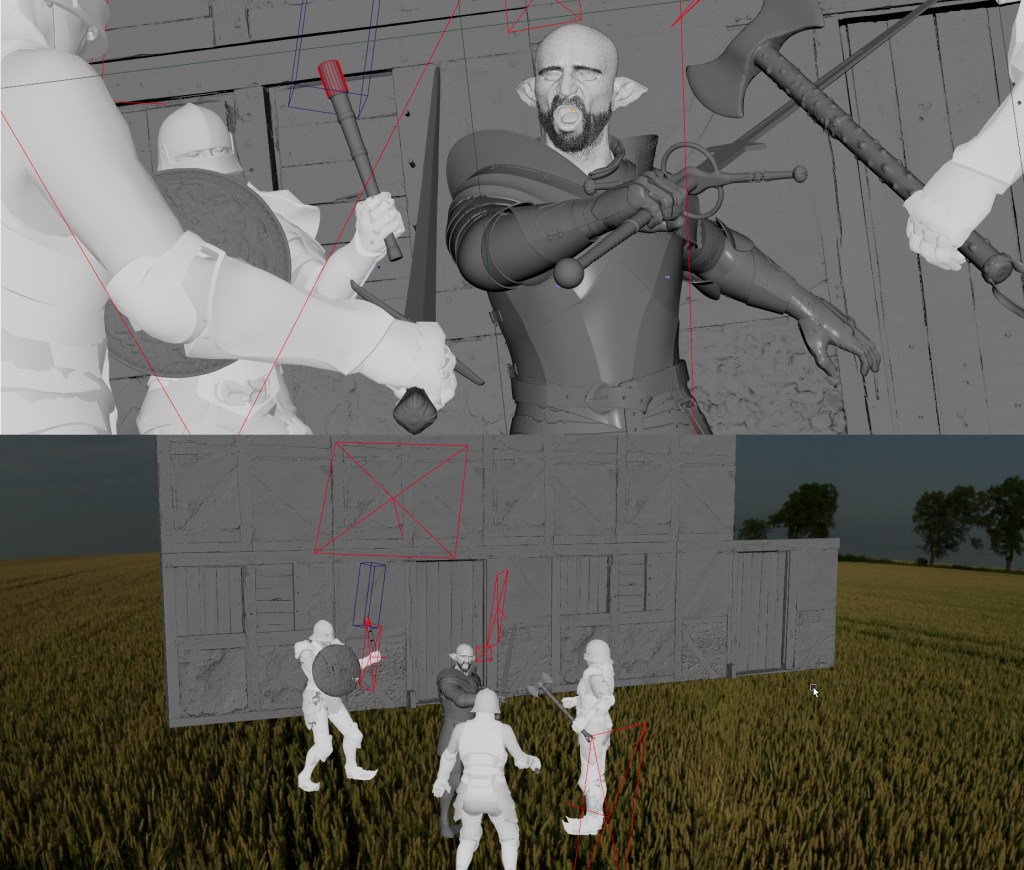
Lighting
The lighting for the scenes was fairly straightforward. I used an HDRI light primarily to establish the mood and the main fill light of the scene. I then created a classic three-point light setup. I positioned a key light in a Rembrandt Lighting style in front of the character, added a subtle rim light to separate him from the background, and very faint fill light from the front to fill in some of the darkest shadows.
I then created Per Light AOV, separating the contribution of every light to its own render layer, which allowed me to turn lights on and off in comp, change their colour, etc.
Along with these render passes I included all the other render passes needed to rebuild the Beauty render along with Cryptomatte for easy masking.
Composition
The compositing was very simple for this project. I used Davinci Resolve and Fusion to do the compositing and colour grading.
First, I reassembled the beauty and did basic colour correction by masking certain parts using Cryptomattes. Then I added a few layers of dust and flying debris to help the render feel more dynamic.
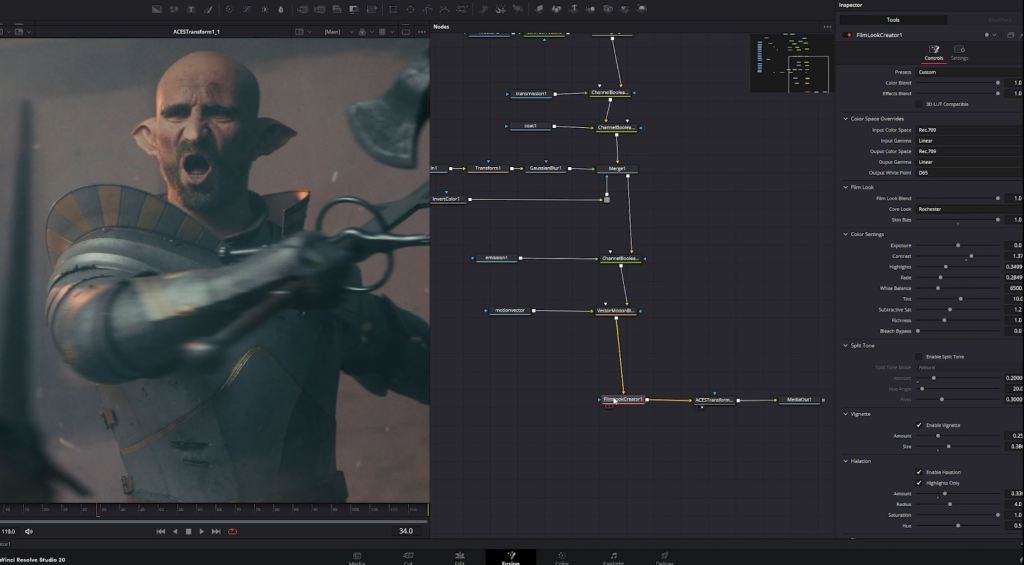
Next, I used the velocity pass to add motion blur to the sword because it is in mid swing, and it needed some movement. Lastly, I added the Film Look Creator to finalize the look.
Summary
This concludes my entire workflow for creating this project, which has been an incredible journey filled with learning and creativity. I am very happy with how the final renders turned out, as they truly reflect the vision I had from the beginning. The process taught me valuable lessons about design and execution, and I am looking forward to creating a lot more similar projects like this in the future. Each new venture presents an opportunity to refine my skills further and push the boundaries of my creativity, and I am excited to see where this passion will take me next.
If you want to check more of my work, you can check out my links below.
Follow Darko Mitev
Website:
http://www.darkomitev.com/
ArtStation:
https://www.artstation.com/darkomitev
LinkedIn:
https://www.linkedin.com/in/darko-mitev-03ba551b
Instagram:
https://www.instagram.com/darko_mitev_art
YouTube:
https://www.youtube.com/user/darecarce
Facebook:
https://www.facebook.com/darko.mitev.56
FAQs
What is Character Creator 5 used for?
Character Creator 5 is a professional 3D character creation and animation tool used to build realistic digital humans for games, cinematics, animation, and real-time projects. Artists can quickly generate a detailed character base, customize facial features, clothing, and materials, and export fully rigged characters to tools like Maya, Unreal Engine, and Blender.
How does Character Creator 5 integrate with ZBrush?
Character Creator 5 integrates with ZBrush through the GoZ workflow, allowing artists to send characters directly between the two programs. This enables sculpting high-resolution details such as wrinkles, pores, and facial structures in ZBrush, then returning the model to Character Creator to continue with materials, rigging, and animation preparation.
Can Character Creator 5 characters be used in Maya?
Yes. Characters created in Character Creator 5 can be exported to Autodesk Maya using the Maya Auto Setup plugin for CC. This tool automatically transfers the character with skeleton, skin weights, facial rig, shaders, and materials, making it easy to begin lighting, rendering, or further rigging without complex manual setup.
What is Headshot 2 in Character Creator?
Headshot 2 is a plugin for Character Creator that converts images or custom sculpts into fully rigged 3D heads. It can wrap Character Creator’s production-ready topology onto sculpted meshes, allowing artists to quickly transform concept sculpts into animation-ready characters.
Why do artists use Character Creator for game and cinematic characters?
Artists use Character Creator because it dramatically reduces character production time while maintaining high-quality results. With tools like ActorMIXER, SkinGen, FaceTools, and Headshot, creators can experiment with designs, refine realism, and export fully rigged characters ready for 3D animation, game engines, and cinematic rendering pipelines.
Related Posts
- Revolutionizing Animation with ActorCore & iClone in Maya
- Creating a Knight King “Sardon” with Character Creator 5
- CC5 ActorMIXER: Quick Look
- Character Creation with Maya, V-Ray, ZBrush & Reallusion Tools