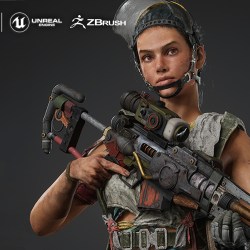
Angel Ricalde, a self-taught 3D artist, wins first place in the “AccuRIG Character” category of the 2024 Reallusion Character Contest. In this article, Angel shares the process behind creating the winning character, “Makako Kasikay,” which was completed in just two weeks. Using tools like ZBrush and CC4, Angel demonstrates how he brought the character to life with a focus on efficient workflows and innovative techniques, culminating in his success in the competition.
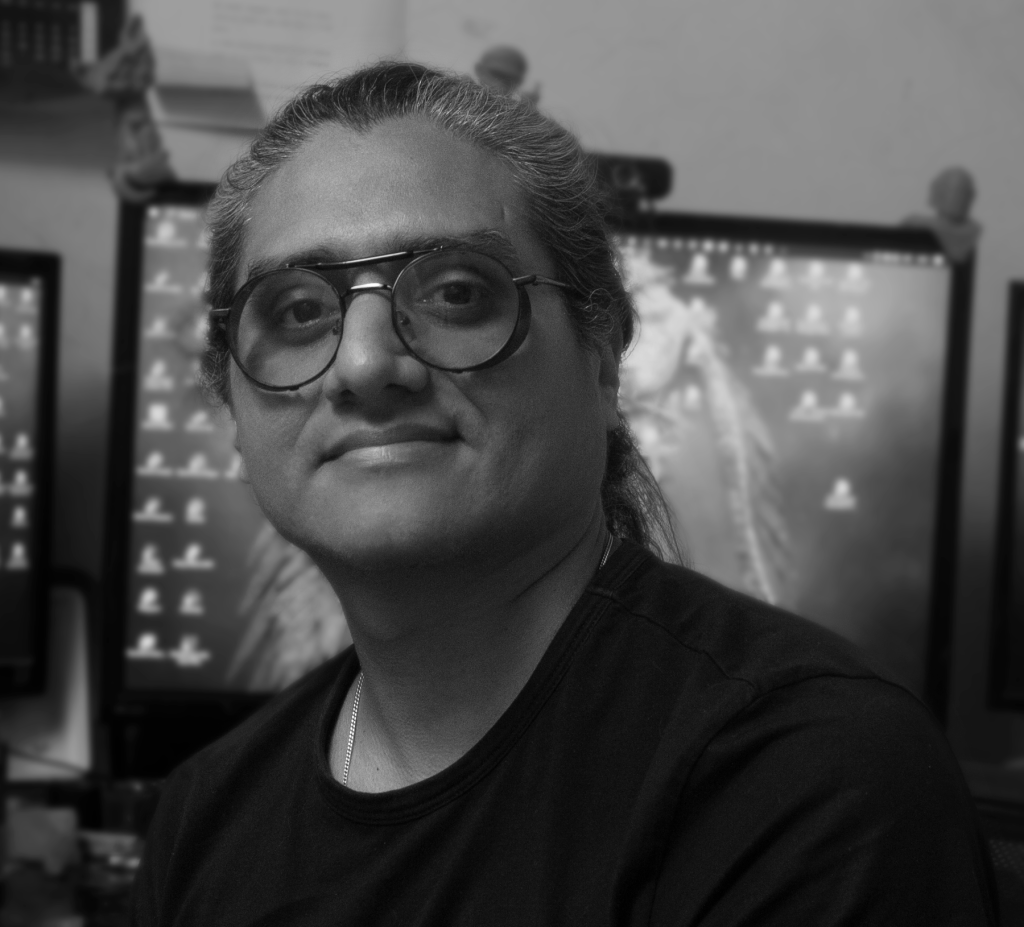
Angel Ricalde
With over a decade of experience in 3D art, Angel is a self-taught artist who began his journey through YouTube tutorials and books on Maya. Over the years, he mastered tools like ZBrush and Mari, specializing in texturing and shading with Arnold, Maya, and Photoshop.
Beyond personal projects, Angel has worked on films like Condorito la Película, Ainbo: Spirit of the Amazon, and Disney’s The Descendants: Royal Wedding. His passion for character creation extends into teaching, where he shares his knowledge of texturing, shading, and anatomy in various college courses.
Check out Angel’s ArtStation


Body Shape and Skin Details
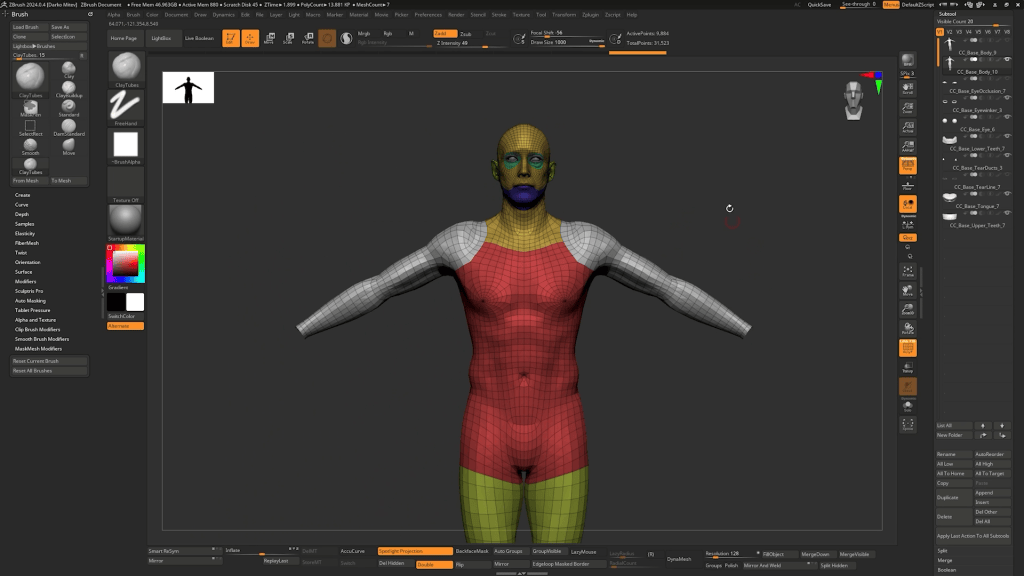
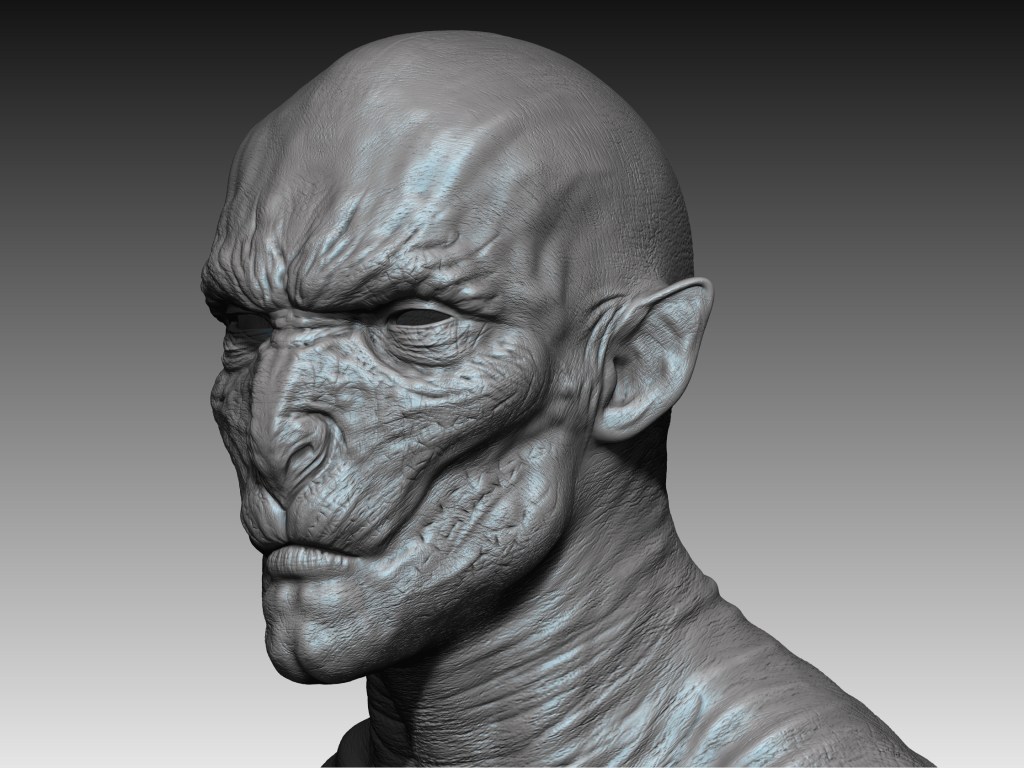
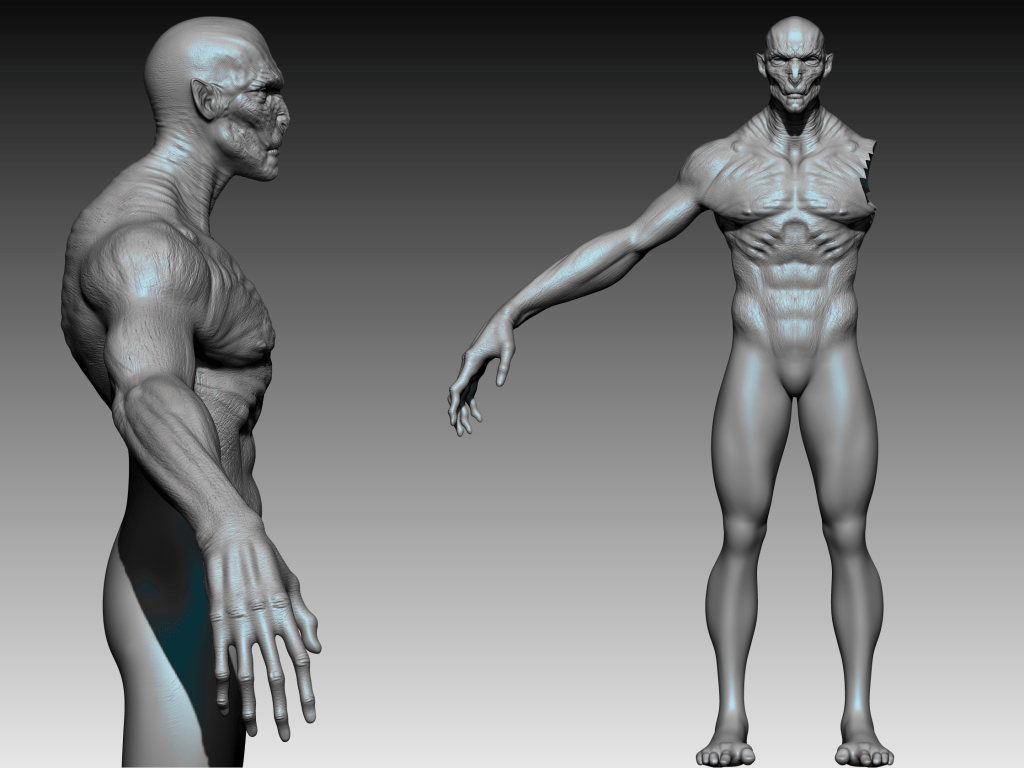
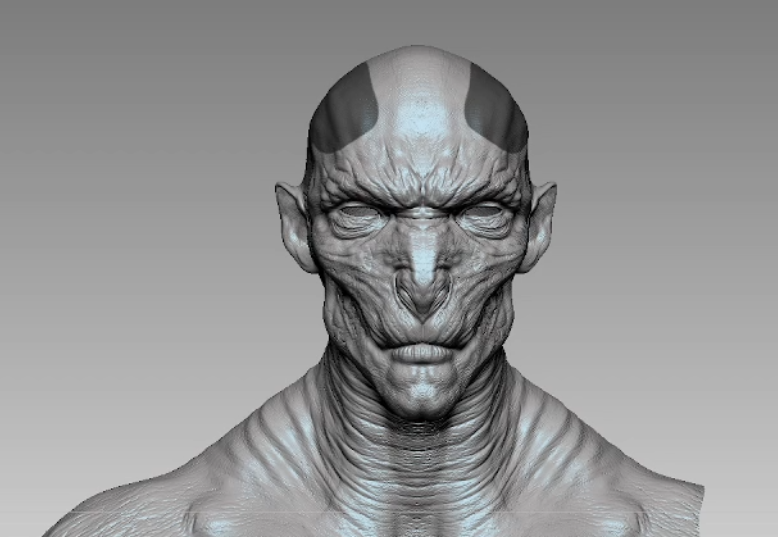
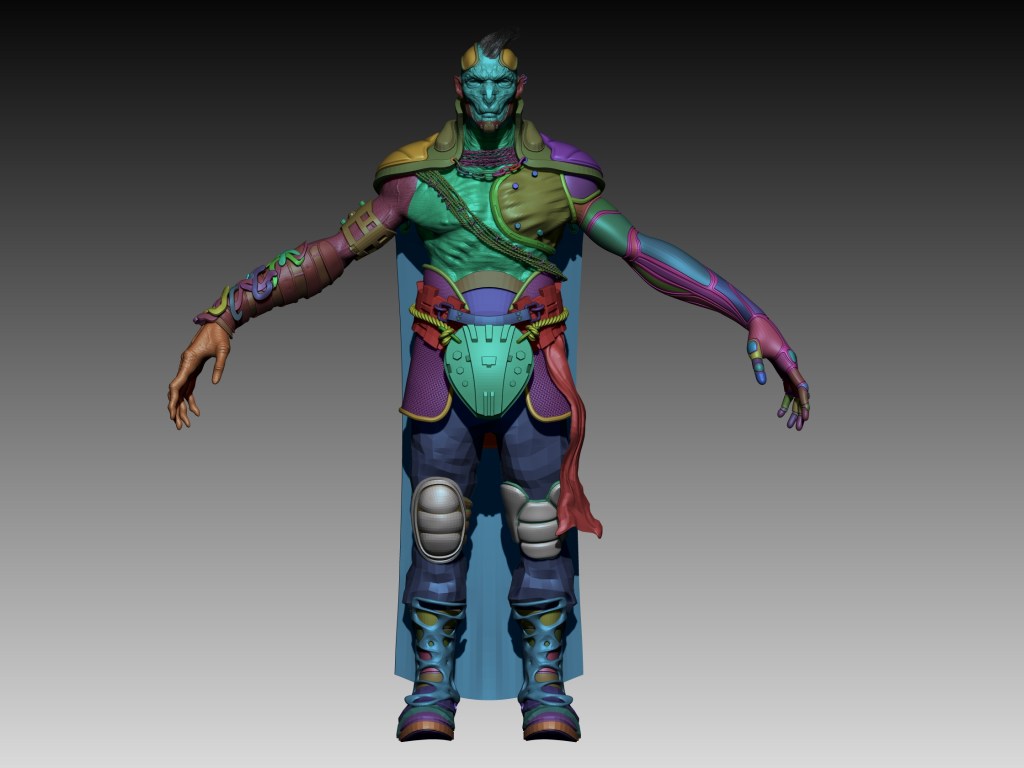
The first step was defining the concept. I dove straight into ZBrush for sculpting, as it helps me better visualize shapes and volumes. Once the base shape was complete, I added skin details using noise as a foundation. Fortunately, my extensive collection of brushes, amassed over the past decade, allowed me to save time while enhancing the quality of the work.

Hard Surfaces
By using masks, I was able to extract new geometry and separate them into polygroups. Then, I applied Polish by Groups and ZRemesher to enhance the definition and solidify the shapes. With a low-poly version of the form in place, I switched to ZModeler, a fast and efficient tool for creating complex shapes with basic polygonal modeling skills. I applied the same process to the jaw: extraction, ZRemesher, Polish by Groups, and ZModeler with Qmesh.
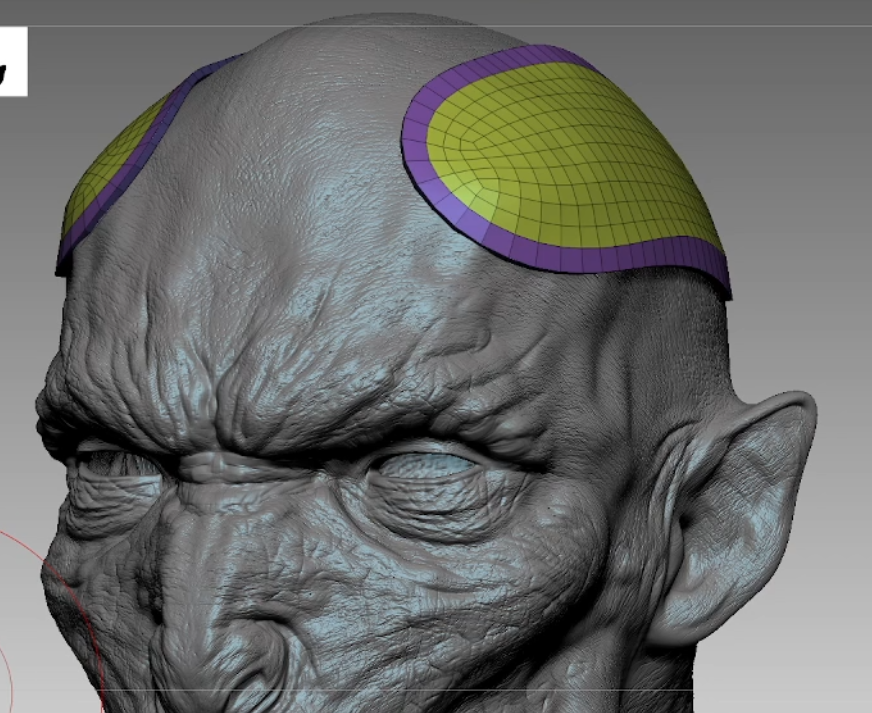


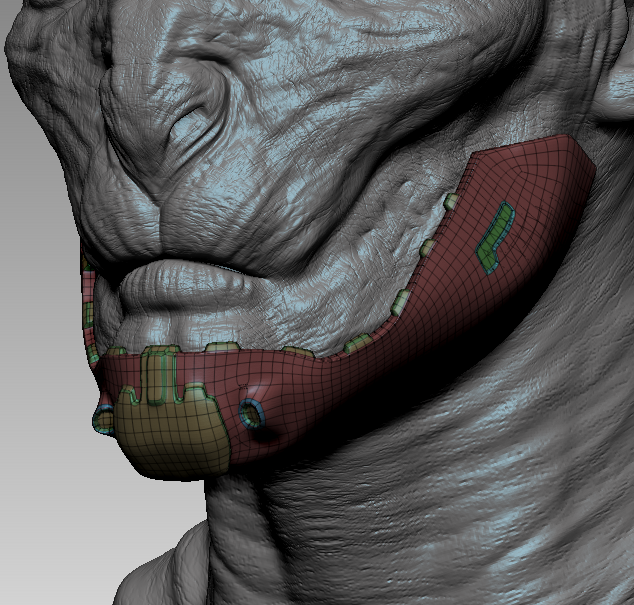
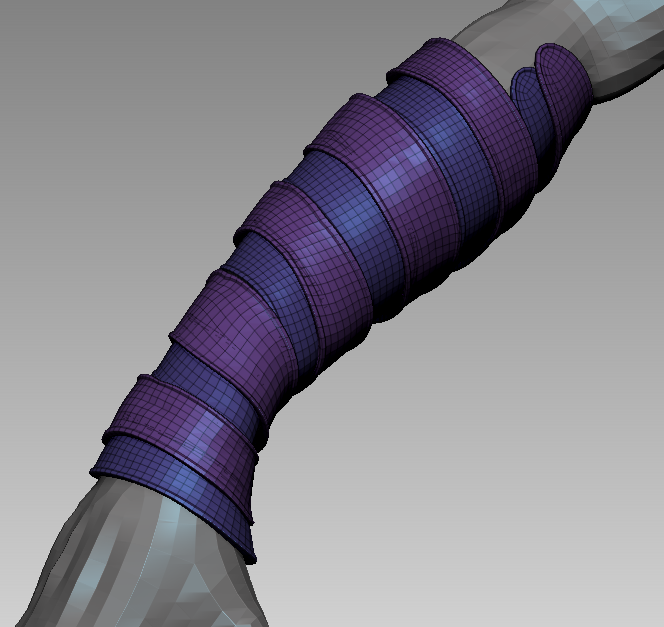
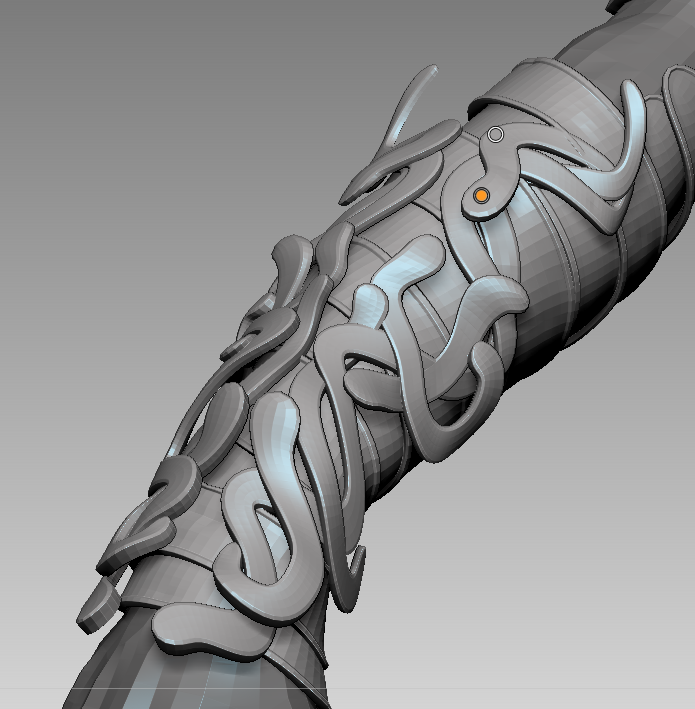
On the right arm, I wanted to incorporate a type of filigree—twisted metals that would wrap around the arm. To achieve this, I started creating masks and used the extract tool in ZBrush to generate new geometry around the arm. This would allow me to establish the foundation for a metallic armor covering the arm. Using the deformation panel tools, such as “polish by group”, I began shaping the metal. Once I had the base, I applied new masks to a dynamesh cube to extract and create new shapes to adapt to the arm. With symmetry enabled, I was able to shape it just the way I wanted.
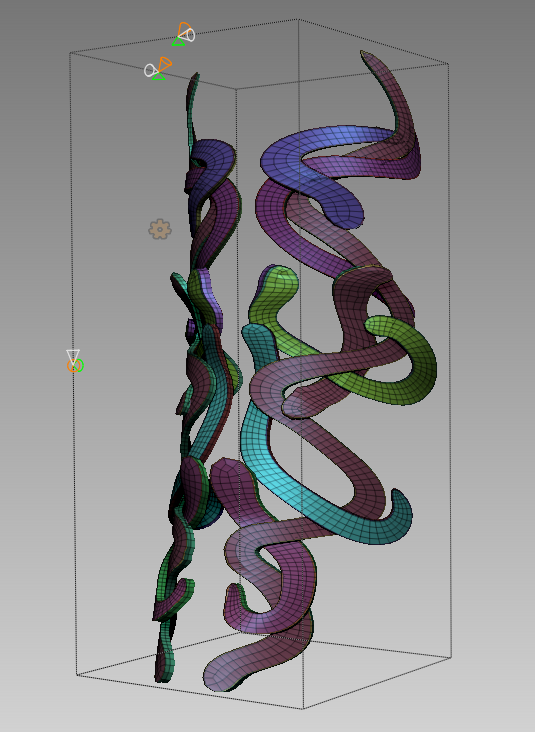
One particularly interesting part of the process was using anchor points for the first time. It’s a powerful tool for instantly creating curves. Using masks, I extracted shapes from a DynaMesh, keeping only the flat surfaces without volume. I later applied an extrude using Dynamic Subdivision, setting Smooth to zero and increasing the Thickness as needed. Here is where anchor points came into play, helping me refine the filigree designs and save a significant amount of time.
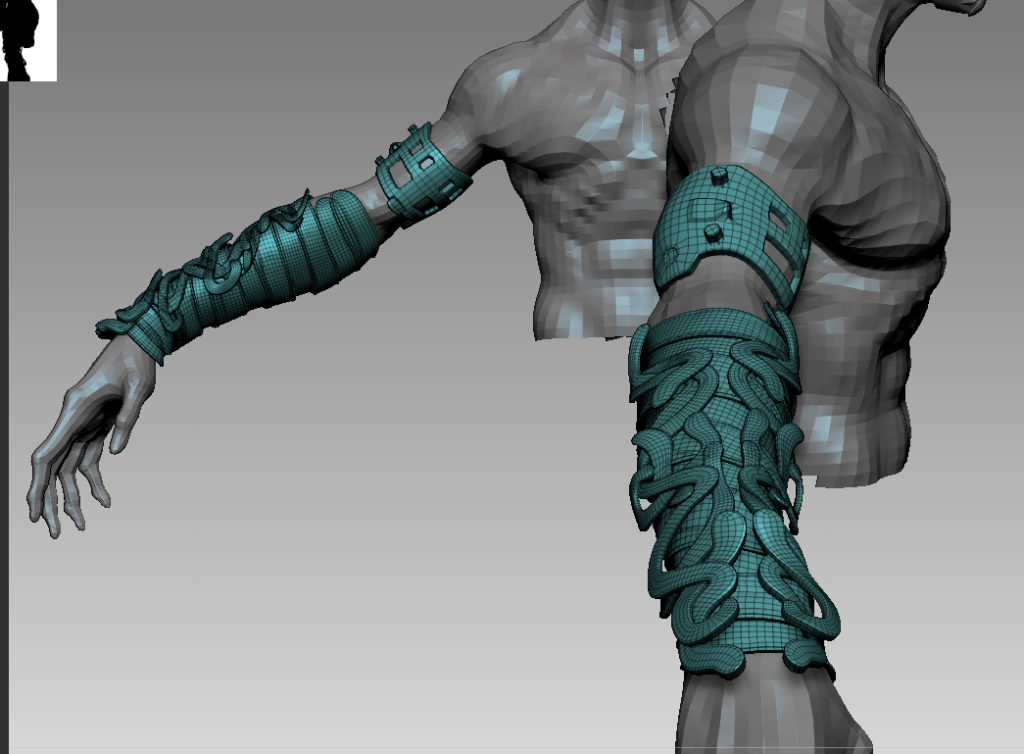
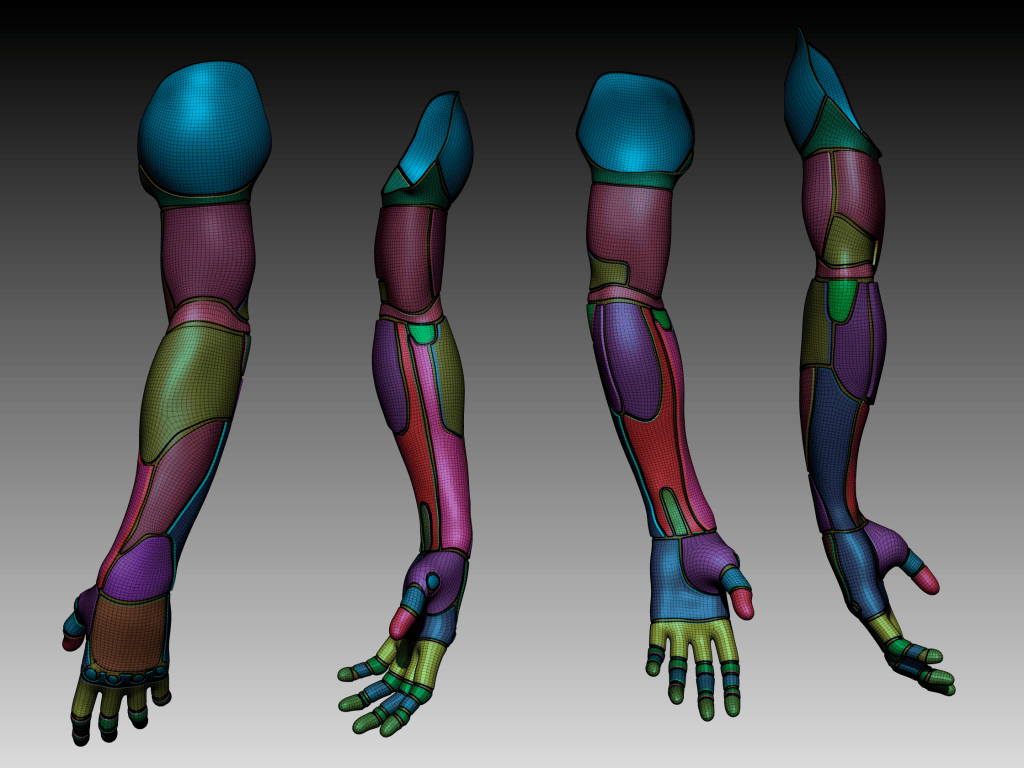
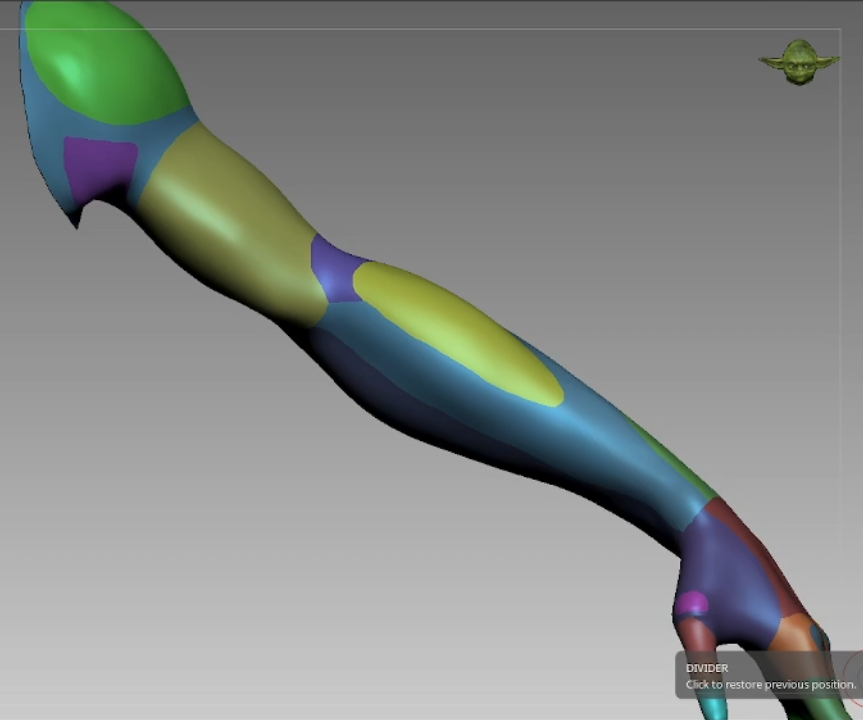
For the robotic arm, I employed a method that involved defining polygroups across the entire arm to ensure both functionality and anatomical accuracy. After creating the polygroups, I used the Group Loops tool to add additional loops between the defined sections and Panel Loops to create beveled edges that highlighted the solid shapes. Finally, using the gizmo tool, I subtly adjusted each polygroup to add volume.
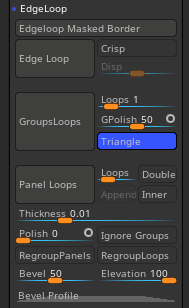
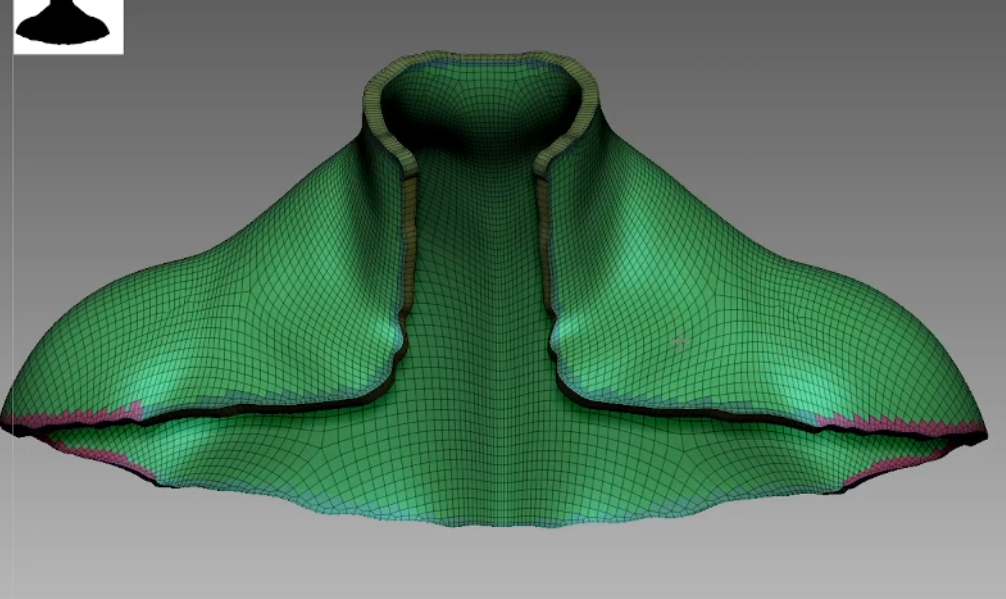
For the shoulder covering, I followed a similar approach, starting with a mask but manually improving the topology to ensure the neck area stayed angular even after smoothing the geometry. I used Group Loops and Panel Loops, along with smoothing brushes, to create the “puffy” look of the piece.
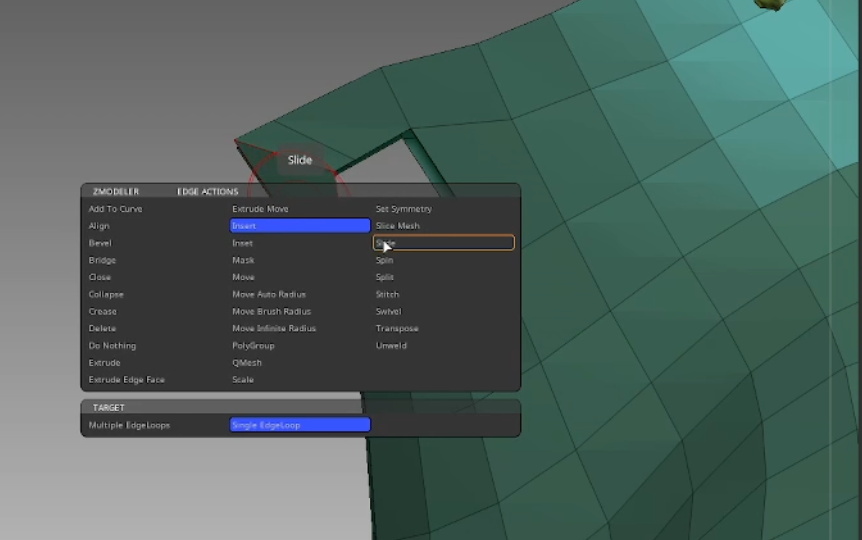
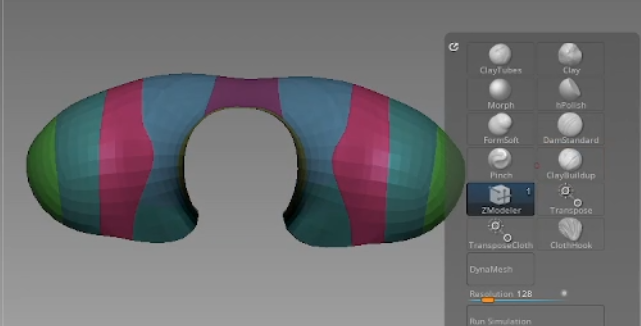
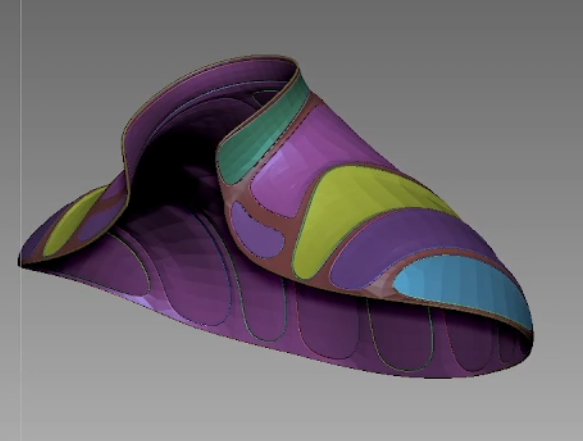
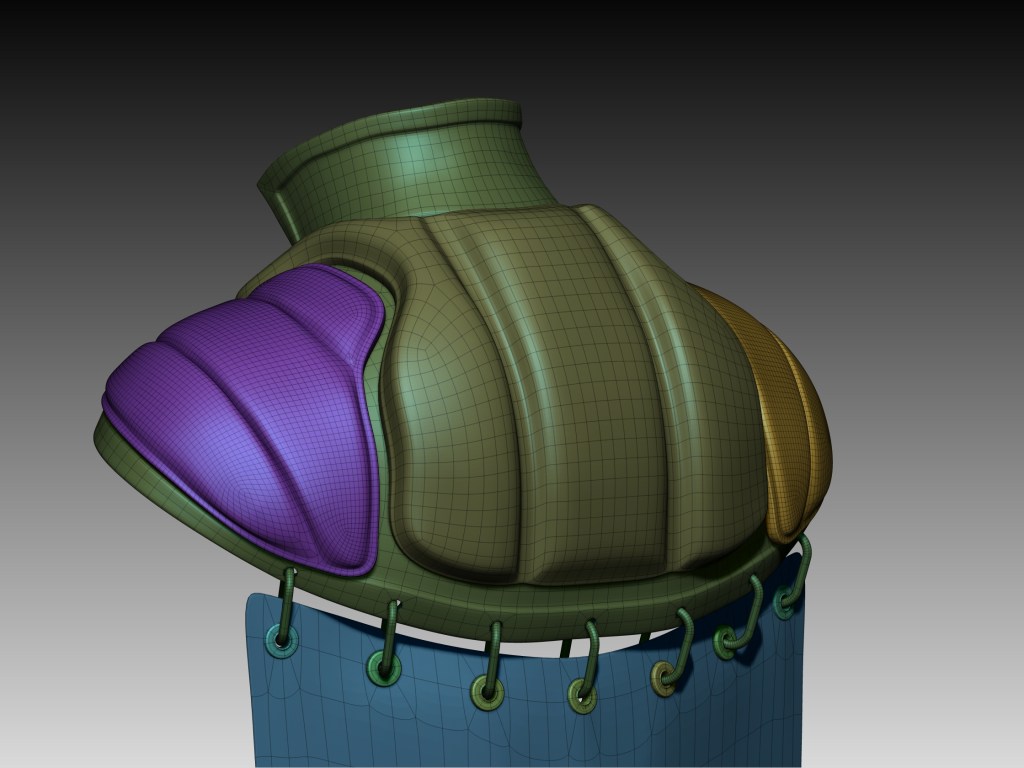
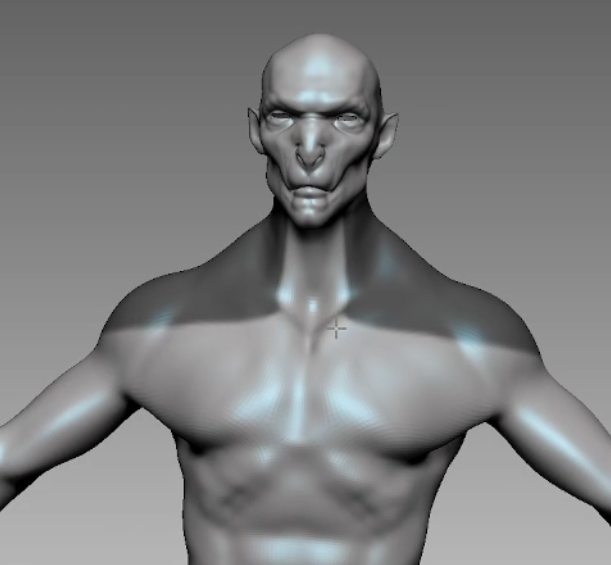
I essentially used the same approach to begin different solid surface subtools, varying the tools depending on the needs of each shape. Whether it was for creating cavities, extrusions, bridges, or volumes, I adjusted them to stay solid or smoothed them out based on what came to mind at that moment.
Pants and Exoskeleton Boots
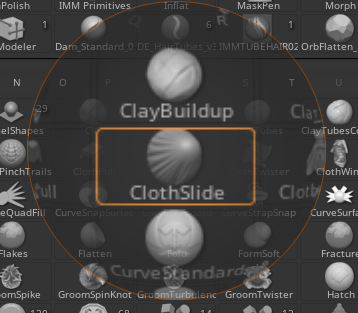
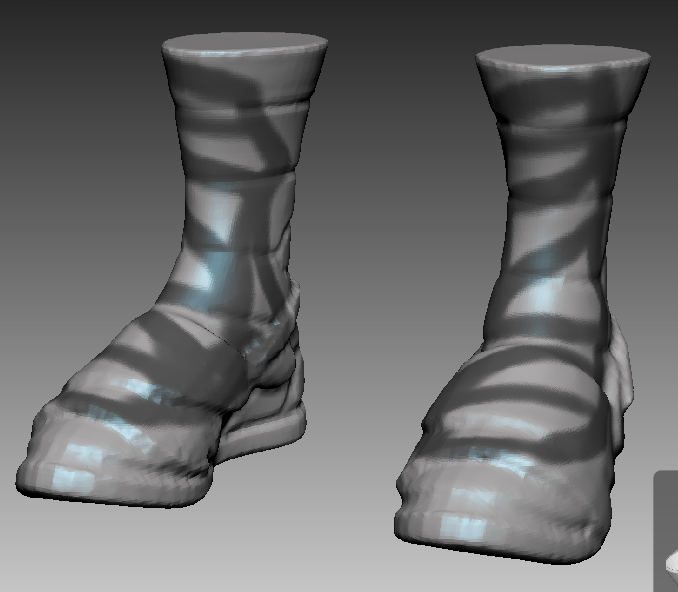
The pants were created by extracting the geometry’s surface. I applied ZRemesher to improve the topology and adjusted vertices to simulate natural stitching on the inner and outer parts of the pants, then I subdivided and use the ZBrush tool “ClotheSlide” that is meant for clothes

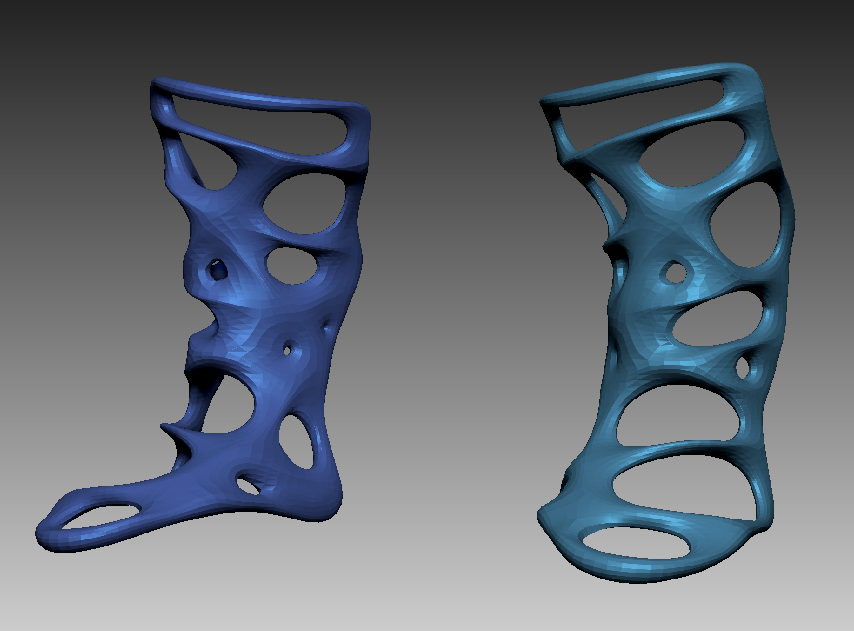
For the exoskeleton, I first created a mask with holes on the surface of the boot. I extracted the new geometry, applied Decimation, and used Inflate. Next, I used Trim Dynamic to create some flat surfaces on the subtool and applied Contrast in the Deformation panel. This allowed me to emphasize the shapes further. Finally, I refined some edges using the “Pinch” brush and Zremesh.

Hair Cardboards
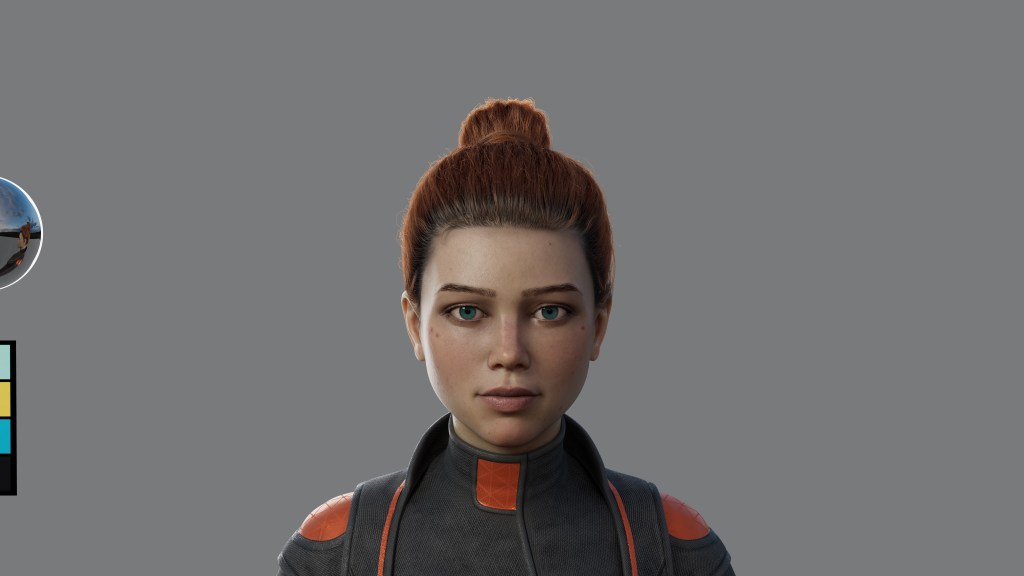
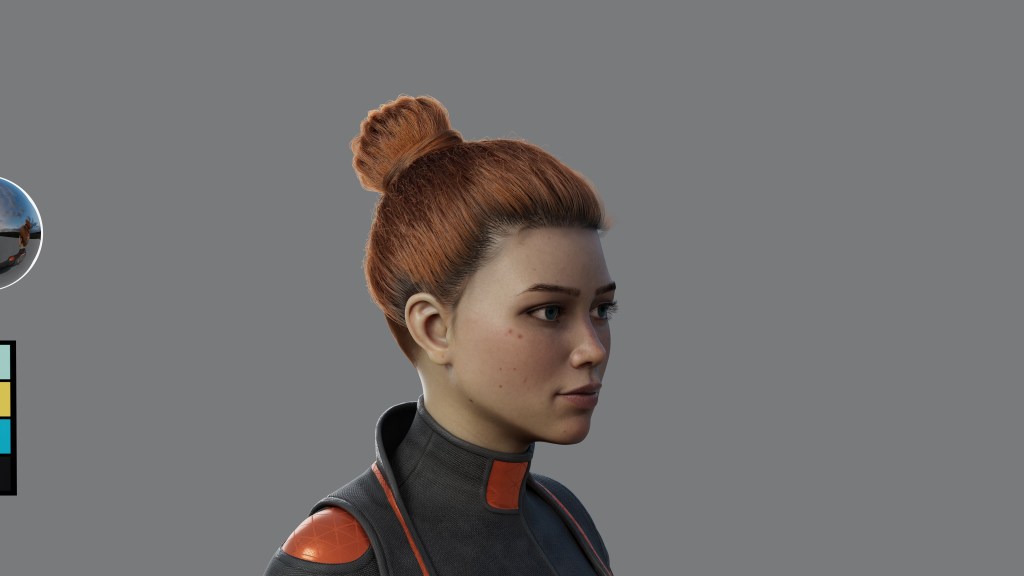
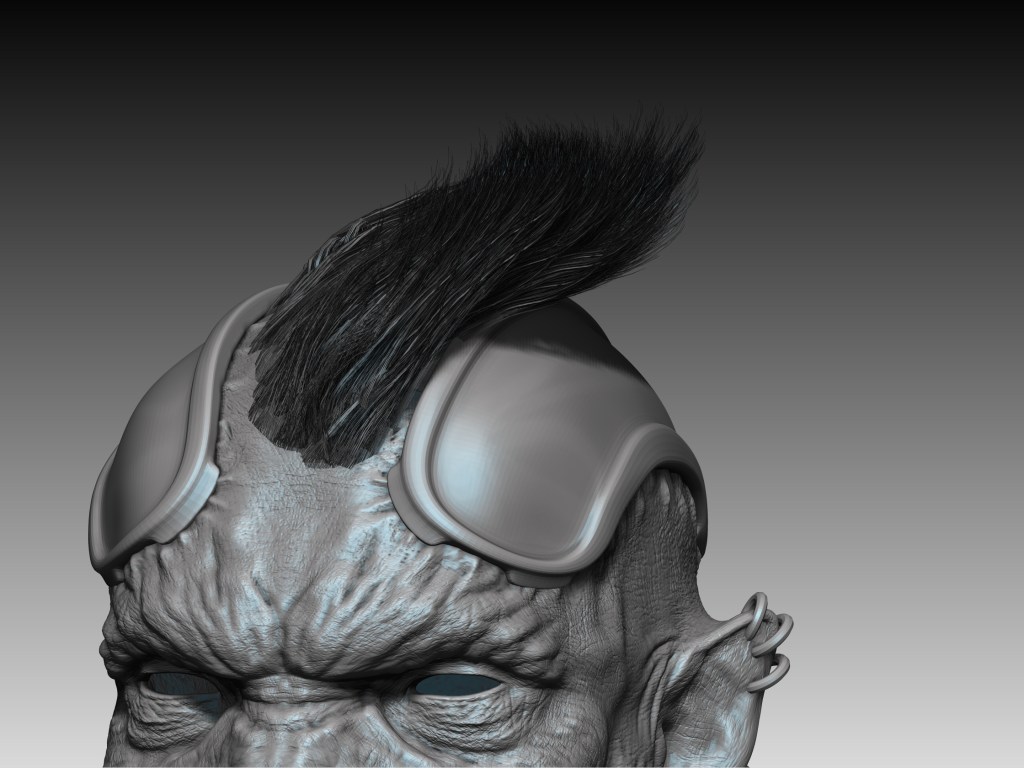
For the hair, I began by inserting a low-poly plane and dividing it into polygroups to generate the UVs. I ensured the plane had at least 3 to 4 horizontal edge loops, which allowed me to smooth and curve the strands as needed.


In Photoshop, I created a custom brush to simulate hair strands by arranging simple black dots on a white background. After fine-tuning the brush settings, I painted the strands as alphas and exported the texture to ZBrush.
Using the Texture Map feature, I applied the alpha texture and activated transparency to preview the strands as fibers.
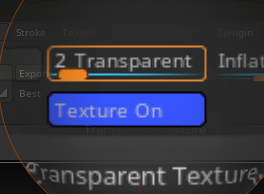
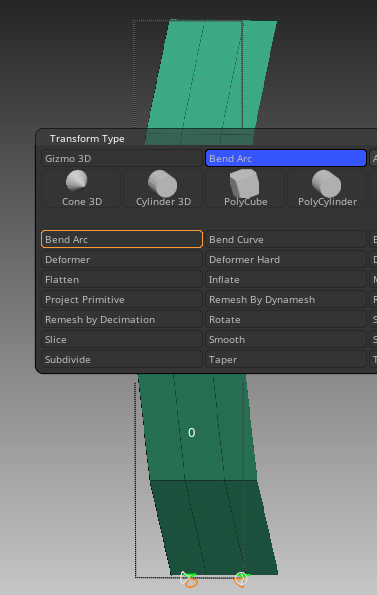
To achieve a polished result, I used the Bend Arc option in the Transform Type panel to curve the strands, adding a natural flow to the hair, then I duplicated and carefully positioned the geometry, switching between polygonal and alpha visualizations for better control.
Texturing and Shading
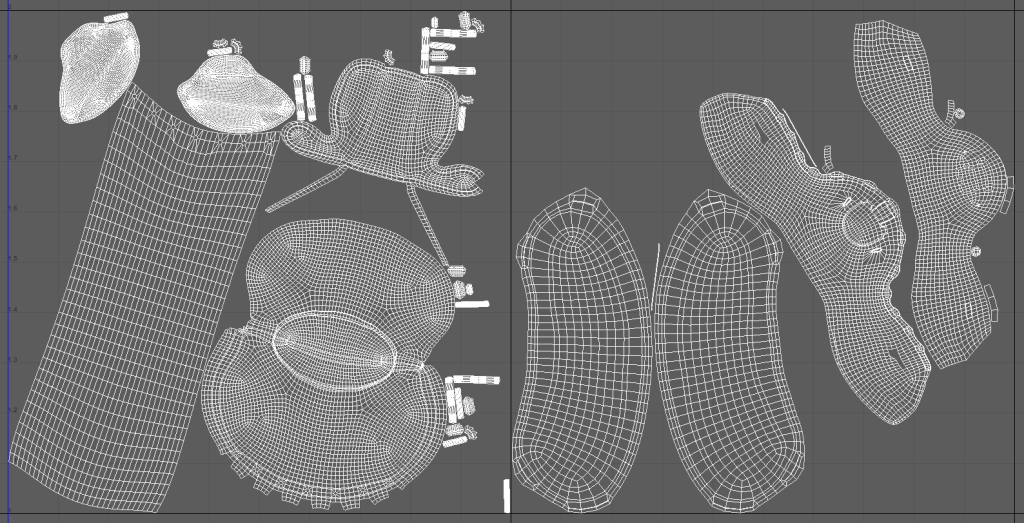
To achieve effective texturing, it’s crucial to start with clean UVs. I used UV Master in ZBrush and separated the model into polygroups for efficiency—breaking it into parts like the eyes, ears, inside of the mouth, head, arms, metals, and leathers. This allowed me to generate UVs quickly and refine them in other software, accelerating the process. Once the UVs were ready, I organized them into UDIMs for higher texture resolution.


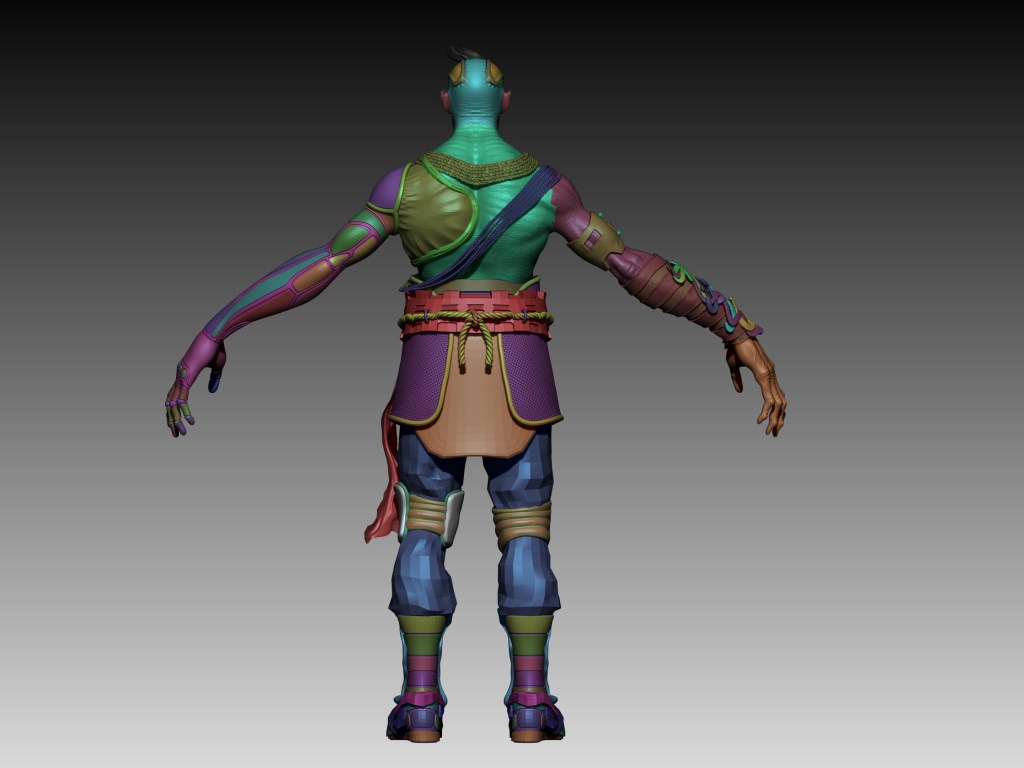

I used Substance Painter for texturing. In some cases, I modified preloaded Smart Materials, while in others, I reused custom Smart Materials I had created for previous projects. Of course, I also created new materials specifically for this character. All materials can be stored in Substance Painter for future use.

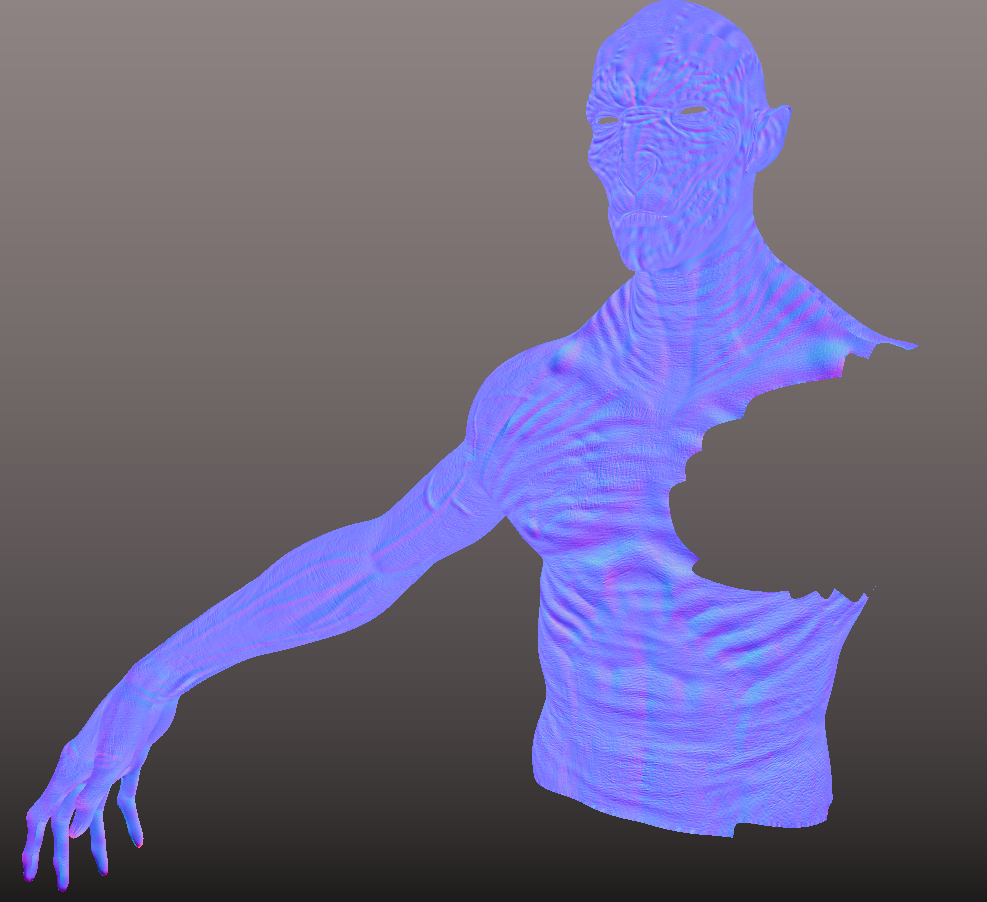
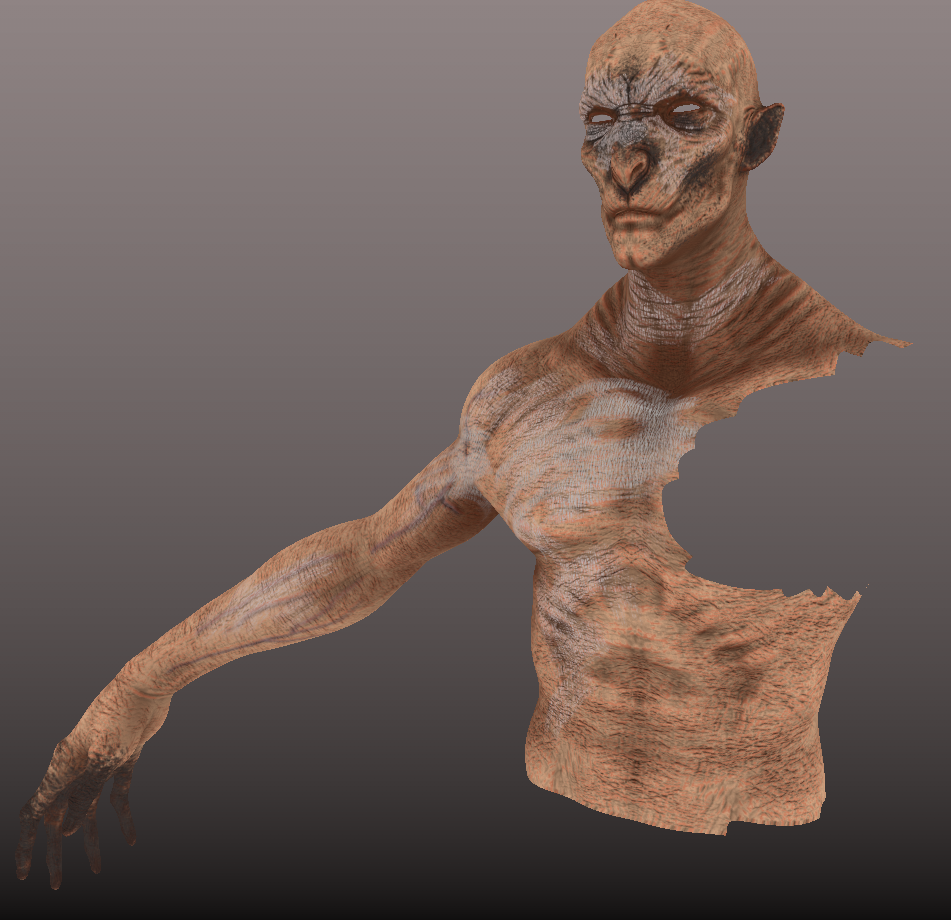
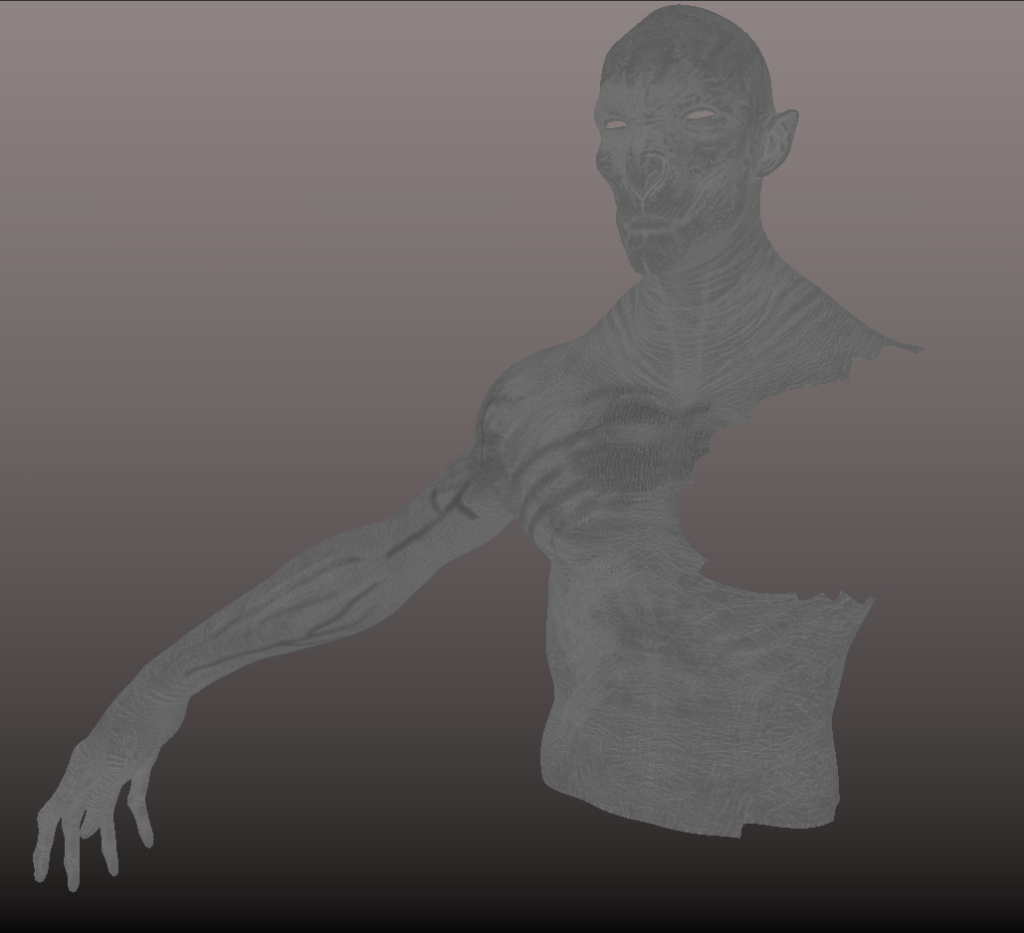
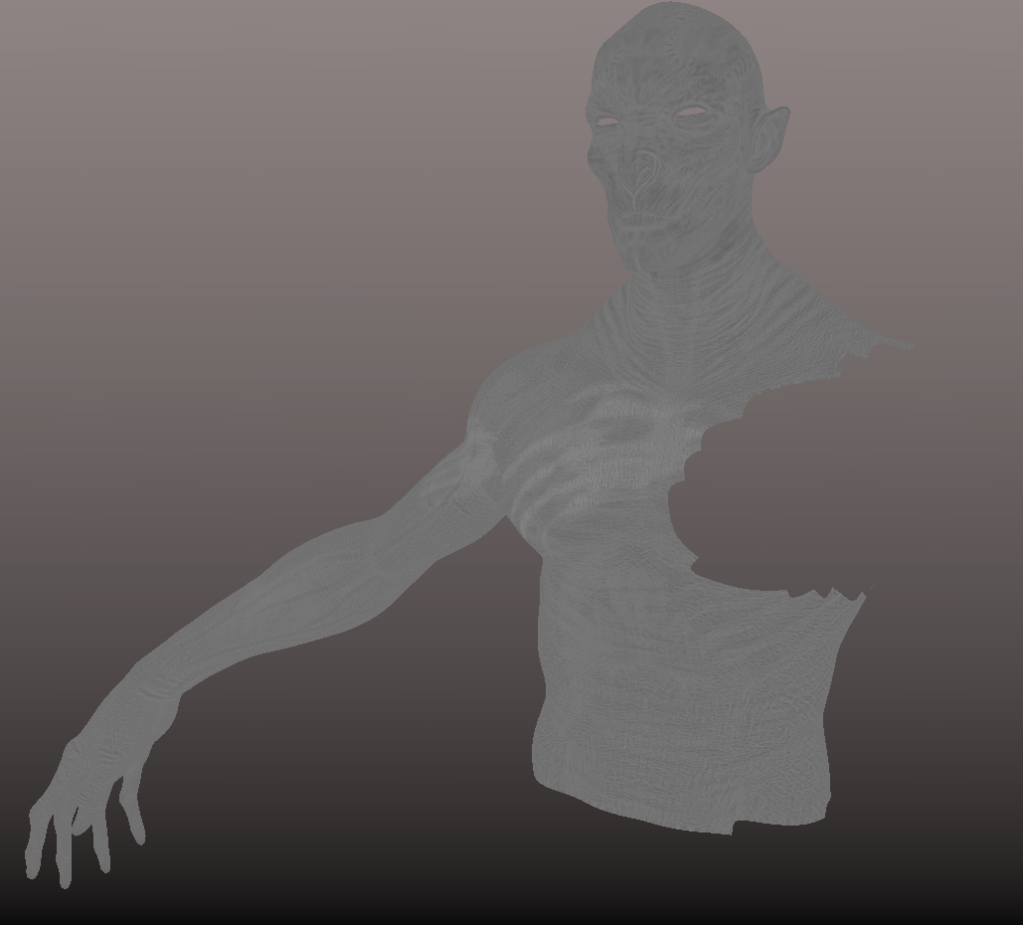
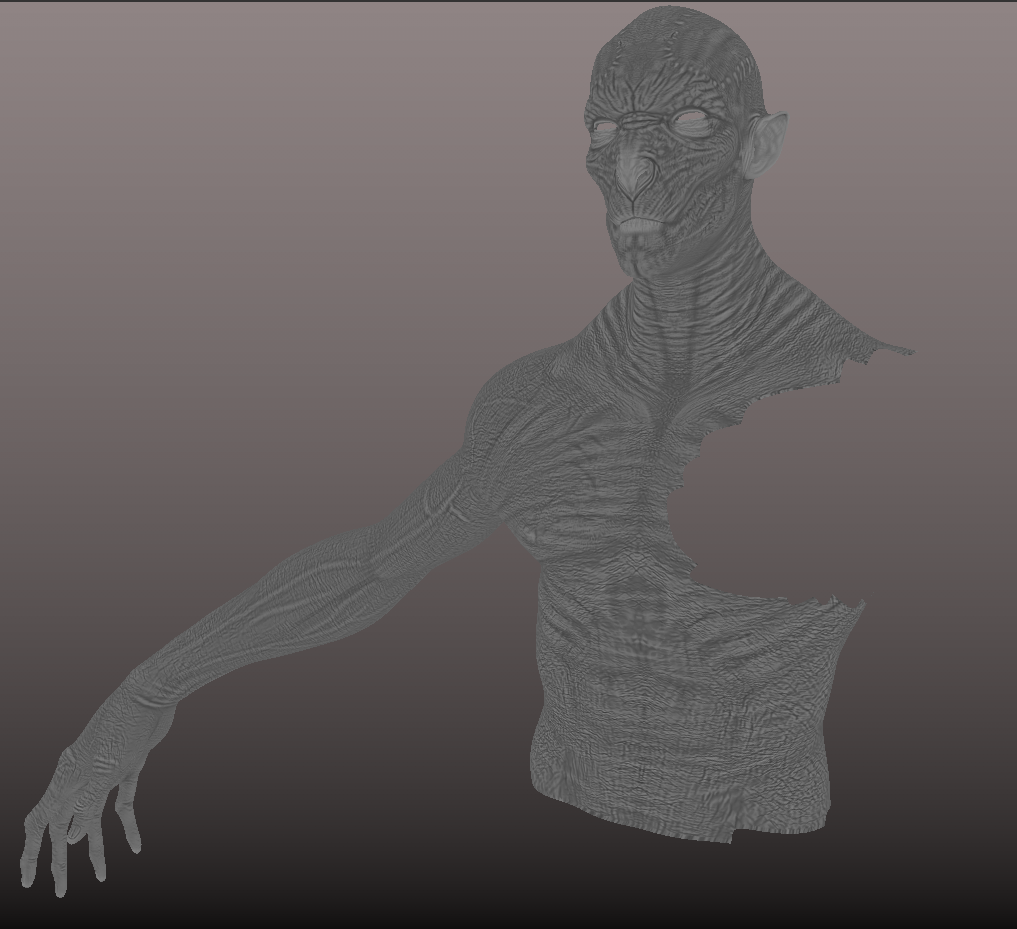
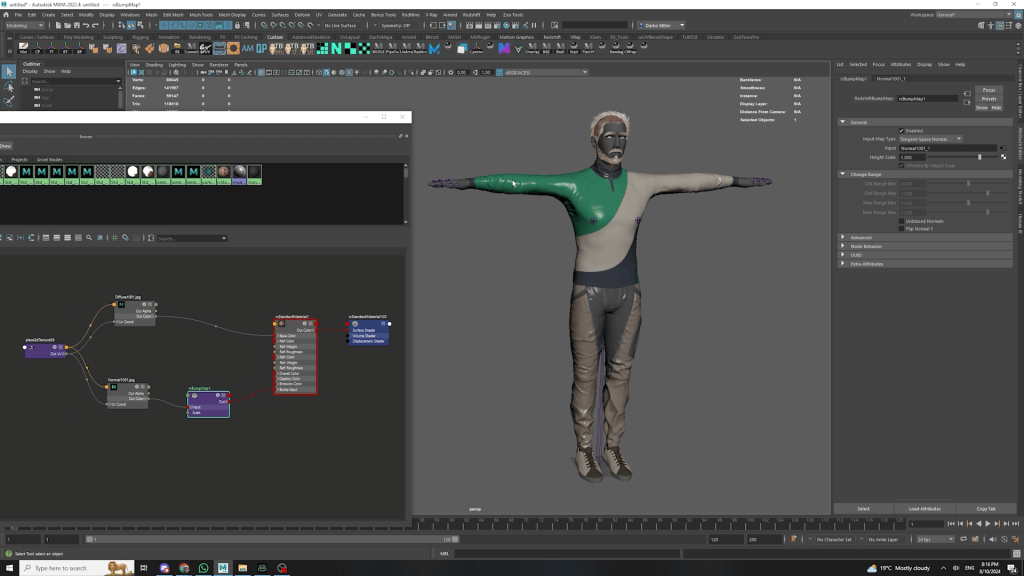
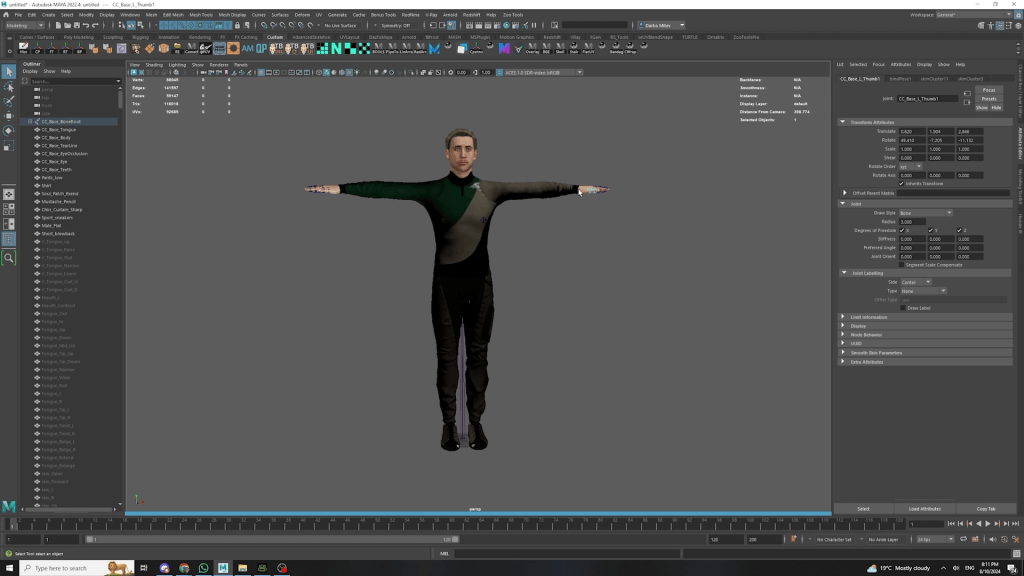
I generated a variety of texture maps, including normal, albedo, roughness, metalness, SSS Scatter, and opacity maps. The opacity map was crucial for simulating the torn fabric of the cape. For shading, I worked in Autodesk Maya with Arnold as the rendering engine, where I set up the necessary algorithms to ensure the exported textures from Substance Painter integrated seamlessly for realistic results. Each map controlled specific visual properties, such as skin transparency, color, hair transparency, specular highlights, roughness, metal reflections, and cavities. These maps were further refined using remap nodes to fine-tune the output, ultimately achieving the desired final look.
Raw render test:
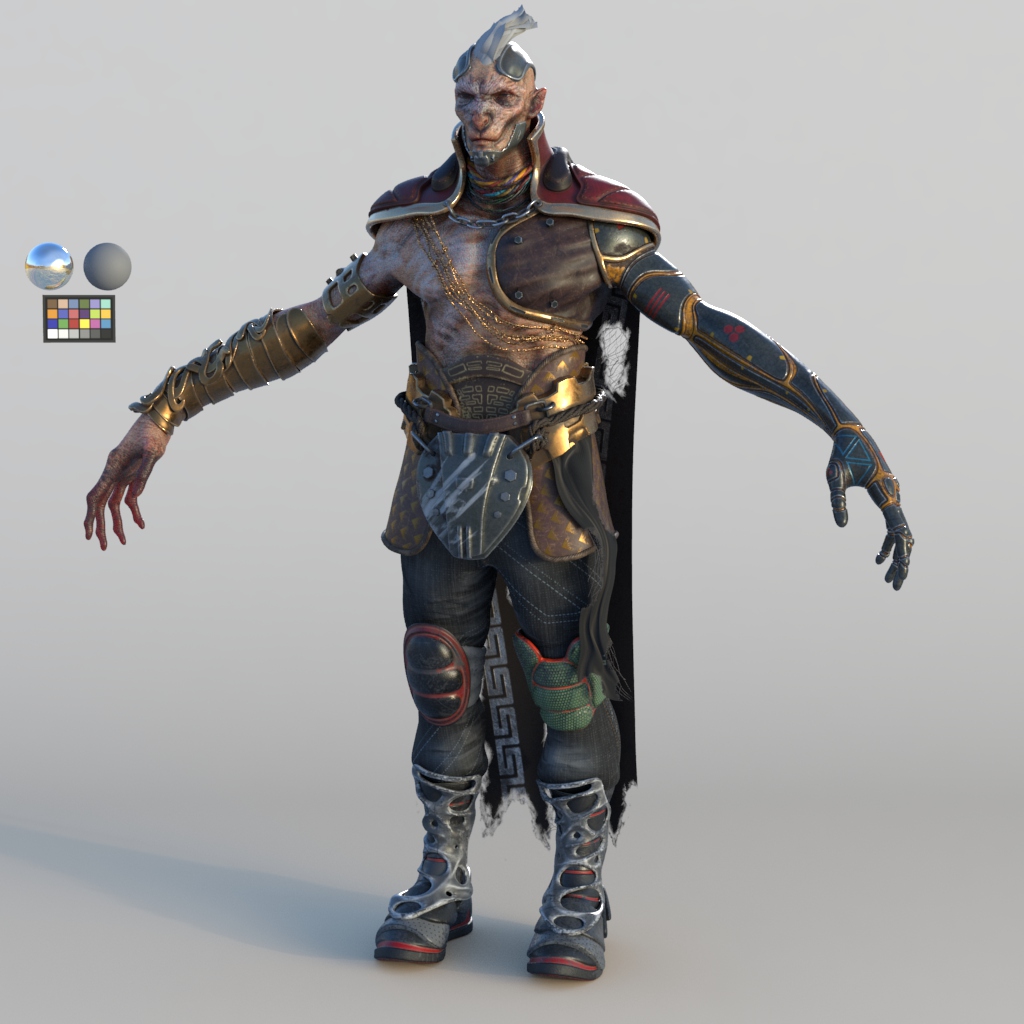
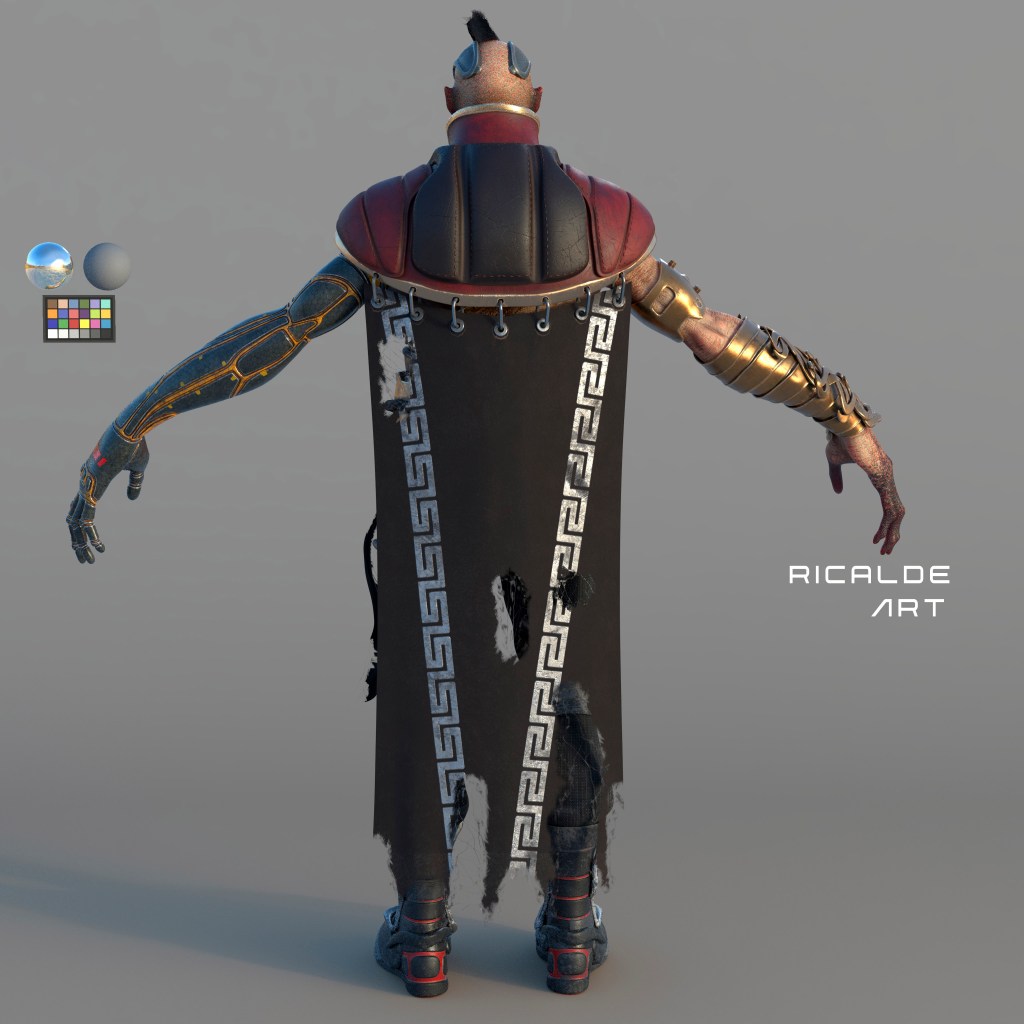
Posing the Character Using AccuRig
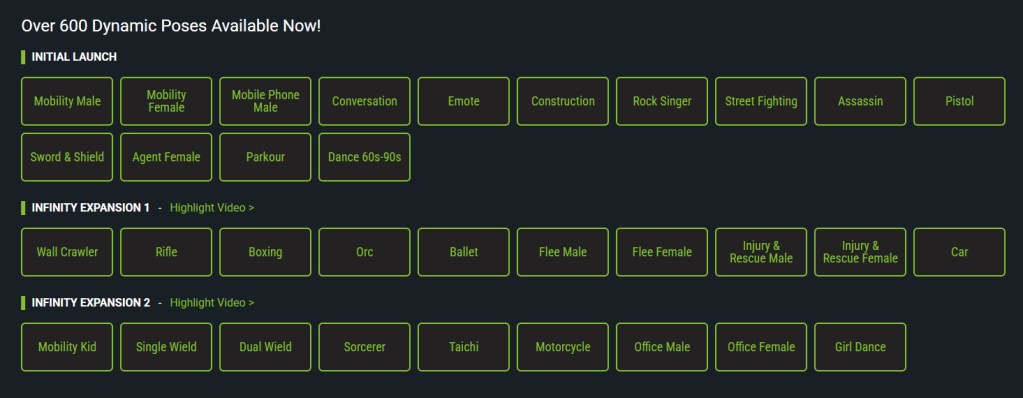
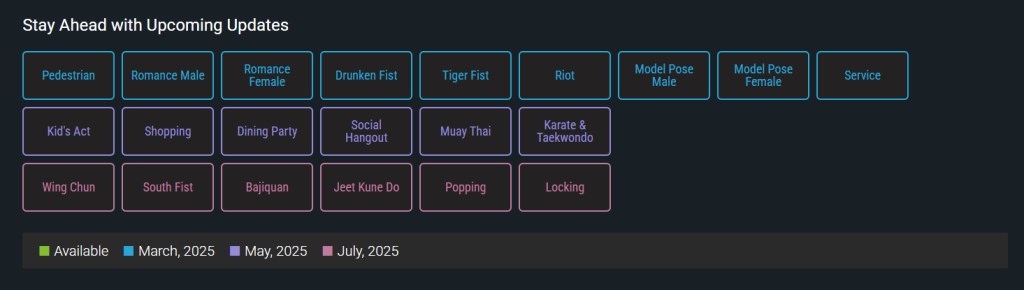
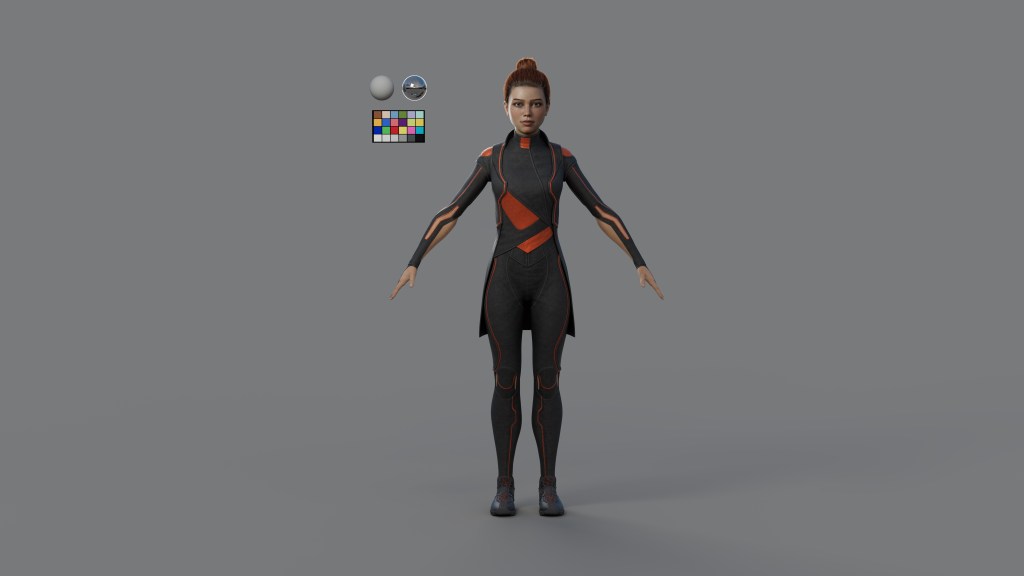
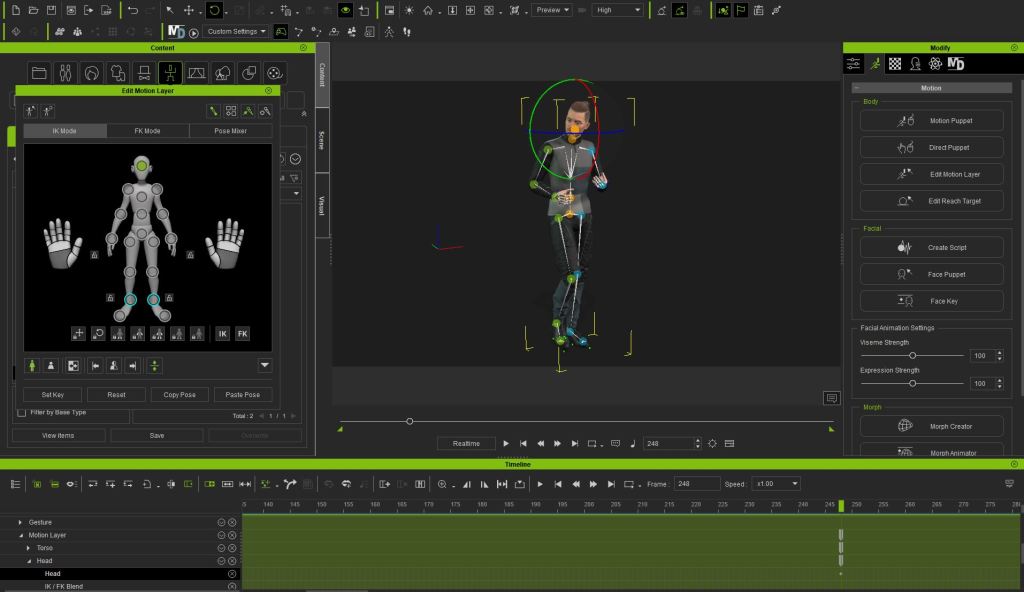
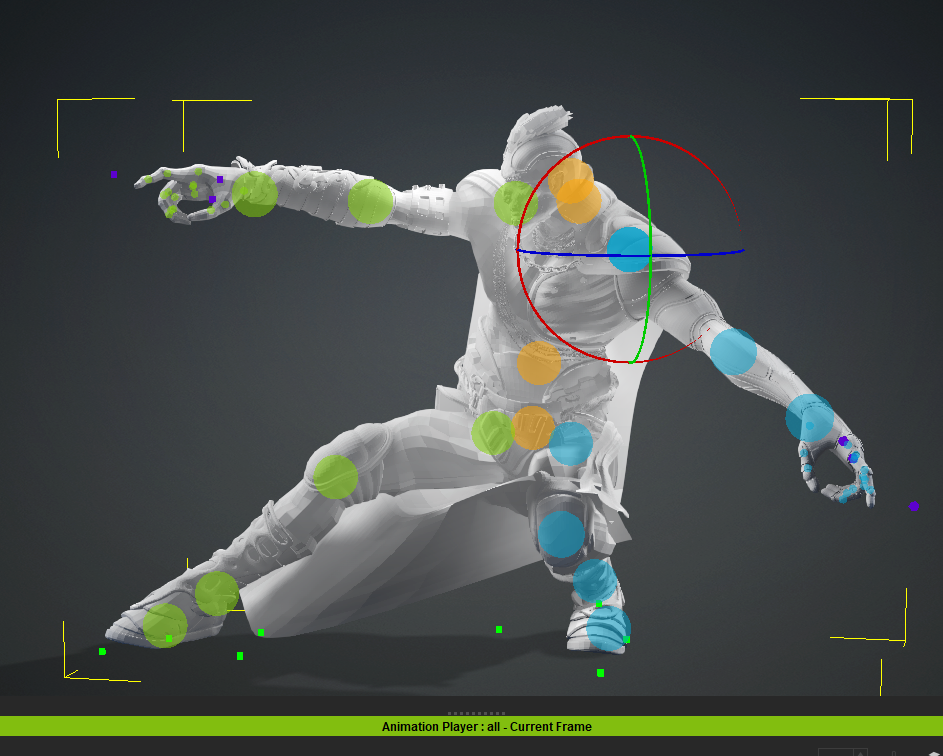
This was one of my first experiences using AccuRig, and I found it incredibly intuitive. Thanks to Character Creator 4 (CC4)‘s powerful functionality, I was able to rig and pose the character in just a few steps. What would typically take hours in ZBrush or other software was completed in under 10 minutes—an impressive time-saver for posing a character made up of multiple objects.
With just one click, the rigging guides are generated after importing the character. A few more minutes are spent arranging the points, with the reference image guides on the top right of the viewer making the process even easier. Once the guides are in place, the second click creates the bones, and corrections can still be made at this stage. The third step, binding the skin, may take a bit more time, but it’s still fairly quick. The final step is simply searching for an animation in the content folder, double-clicking it, and your character is already animated.
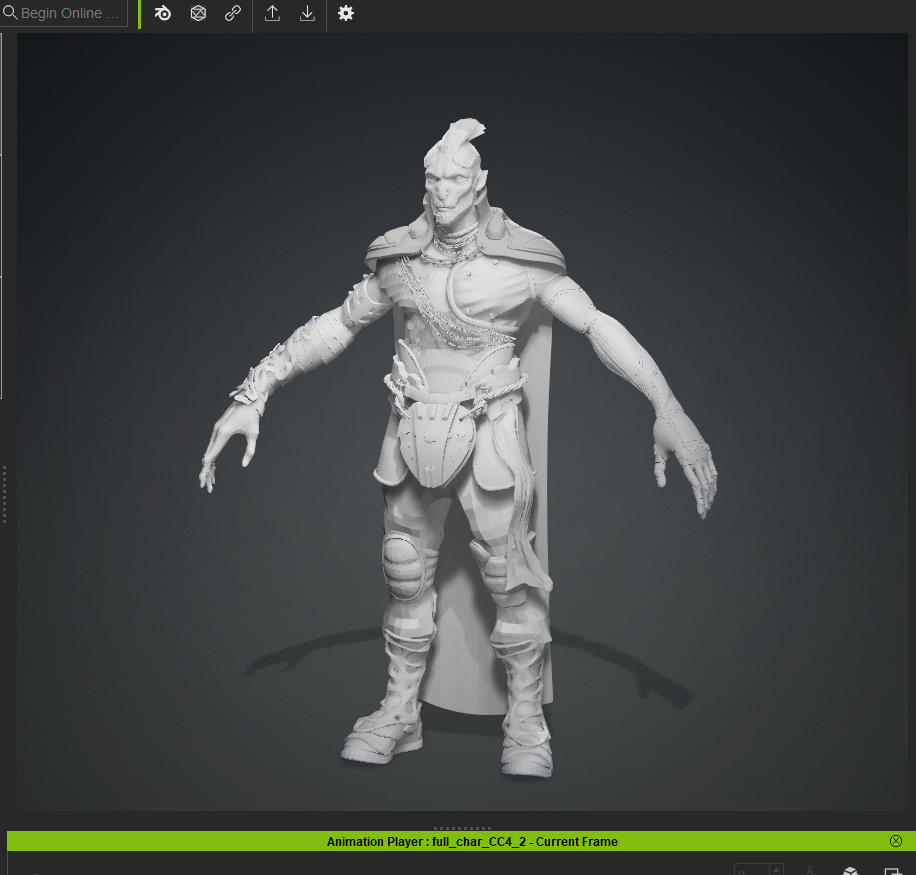

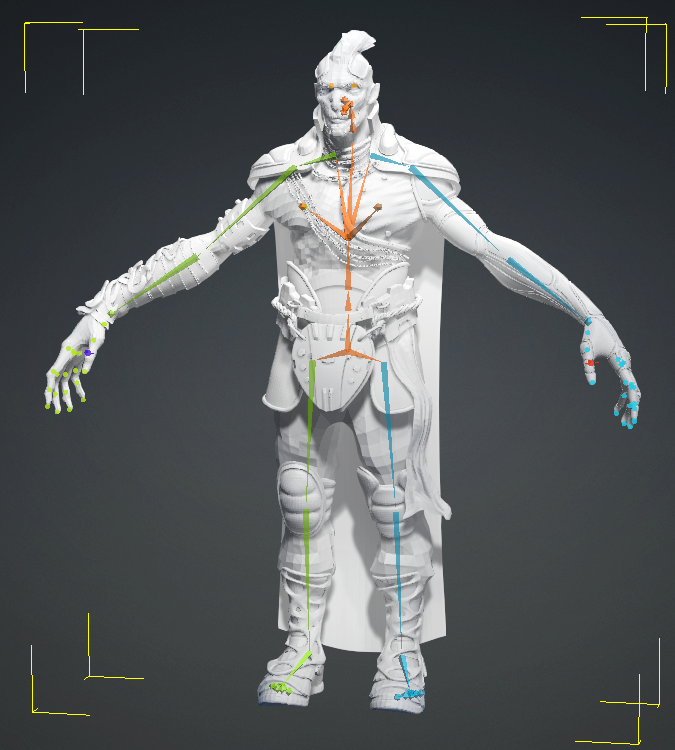

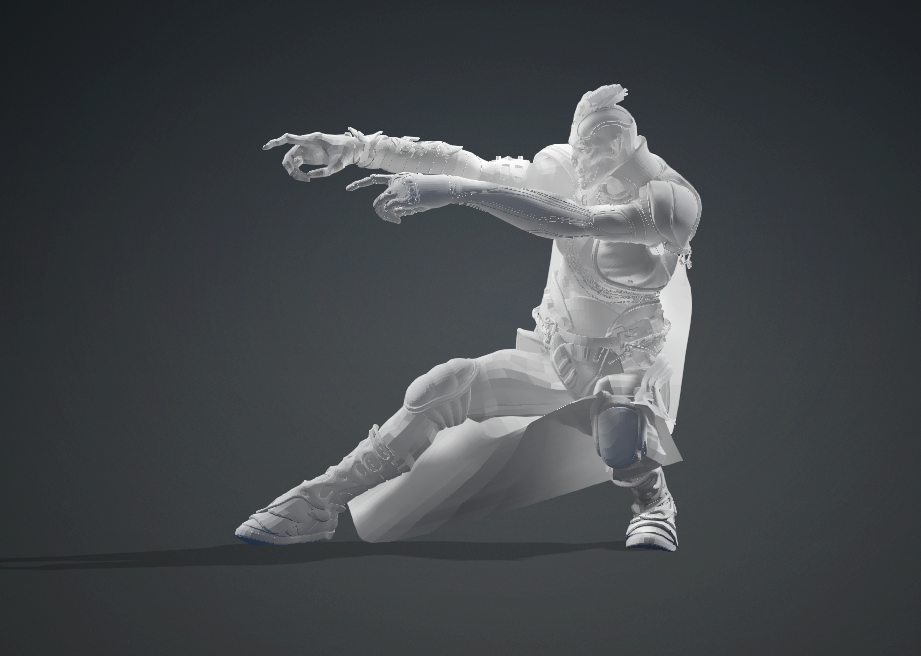
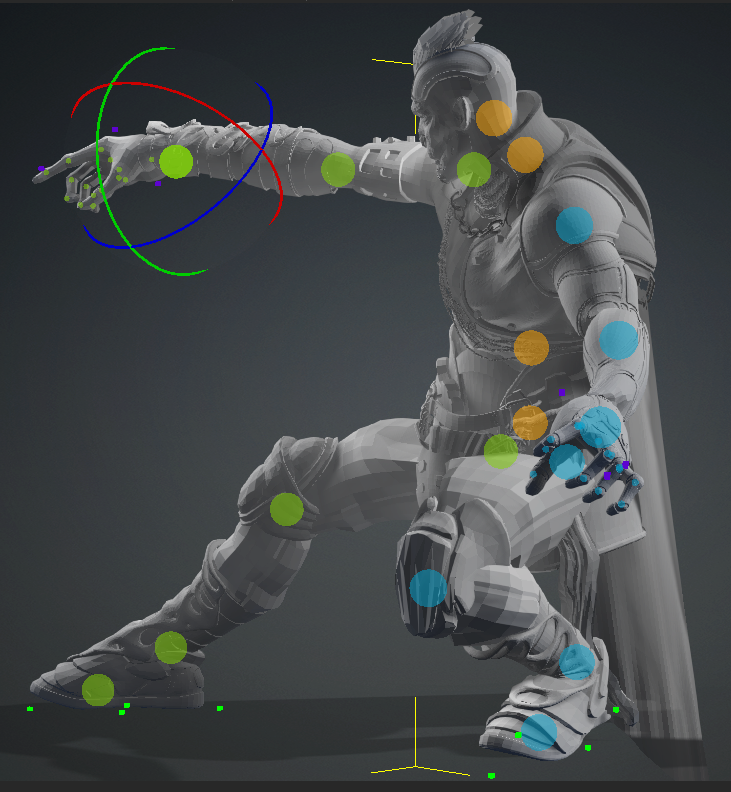
I used three preloaded animations in CC4, selecting key frames from each and editing them directly within the software. This significantly sped up my workflow, especially since I joined the contest just two weeks before the deadline. Thanks to CC4, I was able to pose my character quickly, allowing more time to focus on details like positioning the eyebrows, eyelids, texturing, shading, rendering, and post-production. This efficiency ultimately contributed to my victory in the 2024 Reallusion Character Contest in the AccuRig category.
At this stage, achieving the right lighting and camera angles is essential for a strong final render. For this project, I used several AOVs (Arbitrary Output Variables), or render passes, which I later composited in Adobe Photoshop. I utilized around 12 AOVs, including albedo direct and indirect, specular, SSS, ZDepth, Ambient Occlusion, and others to enhance the image and bring the scene to life.
To begin the composition, I started with the Beauty Pass, which combines all the passes into a single image. From there, I added each AOV individually, experimenting with blending modes, opacity, and adjustments to tone and saturation. This approach gave me full control over the lighting, especially since I rendered each light in the scene separately.
To make the character stand out, I added colorful smoke to the background, creating a striking contrast against the black backdrop. This helped me achieve a dark yet vibrant atmosphere that complemented the character. This stage was a critical part of my two-week process. Despite juggling other projects, I managed to finish on time—largely thanks to the efficiency of positioning my character using CC4’s tools.


Final Thoughts
Reflecting on the contest, Angel praised the judges and the tools provided, noting how they elevated the quality of entries. “The intuitive software and resources made it easy to learn and integrate into my workflow”, he adds. Inspired by Pablo Munoz, Angel is eager to explore a workflow where he sculpts from the CC base mesh for future projects. For Angel, the contest wasn’t just about competing but also about exploring new creative horizons with Character Creator and related tools. His journey is a testament to the power of adaptability, skill, and the right tools. His experience highlights how innovative workflows can bring ambitious visions to life, inspiring others to push their creative boundaries.
Related Articles
- How a ZBrush Artist Speeds Up Rigging and Posing with Character Creator AccuRIG
- Winner Select: Revolutionizing Miniature Model Creation with AccuRIG
- How to effortlessly pose a ZBrush character using Character Creator