
An Overview of Creating a Christmas Short
In my almost twenty years of using iClone and other Reallusion products, I have seen the software move from a market niche to a complete animation package supporting most industry tools and developing a cost-effective method of producing animation. The same holds true for Cartoon Animator, its 2D cousin, which is a major player in its own right.
To demonstrate this ability to deploy animations in an afternoon or evening I tackled a short Christmas themed, toy shop animation with lots of animated characters including some “wooden” toys without arms and legs but they still danced to the Suno generated Christmas song, A Season in our Hearts as the driving force of the animation.
Below is the short holiday video:
Gathering the Assets
One of my first tasks was jumping over into Daz Studio which I use as an in and out tool for my older Daz assets. I converted the Christmas Carol toy store to an FBX file and dumped it into the iClone workspace. I dropped the whole store complete with toys, trees and other Christmas objects and let iClone separate all the meshes into individual pieces after it asked if I wanted to do so.

This feature alone saves a lot of time as it provides a store full of toys and other assets as separate items that I can then manipulate to my needs, including skinning some of the toys for animation using drag and drop motions.
Generating and Rigging the Main Characters
Before I went to Meshy.ai I stopped by Midjourney and used the prompt:
A full-body, forward facing 3D Toon Santa in a T-Pose with arms stretched out to the sides set against a solid white background.
I used the same prompt for the elves after substituting the words Male Elf or Female Elf for Santa. This provides some continuity of poses for AccuRIG to work with.

For some reason I cannot seem to get any consistency at Midjourney to get the hands palms-down for better rigging. It only happens ever so often and as you can see from the final mesh the female elf was fine except for some weirdness in the cap; Santa had an extra finger on top of the hand while the male elf didn’t need any alterations.
GoZ to the Rescue
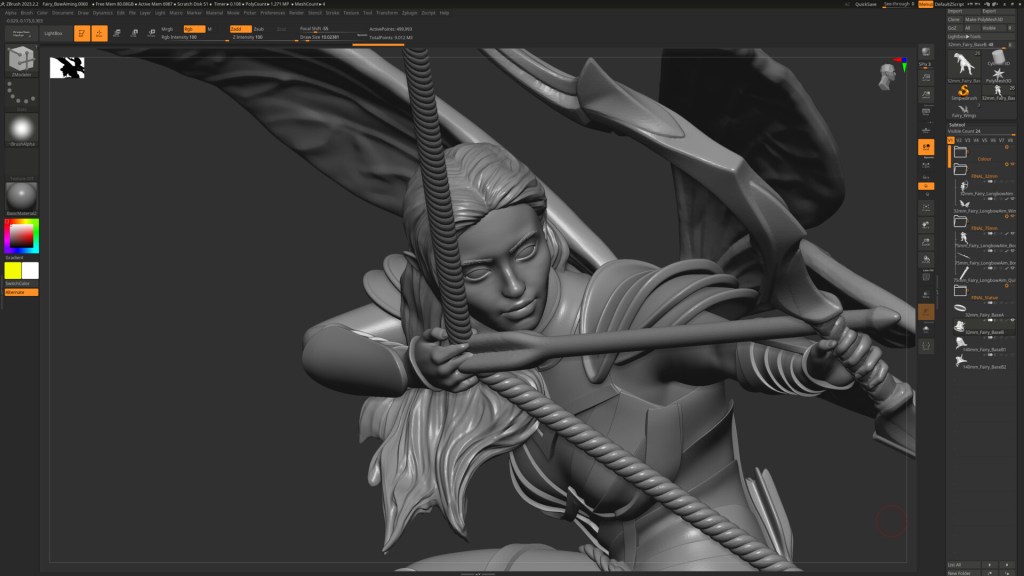
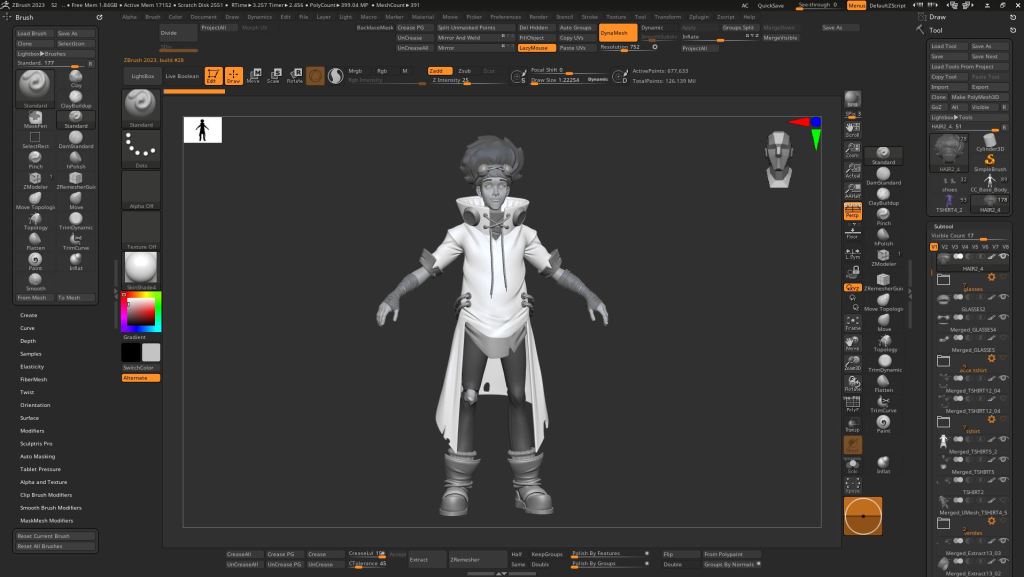
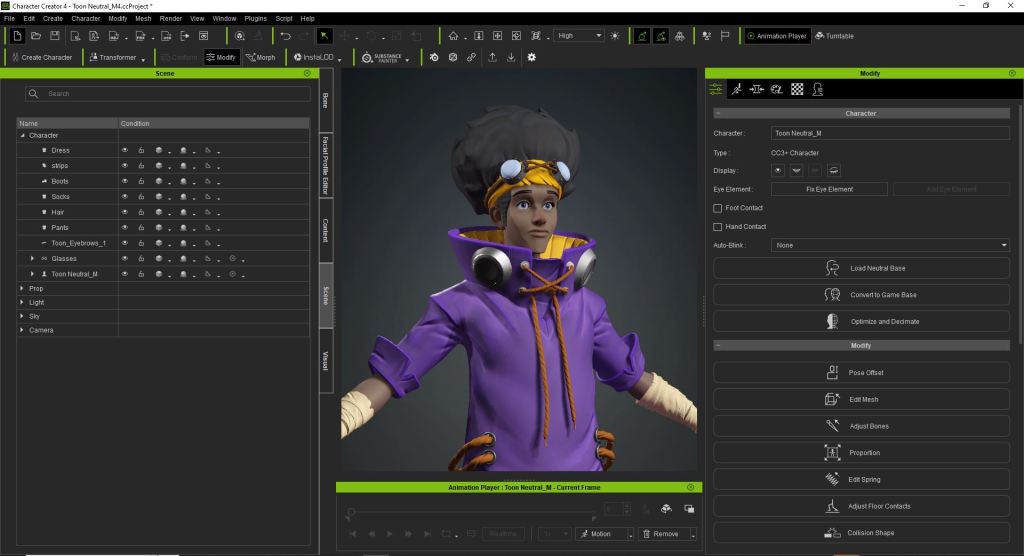
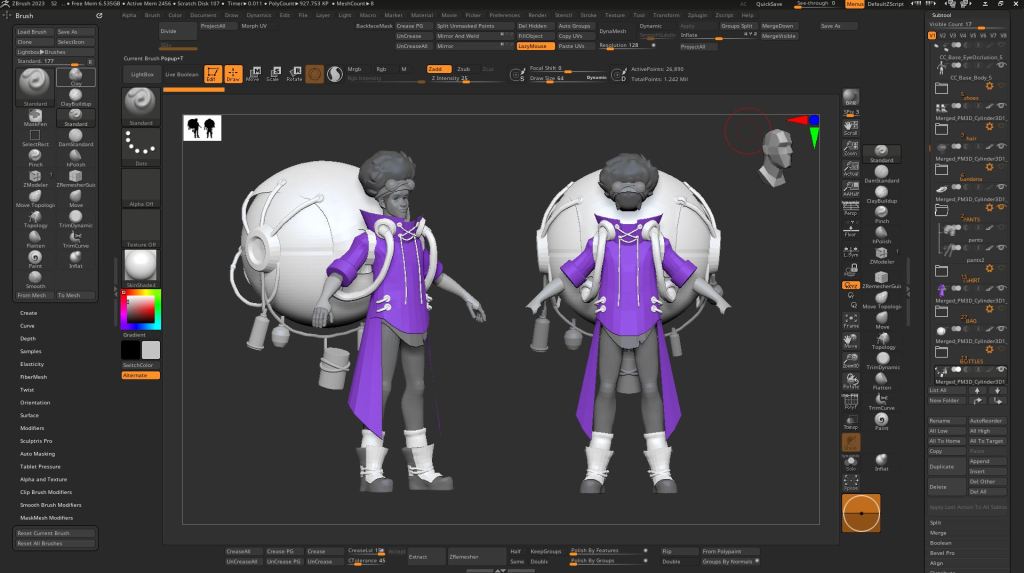
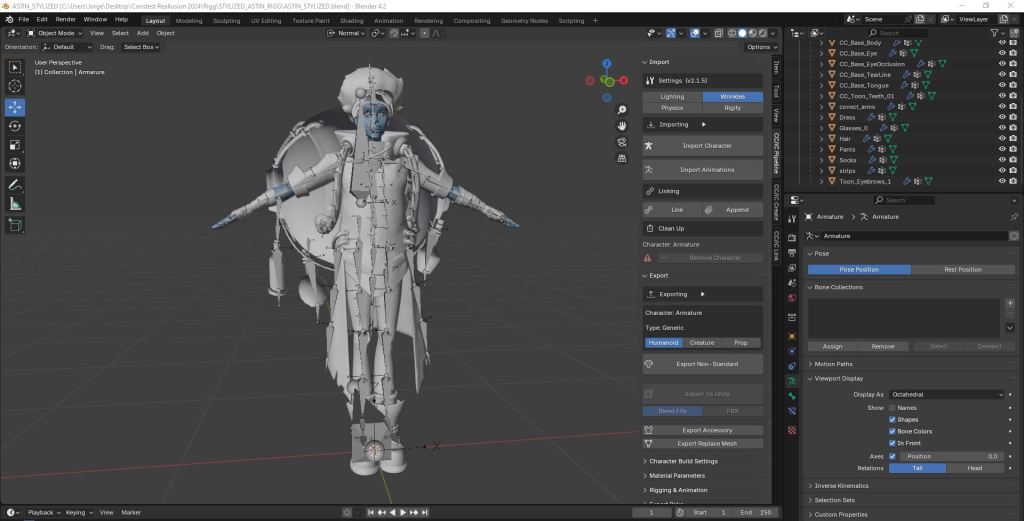
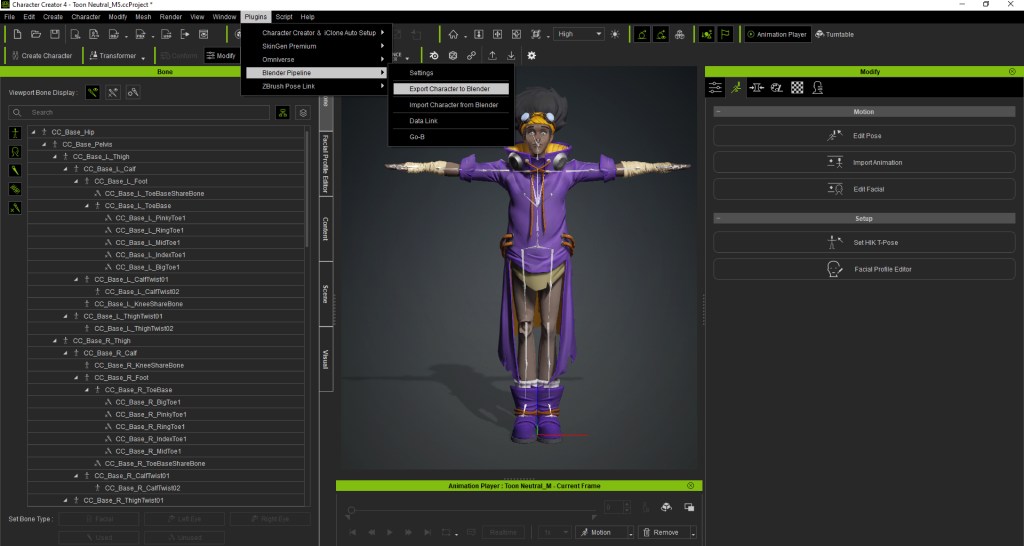
I used ZBrush to remove the extra fingers and smooth out some of the strange lines on the female elf cap taking just a few minutes. The built-in GoZ feature made the transfers from Character Creator 4 to ZBrush and back effortless. No need for exporting and importing as integration with ZBrush runs deep.

The images provided a great starting point for Meshy to create the above meshes in as close to a T-Pose as I could get. You can also use A-Poses in the prompts. AccuRIG quickly turned the meshes into animatable characters.
If I have problems with deformed hands, I usually just rig a 2 fingered hand if regular motion is not required. This hand rig will still open and close the entire hand but is not for use in closeups. If I’m on a tight time constraint I rarely take time to rig all the fingers unless necessary.
This gets the main characters and most of the toy shop out of the way. Now I only have some odds and ends to gather up as I work. For an example I added a cat curled up on a cushion near the “other” Santa at the very end of the production along with a wood burning stove. These were last-minute additions that were not planned but added for atmosphere.
Suburbs In Winter
I needed a street scene outside the toy shop windows for filler. Proving that Reallusion assets stand the test of time, this pack is an oldie but a goodie loaded with winter-based assets. What I was after was the Shopping Street prop that is one side of a snow-covered store filled street with glow-based lighting on certain decorations. Being a single prop, this immediately gave the scene the filler it needed.

Now that it’s no longer a black void outside the toy shop windows we need activity. Not a lot as the camera won’t show the street in great detail, but enough to give us a little movement.
Crowd Generator – Winter Crowd Set
This is where the Crowd Generator really saves production time as it makes quick work of filling the other side of the street with animated people. The Winter Crowd set was a perfect fit for the task and after locating some idle motions I had a 20-person crowd created and animated in less than a few minutes.

You won’t see much of the crowd in the final shot, but it is there in case I change my mind and want to use the crowd for more detail. Making a 5-person crowd versus a 20 crowd takes about the same time and I had the computational overhead to handle an even larger crowd, why not?
The basics of the scene are coming together quickly and I’m ready to add the music and start animating.
The Other Santa
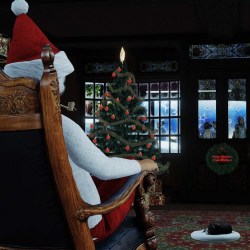
For this character I used my own Santa from the marketplace without the cap and big coat sitting on a very nice rocking chair generated by Meshy. This character will be seen indirectly, lounging by the fire, as the camera moves around the toy shop interior. The inference will be that it is Santa.
The Soundtrack – A Season in our Hearts
I was very lucky with Suno AI as it generated a great original Christmas song on its first try and was in fact the first song generated out of the initial pair. Sometimes I’ll drag and drop the song onto a prop, but I have to remember which prop, and this is going to be a somewhat busy scene.
I dragged in a box and set it as a dummy in the modify panel as the song container. A simple drag and drop associated the song with the dummy. All I had to do was look for the dummy in the scene manager to see if I wanted to change something about it.
Now I could have some fun… animate the characters!
Dancing Santa and Elves
That’s right… this is a music video, a genre that defined iClone in its early years and is an easy way to make a holiday video for family, friends and the internet. A music video is a fun, quick and easy vehicle for new animators to get some experience.
Another reason music videos are great for beginners is the fact that the script can be loose or no script at all and still end up with a great end product. We don’t have to adhere to a certain kind of dance or movement. We just need dancing. It couldn’t get much simpler.
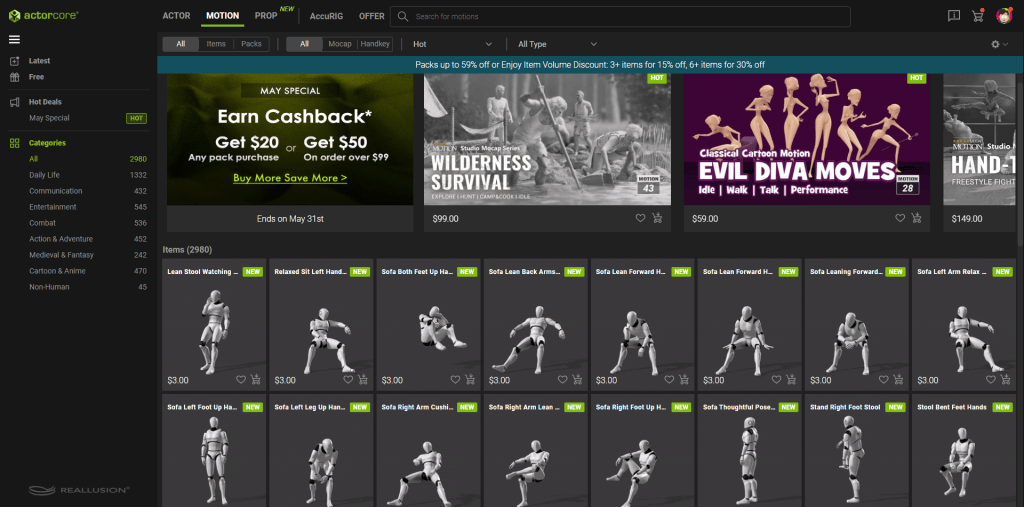
I choose sequential routines from the Street Dancing Popping pack for Santa and two different routines from the Girl Dance pack for the male and female elves so they could groove alongside Santa without stealing the show. I looped these motions to the end of the timeline.
Work or Preview Cameras
In the end we will only be using a single animated camera run but that doesn’t mean that it is the only camera in the scene. I relied heavily on the Preview camera, and we can add any number of cameras we need to be able to view the scene properly for animating from different angles. This is entirely up to you as to how many work cameras you use.
Animate Everything
Need to animate something with no arms or legs? Use AccuRIG for the skinning with its bone masking feature to mask out the bones for missing arms and legs so they won’t look strange when dumping a motion on them.
When I say “animate everything” that is close to what happened. I dropped the motions on the main characters and timed it to the music. It was easy and went smoothly. Then I noticed the toy shop had some rows of wooden soldiers on the shelves in the camera shot. Wouldn’t it be nice if they danced too? In unison, of course, to make it even easier. Unison means animate one character then copy and paste however many characters you need.
To make them dance I had to rig them, and it was so easy in Character Creator 4 AccuRIG that it should be illegal. The Prop Puppet would have worked too but I just wanted to drag and drop motions to save time.
Wooden Toy Soldiers, Teddy Bears and Trees
I sent the toy soldier over to Character Creator 4 and AccuRIG took care of the hard work while I masked out the missing arm and leg bones so the motion wouldn’t have too much deformation on playback. Again… quick and easy in and out. A matter of minutes.

This was starting to come together when I noticed the lifeless Teddy Bears! Now those have to be animated so into CC4 they went. I again masked out the arms and legs and then sent it back into the scene with no importing or exporting… just clicking a mouse.

Before you know it, I was linking animated Teddy Bears to rockers, then twirling drums and spinning Christmas trees. None of them were difficult. Now we have action in the scene. Once the main characters start doing their thing all of the other toys join the party, and they rock on to the music.
The Other Santa… Again
I’m ready to sit the Other Santa in the rocking chair, link it to the chair then start the chair rocking back and forth between a couple of keyframes. I can copy and past those keyframes all the way to the end of the timeline. Since Santa is linked to the chair and is only seen on passing, we don’t have to animate him. That much is usually implied in the viewers mind regardless of whether it actually animated or not.

Animating a Single Camera
While making the camera run, I have to admit that I didn’t have much planned on what the camera track would be, so I did what I usually do when there is no tight script… I winged it. I knew what I wanted to highlight so that was the major decision maker on where the camera moved to.
Also, with a single cam you can use transition curves such as “ease in – ease out” to smooth the movement or change speeds going in and out. The camera switch with multiple cameras would certainly work here too but it doesn’t have the curve transitions.
Time Frame to Completion
About 6 hours in one late afternoon to evening. No, that is not a mistake or a misprint. Not 600 hours, not even 60 hours but around 6 hours including gathering up all the assets and motions needed. Including AI-generated assets, standard assets and the Suno generated song which conveniently avoids copyright issues.
One Scene – One Project
Another thing about this video is that it is all in one project file. One scene. Generally, this would’ve been chopped up into several projects and pieced together in a video editor but iClone handled all of it, including the sound. Now this doesn’t mean you won’t want to drop the final render into your favorite editor for post work and tweaking, but it does show what iClone can do without an external editor.
Snags
None! I didn’t have to backtrack or alter course because something didn’t work. I’m having a hard time believing it was this easy. While this was a simple video in concept there were no hiccups that made me waste time or get frustrated. Nothing made me alter my plans for the final product. In fact, it all went so well I was able to add a few things and make a few tweaks.
Summary
So, what is my point here? Demonstrating how easy, fast and cost-effective Reallusion products like iClone, Character Creator 4 and Cartoon Animator are. From big productions to mom-and-pop operations or even one person with a passion that few understand, Reallusion products are cost-effective, powerful, easy to use.
Another reason this was a quick project is due to the use of beginner’s level animation that anyone can do. No edited or cut up motions just dragged and dropped or motion puppet.
It wasn’t that long ago that the reality of going from an “idea” to “video” in one afternoon or evening would have gotten you laughed out the door. Now we just get iClone, CC4 or Cartoon Animator and start animating.
The turnaround time for a previz or simple animation has been significantly reduced and with more polish that previz can turn into production footage. The bottom has fallen out of the cost per second of animation when using tools like iClone, Character Creator 4 and Cartoon Animator.
Get your free trial today!

MD McCallum – WarLord
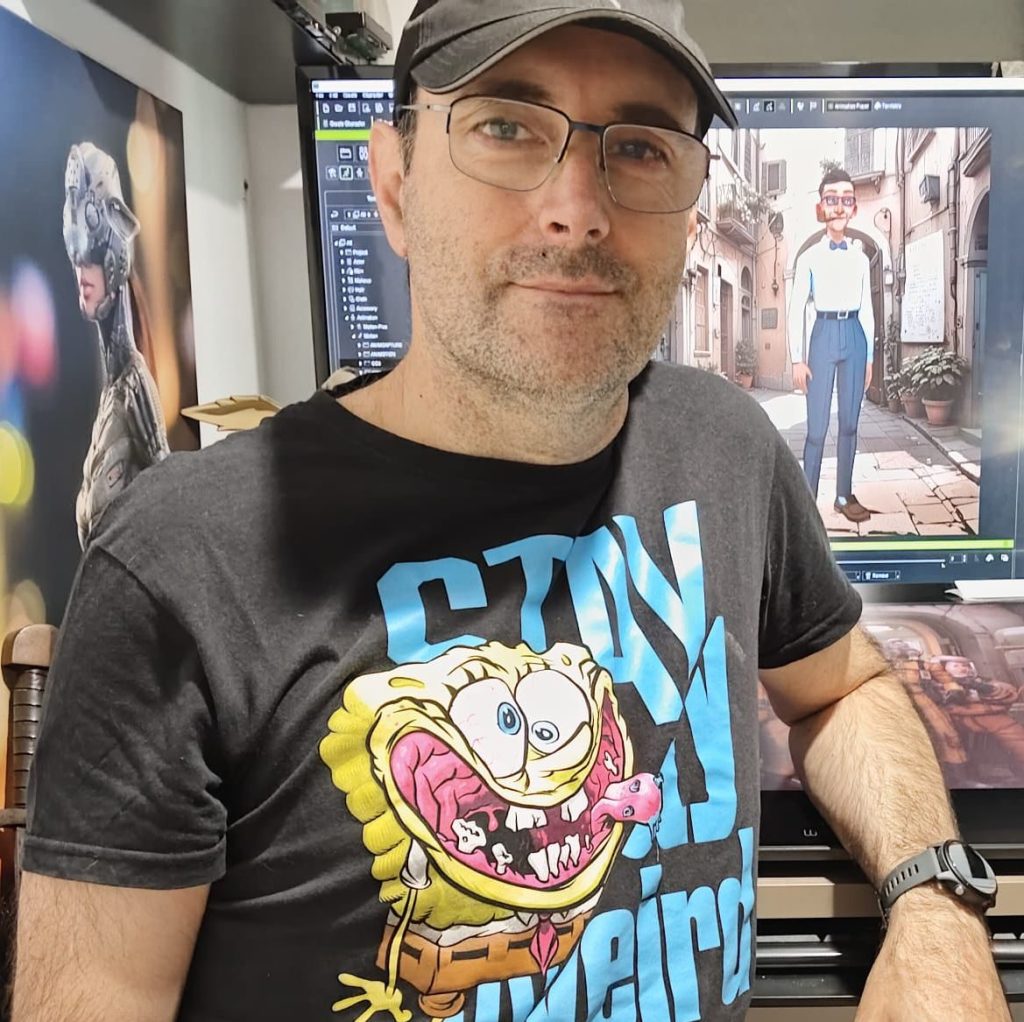
Digital Artist MD “Mike” McCallum, aka WarLord, is a longtime iClone user. Having authored free tutorials for iClone in its early years and selected to write the iClone Beginners Guide from Packt Publishing in 2011, he was fortunate enough to meet and exchange tricks and tips with users from all over the world and loves to share this information with other users. He has authored hundreds of articles on iClone and digital art in general while reviewing some of the most popular software and hardware in the world. He has been published in many of the leading 3D online and print magazines while staying true to his biggest passion, 3D animation. For more information click here.