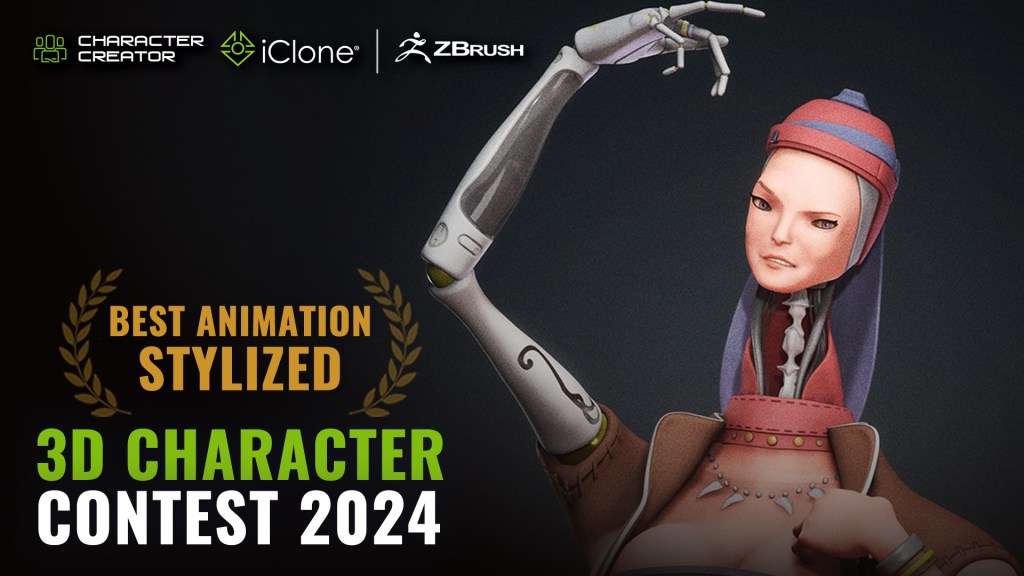

Varuna Darensbourg
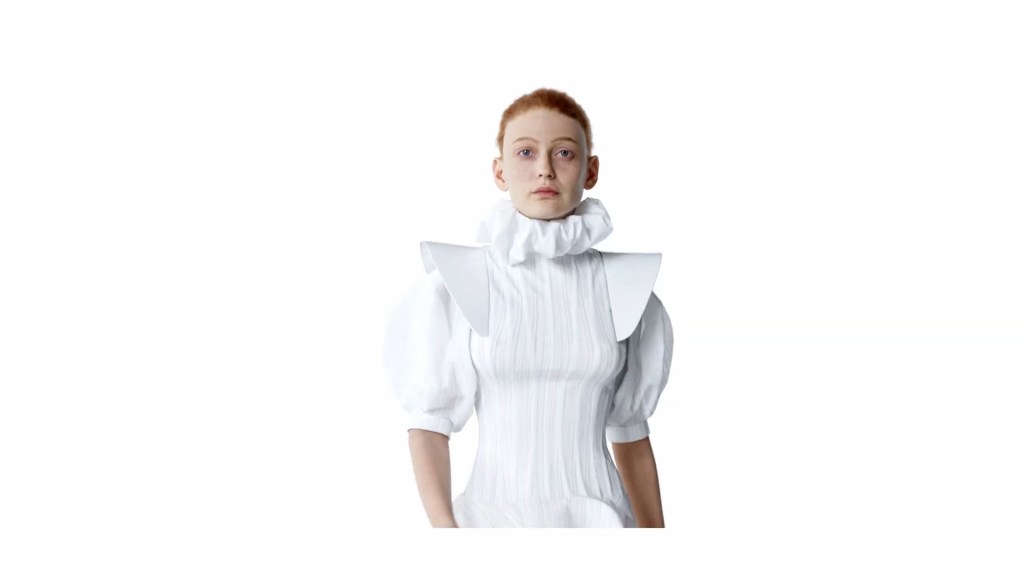
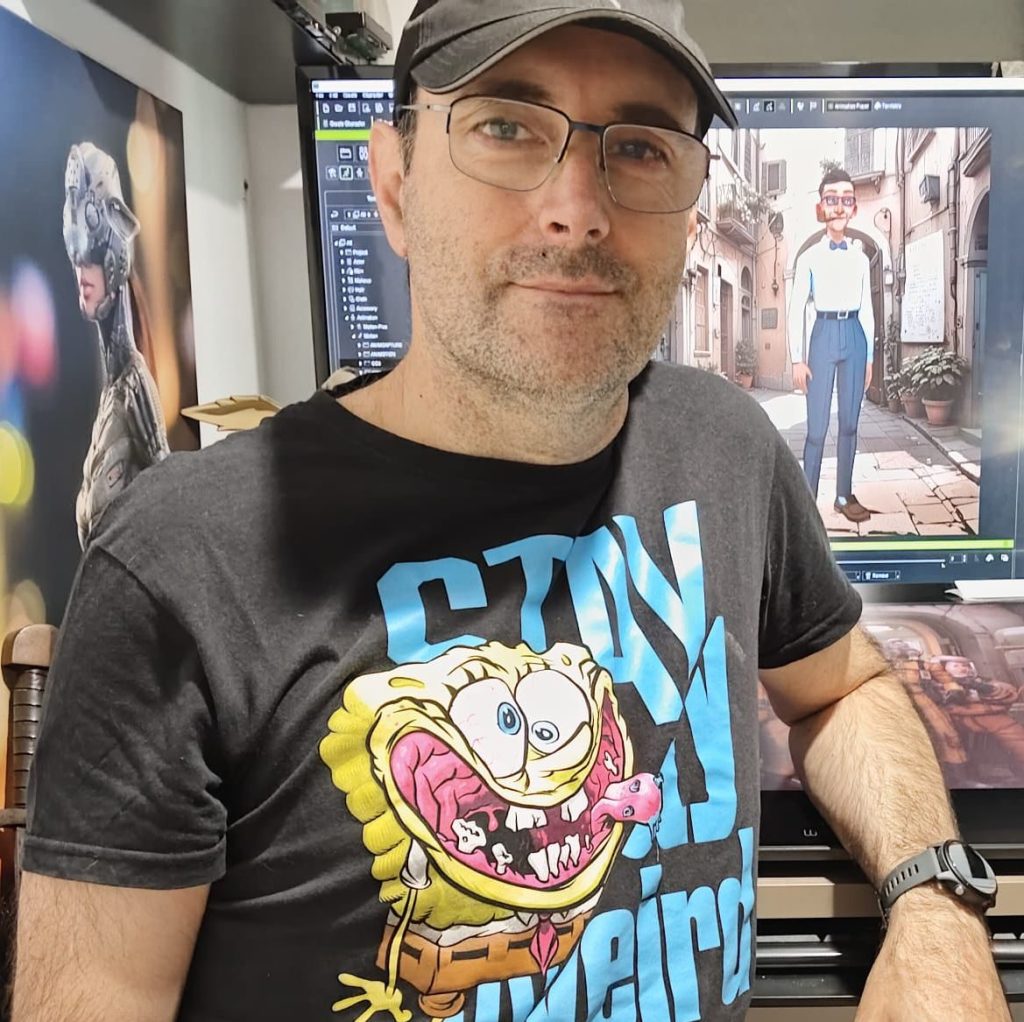
My name is Varuna Darensbourg. I got into 3D about 5-6 years back. I started exploring a few programs like Daz, and then I discovered iClone. I made some fun things by combining the two tools, but I always really wanted to create much more custom characters. I then started learning UE4 and started to scratch the surface of making custom characters for a game, using Character Creator.
It wasn’t until I saw the entries for the first Reallusion Contest in 2020 that I started to really push myself to learn sculpting and modeling tools. I try to always find time at night to learn something new and experiment. It’s a lot to learn UE, ZBrush, and Blender, but I’m very grateful for the time I have put into it thus far.
Character Design with CC, ZBrush, and Photoshop
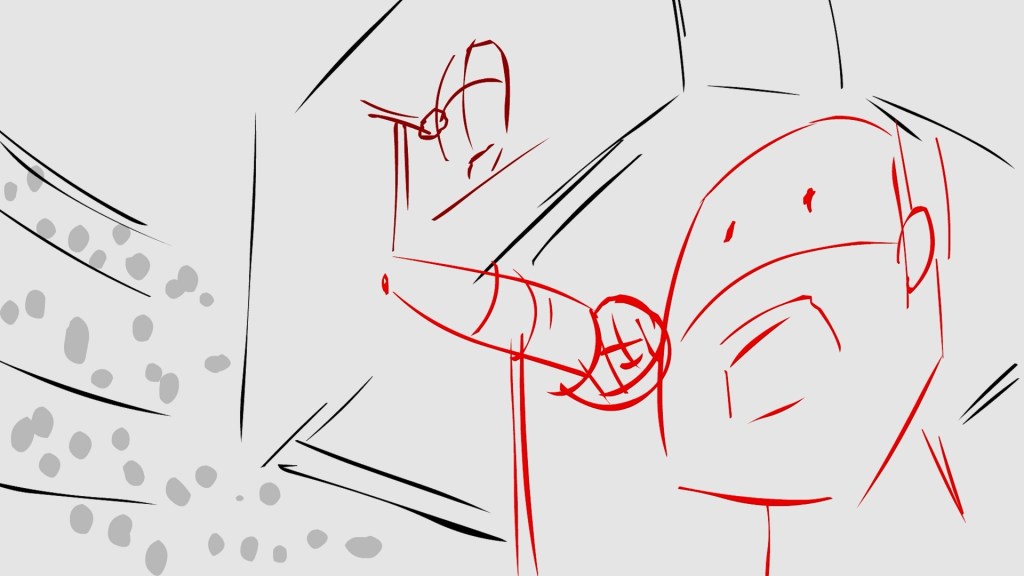
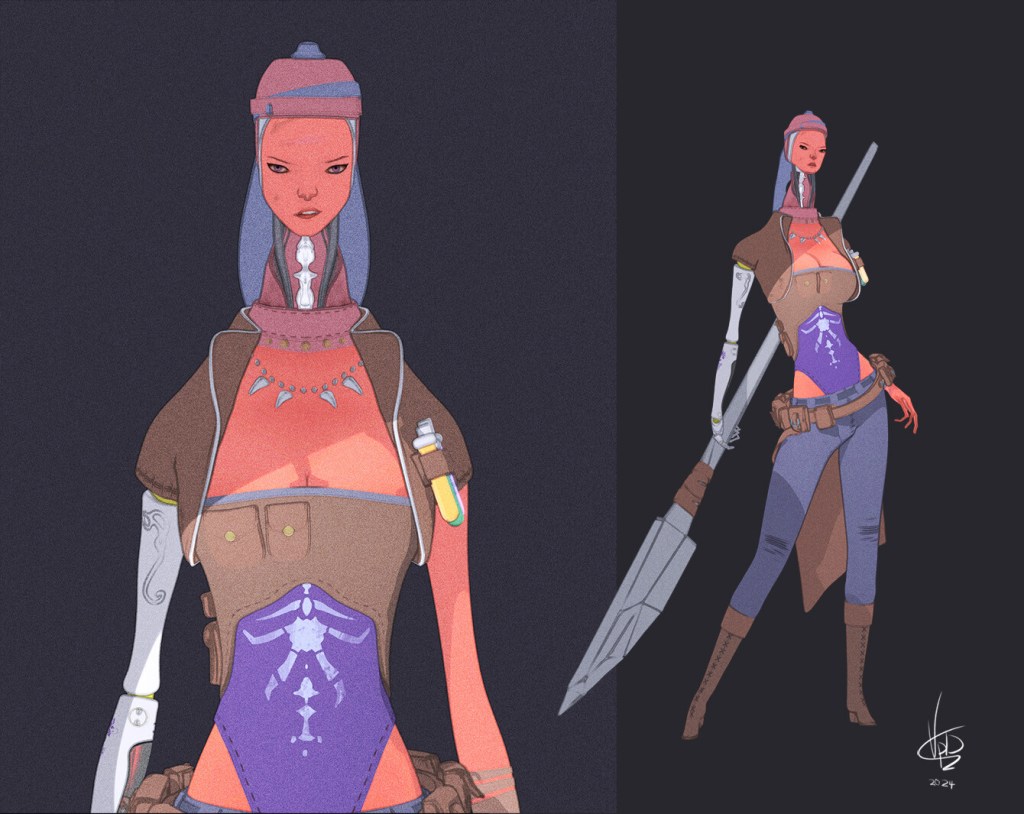
I started sketching in Photoshop with a few loose goals and design points in mind
- Challenge myself technically & creatively
- Implement unusual proportions
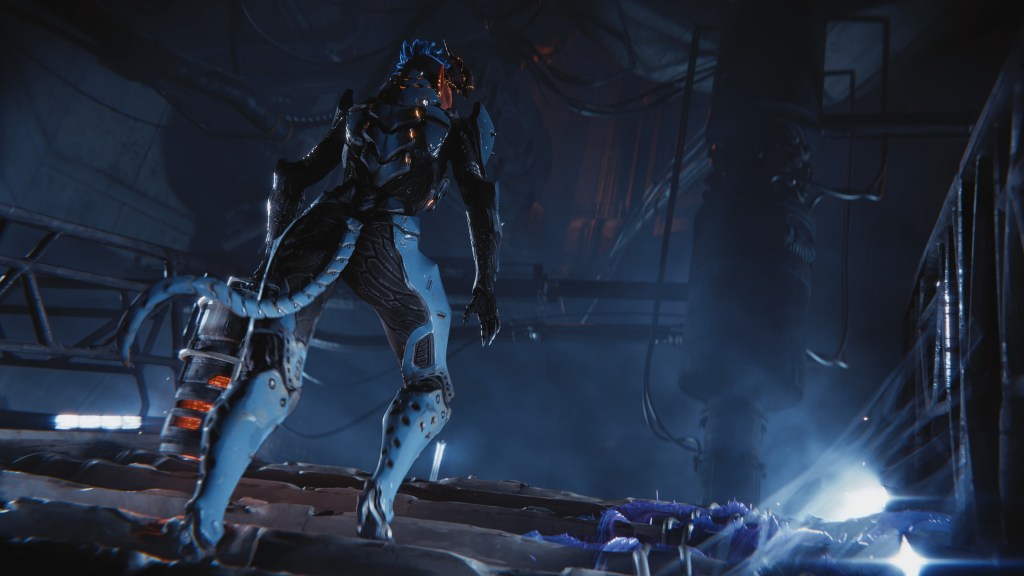
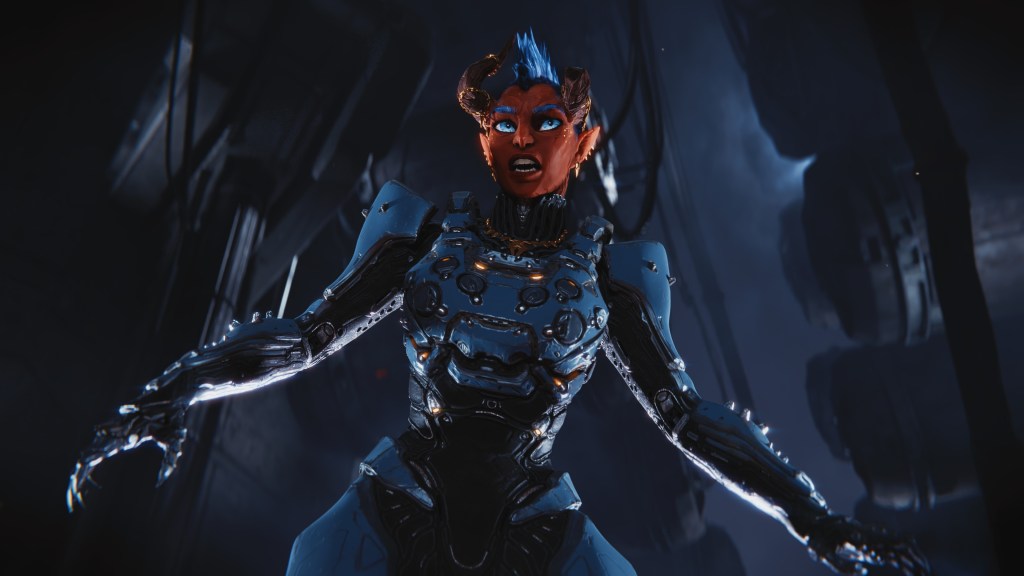
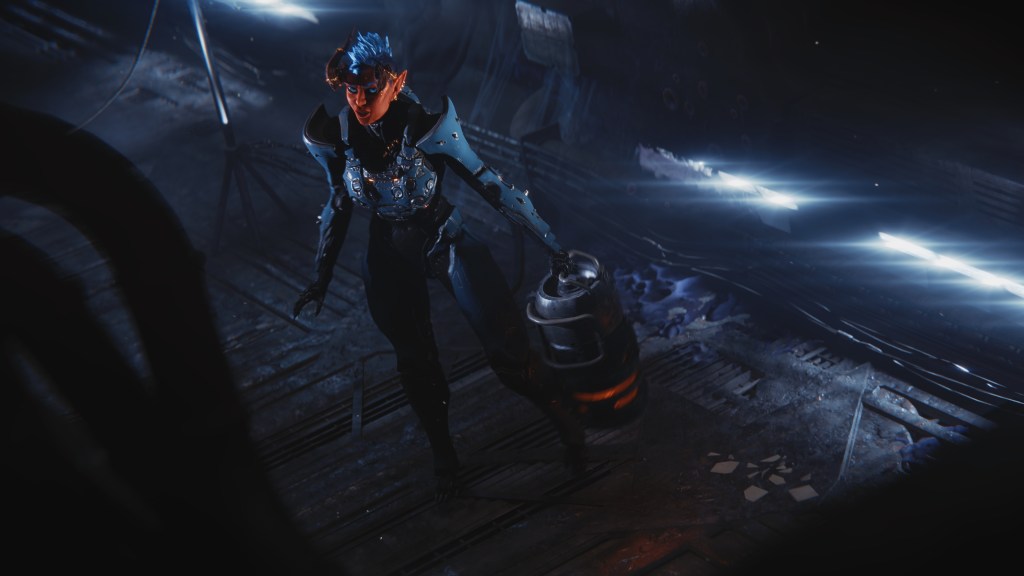
- A Merchant lady with a military background & Mechanical aspects;
- A little sci-fi, a little medieval, a little creepy, a little beautiful

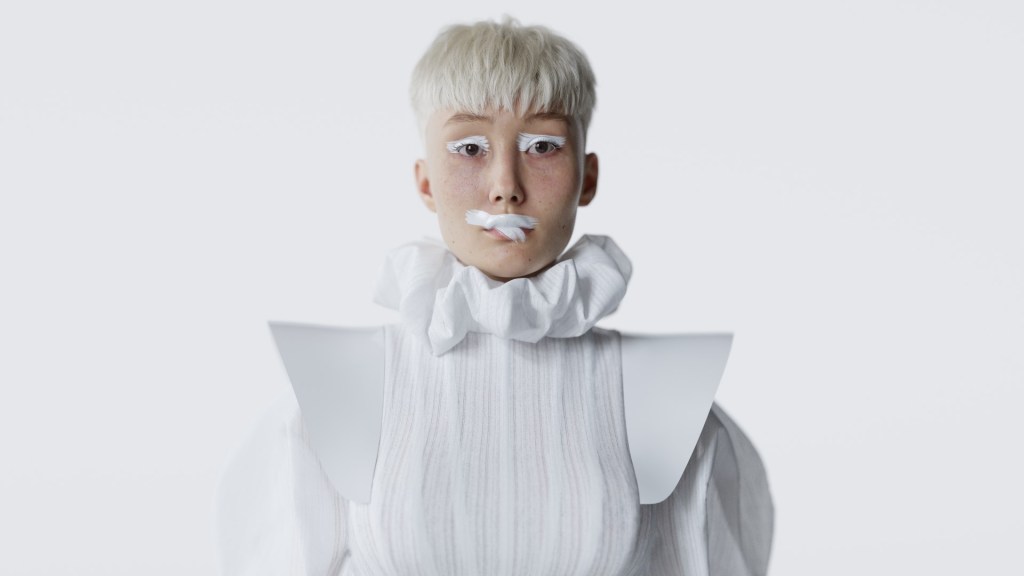
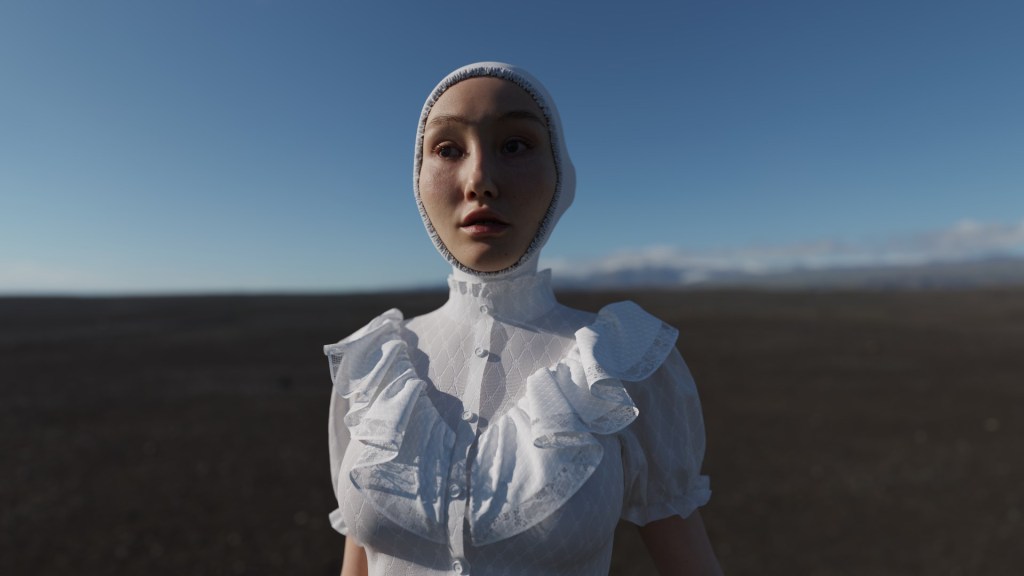
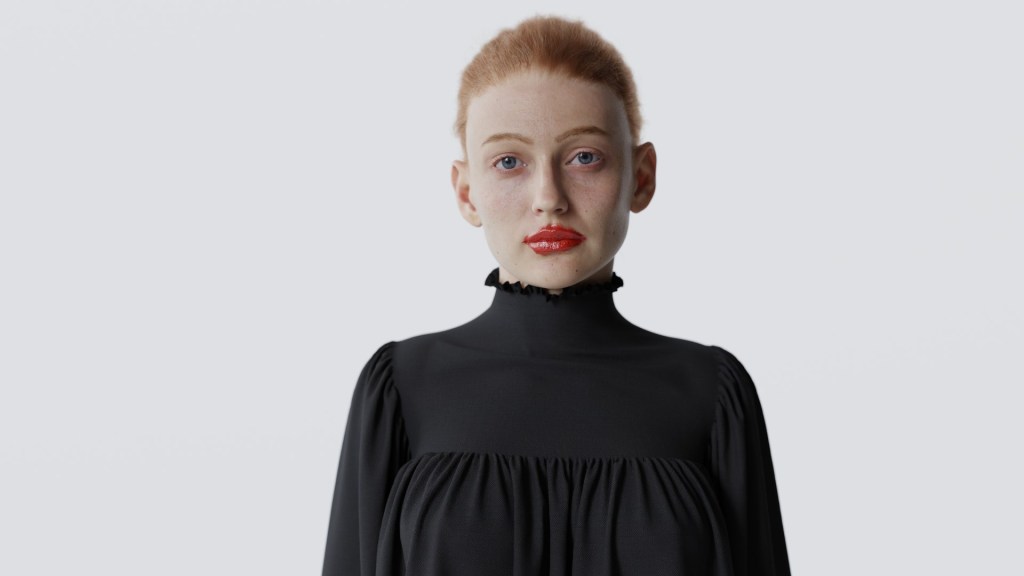
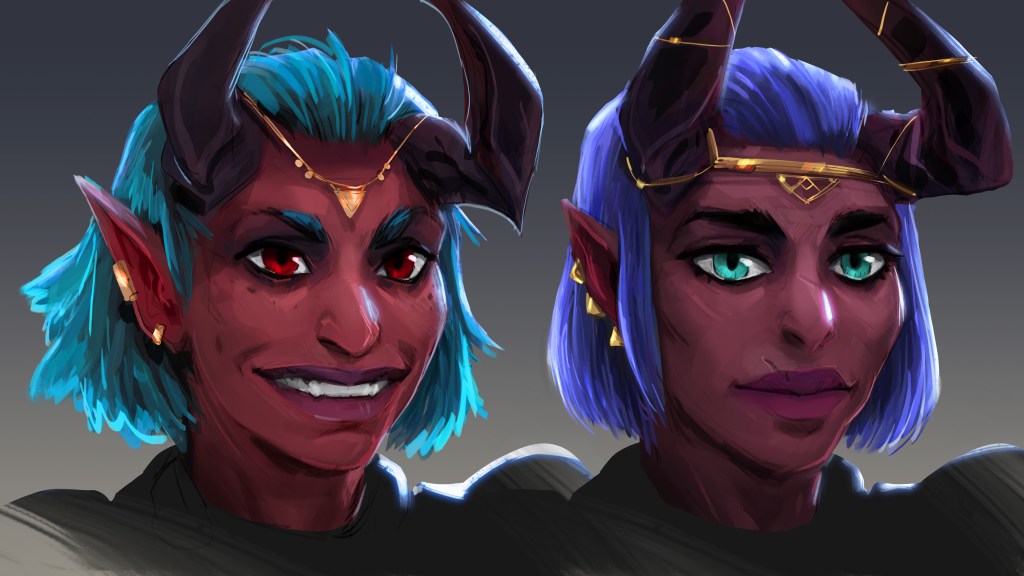
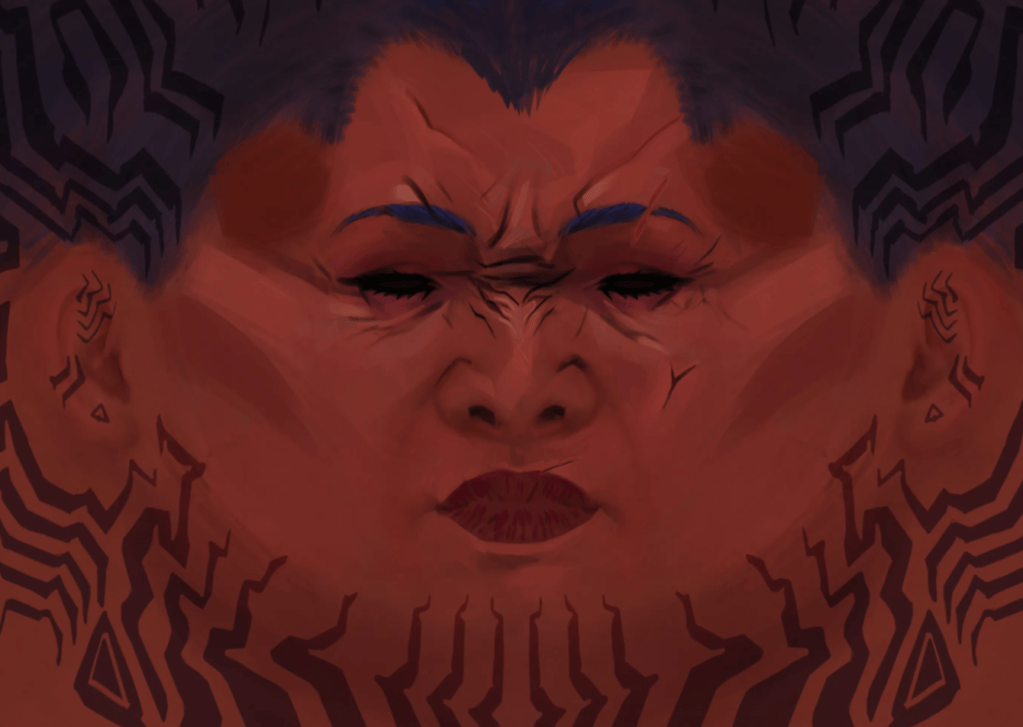
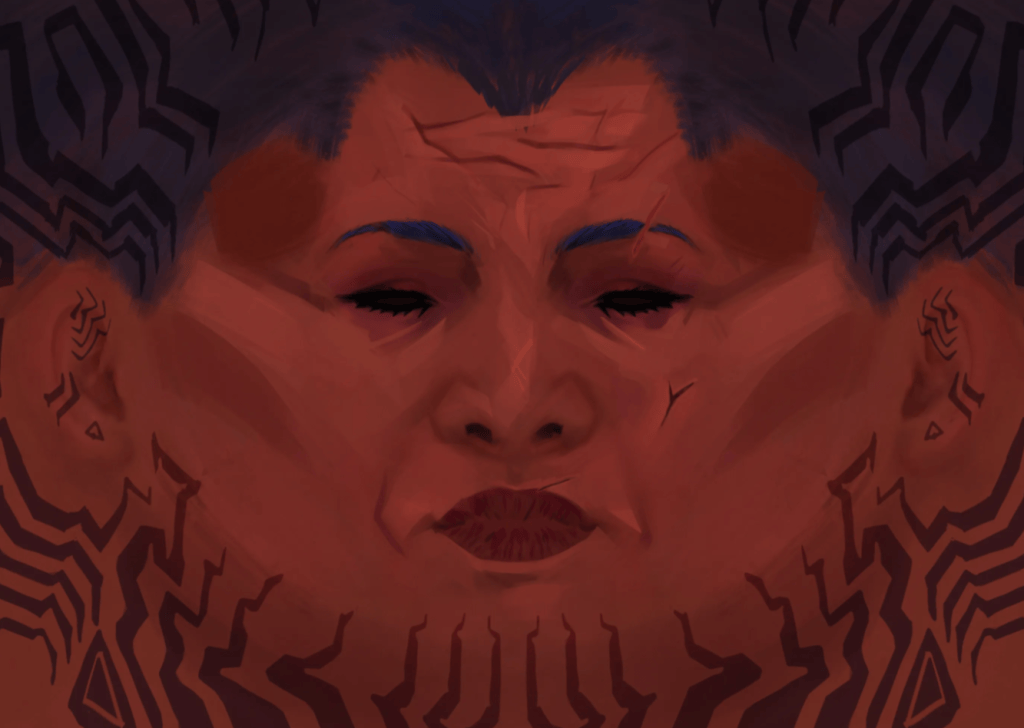
I think reference is very important, but for me, I have to start out with sketching a basic idea and then gathering some references later, once I have a core concept roughed out. For Karra, I knew she was a merchant with some mechanical /prosthetic elements and some sort of military history. I turned on the mirror option in Photoshop to speed things up and just started focusing on interesting shapes, odd proportions, and a visual flow. Once I had something that I was motivated to tackle, I moved to Character Creator to block in the general character proportions. To help, I brought in the sketch by placing it on a plane and lowering the opacity a little.
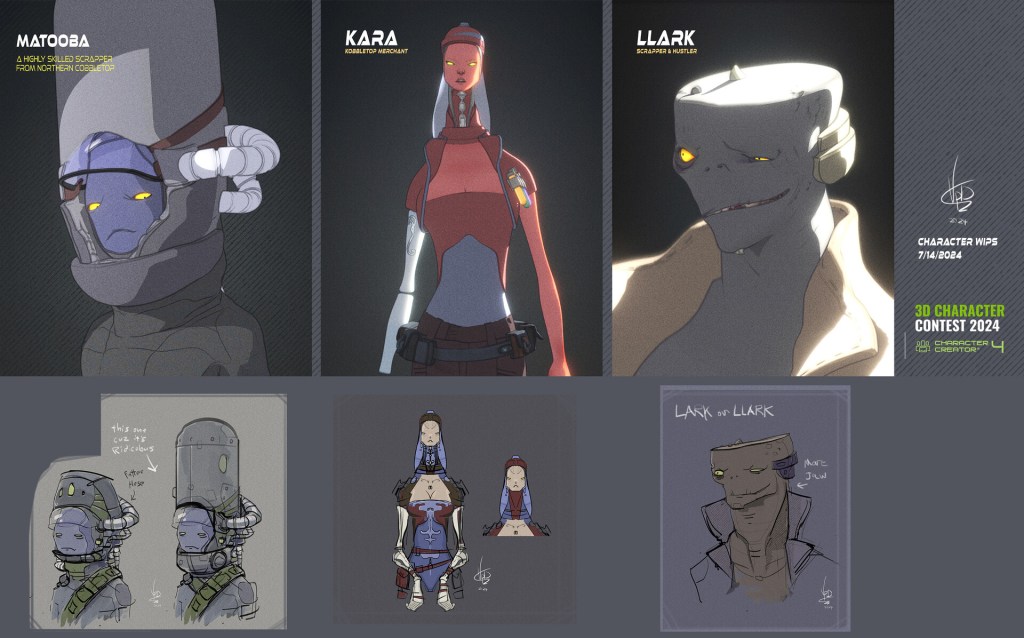
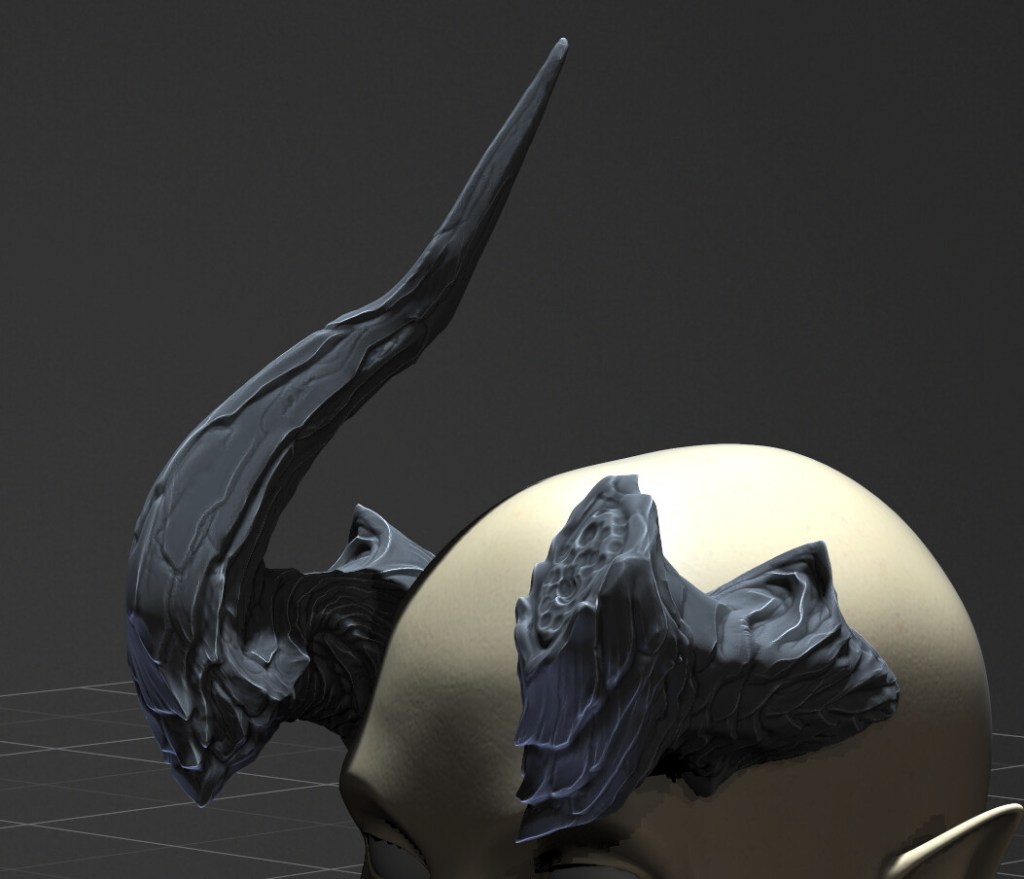
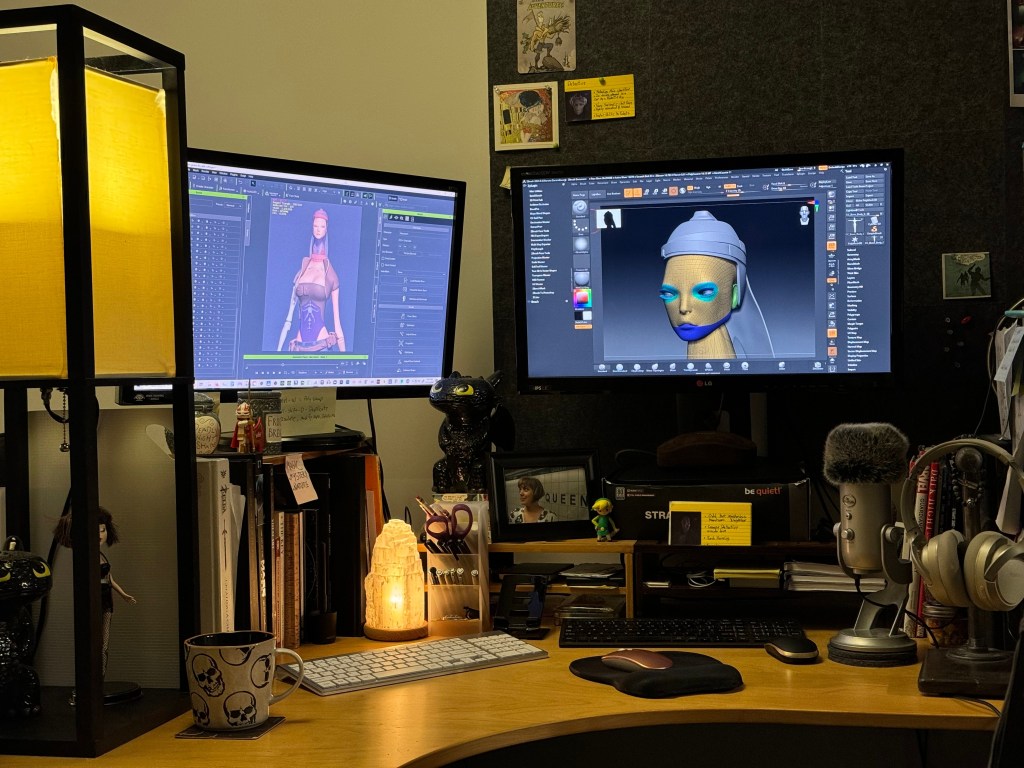
Once the proportions felt close enough, I used GoZ to sculpt the character’s face, clothing and gear. This is actually when I gathered a very small batch of references. Stuff to help inspire clothing details.

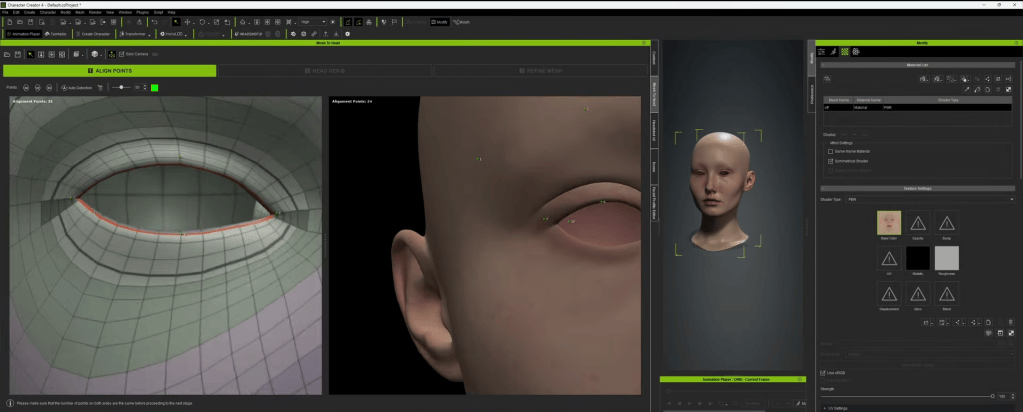
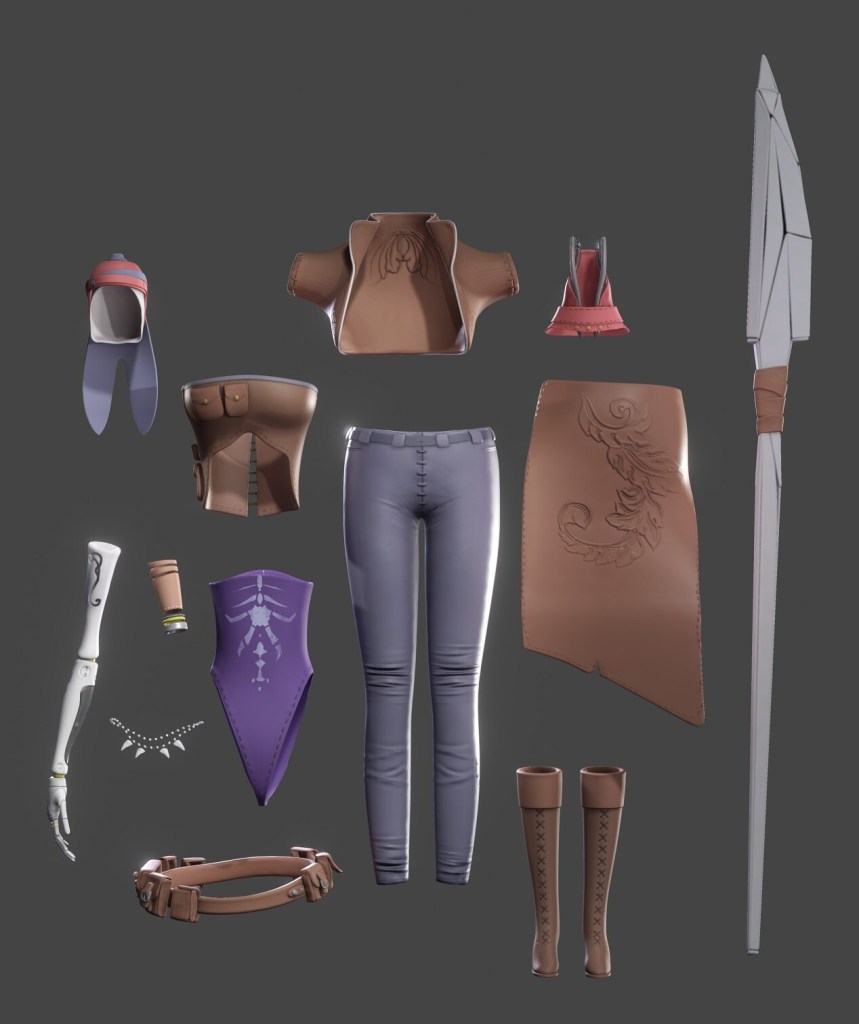
The GoZ+ Workflow is CC4’s super power. The whole character or just individual items can be sent to ZBrush, detailed and sent back and updated on the character. I was able to create all my character’s clothing by exporting the whole character and then using it as a template.
The beauty of GoZ+, is that you can subdivide your mesh, sculpt all your details and then use the GoZ+ menu to send the object’s base geo back to CC4 with all the details automatically baked into the Normal Map. One click and it does all the busy work. The same goes for poly-paint.
My tip would be to send stuff back to CC4 early, before you get into any detailing. The speed of the tool allows you to quickly test clothing and props out in the early stage, to see if it’s working. This is super important with clothing. You want to make sure it conforms and functions before you make it look cool. Send it back to CC4 and use a template animation to assess how things hold up. This tool helps you do that instantly.
ZBrush Sculpting & Face Tools
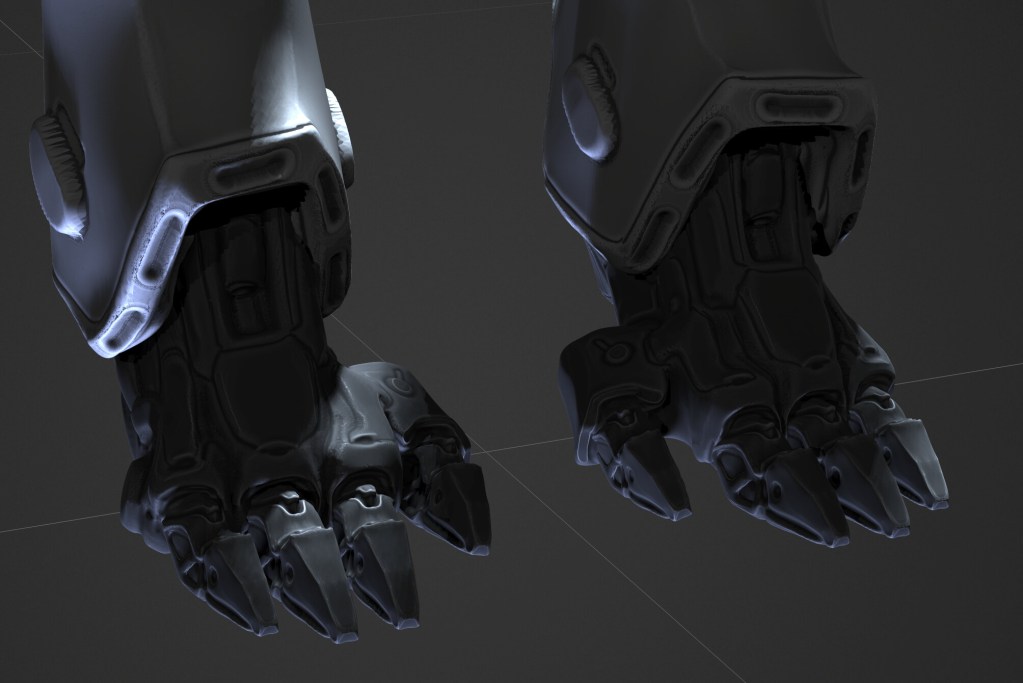
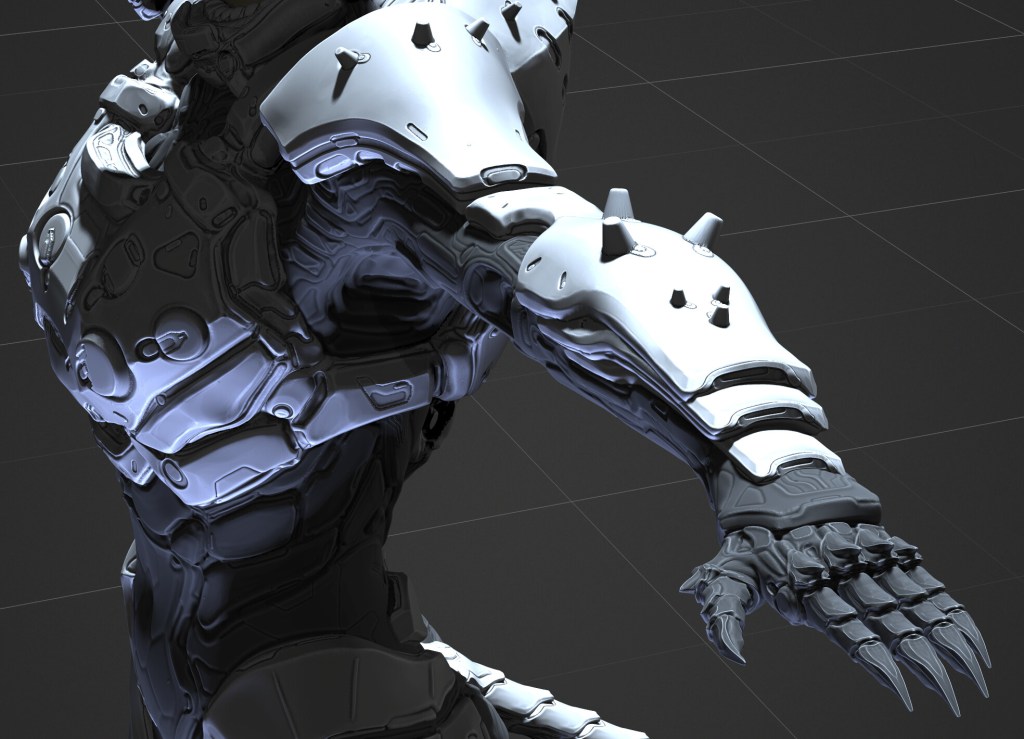
Largely, I use the common technique of extruding mask selections and then building off of the extruded geometry to make what I needed. A very important technique I learned from a tutorial by Nikolay Naydenov, is to extrude mesh without thickness, then at a super low poly stage, push and pull it like crazy into the shape you want and then use the Dynamic Subdivision tools to add thickness and subdivision as needed. If you add thickness or resolution too early, then it is very hard to push things around without distorting your clean edges. This really helped me make the jacket and many other things for Karra.
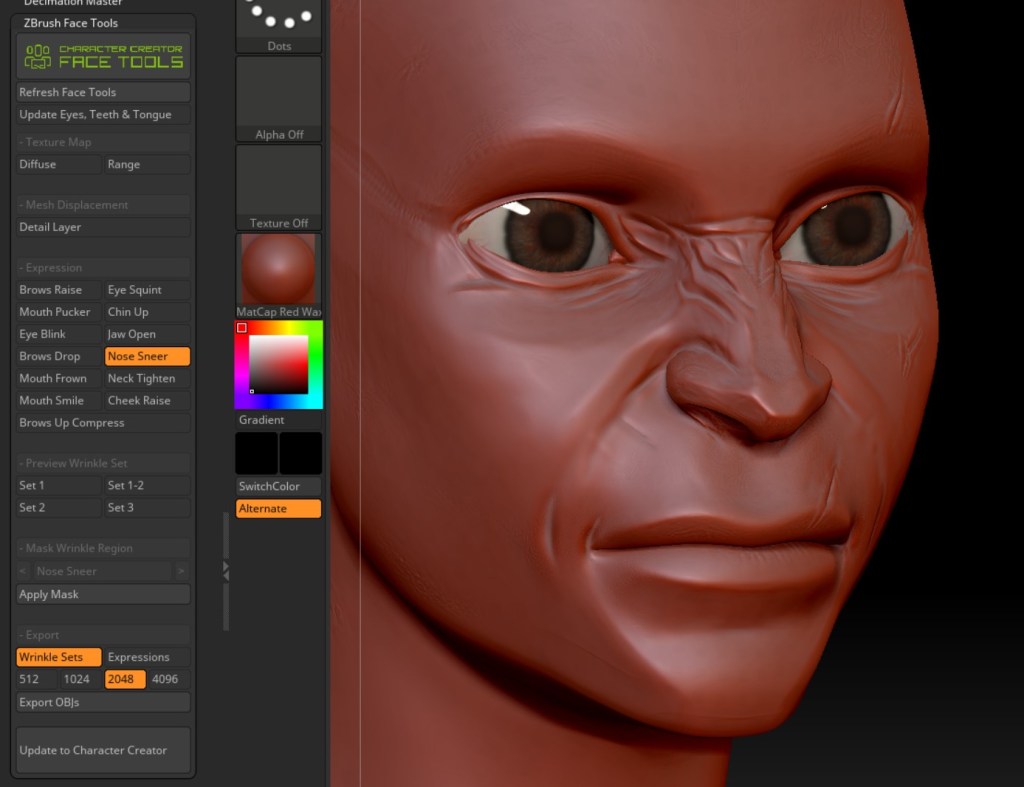
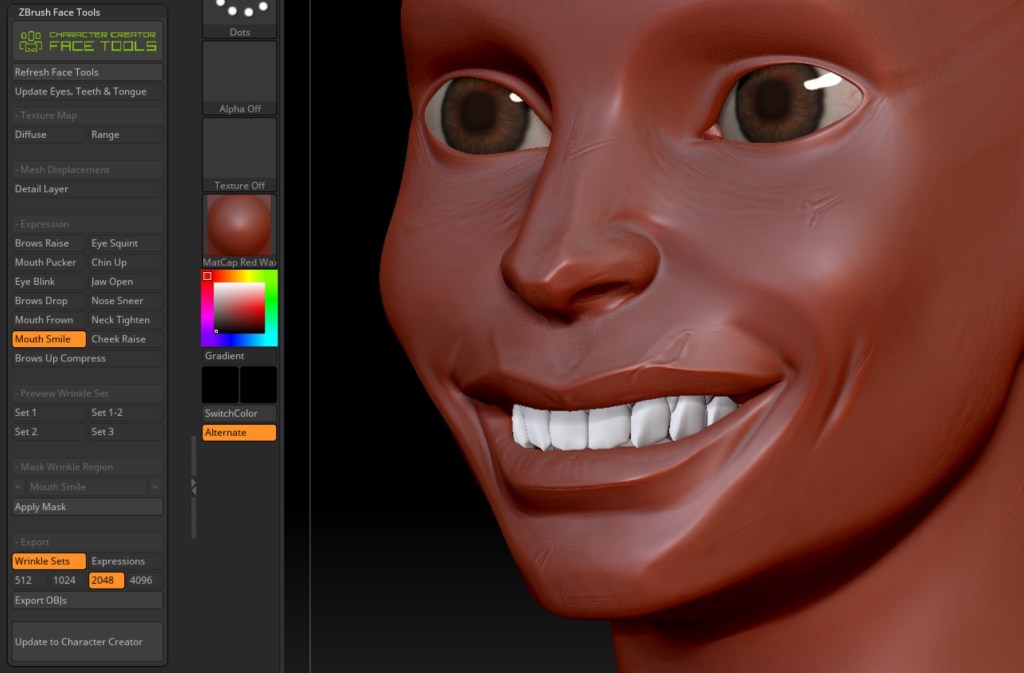
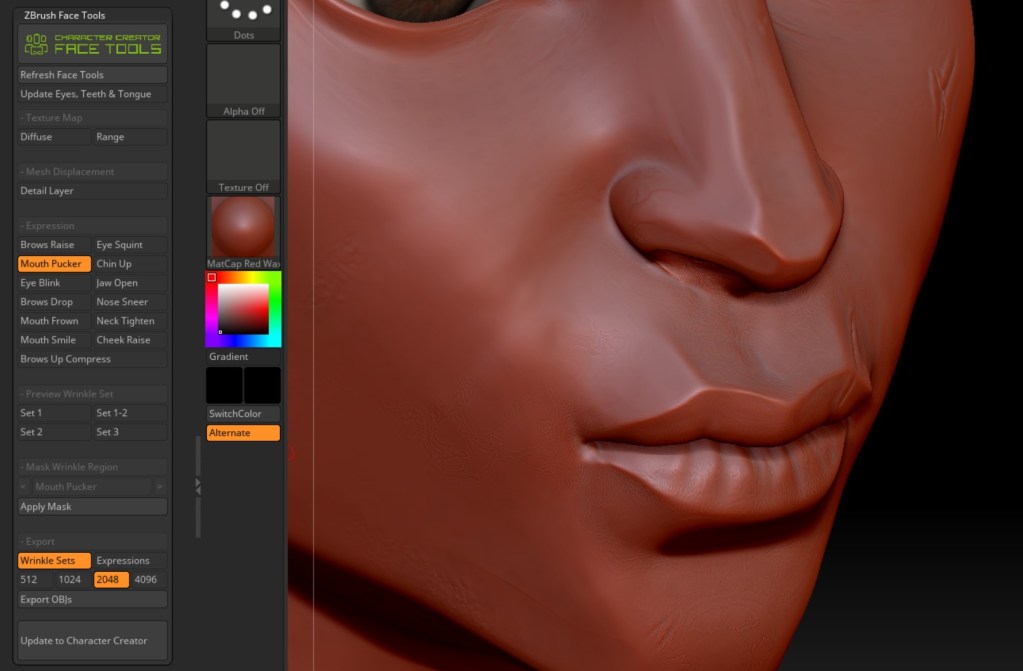
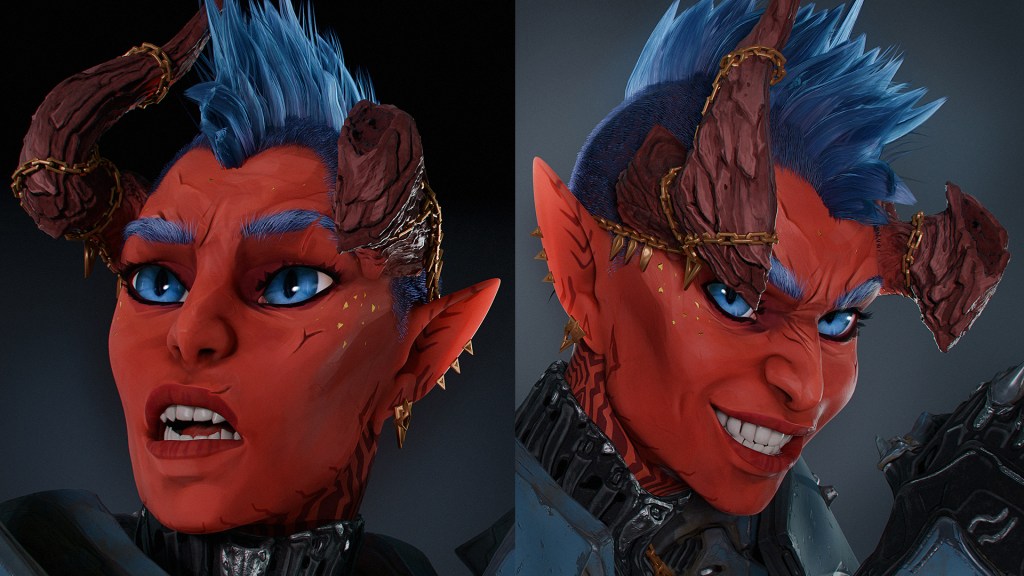
When I started the project, I dreamed a little too big and started making 3 characters. One of them was Larrk, a character that I envisioned having very extreme expressions. When I was working on him, I did several tests using ZBrush Face Tools to create custom expressions. I was super happy and excited about the possibilities, but I had to cut him from the project in the end. What I learned from those tests however, has me very excited to implement Face Tools in future projects.
Motion Capture: Body & Face
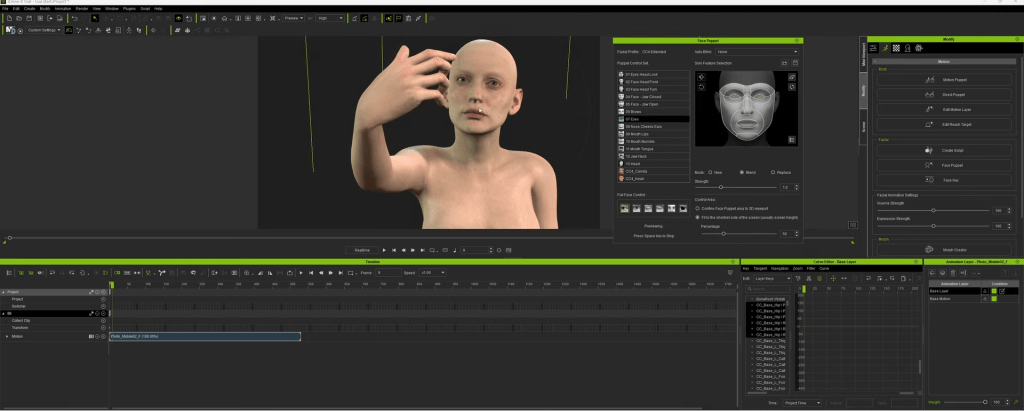
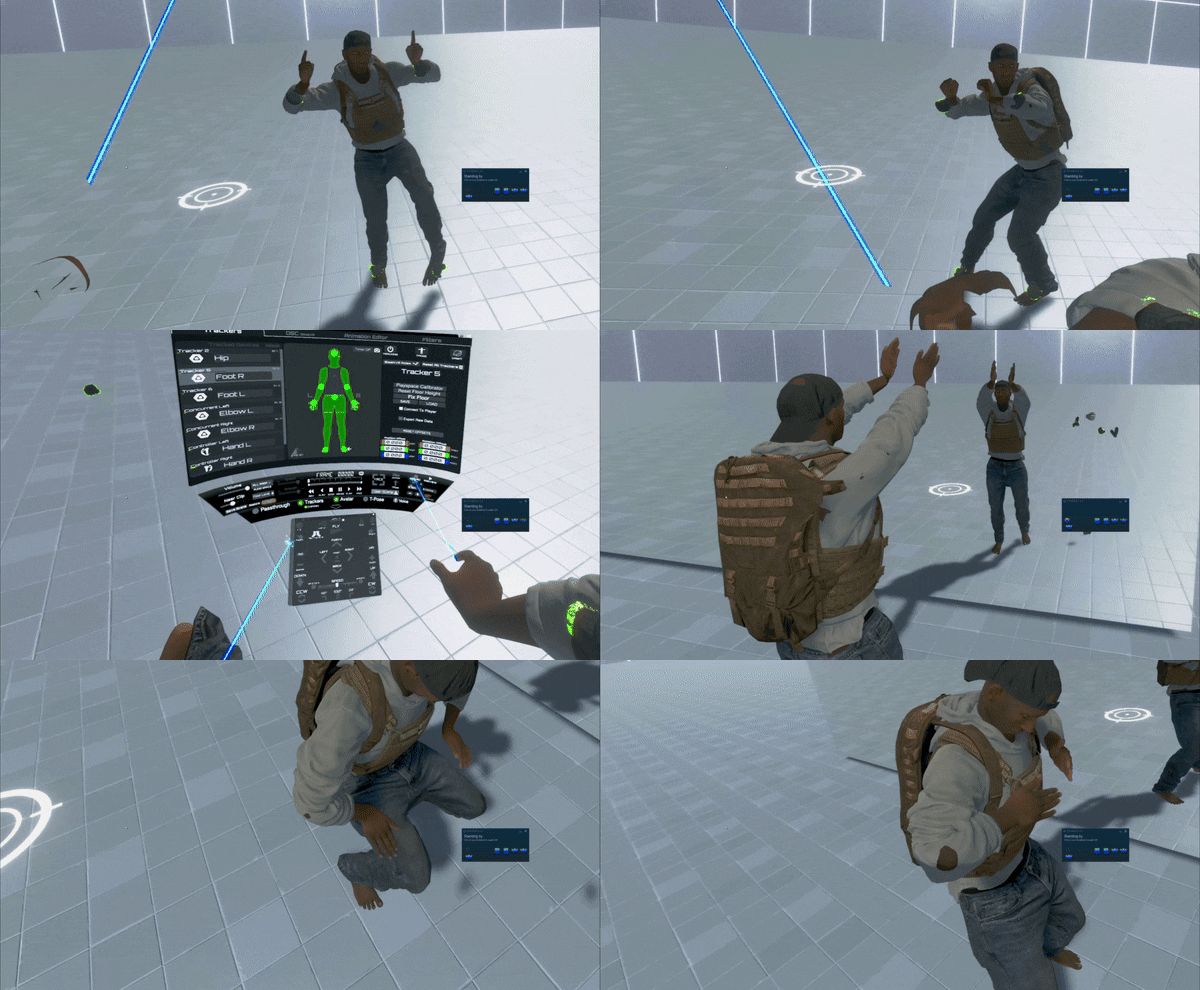
In addition to Accuface, I used the Perception Neuron Suit & Gloves for the character body motion. Nothing beats traditional key frame animation, but I think motion capture is very ideal if you are working solo and or have limited time. While mocap lends itself to realistic motion, you can go back in and enhance the motions in iClone or UE5 by adding in motion overlay layers and keyframing something to give it more impact or a desired exaggeration that can be lost in mocap.
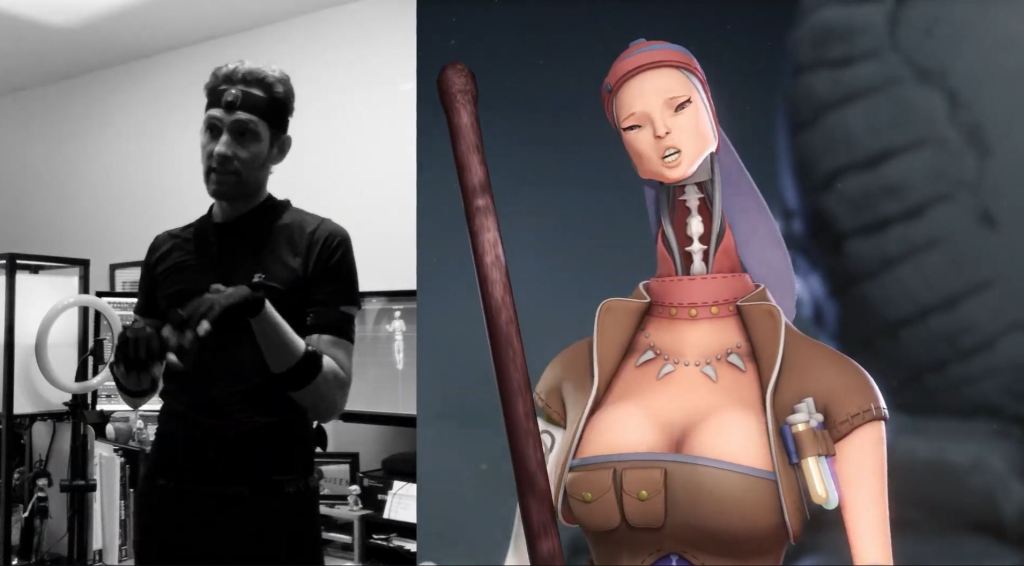

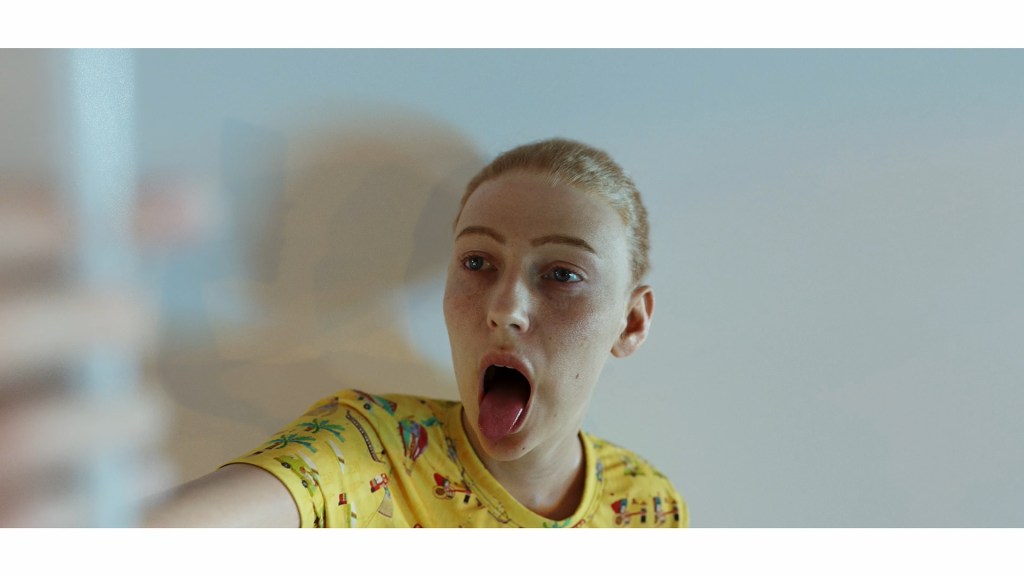
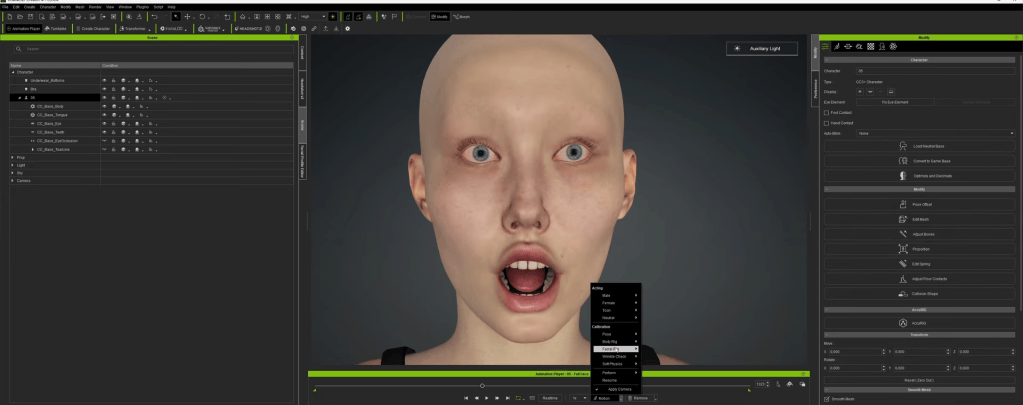
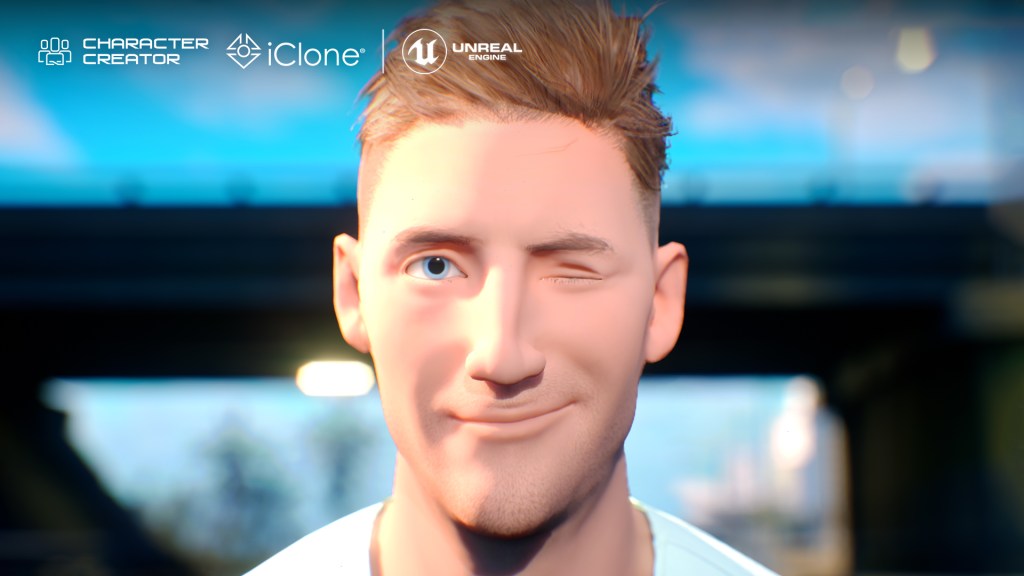
Accuface is superb. I had my wife do the voice acting for the character, so I had her record a video of her face while she did it. I used the video in AccuFACE to capture her expressions, lip sync and audio all at once. While I intended to go back and enhance some of the expressions manually, I didn’t, and it held up surprisingly well.

3D Props & Accessories
All the props were made by sending primitive shapes into ZBrush, detailing them slightly and sending them back. The pillar and the Dragon Egg were made very quickly this way.
I’m often guilty of trying to make everything myself, but I have learned to choose my battles. Don’t be shy to use pre-made props to save time. The pillar and the Dragon egg are basic examples. The pillar was a primitive shape I found in the base iClone & CC4 library. I sent it to ZBrush with GoZ+, detailed it, sent it back, and then duplicated it to make it taller. Boom, done. Same deal with the Egg; It was a free primitive shape with no detail. I downloaded it and ran it through the same process.
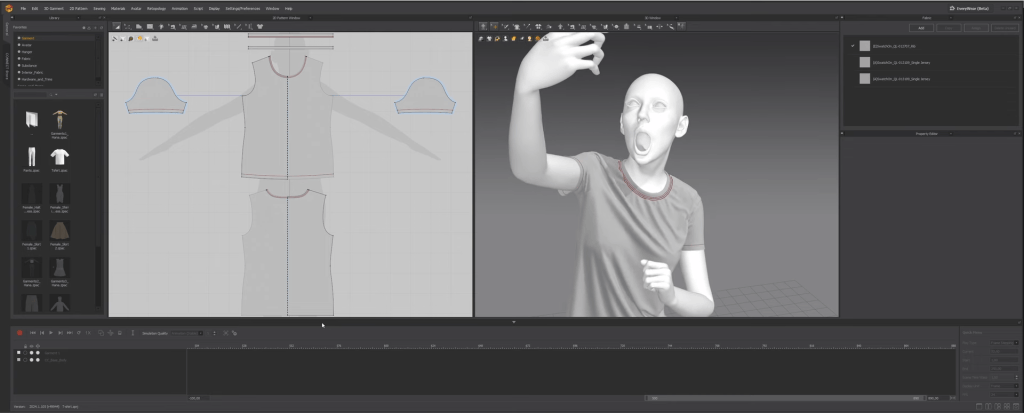
The same goes for character clothing and props. While I pushed myself on this project to learn how to make as much as possible from scratch, I think It’s smart to use base meshes to build off of. If you have a unique vision, you can still use any of the Reallusion library items to get your idea started. Glasses not quite as crazy as you want? Send them to ZBrush or Blender and make them into something new. Delete the textures on a jacket or dress and paint on the base mesh to turn it into something that matches your project.
Final Render and Composition
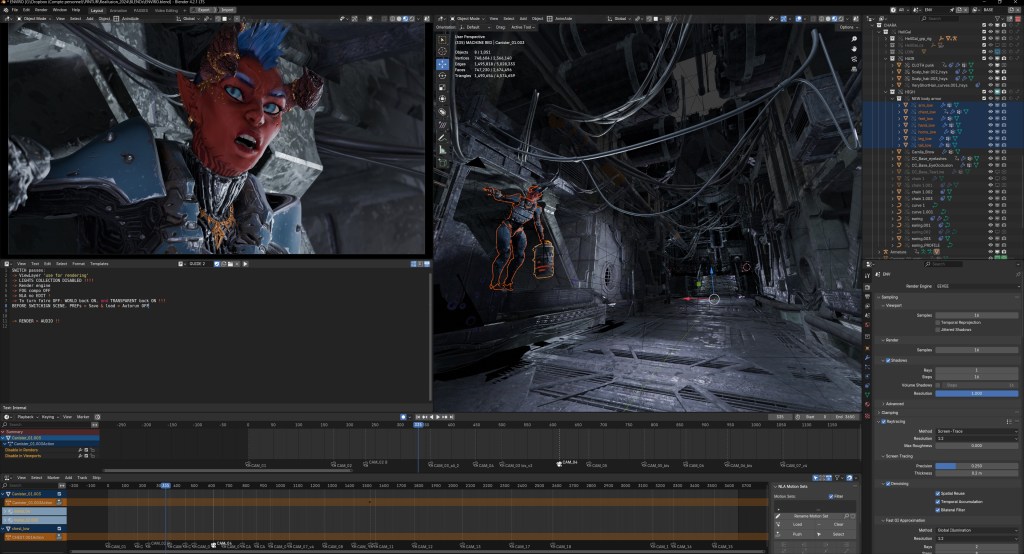
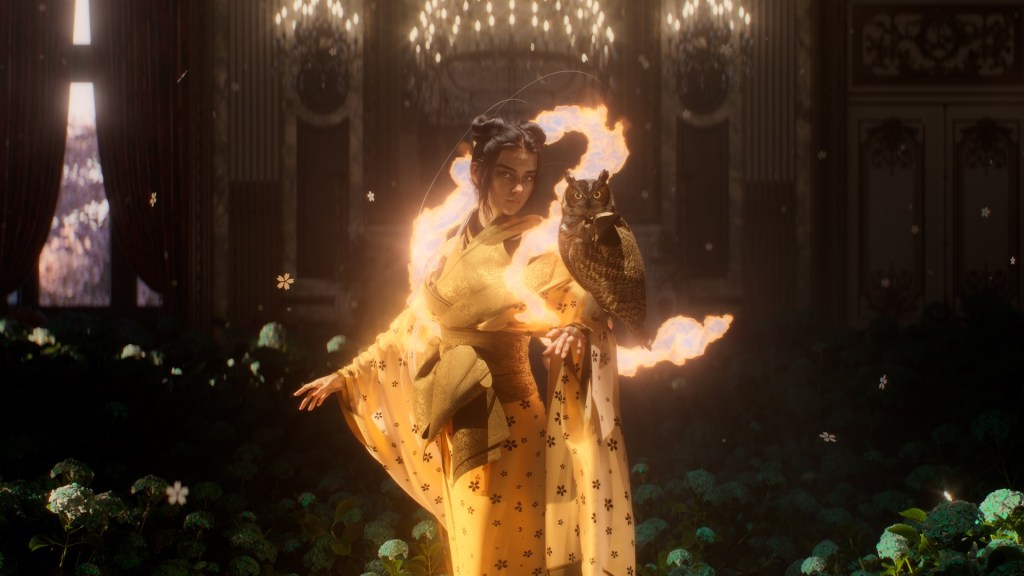
NPR rendering had a very important role in this project, even though my final presentation didn’t use it. I started the project with the intention of developing an NPR workflow. A long way in, I ran into some issues that I needed extra time to solve, so I leaned into a traditional render in the end.
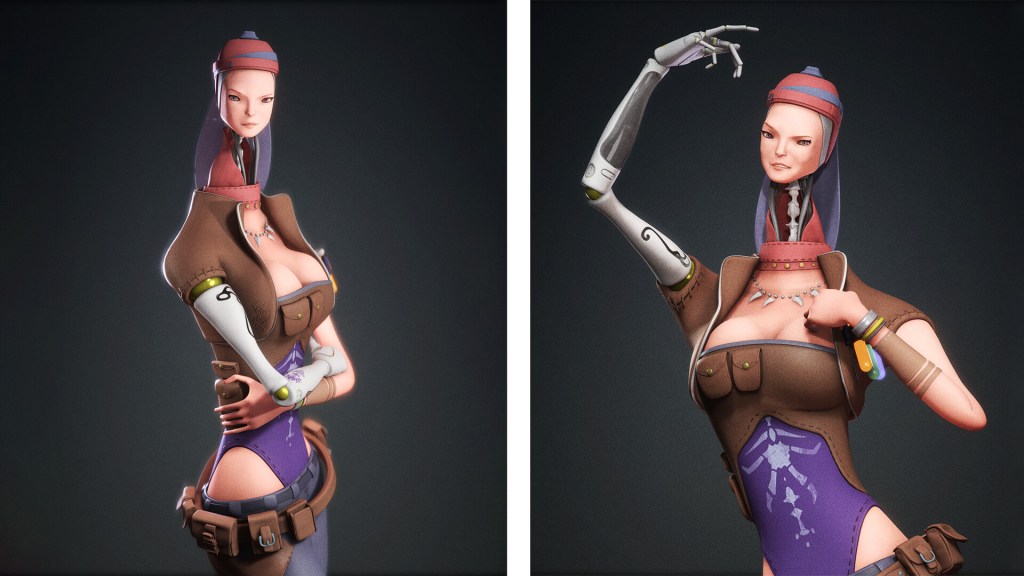
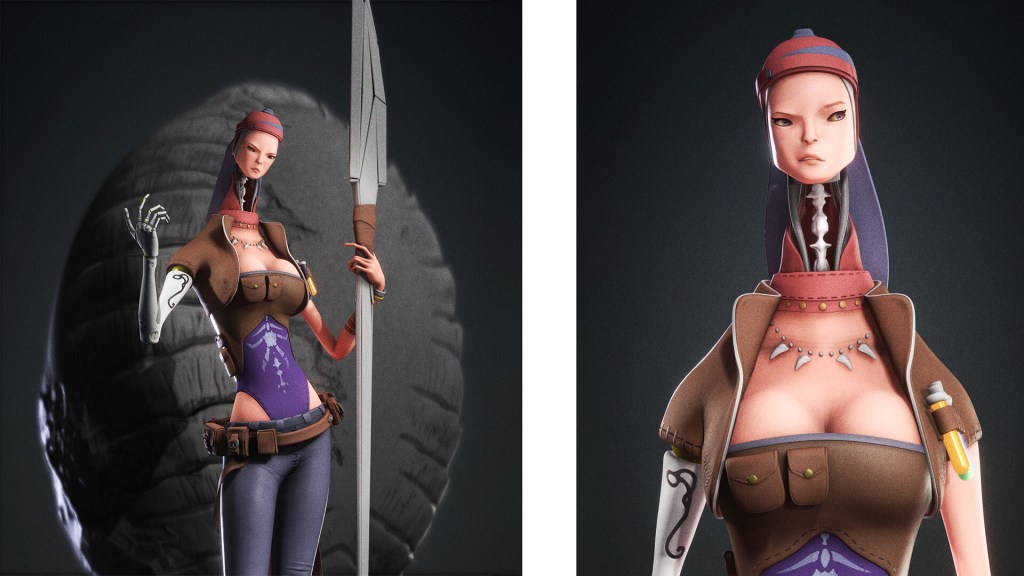
What I got out of starting with the NPR line art style however was an interesting workflow for quickly iterating ideas. If I got any ideas that were not in the original concept sketch, I could render out an NPR still frame and paint on top of it quickly.
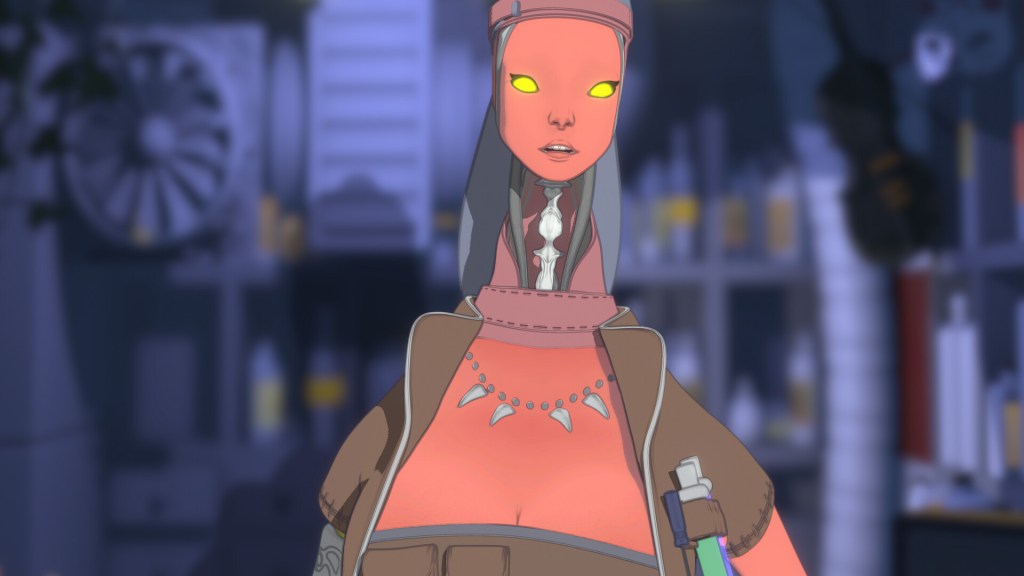
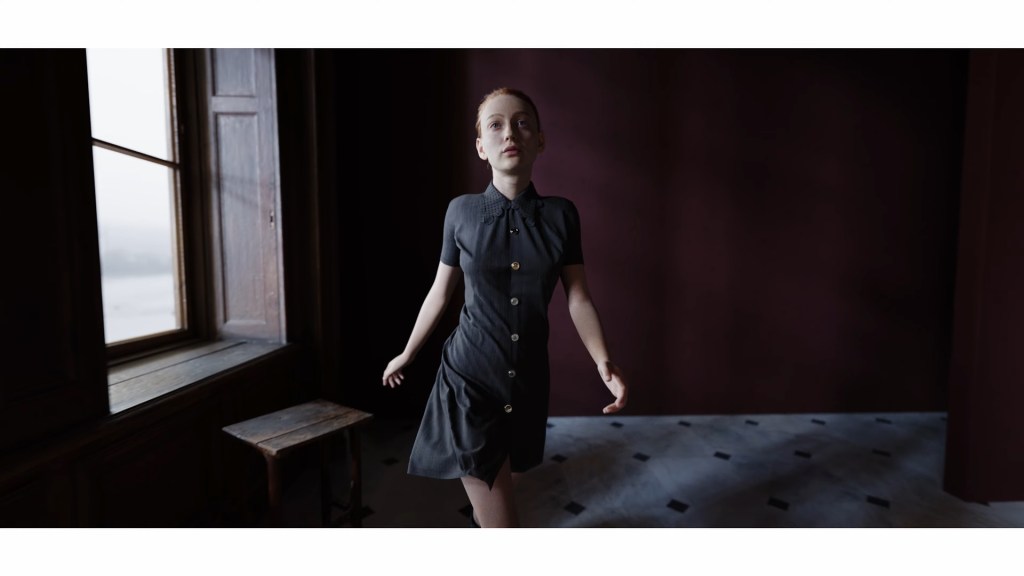
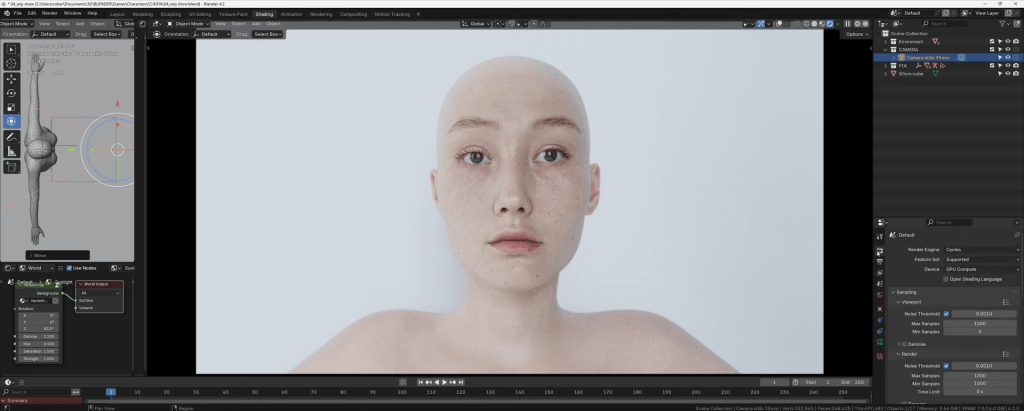
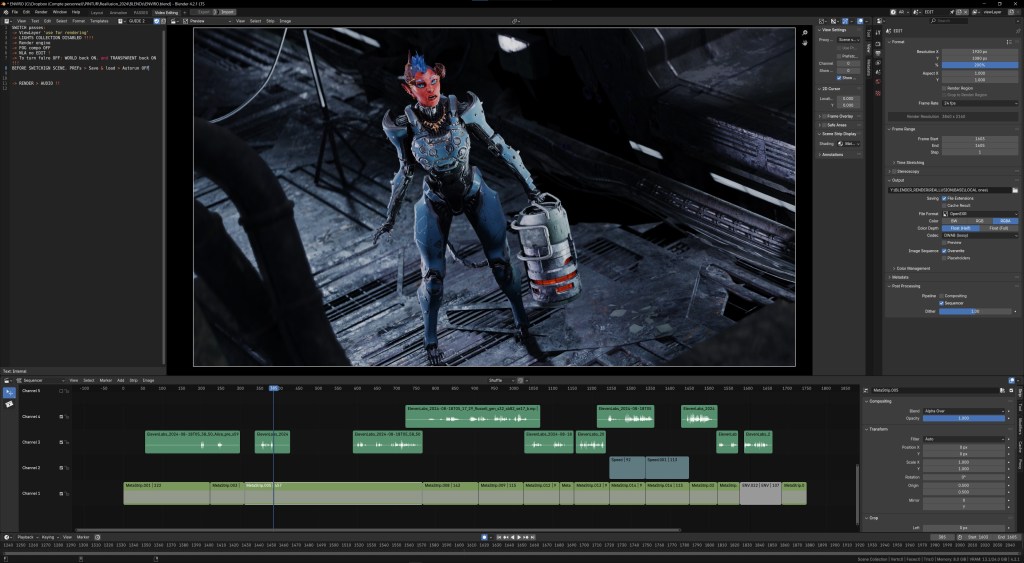
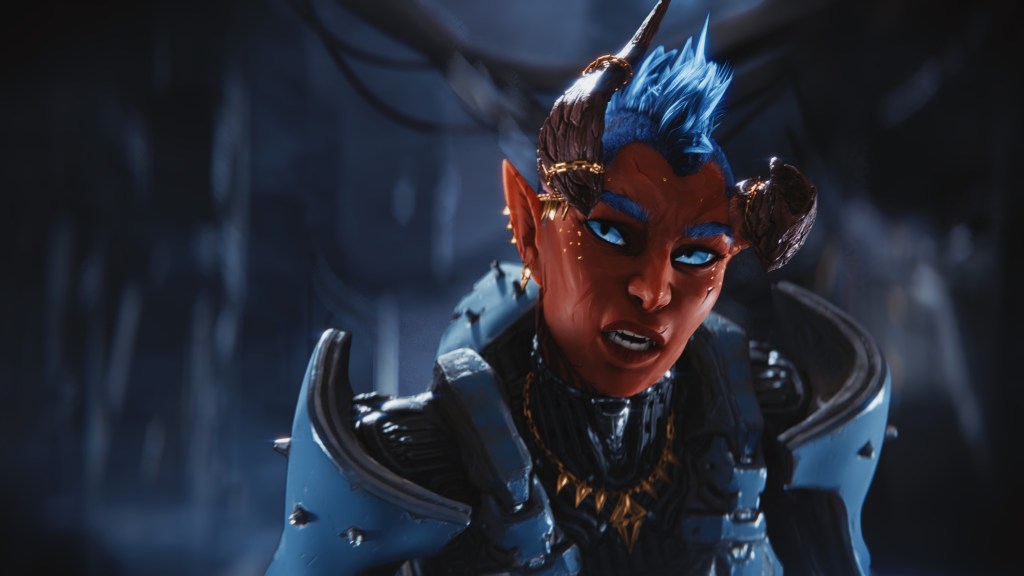
For the final, I focused on a streamlined workflow and set everything up to render out of iClone in one pass. I actually took too much time initially setting up a whole scene that looked like the aftermath of a battle. In the end I decided to stick with a single camera view and relied on the lighting and camera defocus to produce the look I wanted for the final render.
Thoughts on the Contest
My advice to anybody joining or considering joining future Reallusion 3d contests, would be to go into it with a mindset of pushing yourself to learn and grow. Having a solid workflow is very important, but there is nothing wrong with using the challenge to help develop a workflow. Put time into something outside of your comfort zone. Many of the elements in my design were born from me stumbling about and trying to solve something that I had not tackled before. Whether all those elements were Successful or not, I came out of it with a much more refined workflow that allows me to bring my ideas to life with far less struggle.
Character Creator is a powerhouse. You can adapt it into your workflow as you see fit. Alone it’s capable of producing incredible characters, but if you combine it with any modeling or sculpting program, it’s a total dream.
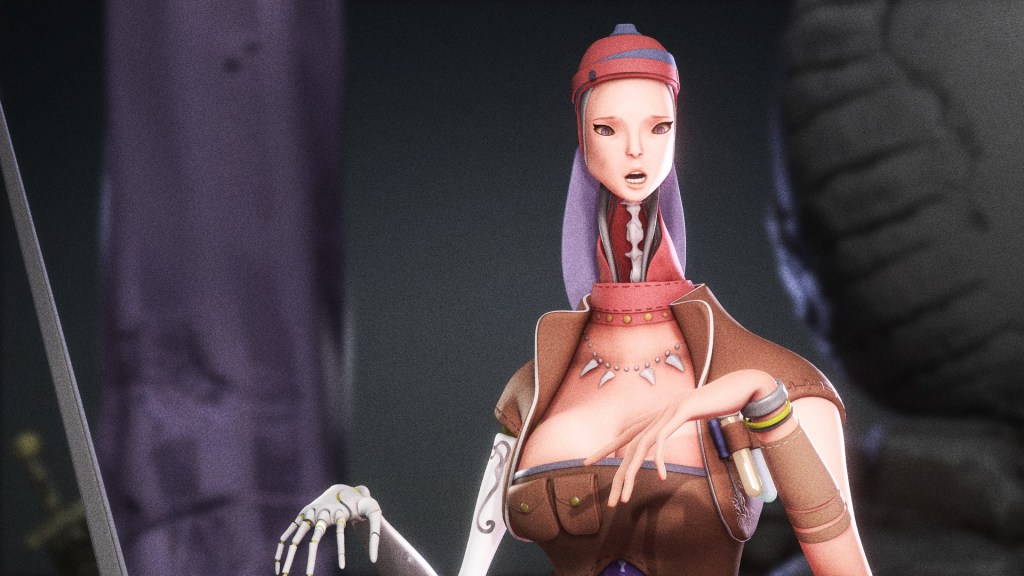
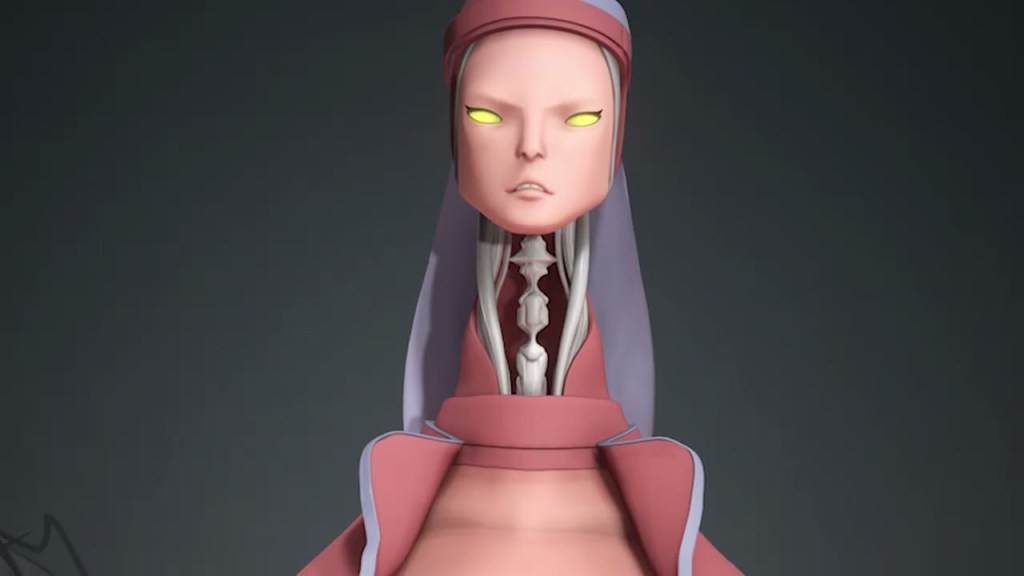
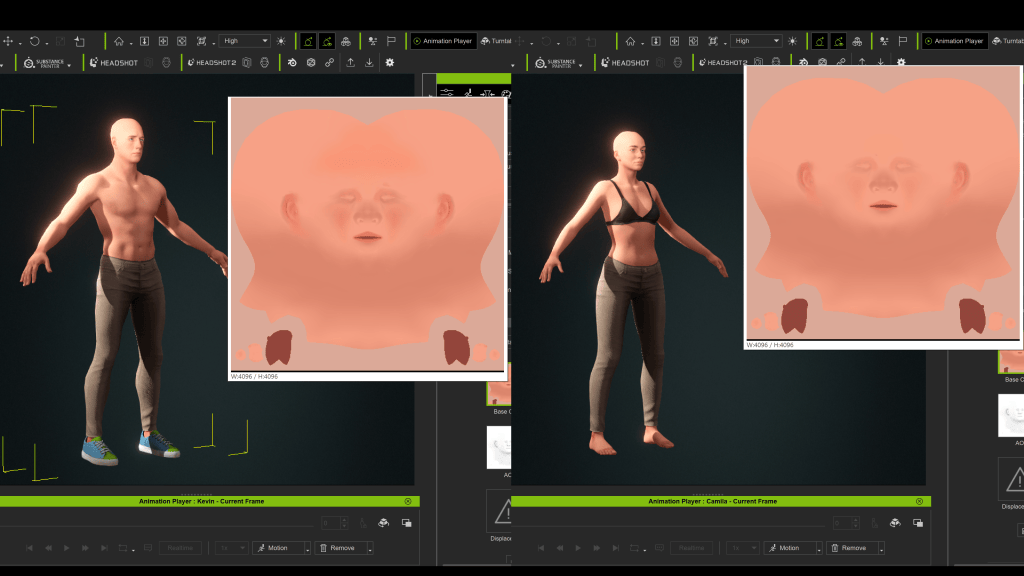
For me, CC4 serves many uses. One of those is the library system. Anything I create can be saved to the library and used on future characters; clothes, props, skin textures and body morphs, etc. Everything can be quickly accessed and applied to other characters.
Varuna Darensbourg, Stereo Compositing Supervisor at SDFX Studios
Additionally, you can instantly test animations on your characters right inside CC4 to see if things are working before exporting them to other apps or sending them to iClone. Simply fantastic!
Related Posts
- Winner Select: Placing First in Stylized Animation with Face Tools and Blender Pipeline
- Winner Select: Leveraging Rokoko Mocap & iClone for Delicate Character Animation