Overview
Building a Cinematic Survival Horror Game Without AAA Resources
Creating a cinematic survival horror game is demanding under any circumstances. For indie developers working nights and weekends, it can feel almost impossible.
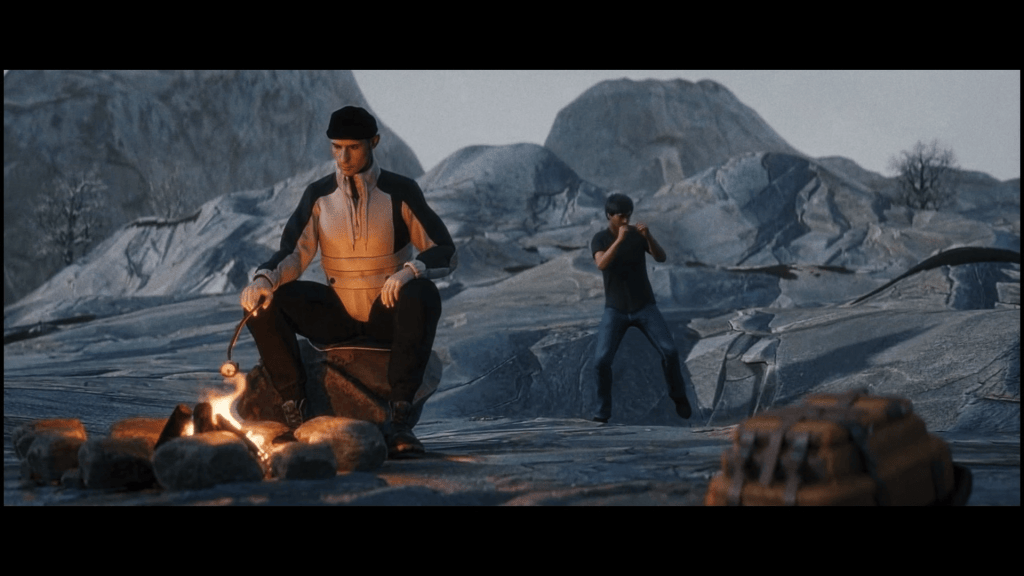
Dragon Level Studio — a three-brother team balancing full-time jobs — set out to build Connection: The Nightmare Within. Without a large animation team, without outsourced character artists, and without AAA budgets, they still delivered a game featuring fully voiced cutscenes, dynamic camera systems, and high-quality characters using Character Creator, iClone, and Unity Auto Setup.
The key question was not whether they could build the game. It was whether they could finish it.
The Team Behind Dragon Level
Dragon Level Studio is composed of three brothers based in LA, USA:

David – the eldest, with a cinematic background. He handles lighting, coding, and is also a music producer, shaping the game’s atmosphere both visually and sonically.
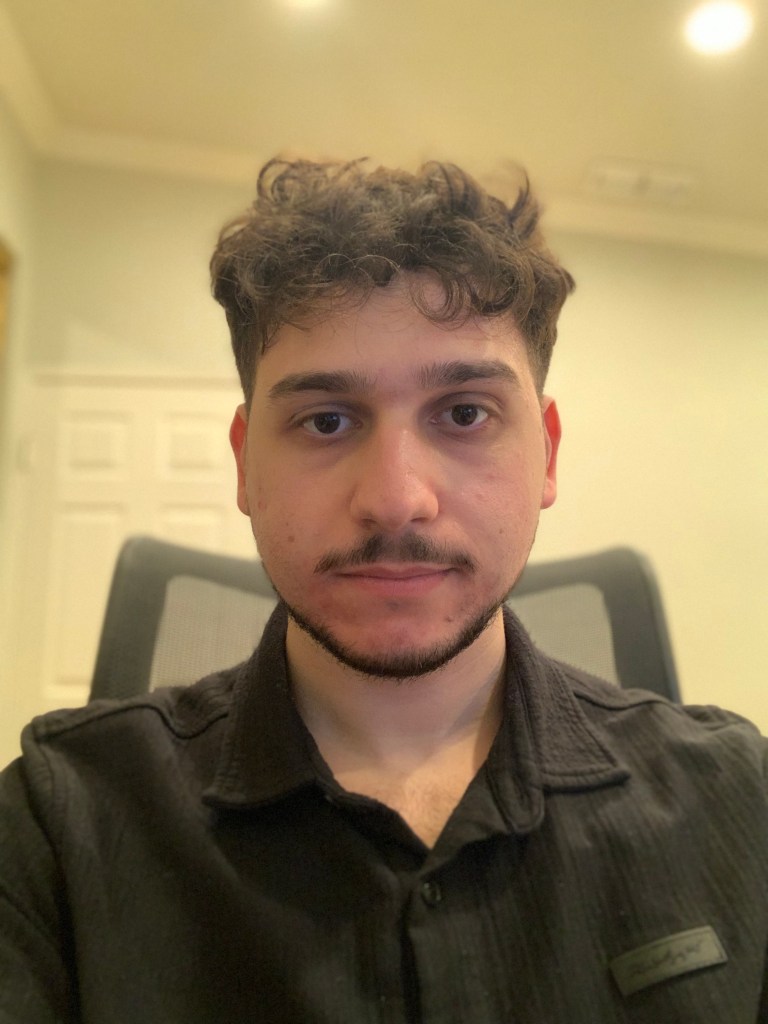
Armen – an engineer fluent in C#, which naturally led the team toward Unity as their engine of choice.

Paul – supporting across multiple areas and helping wherever production required. He also handled much of the playtesting, helping the team catch bugs earlier.
All three maintain full-time jobs while dedicating significant personal time to the game. Their motivation? A shared love of horror games, especially the classic era of survival horror.
That passion eventually turned into a serious production effort.
About the Game
Connection: The Nightmare Within
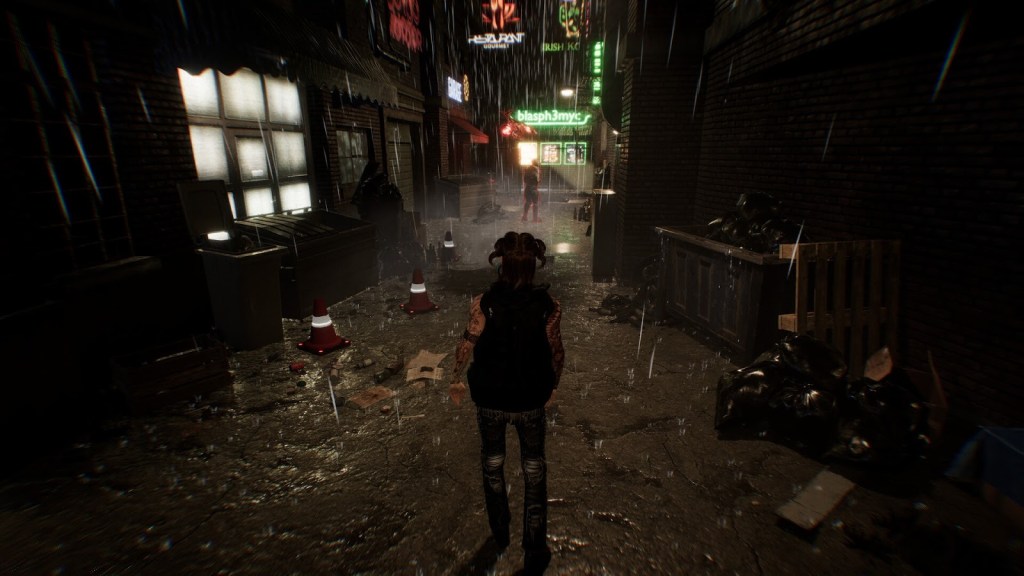
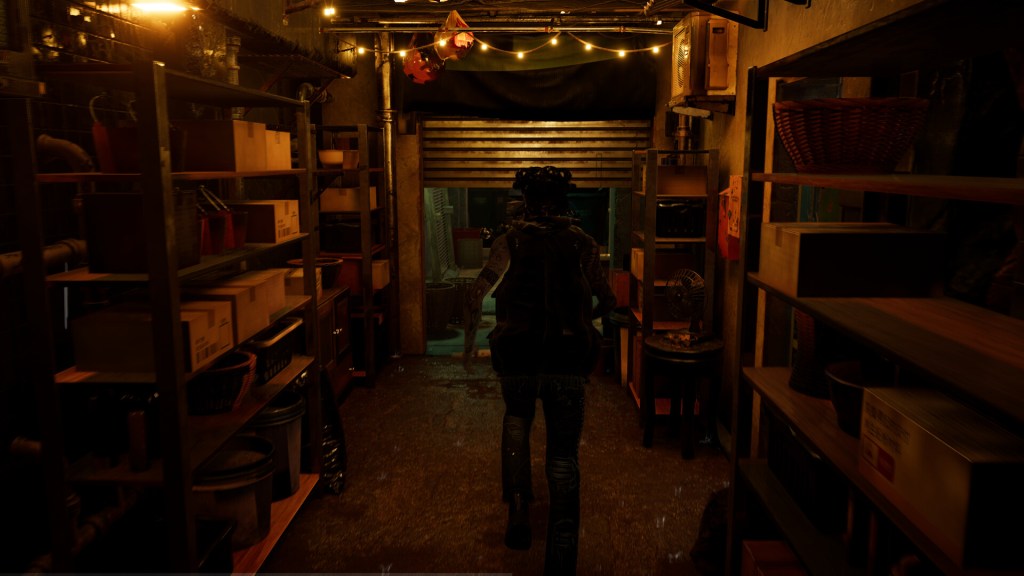
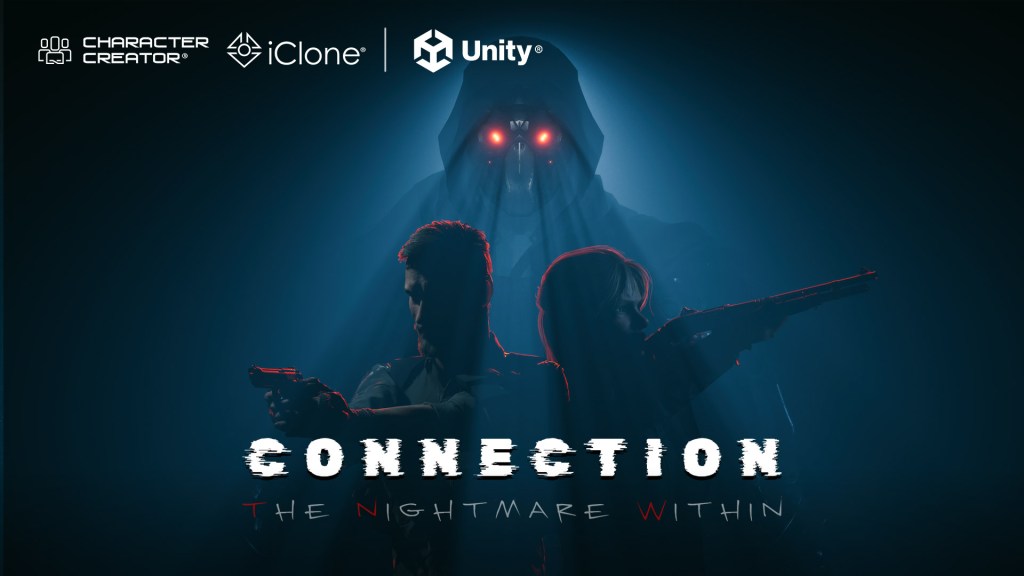
Connection: The Nightmare Within is a narrative-driven survival horror game inspired by classics such as Resident Evil, Silent Hill, and Alone in the Dark.
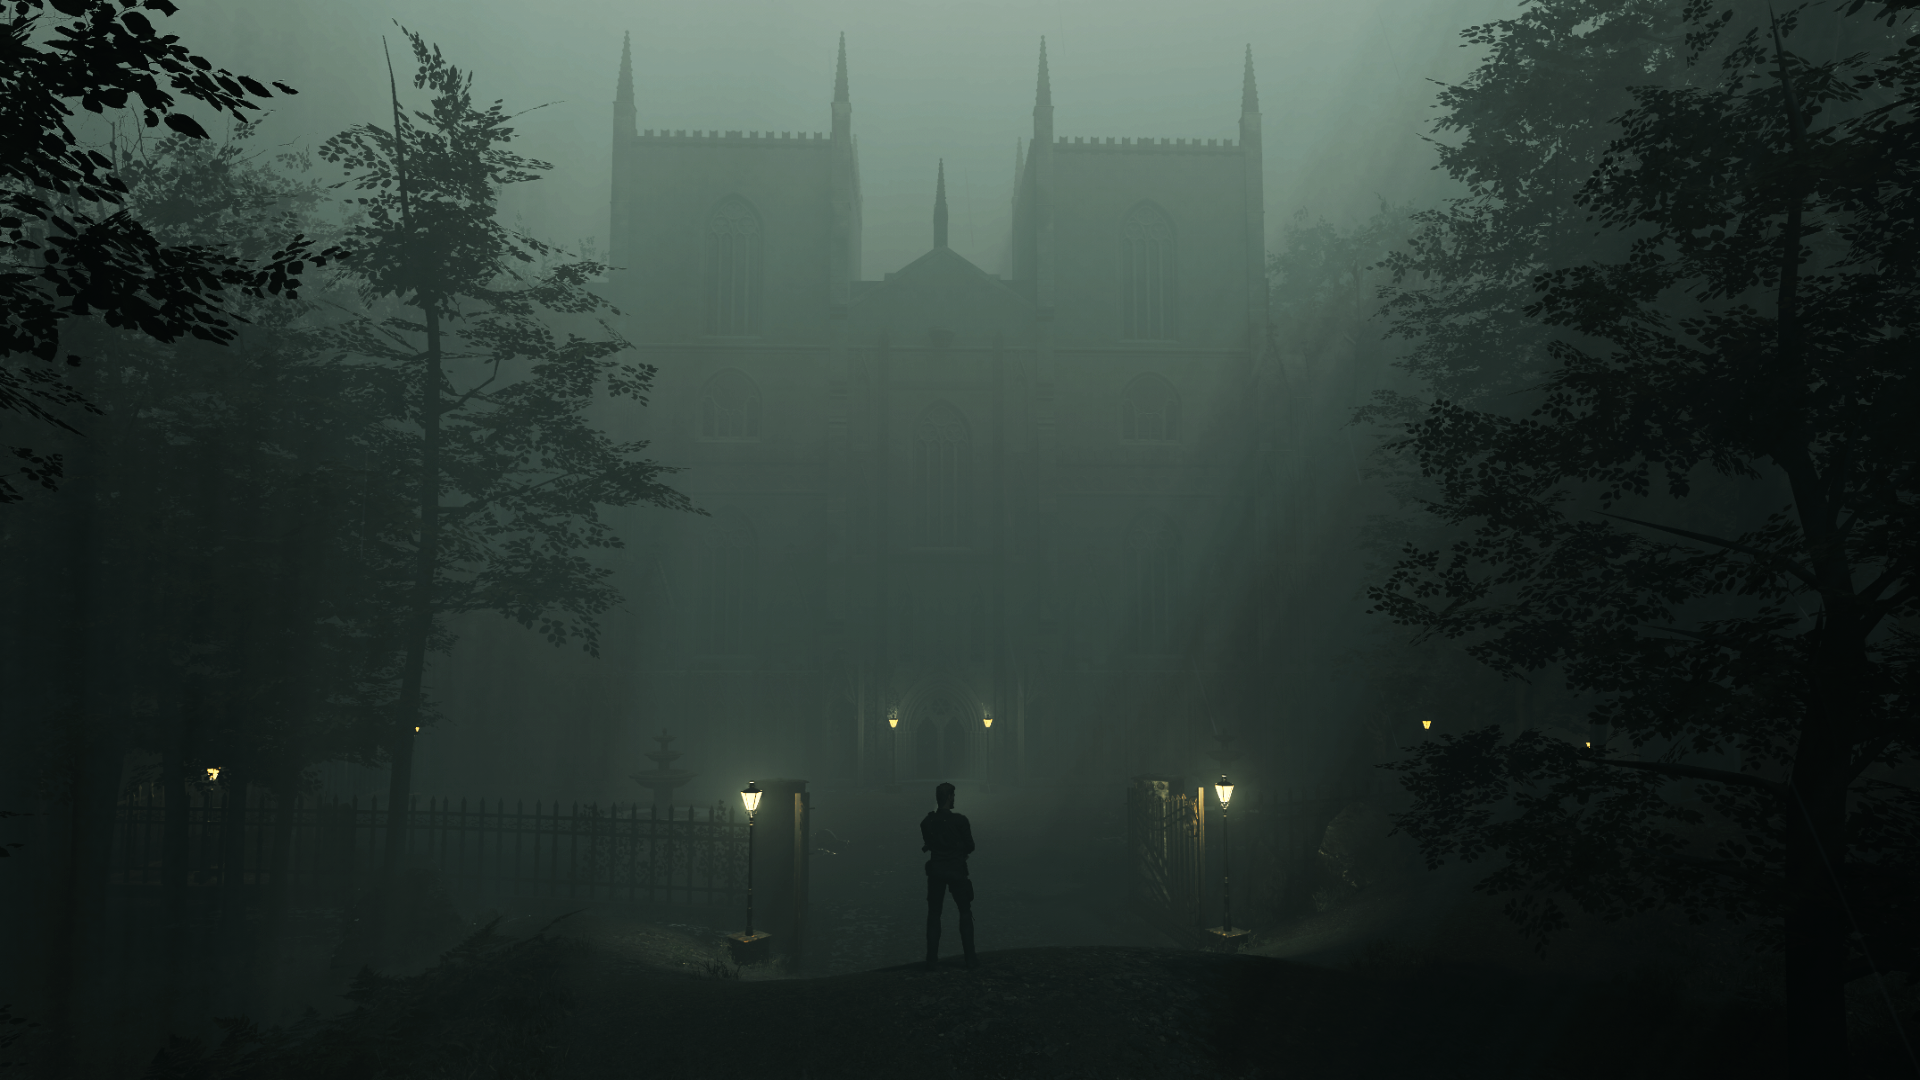
Players take on the role of Detective Stone, who becomes entangled in a shadow conspiracy while investigating a mysterious case. To uncover the truth, Stone uses experimental technology that allows investigators to enter the subconscious minds of criminals.

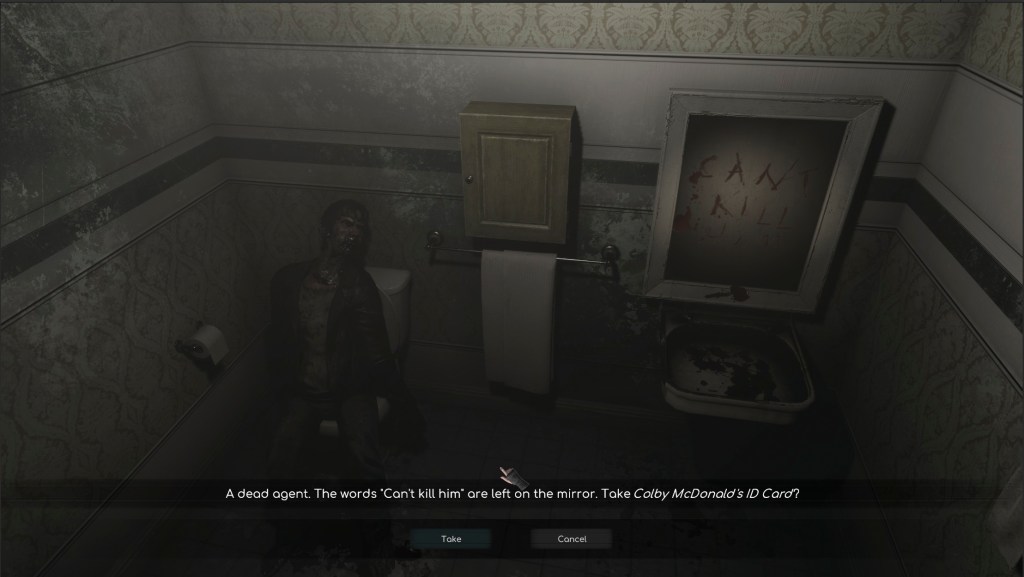
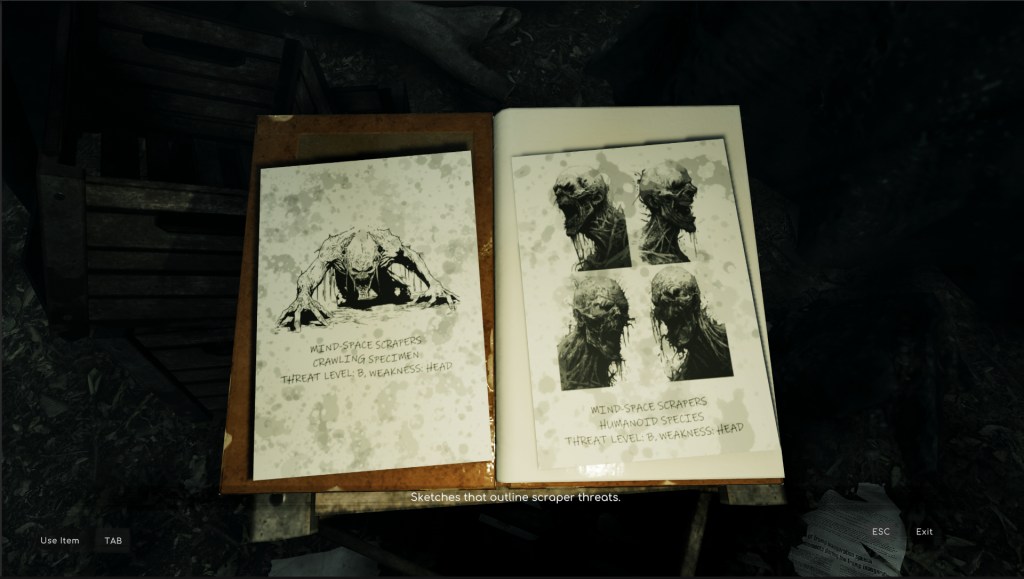
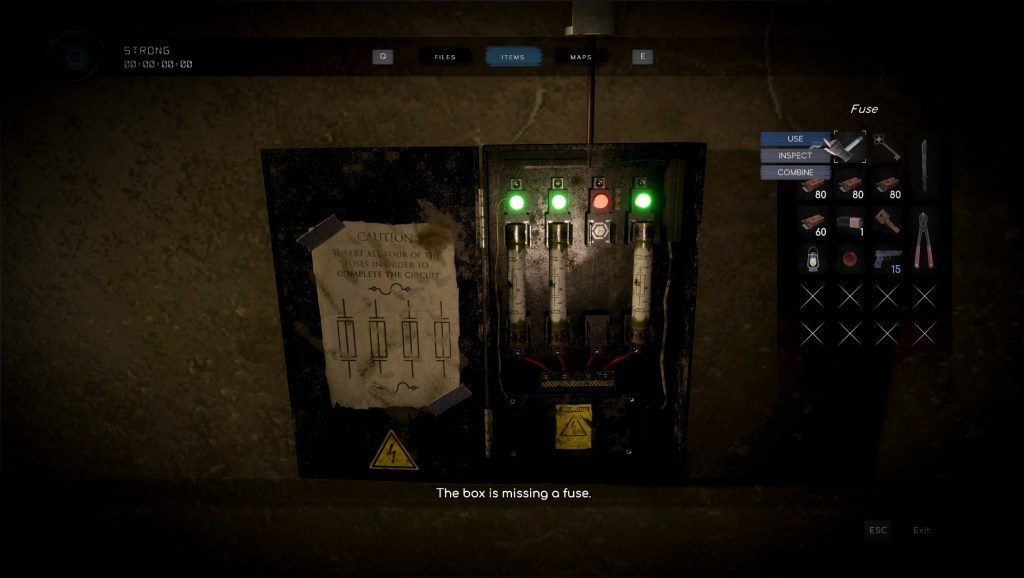
Inside these distorted mindscapes, players explore atmospheric environments, solve puzzles, and battle creatures that embody the fears and memories of the suspect. As the investigation progresses, fragments of the conspiracy begin to surface, gradually revealing a larger story hidden behind the crimes.

“Without a large animation team, without outsourced character artists, and without AAA budgets, they still delivered a game featuring fully voiced cutscenes, dynamic camera systems, and high-quality characters using Character Creator, iClone, and Unity Auto Setup.”
Dragon Level Studio – Game Development
Two Generations, Two Camera Philosophies
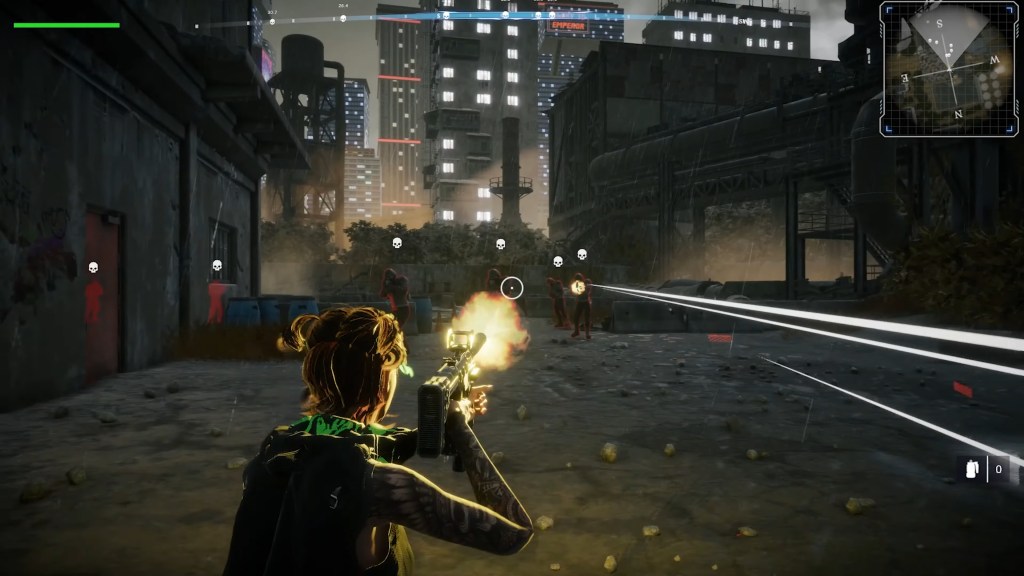
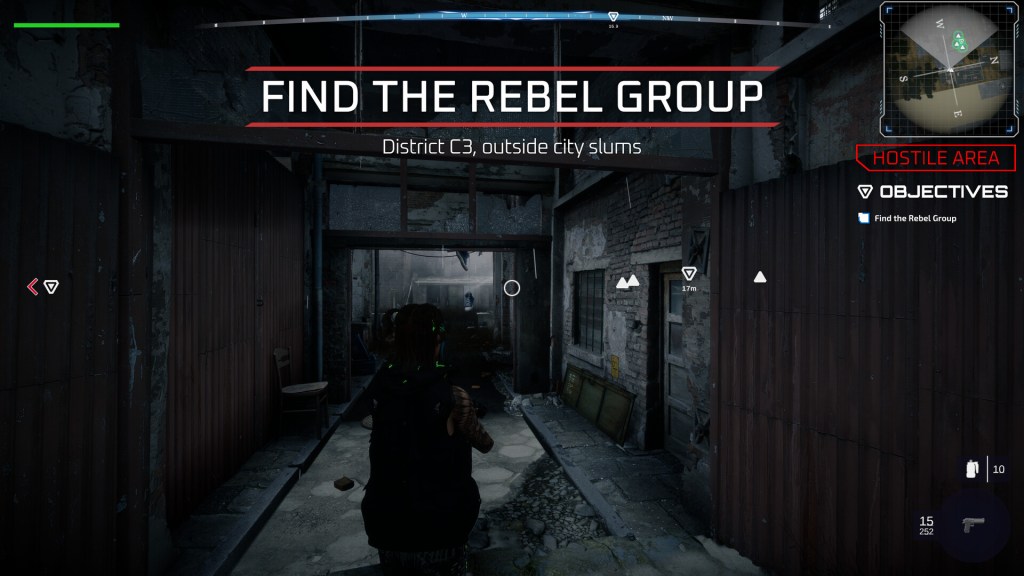
One of the game’s distinctive features is its camera system. Players can switch between a classic fixed-camera mode and a modern over-the-shoulder perspective. The idea actually originated from a creative disagreement between the brothers themselves.
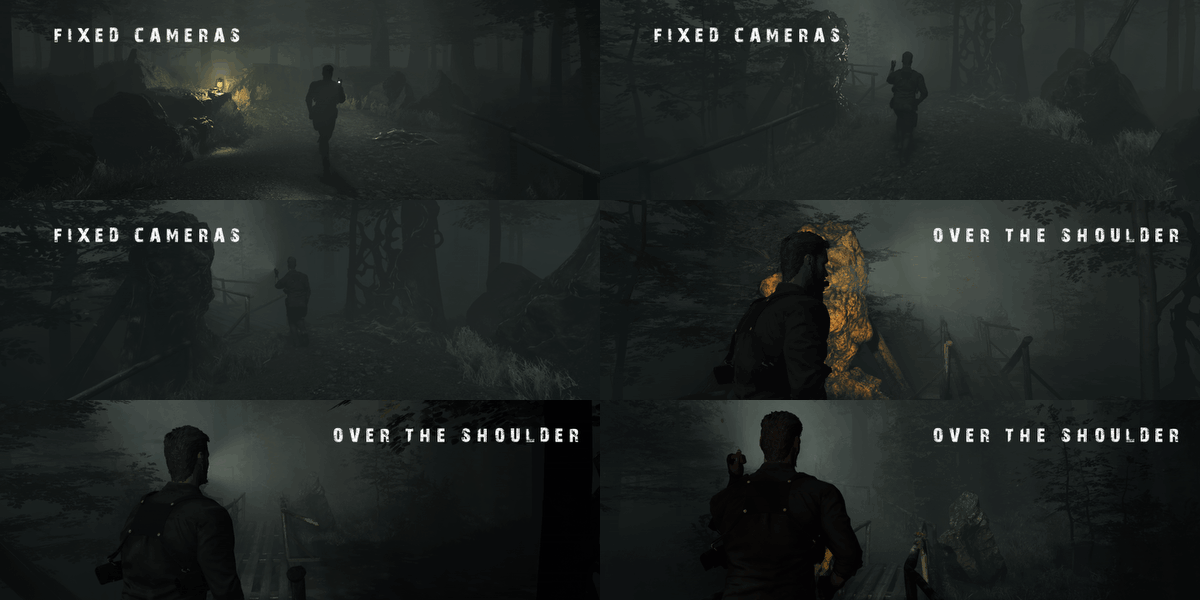
David preferred the cinematic tension created by fixed camera angles, which allow scenes to be carefully framed to control pacing and atmosphere. Armen, who is nearly 12 years younger, grew up playing FPS and modern action games and strongly preferred an over-the-shoulder perspective that gave players more direct control.
Rather than forcing a compromise, the brothers decided to support both approaches and let players choose their preferred style. In the end, the hybrid system became one of the game’s distinctive features. As the team put it, “it turned out quite well.”
The Reality of Low-Budget Development
Building a cinematic horror game as a part-time team introduced two major constraints: time and budget.
Time
Since all three brothers maintained full-time jobs, development mostly happened at night and on weekends. This meant every part of the production pipeline had to remain efficient. Long iteration cycles, complex asset rebuilding, or repeated outsourcing revisions would quickly slow progress and threaten the completion of the project.
Cost
Character production quickly became one of the most expensive aspects of development. Initially, the team experimented with purchasing premade characters, but customization often required additional work, such as new shape keys, rig adjustments, and other modifications.
Outsourcing a base character might cost roughly $300, but once custom shape keys, full rigging, and additional adjustments are included, the total can easily rise by nearly $3,000 more.
For three protagonists, the cost could approach $10,000 USD — even before animation and revision cycles begin. For a small studio working part-time, that level of investment represented a significant financial risk.
That’s when they discovered Character Creator.
“Creating a cinematic survival horror game is demanding under any circumstances. For indie developers working nights and weekends, it can feel almost impossible.”
Dragon Level Studio – Game Development
Integrating Character Creator & iClone into the Pipeline
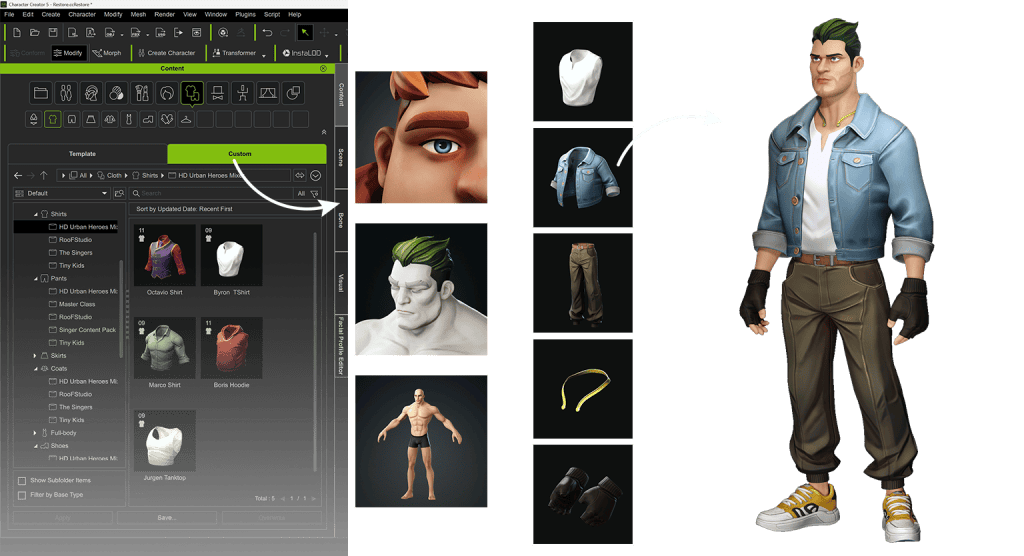
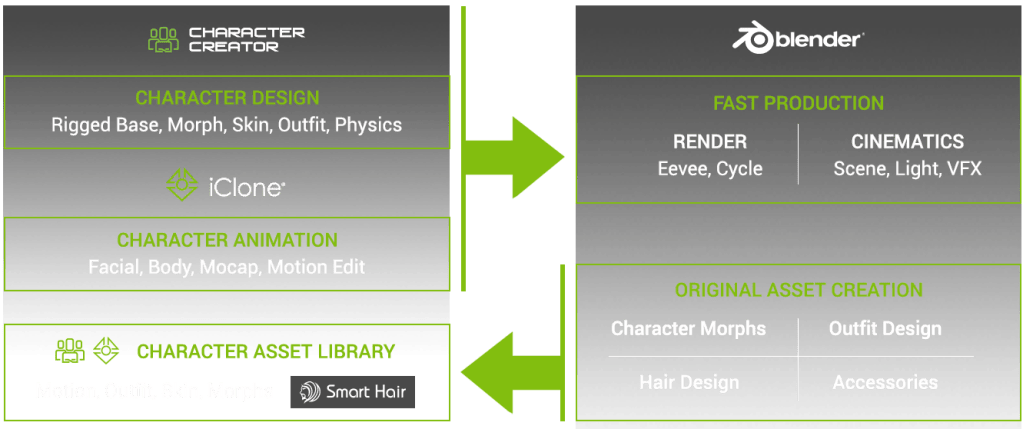
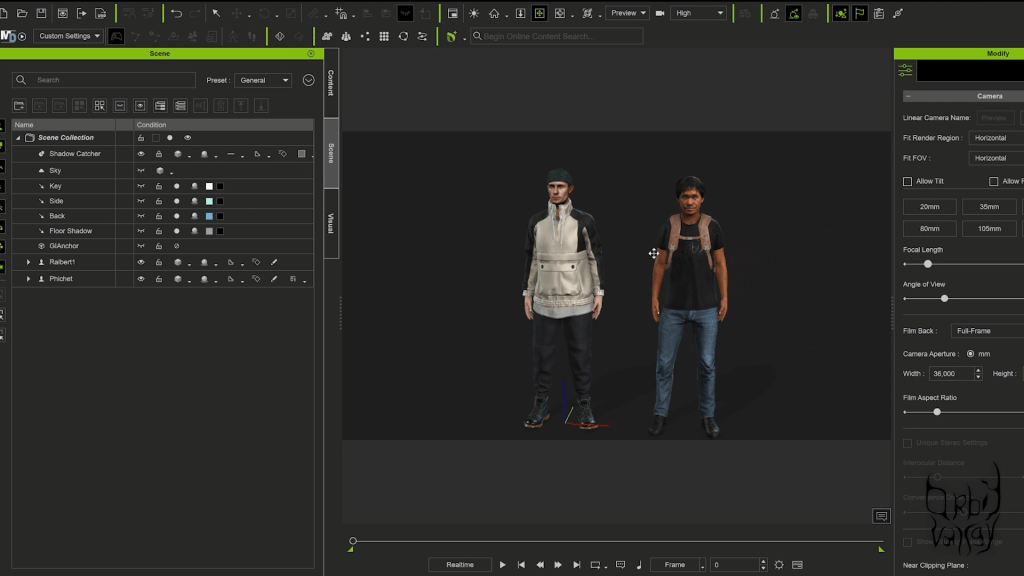
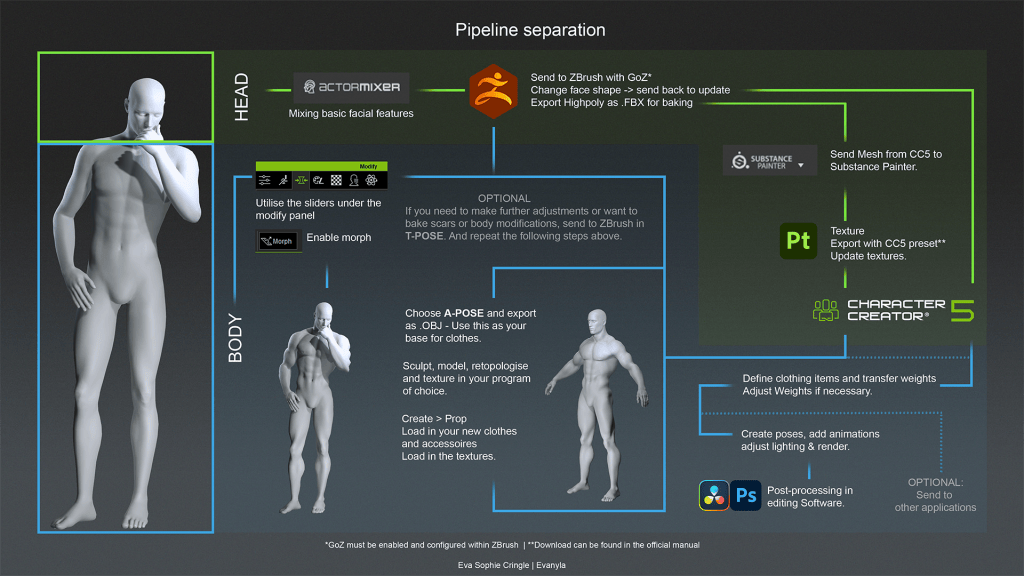
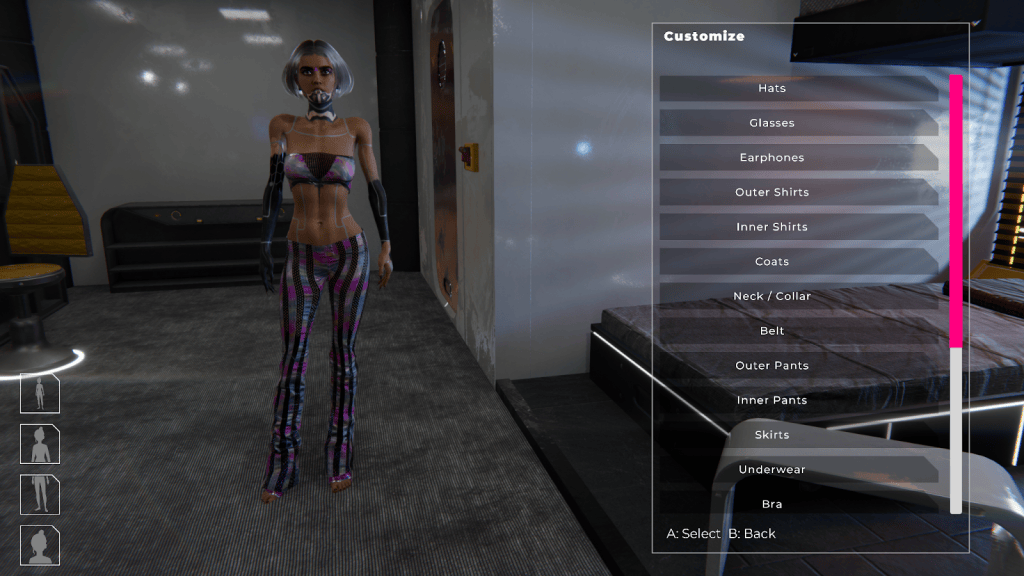
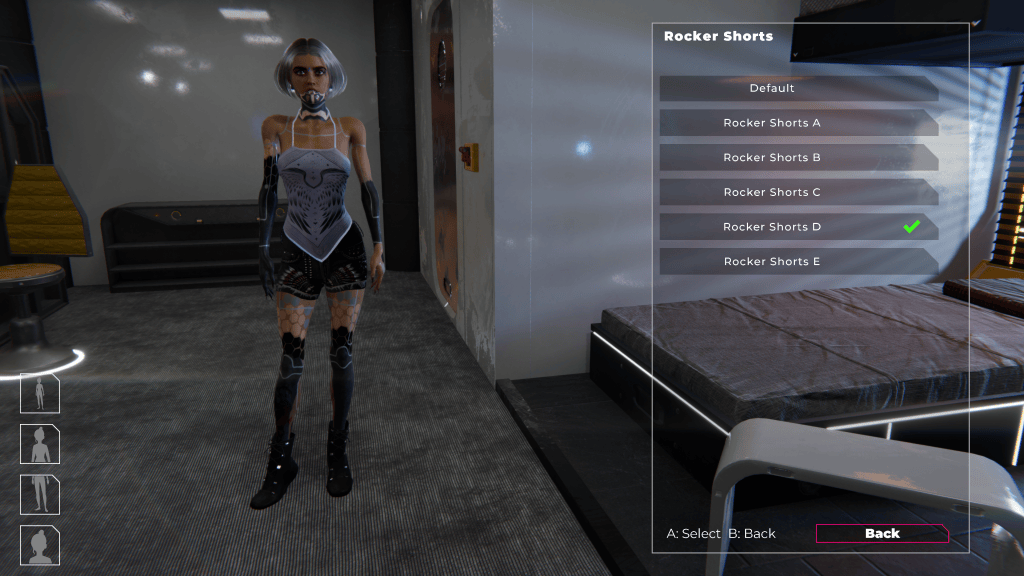
After discovering Character Creator, the team adopted it as the core of their character production pipeline. Characters were created and customized directly in Character Creator, with clothing assembled from assets in the Reallusion Content Store and Marketplace.
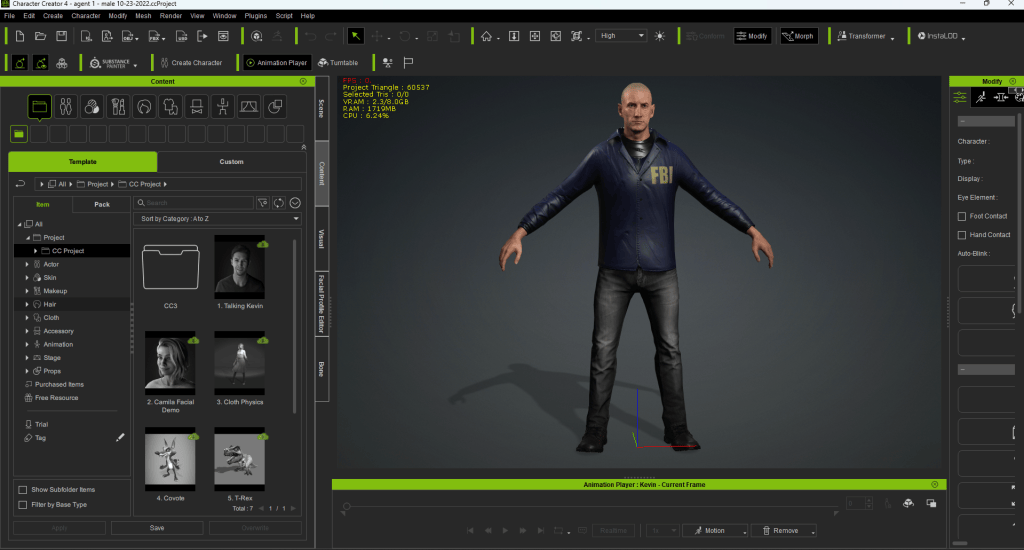
For animation, the team combined several sources. Body motion was captured using a Rokoko suit, while additional animations came from the Unity Asset Store and Mixamo.
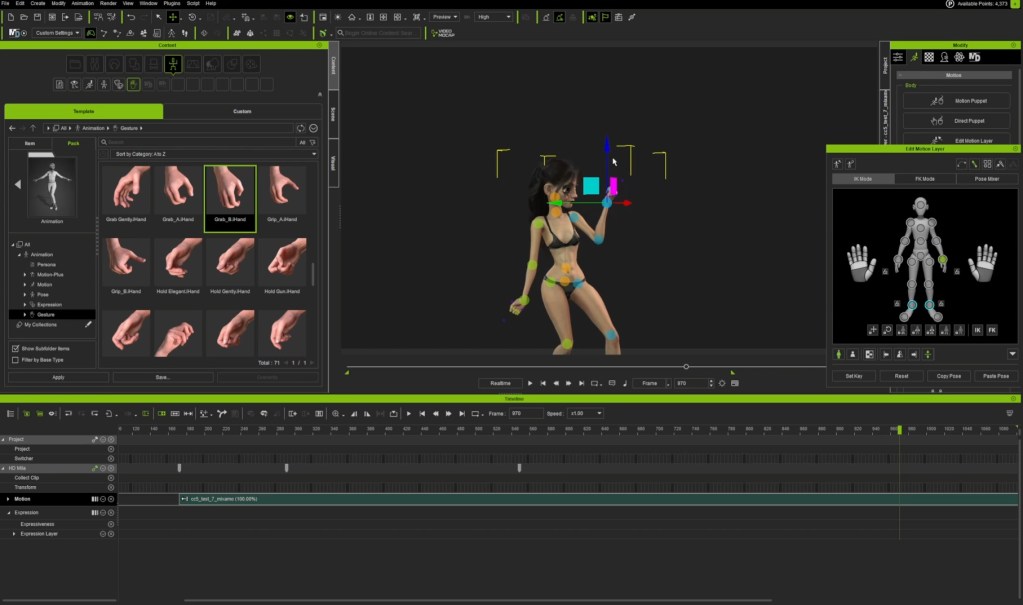
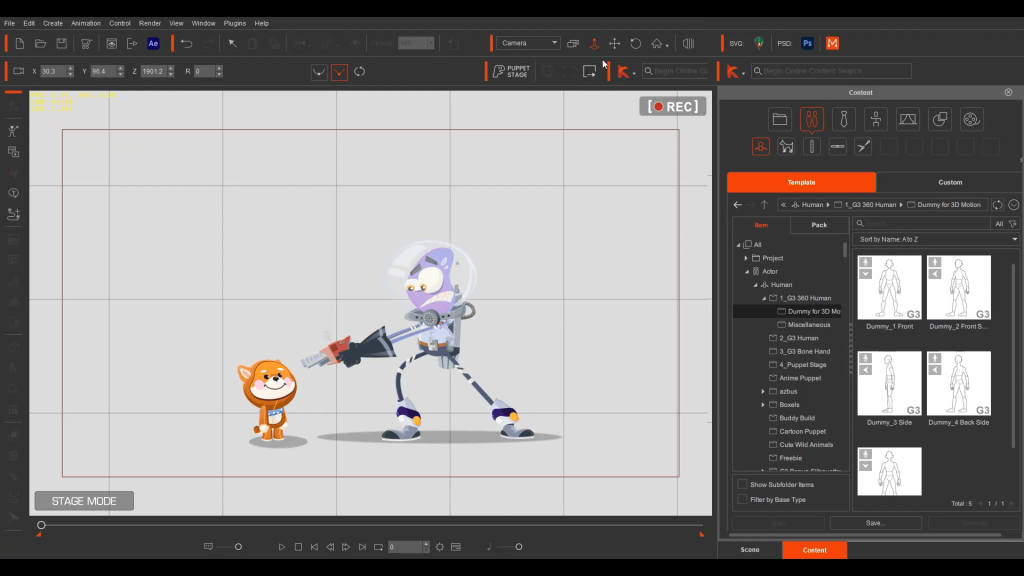
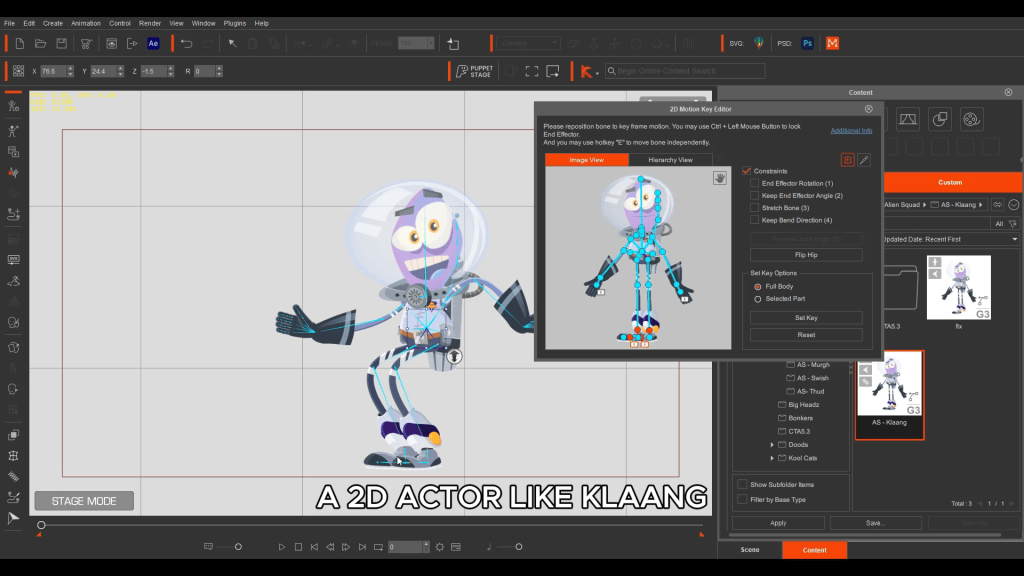
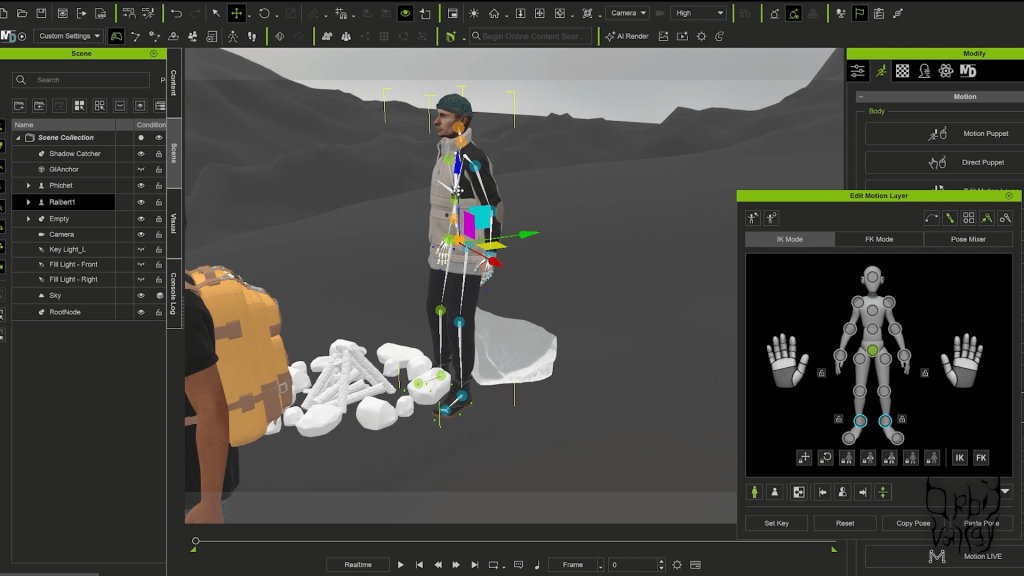
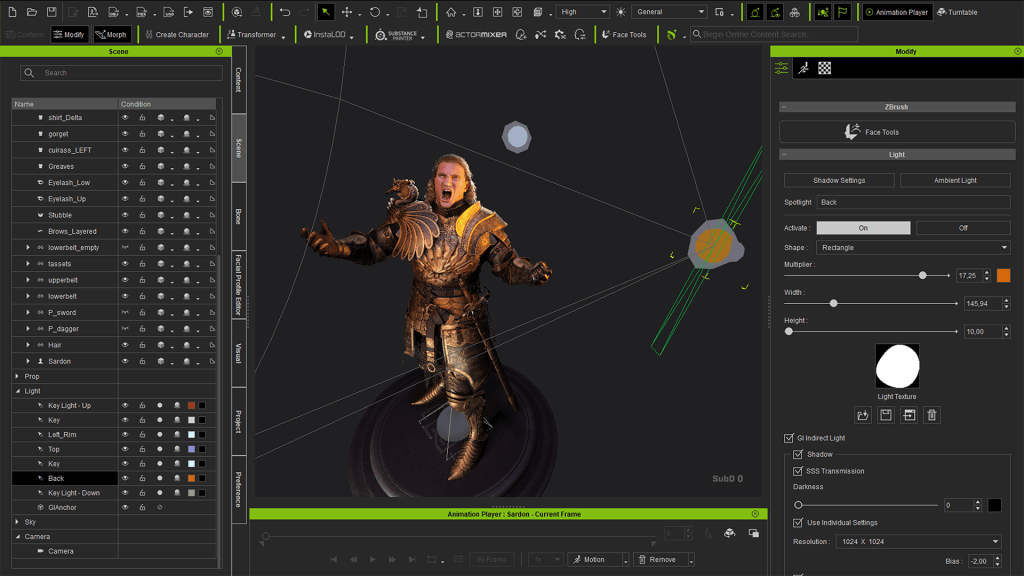
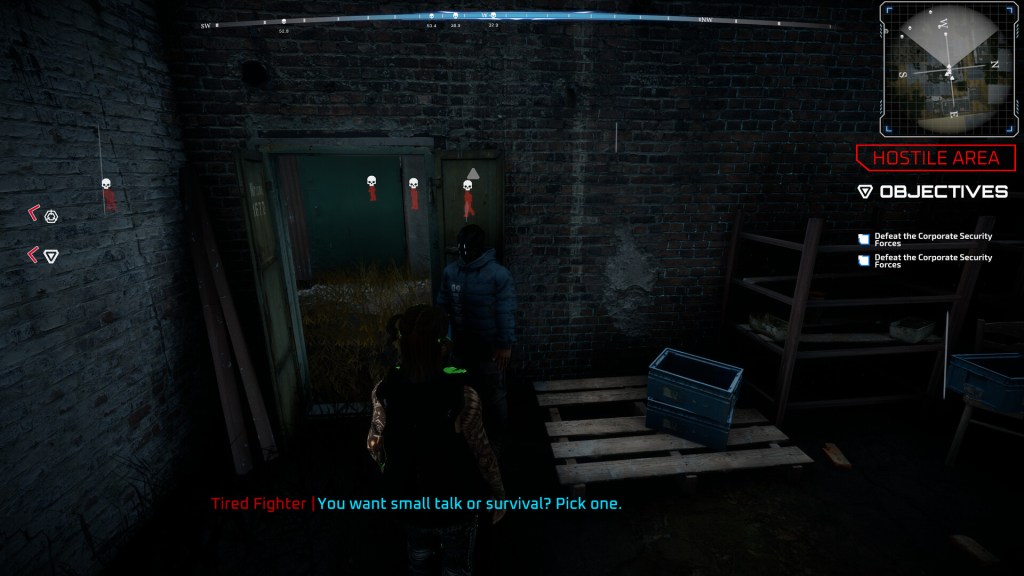
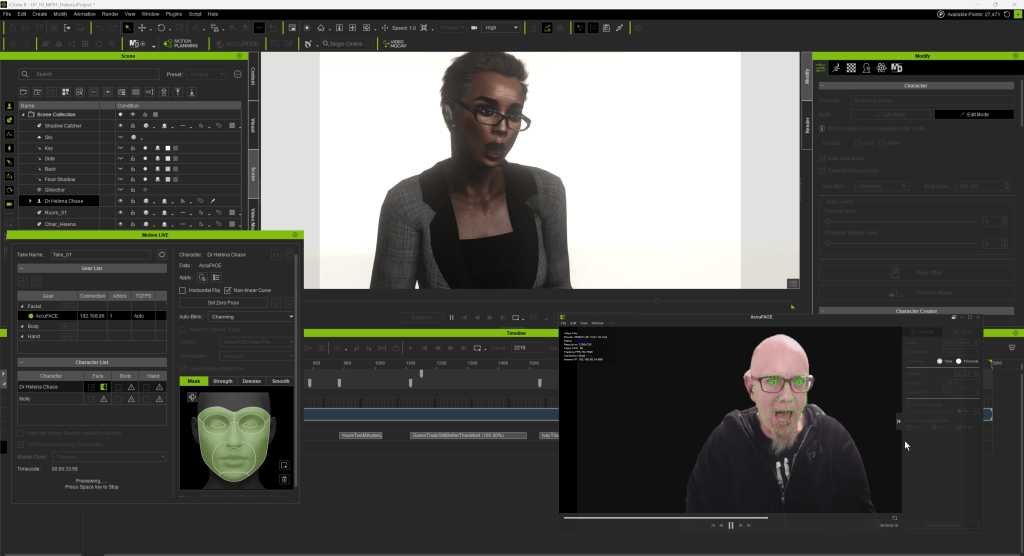
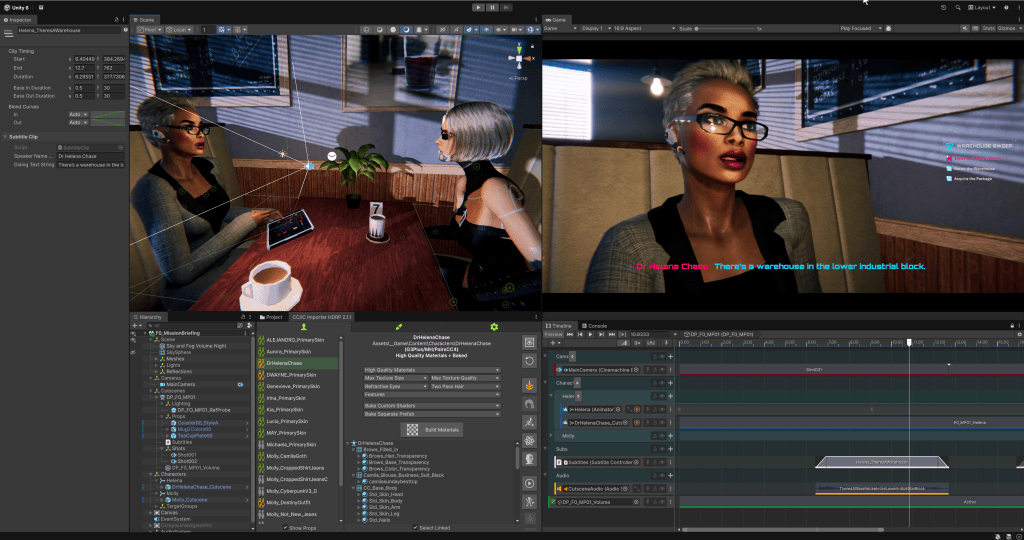
Dialogue scenes were handled in iClone. After recording voice performances with actors, lip sync was generated in iClone before exporting the characters and animations to Unity using Auto Setup. This workflow allowed the small team to produce fully voiced cinematic cutscenes without relying on a large animation department.

Why Character Creator Worked for Them
1. Clothing & Rapid Styling
The Content Store allowed the team to quickly assemble believable outfits without starting from scratch.
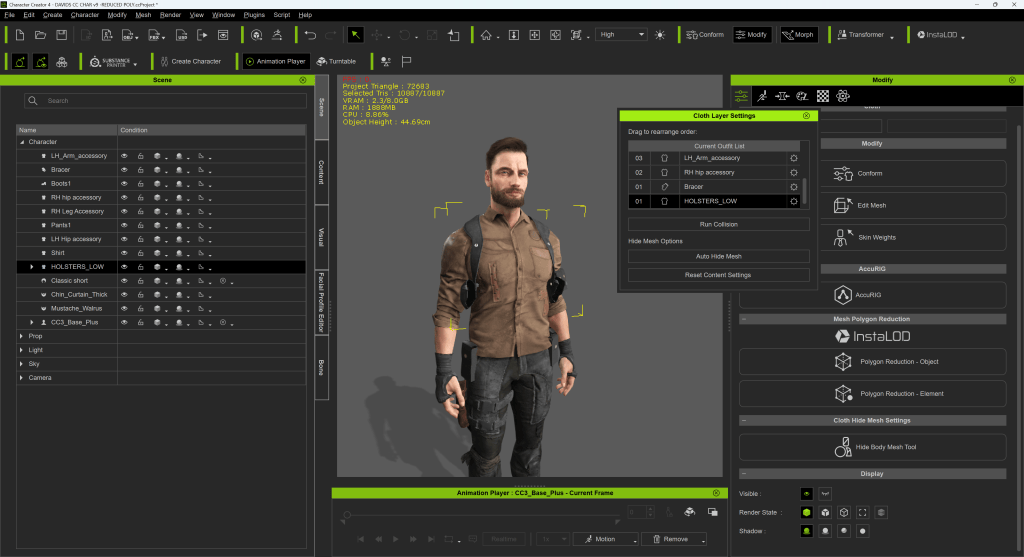
For example, the detective’s clothing was built directly from store assets, drastically reducing design time. Using built-in styling features like the Conform to Body feature, garments automatically adjust to the character’s proportions, eliminating the need for time-consuming manual corrections.

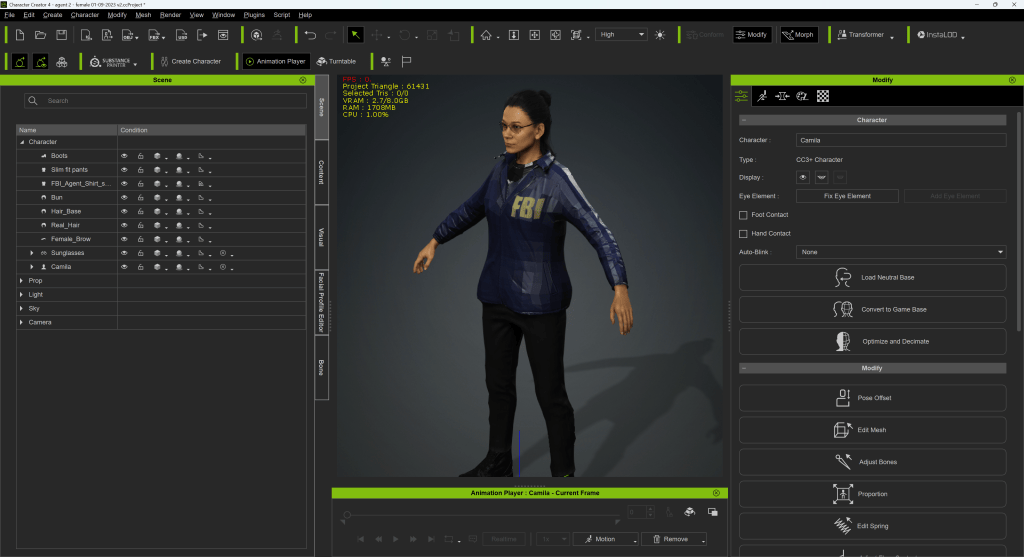
For a small team with limited hours each week, this ability to style characters quickly made a significant difference.
2. Morph Precision
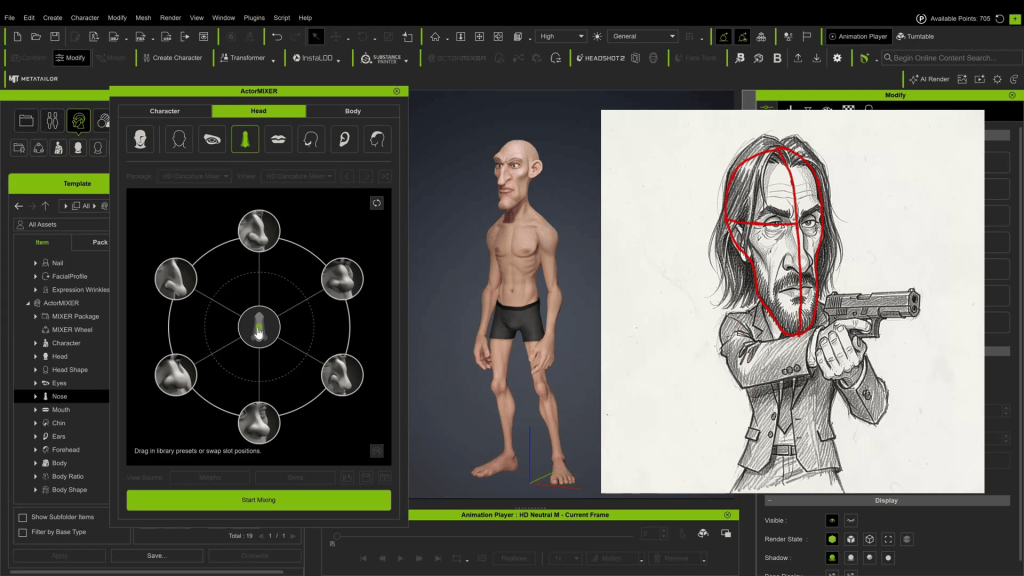
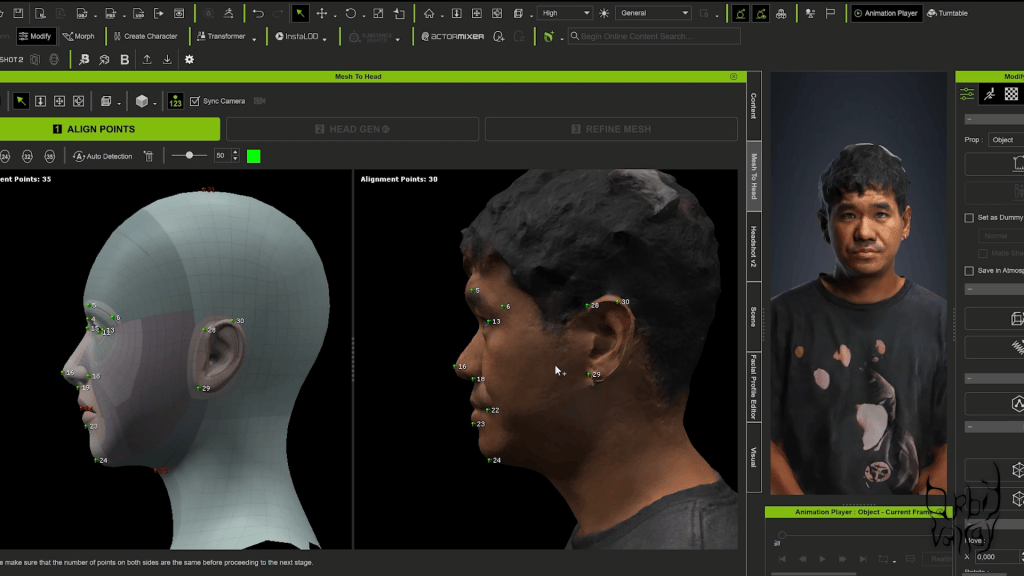
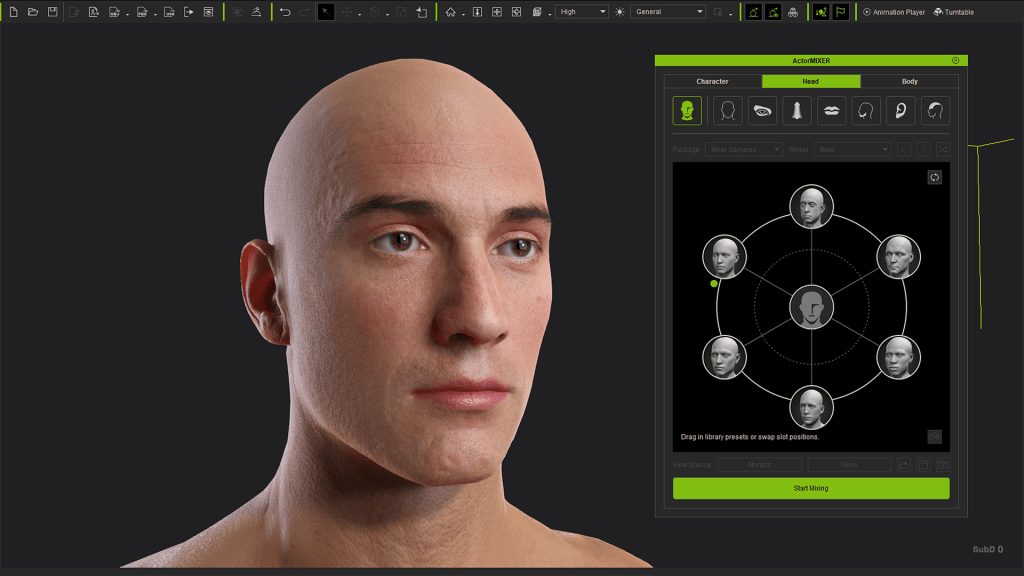
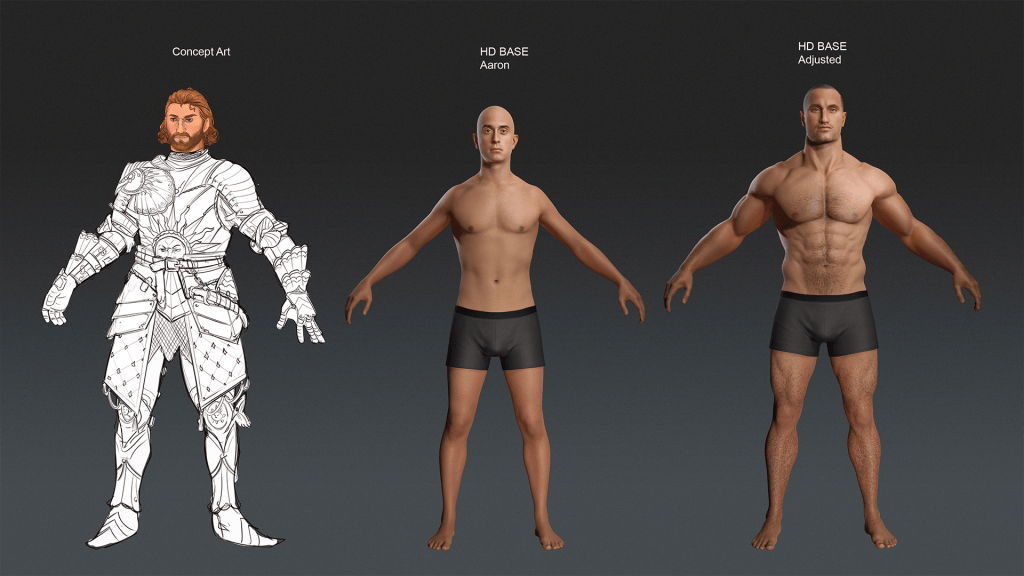
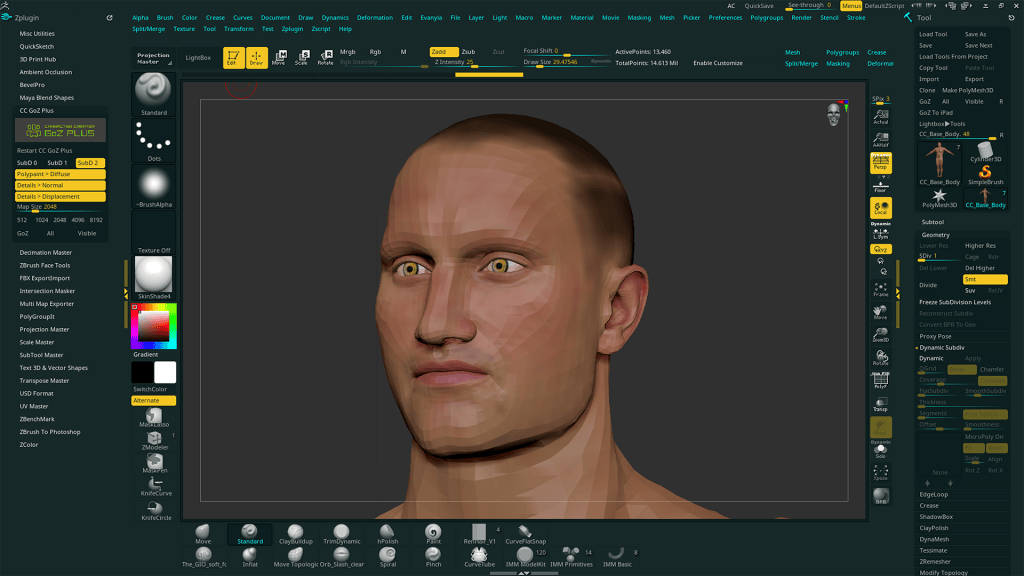
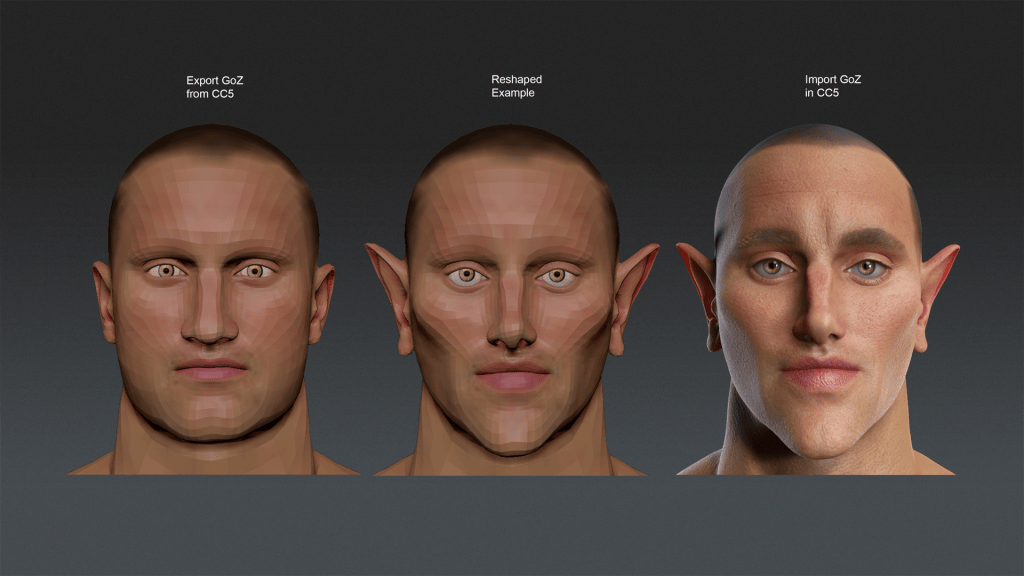
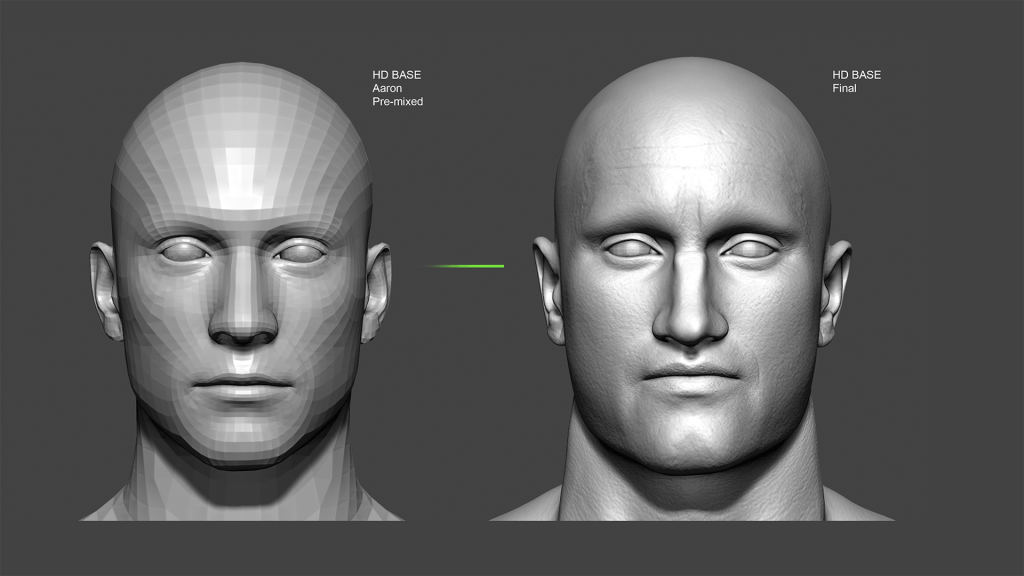
The protagonist was inspired by actor Josh Holloway. The team wanted a rugged facial structure with strong contours that conveyed experience and toughness.
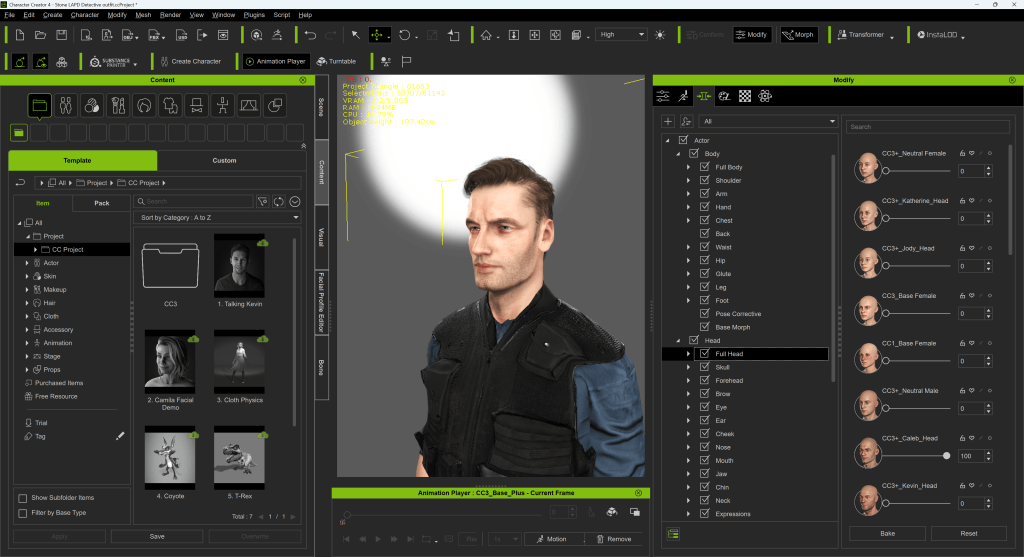
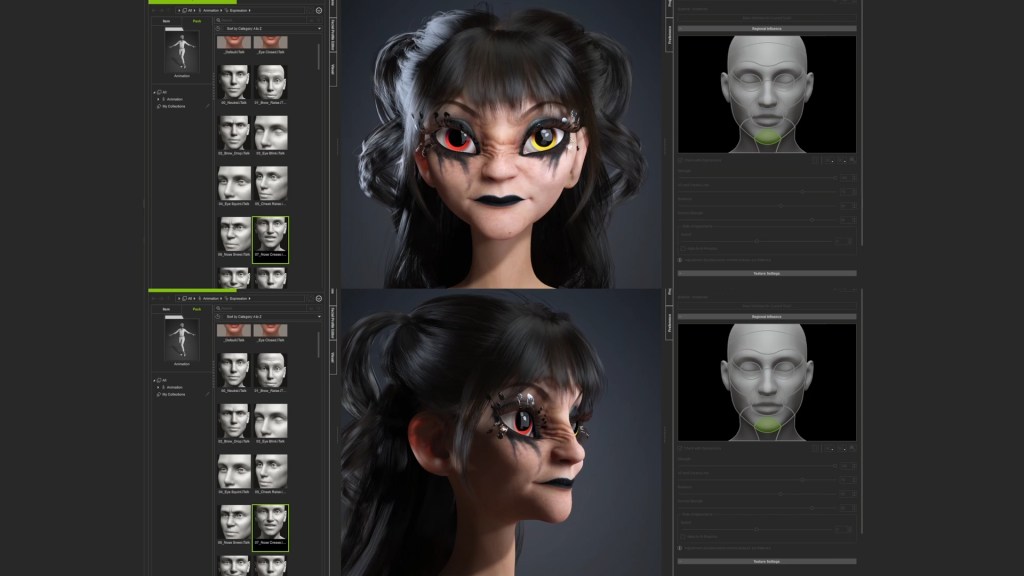
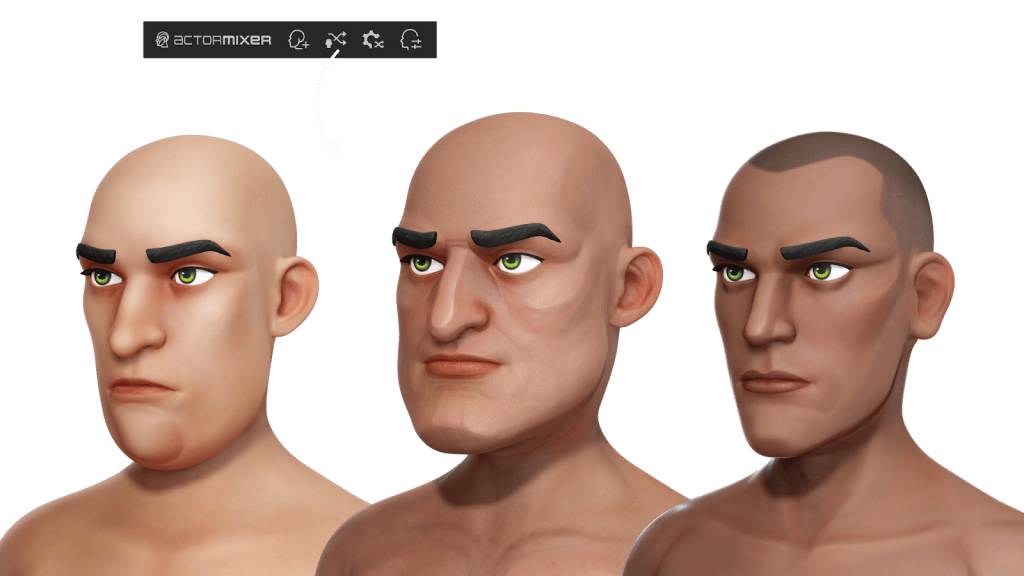
Character Creator’s morph system allowed them to sculpt those features precisely within the same environment. Instead of exporting to a separate sculpting pipeline and iterating repeatedly, they could refine facial proportions directly until the character matched the vision they had in mind.
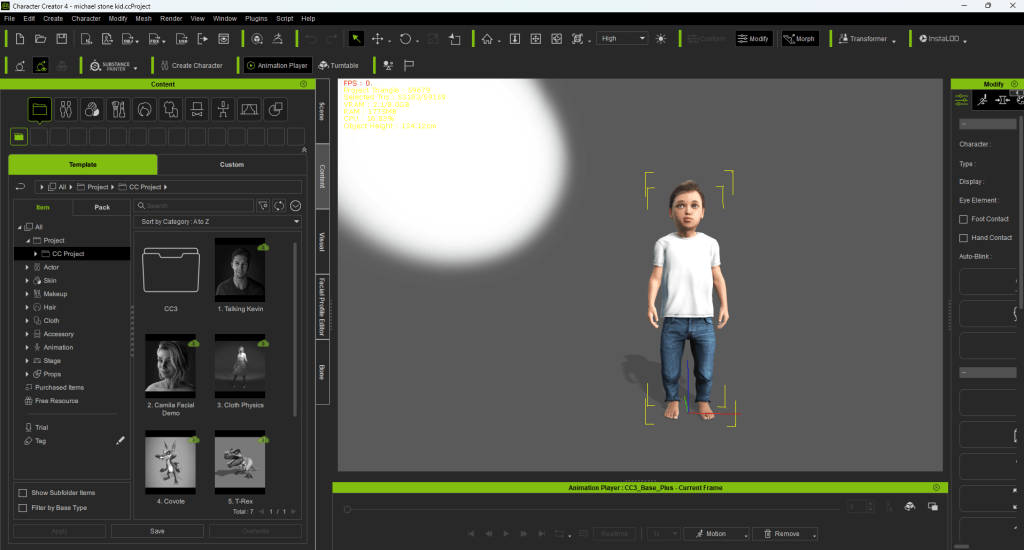
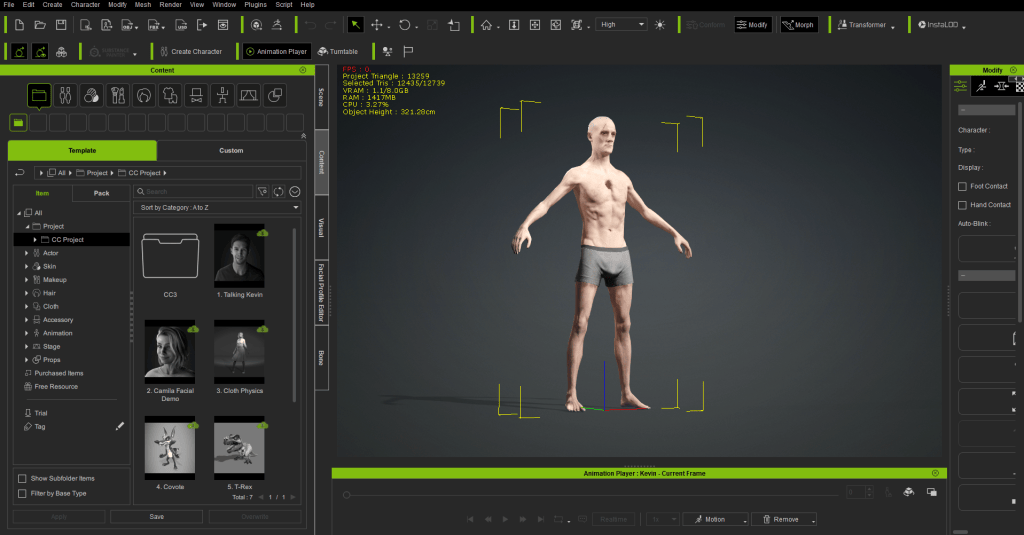
This greatly simplified the iteration process.
3. Mesh Editing Flexibility
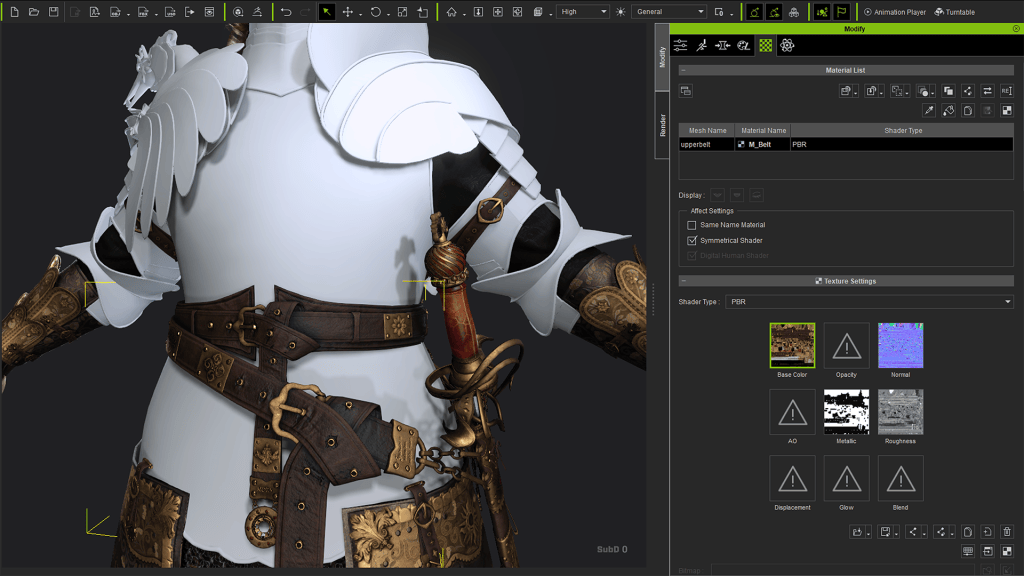
When importing accessories such as belts or small props, Character Creator’s automatic conforming handled most of the fitting.
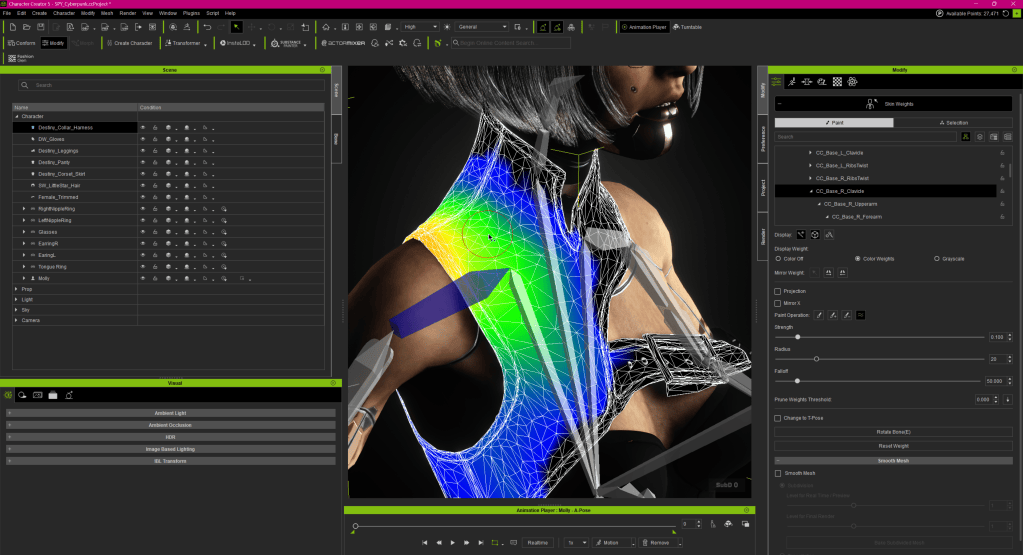
However, when finer adjustments were needed, the Mesh Editing tools allowed the team to quickly reshape elements without breaking the character pipeline. A belt could be narrowed or repositioned in minutes, avoiding additional modeling steps in external software.
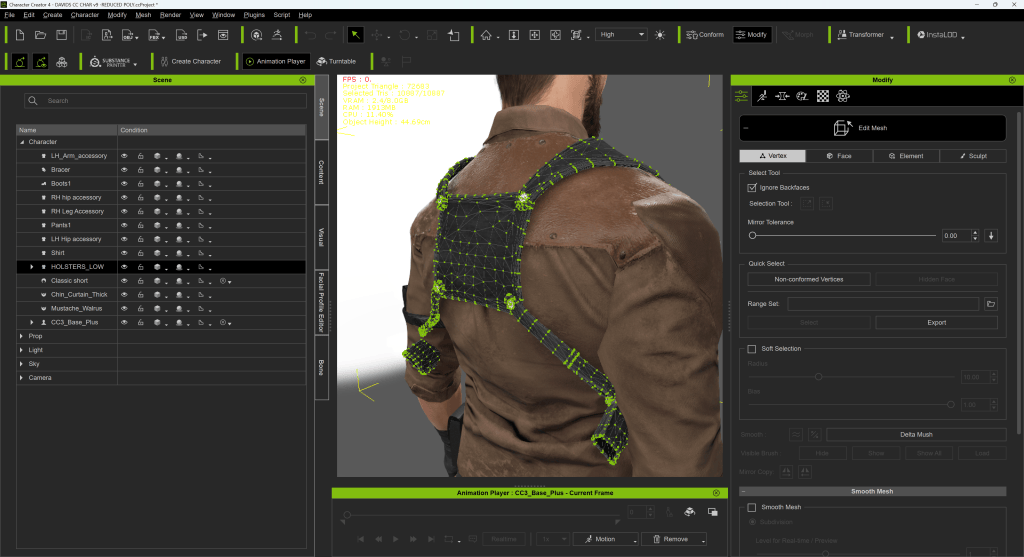
This level of flexibility kept the workflow efficient.
4. Polygon Optimization for Real-Time Performance
Another advantage came during the optimization phase. Because the characters were built with high detail, not every polygon was necessary for real-time gameplay.
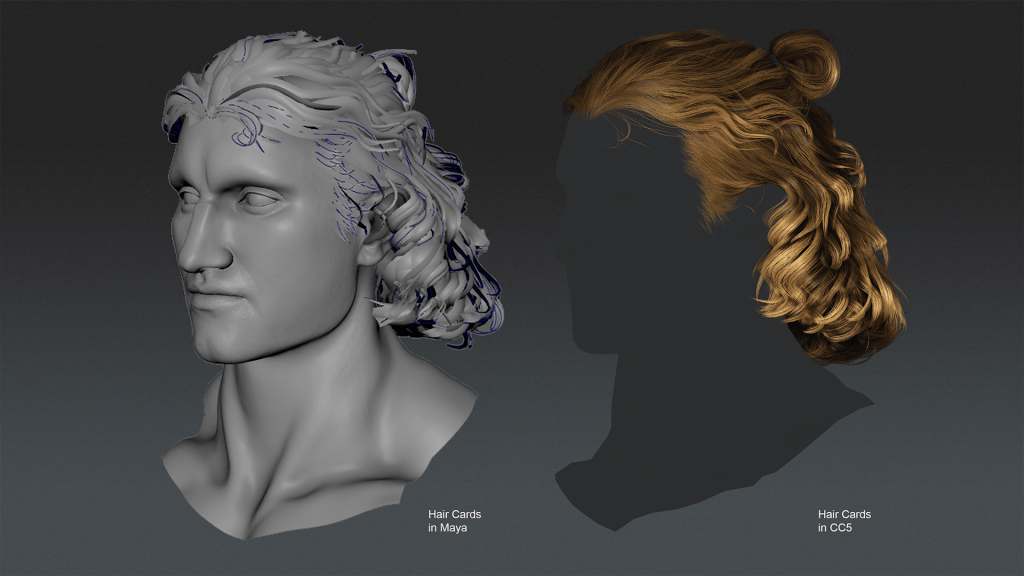
Using Character Creator’s polygon reduction tools, the team was able to significantly lower triangle counts while maintaining visual quality. Hair assets in particular benefited from this process — large amounts of geometry could be removed without noticeably affecting the final appearance.
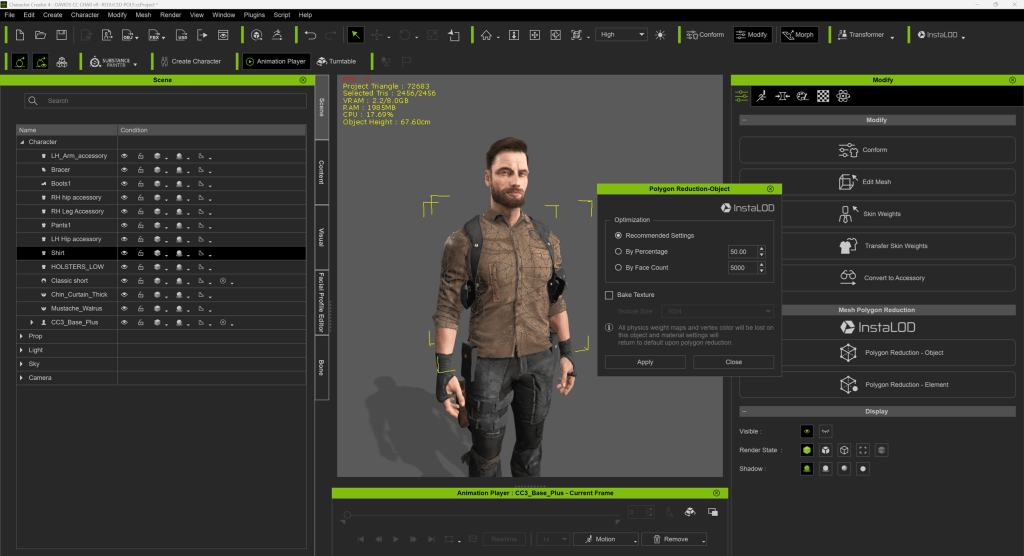
This allowed the characters to remain visually strong while running smoothly inside Unity.
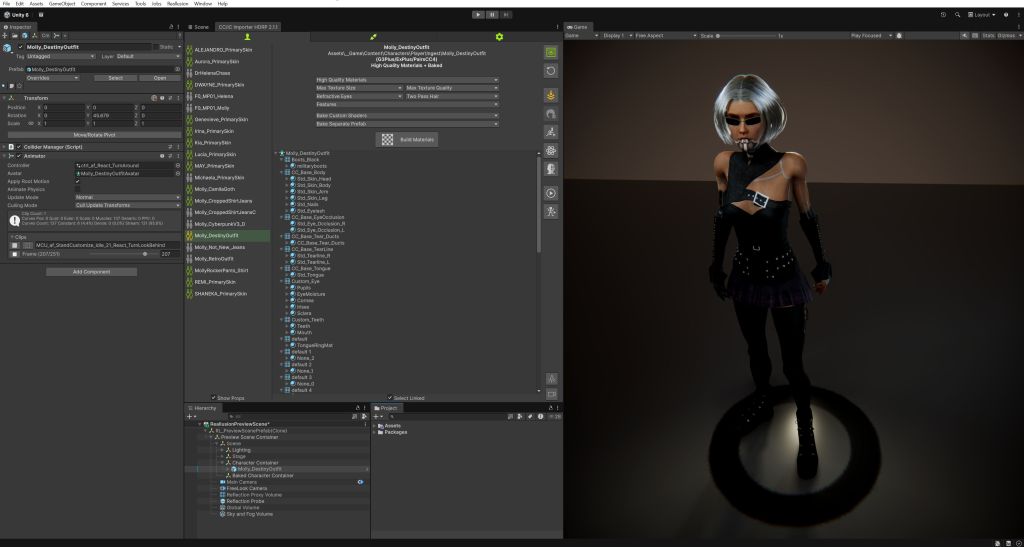
Auto Setup for Unity: Removing Technical Friction
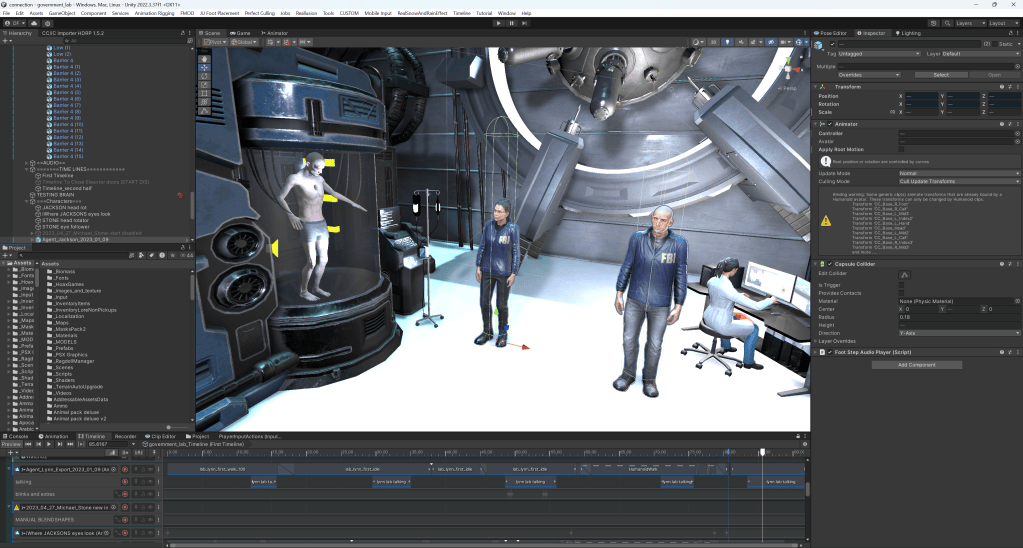
None of the brothers comes from a traditional artist background. Shader setup and hair rendering in Unity initially led to disappointing results.
Unity Auto Setup has been significantly simplified:
- Shader configuration
- Hair material setup
- Character integration
What had previously resulted in broken visuals became predictable and production-ready.

Measurable Impact
Character Creator and iClone affected three core areas:
Quality
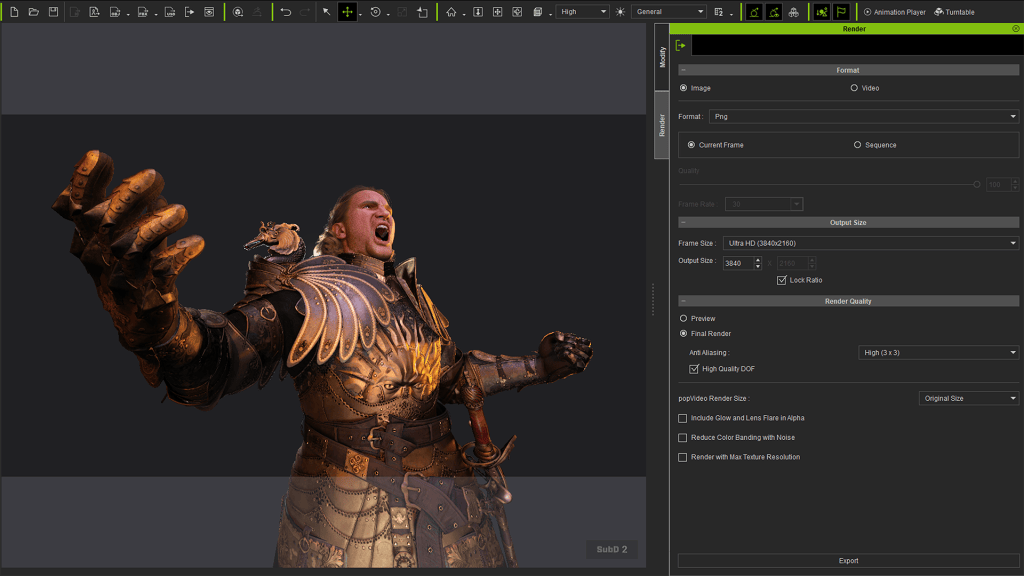
They achieved character quality that matched their horror vision, elevating immersion. Most critically: Without CC and iClone, fully voiced cinematic cutscenes would likely not have been feasible.
Time
The team estimates they saved approximately seven months of development time, primarily by eliminating outsourcing cycles and iterative rework.
Cost
Instead of spending nearly $10,000 on character outsourcing alone, they maintained control within a structured pipeline.
What’s Next for Dragon Level?
After completing such an ambitious title, the brothers are evaluating a more focused scope for their next project. The experience of building Connection: The Nightmare Within provided something even more valuable than the finished game itself — a validated pipeline.
They now understand exactly how to structure character production, animation, and Unity integration in a way that balances quality with limited time resources. The uncertainty that often paralyzes indie teams has been replaced with confidence.
Cinematic storytelling no longer feels like something reserved for AAA studios. With the right workflow and tools in place, it has become a practical reality — even for three brothers building horror games after work.
Related Posts
- Emmy Award-Winning Producer Develops Unity Indie Games with CC & iClone
- Manairons: How an Indie Game Team Brought a Catalan Legend to Life with Character Creator
- Building a Custom Vampire Character from Scratch with CC5 and Unreal Engine 5.7