Intro
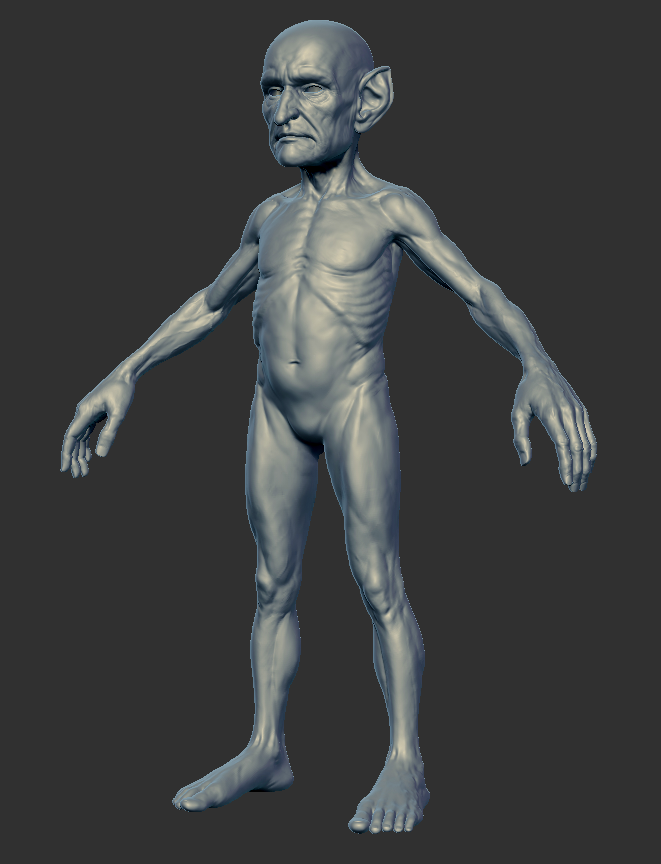
What if you have an old project that you want to bring to life using Character Creator, but it’s on legacy topology, or even just a sculpted dynamesh sketch in ZBrush. In this workflow, we’ll take an old ZBrush bust sculpt with arbitrary, non-CC topology, use Headshot v2 to update it to CC topology, which you can then decide if you want to go the body refine GoZ route (see the body workflow article) or the Face Tools route (see the Face Tools workflow article) to fine tune and finish out your character.
GoZ Neutral Base for Scale and Positioning
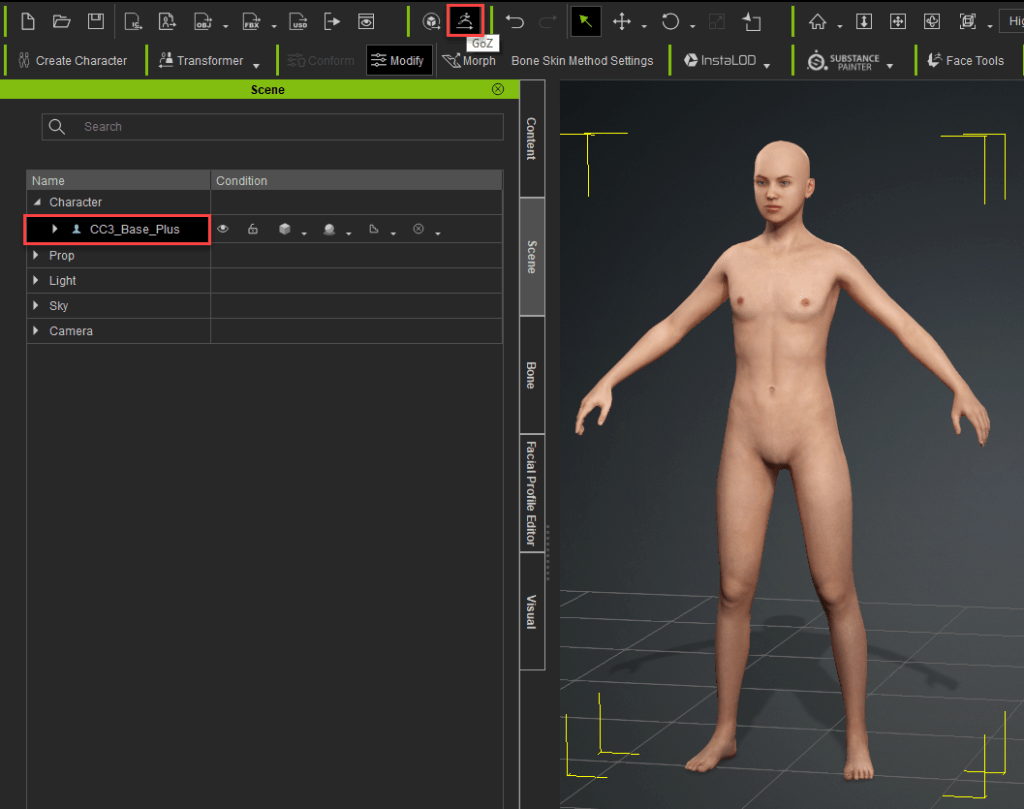
Our old projects might be in a weird location or scale — let’s bring a neutral base into ZBrush so we can use that as a guide for where our ZBrush mesh needs to roughly be placed. In CC, click Load Neutral Base, and GoZ that over to ZBrush. The pose doesn’t really matter, again we’re just going to use this for scale and positioning.


Scaling and Repositioning Legacy Projects
In ZBrush, import, open, or load your legacy ZBrush sculpt, and append it to your neutral base. In our case, we’re going to move, scale, and rotate our dynamesh ZBrush bust sculpt to roughly match the head scale and position of the CC neutral base.

Prepping the Legacy Sculpt and Export
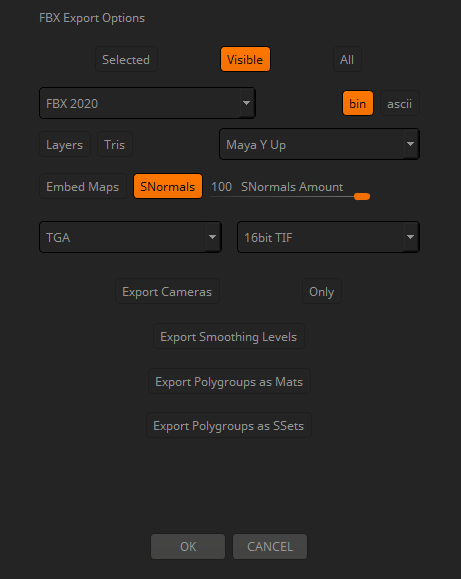
We’re going to animate our character’s expressions, so remove any “built-in” expressions from your ZBrush sculpt. Don’t worry about adding mouth bags or anything like that; Character Creator will add those for us when it converts our legacy sculpt to CC topology. You can go ahead and delete your neutral base subtools that we used for scale reference, and with your now properly scaled and positioned ZBrush mesh selected, choose Tool > Export > FBX.


exporting into CC. We’ll be adding expressions later!
Polycount and Decimation Master
Try and keep your sculpt under 5 million triangles for a more responsive bake in CC later. If needed, go to the ZBrush Plugins menu > Decimation Master, reduce the resolution of your mesh, then export.
Importing into Character Creator

Importing your exported .fbx into Character Creator is super easy; just drag your exported FBX into the CC viewport, and choose the Prop option. Select your prop, and click on the Headshot2 button in your menu toolbar


Aligning Points
When Headshot v2 launches we’ll automatically be placed into Align Points mode; click the Auto Detection button to automatically place the points from the CC topology head onto your sculpted head. Click and move the points so they correspond to the same areas of the face, matching the placement between the CC head and the sculpted head. If you have shapes that deviate considerably from the base mesh forms, feel free to click to add more points as needed to help the base mesh find your sculpt, such as the exaggerated ears in our case. When you’re done, click on the Head Gen tab at the top of the Headshot v2 interface.

Head Gen

The Head Gen section allows us to choose what parts of the face or head you want the CC mesh to snap to. If you have a sculpt where only the face is viable, you can choose the face option, or use the Mesh Selection section to fine tune what areas are represented in your sculpt. In our case, since we have an entire bust, we’ll use the whole head.
Refine Mesh
Click on the Refine Mesh tab, and use the “Move”, “Smooth”, “Clone”, and “Project” brushes to match the CC mesh to your sculpt. If your mesh is symmetrical you can use the Symmetry Edit option to speed things up, and you’ll probably want the Conform to Source Mesh checked on, so as you move your mesh, it will snap to your sculpt.

Attach to Body

When your meshes match, click the Attach to Body button, and choose the body shape/type that most suits your character. For the texture bake options, we don’t have a polypaint or texture for our sculpt, so we’re going to choose Textureless for diffuse, and From Source Mesh for our normal.
Changing Body Proportions
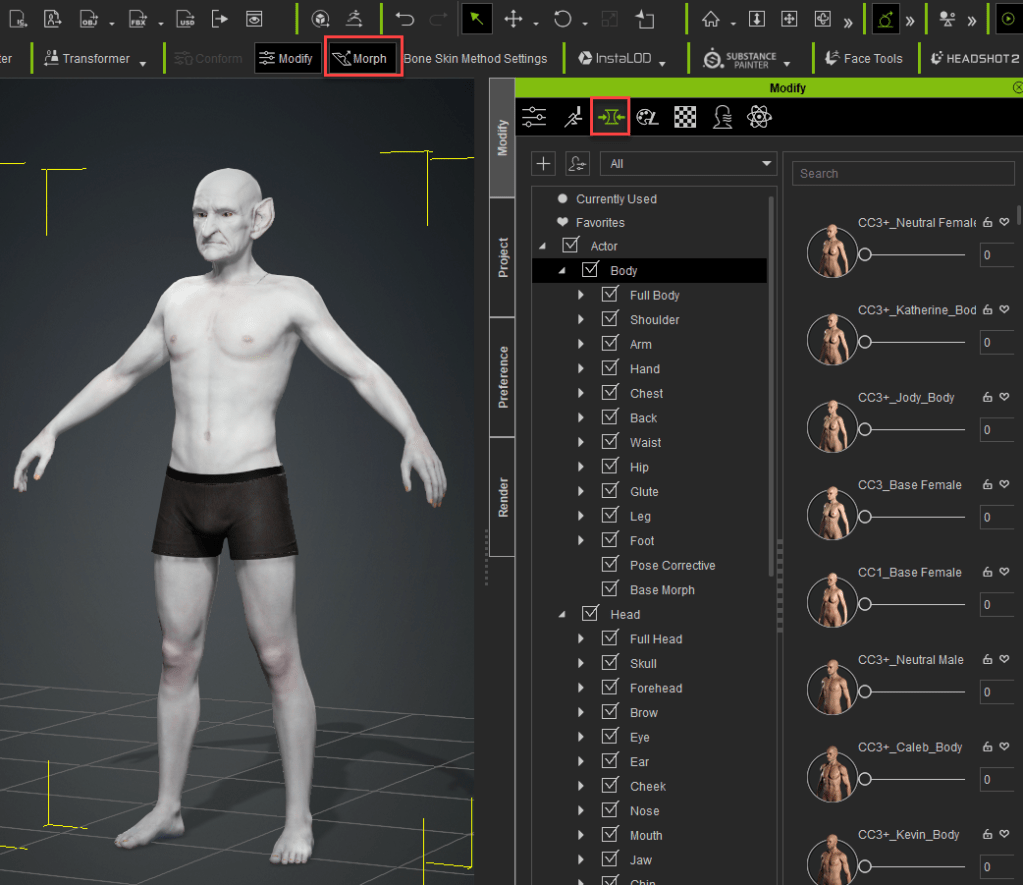
Right now our character has basic human proportions; let’s make our character a little more unique by using the Morphs tab sliders and/or Morph button in your toolbar to click and pull the proportions of your character around to dial in the exact body you want your character to have.


Adding Skin Textures
Since we didn’t have any textures or polypaint to bake to our head, our character is textureless — let’s fix that! In the Content tab, navigate to the skin folder, and double click any of those options to apply a character skin. In our case, we’ll use CC4 Kevin’s textures.


In the resulting dialog box, use the defaults, but check on Ignore Head Normal Texture; this will keep our baked Headshot normal map instead of replacing it with Kevin’s.
Applying Teeth and Eye Materials
We’ll apply teeth and eye materials in the same way; Navigate to the teeth and eye sections of your content browser, and double click any of them to apply it to your character.

character

character
Expression Wrinkles
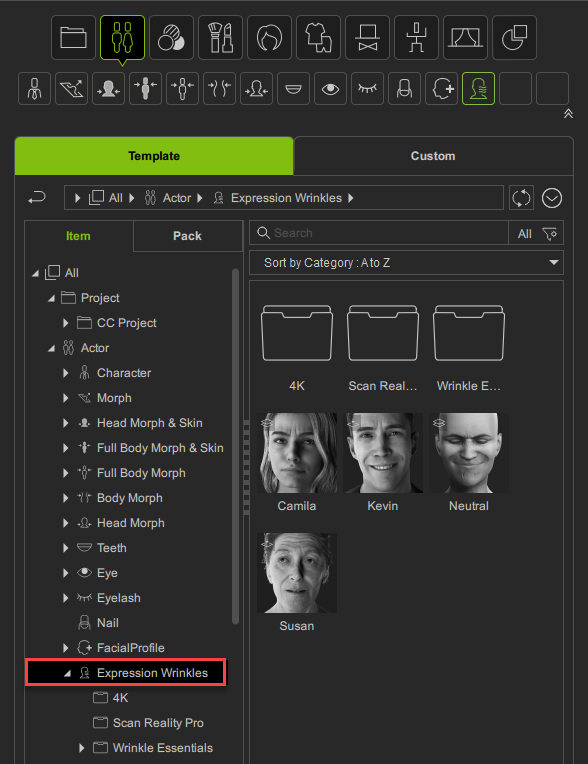
At this point, you can also apply the neutral expression wrinkles, Kevin’s expression wrinkles, or wrinkles from the Wrinkle Essentials pack if you have those. You can use these expression wrinkles as-is, or as a base for your Face Tools fine-tuning pass, or get rid of them entirely and sculpt them yourself, again using the Face Tools plugin.


Finishing Your Character
In conjunction with expression shapes and wrinkles, we also have the body to consider — at this point in the Headshot workflow, you can choose whatever workflow works best for you.


“The Goblin Body and Gear” article will walk you through refining the body sculpt and texturing in Substance 3D Painter, and the section just above this one will show you how to take the result of that workflow into Face Tools, where you can then refine the face shapes and expression wrinkles.

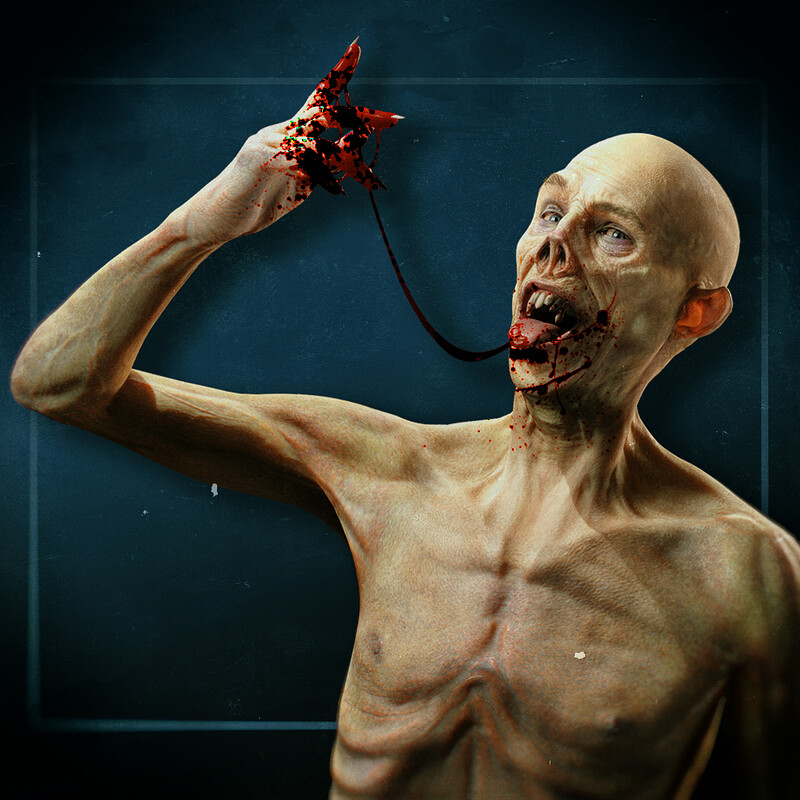
Or, you can jump right into Face Tools: the “Vampire Face Tools” article will walk you through how to refine your base head, expression shapes, and expression wrinkles, and then show you how to follow back up with a refined body that matches your head.
Either direction you take is completely up to you; Character Creator can support however you like to work, and remember, you can ALWAYS open files, relink, and refine at any point, in any order. Character Creator is the ultimate flexible solution for character creation — the technical heavy lifting is provided by the suite of easy to access, low barrier to entry tool sets, and allows you, the artist, to focus on compelling visual storytelling!
About The Author

Michael Pavlovich earned a Bachelor’s degree in Computer Animation from RSAD in 2005. Initially, he contributed to the development of environment and character art for popular video games such as Madden and NCAA Football. Later, he relocated to Austin to join Daybreak Games, where he worked on the creation of art assets for DC Universe Online.
Presently, Michael holds the position of Director of Character, Weapon, and Vehicle Art at Certain Affinity. His expertise lies in implementing iterative pipelines for Certain Affinity artists helping develop renowned video game franchises, including Halo, Call of Duty, and DOOM. To stay updated on his latest tutorial projects, you can visit Michael’s YouTube or ArtStation page.
Related Posts
- ZBrush Face Tools – Complete Head & Body Creation Workflow
- Adding Expression & Wrinkle to GoZ Model – ZBrush Face Tools


