Mike’s career in the creative industry is nothing short of extraordinary. With over two decades of experience, he has worked with AAA companies, leading high-profile projects and mastering both 2D and 3D realms. His clientele includes industry titans like Hasbro, Electronic Arts, Dimension Films, and Sideshow. Recently, Mike, a Clio award laureate, joined Microsoft Games as an Art Outsourcing Manager. His journey is a testament to his relentless pursuit of creative excellence.
Why I chose Character Creator and Pose Tools
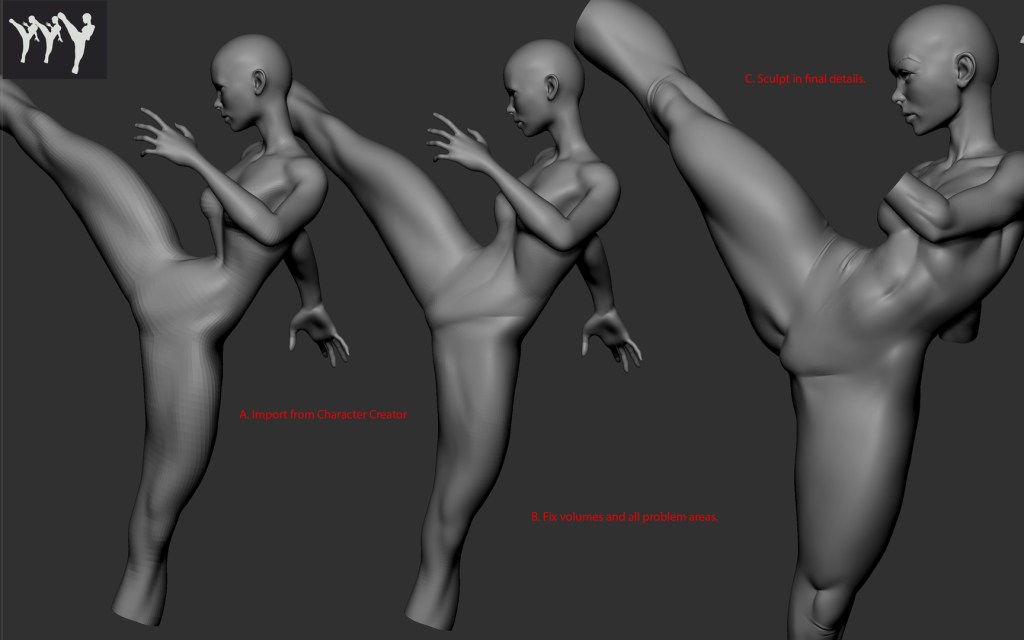
Ever since I started collecting statues of my favorite comic book heroes, I’ve been captivated by their dynamic poses. I aim to infuse this dynamism into my sculptures, but it’s no easy task! Before discovering Reallusion’s Character Creator, I relied on Transpose Master in ZBrush for posing. It was functional, but far from ideal, and quite destructive. Once a pose was set, altering it was a challenge.
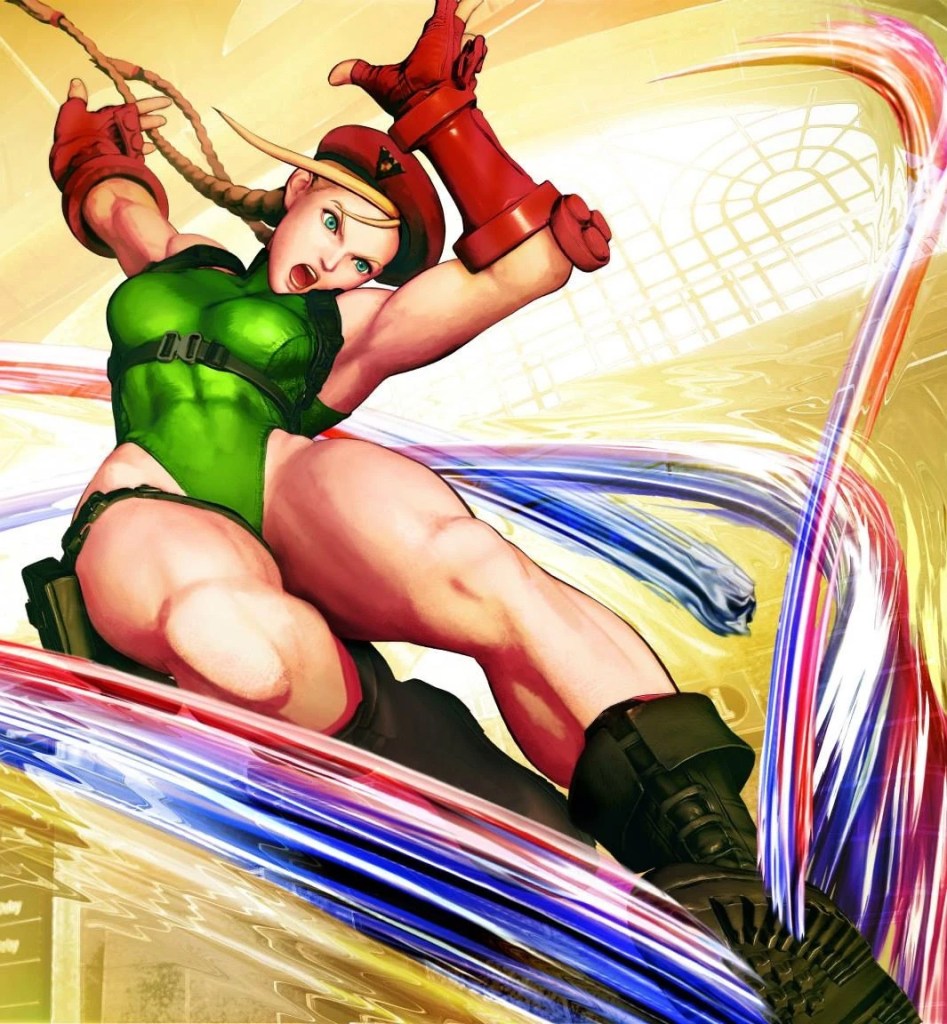
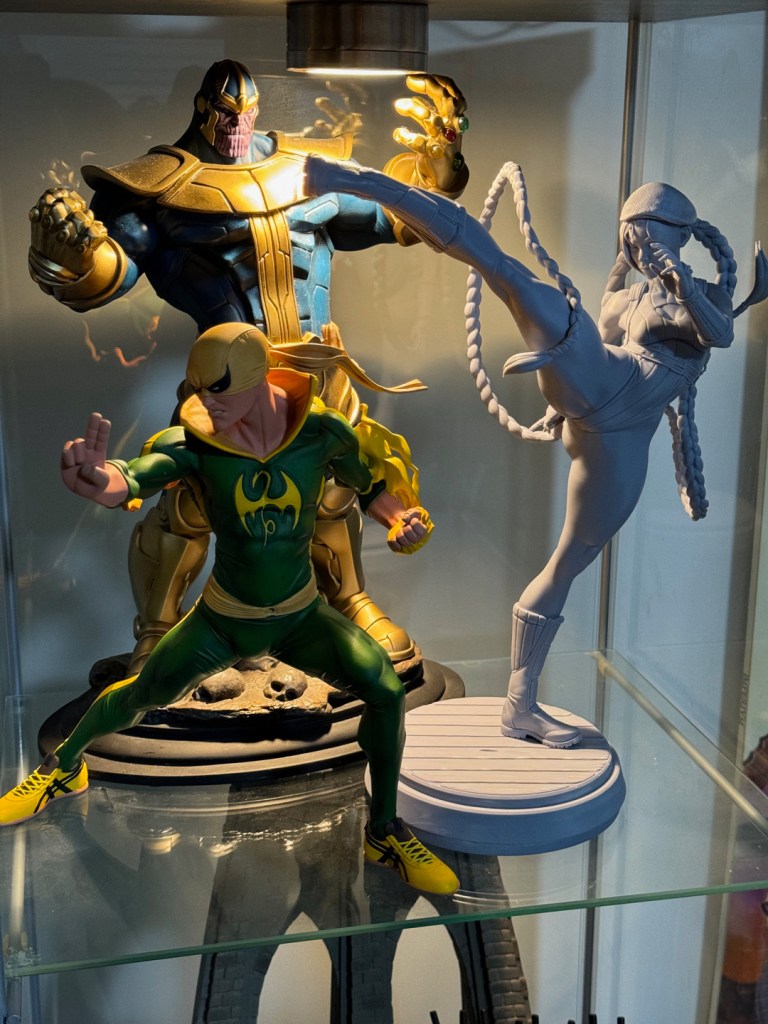
Then came Character Creator Pose Tools, a game-changer with its user-friendly interface and flexibility. It allows me to experiment with multiple pose iterations before finalizing. No matter how well-sculpted, textured, or detailed a character is, a weak pose can undermine the entire piece. When I decided to sculpt Cammy, I knew her pose had to be powerful. Thanks to Character Creator, I was confident I could achieve it.
Detailed Walkthrough
ZBrush Modeling
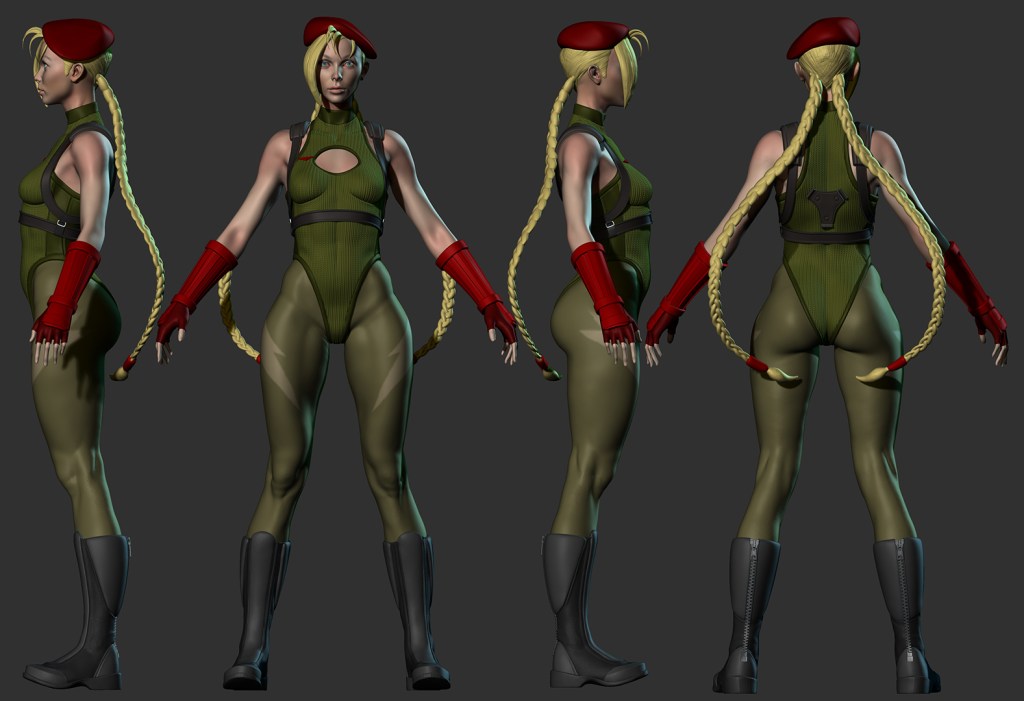
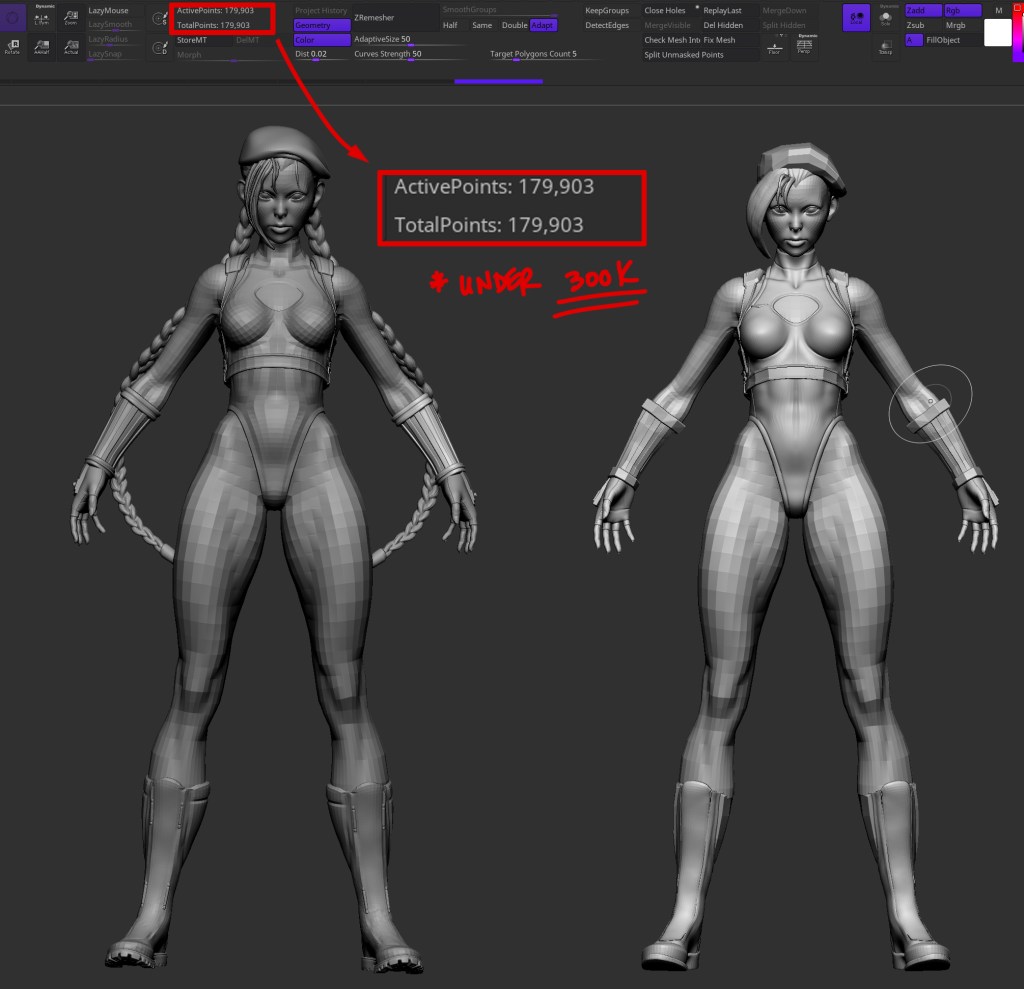
My process for preparing Cammy to go from ZBrush to CC4 is very similar to the one I use for ZBrush posing. The key is to ensure a low-poly mesh that gracefully supports intricate details at higher subdivision levels. Equally crucial is a topology with loops that accommodate joint deformation. Naturally, this is my initial step before assigning polygroups for effortless selection, aiding in isolating tricky parts for detailed sculpting.
GoZ and AccuRig
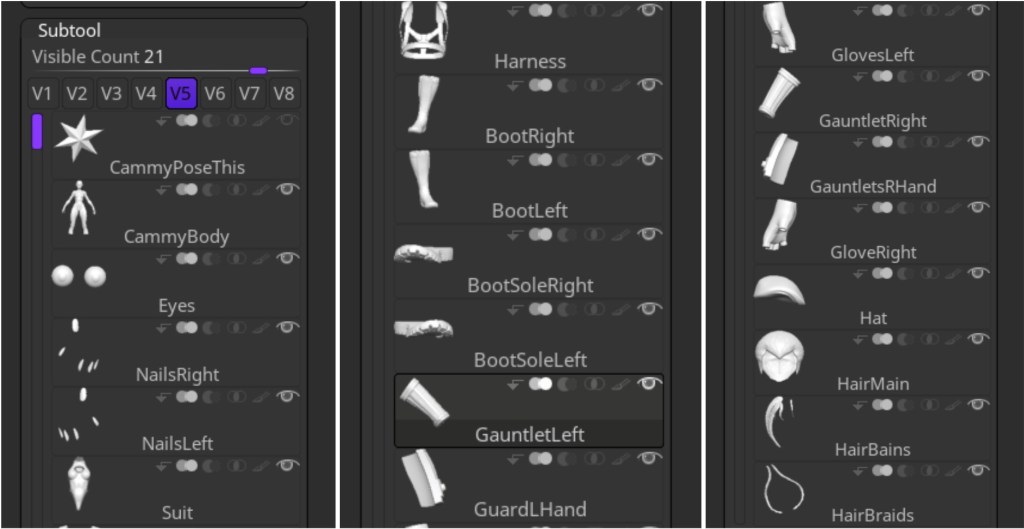
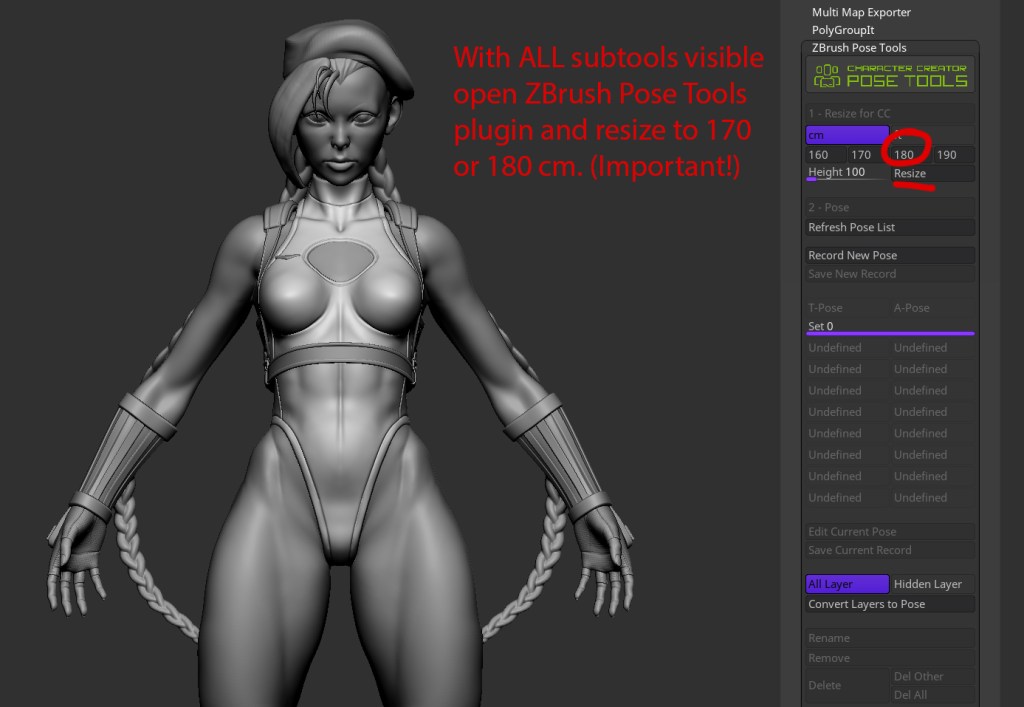
Seamlessly moving a file between ZBrush and Character Creator requires some preparation. I begin by ensuring each element is named for easy identification in AccuRig (organization is key). With all subtools in view, I utilize the PoseTools plugin to scale down my model before exporting it to CC via GoZ.
ZBrush Modeling
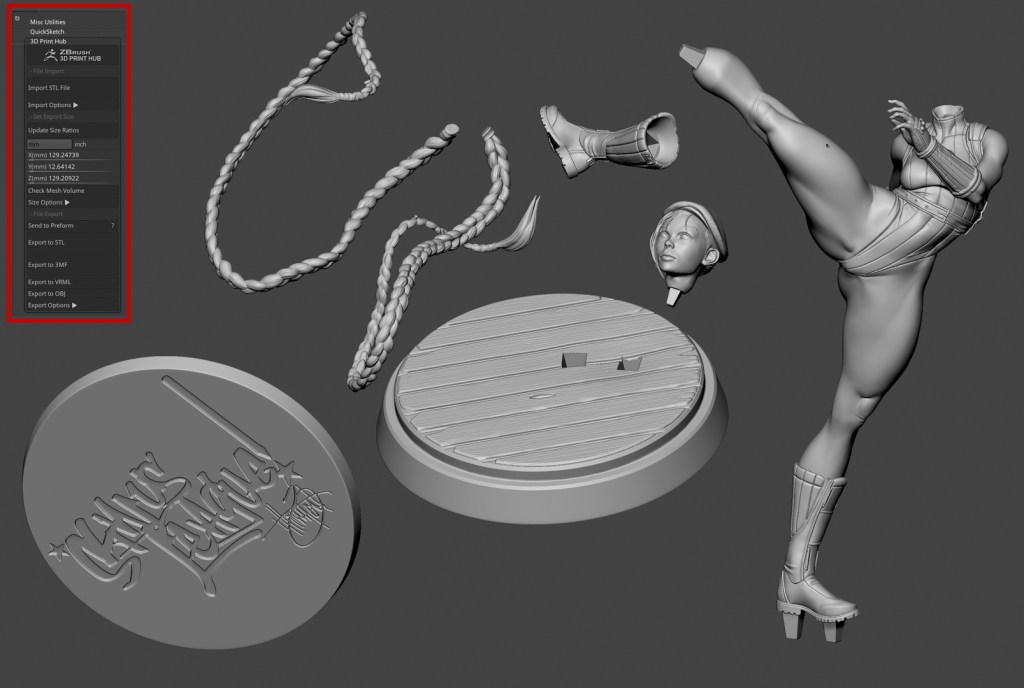
I chose to exclude Cammy’s exaggerated ponytails, as posing them in ZBrush later would be simpler. By toggling off their visibility along with the base, I can send the remaining elements to CC4 for AccuRigging. It’s crucial to uncheck ‘All Meshes’ and check ‘Selected Meshes’; thus allowing me to choose only the components I wish to deform organically.

Posing in Character Creator
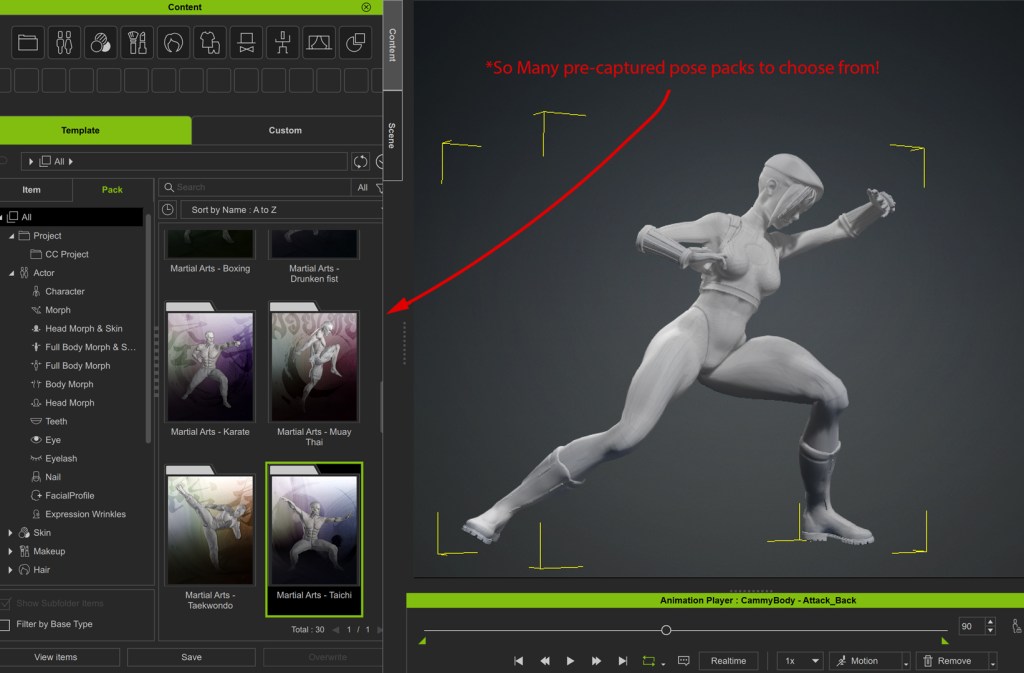
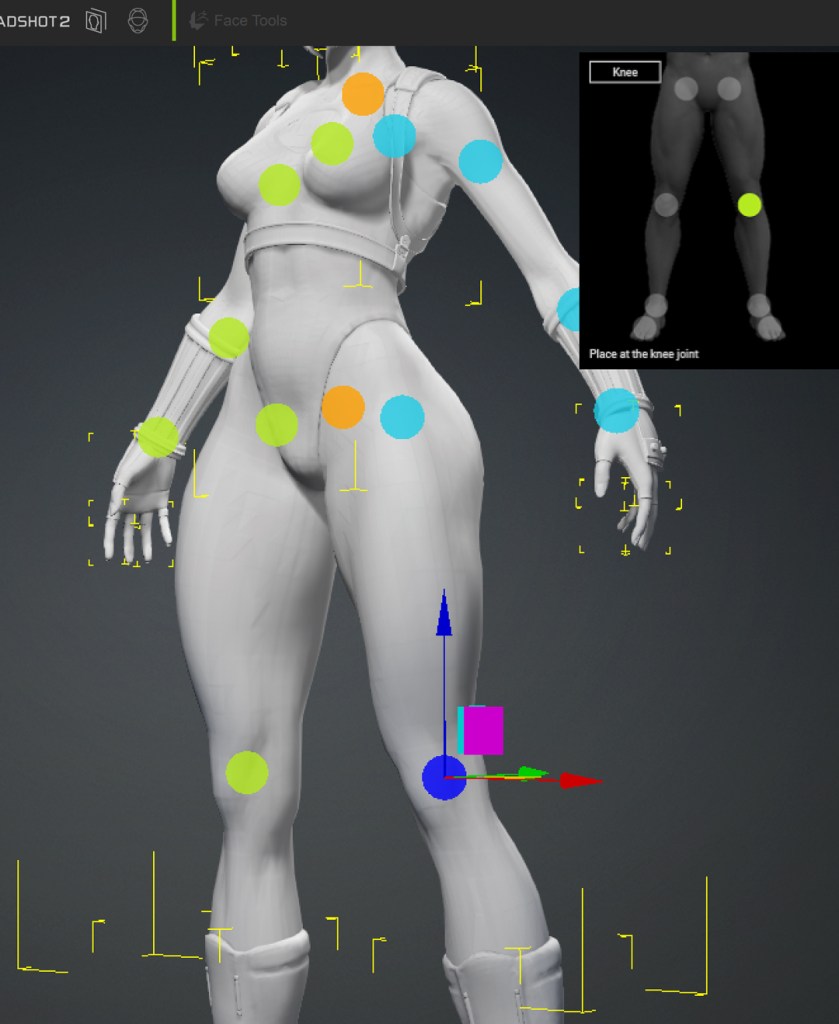
Once the AccuRigging process is complete and pose dots are fine-tuned, it’s time to bring Cammy to life! I had a few options: manual posing, using the motion library, or a blend of both. Character Creator boasts an impressive motion-captured library, perfect for selecting the ideal animation or static pose.
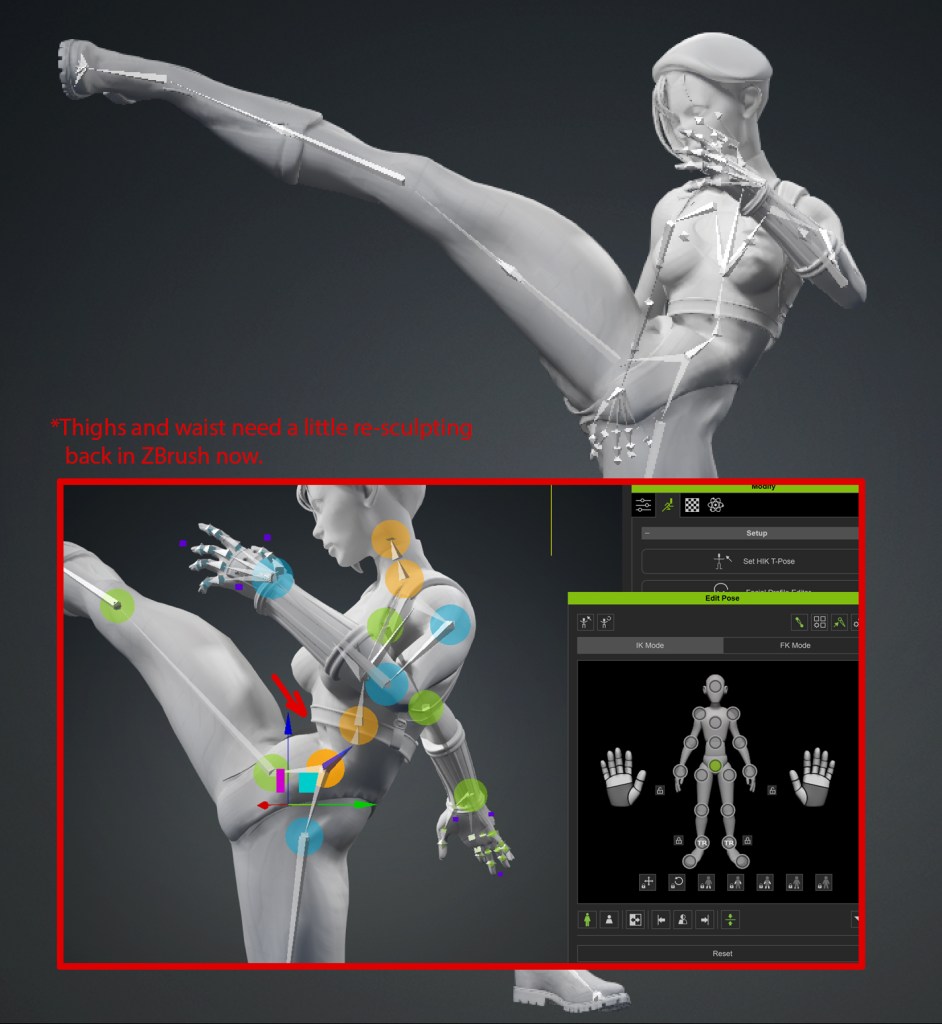
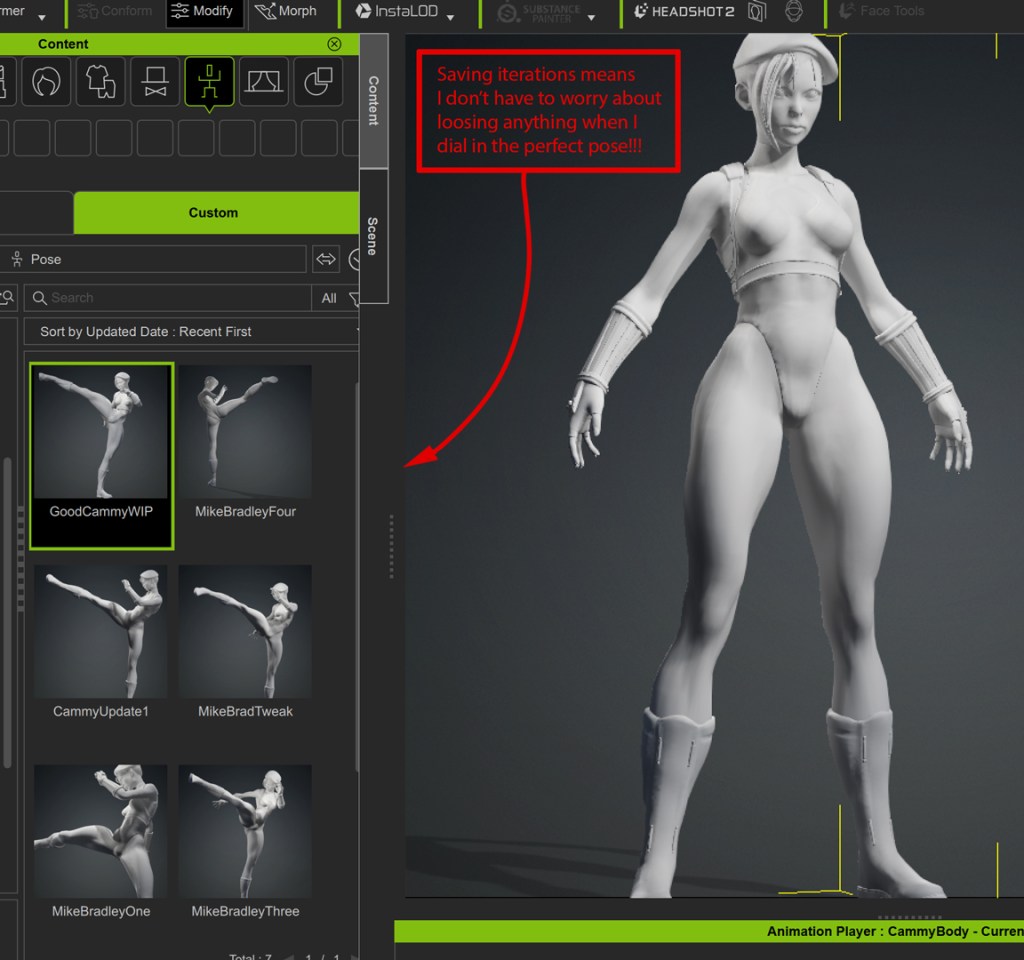
As a non-animator, this feature is a godsend! The Reallusion store also offers additional pose packs for purchase. For Cammy, I had a distinct pose in mind, so I opted for manual posing. The focus was on conveying weight distribution and kinetic energy, vital elements for a dynamic pose.

Fine-tuning in ZBrush
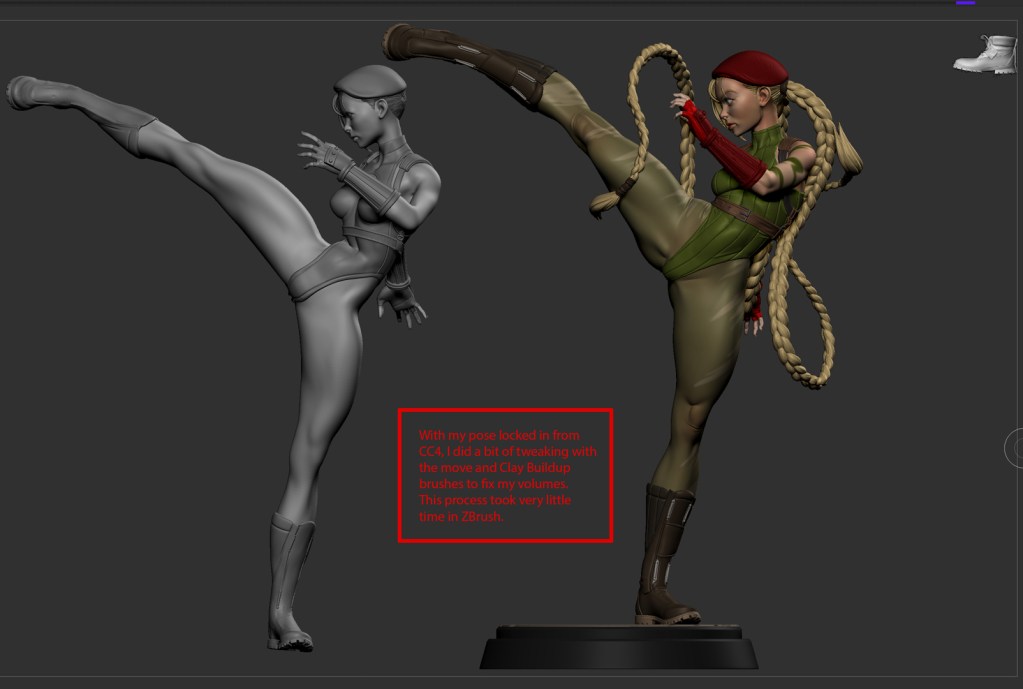
Having refined Cammy’s pose in CC4’s Edit Pose window and diligently saved iterations, I’m on the home stretch. I bypassed ‘Weight Painting’, leaving minor compression areas to address. No worries, though! A quick return to ZBrush lets me rectify any anatomical issues, then reintroduce the hair and base. With the pose finalized, re-sculpting problem areas is a breeze. I typically employ a trio of brushes – Move, Clay Buildup, and Dam Standard – to infuse volume and detail into my sculpt.
Create a turntable podium for Cammy
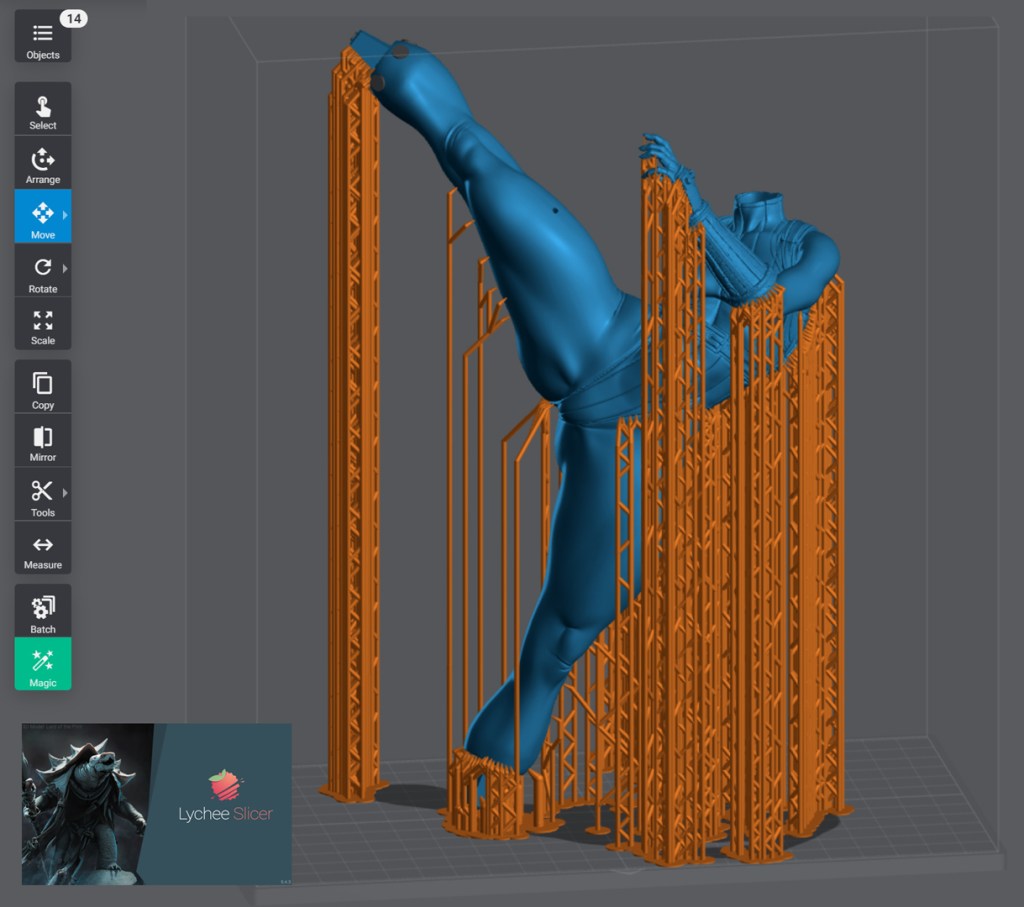
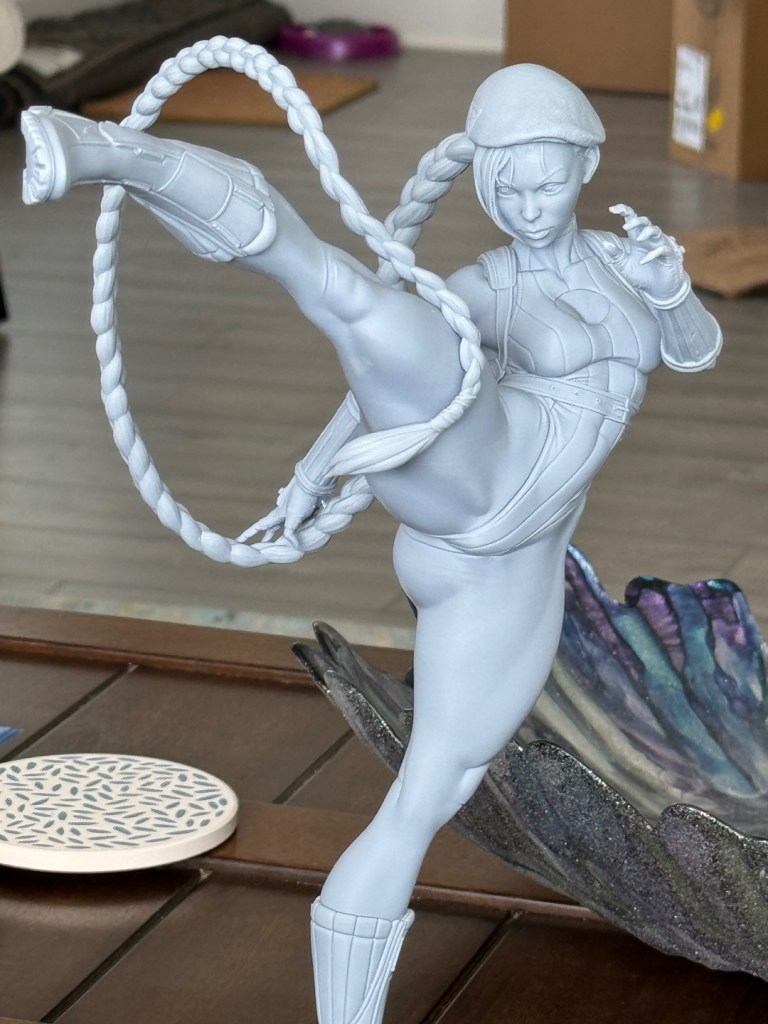
Upon finalizing the pose and detailing, I utilized ZBrush to ready my model for 3D printing. With a vision of a 1/6th scale statue, I employed Scale Master to aptly size all my subtools. Then, I strategically DynaMeshed the parts together. The final steps involved cutting and keying everything, followed by using the 3D Print Hub to convert the parts into .stl files, ready to be sent to Lychee Slicer. This meticulous process ensures a seamless transition from digital sculpting to physical manifestation.
Final thoughts
Integrating Character Creator into my workflow has been a game-changer. As a long-time ZBrush sculptor, I yearned for a tool that could help me swiftly generate poses for iterative and future sculpting. Character Creator not only fulfills this need but does so with an intuitive learning curve. I’m particularly fond of the pose libraries and body morphs that CC4 offers. This software has become an invaluable addition to my pipeline, and I eagerly anticipate the advancements in its future iterations.
Learn More
Related Posts
- Posing John Constantine as a MultiVersus Character in Blender
- Adding Expression & Wrinkle to GoZ Model – ZBrush Face Tools