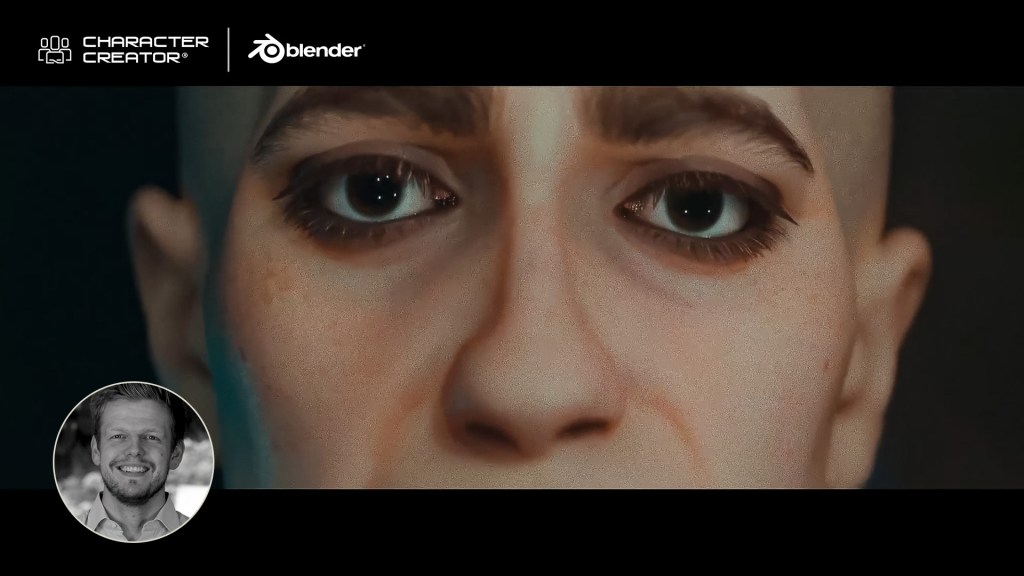

Thies Grünewald
Hi, my name is Thies Grünewald, I am 37 years old, and have been working in film and video production for over 15 years. I have continuously expanded my expertise in the areas of camera, lighting, and audio, and have constantly sought to improve my skills through numerous image films, interviews, explanatory films, music videos, and above all, my own short film projects. In post-production, in addition to editing and color grading, I now focus heavily on 2D- and 3D-animation. Over the years I have added workflows between the programs Blender, Zbrush, and Substance Painter, as well as Marvelous Designer and Character Creator for character design/animation. In compositing, I have been working with Adobe After Effects and other plugins such as Red Giant, Element 3D and Mocha AE since the beginning of my professional career.
Thanks to my job at the university, I have the opportunity to impart knowledge and, at the same time, constantly broaden my own horizons through exchanges with young students and keep pace with the rapid technological developments in the field of AI.
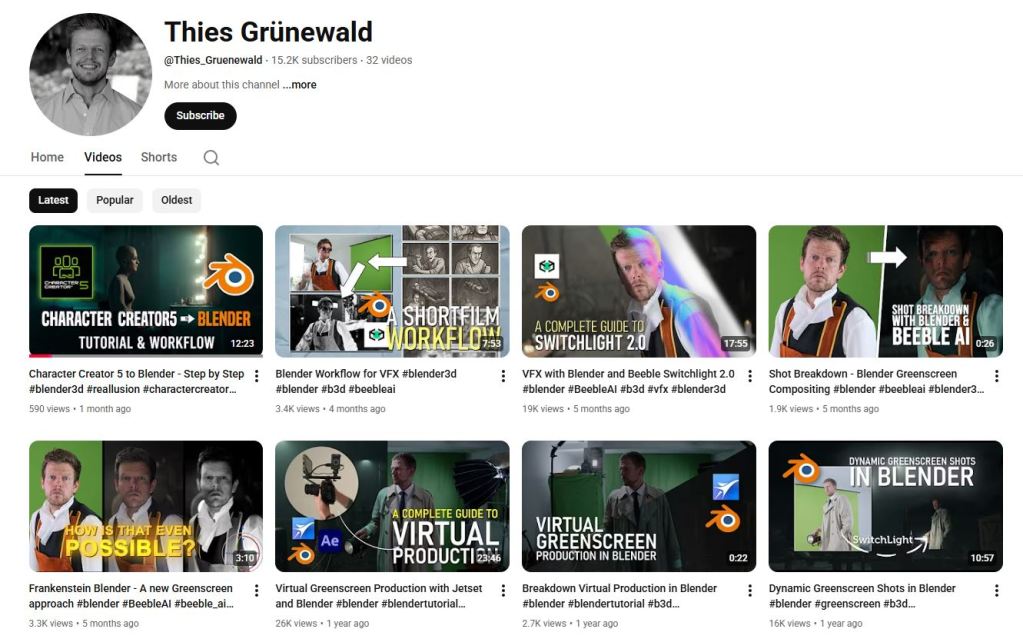
Visit Thies Grünewald’s YouTube Channel
My experience with Character Creator 5
I have been a loyal Character Creator 4 user for a couple of years. Anyone who has ever designed a CGI character from start to finish knows what it means: sculpting, retopology, texturing, shading, rigging, weight painting. With Character Creator, I can focus on my actual strengths: every character I create with Character Creator, whether it’s realistic or stylized, is production-ready and fits seamlessly into my existing workflow.
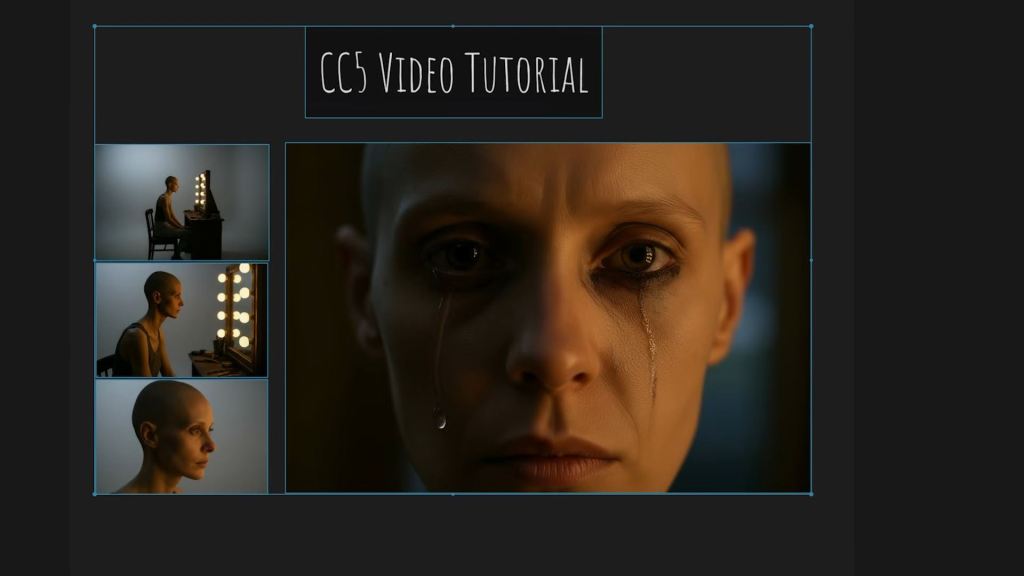
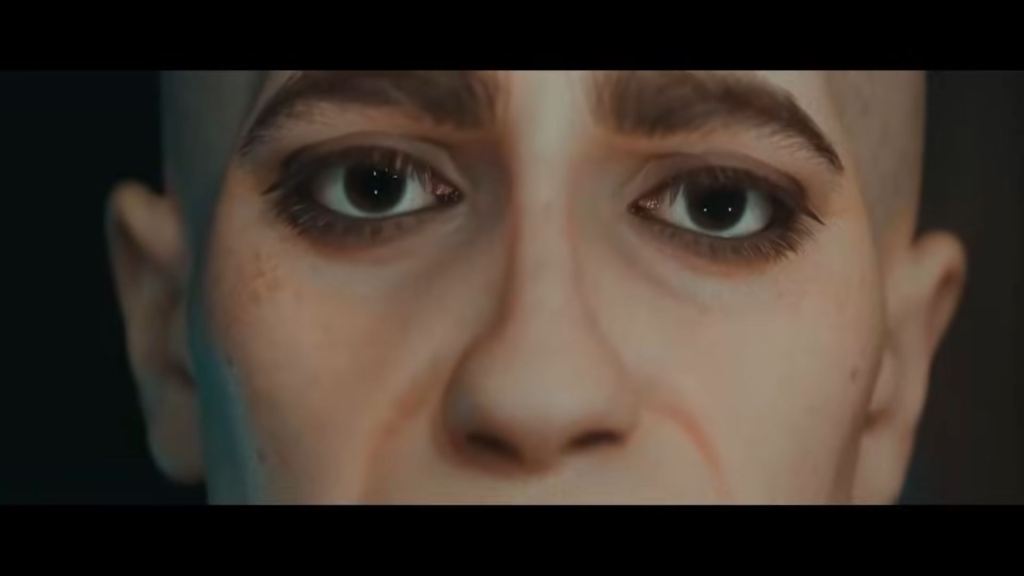
So sharing my opinion for CC5 becomes a no-brainer for me. Character Creator 5 has become an important part of my work. This allows me to invest more time in my creative processes.
”As a one-man band, it is essential for me to work with tools that allow me to implement my creative projects faster and more efficiently in a professional manner without compromising on quality. For me, CC5 has become indispensable.“
Thies Grünewald, Researcher at University of Applied Sciences South Westphalia
Exploring the Next-Gen Features of Character Creator 5
Let’s quickly talk about the new CC5 features, as I have integrated all of them into this character. First, we have a new subdivision level that allows for incredible detail. We also have a realistic skin system to dial in micro-details, alongside an upgraded facial performance system.
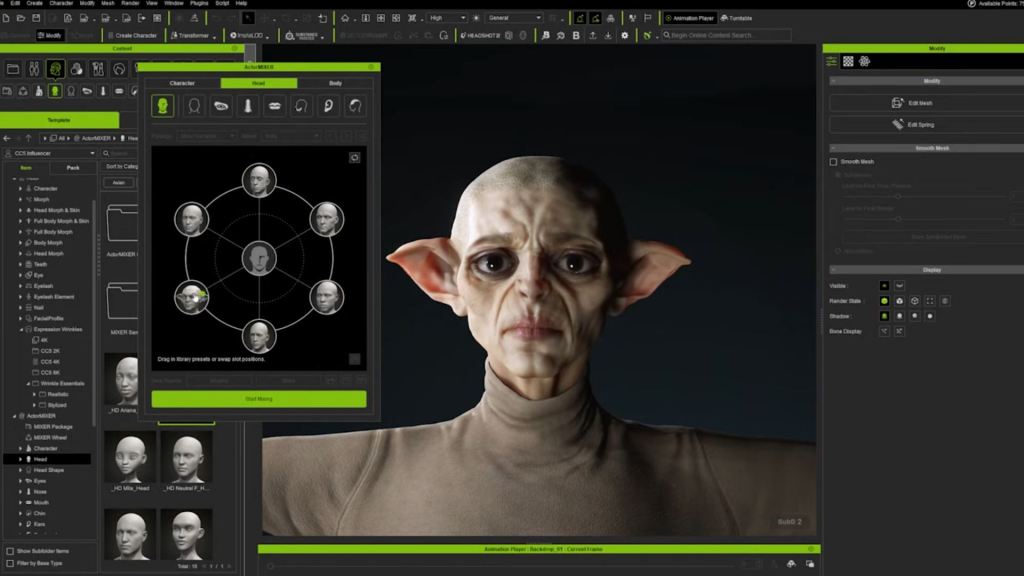
Of course, we have the ActorMIXER. Within seconds, you can play around with models to create unique characters. My goal was to create a specific concept, and I ended up with this female character using the mixer’s various morphs. Whether you are looking for a standard change or a fantasy-style character, you can achieve it with the click of a button — or in this case, by dragging the mouse. For those of us who aren’t primarily character artists, this is a game-changer.
Blender Pipeline and Performance Optimization
Let’s discuss production-ready workflows, specifically integrating this into Blender. If you are working on a slower PC and can’t handle Subdivision Level 2 characters, no problem. You can use the “Create” section to bake your normal maps down to Level 0 or 1. This ensures your characters work fluently even without high-end hardware.
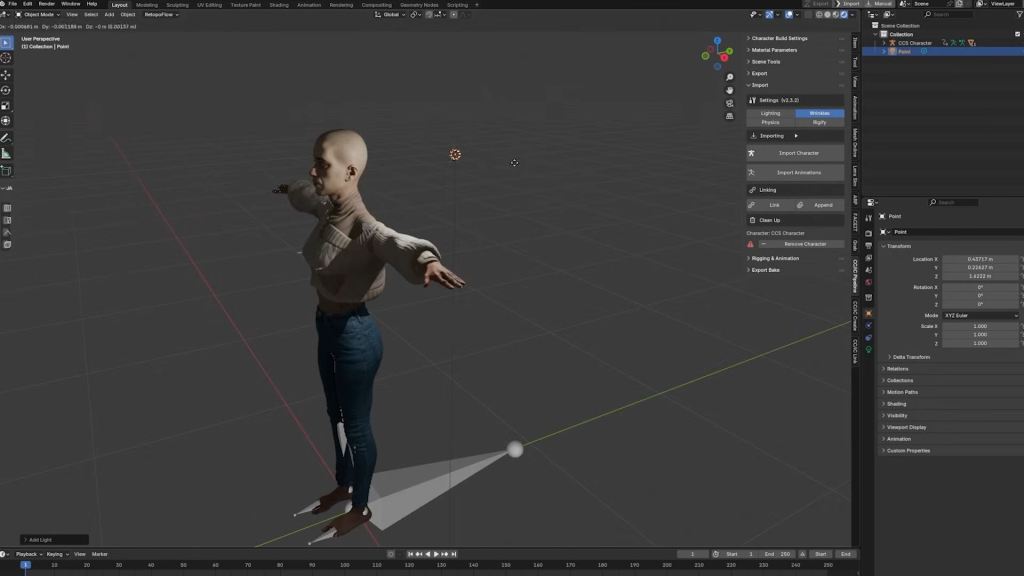
To export to Blender, navigate toPlugins > Blender Pipeline > Export Character. A menu will appear, allowing you to choose your subdivision level; I recommend Level 1 for better playback feedback. Once exported, you can use the free Reallusion add-on for Blender. This tool handles texturing and rigging automatically, removing the technical hassle usually associated with character creation
Rigging and Facial Animation
Once imported, ensure you enable ray tracing in Eevee to make the eyes look their best. The character comes with a high-quality rig and perfect weights from Character Creator. You can also use the Rigify setup in the advanced options to generate a control rig for your animations.
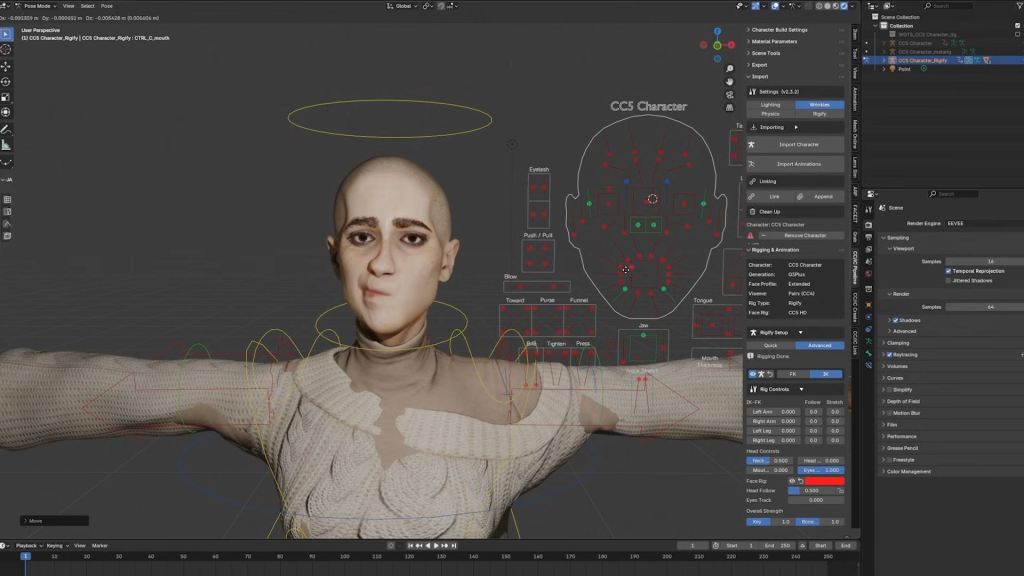
The face rig is particularly impressive. If you’re familiar with Unreal Engine, it will look familiar as it’s based on the MetaHuman system. We even have wrinkle maps for realistic micro-details.
Motion Capture and AI Technology
For animation, you can import mocap data or use the new video mocap feature – Video Mocap Plugin. Reallusion has partnered with QuickMagic AI for “motion-suit-less” animation. You simply upload a video — QuickMagic recommends a static camera, but it works with slight movement — and the AI identifies the silhouette for full-body and finger tracking.
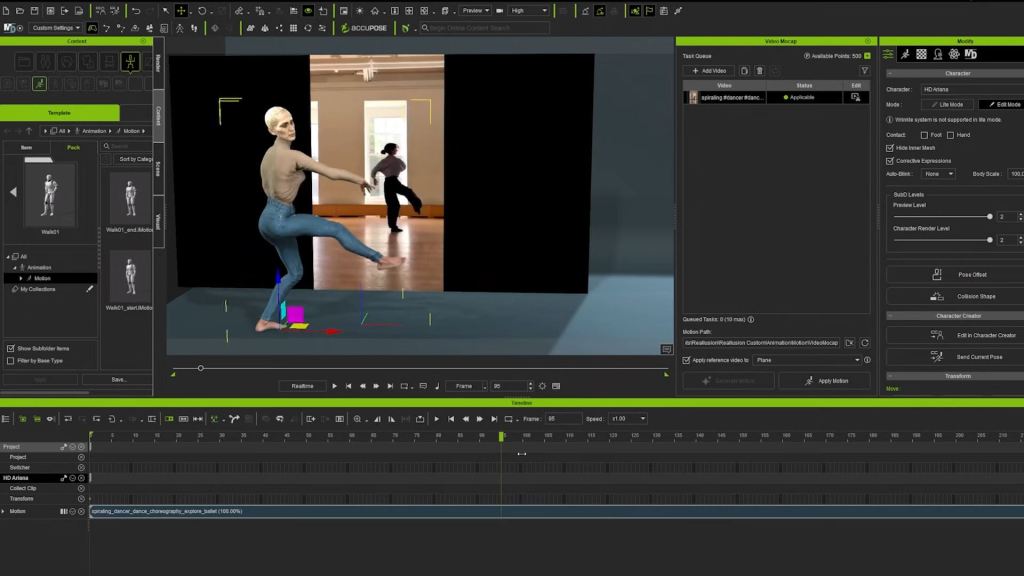
While each generation costs about 250 Reallusion points (roughly $2.50 USD), it provides a handy way to get nice animations without an expensive mocap suit. Each generation takes approximately ten minutes, and the software retargets the motion to your character automatically.
Face Mocap and Retargeting
If you prefer different options, the Blender add-on supports face mocap using ARKit. You can use the free Live Link Face app (exclusively for iPhone) to record a CSV file. Uploading that file onto the “proxy face” in Blender applies the mocap data directly to your character’s shape keys.
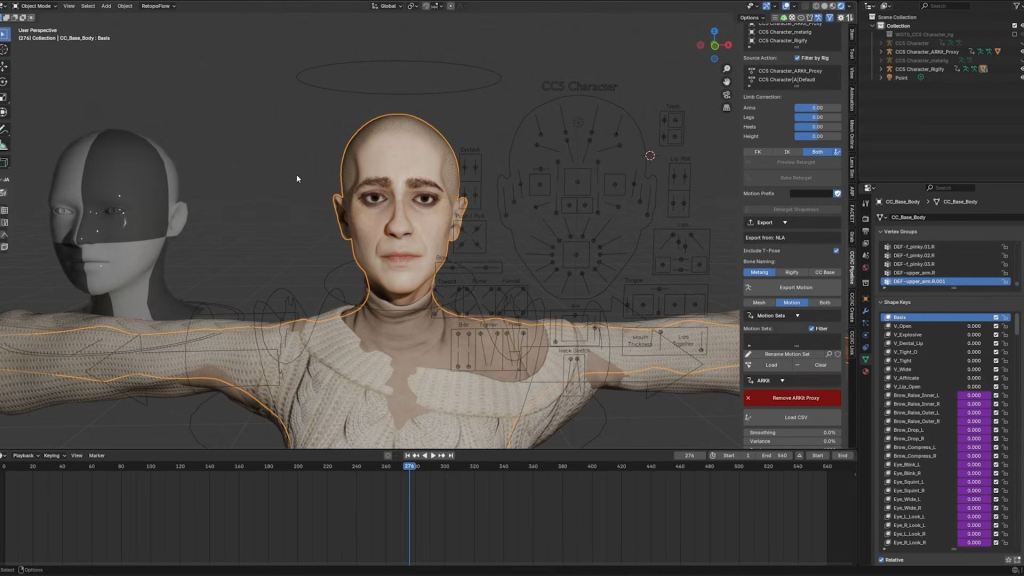
Additionally, you can import animations from sources like Mixamo. Simply download the Mixamo rig, select your character as the source armature, and preview the retargeted animation. If the rotation is off, just apply a 90-degree X-axis rotation to the character and everything should work fine.
Conclusion
We’ve created a complete, lifelike animation using a character designed in Character Creator 5 (with all its new features), combined with a free face mocap app, and free Mixamo animations. All of this was implemented into an existing 3D scene in Blender, easily and without the need for deep technical knowledge of the complex character animation process.
Related Posts
- Influencer Spotlight: Character Creator 5 Review by CG Dive (Blender Rigging Tips)
- Influencer Highlight: AI Concept to Animated 3D Character