TL;DR: This tutorial walks through a complete Daz-to-Character Creator 5 workflow for creating original stylized characters. Multimedia designer CYING begins with a Daz Genesis 9 base, brings it into CC5 using the Transformer, then refines the character’s face and body with morph tools, adds tattoos and custom materials, and creates additional props in Blender before final integration. The finished result is an animation-ready original character, built far faster than sculpting from scratch.
Malaysia-based multimedia designer CYING creates original characters, stylized digital humans, and visual designs, and relies on a hybrid pipeline to do it. Rather than choose one tool, CYING combines three: Daz 3D for a fast base, Character Creator 5 as the central hub, and Blender for custom assets. This breakdown follows the Daz to Character Creator 5 workflow behind one character, Bu Ra En, then shows how the same process scales to an entire cast.
Step 1: Locking in the Character Concept
Before any 3D work begins, CYING defines the character’s personality, color palette, and overall visual direction. This front-loaded planning keeps the design consistent later and guides every asset choice.
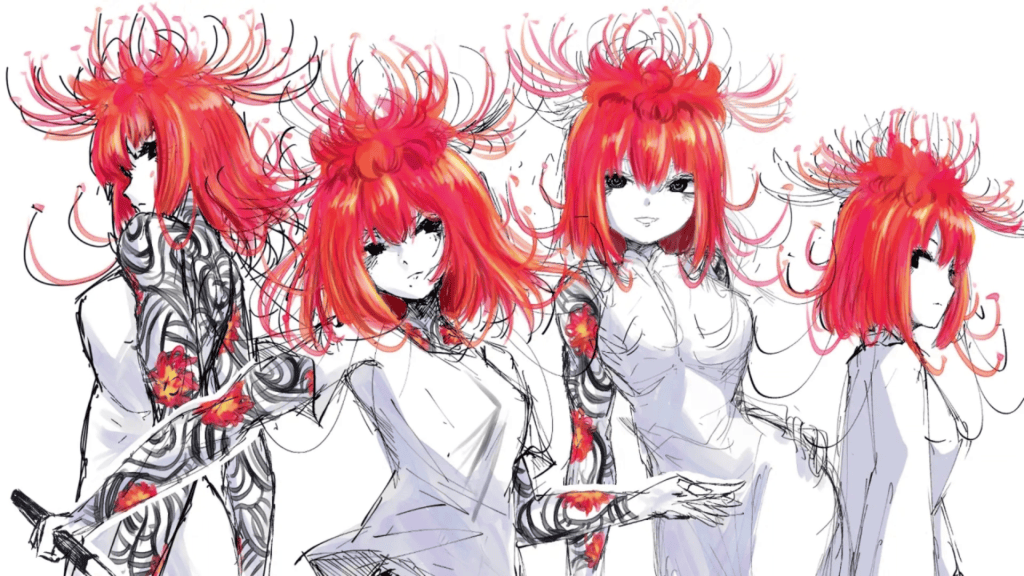
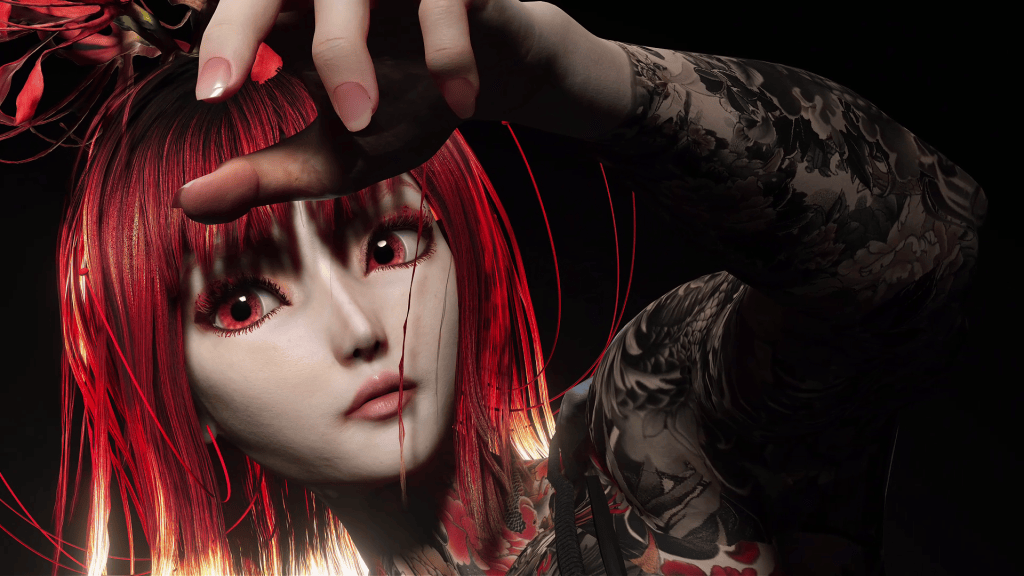
For Bu Ra En, the brief was powerful, mysterious, dramatic, and slightly dangerous. The core design elements followed from that: red hair, dark clothing, strong contrast, sharp accessories, and full-body tattoos.
Pro Tip: A clear concept is not just a mood board. It becomes the filter for which Daz base, textures, and outfits are worth pulling in, which prevents the design from drifting once you are deep in the tools.
Step 2: Finding a Base Model in Daz 3D
With the direction set, Daz 3D provides the starting foundation. For Bu Ra En, CYING selected a Genesis 9 model and a full-body tattoo texture that matched her personality, then made first-pass adjustments to the face, body shape, skin, tattoo placement, and outfit direction.

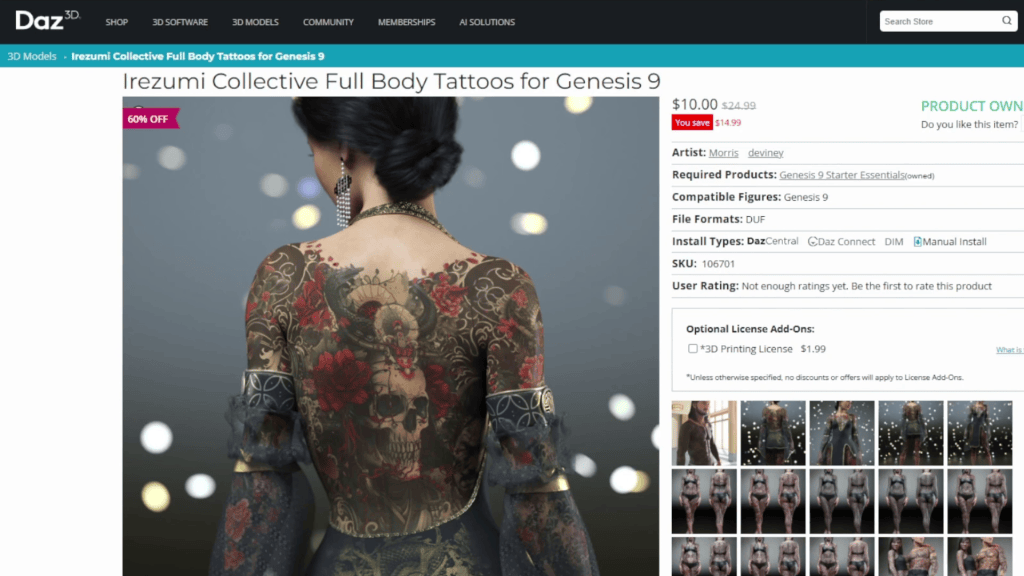
The important mindset here: the Daz character is not the final result. It is a foundation to build on, chosen for speed and for the range of ready-made assets Daz offers.
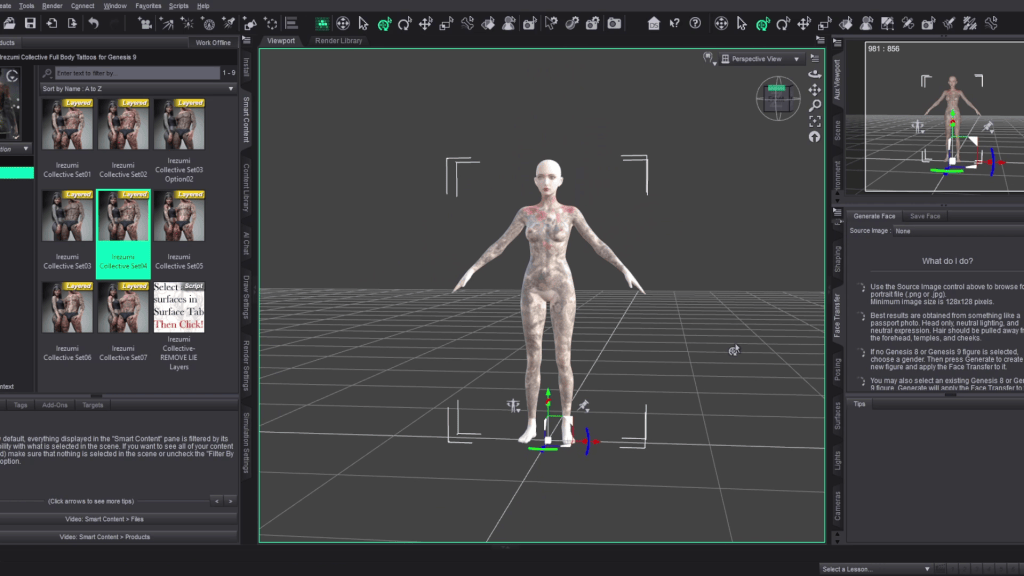
Step 3: Importing the Character into Character Creator 5 with Transformer
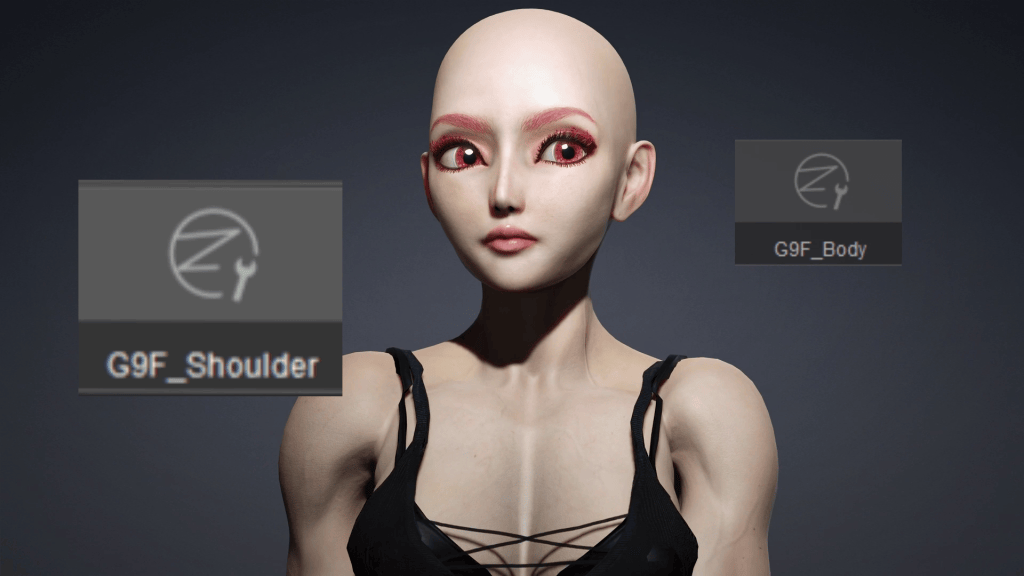
This is the bridge that makes the Daz to Character Creator 5 workflow efficient. Once the Daz character is ready, CYING exports it and brings it into CC5 using the built-in Transformer.
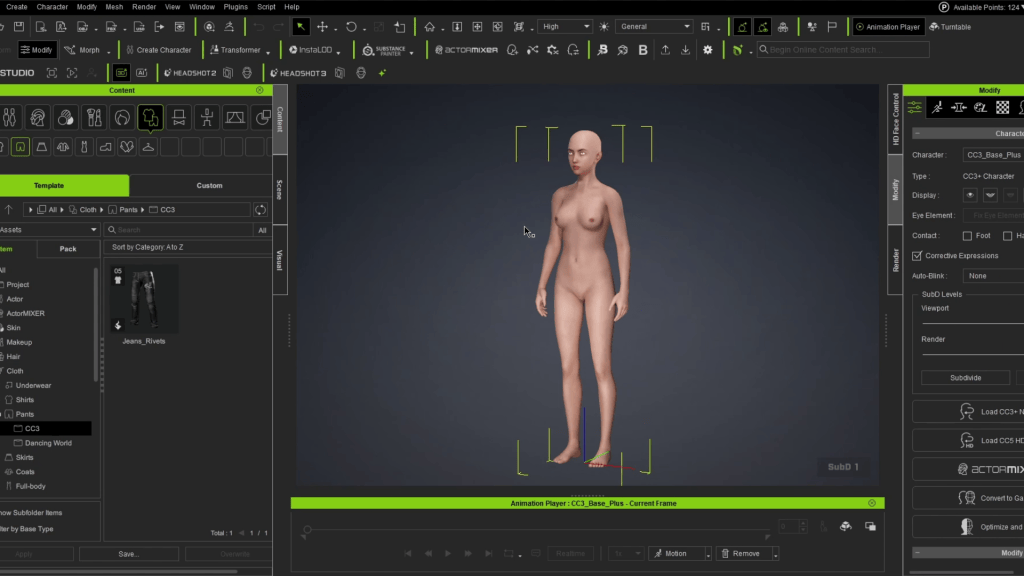
Transformer converts the Daz character into the Character Creator system while preserving the important elements: body shape, face, textures, hair, and clothing. Because the conversion carries those pieces across, there is no need to rebuild the character from the ground up.
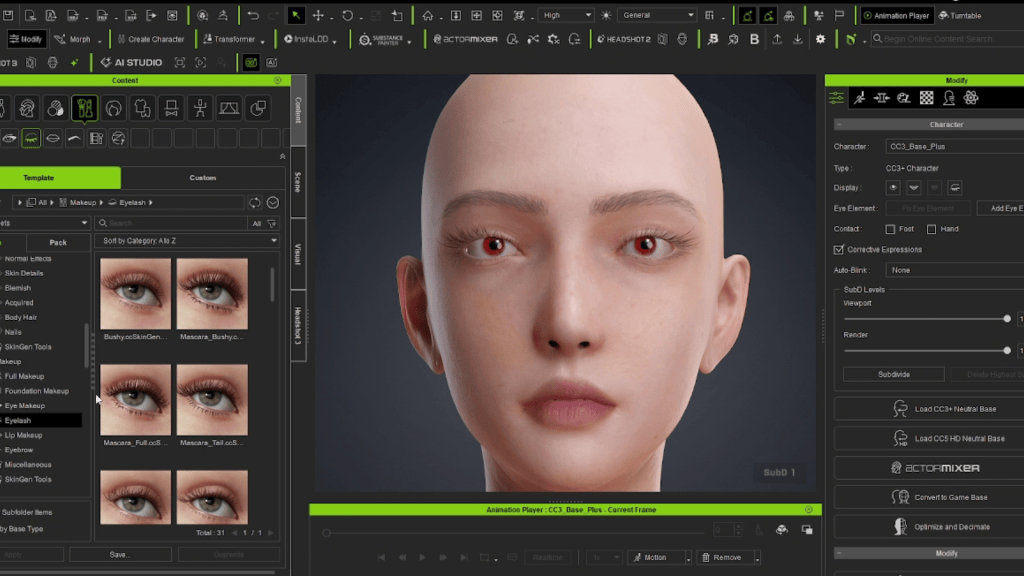
Note: CC5’s Transformer supports Genesis 3, 8, 8.1, and 9, converting them into CC3+ topology HD characters that support multiple subdivision levels. That topology is what unlocks the morph and material work in the next steps.
Step 4: Refining the Character in CC5 with Morph Tools
Inside CC5, the character stops being a standard base and starts becoming an original design. Using the morph tools, CYING reshaped Bu Ra En’s face, eyes, jawline, expression, and body proportions.
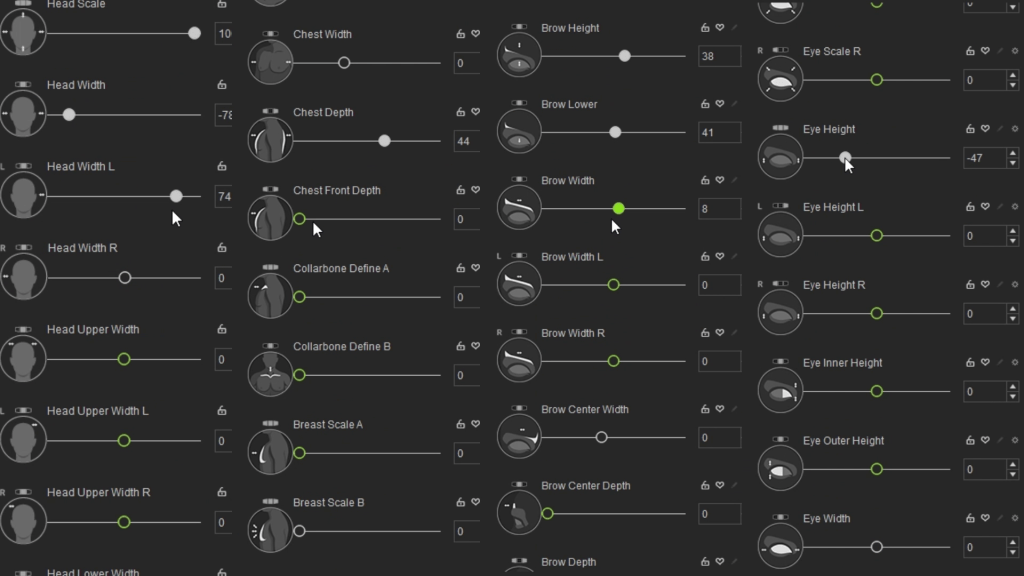
This is the stage where personality becomes recognizable. The goal is to move the character away from the generic base likeness and toward the concept locked in Step 1.
Step 5: Testing Tattoos, Materials, and Clothing
With the shape refined, CYING checks the tattoo texture, skin materials, clothing, and overall color balance together, because they interact.
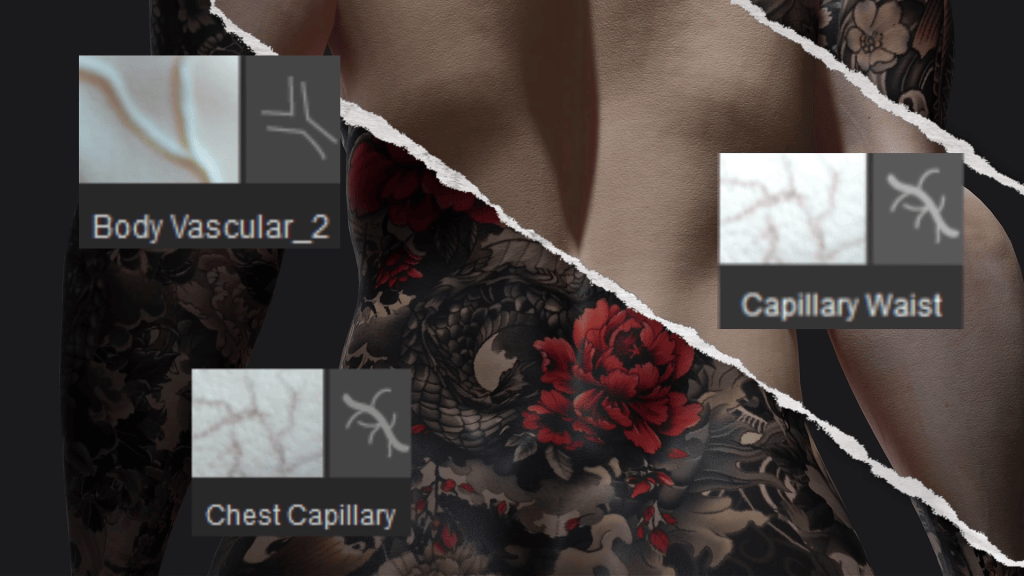
Bu Ra En’s tattoos cover a large part of her body, so they have to read cleanly against her skin, outfit, lighting, and hairstyle rather than competing with them. CYING also tests the clothing from multiple angles to confirm the full silhouette stays clear and visually balanced from every view, not just the front.
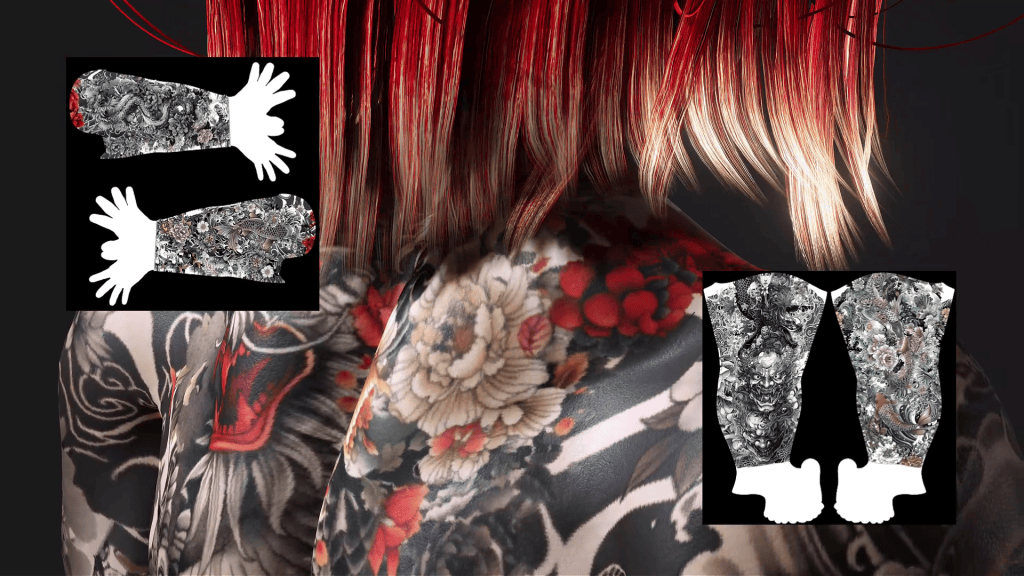
Pro Tip: Judge tattoos and materials in context, not in isolation. A texture that looks sharp on a flat preview can flatten out or clash once hair, wardrobe, and lighting are in the scene.
Step 6: Creating Custom Assets in Blender
For design elements that do not exist in any content library, CYING turns to Blender. This is where accessories, ornaments, decorative shapes, and character-specific props get built or adjusted.

These custom pieces are what push a character past “assembled from existing content” and into something genuinely unique. Once the assets are ready, CYING exports them from Blender and brings them back into Character Creator 5.
Step 7: Final Integration and Animation Testing
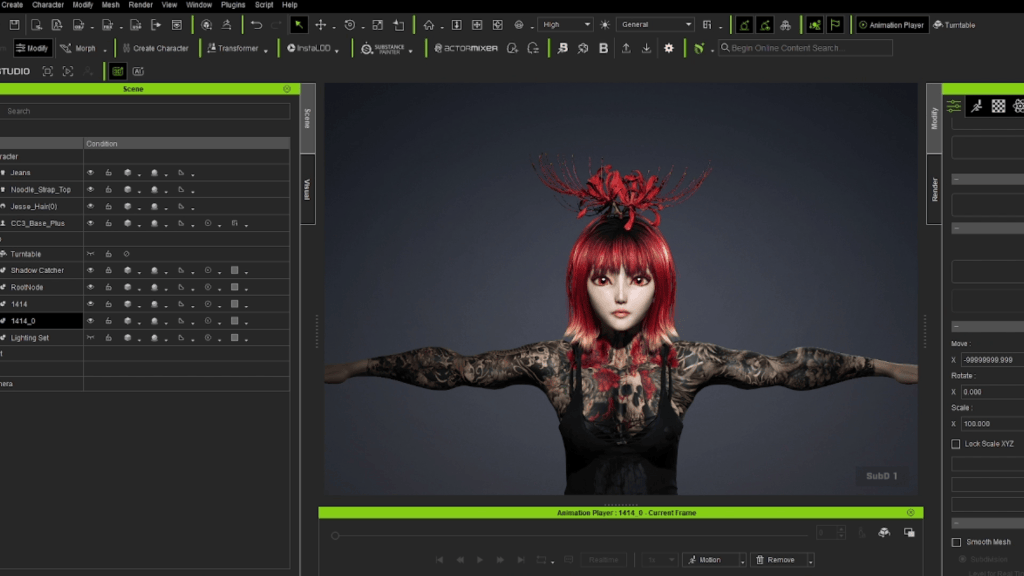
Back in CC5, everything comes together: the character, materials, clothing, hair, tattoos, and the custom Blender assets are combined into one file.
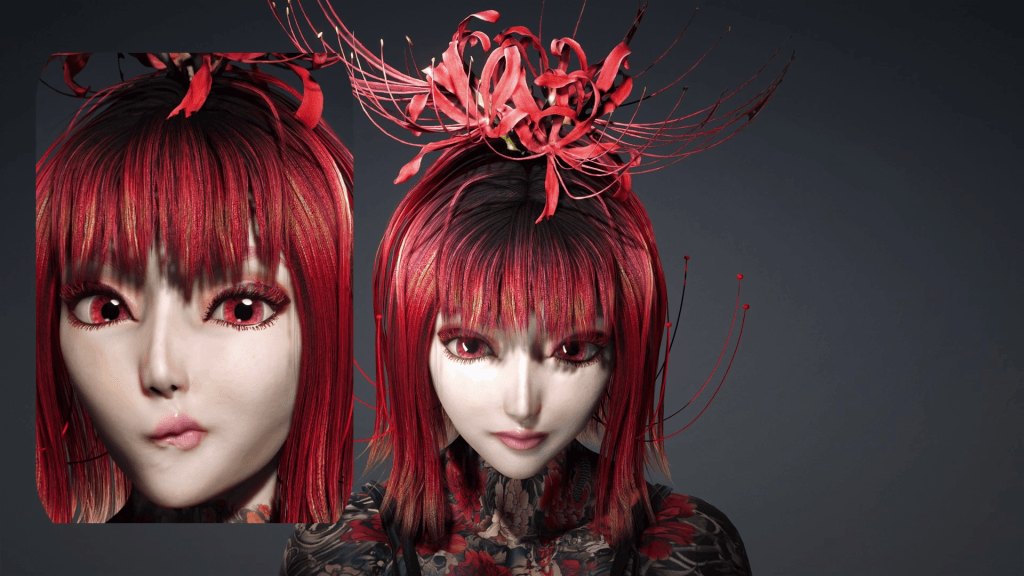
CYING then tests poses, facial expressions, camera angles, and simple animations. This motion check catches problems a static render hides, such as accessories or clothing that intersect or behave badly once the character moves. In this pipeline, CC5 acts as the central hub where every part of the character is refined, organized, and prepared for presentation or future animation.
Applying the Workflow to Your Own Cast
The same process scales across an entire character lineup. CYING uses it for a full set of original characters, each with a distinct identity:
- Xiao Lian has a softer, dreamy design inspired by lotus flowers.
- Nakhari has a mysterious, elegant, snake-inspired appearance.
- Xiao Fu has a gentle, natural identity drawn from plants and flowers.
- Bu Ra En carries the darker, stronger, more dramatic personality featured throughout this breakdown.

The production steps stay the same, but morphs, materials, clothing, accessories, and styling produce very different results. That repeatability is the real payoff: one reliable pipeline, many original characters.
Summary
The Daz to Character Creator 5 workflow gives each tool a clear job. Daz 3D delivers a fast starting point and a deep asset pool. Blender adds the custom props and accessories that make a character feel one of a kind. Character Creator 5 sits at the center, where the character is refined, all the parts are combined, and poses and expressions are tested before animation. Worked this way, an original stylized character comes together efficiently without giving up a distinct personality or visual identity.
Want to learn more about the DAZ to Character Creator 5 workflow? Explore the DAZ Character Transformer Course for expert tips and techniques.
Key Takeaways
- Design before you model. Locking personality, palette, and key elements first keeps asset choices consistent and stops the character from drifting once you are inside the tools.
- Treat the Daz base as a foundation, not the finish. A Genesis 9 model plus a matching texture is a fast starting point, not the final look.
- Let Transformer do the heavy lifting. Converting a Daz character into CC5 preserves body, face, textures, hair, and clothing, so you refine instead of rebuild.
- Judge tattoos and materials in context. Skin, outfit, hair, and lighting all interact, so evaluate them together and from multiple angles.
- Use Blender for what libraries can’t give you. Custom accessories and props are what separate an original character from an assembled one.
About the Creator
CYING is a multimedia designer and 3D character creator based in Malaysia, specializing in original characters, stylized digital humans, animation, and visual design. CYING’s approach favors a hybrid pipeline that borrows the strengths of Daz 3D, Character Creator 5, and Blender rather than committing to a single tool, using CC5 as the hub that ties the whole process together.
FAQ: Daz to Character Creator 5 Workflow
Q: Can I use this workflow for my own original characters?
A: Yes. The pipeline is built to be repeatable. As CYING’s cast shows, the same Daz to CC5 to Blender steps produce very different characters simply by changing morphs, materials, clothing, and custom assets.
Q: Which Daz characters can the Transformer convert into CC5?
A: Character Creator 5‘s Transformer supports Daz Genesis 3, 8, 8.1, and 9, converting them into CC3+ topology HD characters with multiple subdivision levels. Older legacy figures are only supported in Character Creator 4.
Q: Do I need Blender to follow this workflow?
A: Not for the core pipeline. Daz plus Character Creator 5 covers concept, conversion, refinement, materials, and animation testing. Blender is optional, used only when you want custom props and accessories that no existing content library provides.
Q: Why route Daz characters through Character Creator instead of animating them directly?
A: Converting into CC5 gives you a standardized, animation-ready rig plus the full CC toolset for morphs, materials, and pipeline export, while still keeping the Daz likeness you started from.
Related Posts
- A Stylized Wolverine Workflow with Character Creator 5, ActorMixer & Blender HD Workflow
- Create Your Own Stylized Character, An Easter Bunny: Character Creator to Blender Workflow