Neil Biondich is a writer/director/animator, based in Los Angeles. He grew up in Milwaukee, Wisconsin where he studied art, film, music, martial arts, and roleplaying.
Neil began animating in the nineties, co-founding the company, Sik Puppy Studios. The company’s tech progressed from Amigas running Lightwave, to SGI’s running Alias Power Animator, to finally, PC’s running Maya. Neil had left animation behind for more than a decade but was drawn back in when COVID broke out and he began to study Virtual Production methodologies. The real-time raytracing capabilities of Unreal Engine blew him away and reignited his passion for animated storytelling.
Neil founded Kuden Creative with a charter to develop original, high-concept content for film and television. His sci-fi feature screenplay, KITTY, was a finalist at the 2020 Austin Film Festival and is now in pre-production with Neil set to direct.
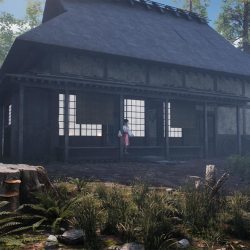
His Pitch & Produce project: Chiburi employed real-time tools from Reallusion including Character Creator, iClone, LIVE FACE mocap for iPhone, with Rokoko Smartsuit Pro, and Unreal Engine.
Chiburiis a story about breaking the mold that society tries to keep us in. The plight of a girl in medieval Japan trying to rise above her station is perfectly synonymous with today’s struggles for equality. The character Sister just wants to earn her adult name. Unfortunately, her father will only award a name to one who lands a blow on him with a sword. Females are not allowed to touch swords. So, while Sister is raised watching her father train her brother to become samurai, she sneaks off into the woods to secretly practice what she observes.
“Reallusion was the exact toolbox I needed for my project. Each application tackled a different aspect of my pipeline and it all worked together flawlessly. They manage to bring high-end character modelling and animation into the reach of artists and filmmakers (non-3D gurus) without sacrificing quality.”
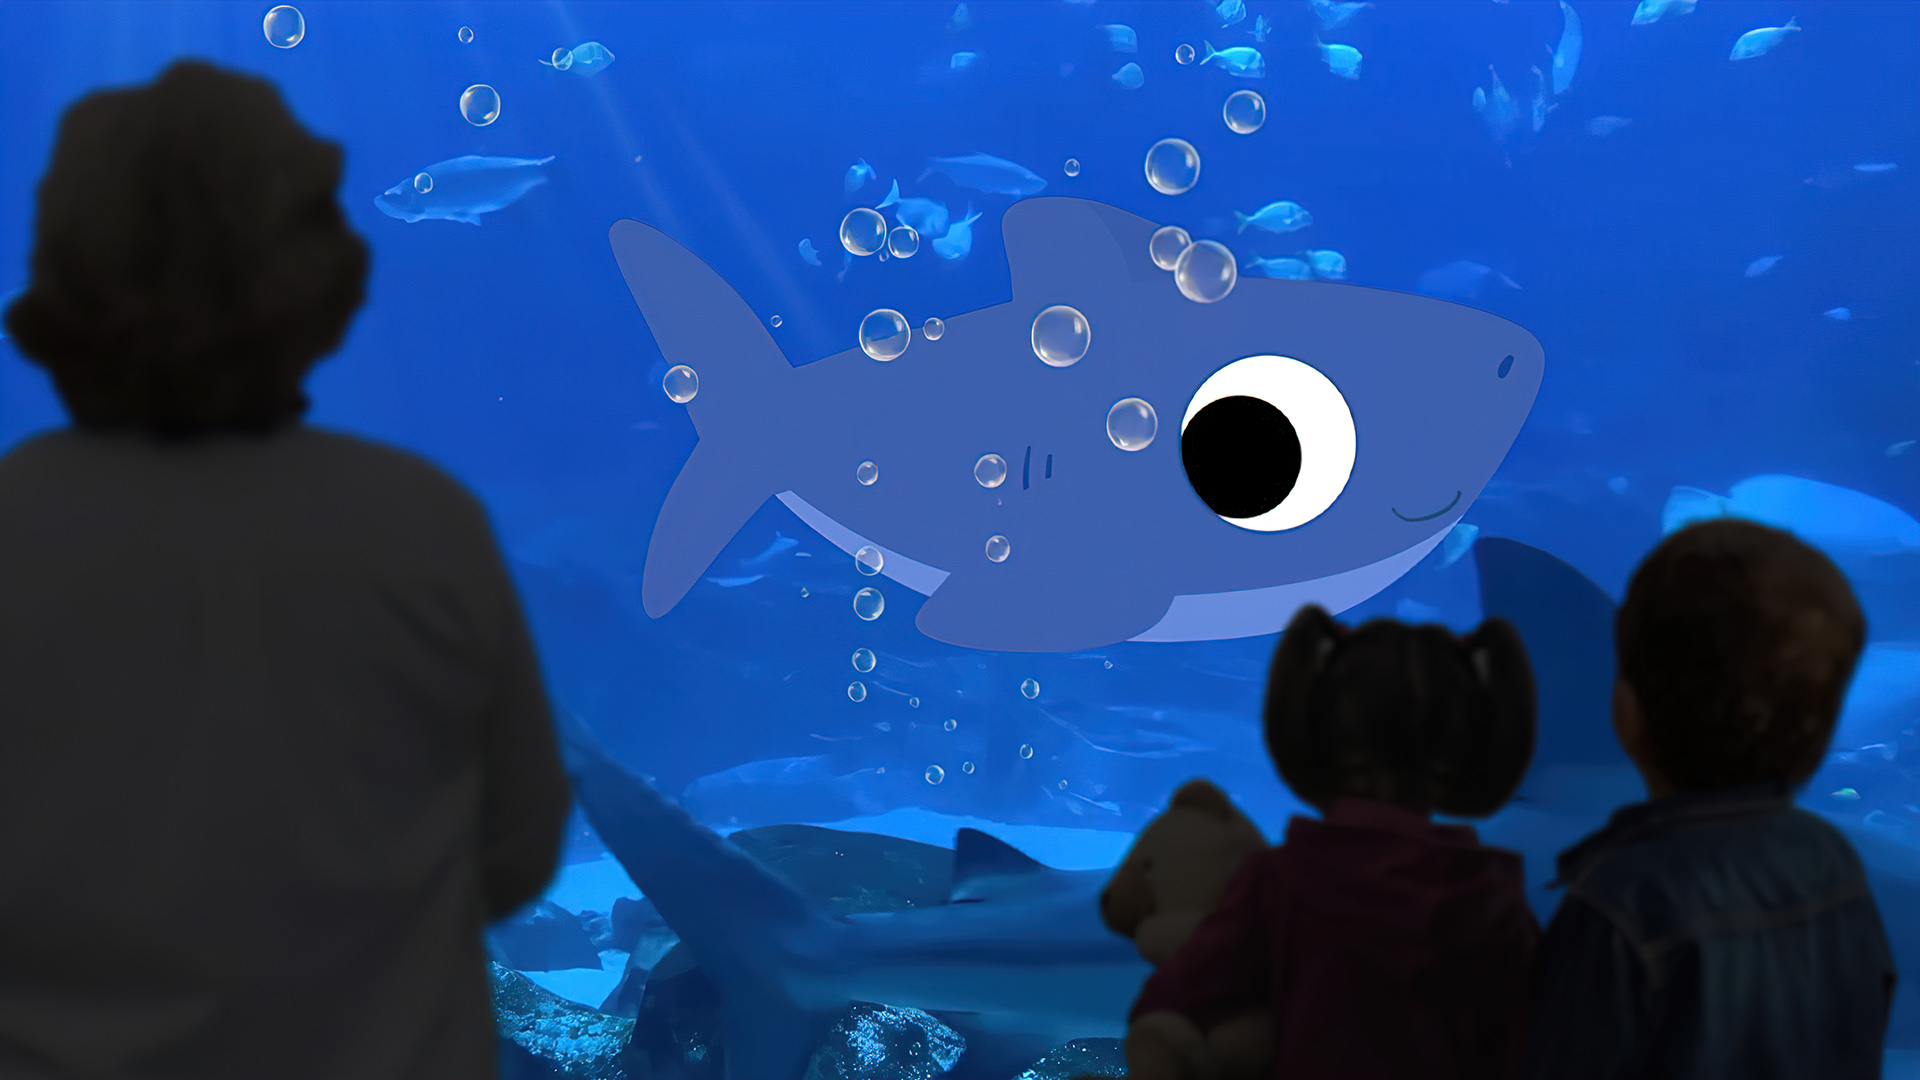
Mixing 2D with live-action has been a popular format for movies and TVs over the years. The obvious benefits of this style include that it produces visually realistic results and makes the film more engaging. However, creating such a piece can sometimes be painstaking for video animation makers. Today we have invited Chris Meyer-White to show you how to easily accomplish video compositing of 2D animation with live footage using Cartoon Animator 4.
A Brief History of 2D and Live Action Animation
My name is Chris Meyer-White. I have worked in Home Entertainment for 15+ years, in both the US and the UK, and on projects for Warner Brothers, Disney, BBC, Paramount, and many other studios. The most time of which being at Abbey Home Media which was the UK’s leading independent home entertainment company for lots of well-known children’s shows, Care Bears, Topsy and Tim, Peter Rabbit, Sooty, Horrid Henry, Fireman Sam and more.
Before I start showing you the workflow of my creation, let me give you a quick introduction to 2D and live-action video.
There are many different styles of animation, 2D, 3D, stop motion, and more.
One of my personal favourite styles has to be when 2D and live-action are mixed together. This is sometimes known as hybrid animation, and it’s a technique that has been around for over 100 years.
The earliest example of this style I could find was used in the 1918 series, Out of the Inkwell, followed soon after by the Alice Comedies series by Disney. The Alice Comedies were a series of live-action/animated shorts that followed Alice (a live-action girl) having adventures in an animated world with animated 2D characters.
This was a technique that Disney seemed to love as they created many classic movies mixing live-action and animation in films such as Bedknobs and Broomsticks, Song of the South, Mary Poppins, and more.
Dot and the Kangaroo is a classic story from Australia that sees the main character Dot, lost in the Australian Bush. Dot and all the other characters she meets in the film are 2D and the backgrounds are either live-action film or photos and, as a 5-year-old, this style really captivated my attention and creativity as it was so different from anything I had seen before. The quality is now a little dated, but it still has a magical charm and such a mesmerising style for a young child to see.
One of the most famous films to mix 2D and live-action has to be the classic 1988 film, Who Framed Roger Rabbit, directed by Robert Zemeckis, starring Bob Hoskins and Christopher Lloyd as live-action characters, along with the other stars of the film, Roger Rabbit and Jessica Rabbit, and many more famous cartoons as 2D characters, in the groundbreaking film where cartoon characters and people coexist in the same world. And, for me as an 8-year-old, this film was absolutely mind-blowing and really cemented my fascination with both film and animation.
I have a lot to thank the makers of Dot and the Kangaroo and Who Framed Roger Rabbit, as it was these 2 films that made me want to work in animation and film.
With Cartoon Animator, you can create similar styles, easily and fast.
Over the years, I have used many different software packages to animate – After Effects (using DuiK and Joysticks and Sliders), Adobe Animate, Moho and more. Cartoon Animator (CTA) is the only software package that I’ve used that was easy to use straight out of the box. For example, the templates that come with CTA are a fantastic starting point for anyone looking at character animation, the free motions have you animating in no time.
Another reason why CTA is fantastic is that there are always brilliant new additions. The 360 head turn feature is a game-changer, and the 3D-2D animation motion feature is ground-breaking.
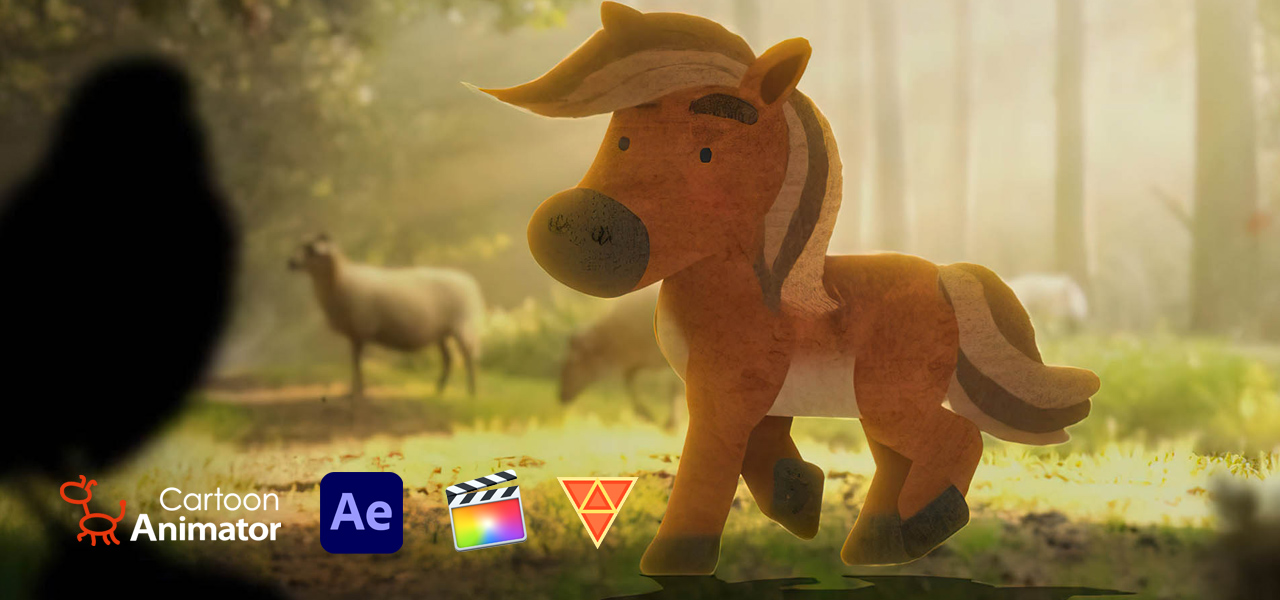
Now with CTA 4.5 you can export your animated 2D characters as transparent .mov files and use them in external effects and editing software such as Adobe After Effects, Final Cut Pro, DaVinci Resolve, Motion, HitFilm, and more.
CTA supports both transparent video (MOV) and image sequence (PNG) export. If you choose to export your characters as transparent png sequences, which is great, however, it would result in thousands of files (as each frame was a .png file). Rendering out as a single transparent .mov file means you can keep the files down, and help keep your project tidy, which really helps the animation pipeline.
Exporting as a transparent .mov file really is as simple as clicking a button. When you go to render your video, make sure you select Apple ProRes 4444 and this will keep the transparency. Then import into your software of choice and submerge your character into your scene – it’s that simple.
After Effects
For me, as I always use After Effects, you can simply export to After Effects with the plugin, and select MOV Video, and, like when you render as ProRes 4444, your project will import into After Effects and, rather than a PNG sequence, it will import as one .MOV file with transparency.
Final Cut Pro
As a video editor, I love when you can make a smooth pipeline between software and design, and the new CTA feature of exporting transparent .mov files is a welcome addition to my animation and editing pipeline. Like you can do with After Effects, you can easily import your animation sequence with transparency and insert this into your video project. You can easily have your animated characters interacting with video footage in no time. Having this feature I’m sure will help all video editors.
When using this technique in FCPX, my pipeline is as follows:
Design in Photoshop, bring my character into Cartoon Animator as a PSD, animate in CTA, then simply export as a QuickTime using the ProRes 444 codex, import my character’s QuickTime file like I would with any other video clip, and layer up the layers to help embed my character into the sequence.
HitFilm Express
I have to be 100% honest. I’ve been a die-hard Adobe user for years, and am a big fanboy of the creative cloud. I’ve been using After Effects for 15 years now, and will never really use anything else… However, HitFilm Express is really something people should seriously look at when it comes to compiling together sequences from footage created in CTA. I haven’t really played around with HitFilm much, but I have seen many CTA users use this and they have created mind-blowing sequences. So I would highly recommend looking into this as a tool to use with CTA. Oh, did I mention, IT’S FREE!!! Well, the basic version is, however, you can upgrade and I would highly recommend doing this.
With HitFilm, as with After Effects and FCPX, I simply import my transparent QuickTime file and layer up the scene with additional elements. However, you can do lots of special effects (like you can with After Effects) such as shadows, lighting, and more. Definitely check it out as it’s a fantastic tool to help add an extra level of sparkle to your animations.
Conclusion
What I love about Reallusion, the company making Cartoon Animator, is that they are always updating the software, constantly making it better for users to create fantastic animation sequences.
Exporting as a transparent QuickTime for Mac and PC is a great addition, especially now you’re also able to export to After Effects as a QuickTime as well as a .png sequence via the AE plugin. This, for me, helps improve my pipeline, and I’m sure, helps other users quickly and simply create broadcast-quality animations. Download the free trial and see for yourself.
Greetings, my name is Peter Alexander (aka Mythcons). I’m a digital freelancer specialized in illustration, graphic design, and 3D modeling.
I’d like to share how I create an exaggerated character using Character Creator and Blender 3.0. Character Creator supports base character with evenly distributed quad surfaces, which allows me to touch up the mesh in Blender 3.0 based on this to create a facial and body animation-ready character.
I also use a free Blender 3.0 add-on called ‘Blender Auto Setup‘, which is developed by Victor.Soupday, to simplify the process of file transfer between two programs.
In this video and text below, I’m going to walk you through some of my steps. You can follow me by using the free trial of Character Creator.
Export Base Character from Character Creator
I start by exporting the CC3+ base mesh as a Nude Character in Bind-Pose, which can be accessed by the OBJ export options.
Import Character in Blender 3.0 via Auto Setup
In Blender 3.0, with the Blender Auto Setup add-on installed, go to the CC3 tab and choose the ‘Import for Morph‘ option. This imports the mesh as a single object with the appropriate groups for import back into Character Creator. It also generates the necessary OBJ key file when you export the file.
Tips in Sculpting
I would call this step a problem-solving exercise. I found the easiest way to set up my proportions was to go into Edit mode, select the vertices, with symmetry enabled on the X-axis, and move large portions of the mesh to approximately where I need them to be. You may find a more manageable way to move the mesh around.
I mostly use the Grab, Inflate, and Smooth brushes with symmetry enabled to relax the stretched vertices and move everything into place. As Character Creator provides most of the normal maps through SkinGen, there’s less need to sculpt in high resolution as you would in a typical creation process.
Export Sculpted Character via Auto Setup
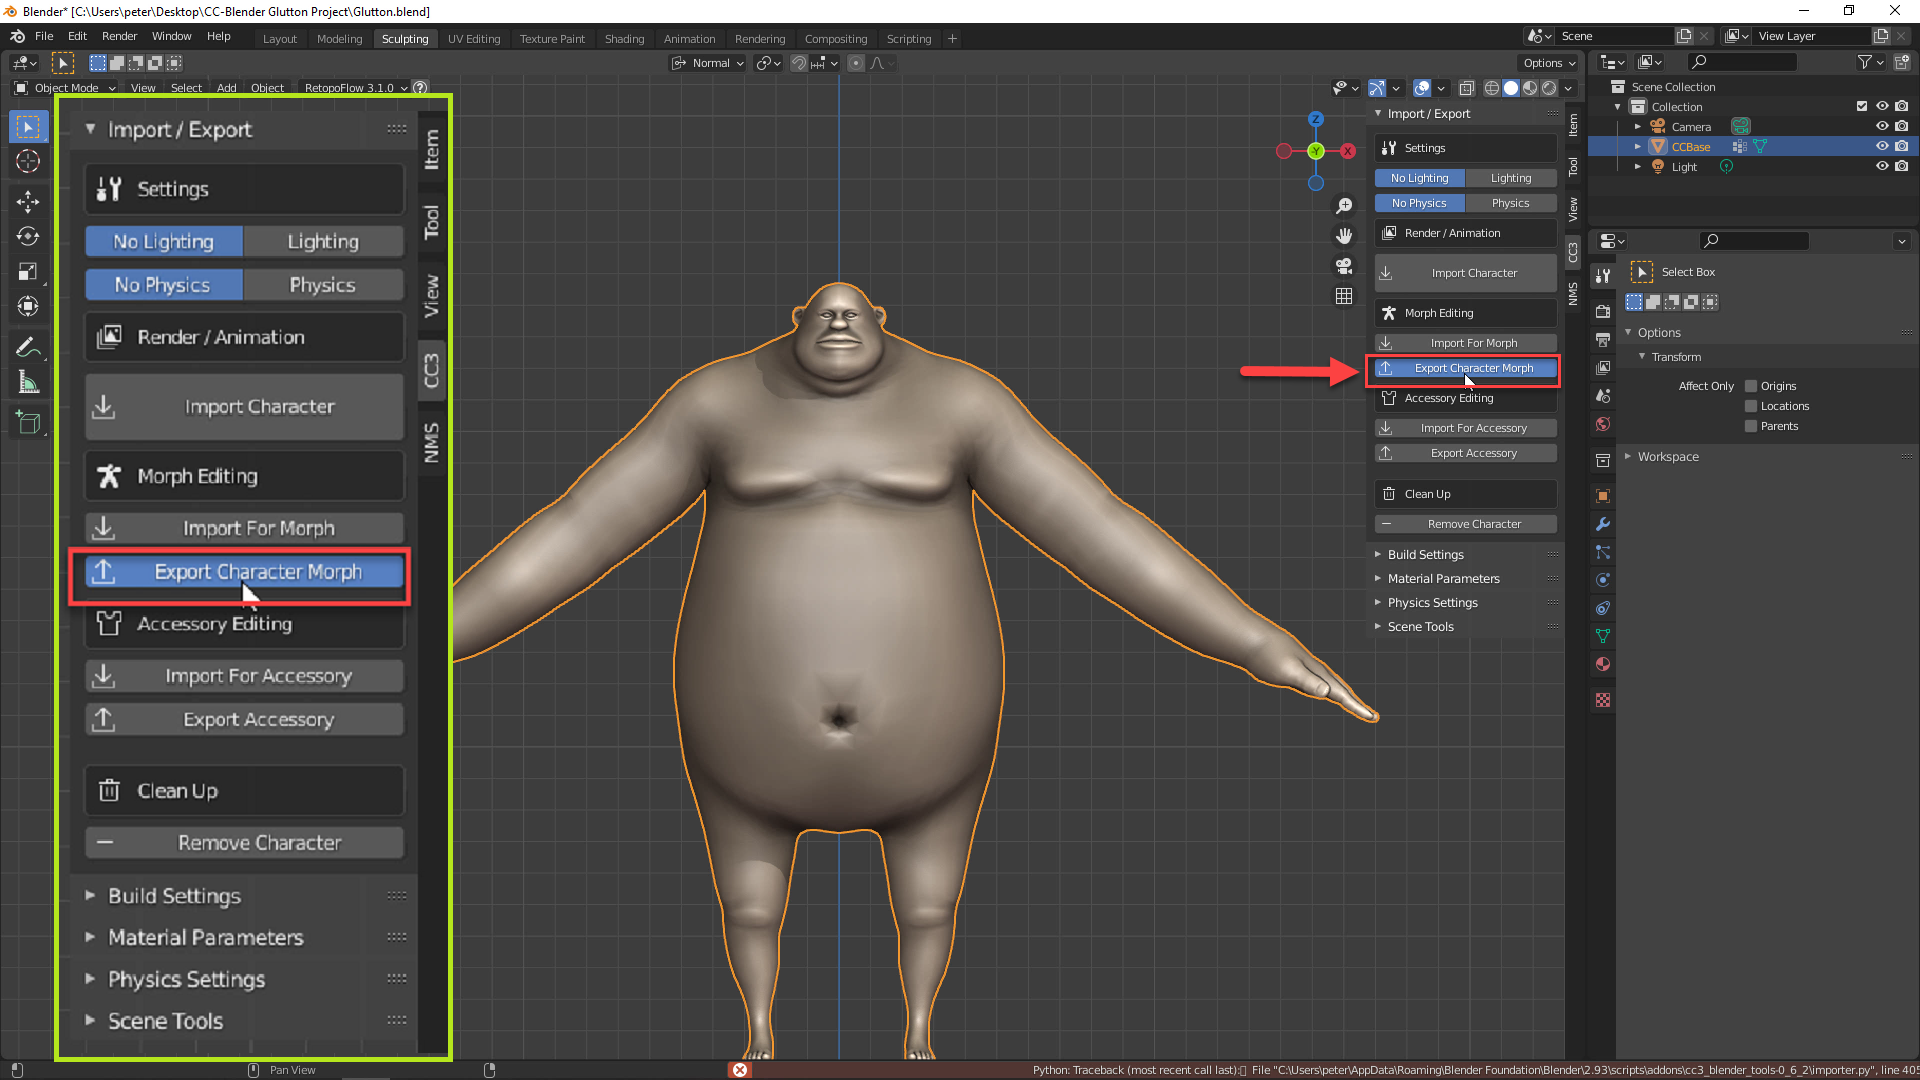
When the character is ready for export, choose the ‘Export Character Morph’ option from the CC3 menu provided by the Blender Auto Setup add-on.
Import Character in Character Creator as Flexibly Controllable Morph Slider
Import the saved character using the Morph Slider Editor. Import the OBJ file under Target Morph, and the OBJ key should be loaded automatically. Check the ‘Adjust Bones to Fit Morph‘ option, and if you want to see immediate results, also check the ‘Auto apply to current character’ option.
Tips in Eye Relocation, Teeth and Lip Correction
When I imported the character, the eyes didn’t follow correctly. This is probably due to something I neglected during the process. If this happens to you, it’s easy to fix. Select the eyes, and in Edit Mesh mode, move at least one of the eyes into place.
When you’ve done so, go to ‘Adjust Bones’, which will align the bones to the mesh. Also choose Symmetry and the direction you want the symmetry applied to. This will align the other eye to the proper position.
Make any other adjustments necessary to the mesh. In this case, I had to correct the teeth and the lips.
Touch up Character with Skin Details and Clothing Library
Finally using SkinGen, apply a skin base, normal maps, and any other details you think are necessary for your character, as well any hair, clothing or accessories within your library to accommodate your character design.
Send Character Back for Blender Eevee and Blender Cycle via Auto Setup
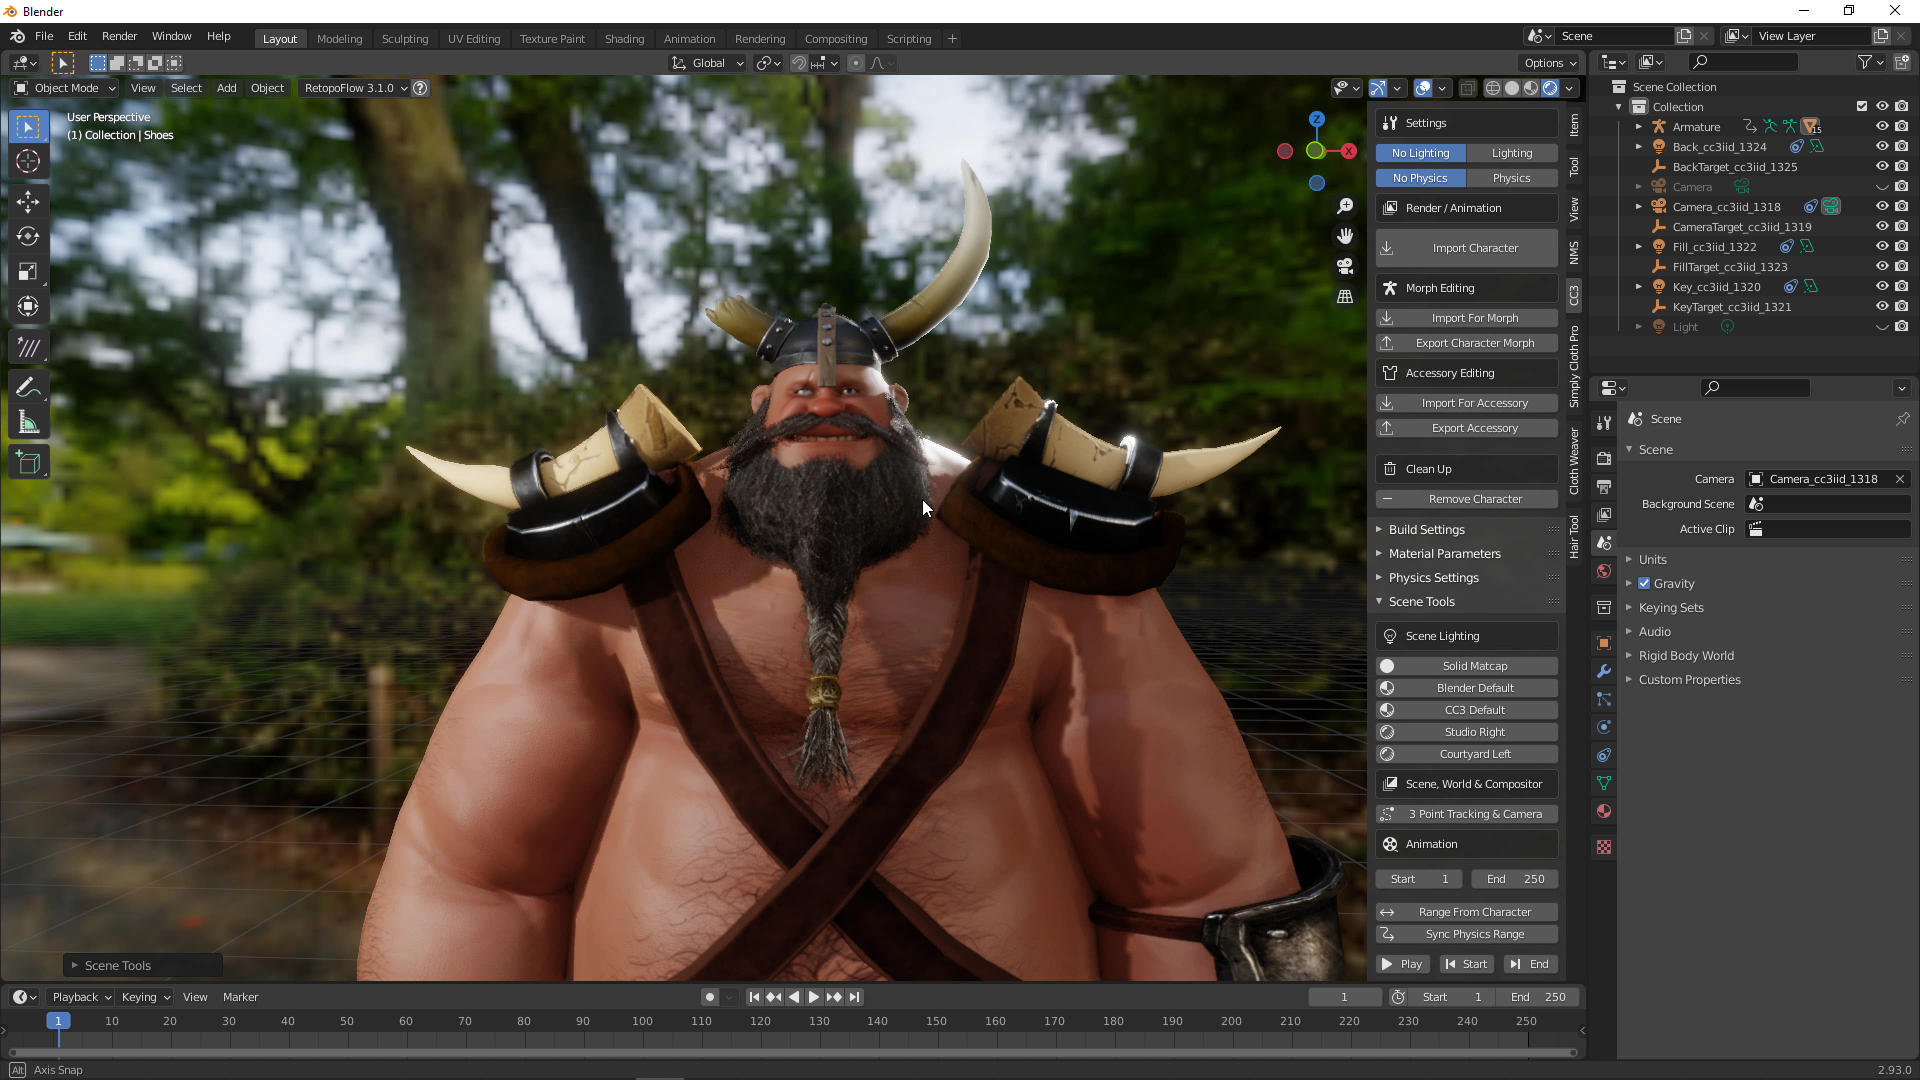
With your character complete, you can export him or her back into Blender in FBX (with the Current Pose option, or with animations depending on your rendering goals). This time choose the ‘Import Character’ option, which will automatically translate Reallusion’s Digital Human Shader and parameters to Blender Eevee and Blender Cycle. You can further adjust SSS skin, eyes, teeth, and hair dynamically for rendering in Blender Eevee and Blender Cycle.
I am Declan Walsh from Dex Art. I have been an animator of special effects for a long time. I started out in Sullivan Bluth Studios in Ireland, creating animated special effects for Don Bluth and Gary Goldman. I moved to Arizona where I worked as a director for 20th Century Fox animation, creating titles like Anastasia and Titan AE, then later I worked on projects for Disney, Marvel, Star Wars games etc.
But back when I started, everything was animated on paper and transferred to cell and painted. It was a huge task to create even a few seconds of animation. It would have been impossible back then to do what we can do now with computers. With software such as Cartoon Animator 4.5, it allows everyone to be an animator. This software gives you your own studio from your laptop or PC, no matter where you are in the world.
But now, with the new addition of Cartoon Animator 4.5, Reallusion has extended the capabilities of the software and has broken ground into a very exciting time in animation once again with transparent video compositing.
Why not check out my content store at Reallusion. You’ll find it under DexArt. There you will find all my animated EFX, from water, magic, fire. Anyway, go and explore, DexArt.
When I was asked to create this animated video and article, I was very excited to explore what transparent video compositing could do and the avenues this would open up for us all using Cartoon Animator 4.5. So this article will show you my workflow on how to combine 2D animation and VFX with live-action video compositing.
Importing a Movie Clip
You can import animated video clips straight to Cartoon Animator 4.5. I used this feature to reference the motions of the girl dancing. The video imports like you would any prop and as a prop it has all the attributes of one. However, I was not using the video for lining up or for final output, in this case, it was purely for reference. Note: This is a great tool for anyone struggling with animating their character motions. With a quick action on your mobile, you can import the video for reference.
The imported video will loop on the timeline so setting the start and end values can help keep the track organized.
Bringing the Character to Animate
I used one of my own characters, Mia. She’s in the Reallusion store as are thousands of characters and props that you can build your animations with. When you bring in your character it’s always a good idea to have the play headset to one to avoid any animations being created. The character can be placed in front or behind the video and anywhere on the stage to suit your needs.
Let’s take a quick look at the 2D motion key editor.
There are two views that can be used to select bones for animation: the “Image View” and the “Hierarchy View”. Personally I always use the “Image View” as it makes more sense to my visual personality.
Each yellow dot represents a corresponding bone on the character. Selecting those turns them blue and the bone on the character also turns blue so you know which bone you are working with.
Using the locks on the hands and feet can help with sliding and griping and can be keyed on and off giving you more control over your character animation. Before starting an animation I always set a full body key on Frame 1 and then use “selected part” for each key after that. There are times I will set full body keys during an animation if I want to reset the character from a pose and start a new action. Note: If you use the flip hip like I did, the bone selection is reversed.
Setting Keys and 2D Animation Concepts
The animation starts with broad strokes. It’s always a mistake to try and create a finished piece in one sweep; you end up placing keys all over the timeline and confusing yourself.
So let’s look at some traditional methods. Film passes the gate at 24 frames per second (FPS), that’s one frame of film per second that you can see. Frame speed can be set in Cartoon Animator 4.5 from 1 frame per second to 30 frames per second. What does this tell us, well it’s all a matter of timing. If you think in footage or feet which is 16 frames of film or in seconds it helps to break down the animation into manageable bites.
Standard keys are set on 1- 9 – 17 – 25 etc. and these are the key poses or extremes. You can also use 1 – 10 – 20 etc., but having an idea of what a movement looks like at these timings can help you have an understanding of the motion before you animate.
Mia’s hand is up on frame 1 and down on 17. This would be an extreme, the extreme point of the motion. Although not all her body parts will land on these timings, it’s a good practice to move from pose to pose as close as you can at first.
After the main poses are placed I go back and place the breakdowns. The breakdowns are not always a direct smooth motion between the keys. If they are, Cartoon Animator 4.5 takes care of that motion for you. You just have to use the curves to get the motion you desire.
Once all the keys and breakdowns are set I go in and swap out hand gestures, facial motions, and any other small details you want to place in your animation.
Duplicating the Animation
Cartoon Animator 4.5 has a great feature to save off a character’s animation and reuse it on another character. So if I wanted to have a bunch of characters dancing in this clip I just have to save the animation and drop it onto the new characters in the scene.
Note: Not all characters are rigged or designed the same way so you may have to go in and change out some animation details. So if you are planning this, it’s best to try and have the same structure in the characters.
Transparent Video Compositing
Because I used the girl dancing as a reference for the animation, I don’t need to render her out. I have that clip to work with later. But I do want to render out Mia’s animation.
Normally I would render out .png files, in this case, 318 of them, and import them into an external program for adding additional glitz and glam. But now we can render a video with transparency, just one file to work with.
But what if I did have other props and characters in the scene? Well, the clever people at Reallusion have included a tick box for that too. Under “Object Sequence” there’s a box for Export into separate files. And this renders out each file into folders. All animation clips are separated and put into one folder and non-animated into another folder.
So you don’t have to go breaking up your renders; it’s all taken care of for you.
Importing Transparent Video into After Effects
Once my renders were done I brought the transparent video into After Effects. When importing you get a dialogue box where the alpha channel has been detected by After Effects. This is interesting because it gives you options on import.
Straight unmatted brings in the video as Reallusion intended.
If you tick the invert alpha box, this gives you a mask of the prop or character you are importing.
I was very impressed with the quality of the render from Cartoon Animator 4.5. There were no edge problems at all. Usually I would have to use a matte choker to eliminate artifacts on an image, but this came in nice and clean.
EFX Renders
I went back in and rendered out my EFX, fire electricity, pixie dust etc. and because they were movie files, I didn’t have to deal with tons of .png files. It was a lot more straightforward. I imported these files, in the same way, I did with Mia and lined them up in place.
There were a few final touches I made like adding a drop shadow in After Effects and lighting the character to match the environment more, and to be honest, the options are endless.
I found as an EFX guy, I wanted to do so much more and had to hold myself back or this would never have gotten done. I could also imagine so many environments and stories that this could be used for. I feel we have been given the tools to create very high-end 2D animations. Not just for toon environments and interactions but scenarios that the creators of Who Framed Roger Rabbit would have melted a toon for.
For me, the big takeaway on this project was being able to capture a video, import it into Cartoon Animator 4.5, and use it as a reference for animation. Rendering out characters and props became organized with fewer files to manage. The ability to add production values that would have been out of reach before this.
I really hope this is a help, and I have learned so much from this process and look forward to exploring further with Cartoon Animator 4.5.
The exquisite detail of MetaHuman has captured the eye of the Media and Entertainment industry. However, how to bring MetaHumans to life without breaking the realism, for example, make them talk, emote, and perform as you wish is an immediate challenge for real, rapid production. iClone MetaHuman Live Link gives all the answers by providing designers with a highly efficient way to animate MetaHumans, face, and body, or even voice lip-sync; all in one application.
Metahuman Expressive Face Performance Tools
One of the magic of iClone MetaHuman Live Link is to provide accurate and smooth Lip-Sync, Face Puppet with intuitive mouse control, powerful and flexible Facial Mocap, as well as the Facekey Editing to fine-tune details.
Learn more about iClone Facial Animation :
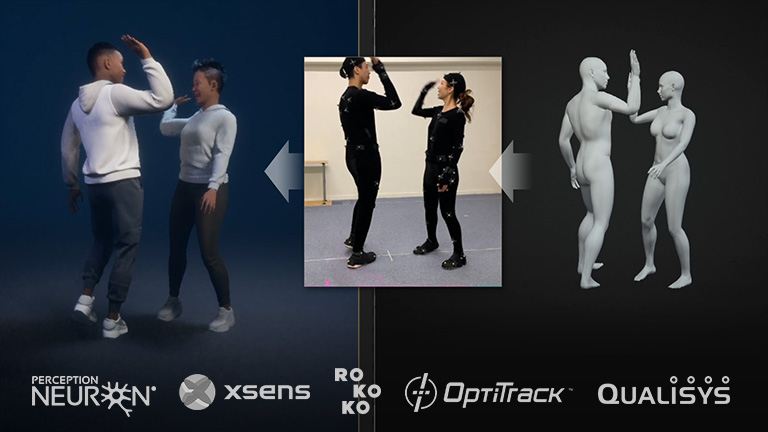
Metahuman Full Body Motion Control
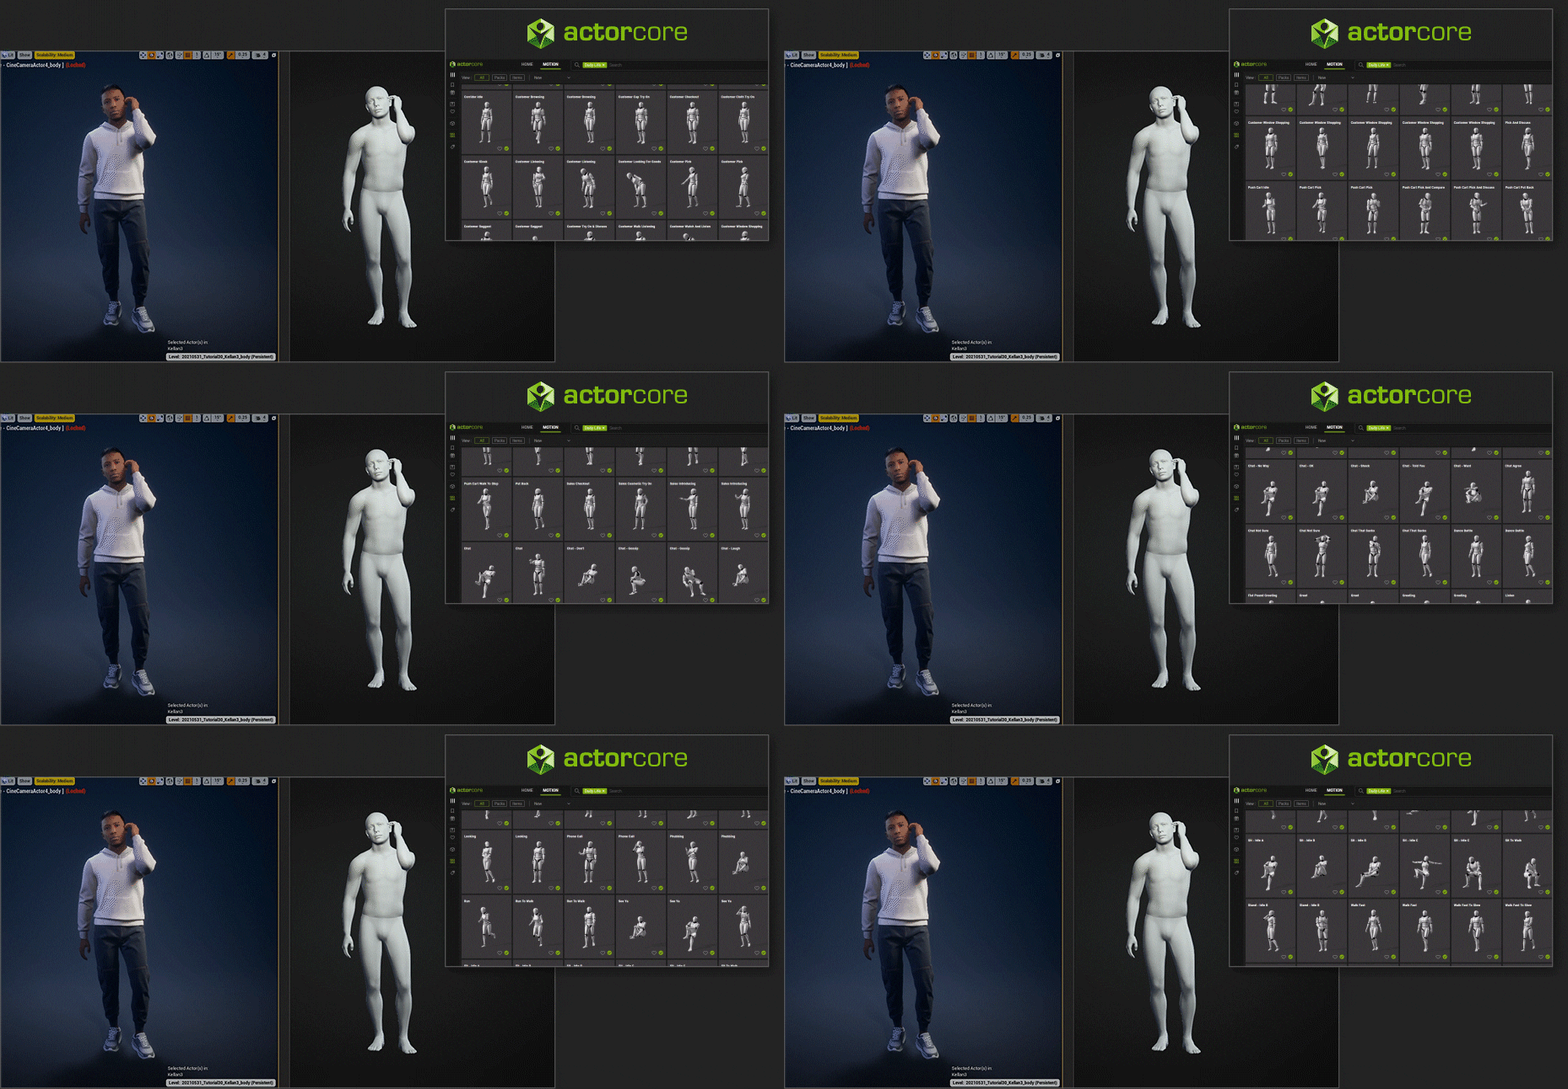
AAA Mocapped Motions – with thousands of high-quality mocap animation organized by various application themes.
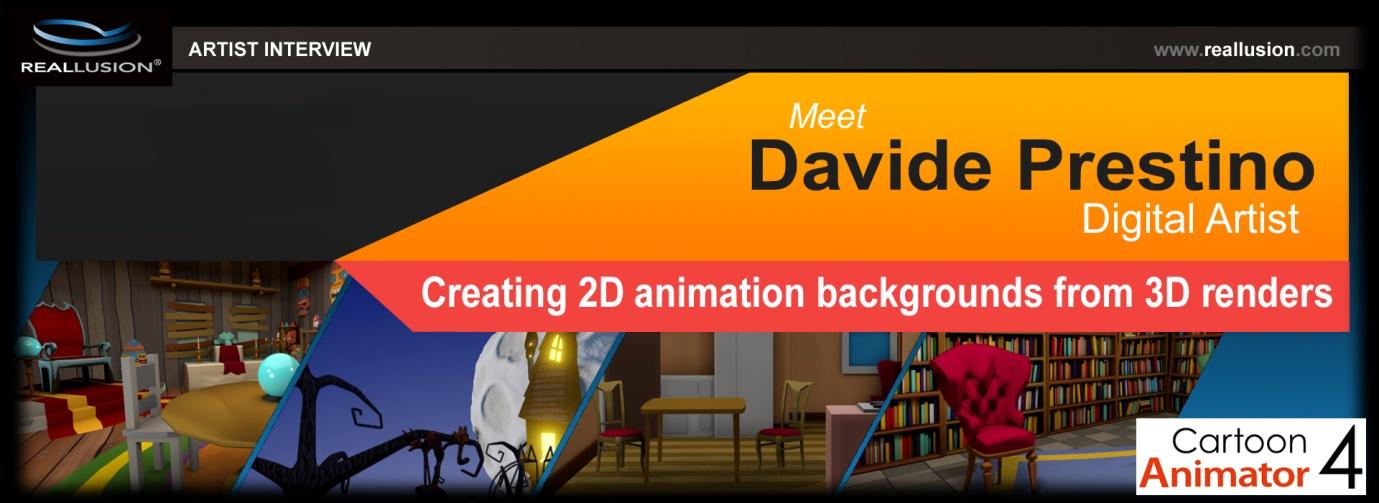
Davide Prestino is a newcomer to Cartoon Animator, having worked with 3D environments for years.
Davide discovered Cartoon Animator and realized the potential offered to him by creating renders of his 3D works as content for the 2D Marketplace and the opportunity to make some money turning his 3D renders in to layered 2D environments.
In this interview with Reallusion, Davide discusses how he made the jump to Cartoon Animator and what his plans are for the Marketplace.
.
“I immediately understood the potential of this software. Everything you can find in Cartoon Animator is suitable for the needs of a cartoon studio”
Reallusion invites creators from around the world to enter the Lip-Sync Animation Contest 2021. Apply the game-changing, Reallusion facial animation pipeline into 30-second videos of movie scenes, TV series, music videos, or anything creative. Compete for a chance to win $40,000 in prizes and awards. The contest starts from now and runs until September 30th.
iClone Lip-sync Animation Contest trailer video:
Lineup of Prize Sponsors: Nvidia, Epic Games, ZBrush, and more
Reallusion has teamed up with industry professionals for a valuable prize package that awards creativity and achievement for judging requirements. The sponsors include Nvidia, Epic Games, Marvelous Designer, ZBrush, Razer, Replica Studios, BorisFX, FXhome, Noitom, and Rokoko.
“The most powerful storytelling combines the human voice with immersive visuals, and so we’re pleased to offer Replica Studios voice AI tools integrated with Reallusion’s animation software for contest participants and the broader developer community to create unique and compelling narratives.”
– Shreyas Nivas, Co-Founder, and CEO of Replica Studios
Game-changing facial animation workflow
Reallusion is commemorating a game-changing facial animation workflow for accurate voice lip-sync, puppet emotive expressions, muscle-based face key editing, and professional iPhone facial capture all in one iClone package.
During the contest period, participants can get free software licenses, character content, face tools, and AI voices. This contest calls on artists and storytellers to create their best short lip-sync video for a chance to win prizes and get featured as an official Reallusion showcase.
“As a storyteller, iClone has made it possible for me to create convincing facial animation and short films using the awesome MetaHuman characters from Epic Games. I can’t wait to see more and more storytellers and filmmakers harness iClone to bring their animated stories to life.”
– Solomon Jagwe, Co-founder at Sowel Studios
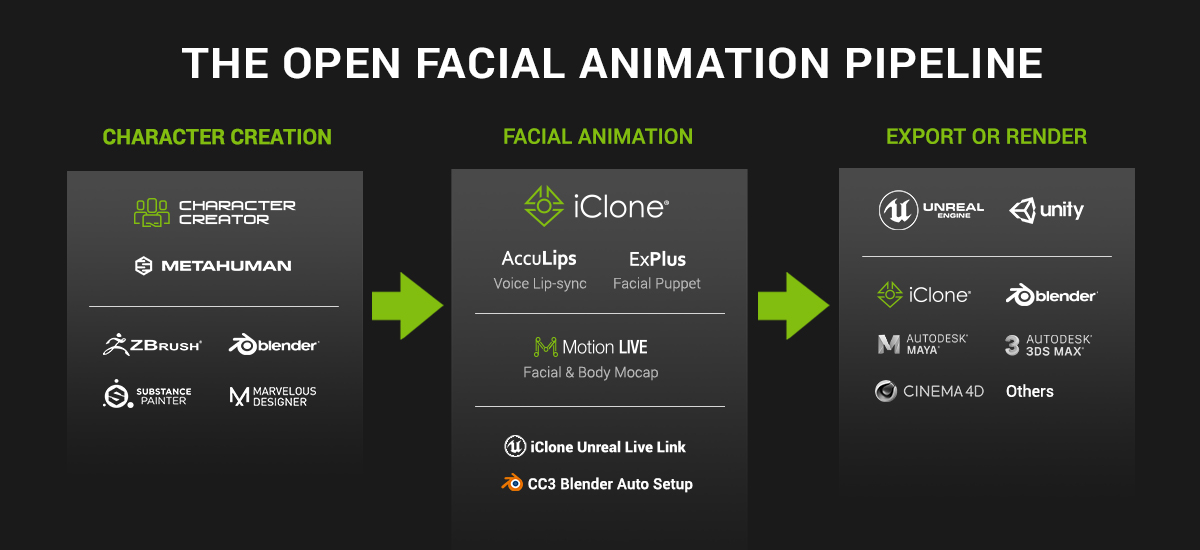
The open facial animation pipeline also for MetaHuman and Blender users
New animation advancements in iClone face and lip-sync solutions work with Character Creator or Unreal MetaHuman allowing for entrants to utilize digital humans from either platform for the contest. The Blender Character Pipeline is also introduced for the large Blender artist community.
The contest welcomes designers with different skill sets and backgrounds to join. Import a character to iClone, use iClone facial pipeline to animate their actors, and export and render in iClone or other favorite tools for contest entries.
Multiple categories with over $40,000 in prizes
The Contest offers cash and prizes valued at over $40,000 from various a-list sponsors that have partnered with Reallusion. The award categories and prize list include opportunities for entrants to unlock special awards with a single submission.
Top Cash Prizes and Awards:
Best Character Animation: 1st place $3,000, 2nd place $2,000, 3rd place $1,000. Best Character Design: 1st place $2,500, 2nd place $1,500, 3rd place $1,000
Special Awards:
Special Achievement Awards will be given to recognize the best works in these categories: Movie Remake, Music Video, Best use of Blender, MetaHuman, and Replica Studios, Best Costume, Best Digital Double, and Student Artwork. These awards are juried by the judges and add more to the winnings from sponsor prize packages and DA points to get products from Reallusion.
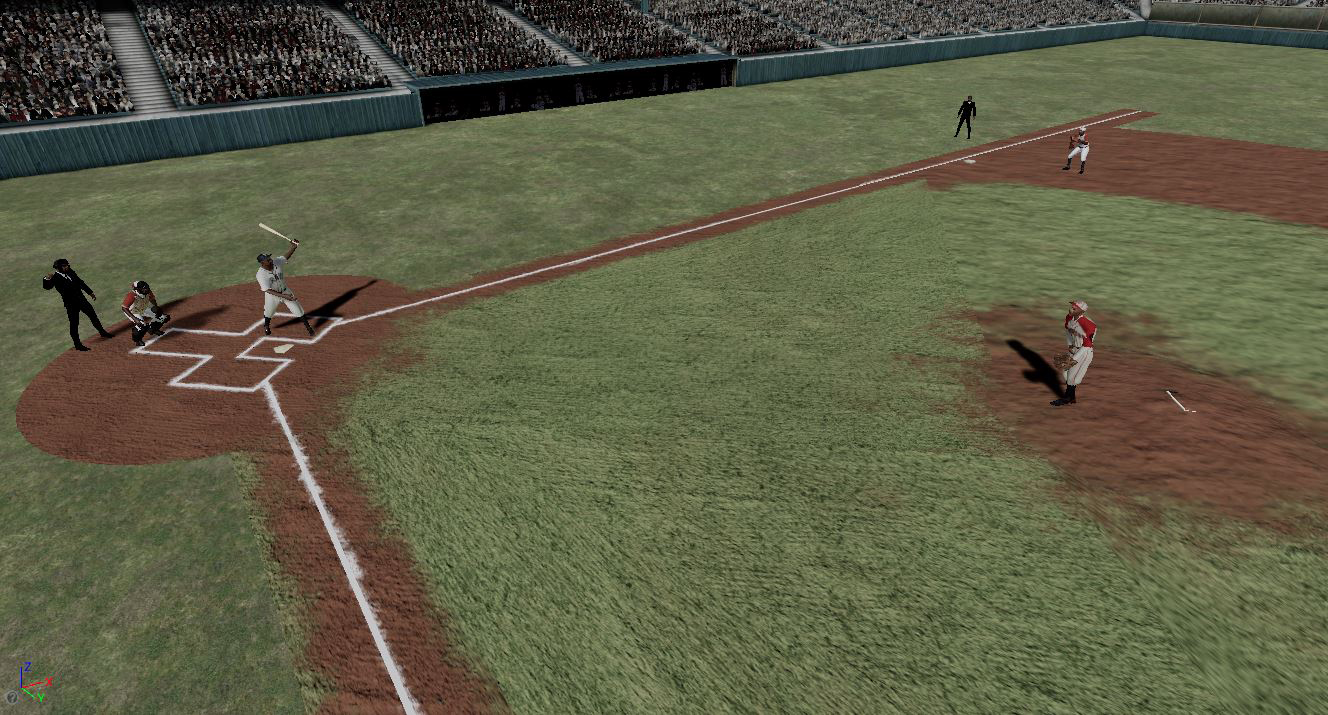
Immersive Experience from the Perspective of a Negro League baseball player
BARNSTORMERS: DETERMINED TO WIN, I AM A MAN, DEREK HAM
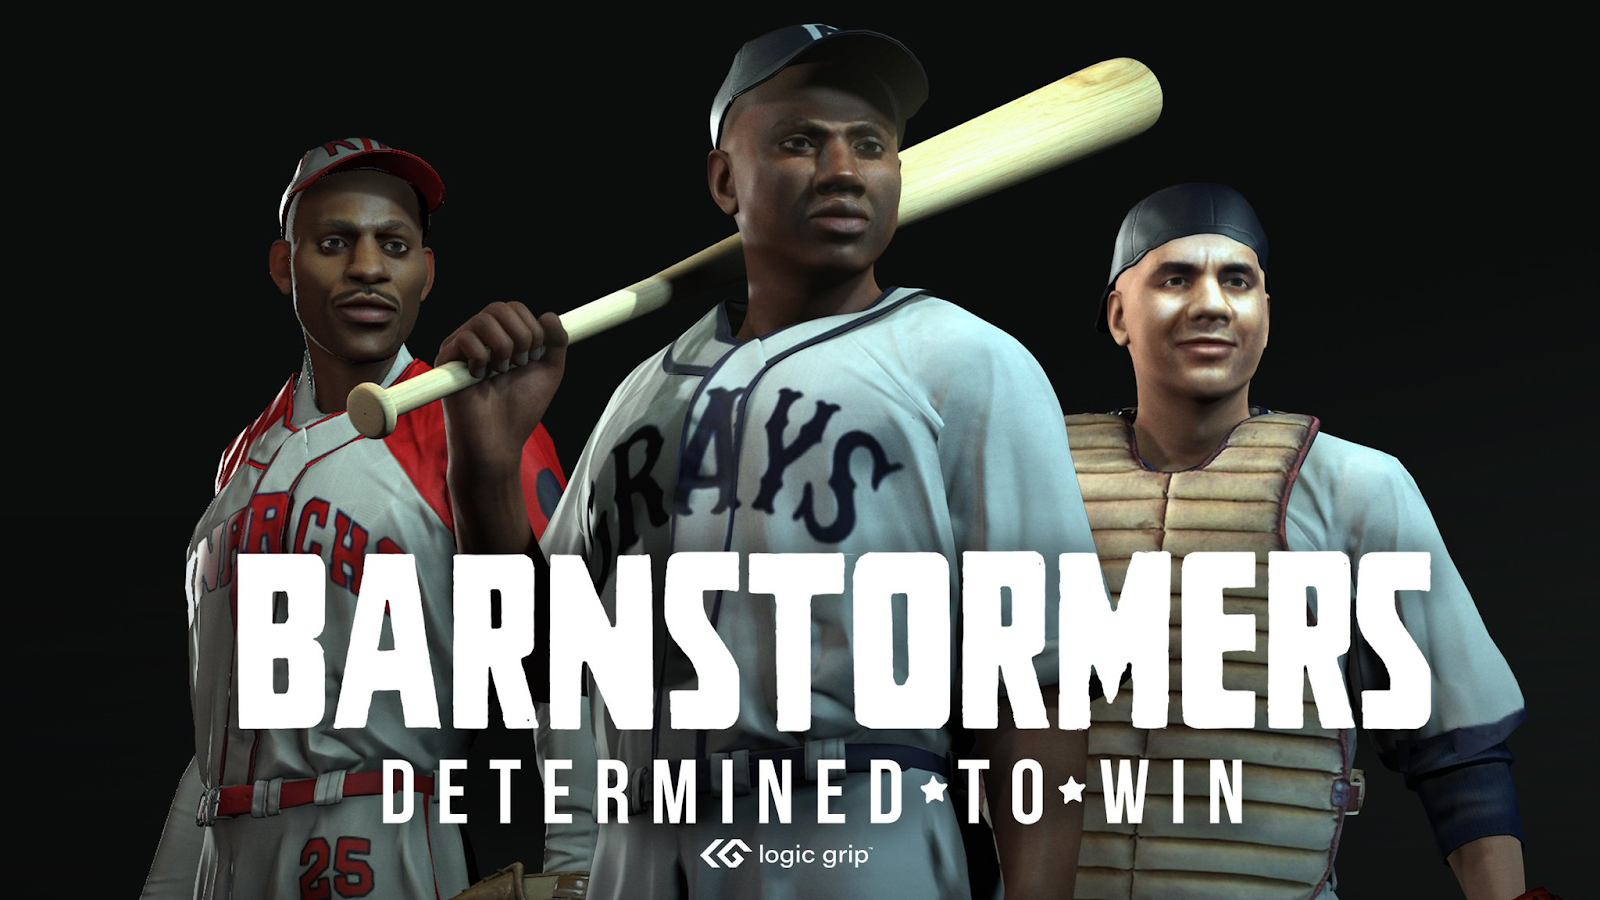
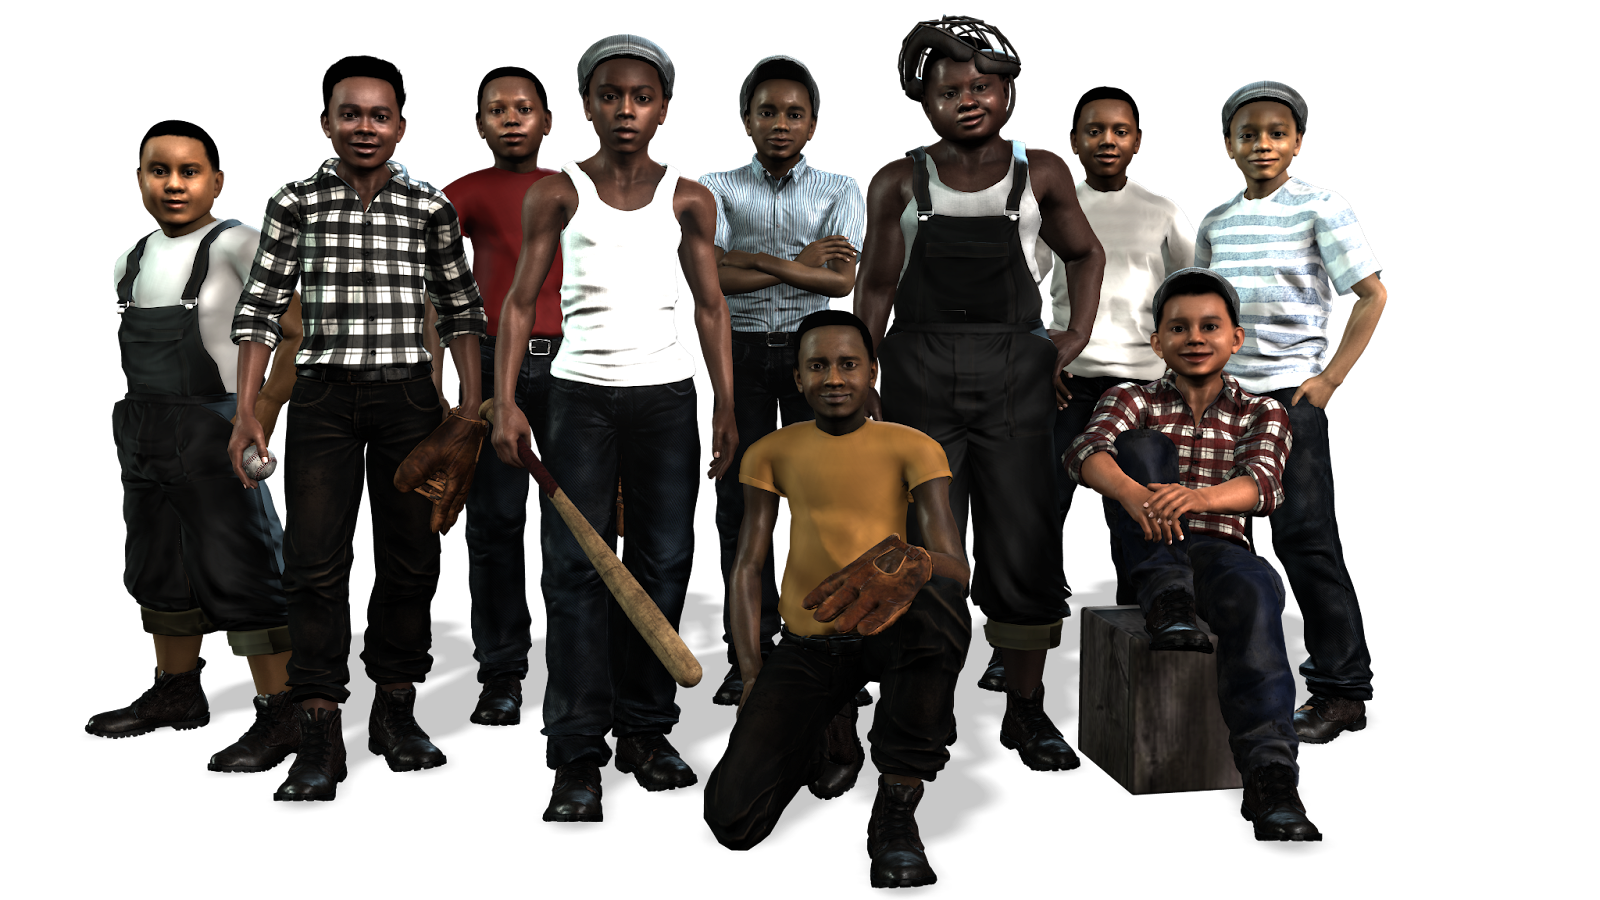
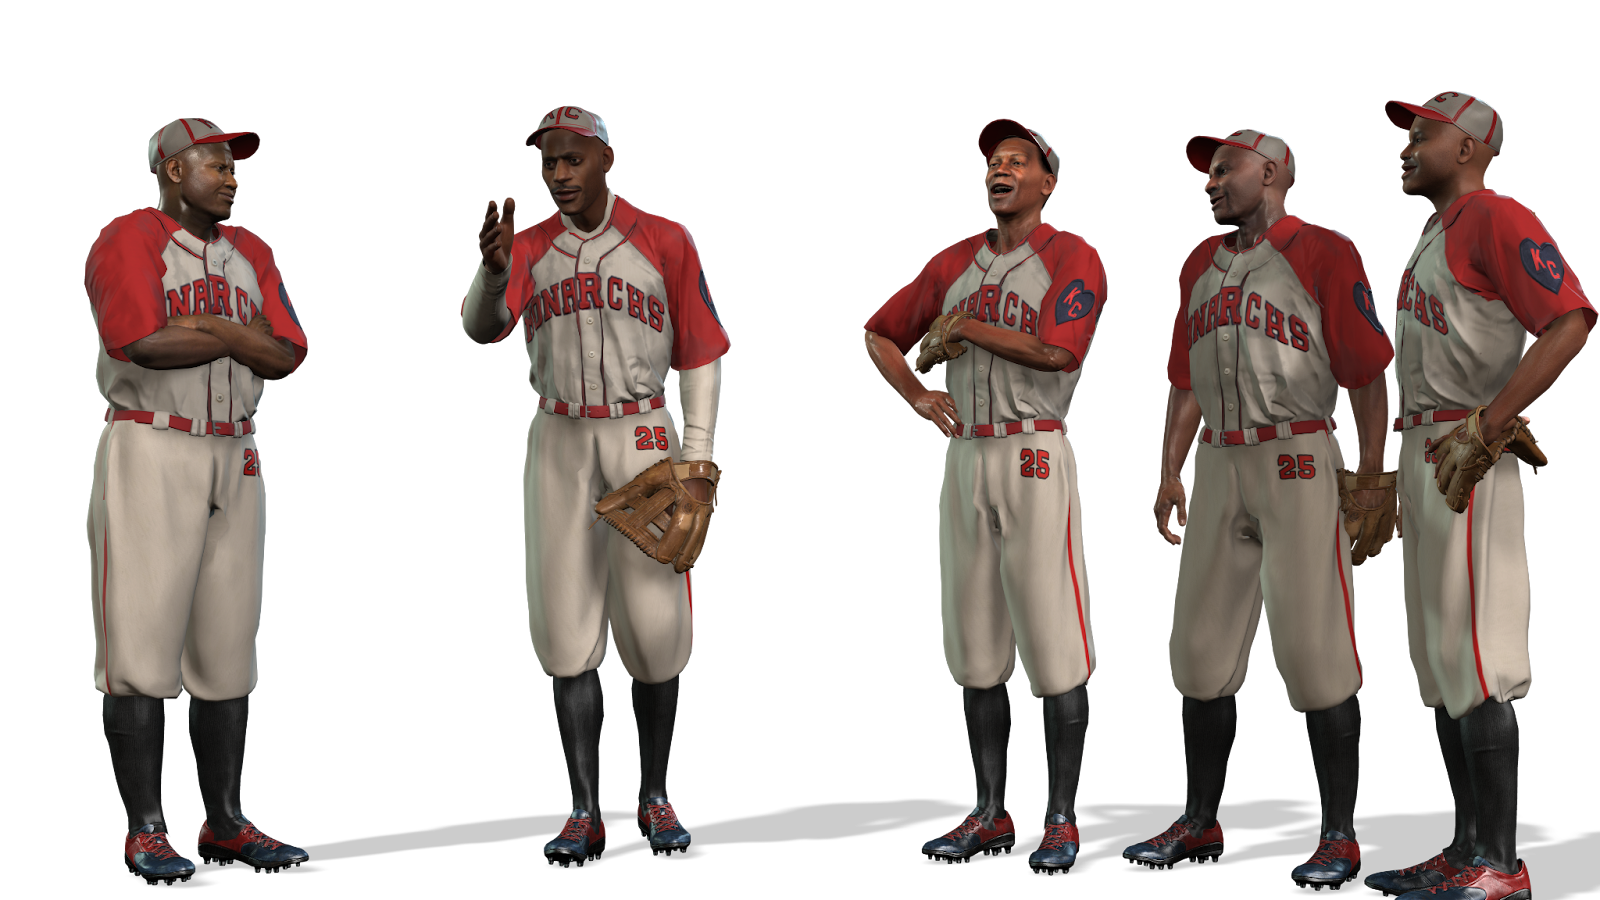
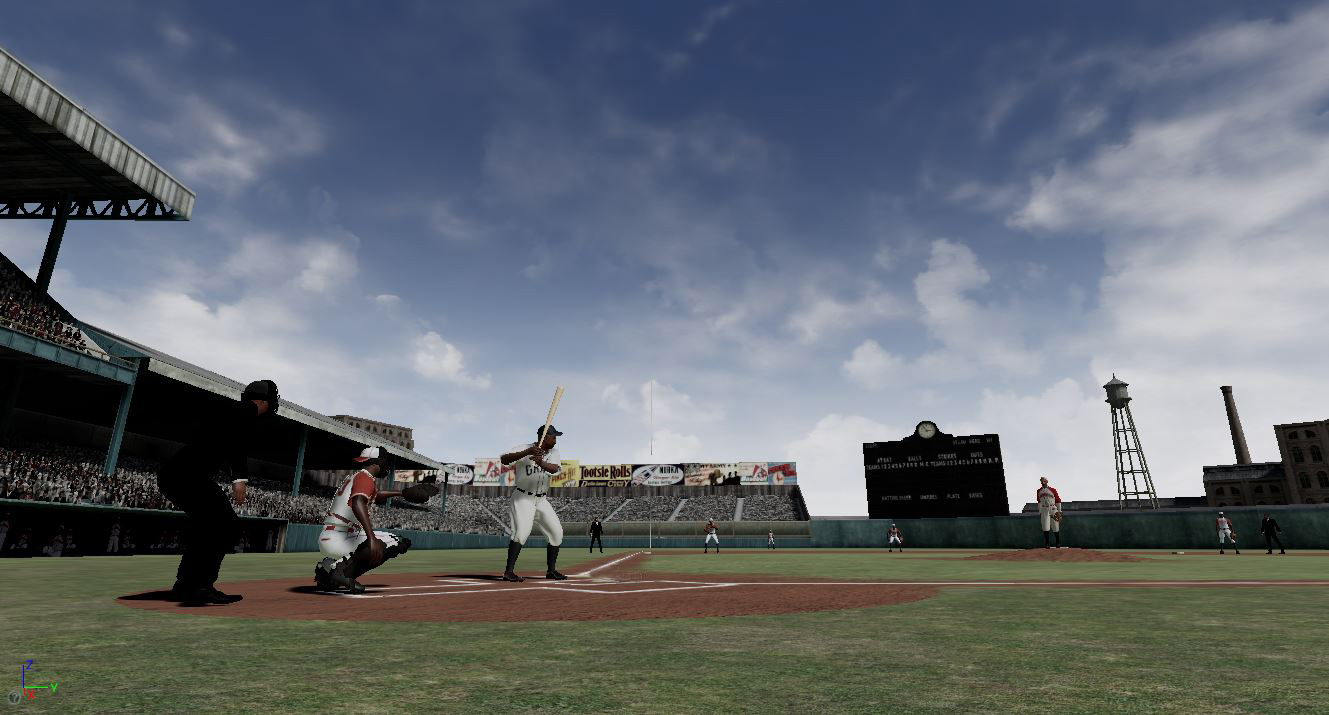
From Derek Ham, the award-winning creator of the VR experience, “I Am A Man” comes the next big history-themed VR project, “Barnstormers: Determined to Win, is an interactive VR experience set to the backdrop of the Negro Baseball League. The immersive experience is a historical fiction piece allowing the players to experience people and places from the perspective of a Negro League baseball player.
Through a partnership with the Negro League Baseball Museum, funding from the Epic Games Mega Grant, and partnership with Reallusion (the creators of iClone and Character Creator), we bring Negro League Baseball to life as they celebrate their 100th anniversary. This project will be produced under the umbrella of the “Our Civil Rights” VR series.
In this VR experience, users will face certain struggles in playing the game of baseball during the time of racial segregation. This project is sure to be a hit for people of all ages as you face off with baseball legends such as Satchel Paige, Josh Gibson, and Buck O’Neil.
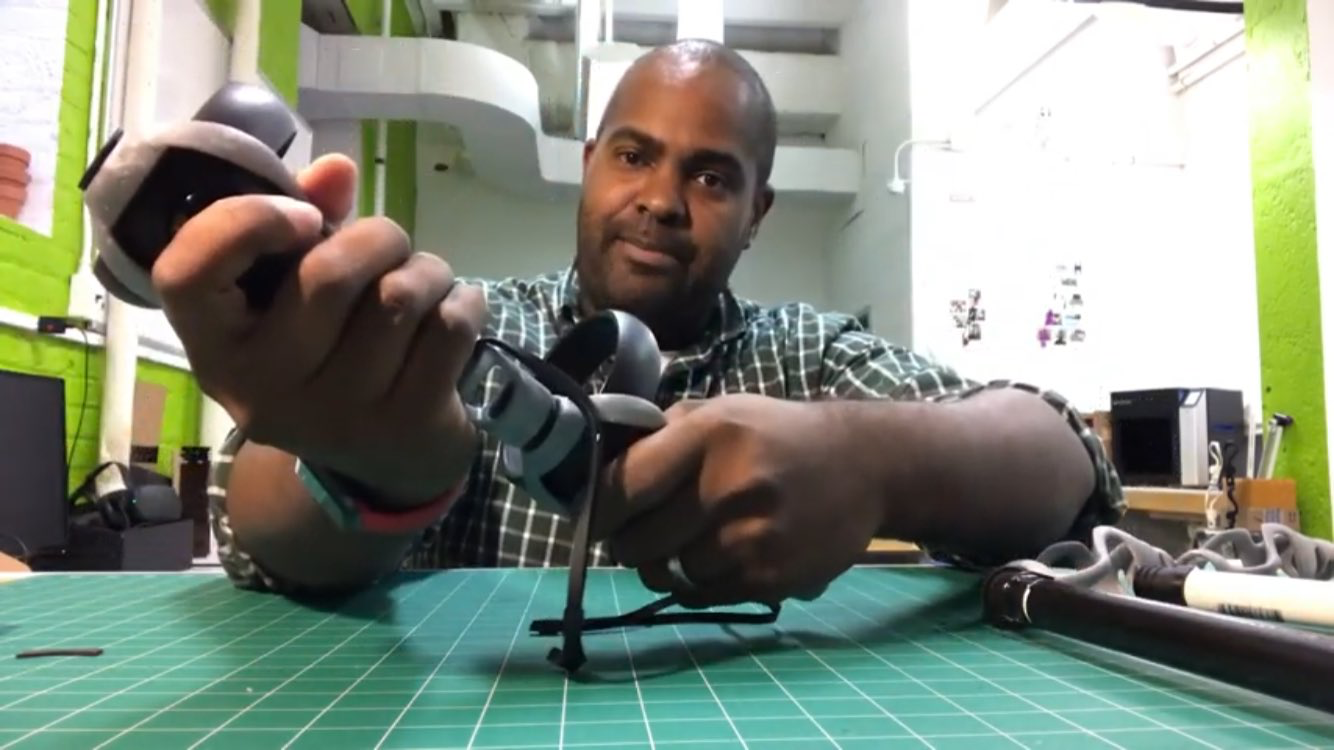
Creator, Derek Ham, with the Logic Grip AxeOne for the Oculus controllers, connects them for an alternative VR controller for a solid two-handed stick like a baseball bat.
The Axe One is more than an aesthetic peripheral. This patent-pending design allows your controllers to lock in place giving you an on-axis grip during gameplay. This revolutionizes the way we interact in virtual environments.
Logic Grip is an NC State University official startup that was spun out of the College of Design’s Mixed Reality Lab (MxRLab). This lab serves as the research and development arm for startups. The MxR Lab is constantly developing new concepts, prototyping, and conducting user experience studies to help bring new products to market.
Work smart, with Photoshop imagery and 3D motions to create lovable and memorable cartoon animations.
Creating engaging animated shows can be time-consuming, prohibitively expensive, and technically challenging, which is why it’s so refreshing to see successes, especially with kids’ shows. Children can be the harshest critics and with so many options to hand flicking away from the ones that don’t interest them is an easy fix.
Youtube is a prime candidate for content paralysis, where audiences are confronted with such a vast quantity to choose from, that the quality really needs to stand out (barring unboxing and cat videos of course). PowerUp Kids is one of the shows on Youtube which has turned a simple musical children’s show into something polished and well-produced, serving up a fantastic 2D animation short-form show that’s supported by some cutting-edge software tools.
The winning combination of animation and music has been put together using Reallusion’s Cartoon Animator 4, which empowers artists and creators with a suite of tools that support fast turnaround without making any compromises to quality. Motion resources for all.
Animations can be created using pre-existing motion resources, for a more efficient workflow (Image credit: Powerup Kids)
Motion resources for all
Modern audiences are a savvy bunch, with high expectations even when it comes to things like animated cartoons and other non-realistic animated 2D characters. Imbuing a 2D animated cartoon character has traditionally been a time-consuming, labor-intensive task but the tools available in Cartoon Animator 4 make this not only a far more efficient task but also an enjoyable and intuitive one. Using 3D motion resources allows animators to realize the sequences they need.
This enables a level of interaction with the art that shines through in the finished animation, which only leads to a better reception by the children watching. But what if you don’t have access to any motion capture devices? Well, you are covered there too, as you can use one of the many 3d motion resources available to use with the Motion Converter tool. These allow users to take 3D motion data and apply the animations to 2D characters. You can even activate a Z mode, to add depth to the animation.
The motion may be an obvious part of the workflow that benefits from the tools Cartoon Animator 4’s arsenal but there are many other, less obvious but equally important, areas that allow artists to deliver great content, efficiently.
Animations powered by motion resources and based on Photoshop artwork (Image credit: Powerup Kids)
Work with the tools you know and love
The act of getting an animated 2D character concept from the drawing app into the animation is now about as easy as you can imagine. In fact, Cartoon Animator 4 is so closely aligned to industry-standard tools, such as Adobe Photoshop or Affinity, that the process is virtually seamless. You can even interact with the animation using your graphics tablet, bring in the level of artists and art interaction as close as ever, and all the familiar gestures and muscle memory serve the rigging and animation, as much as painting the concept.
With that in mind, it is worth mentioning that the concept art, or any other 2D animation asset, can now easily be rigged with the tools of Cartoon Animator 4, meaning you can even take pre-existing art, rig it, apply motion capture data to it and add it to your project. Head over to test out the Photoshop tools integration and pipeline, or to read more detail.
This ease of use, tight integration with other tools and the familiarity of the hardware used by animators on a daily basis has meant youtube creators can generate shows like PowerUp Kids, rapidly and efficiently, and with all the hallmarks of a top-quality show. To try this out for your own projects you can get a trial license, with which you can test the suite of tools including motion gestures, and PSD compatibility.