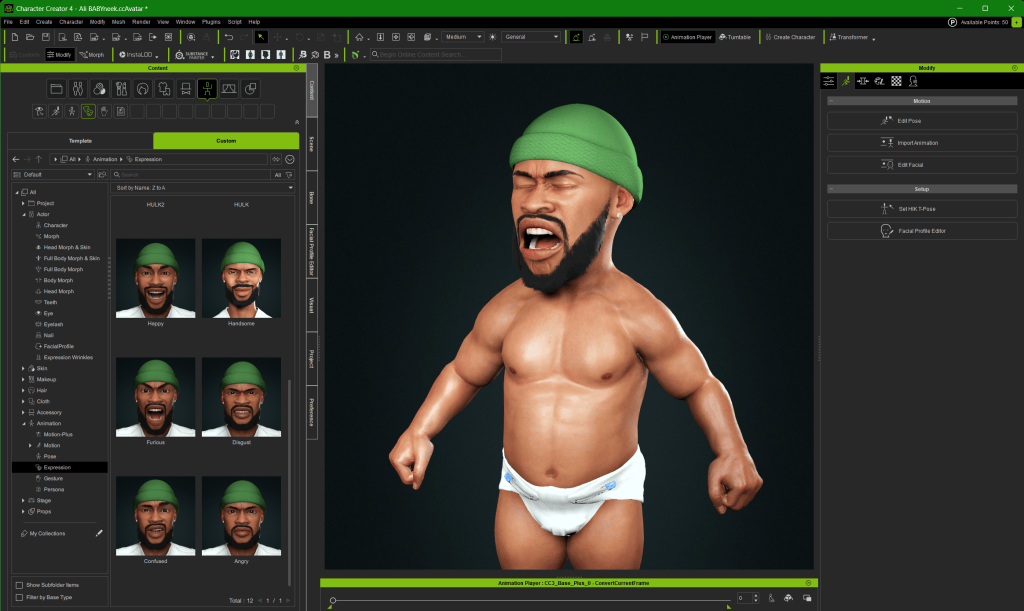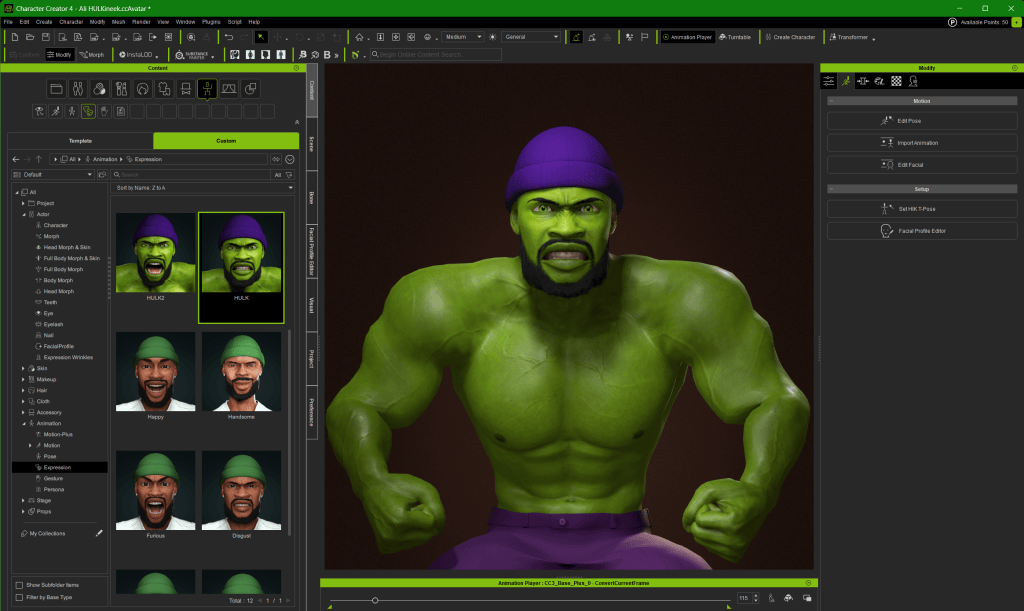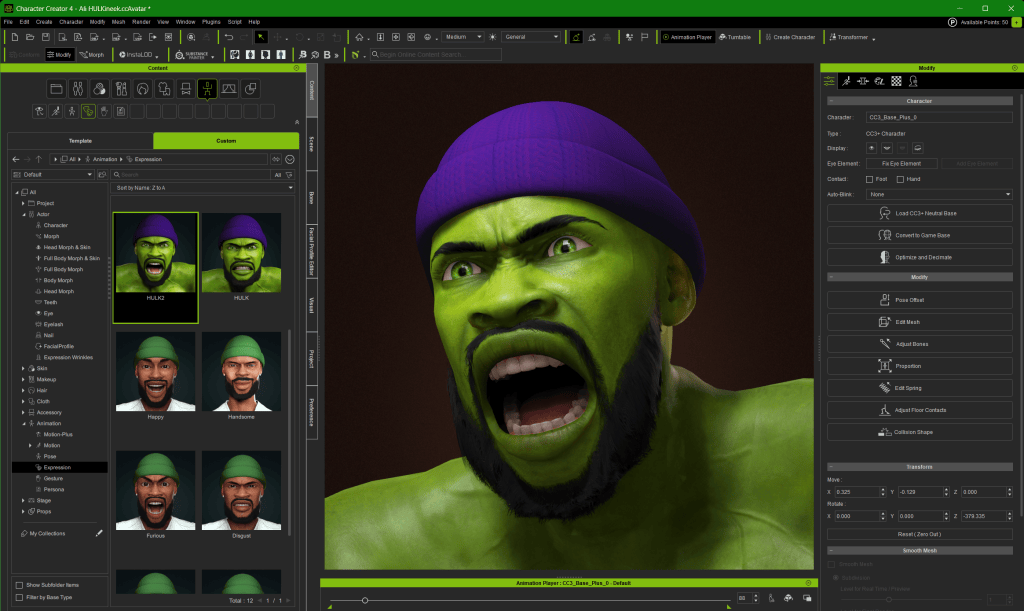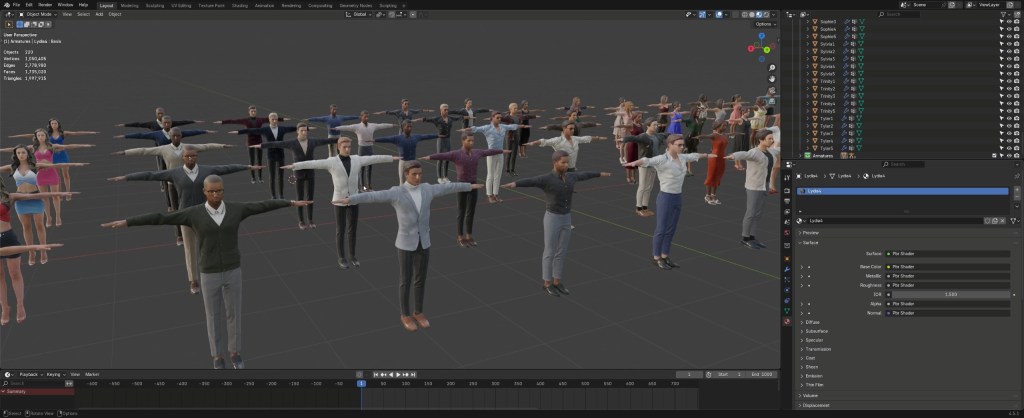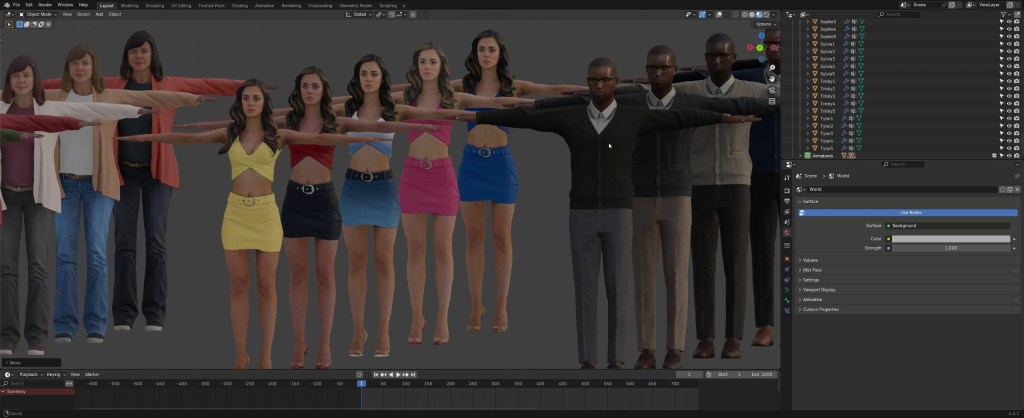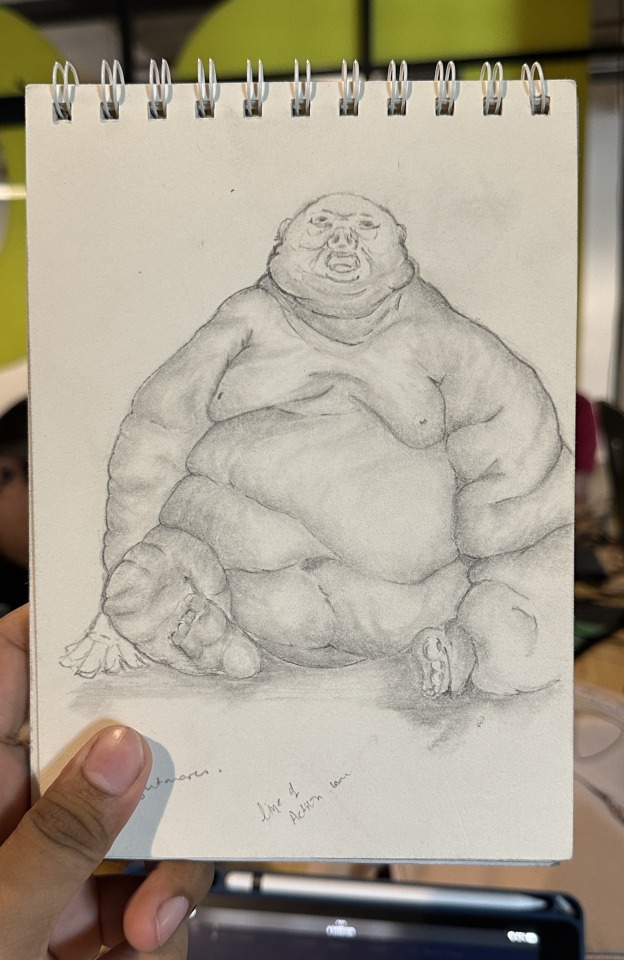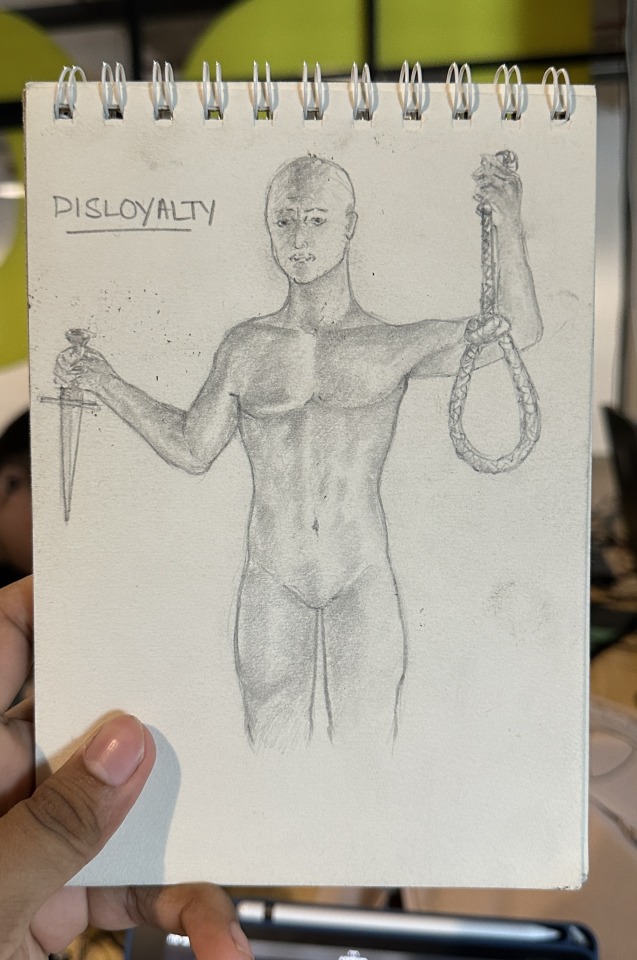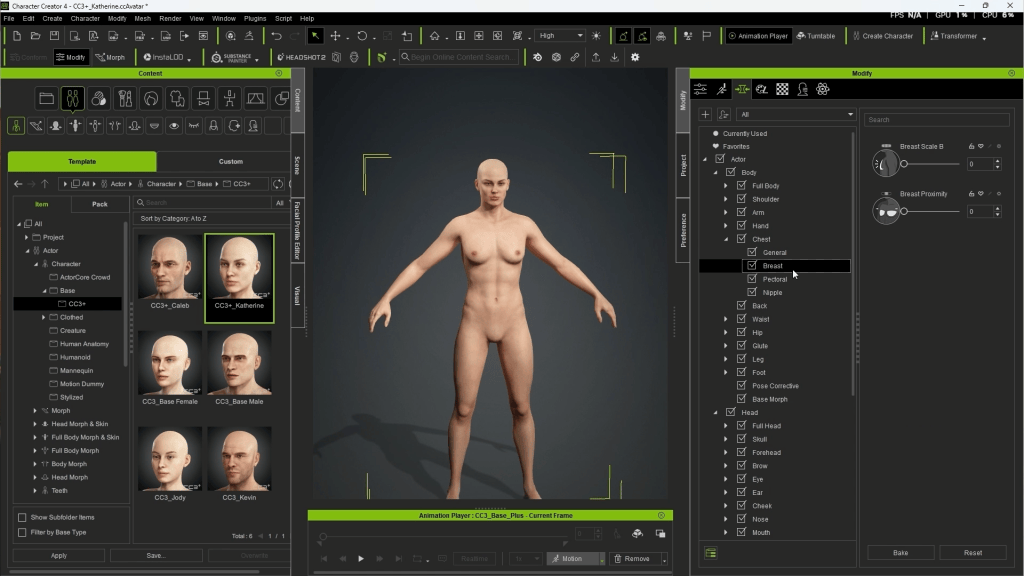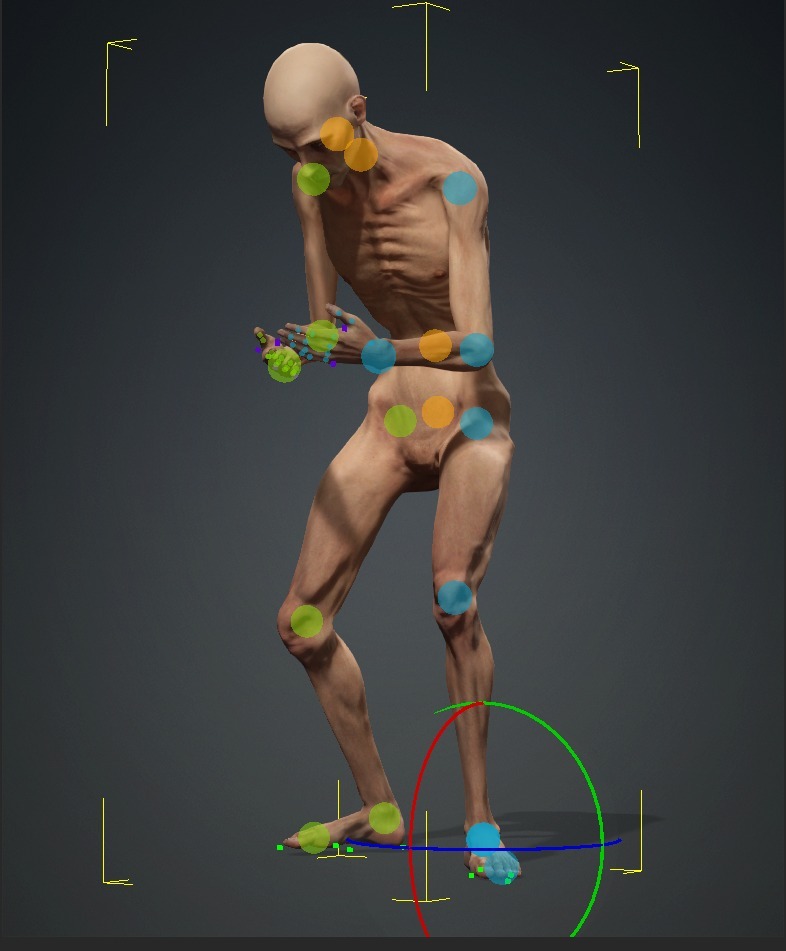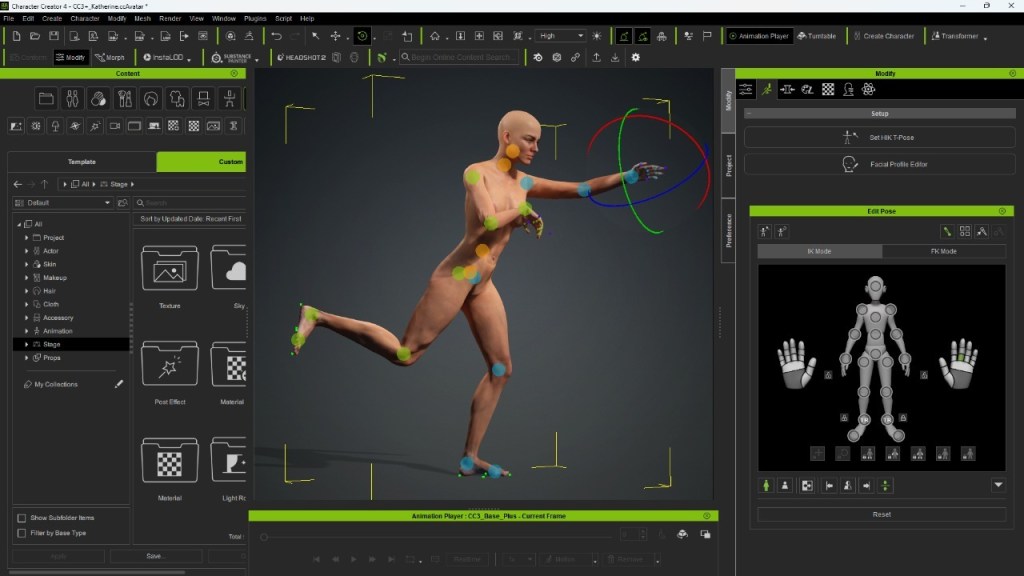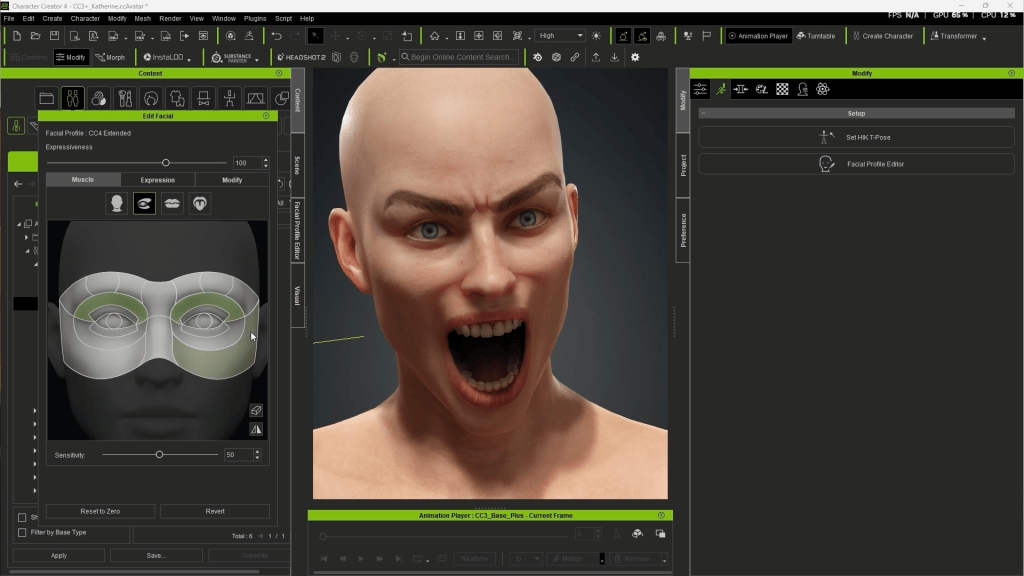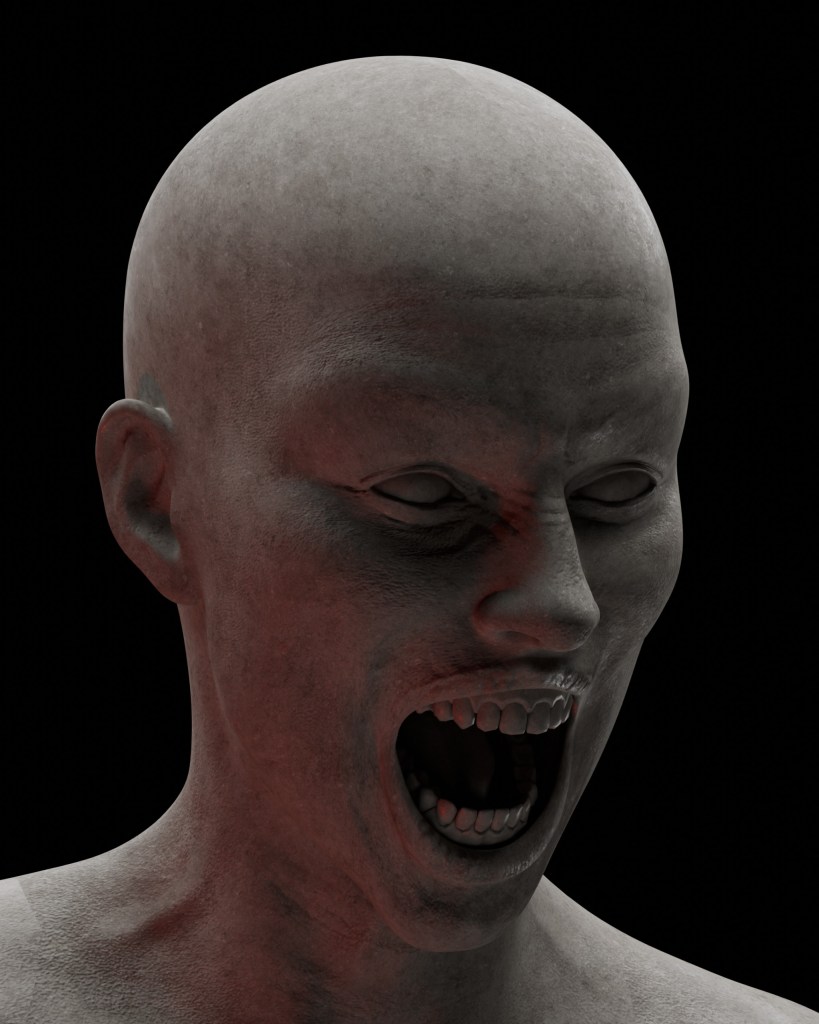
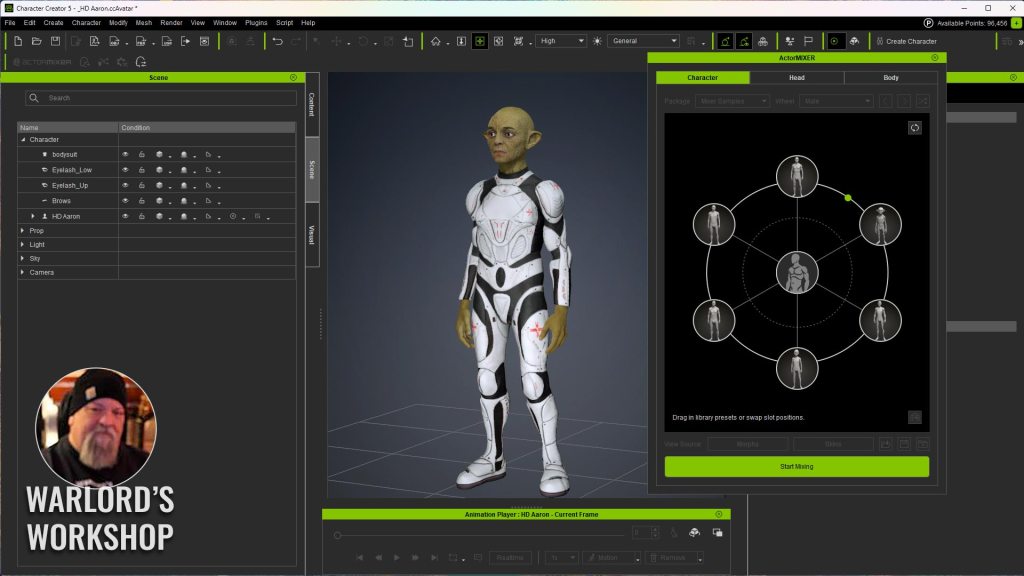
The new ActorMIXER and ActorMIXER Pro plugins are a beginner’s dream for creating new characters while greatly speeding up the character development process for professionals and hardcore hobbyists. While anyone can use this new plugin, it really excels at empowering beginners to develop their own characters and character styles. What used to take years of development is now just hours or less.
What is ActorMIXER?
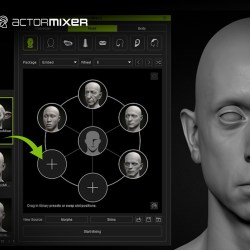
ActorMIXER is exactly what the name suggests. It mixes parts of characters to create unique characters or family characters like siblings or different generations of the same family. It is based on a simple wheel concept that allows us to mix between different head, body type and bone dimensions by sliding a mixer dot to different morphs on a clock-face type of control.
ActorMIXER versus ActorMIXER Pro
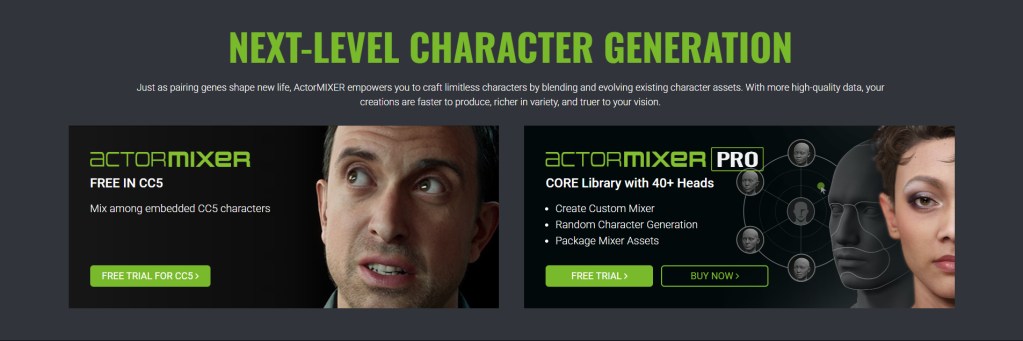
ActorMIXER comes with Character Creator 5 and includes some sample morphs to get you started on the journey to more unique characters. This basic tool will allow you to acquaint yourself with its features and benefit from the free sample resources included.
ActorMIXER Pro comes with all the features of ActorMIXER plus many more including the Core Library of morphs, Random Face Generator, and the ability to create and save our own Customer Mixer. The standard free version is available to everyone while the Pro version is a commercial plug-in that will appeal to professionals and beginners with its advanced features.
Will Any Character Mesh Work with ActorMIXER
From my testing, ActorMIXER works only with CC3+ characters and up. Non-Character Creator meshes will deactivate the ActorMIXER option. If you have been around morphing for any time, then you know it has built-in restrictions depending on what you want to do. It is not unusual to have to conform to a certain topography and other features, so this is to be expected.
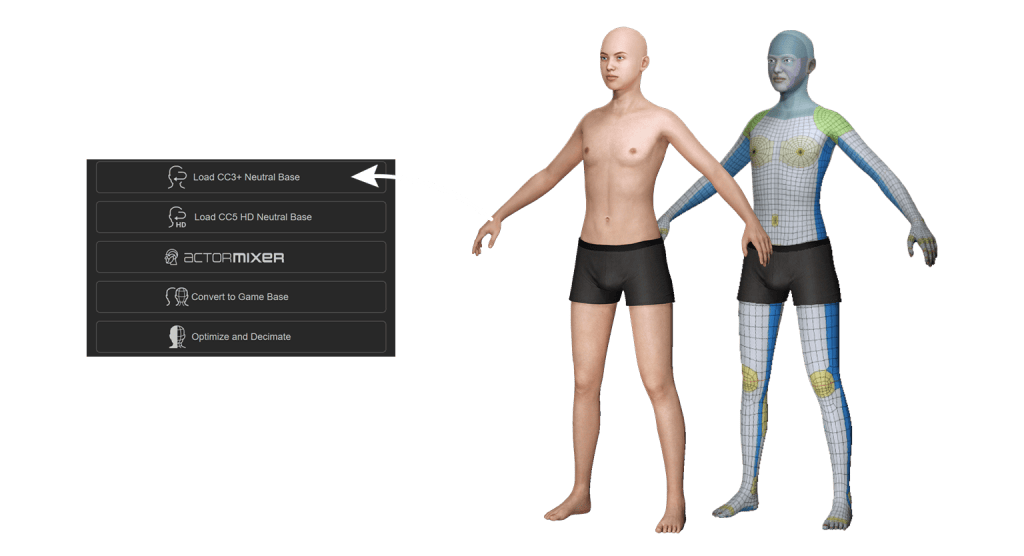
While inconvenient, it’s understandable when you look at some character mesh topology available today, particularly on AI-generated characters. Even when generated in quads the UV Maps can be a chopped-up nightmare to deal with. As long as the character is from the iClone/Character Creator pipeline, CC3+ at minimum… the mixer is available for further modifications.
Mixer Wheel – Nondestructive Blending
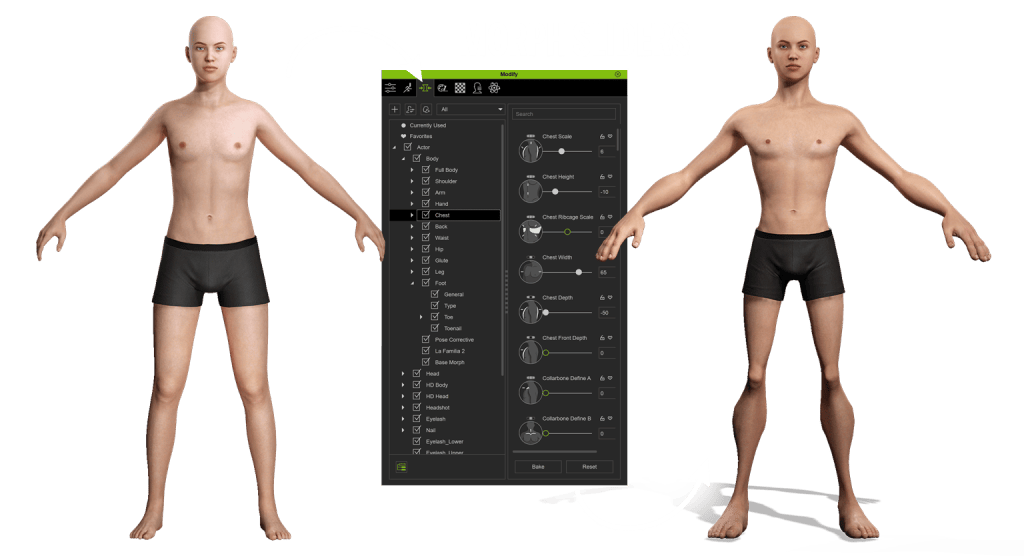
The mixer wheel… the backbone of ActorMIXER is a perfect example of how Reallusion simplifies animation with its “dial-in” mixer interface. Intuitive and easy to use the mixer wheel allows us to move a “mixing dot” around the wheel between morphs which changes the character features on the fly for immediate feedback.
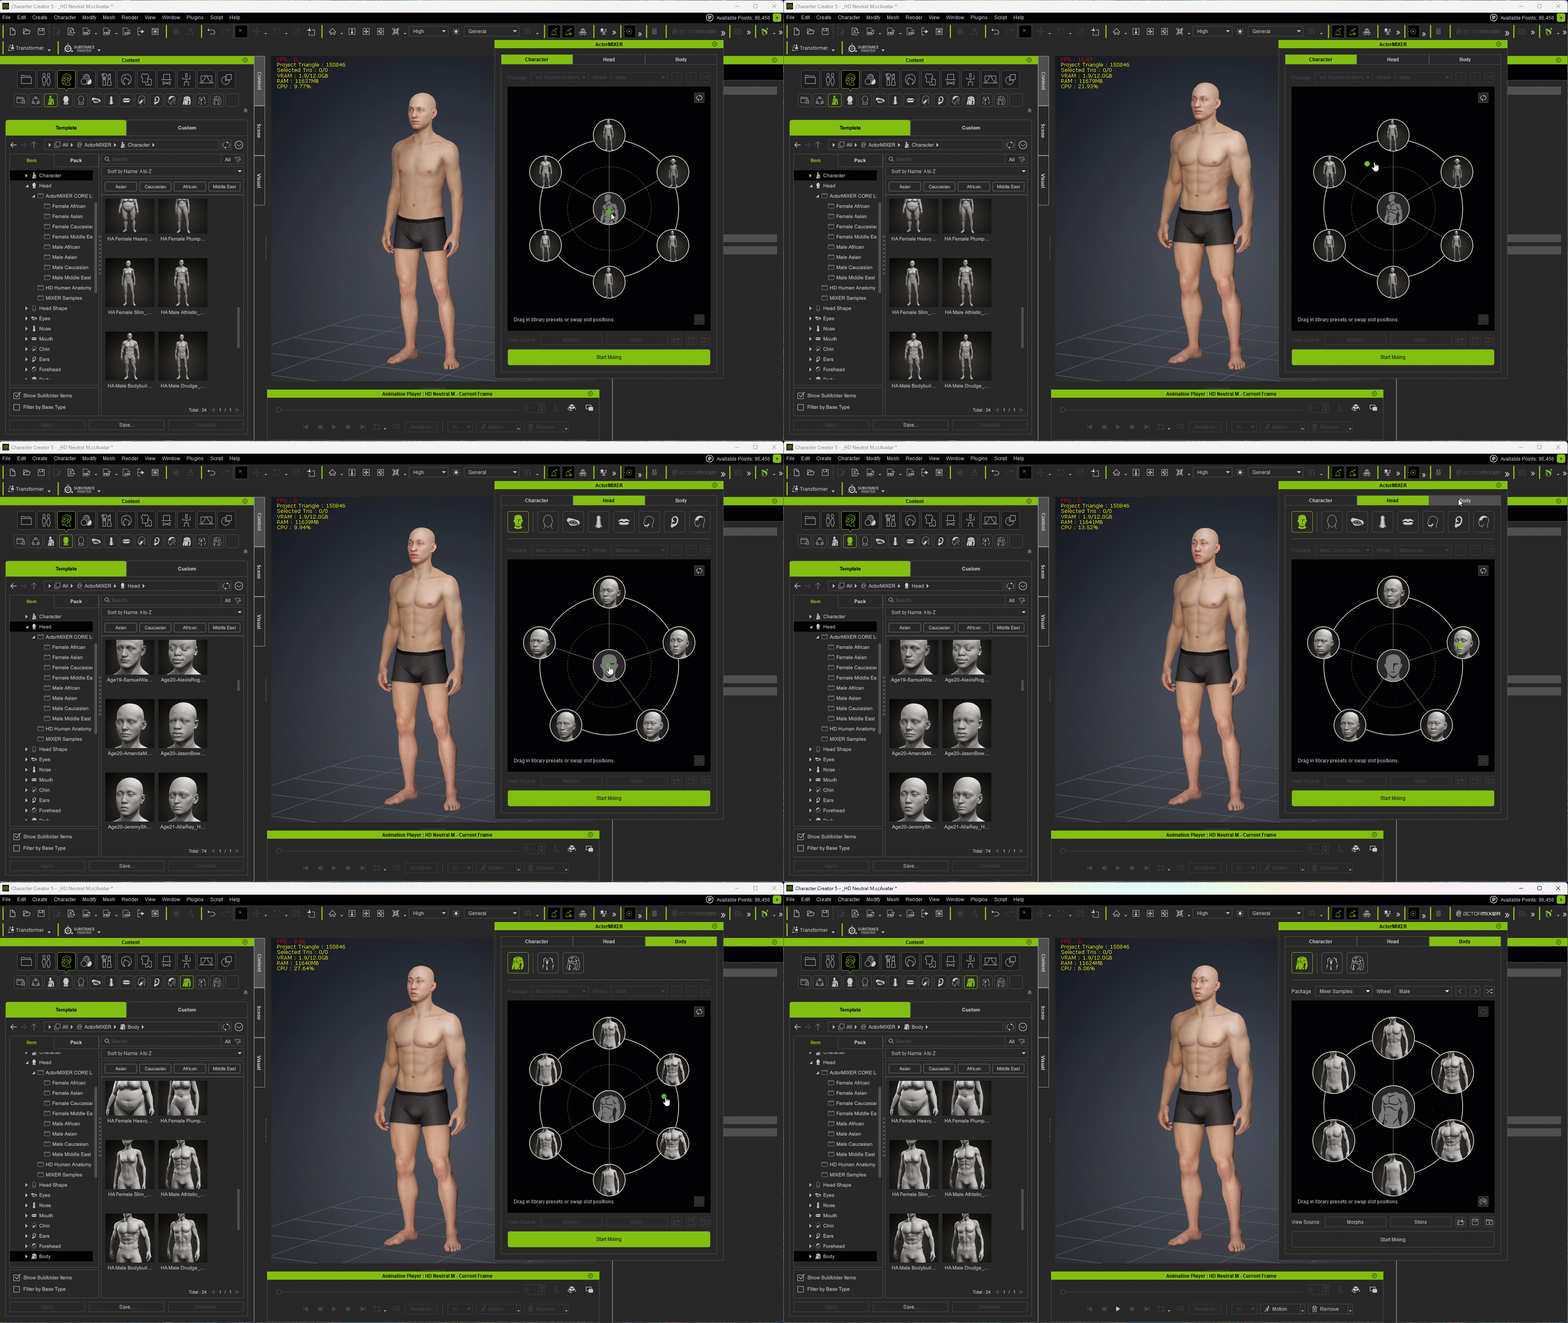
This includes the body or head, and the head is broken down into many different parts. There are a lot of options in the Head tab alone with the ability to dial-in the head, head shape, eyes, nose, mouth, chin, ears, and forehead. Then there is the Body tab with three choices of Body, Body Ratio, and Body Shape.
The mixer wheel covers a lot of territory and while greatly simplifying the process for all users.
Random Face Generation (Pro)
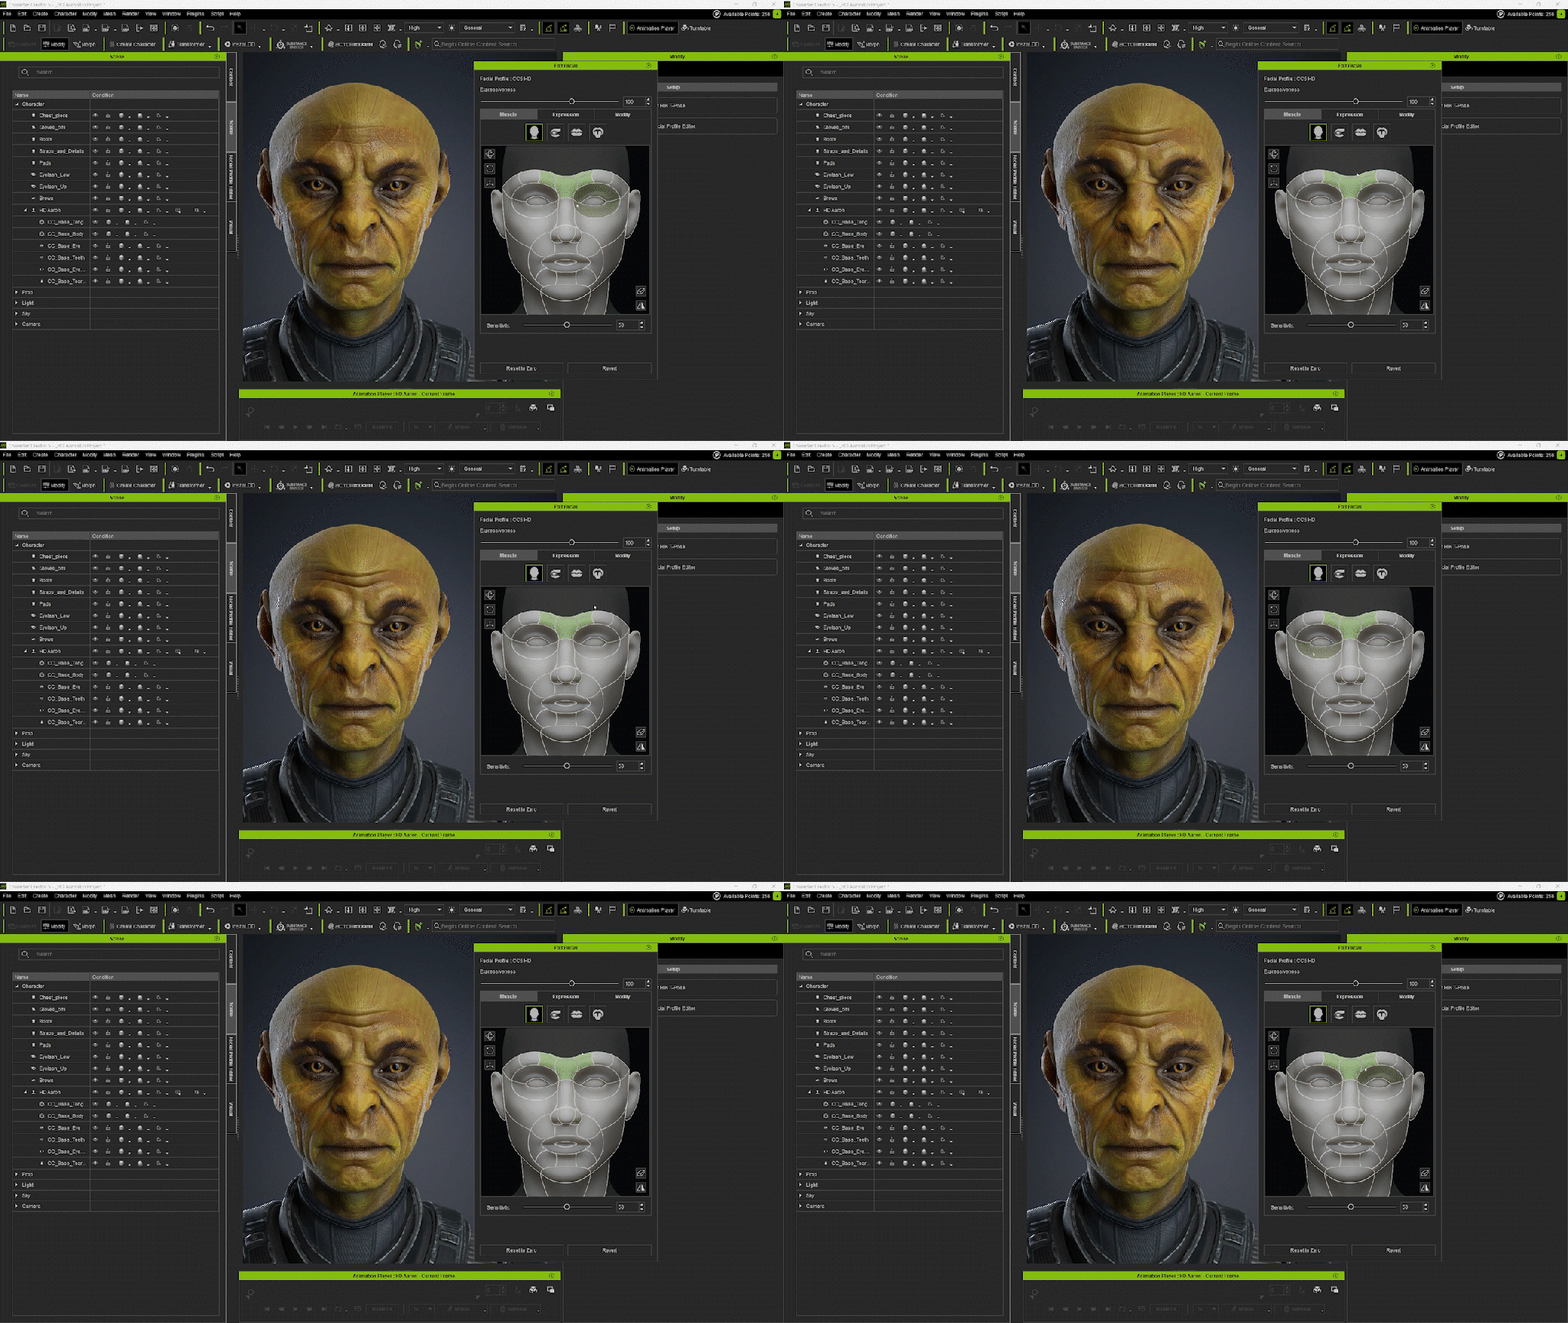
This is a very quick solution for unique characters. We can generate faces based on collections of morphs we have available, and we can choose the location of the morphs to control what morphs are used. In fact, I had to choose the location for it to work. I have my assets on a separate drive so that created quite a shock when I clicked the Random Face button and it created an alien from a group of alien head morphs I was testing earlier.
It took me a minute to catch onto what was going on. No matter what I did, it generated an alien. Reluctantly, I looked at the documentation (this is how spoiled I’ve become using Reallusion products that I rarely look at a manual). I needed to point my template folder to the location of the morphs, in this case the Core Library location, since I had a custom install path. It had picked up the custom alien morph heads I had saved as the customer path was pointing to the right location, but the template assets were at another location so it couldn’t find them. I pointed the Template location to the proper folder, and everything fell into place.
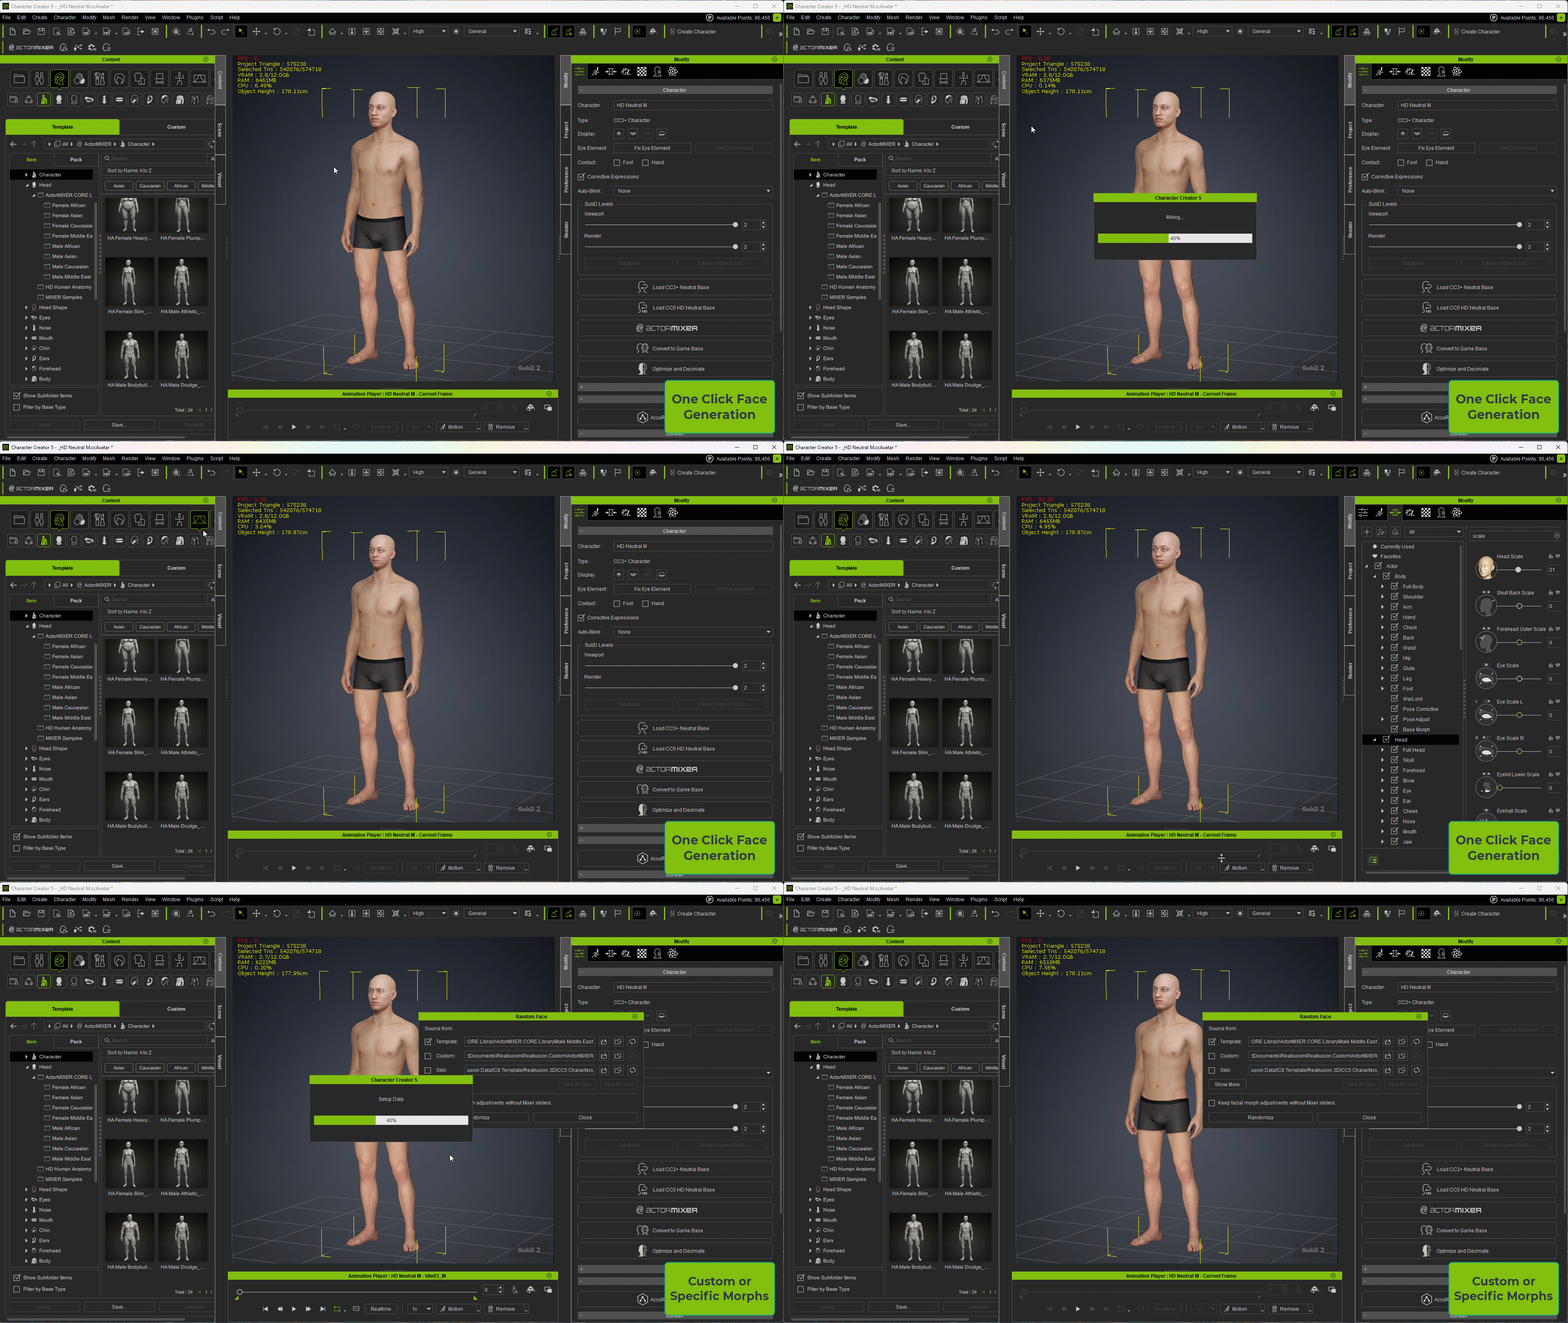
After I got this little hiccup sorted it was on to exploring the new feature which took all of a minute or less because you literally push a button. It couldn’t be easier. The morphs in the target location control how the random face is generated. If you want an Asian female face you use the Random Face panel to choose a location that holds the applicable morphs.
After this, you can just click the button and see the face change with each click, as it will generate the face from whatever morphs are available in the selected location, including male and female, if in the same location. While there have been many face generators over the years, this one stands out for ease of use and speed. Practically no learning curve if you are already familiar with morphs, or a little learning curve otherwise.
Like the mixer wheel, just dive it and go for it, nothing there is brain surgery or rocket science. Just good old morphing with a modern slant that overcomes many of the old morphing limitations of the past.
Core Library/Custom Library (Pro)
Key Features include:
- 40+ HD 3D Scanned Heads
Includes diverse head presets categorized by ethnicity, age, and gender. - Structural Facial Blending
Mix and reshape individual facial features (brow, chin, etc.) or entire heads with precision. - HD Skin Textures
Real human face scans available in 2K and 4K, fully blendable with any head shape. - Ethnic Diversity Presets
- Asian: 10 head presets, 10 skin textures
- Caucasian: 14 head presets, 14 skin textures
- African: 10 head presets, 9 skin textures
- Middle Eastern: 10 head presets, 10 skin textures
- Gender Balance
Supports balanced male and female character generation.
Custom Mixer Wheels
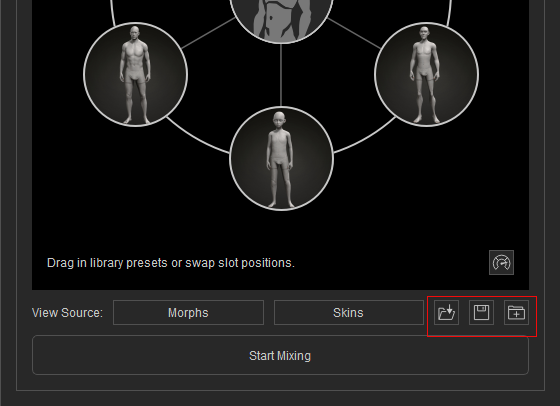
The earlier tutorial shows how to get started with this great new feature of the Pro version that allows us to create and save custom mixer wheels we have put together for characters or families. If you load up a mixer wheel with stock or HD morphs you can save those wheels with the simple controls on the bottom of the Mixer panel. It can be a full or partial wheel and contain a mix of morphs as long as are CC3+ or above character class.
This includes all available morphs from character, body, head and so forth. After saving the custom wheels are available in the content tab with the other morphs.
It’s a great way to keep track of what you are using and to be consistent across the project by always having the same morphs at hand that were used in the project earlier.
My Morph Workflow: Character Creator 5/ZBRUSH
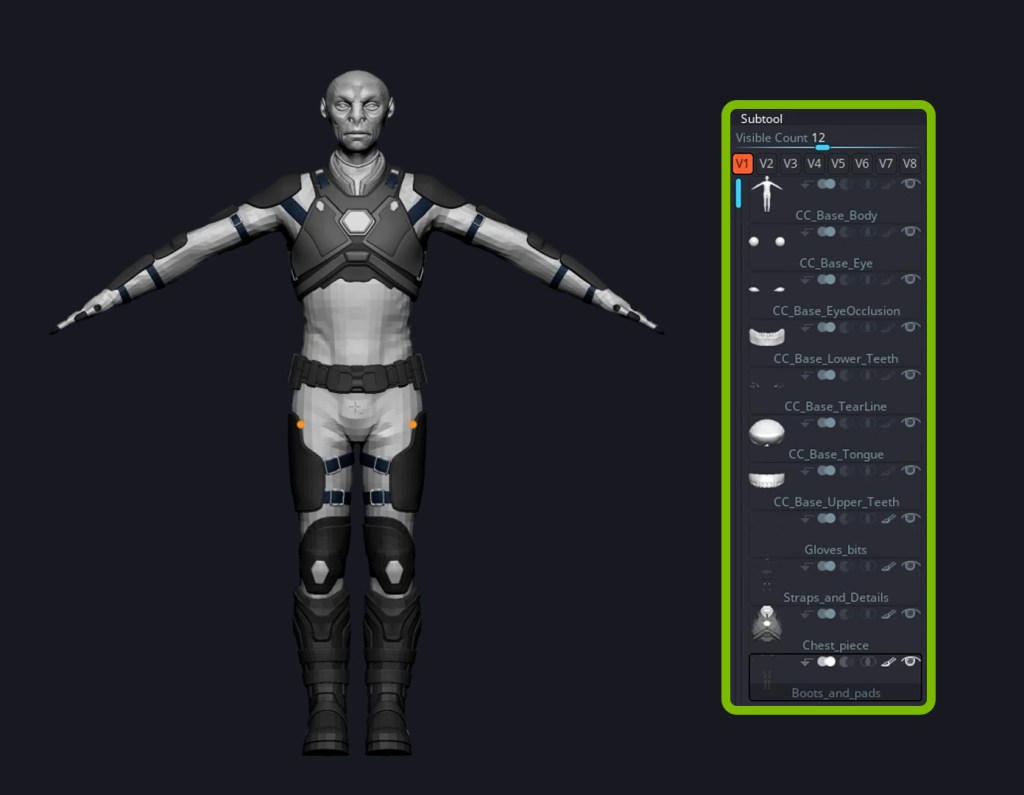
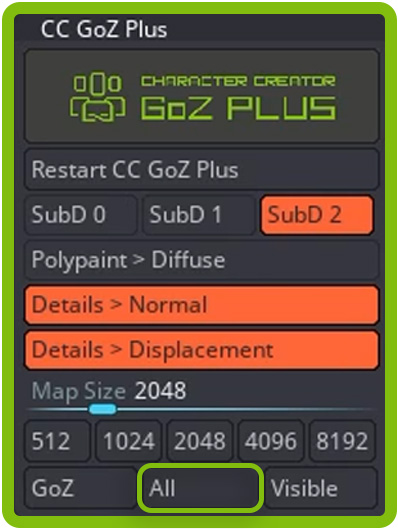
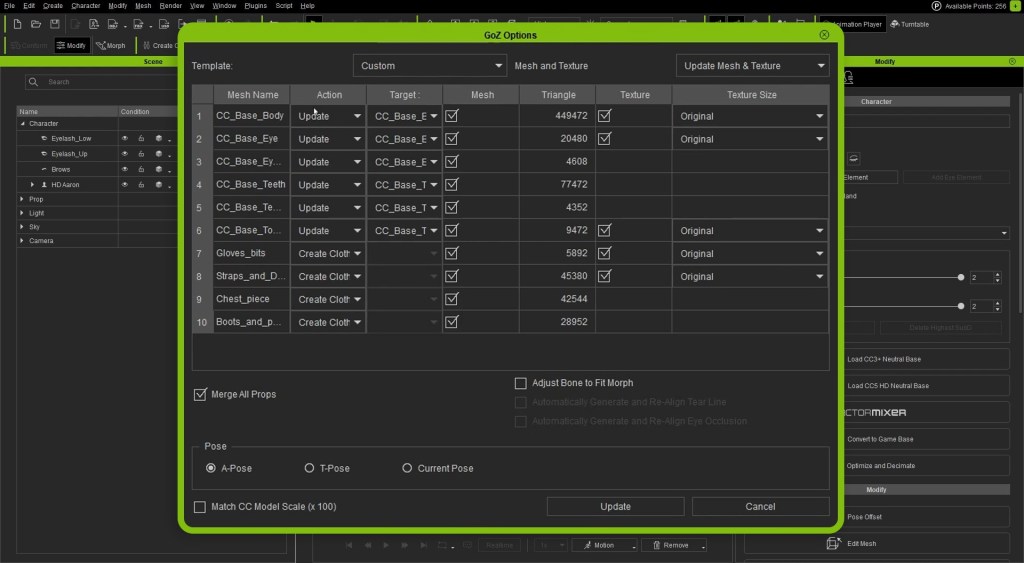
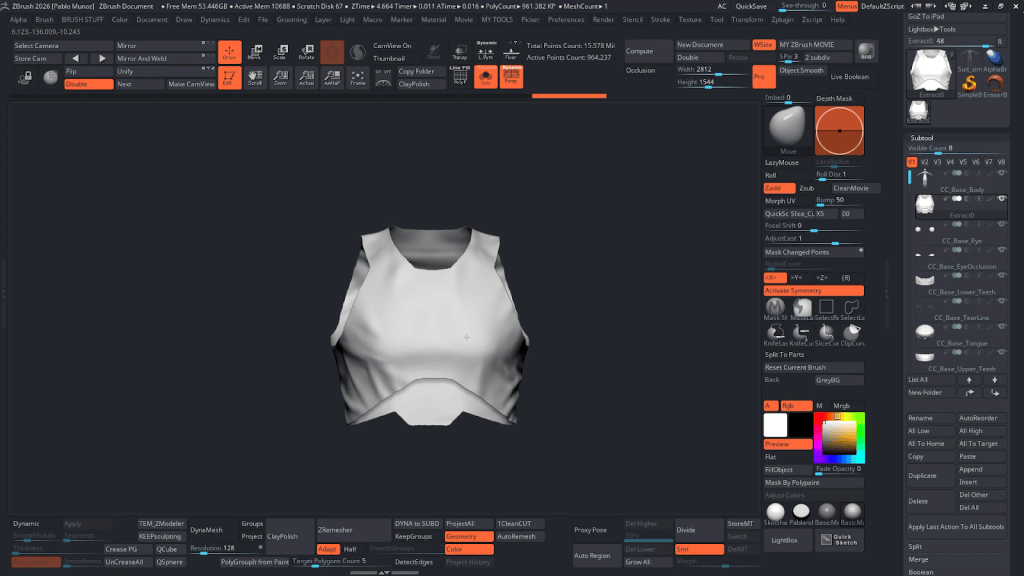
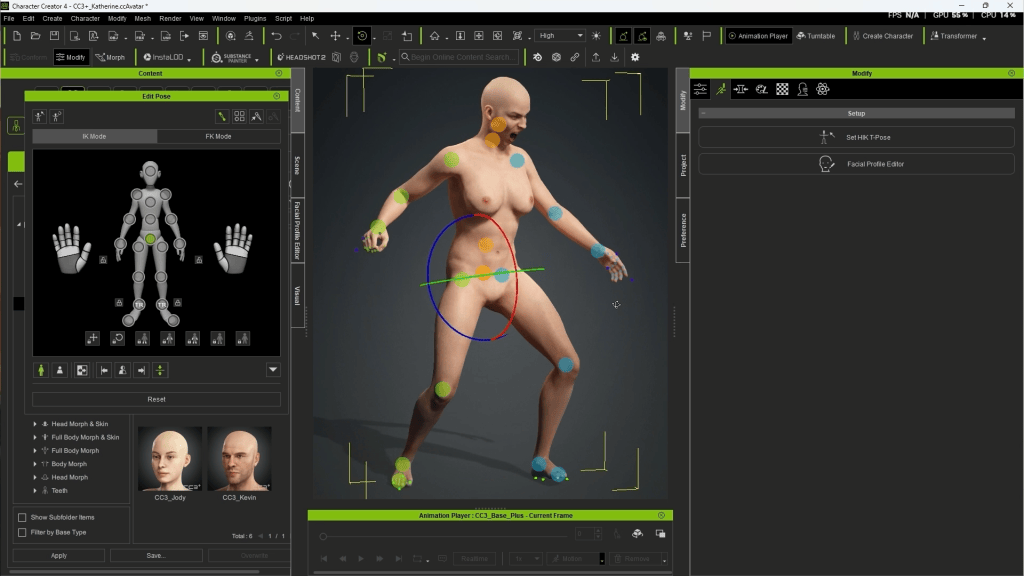
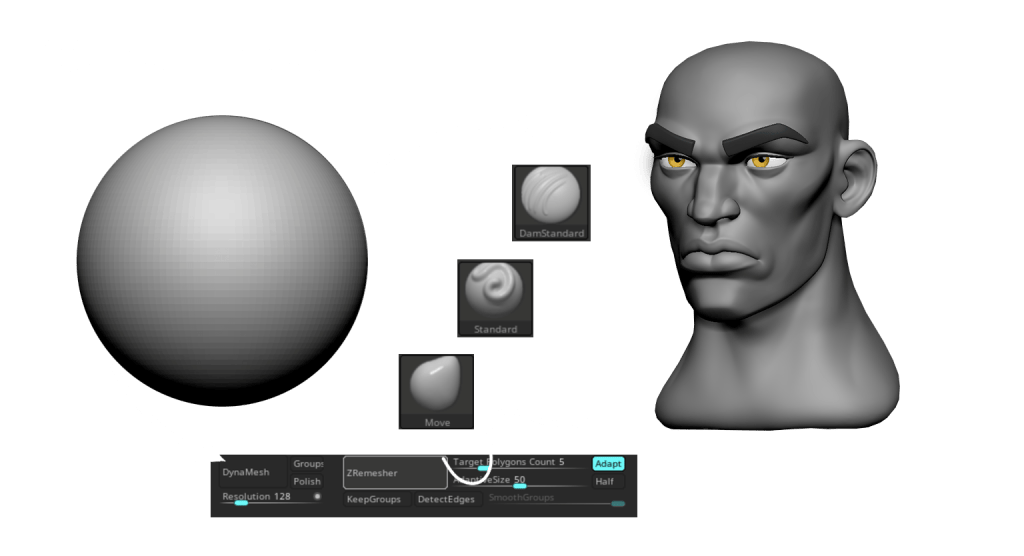
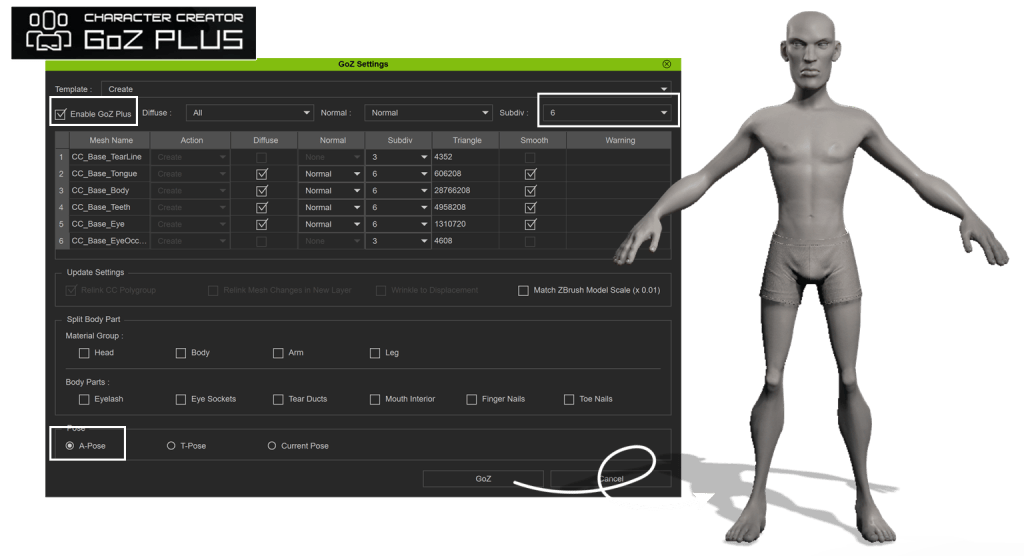
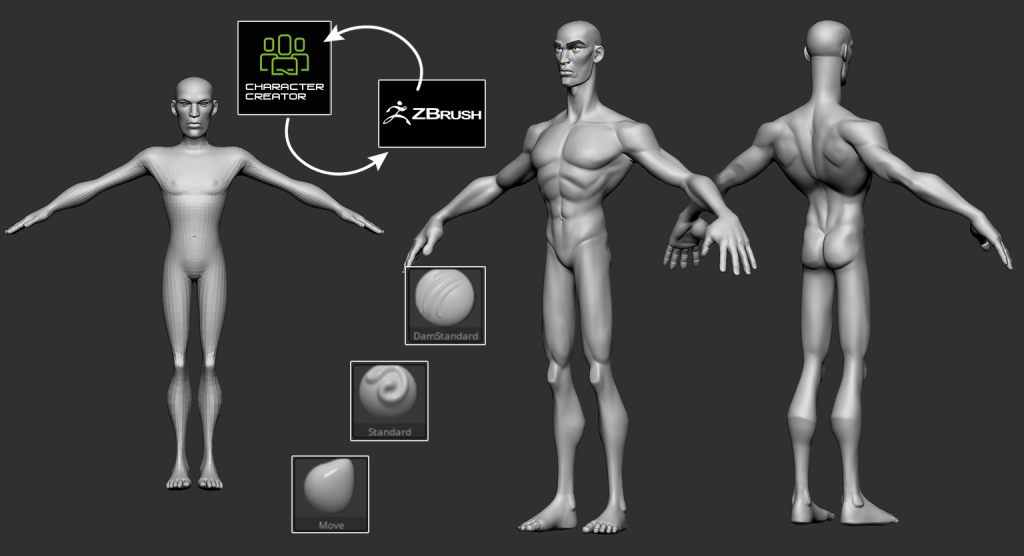
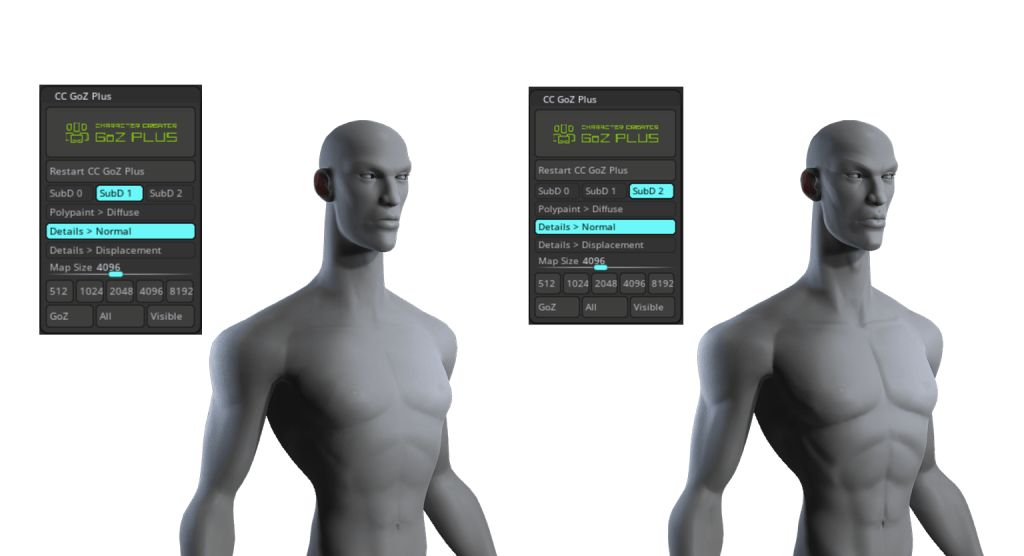
My personal workflow for creating custom morphs is to transfer, via GoZ, a CC3+ or CC5 character into ZBrush from Character Creator 5. I generally use the Create function and sometimes I even clear my GoZ cache in ZBrush. I rarely use the Relink function even though I should explore this option more. This is more born of first use habits than practical, but it works for me.
I prefer to work with the multi-level density mesh instead of the optimized single level mesh. This provides more “meat on the bone” to work with as it gives me a denser mesh to manipulate with brushes and other tools. I can also use the Level slider in ZBrush to move between density levels for sculpting. I can create or modify morphs in 3DS Max but ZBrush is just a more intuitive app for me for that sort of thing. Maya and Blender are great 3D morph tools as well.
After I bring in the mesh and switch to the highest density, I use brushes in ZBrush to mold and sculpt or rather re-sculpt the original Character Creator mesh into a new head, body or both. As of this writing I have mostly experimented with head morphs and had no frustration in learning the process to create custom morphs for the mixer wheel.
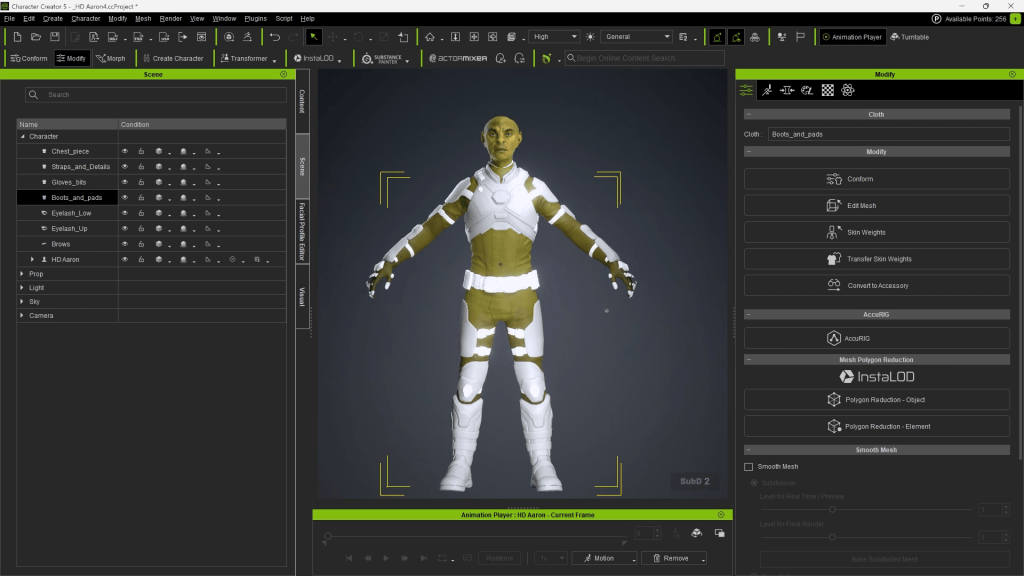
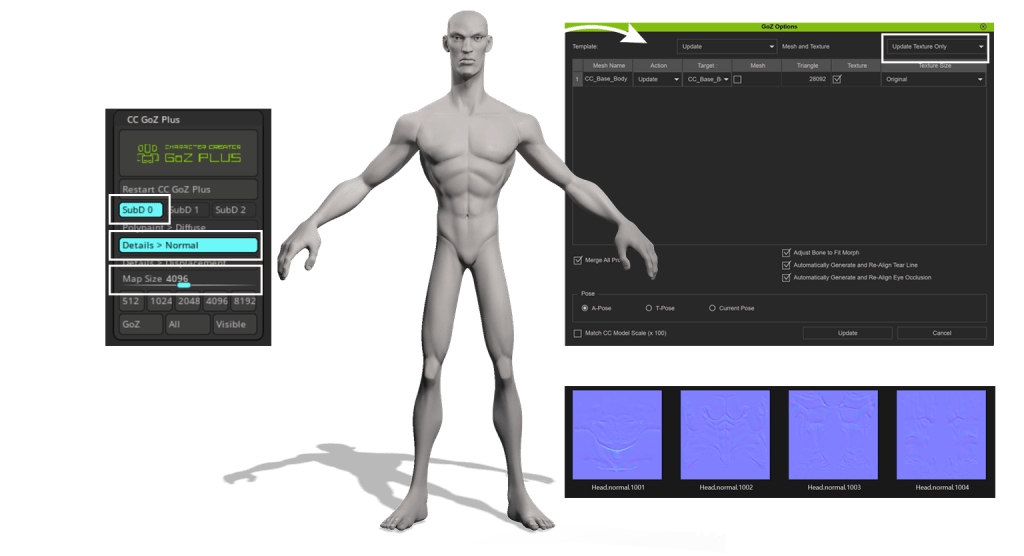
I send the finished morphs back into Character Creator 5 with CC GoZ from ZBrush to finish the round trip.
Creating Mixer Assets
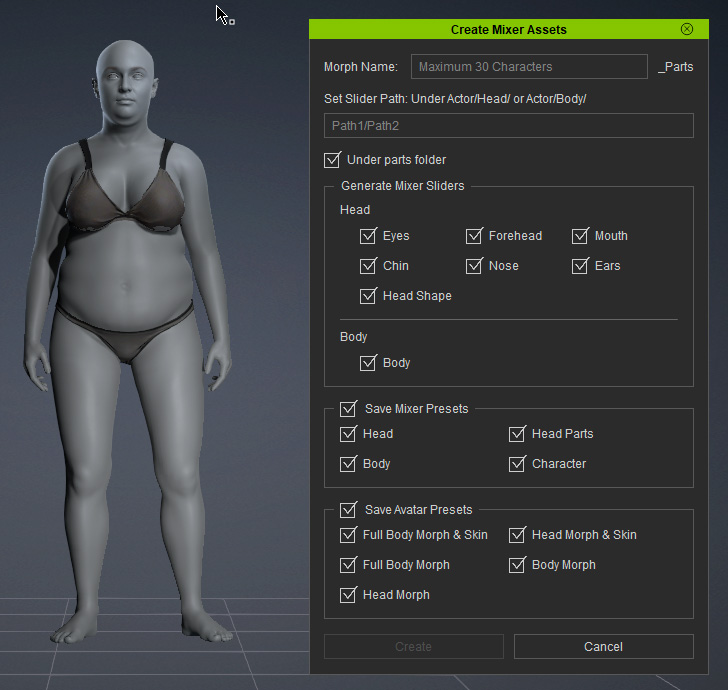
This simple panel comes with a lot of options to save all or any part, or any combination of parts, of your character morphs for future use and this includes related items like sliders.
This one panel simplifies the process of what to keep. If you modify the head only, then you can save the head only if you wish to do so.
Once again Reallusion comes through making this a very easy task with its Create Mixer Assets panel.
How to Approach ActorMIXER as a Beginner
First and foremost, it is nothing to be worried or intimidated about. While the actual creation of morphs can be a bit past beginners’ level, we do not have to create morphs to use the mixer wheel. It would not surprise me to see Mixer Packages in the marketplace and store for those that don’t create their own. Not everyone is a modeler but if you have software capable of re-sculpting character meshes then give it a try as basic morphs can be easily achievable for a lot of users.
As to the mixer wheel itself… just dive in. It’s not that complicated and mostly self-explanatory depending on your level of experience. At its basic level we simply need to only move the mixer dot to see immediate changes in the character.
Don’t be afraid to experiment with mixing different morphs. Sometimes piling morphs on top of morphs will have unintended consequences but the mixer wheel eliminates that. As mentioned earlier and on the website, it is a non-destructive blending of morphs. If you need to go back to the original form before any morphs, then all we have to do is move the morph dot back to the center of the wheel and the character is restored or hit the restore button.
There is no reason to not embrace this new plugin to expand your current character library because, if you haven’t figured it out yet, we can never have enough characters as animators. Using a generic character can lead to confusion on the professional level as that character may be used by many different studios and users, so ActorMIXER gives us an easy tool to make unique characters.
If you aren’t sure how to start just click one of the ActorMIXER buttons and let it create a male or female base character, and you can use the wheel to dial in the look you want based on the morphs on the wheel. Don’t forget the Head and Body tabs too!
Summary
ActorMIXER is another great tool from Reallusion that holds true to the company’s tradition of creating easy to use software tools for complex animation tasks.
Since Character Creator came out way back at version one, I have steadily reduced my use of other 3D apps to make characters except for ZBrush. Even my old standby that I used all these years, 3DS Max is seeing less and time on the screen. Character Creator, for me, is easier than reinventing the wheel every time I need a new character or unique characters for crowd filler.
Reallusion’s latest release is another leap in user-friendly 3D character creation technology, and their mission brings animation to anyone who wants to be involved in it.

MD McCallum – WarLord
Digital Artist MD “Mike” McCallum, aka WarLord, is a longtime iClone user. Having authored free tutorials for iClone in its early years and selected to write the iClone Beginners Guide from Packt Publishing in 2011, he was fortunate enough to meet and exchange tricks and tips with users from all over the world and loves to share this information with other users. He has authored hundreds of articles on iClone and digital art in general while reviewing some of the most popular software and hardware in the world. He has been published in many of the leading 3D online and print magazines while staying true to his biggest passion, 3D animation. For more information click here.