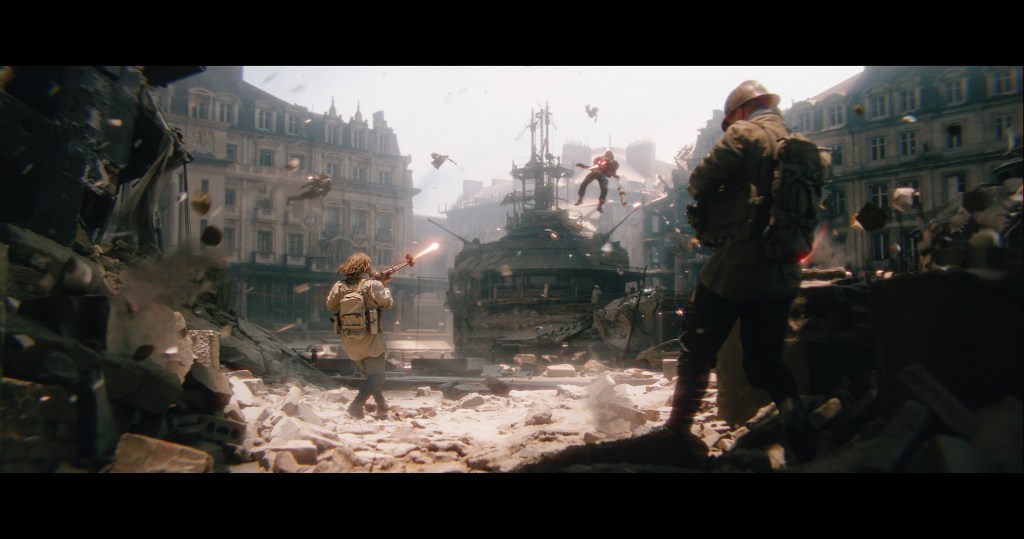
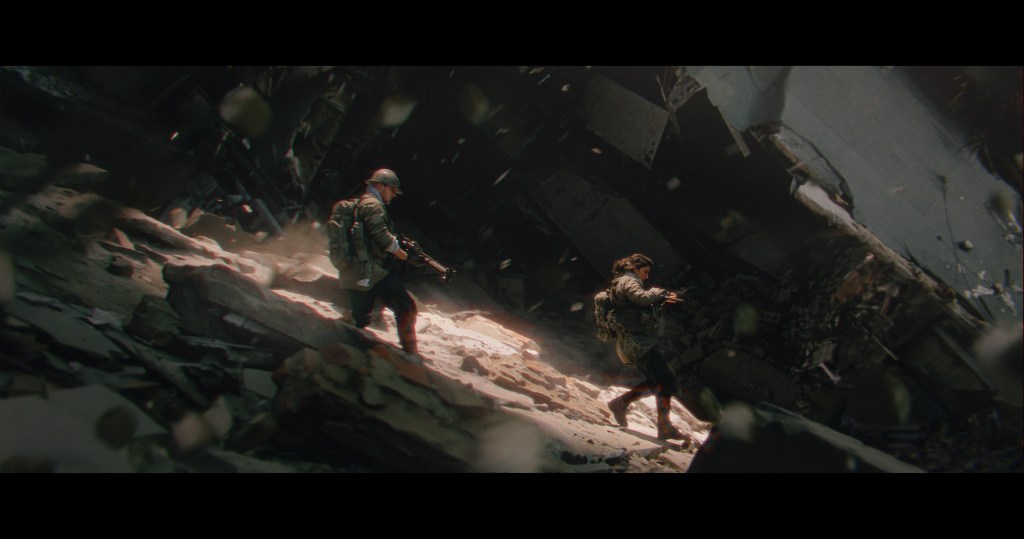
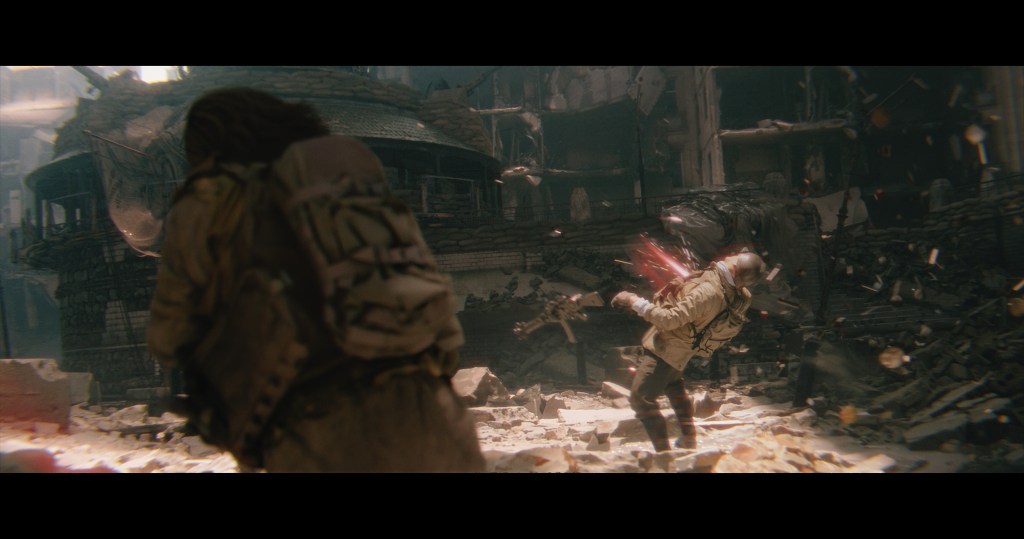
Crafting an entire 3D cityscape bustling with animated characters engaging in daily activities was a formidable undertaking that consumed months of effort to accomplish. New technological advancements paired with the right tools paint a new and better picture — Today, such a feat can be achieved with spare minutes to the hour.
What is also a boon to the movie and gaming industry represents a paradigm shift in how individual artists express themselves: By harnessing software such as iClone 8 and its newly introduced Crowd Simulator, any enthusiast — regardless of their skill level — can swiftly prototype and execute massive animated crowd scenes.
iClone 8 Crowd Simulator was designed with the removal of restraints in mind, both in terms of reducing technical complexity and refining user experience. The freedom to bring vibrant worlds to fruition for an individual artist, as opposed to a large production team with extensive time and budget, marks a new era of self-expression that Reallusion is actively encouraging.
Shaking Up the Movie and Video Game Industry
In both the movie and video game industries, the creation of dynamic and populated environments plays a vital role in storytelling and building immersive experiences. Traditionally, this task required extensive work from large teams of highly skilled artists and significant time investments. However, with iClone 8 Crowd Simulator, this laborious process is reduced to mere minutes, empowering a single visionary armed with nothing more than enthusiasm.
The accelerated production times made possible by iClone 8 also open new possibilities for indie game developers and small studios, enabling them to craft rich and vibrant worlds that can rival those created by larger entities. By increasing efficiency, artists can focus on what matters most: bringing their unique visions to life and captivating their fanbase with awe and excitement.

Empowering Indie Creators – like Yourself
But all these pie-in-the-sky concepts mean nothing if individual artists aren’t positioned at the forefront. After all, it’s about basics and practical steps that give results. It is the same practicality that enabled Indie Developer Zeng Xiancheng to create all assets for his video game in just two months — and that was before iClone 8 Crowd Simulation even existed. Just imagine what you can do now.

So, how can creators like you practically utilize iClone 8 Crowd Generation? What better way to learn than through a tailored tutorial by none other than our featured recurring artist and instructor, Mark Diaz.
Crash Tutorial on iClone 8 Crowd Generation
Hey there! I’m Mark Diaz, but let’s fast forward the formalities and dive right in. My mission? To show you the fastest route from zero to hero with iClone 8 Crowd Generation features.
Step 1: Instant City Creation
Alright, so we’re kicking things off with building your very own 3D city in iClone 8, and guess what? You’ve got options! Whether you’re all about getting straight to the fun part or you’re the hands-on, do-it-from-scratch type, there’s a path for you.
Quick and Easy: Grab a City Off the Shelf
So, you’re excited to jump right into animating and not so keen on spending months on modeling and texturing, right? Well, iClone 8’s got your back with a super shortcut. Pop over to the Reallusion Content Store by going to Help menu > Reallusion Content Store.

Go to search, make sure you have iClone selected, and type “Modern City” in the search bar, and boom, you’ll see a bunch of ready-made cities just waiting for you.

There’s this cool one called “Modern City New” that’s just perfect for what we need. It’s $30, but think about it — it’s like skipping ahead two or three months of hardcore city-building work. Just click, drag, and drop, and you’ve got yourself a slick cityscape ready to roll. How awesome is that?

On a Budget? No Worries, We’ve Got You.
Now, if you’re watching those pennies or you’re all about that DIY life, there’s a totally free way to get your city started too. Dive into the Content panel, and follow the breadcrumb trail: Template > Item > Stage > 3D Scenes > Mesh_Medium. Look for “iPlaza_noneCG” — it’s a solid base for practicing crowd simulation and getting the feel of urban design.

Click and drag it to the scene, and you have got a plaza to practice with.

This route might take a bit more time and elbow grease, but hey, it’s all about the journey, right? Plus, it’s a great way to learn the ins and outs of city crafting without spending a dime.
No matter which path you pick, iClone 8 is here to make sure your city-building adventure is a blast. Ready to get started? Let’s dive in.
Step 2: Path Creation for Characters
Before we dive into path creation, a quick pro tip: make sure your cursor is parked on frame zero. Trust me, it’s a small step that makes a big difference.
Now, ready to roll out some paths for our animated friends?
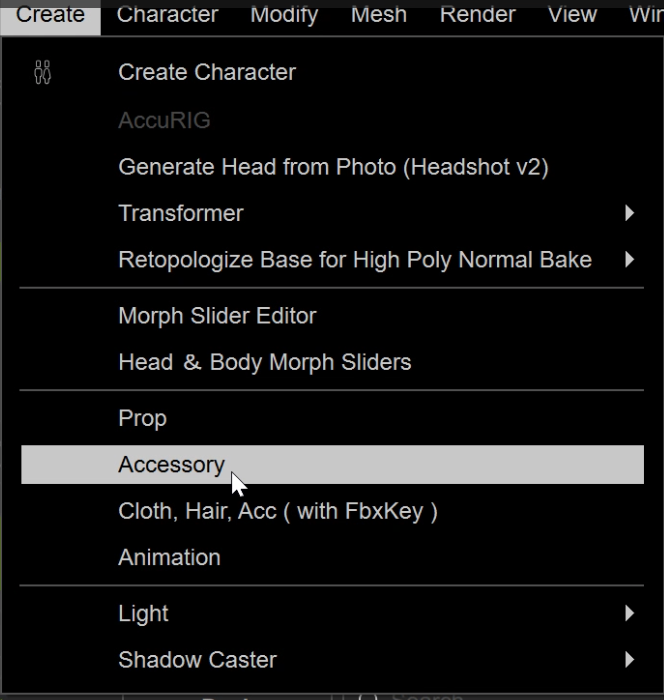
Just head over to the Create menu > Path, and click away in the scene to map out your route.

Need to adjust the width? The Modify panel has got you covered with the ‘MD’ option for that perfect fit.
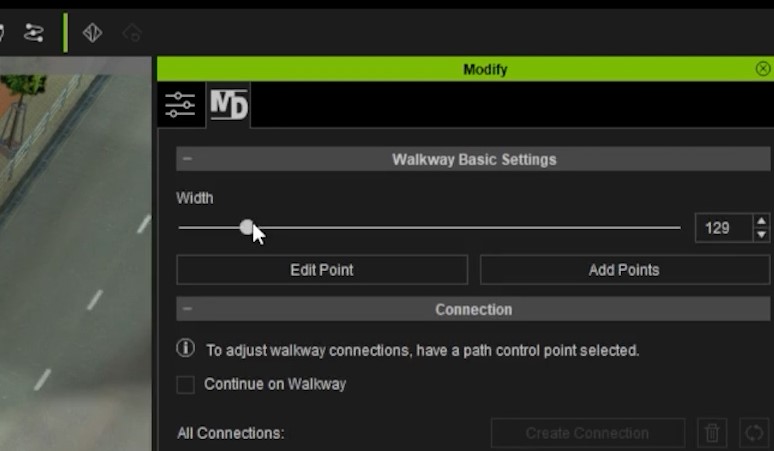
And don’t forget to generate that NavMesh — it’s crucial for keeping our characters on track. Just go to Create menu > Generate NavMesh.

You can adjust some settings if you want, and once you are ready, click Generate.
Step 3: Populating the City with Walkers
With the paths set, we populate them using the Crowd Generator tool. Just go to Create menu > Scatter > Generate Crowd.
Then in the crowd generation box, we can click and drag characters that you want to set as the crowd from the Content panel. And if you want to repeat some characters but have them with different colors for the clothes, make sure you check the option “Deploy with variant materials”.
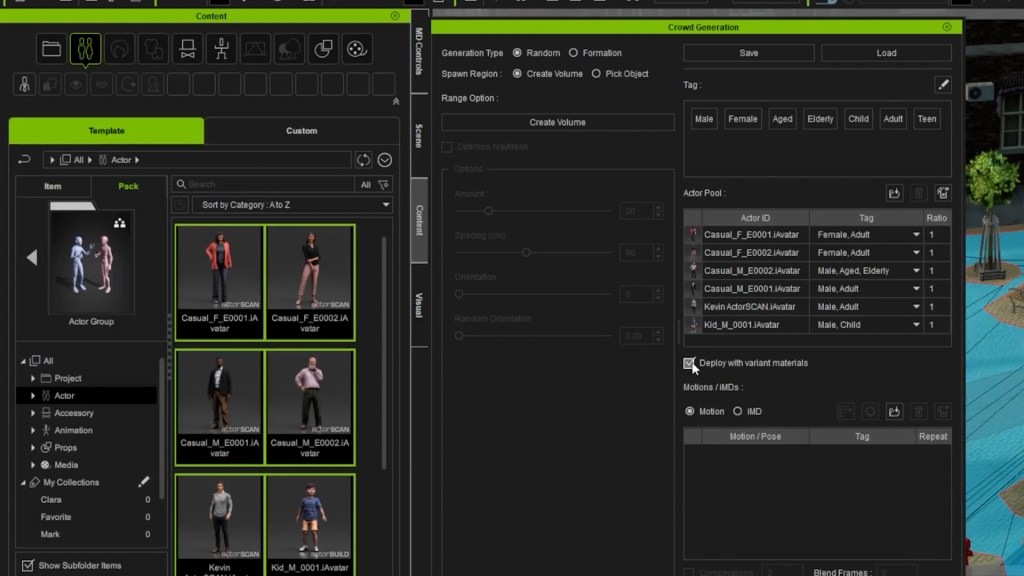
The actors selected for this tutorial are all the characters from the pack “Actor Group”.
Then for the animation, I use the Motion Director feature, by going to the “Motions / iMDs” section, and selecting “iMD.” Then click and drag some Motion Director clips from the Content panel that you would like your characters to be animated with when they walk.
The ones I used for this tutorial are:
- CrowdSim_Walk_A.iMD
- CrowdSim_Walk_C.iMD
- CrowdSim_Walk_F.iMD
- CrowdSim_Walk_M.iMD

Then, for these characters to walk on the path we created in the last step, we just have Generation Type as Random, Spawn Region as Pick Object, and then we click on Pick Object, and select the path in the scene.
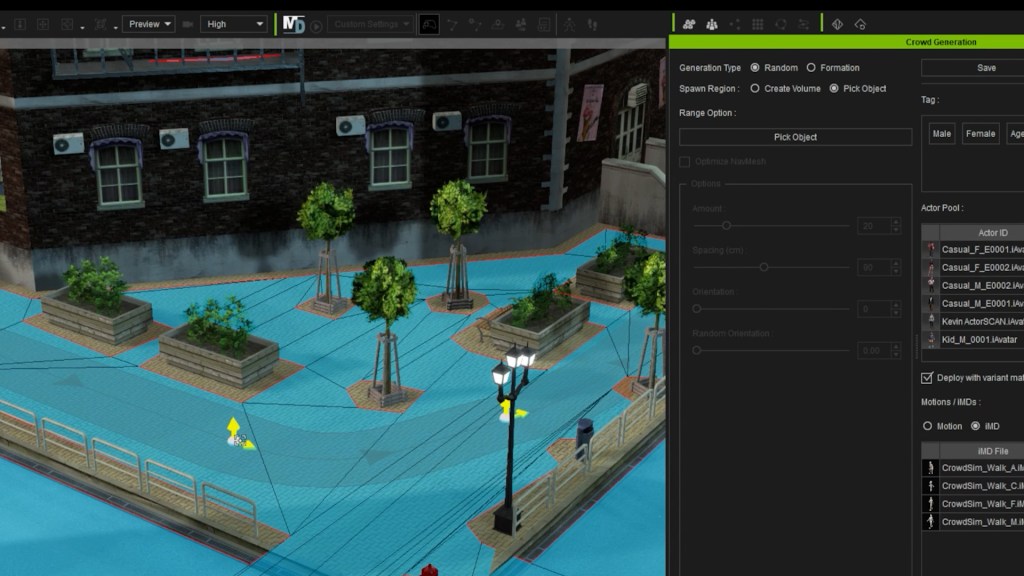
You can tweak some options. I like to have Optimize NavMesh activated, have 14 actors, and have the Direction Ratio set in the middle.
Then you just click Deploy Actors, wait for iClone to process the characters, and there, you have characters ready to be animated.

Step 4: Adding Idle Characters
Animating the inhabitants of our digital city comes with options, each offering a different balance of time investment, cost, and variety. Let’s explore the three ways to bring those idle moments to life, making your city not just a backdrop but a living, breathing world.
DIY Animation: The first route is the most hands-on, animating each character one by one. While this method offers the most control over individual movements, it’s a real time sink. Perfect for those who love to dive deep into every detail, but be warned, it’s a lengthy process that can extend to weeks or months.
Utilizing Motion Clips: A quicker alternative involves using pre-existing motion clips designed for idle characters. This method speeds things up and keeps things simple. However, the downside is a potential lack of variety, with characters possibly repeating the same few animations.
Investing in City Life: For those looking to combine speed with diversity, the “City Life” pack is a game-changer. Priced at $99, it’s particularly suited for game creators or anyone aiming to animate a city with a dynamic, natural feel quickly. The pack offers a wide range of idle animations, from folks chatting on their phones to others enjoying a quiet moment on a bench, bringing an authentic vibe to your urban scene.

For our tutorial, we opted for the “City Life” pack to ensure our city felt as real and vibrant as possible. The diverse animations provided by the pack allowed us to populate our streets with characters engaged in various idle activities, effortlessly adding depth and realism to the urban landscape.
With that in mind, we are ready to use the Crowd Simulator tool again, but here we change from IMD to Motion, then for this tutorial, we pick clips from “City Life” to add a natural variety of personalities.
Now with the settings on random, and spawn region on volume, I click create volume, then click and drag on the scene to create an area with these characters.

Then I set the random orientation all the way to 1. I keep pressing generate placement until I’m satisfied with the positions. And then deploy actors.

Done! If you want, you can reposition some of those actors easily in the scene, by moving and rotating them.
Step 5: Camera Animation
The hardest part is OVER. Now we finish with the last 3 quick steps.
First I position the Preview camera in place, then go to Create menu, Camera > Orbit Camera.

Then I move forward in the timeline and then set the second position of the camera.
Done. The camera animation is ready. You will notice the 2 keyframes of the camera in the Timeline.

You can do some quick adjustments and then we’re on the next step.
Step 6: Add Sky and Sunlight
For the sky, I go to Content panel > Template > Set > Sky, change to Item, And select the “SunsetSky”.

Then just click and drag to the scene.

Then I add a lens flare by going to the Create menu, lens flare. And just position it behind that building near the back.

And just like that, you now have a sky and a beautiful sunset.
Step 7: Add HDR Effects
Finally, you can get some finishing touches by going to the Visual panel, which if you don’t have it you can go to Window menu > Visual Settings.
Then go to the first setting, the Atmosphere, scroll down and activate the HDR effect.

Then quickly play with the settings, and you are done!
The HDR effects add a bloom effect to your scene. Here is a comparison (see if you can spot the difference in the bloom effect):

Conclusion
Through this tutorial, we’ve demonstrated how iClone 8 and the Crowd Simulator feature can revolutionize content creation, making it accessible, fast, and efficient. This process opens up new horizons for creators across industries, enabling them to bring their visions to life with speed and ease previously unimaginable.
Learn more about iClone Crowd Sim
- Explore iClone Crowd Simulation
- Try iClone 30 days free
- All-in-one solution for crowd animation with Crowd Simulation Bundle with $100 Cashback
————————————————————————————————————————————————————————————
The original article was written by Mark Diaz and also featured on Creative Boom.