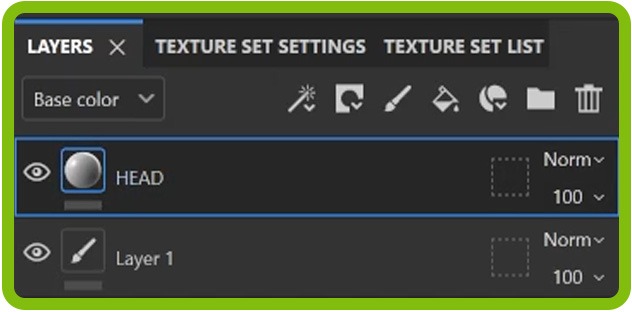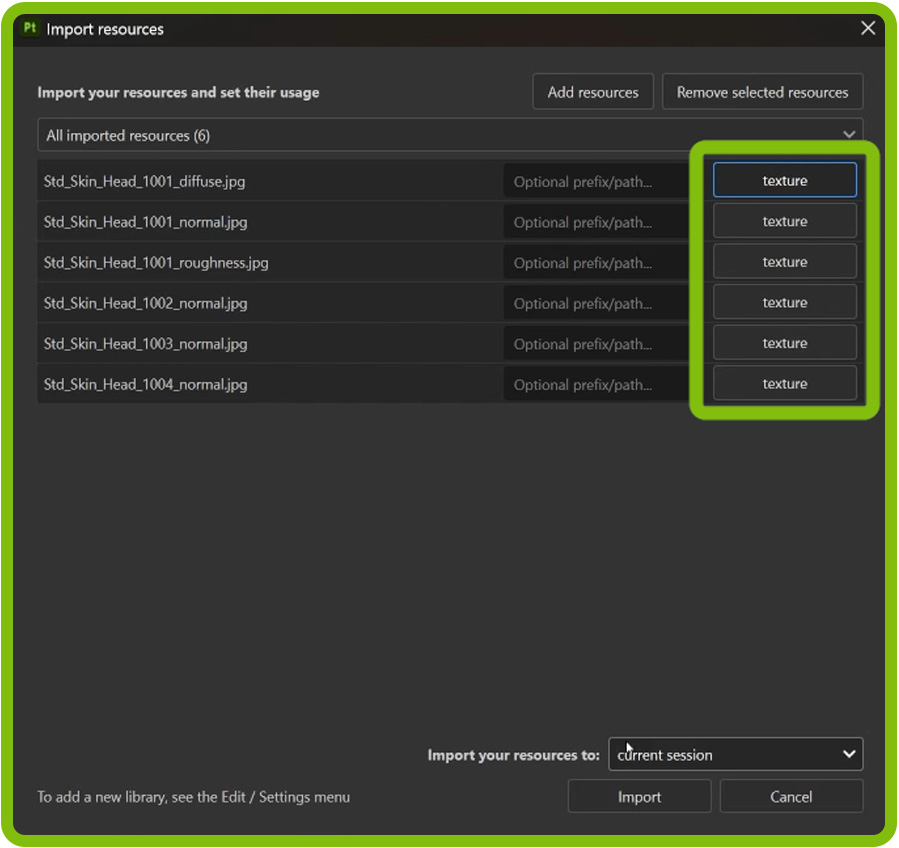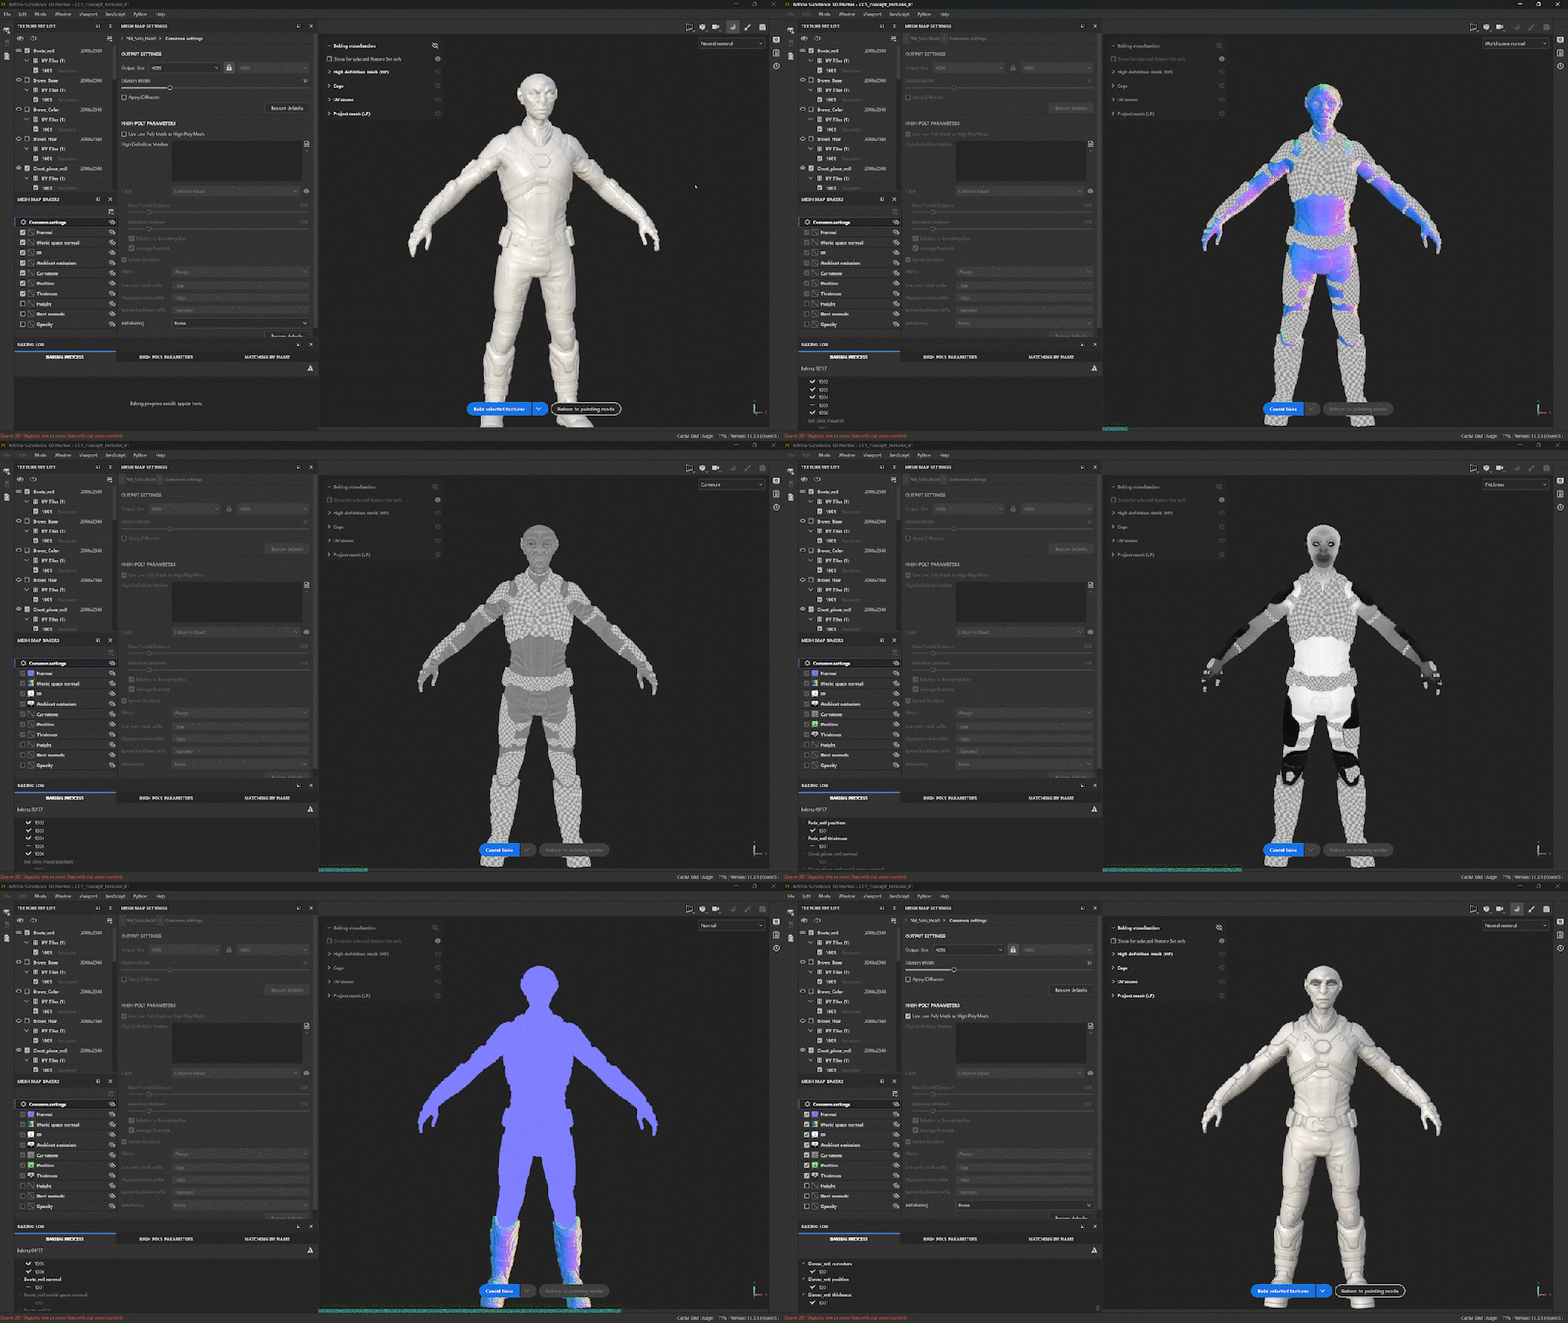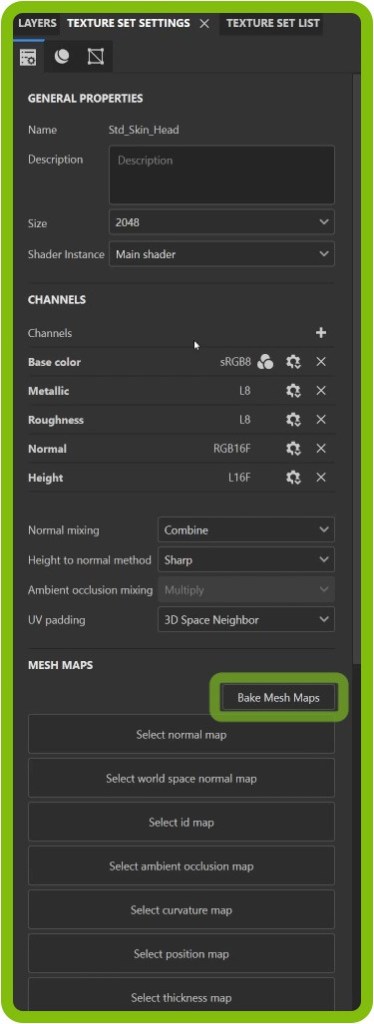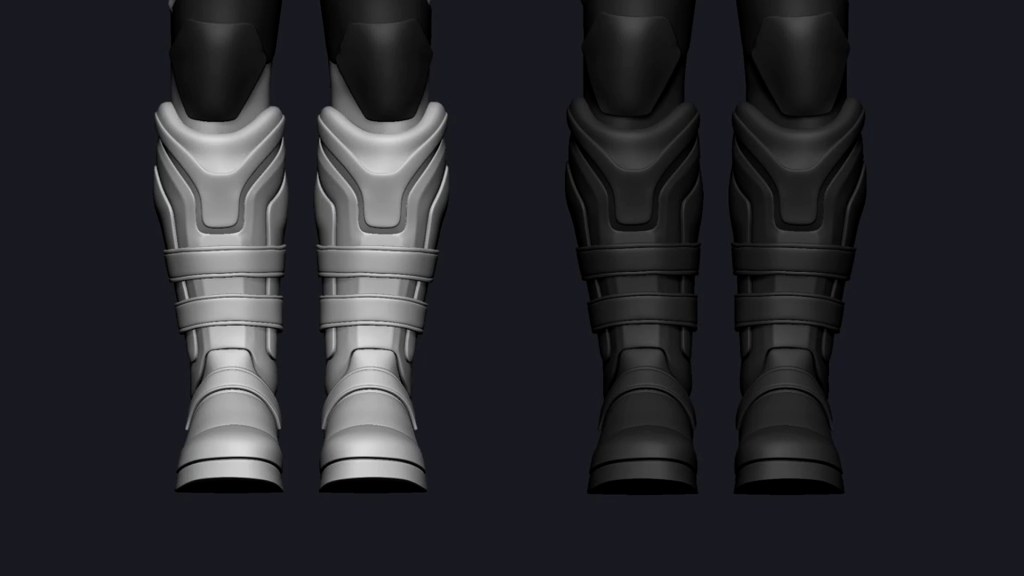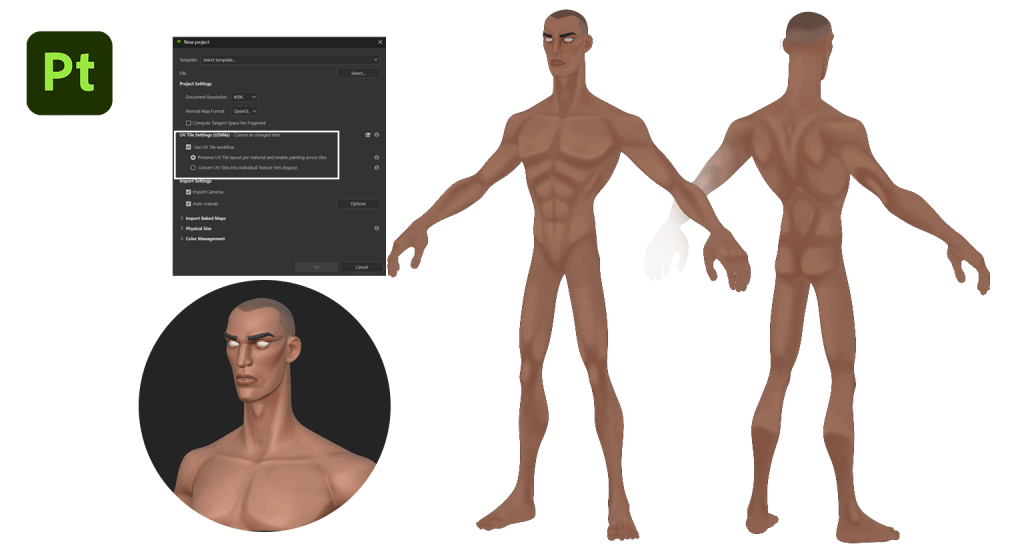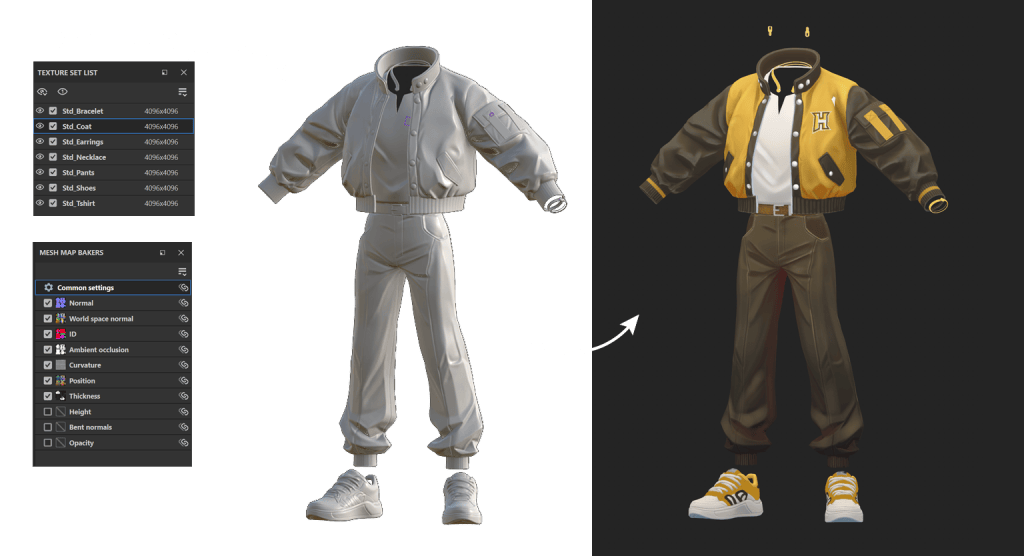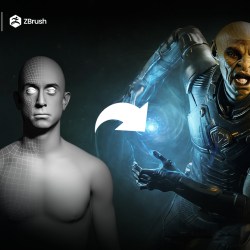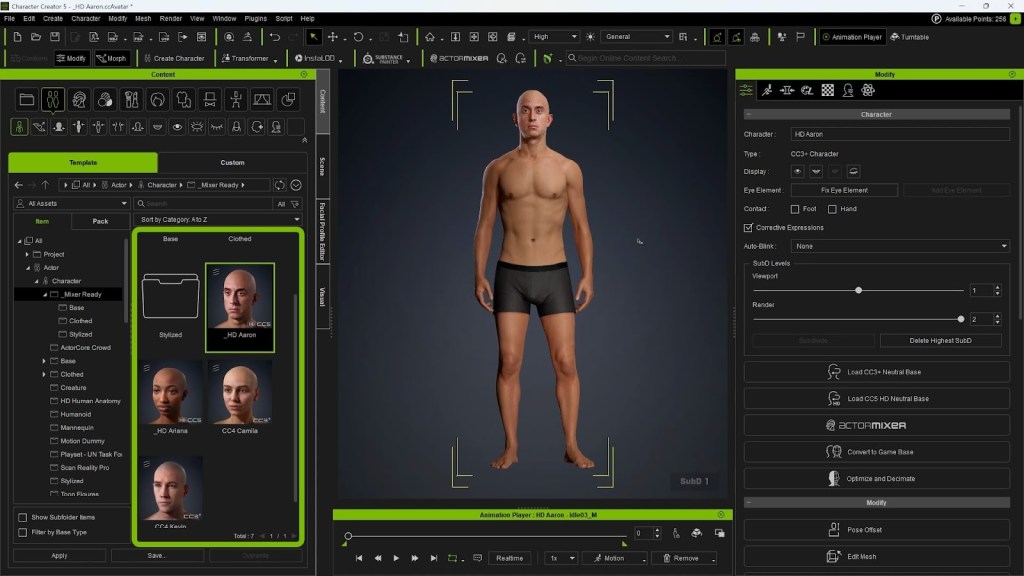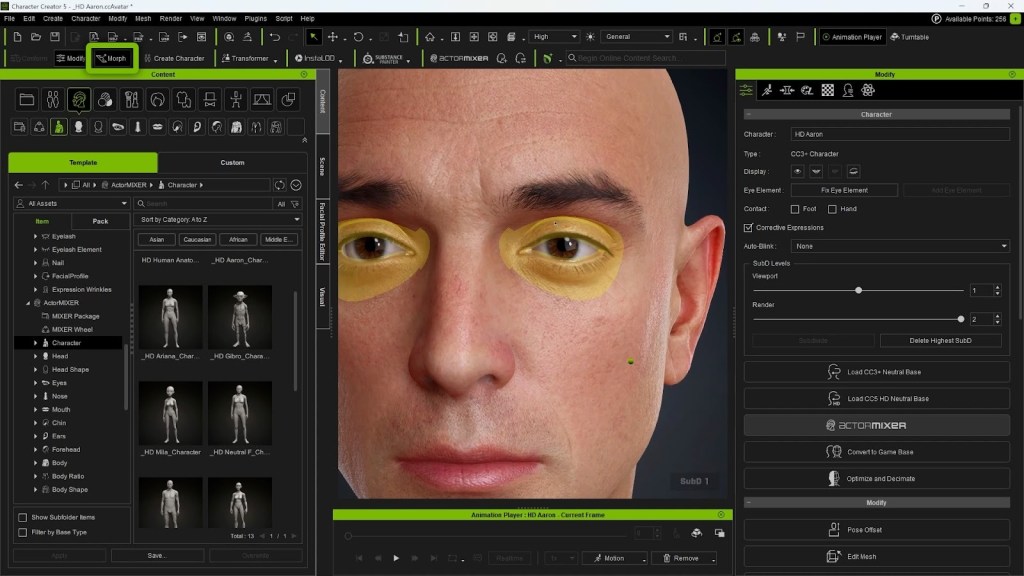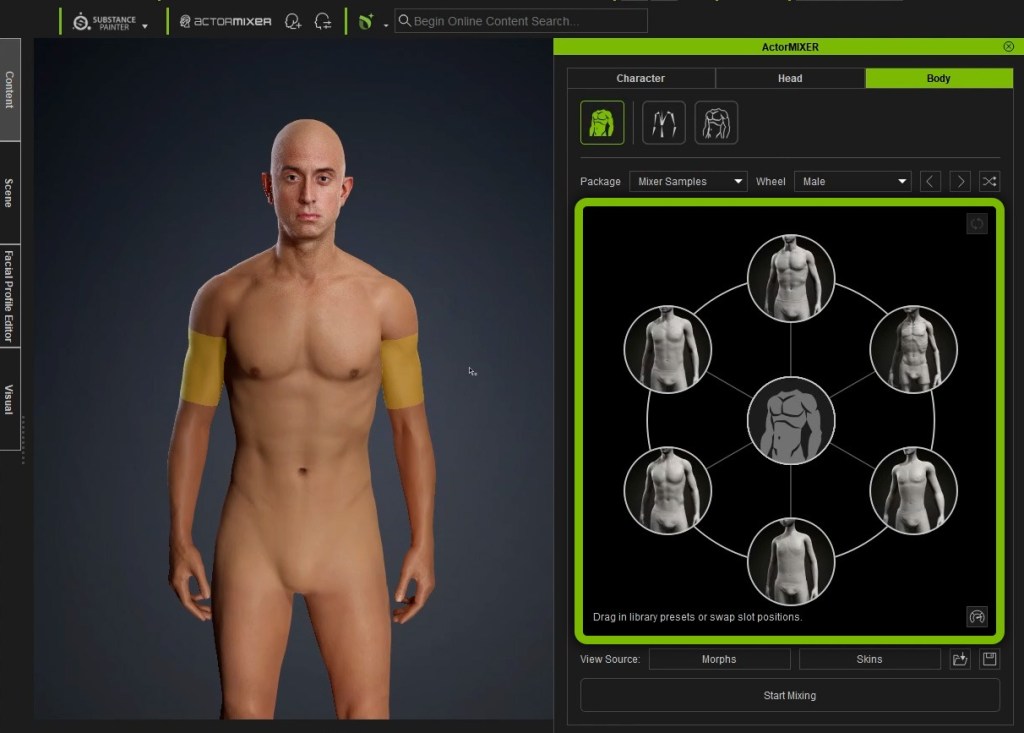
In Part 5, we focused on establishing the base materials in Substance 3D Painter using UDIM workflows, mesh map baking, and non-destructive layering techniques.
For Part 6, the goal is to push those materials further—adding surface detail, smart materials, emissive accents, and maintaining consistency across the entire armor set—before exporting textures back into Character Creator 5.
Pablo Munoz Gomez
Hello, my name is Pablo Munoz Gomez, and I’m an enthusiastic 3D concept and character artist who is deeply committed to the spread of knowledge. My expertise lies in 3D sculpting, visual development, and engaging in mixed-media projects. I take immense pride in being the creator of Pablander Academy, serving as an outlet for showcasing my work, sharing my workflows, and assisting fellow artists in honing their skills across a wide range of subjects.

Purposefully adding surface details
Small surface details go a long way toward selling functionality.
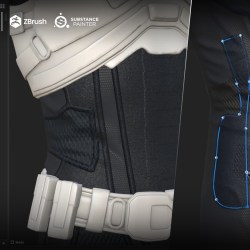
I like to add padded or ribbed materials around areas that naturally experience stress, such as shoulders, between the chest plate and shoulder pads, or around joints. These details help visually bridge hard armor with softer fabric elements and make the suit feel designed for movement.

I use these accents sparingly—gloves, biceps, strap edges, or the inside of a boot are usually enough. The goal is not to overwhelm the surface with noise, but to suggest how the suit behaves under motion.
Building and Reusing Smart Materials
Whenever a layered material setup works well, I save it as a custom smart material.
For example, once I’m happy with the green coating on the chest plate, I save it and immediately have a reusable base finish for other armor pieces. I often layer this with a simple metal smart material underneath and reveal edge wear using a mask.
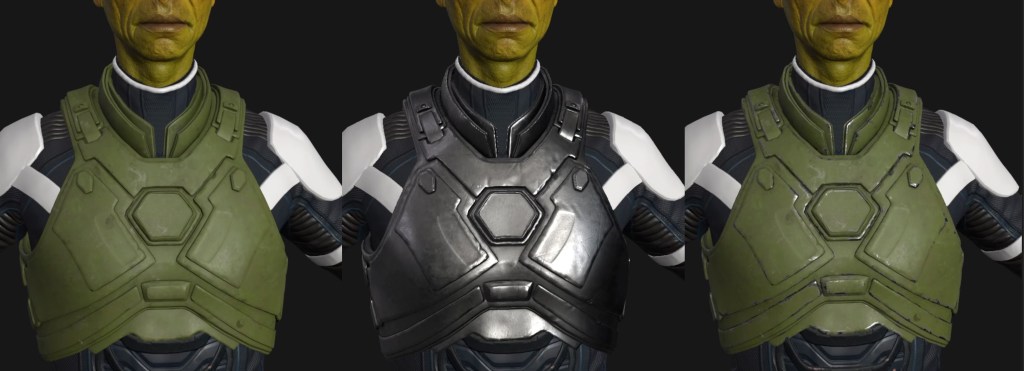
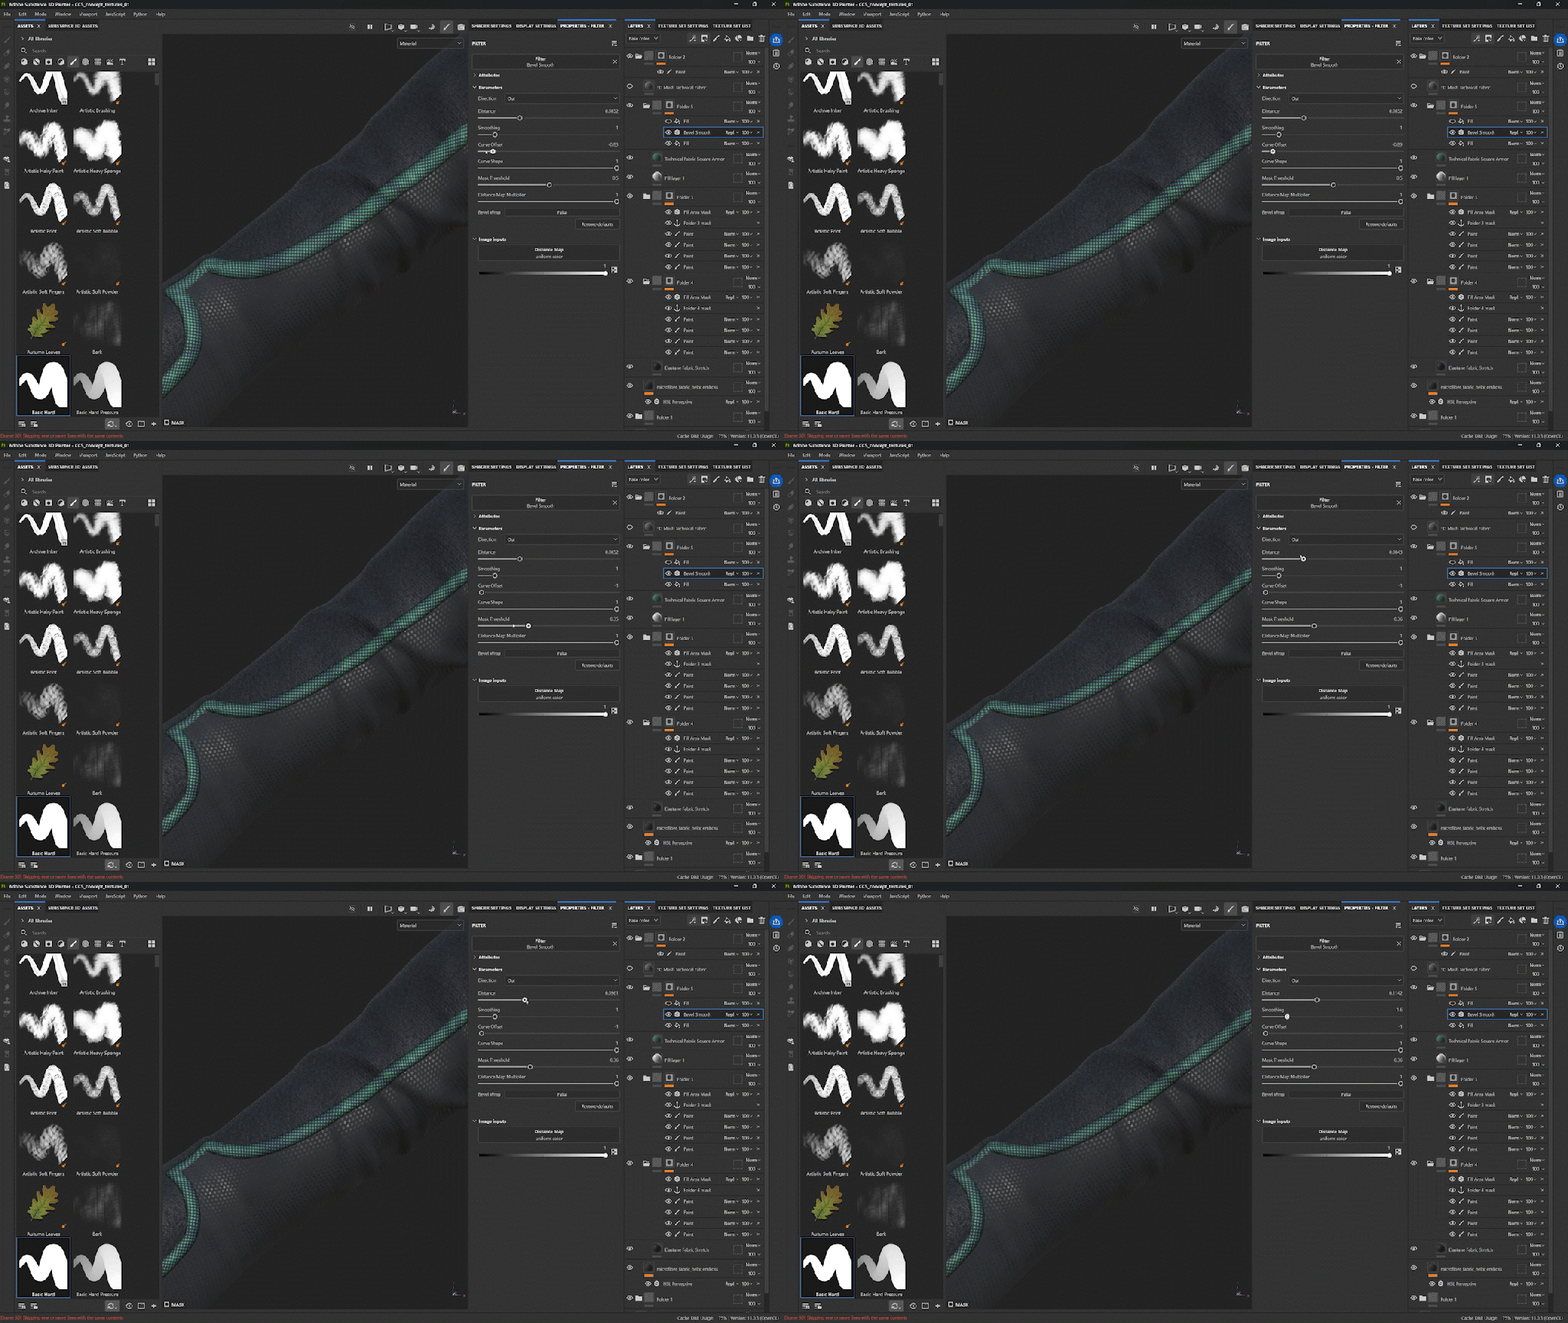
Substance Painter’s built-in smart masks are excellent starting points. One of my go-to techniques is filtering for “gun” masks and applying Gun Edges to establish scratches and wear. To avoid a generic look, I refine the mask by subtracting grunge maps and dialing back intensity. Finally, I rely heavily on the HSL Perceptive filter to fine-tune hue, saturation, and brightness so materials stay within a cohesive palette.
Grouping, Instancing, and Single-Source Edits
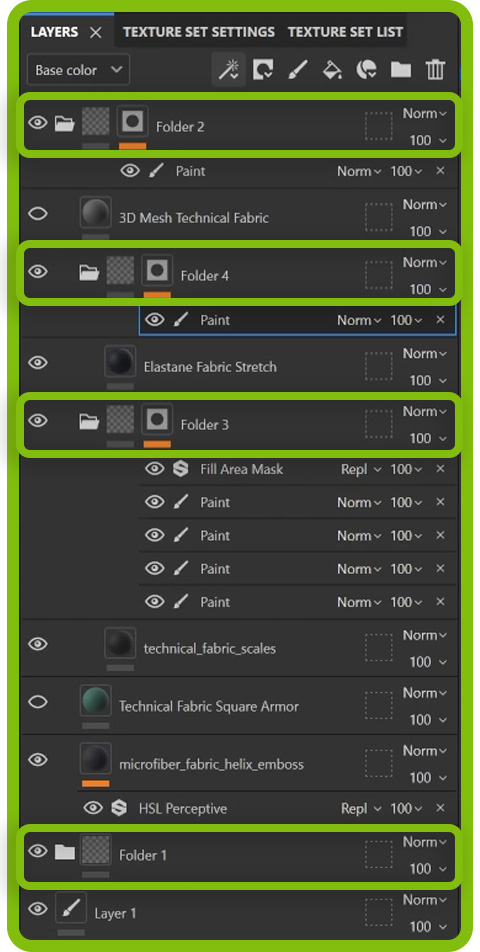
Once a material setup is dialed in, I group related layers into a folder—for example, an Armor folder—and use Painter’s Instantiate Across Texture Sets feature.
This pushes the exact same material structure to every relevant texture set: chest plate, shoulder pads, boots, and belts.
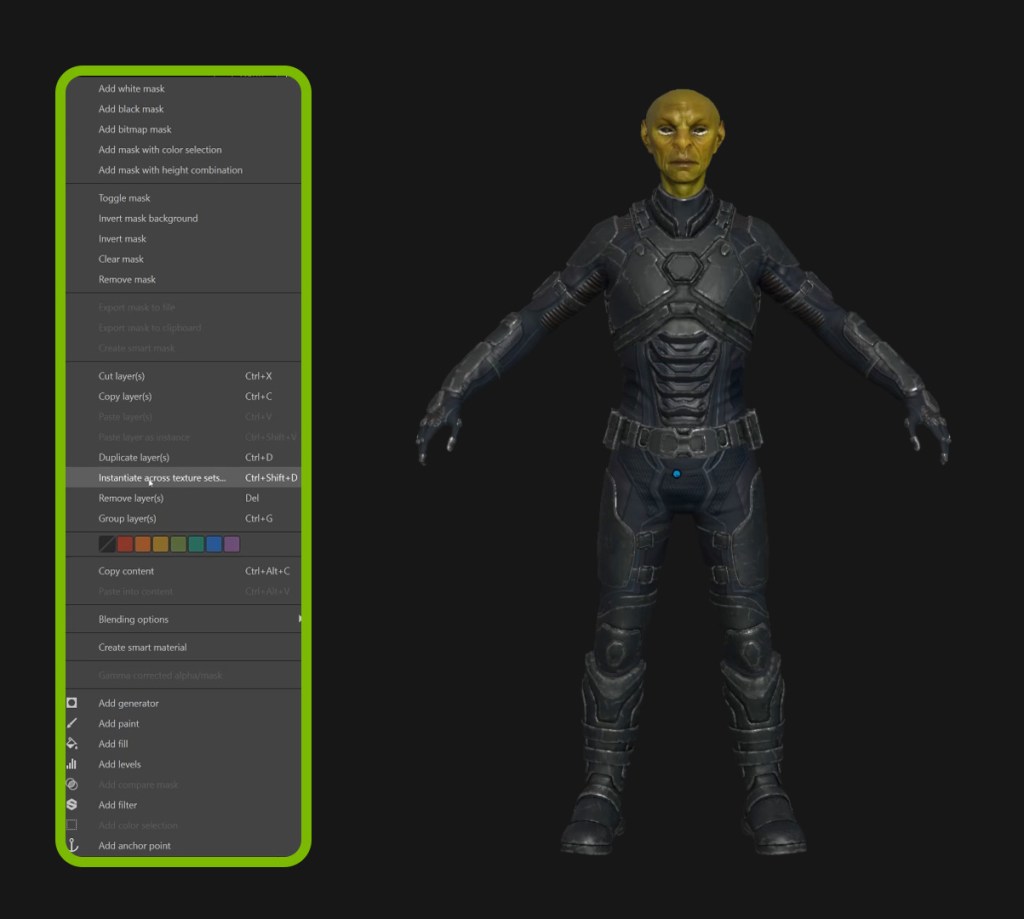
Because these are instances, any adjustment made to the original immediately updates everywhere else.
This approach is essential for maintaining visual consistency across complex armor sets without duplicating work.
Adding Patterns, Normal Details, and Emissive Accents
For straps and fabric elements, repeated patterns work best when UVs are straight. If the UVs were laid out cleanly earlier, directional patterns tile predictably across loops and wraps.
For high-frequency hard-surface detail, I avoid adding geometry. Instead, I paint normal details directly in Painter. I load hard-surface normal maps into a brush and paint them onto a dedicated layer. This keeps topology clean while still conveying panel seams, bolts, and subtle bevels.
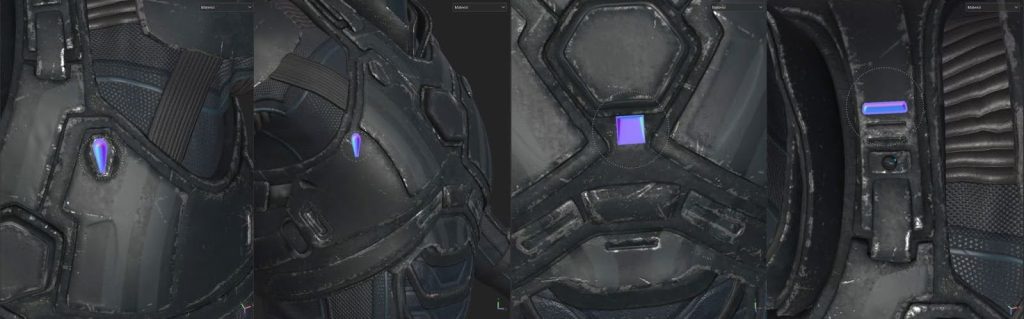
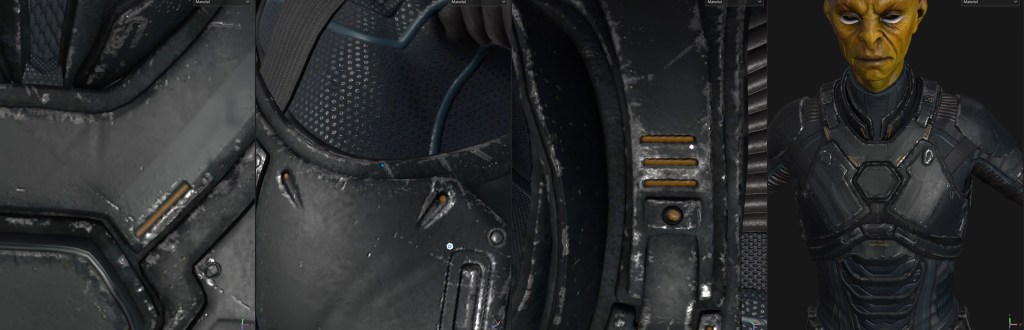
Emissive elements are an easy way to inject sci-fi personality. I create a fill layer, enable the Emissive channel, mask it black, and paint in glowing accents. From there, I fine-tune color and intensity and add subtle grunge for variation.
Exporting Textures for Character Creator 5
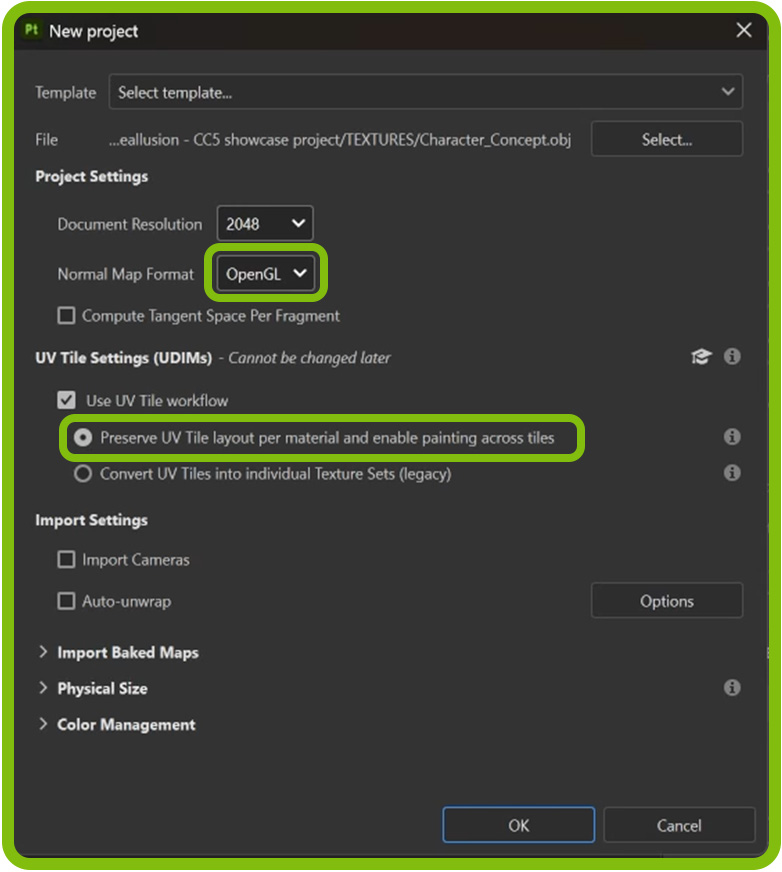
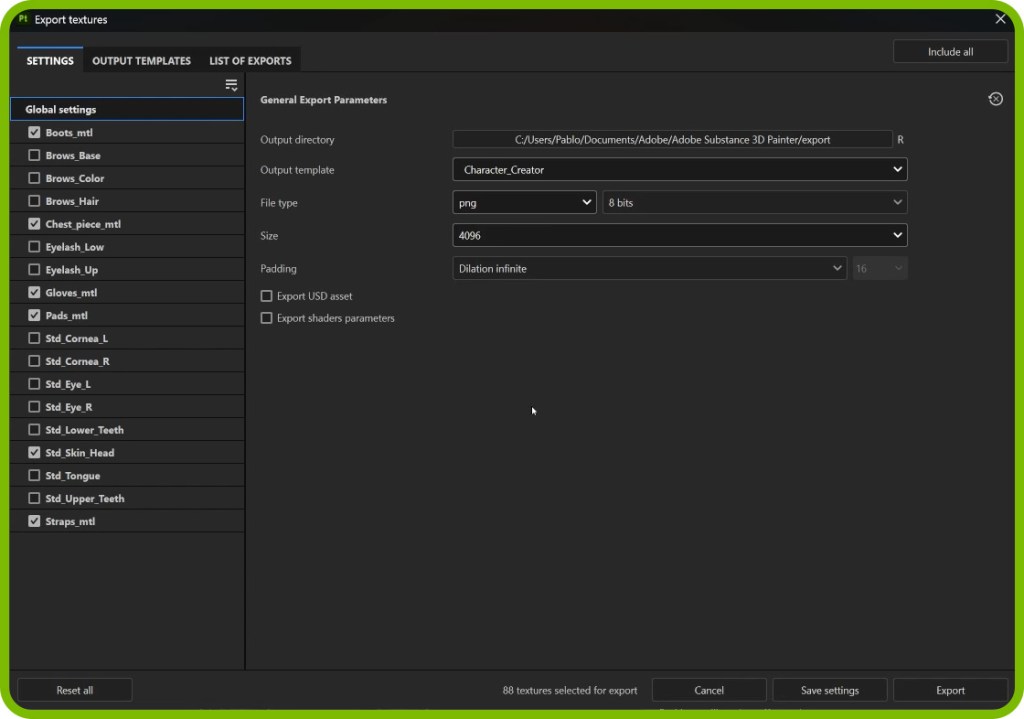
Before exporting, I make sure I’m using the correct Character Creator export preset in Substance Painter. This ensures all channels map correctly when the textures are re-imported.
From File → Export Textures, I disable any unmodified texture sets to keep the output clean. In the Global Settings, I select the Character Creator template, choose PNG, and set the resolution to 4K for optimal quality. Once exported, the texture folders are ready for CC5.
Updating Textures in Character Creator 5
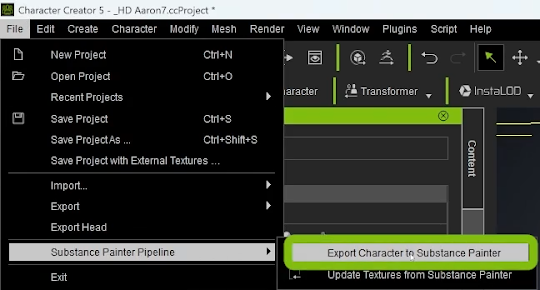
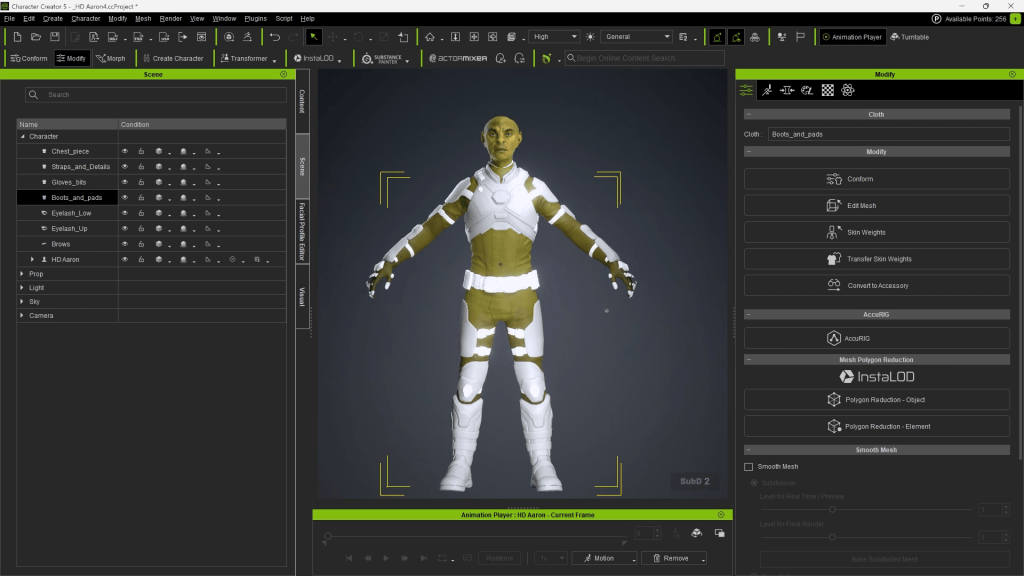
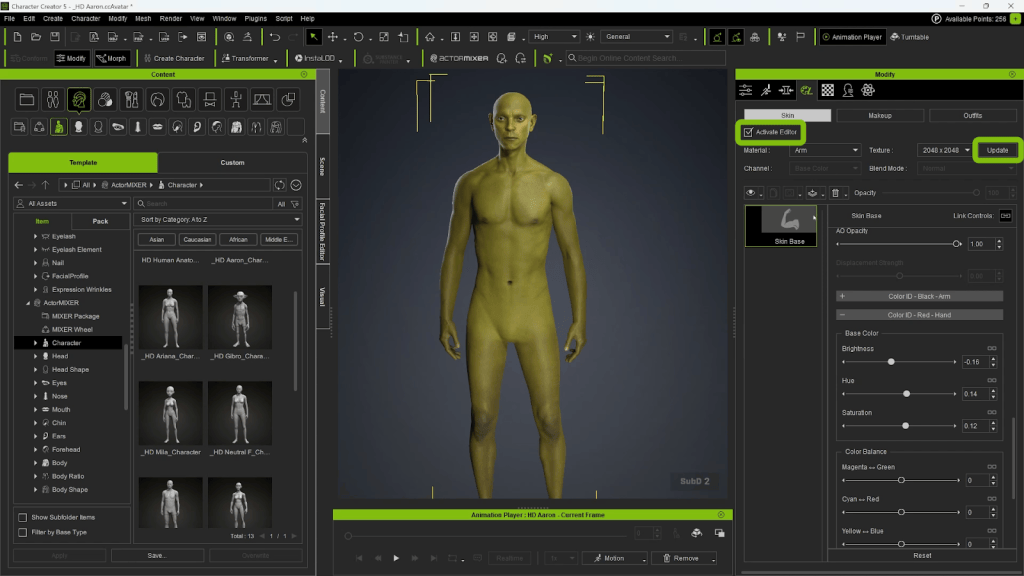
Back in Character Creator 5, I use the Substance Painter pipeline and select Update Textures from Substance Painter. Point CC5 to the exported folder and it automatically assigns every texture to the correct material slot.
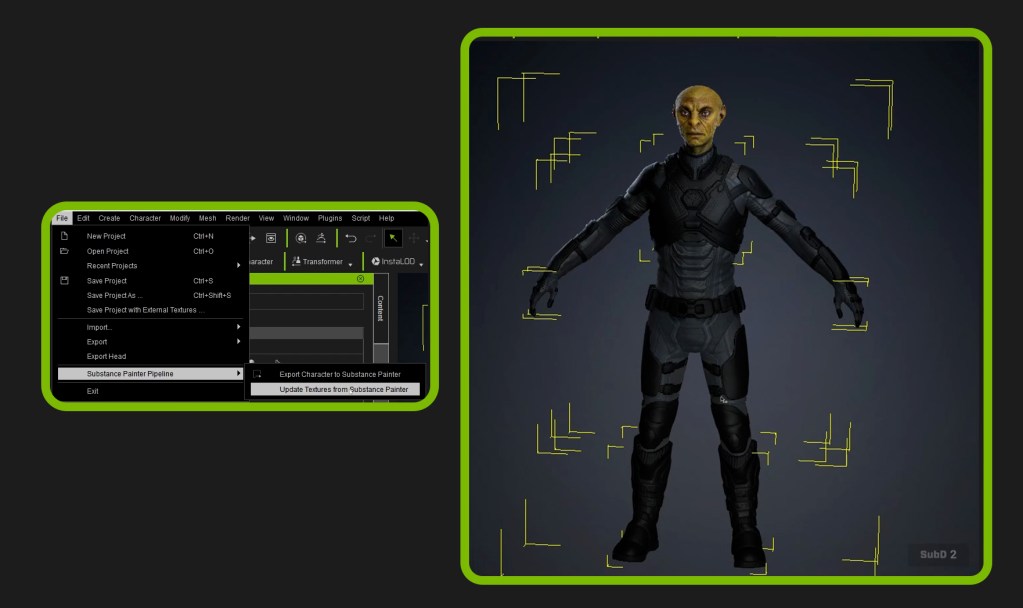
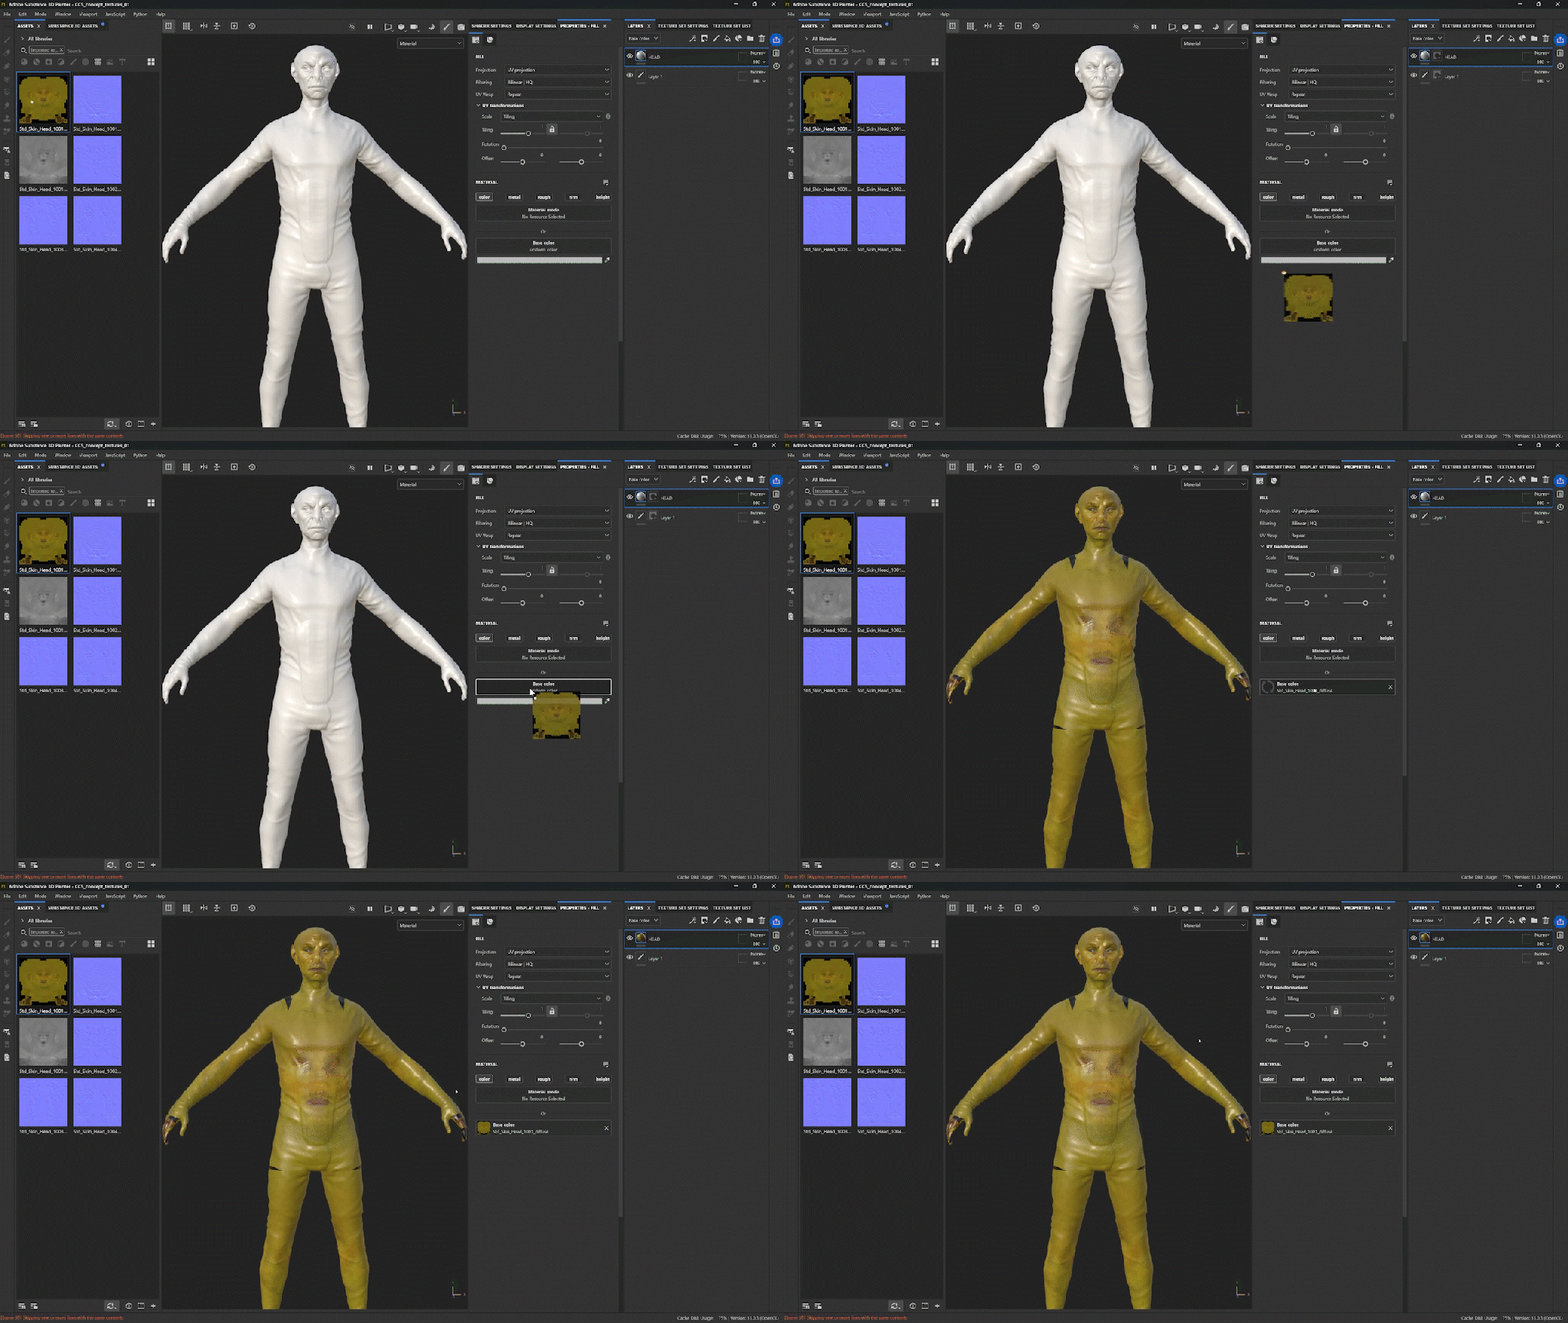
If the textures appear darker than expected, it’s usually because a temporary dark diffuse color was applied earlier for deformation testing. Resetting the diffuse color to white immediately restores the correct look.
Why CC5 Excels at Look Development and Iteration
Character Creator 5 stands out for look development and iteration because it removes friction from the workflow by automating repetitive tasks:
- The Substance Painter pipeline handles texture assignment automatically, eliminating manual slot mapping and keeping the workflow non-destructive.
- The Update Textures command enables fast, one-click reimports during iterative tweaks.
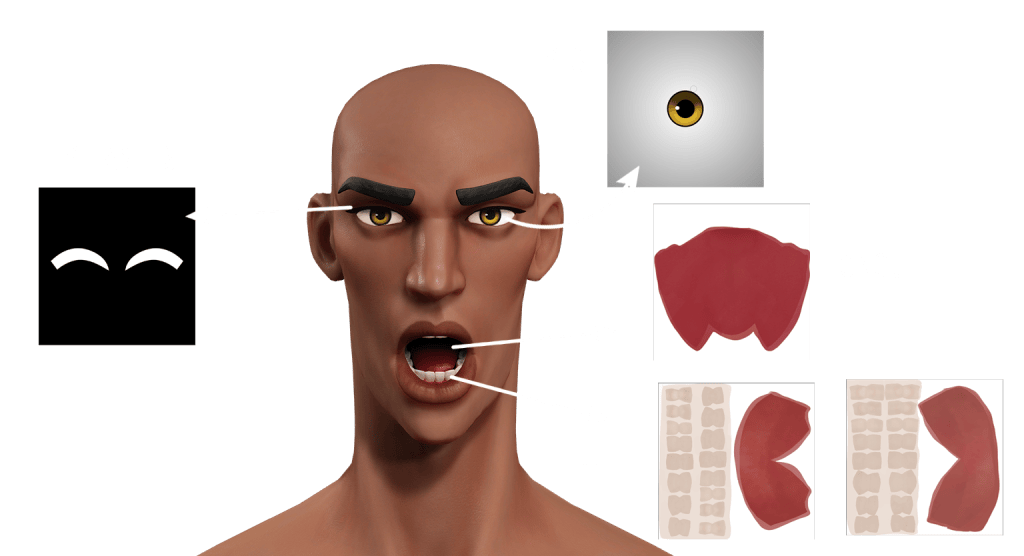
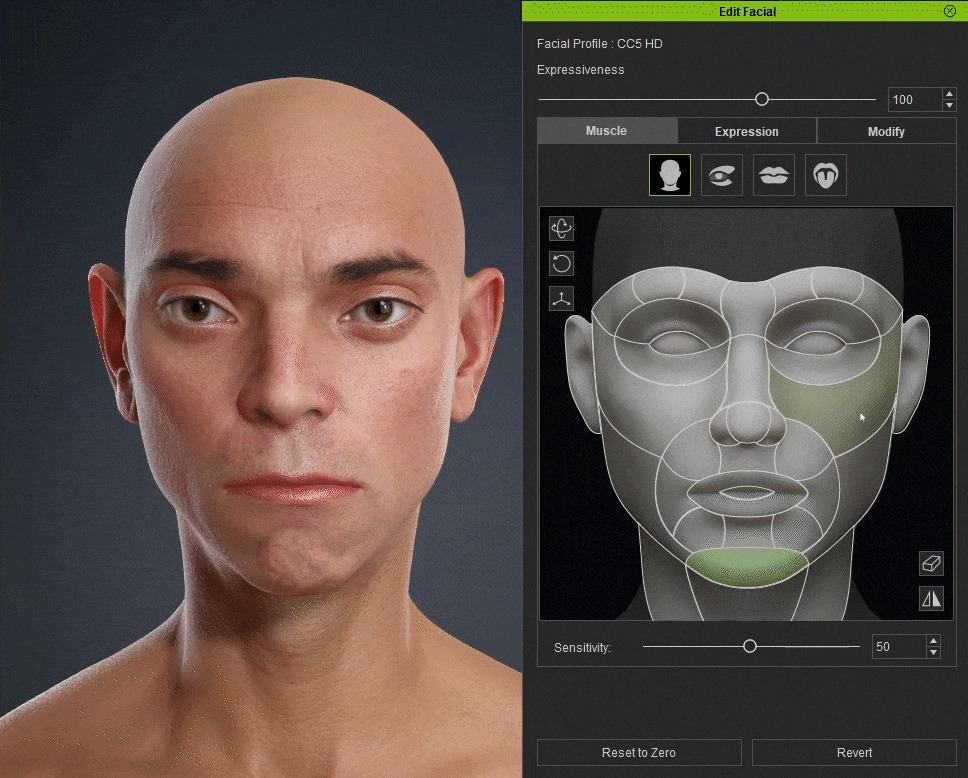
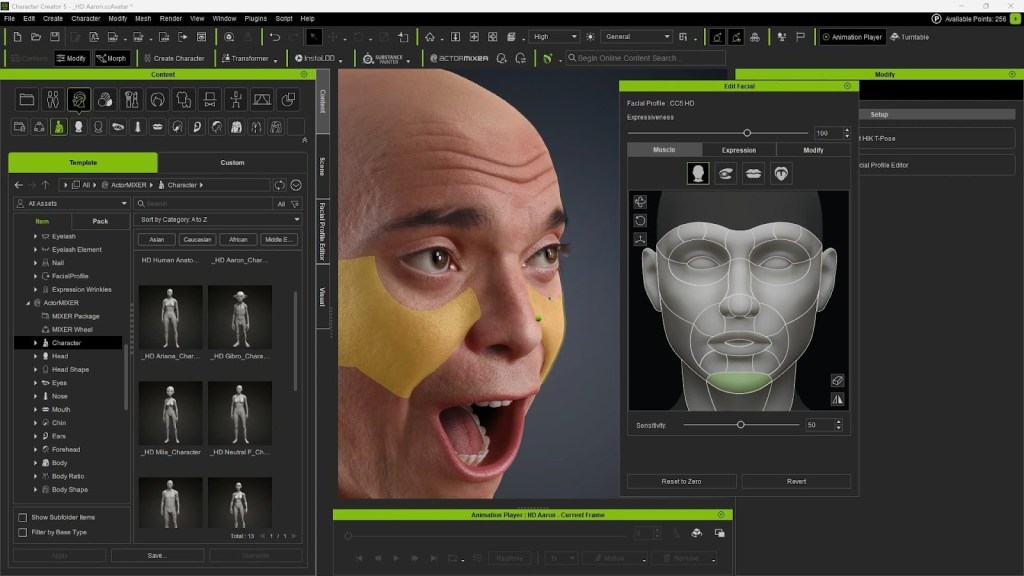
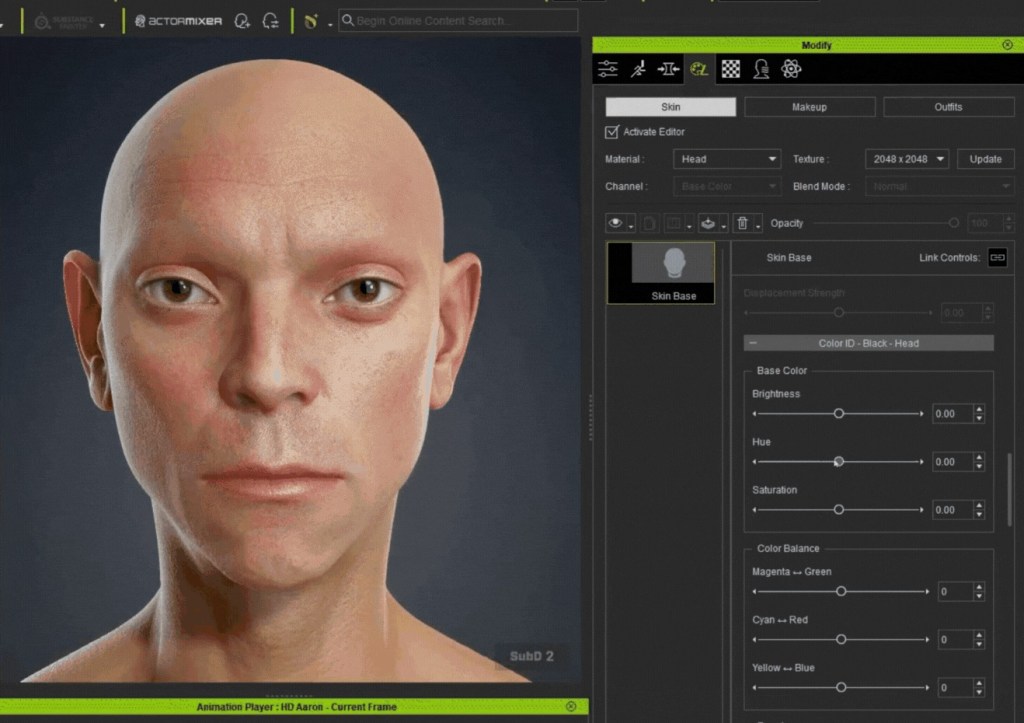
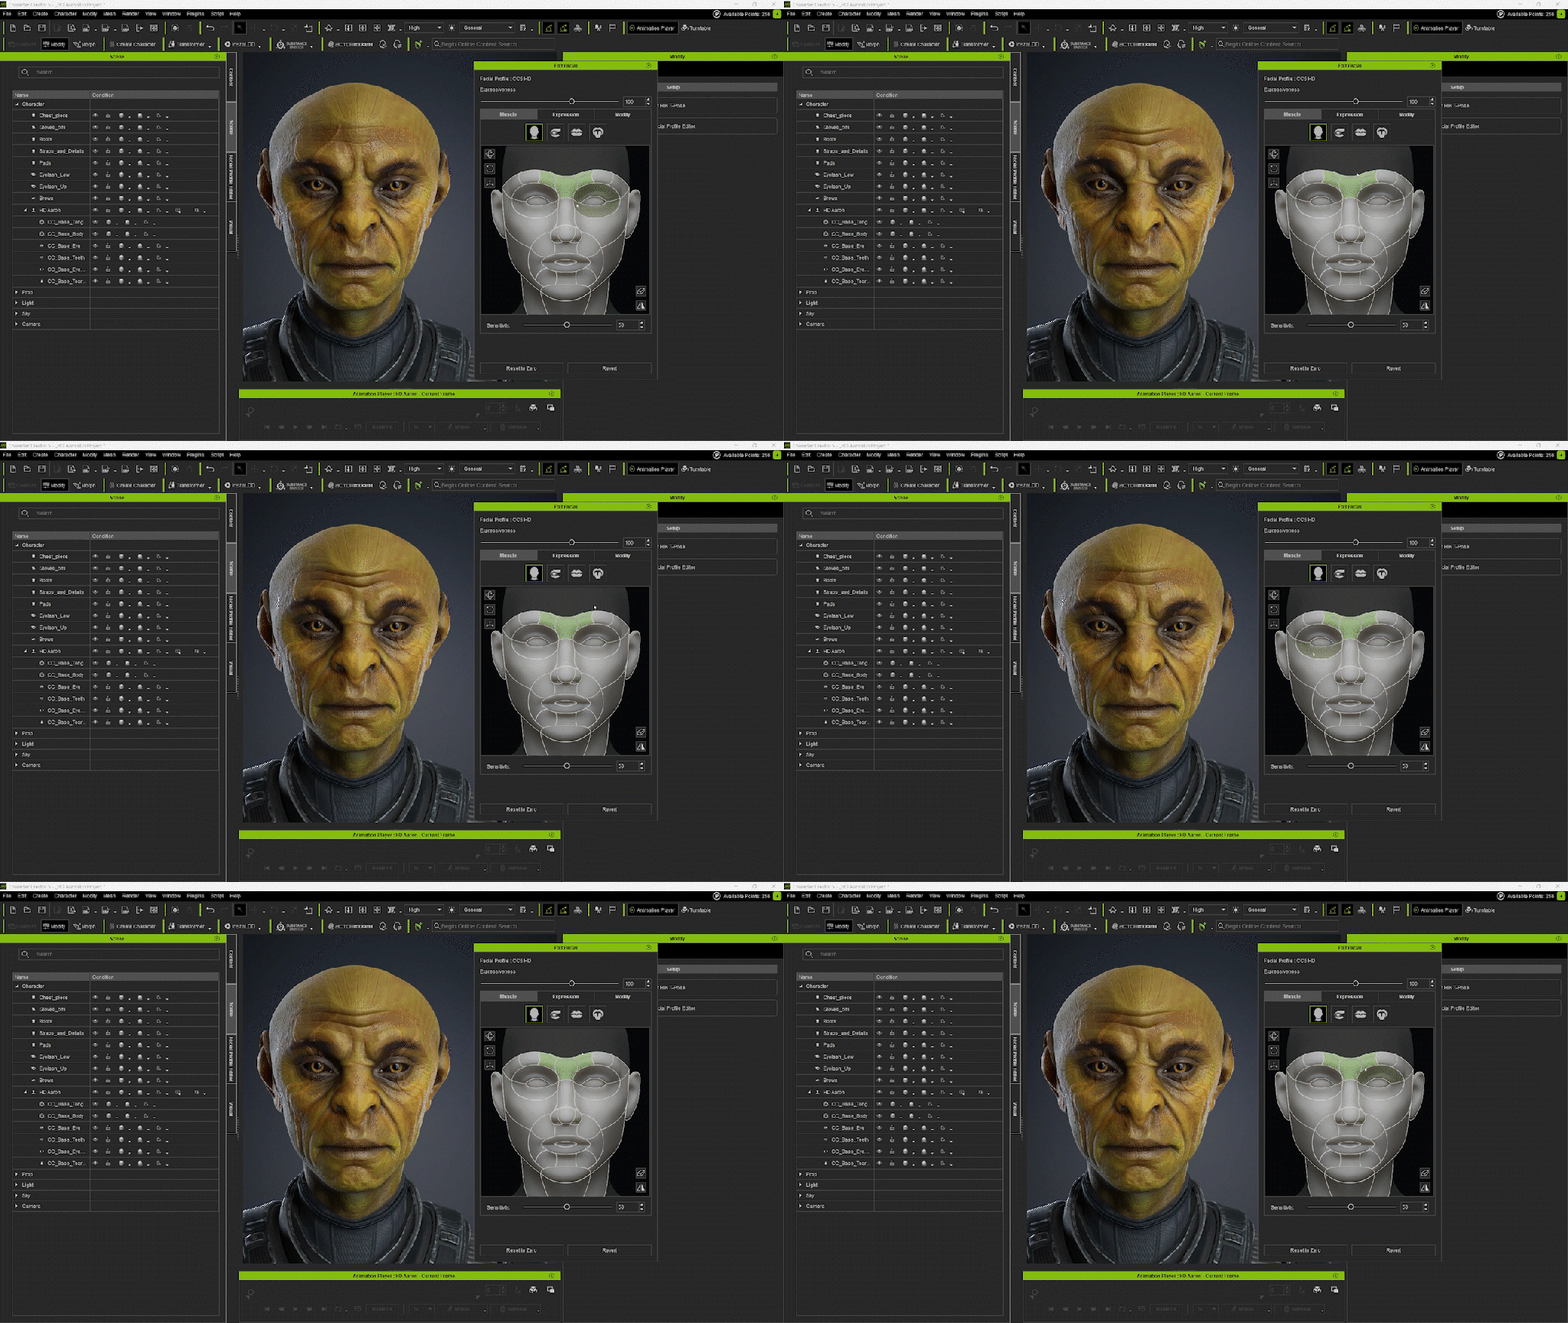
- In the Modify tab, facial details such as iris brightness, pupil scale, and sclera images can be adjusted directly inside CC5.
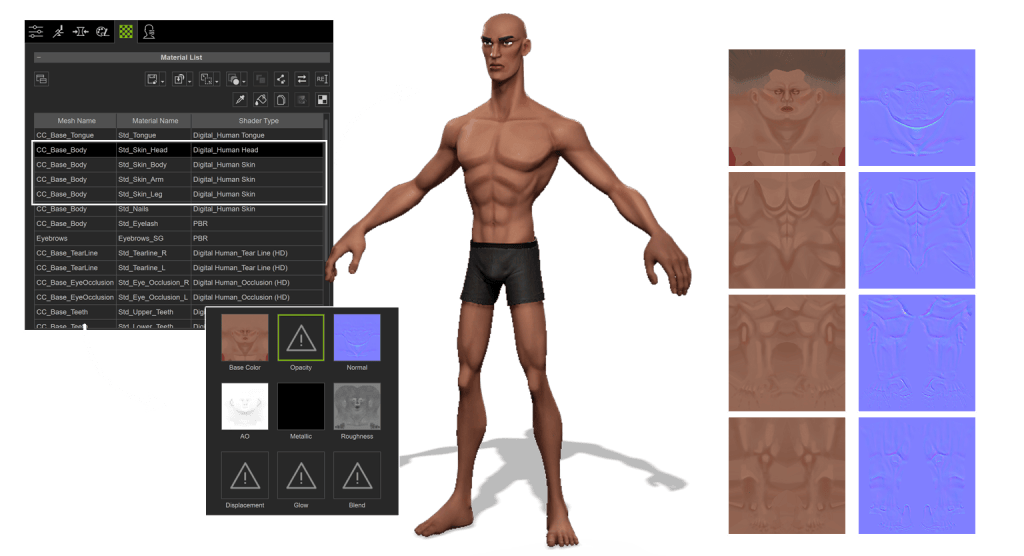
- While the Dynamic Wrinkle system is excellent for animation, I recommend replacing its default expression-specific textures with Painter-generated maps to maintain visual consistency during deformation.
At this stage, the character is fully textured, validated, and ready for the next step, with CC5 serving as a clean launchpad for rendering, including a streamlined setup for Marmoset Toolbag 5.

Coming Up in Part 7
In the final chapter, we’ll pose the character, refine facial expressions, and render the final images using Marmoset Toolbag 5 with the CC Auto Setup plugin. We’ll focus on lighting, camera setup, and finishing touches that bring the character to life.
Related Posts
- CC5 x ZBrush: Create a HD Sci-Fi Vanguard (5/7)- Texturing the Character in Substance Painter
- CC5 x ZBrush: Create a HD Sci-Fi Vanguard (7/7)- Refining Materials and Look Development
- From Concept to Motion-Ready Alien Character: ZBrush and CC5 HD Step-by-step Workflow
- Building a Custom Vampire Character from Scratch with CC5 and Unreal Engine 5.7