
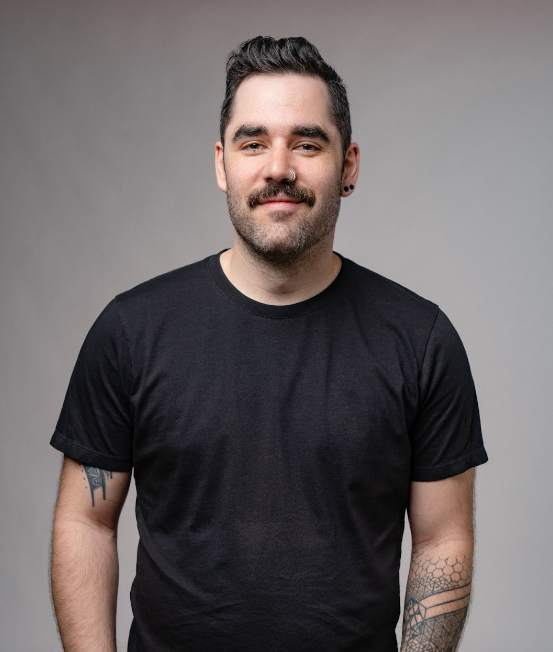
Calder Moore
Hey Everyone! My name is Calder Moore and I’m a digital artist that focuses on both 2D and 3D illustrative work. I’ve been in the industry for over 12 years doing everything from preschool tv shows, numismatic coins, video games, board games, and even trading card games. I’ve worked for companies like Disney, Nickelodeon, Google, Royal Canadian Mint, Magic: The Gathering, and Dungeons and Dragons.
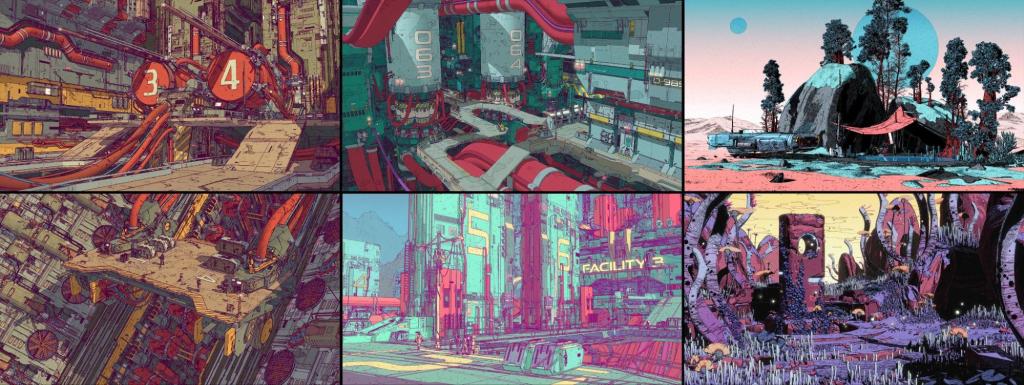
My passion though, has been creating art for my personal project, In Search Of, a sci-fi anthology project where I explore creating and developing 3D stylized scenes that take place within a gritty dark universe. For the first few years of making art for this project, I had only really created landscape and location art, never really diving into creating characters for it.
I had all these vast landscapes and cities, but the world I was creating still felt lived-in but very vacant at the same time. Last year I wanted to change that and start to bring some life into the universe inside In Search Of and figure out how to create animated characters without any knowledge of rigging and very little for animation.
So with that drive to make characters, I reached out to a few friends, one of which had recommended checking out Character Creator 4. Once I checked it out and saw what it had to offer for character bases that are fully rigged, UVed, and completely customizable to top it off. After a couple of weeks of tinkering around I finally found a sweet spot that blended CC4s realistic characters with my stylized rendering. After creating about 10 of these stylized characters I have established a solid workflow that I would love to break down for you today!
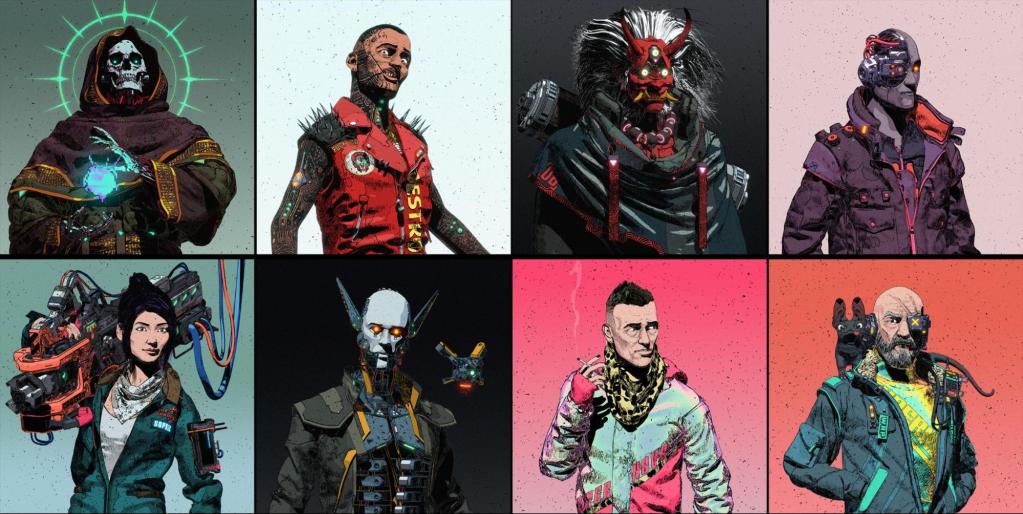
Throughout this breakdown I will cover my workflow for creating these stylized animated characters using Character Creator 4, Zbrush, Marvelous Designer, Substance Painter, Cinema 4D and finally rendering using Arnold Render.
Reference Images for Stylized Character
I’ll start every character and scene the same way, with collecting reference images and inspiration to build up the overall idea and direction. To do this, I like to explore through Pinterest and Artstation, collecting everything together with PureRef, a great mood board tool for collecting images together and creating collages to refer to as I create the character. When I’m looking for reference images, I wont search for a similar character to what I’m wanting to create but rather bits and pieces to help create what I have in mind. Stuff like jackets, sci-fi gadgets, color scheme inspiration, fabric inspiration, face sketches, and other photography or sketched characters that help to inspire the general direction.

Sketching the Design
Once I get all my reference inspiration and idea of where I want to take the next character, I will sketch out the design and further flesh out the idea. To do this I’ll use either Photoshop or pen and paper. When I’m sketching the character I’m not really trying to create a finished piece, but more of a solid direction to guide the 3D workflow with. I feel like it’s important to figure out the direction with even just a quick sketch as it makes the 3D process much more efficient as you have a direction to go into, without a sketch or direction, you’ll find a lot of time is wasted as you don’t really have any direction and aimlessly creating in 3D which tends to take much longer than a quick sketch would.

Character Creator 4 and ZBrush
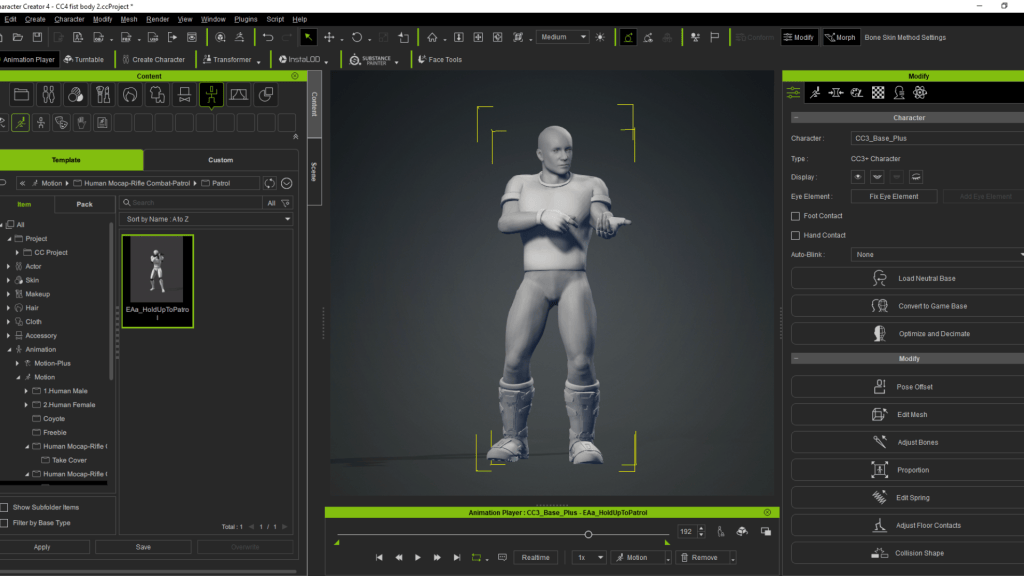
When I dive into creating the character in 3D, I start by building the base model using Character Creator 4. This amazing tool provides great character bases that are already rigged, UV-mapped, and fully customizable in a non-destructive way.
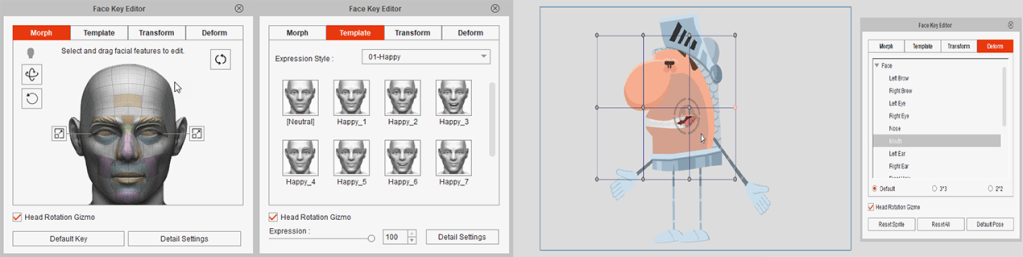
I’ll load up the CC4 Neutral male or female base model and then go into the morphs tab and play with the sliders to adjust the face to what I want to have for the character. With these characters being a bit stylized, I’ll push some of the features more extreme then they would normally be to help give them more of that character I’m looking for. Things like a bigger nose, sunken eyes, prominent cheekbones. Stuff where the shader can interact with as well as push the silhouette.
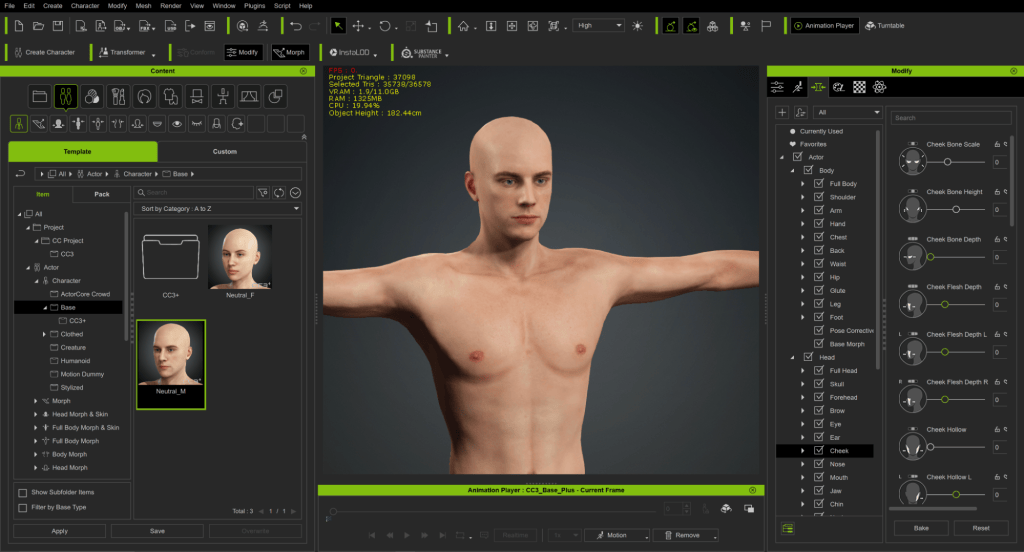
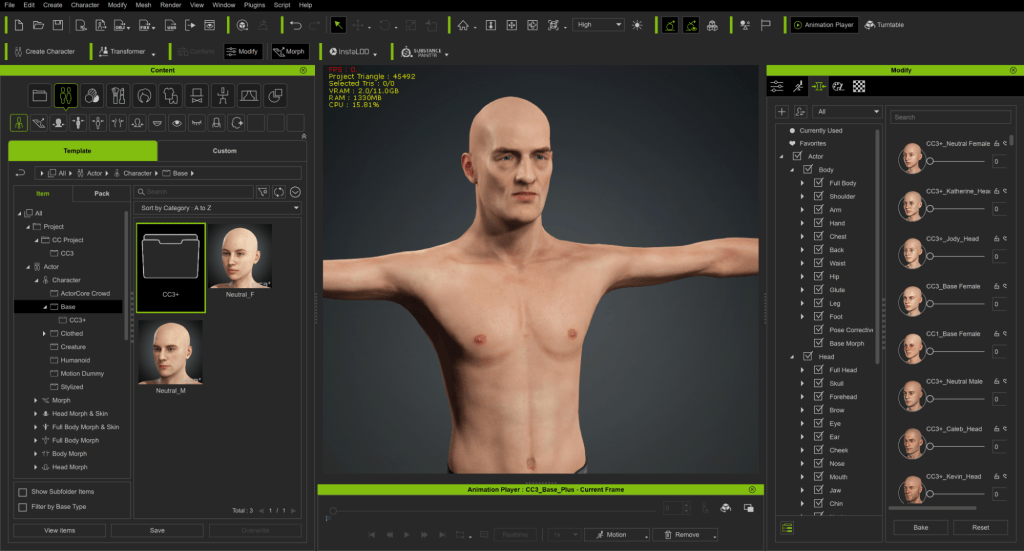
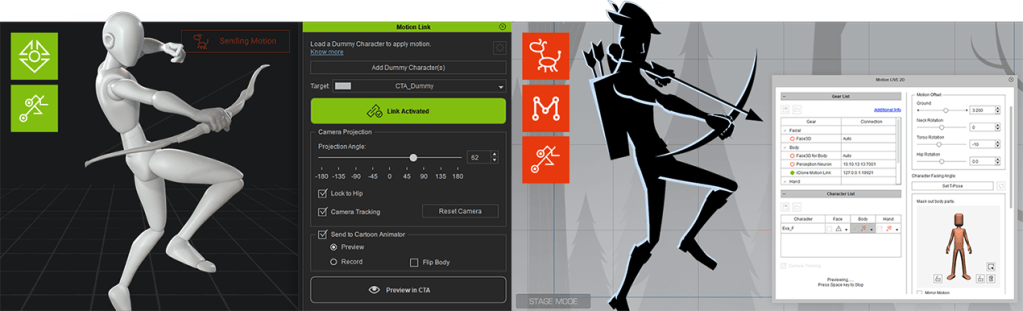
Sometimes though I’m not able to push the forms into where I wanna take them, and that’s where the ‘GoZ’ function comes in handy. I’ll send the character over into ZBrush where I can sculpt the forms a bit more into exactly how I want them and then click the GoZ button in Zbrush to send the adjusted model back into CC4 where it updates to reflect those changes. This workflow is so good for not having to worry about reweighting the geometry as everything still works perfectly.
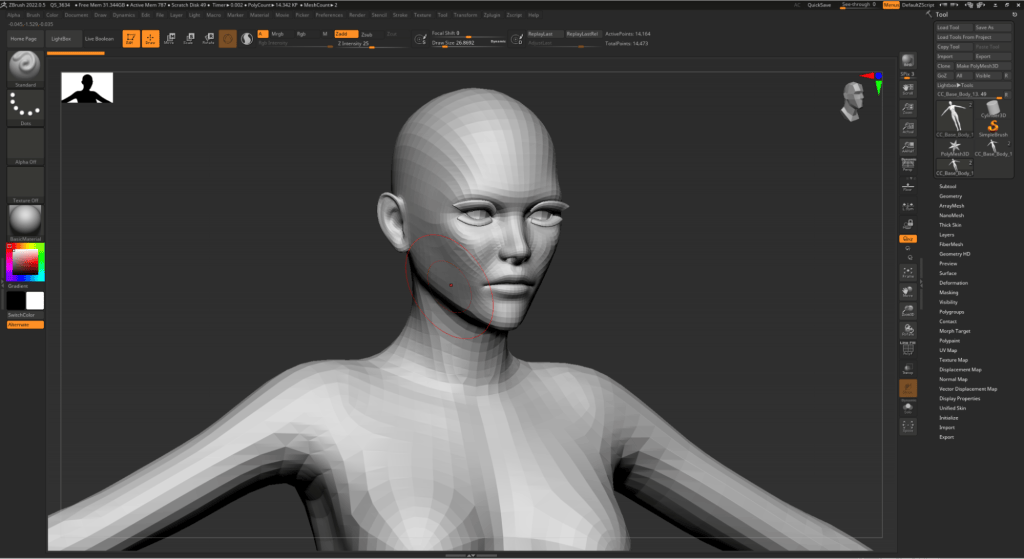
Once I’m done adjusting the model, I’ll then export it as an FBX checking on ‘current pose’ and ‘first frame in bind pose’ to have a nice default state to attach assets onto with.
Marvelous Designer
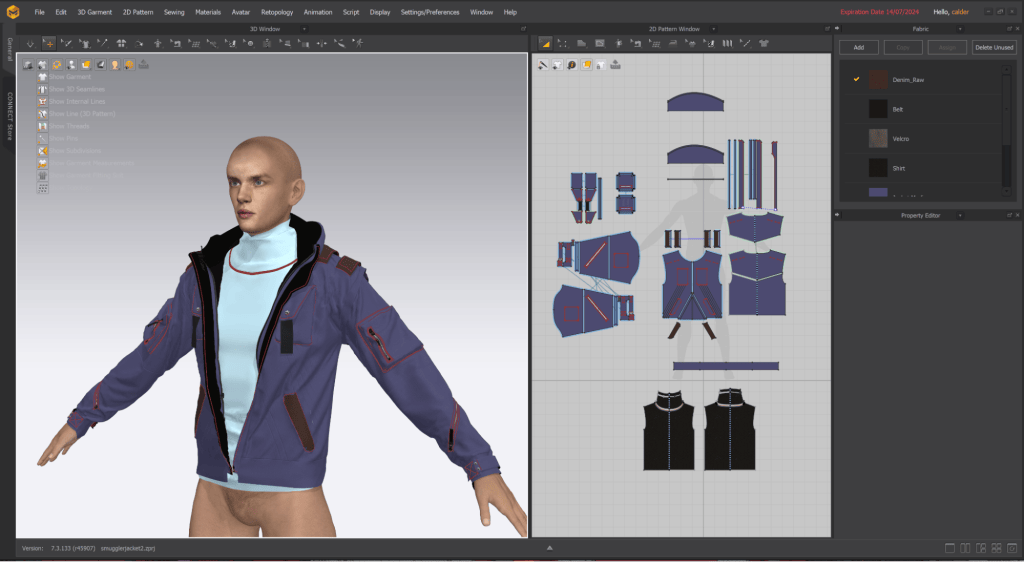
Next I like to bring the exported model into Marvelous designer, which is an amazing tool for creating the clothing for characters. It’s a physics-based software where you can create clothing for your characters with accurate folds/wrinkles and everything you need to create realistic looking clothes. Depending on the character concept I’ll either start from scratch or find a template to build off of that you can find in all the 3D marketplaces and one their website.
Because I had the sketch for this character, I had a great direction to go into for creating his clothing. I created a simple turtle neck shirt as I knew I wanted to play with the branding logo and the sheen of the fabric and not have it be too noisy in the end. For the jacket I wanted to build this mix of a ski jacket and a classic pilots jacket with the wool collar. With that direction in mind I had found an ok base jacket as a starting point, then tweaked the base shape into a spot I was happy with. After that I added details and cutlines to help guide the viewer’s eye up toward the face, which is the end focal point for the character. I knew I could create the wool collar better in Cinema 4D so I left that for later as well as any of the hardware on the jacket and all the lettering on both the jacket and the shirt. I then exported everything as FBX.
Substance Painter
With the stylized nature of this character and how I built the toon shaders, neither blend well for creating an interesting face so I like to bring the head portion of the model into Substance Painter to hand paint all the face details. This is another great reason why I like the CC4 models so much — as I don’t have to UV the face!
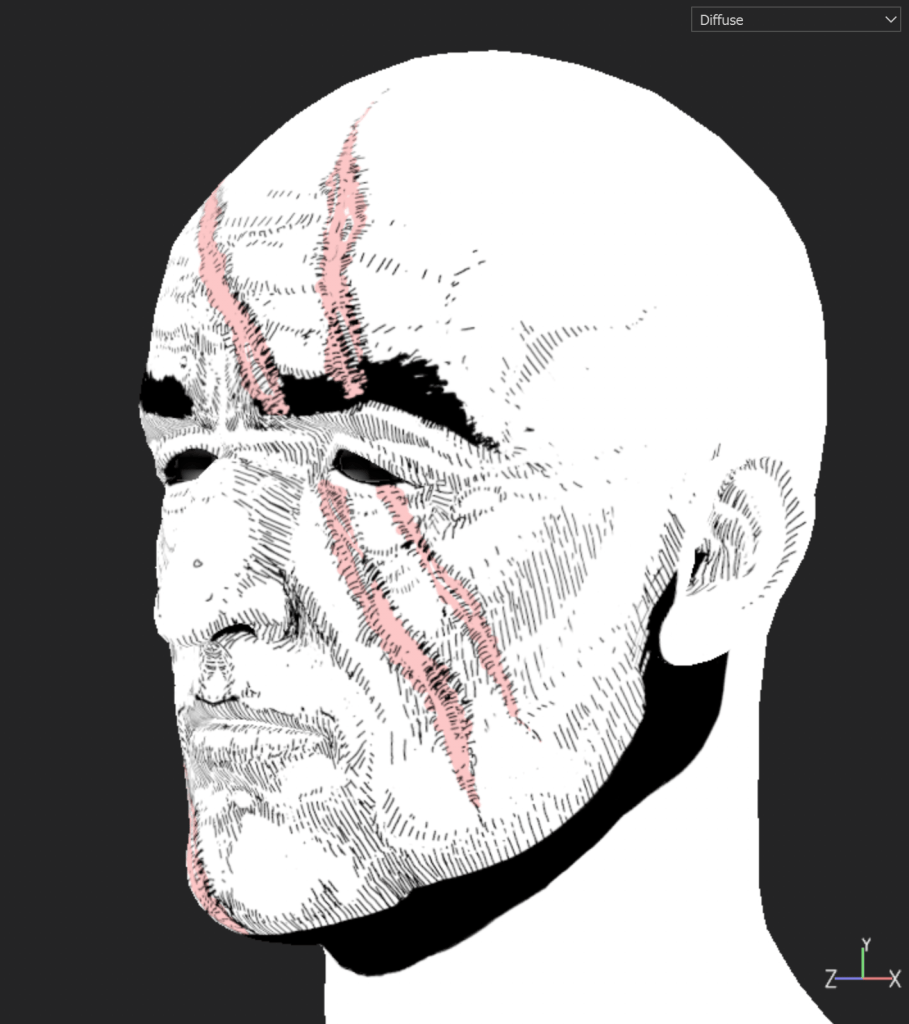
In Painter, my scene is very basic, I’ll usually turn on the wireframe and lower the opacity for that just to get an idea of where I’m painting on the face and get a sense of the contours as I’ll work in diffuse mode . Then I’ll start to block out the general shadow areas, as well as the areas that help define features like around the eyes or wrinkles on the forehead. You’ll notice that all the face details are done through hatching and not just a solid line drawing out the detail, this was something I found works much better for this style, as the solid lines pushed it too far towards that borderlands look.
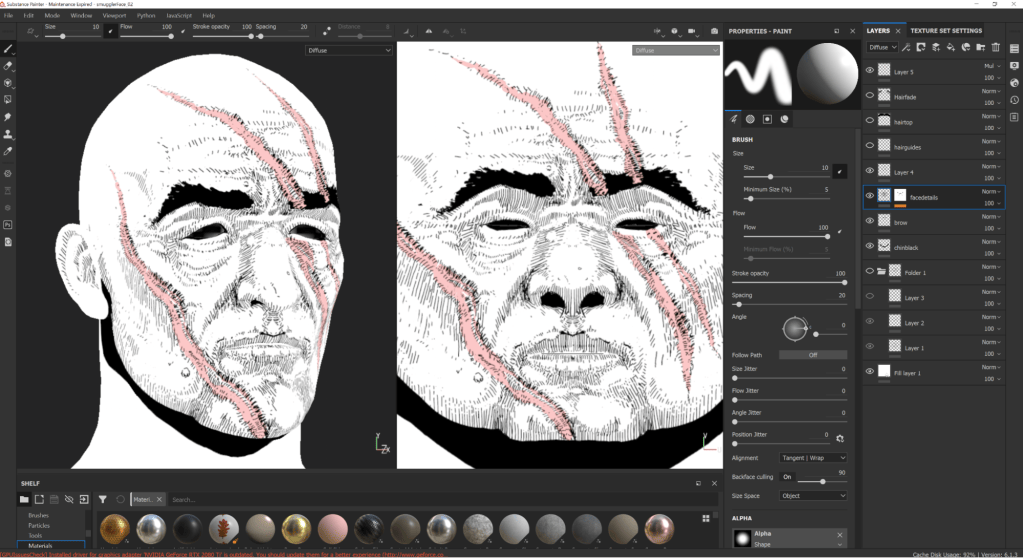
Because this guy is older and battle worn, I had then pushed the bags under his eyes a bit more, added moles, dings, small deformations to push the face in a more asymmetric way and lastly the giant scars that reach across his face, I added the pinkish color in them so they are more pronounced compared to the skin color.
Lastly, I export out the texture to apply to the character in the Arnold shader.
Cinema 4D
Now that I have all my externally created assets done, I can import everything into Cinema 4D, My main software of choice for all my modeling, scene creation, and rendering. I import the CC4 character, Marvelous Designer clothes, and will import the face texture later when I have the material ready for it.

With the jacket imported I’ll then work on the finishing details for that, adding the hardware bits and pieces, the comms unit, the text on both the shirt and the jacket, and the wool collar using C4D hair generating thick and short strands of hair that look like wool once rendered with the shaders. Next, I added the face hardware, modeling the face piece that wraps around the head and acted as a bit of a cybernetically repaired eye and the receiver side of the comms unit.
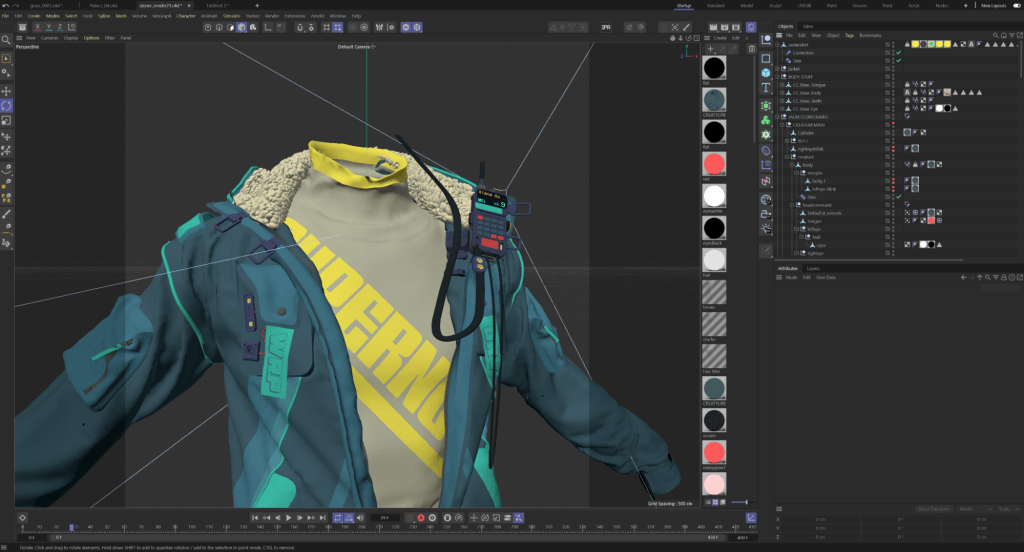
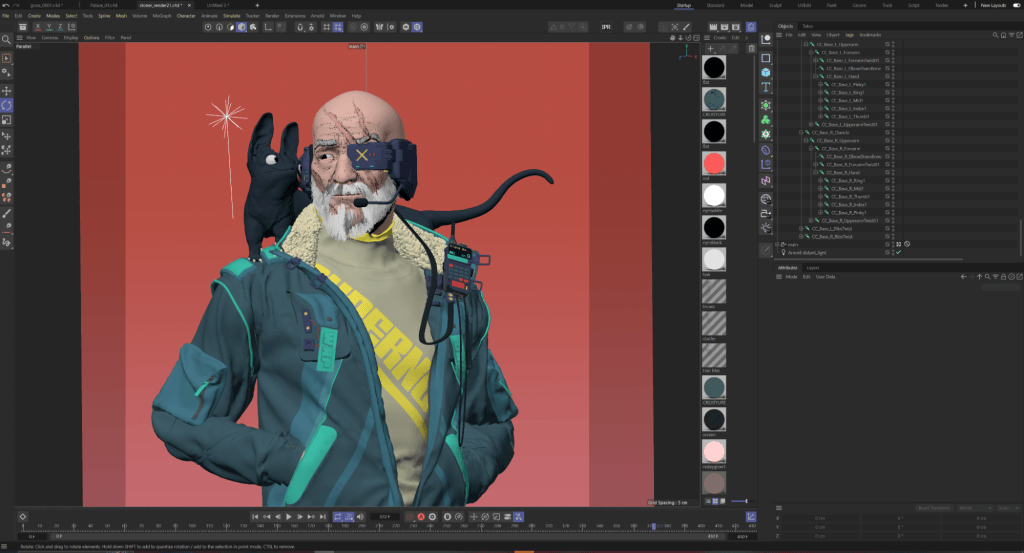
Next, I tackled more of the face with importing the face texturing and applying it to the face using my Arnold toon shader setup. This also acts as a guide for me to shape the beard around that I created using C4D hair. After molding it into the shape and form I wanted I turned off all instances of gravity or any forces in the scene as I have to keep the hair ‘live’ so it reacts to the CC4 Pose Morphs on the face.
With all the pieces modeled and set up, I then attach all of it to the CC4 rig that gets imported. The jacket and shirt I skinned and weighted as well as some of the smaller hardware pieces on the jacket. For the headwear and comms unit stuff, I created constraint nulls that reference the bones where I wanted the pieces to be attached to. Like a head constraint for all the head assets and added those assets as a child to that null. Rinse and repeat until all the accessories are attached to the character and everything is ready to be animated. I had also created his pet that I sculpted in ZBrush and imported into C4D and rigged for animation.

After that, I created the animation loop using the CC4 rig and pose morphs that come with the character model. I’ll start by creating his base pose then keyframing everything at the beginning and end of the timeline, and then block out all the middle poses I want him to have throughout the animation. After that, I refined all the in-between areas, added the extra details with pose morphs like blinking and reacting to the pet as well as adding the eye movements.
Arnold Render
Throughout the creation and assembly of the character within C4D, I’ll work in tandem with Arnold, rendering out WIPs and checking on how the shader is reacting to the geometry, or how the face texture looks when rendered out.
To render the scene, I’ll usually have just a direct light casting down on the scene to mimic the sun, and for these characters, I render them using a parallel or isometric camera. The shader itself is a toon shader where I’ve gone and customized the entire setup with a series of nodes to create this stylized look that I can then adjust all aspects of where I can tune it to each surface it’s applied to. The shader is built into a few main sections. Creating the inner line details like hatching lines, speckles and bigger stains. Then, the light and color area where I can play with all the colors that make up the lit and unlit areas. And lastly, all the masks that tell the previous sections where to show up on the model based on stuff like the scene lighting, Facing ratio, procedural noises. The shader itself can look quite intimidating, but it’s mostly just layers of blending things together by multiplying or adding, like in Photoshop, or mixing together based on those masks.
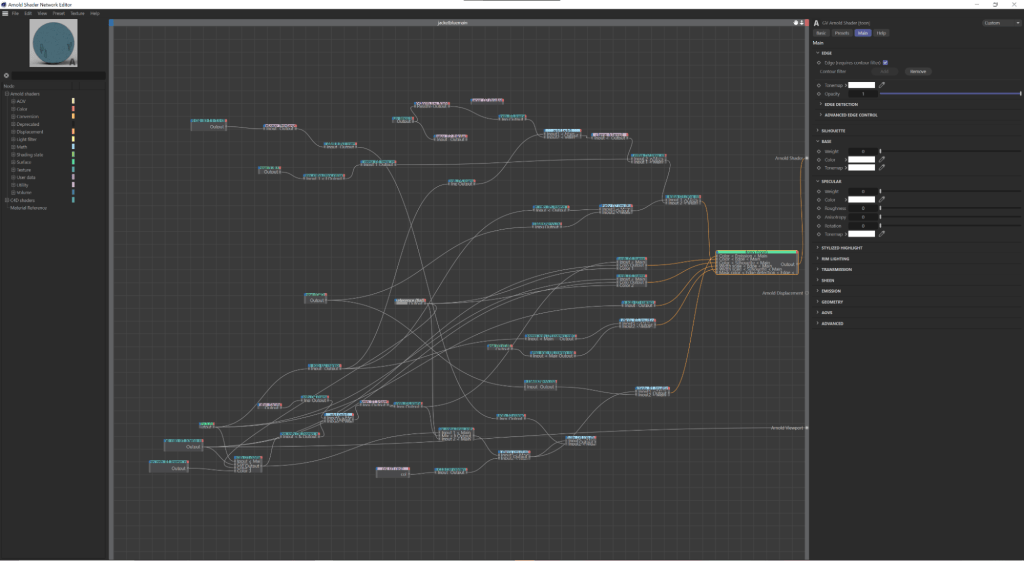
I’ll find a good camera position and light angle for the character and lock it in place fairly early into the workflow, as I find it helps to have a good direction to tune the shaders too and be able to refine them throughout the workflow.

I’ll create a bunch of duplicates of the main shader where I’ll then change the colors for them, or in some cases, add the face texture or adjust how much of the lit area shows up to change the material from looking like fabric to metal. I’ll then apply these shaders to the character and refine them until I’m happy with the result.
When rendering using Arnold, you can add a bloom effect onto the render which I love to do. I’ll adjust it so the light on the character gives off a nice glow, adding that little bit of extra detail onto him.
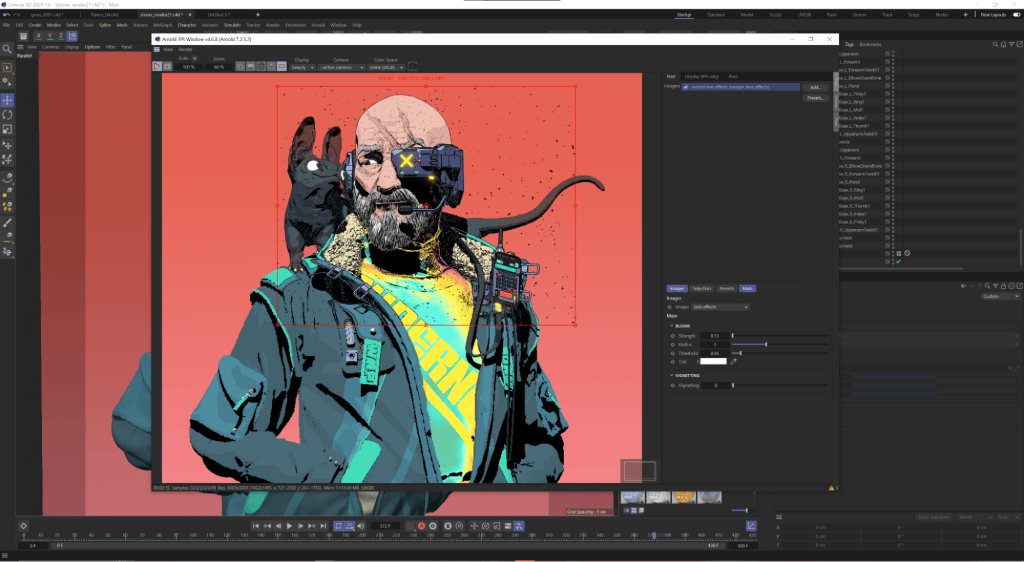
Lastly, I render out all the frames and composite it together using After Effects.
Conclusion
Even though the character is complete visually, they are still not quite fully finished. I’ll send these over to my buddy Duskosound to create the SFX as well as a backing track for all of the characters to just push them that much further and bring them to life that much more. After he works his magic, they are fully done!
So with creating over 10 of these characters now with a bunch of very different concepts, some not even having any human to them at all, I find myself still using that CC4 rig and this workflow to create them. For the fully cyborg characters I will use the rig, but then use the body geo as a guide on where to add the metal details so they still have the sense of being human.
After creating over 10 characters with a variety of concepts, some of which aren’t even human, I still find myself using the CC4 rig and this workflow. For fully cyborg characters, I use the rig and the body geometry as a guide for adding metal details, ensuring they maintain a sense of humanity.
My process and style is always evolving, and with every character I make, I tend to explore something I haven’t tried doing yet. What I’ve loved with using CC4 is that with this very stylized look and even when I replace everything but the rig, I still find it such a useful tool as it speeds up my process so much and it’s super easy to use and get great results out of.
Learn More
- Character Creator 4
- Download Character Creator 4 – Start a 30-Day Free Trial
- Visit Calder Moore’s course “3D Toon-Style Environment Art with Arnold“
Related Posts
- iClone Toon Shader test by Veteran Animator Angel Alonso
- Learn from Winners : Animating Korean Justitia with Cinema 4D, Character Creator and iClone
————————————————————————————————————————————————————————————
The original article was written by Calder Moore and is also featured on 80 Level.