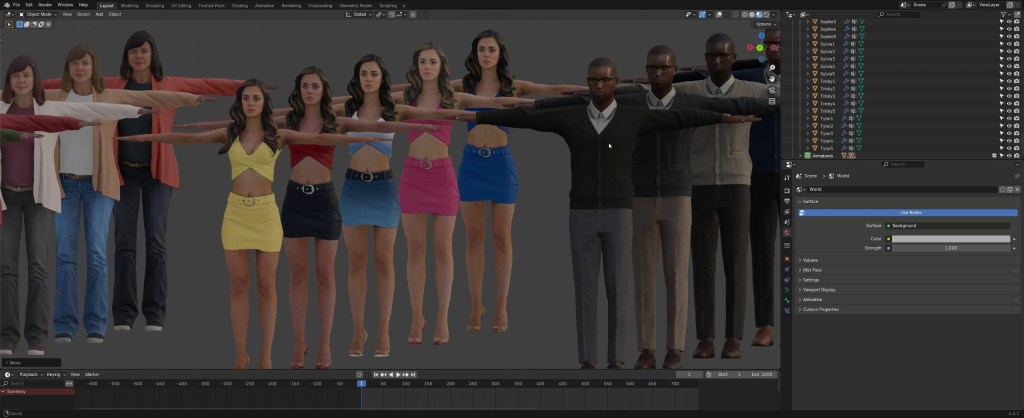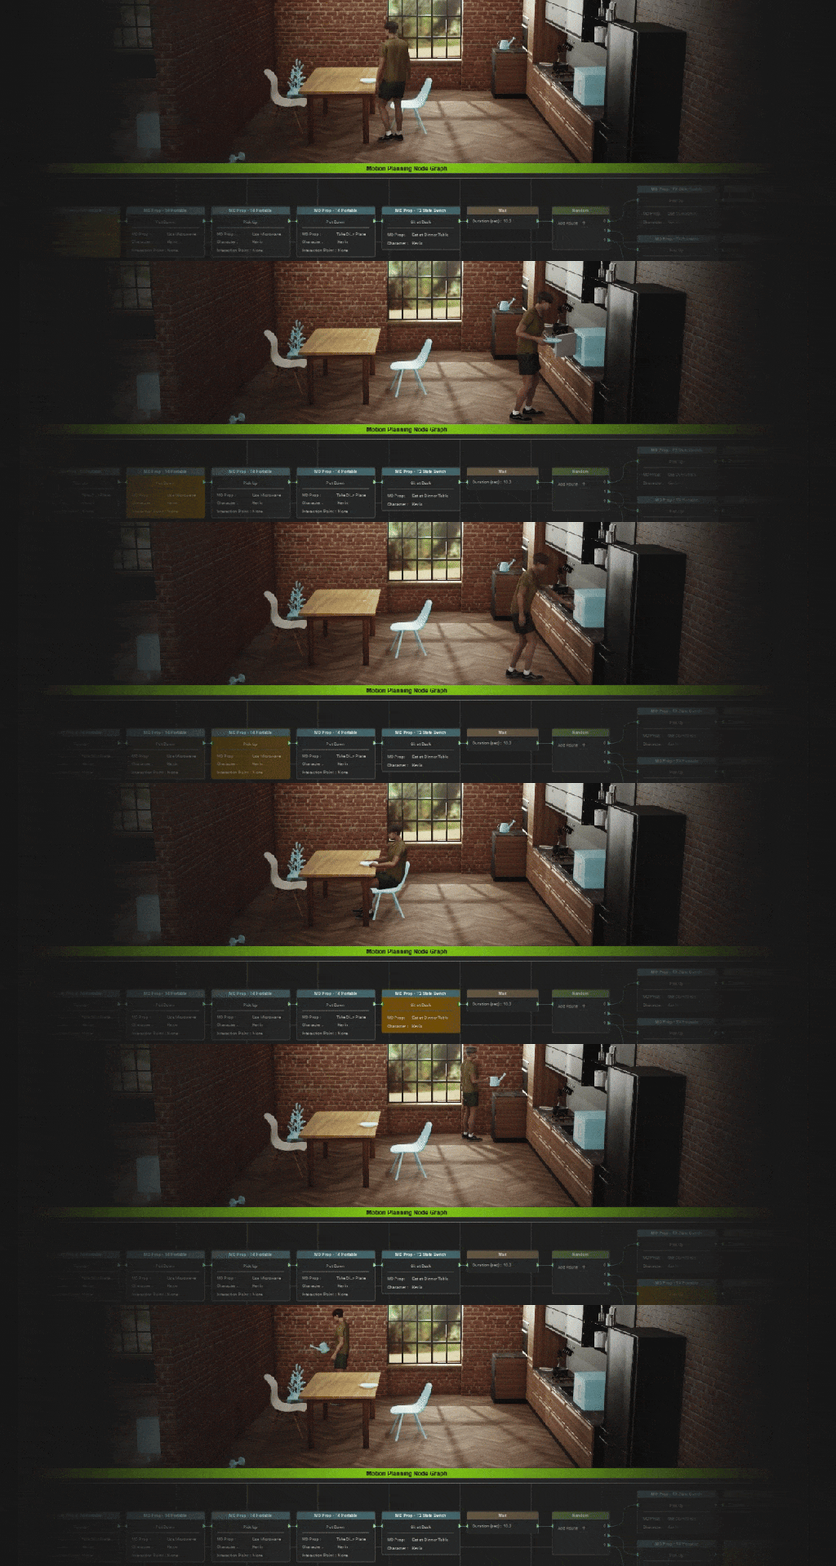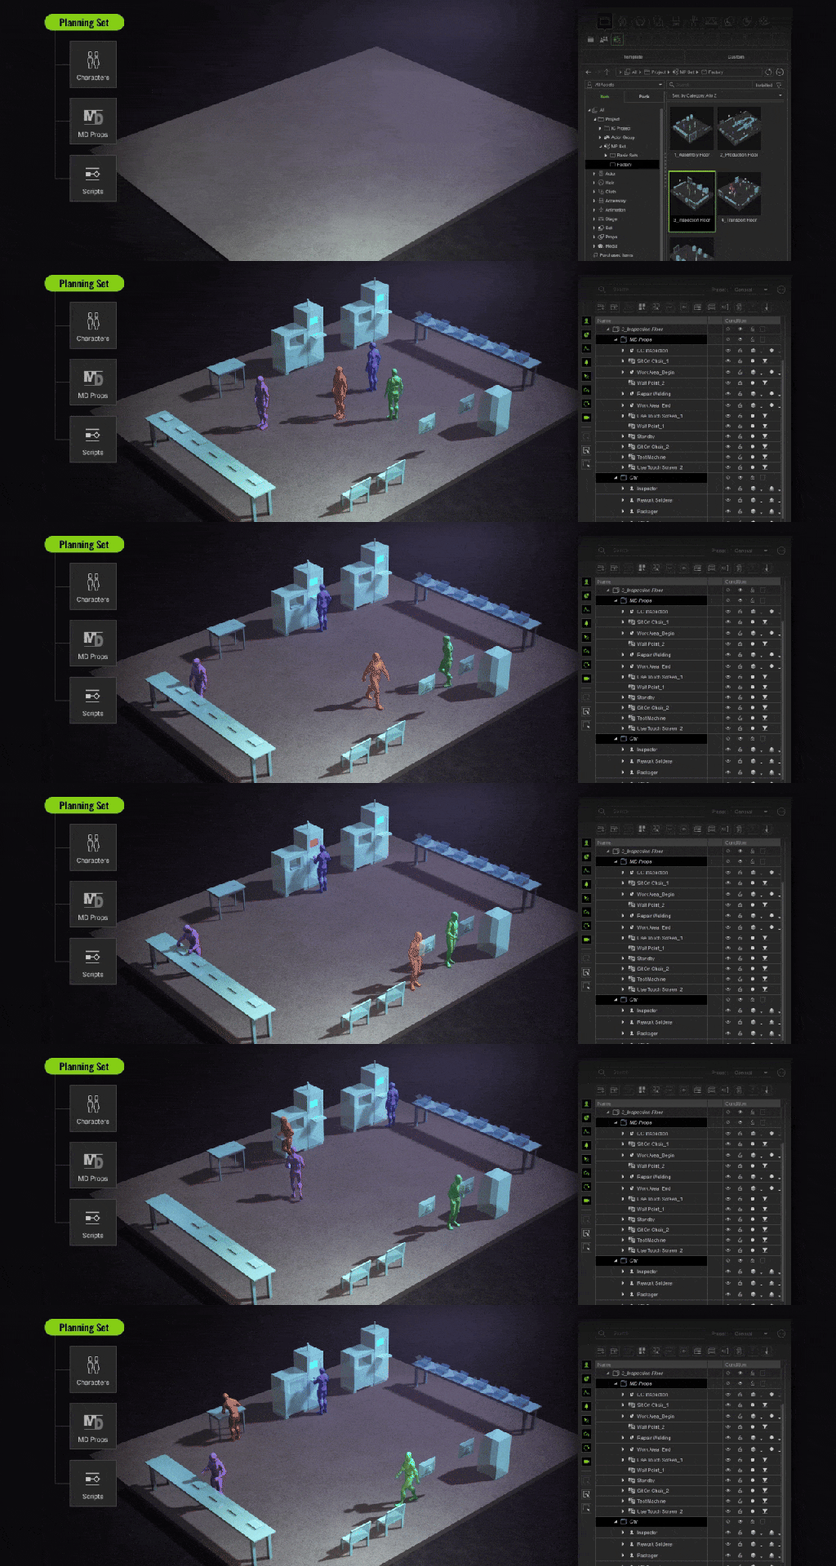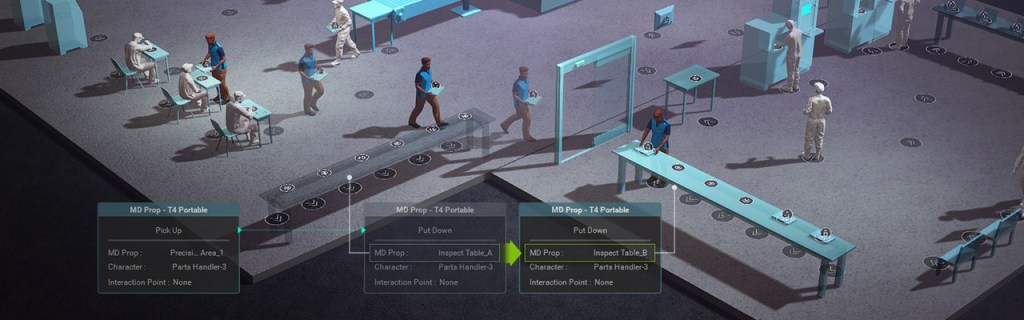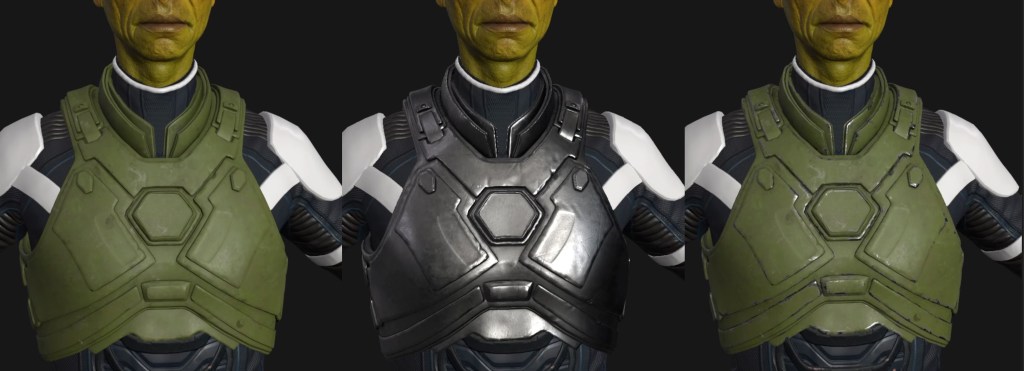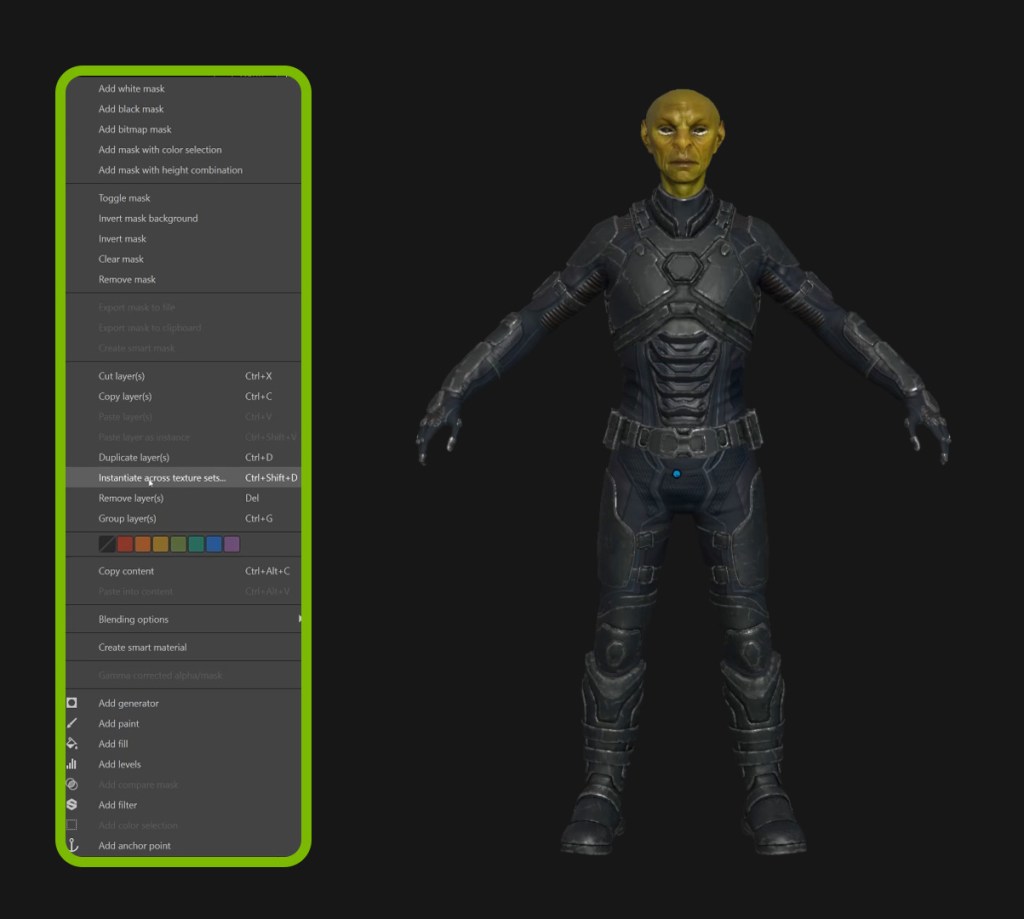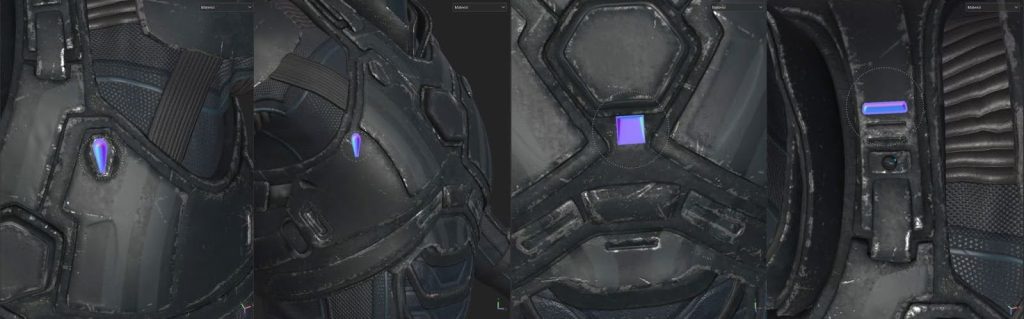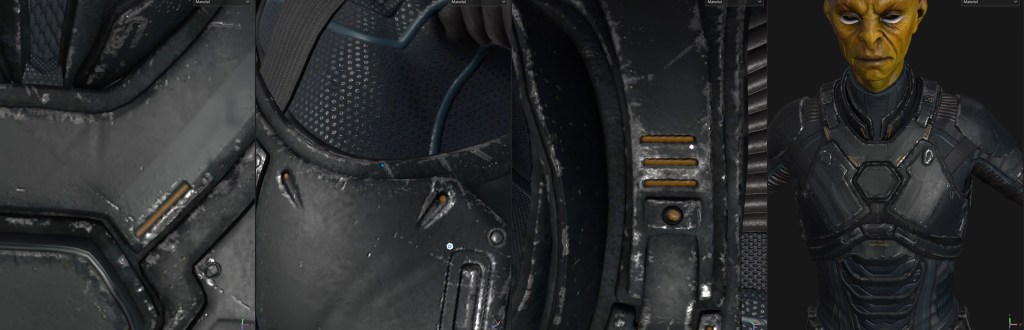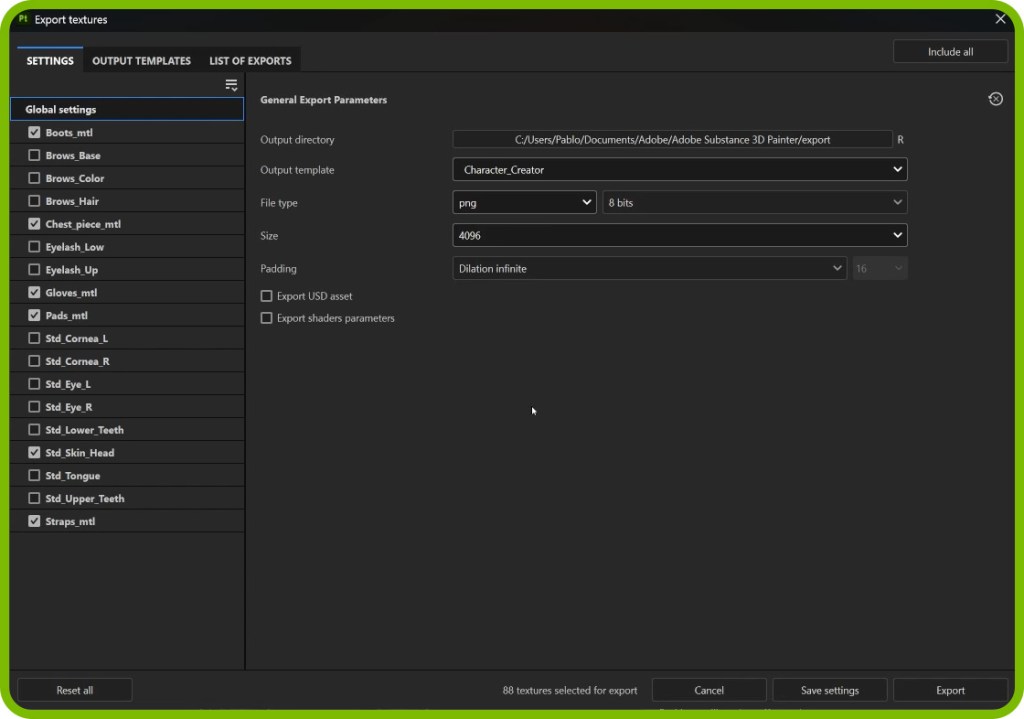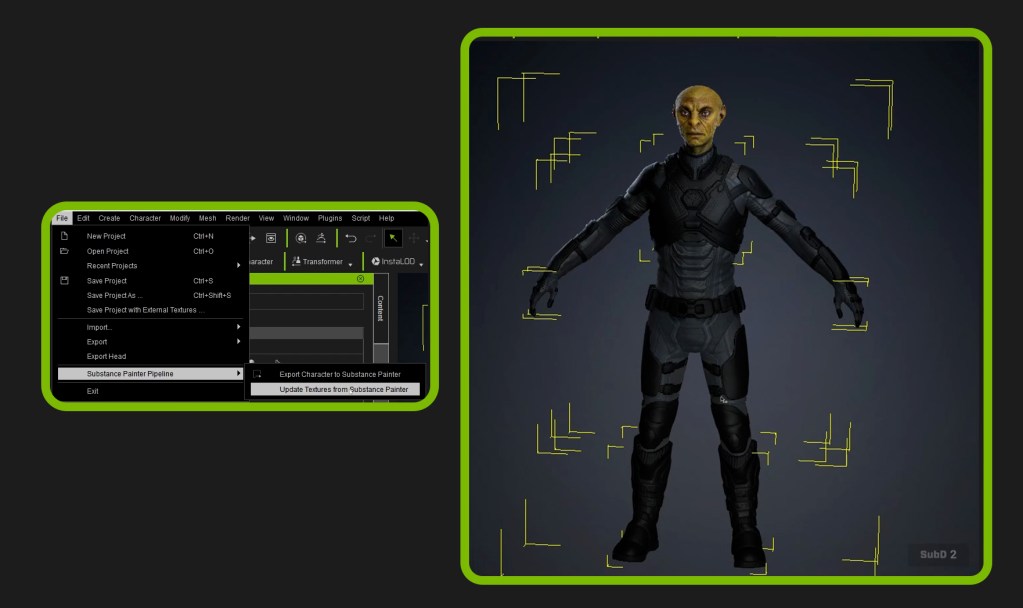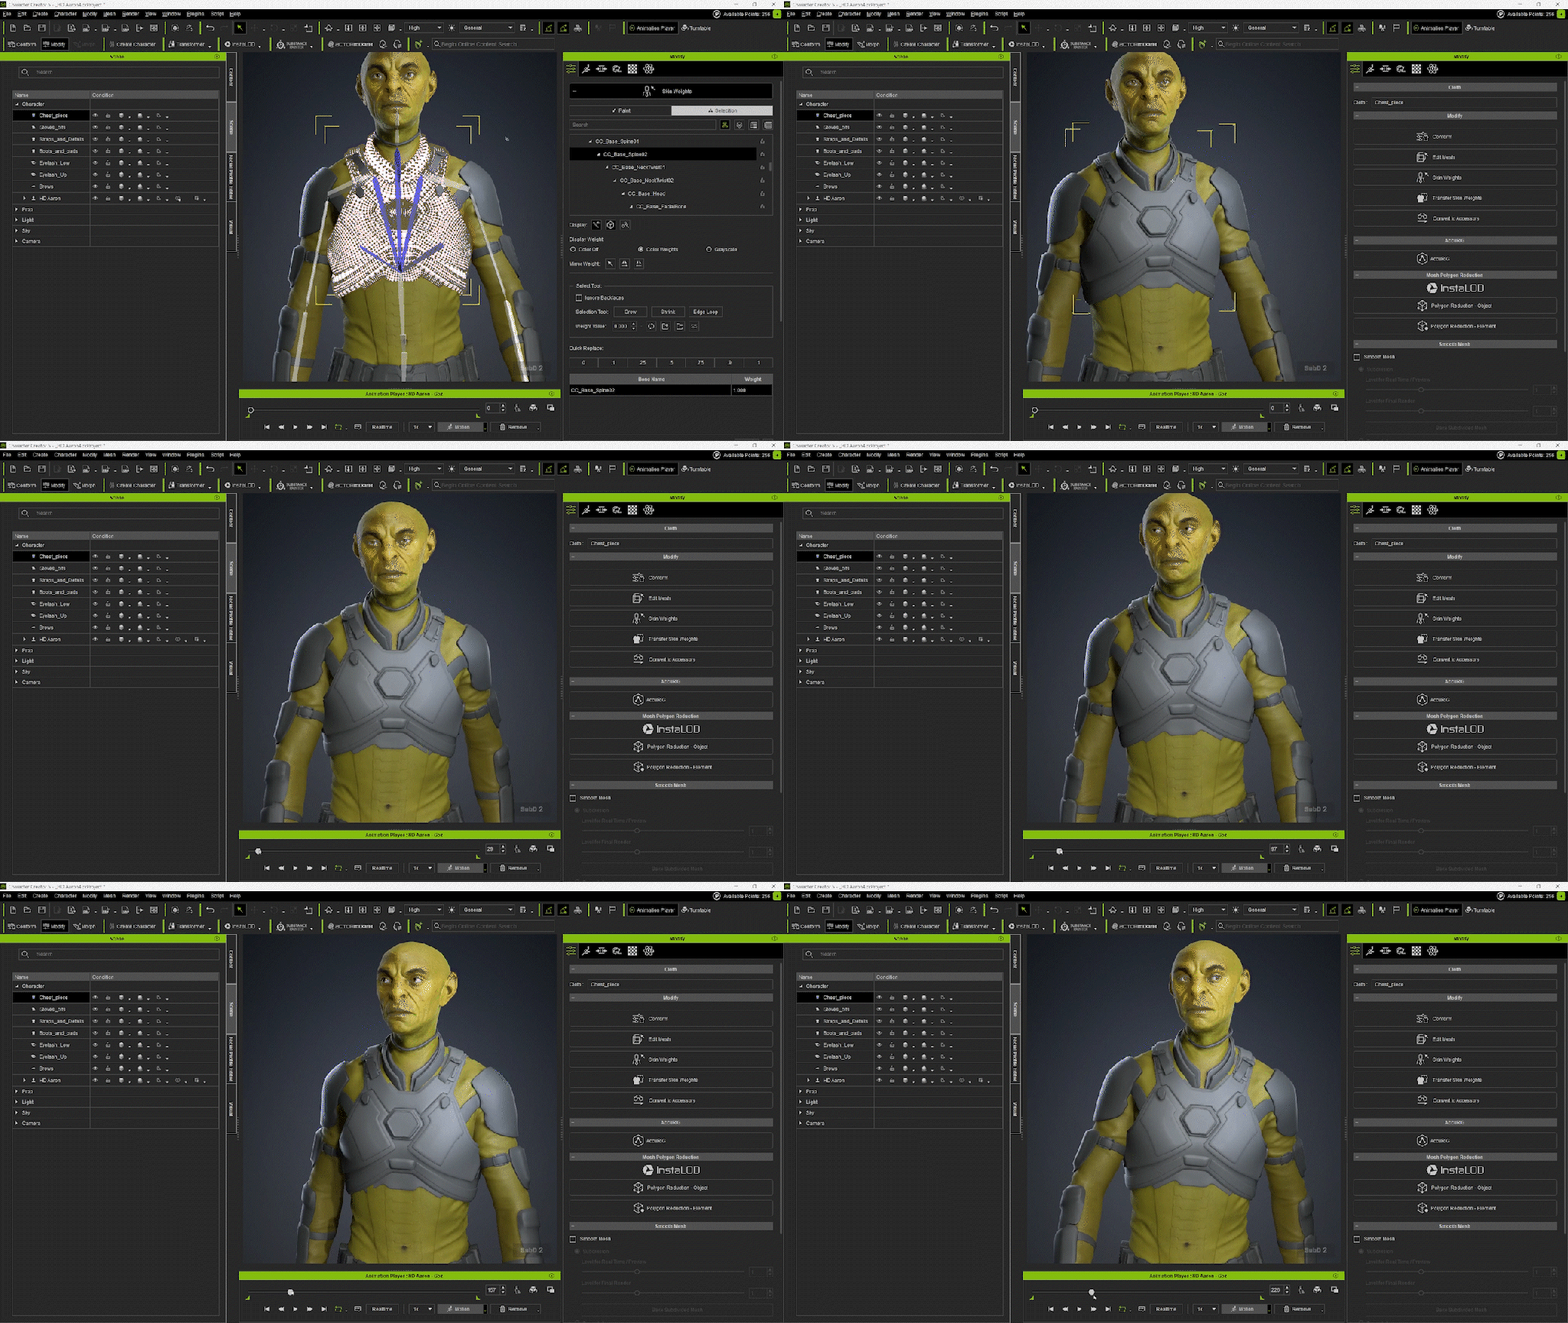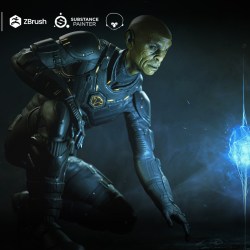
This article is the final chapter in our seven-part CC5 HD GoZ Pipeline Series, covering the complete workflow from CC5 base creation to ZBrush sculpting, Substance 3D Painter texturing, and final rendering.
In Part 6, we finalized materials, refined textures, and brought everything back into Character Creator 5 for validation. For Part 7, we move into the final stage: posing the character, matching facial expression, and rendering cinematic images using Marmoset Toolbag 5.
Pablo Munoz Gomez
Hello, my name is Pablo Munoz Gomez, and I’m an enthusiastic 3D concept and character artist who is deeply committed to the spread of knowledge. My expertise lies in 3D sculpting, visual development, and engaging in mixed-media projects. I take immense pride in being the creator of Pablander Academy, serving as an outlet for showcasing my work, sharing my workflows, and assisting fellow artists in honing their skills across a wide range of subjects.

Finishing with a dynamic pose
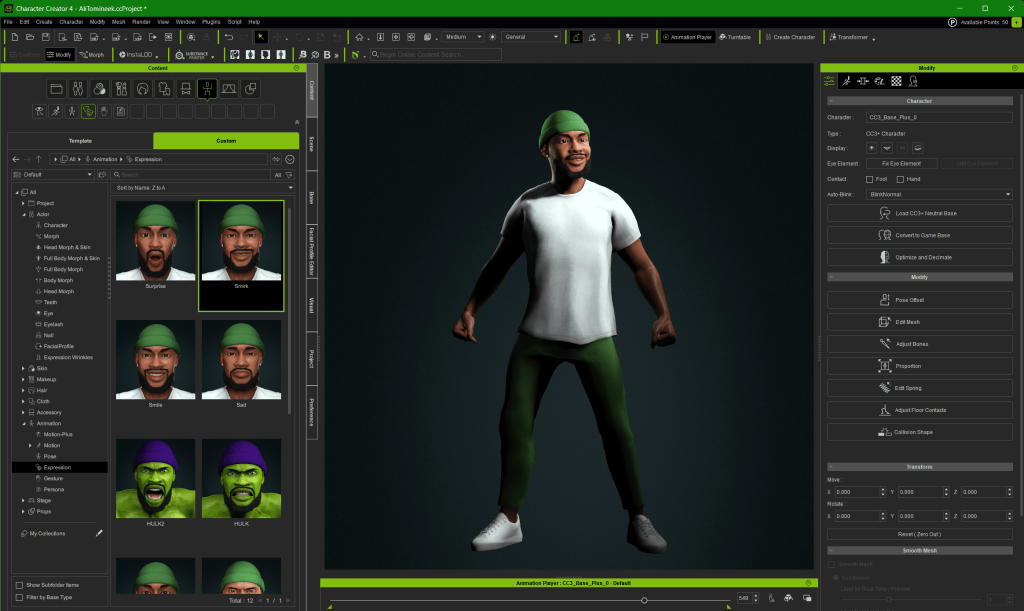
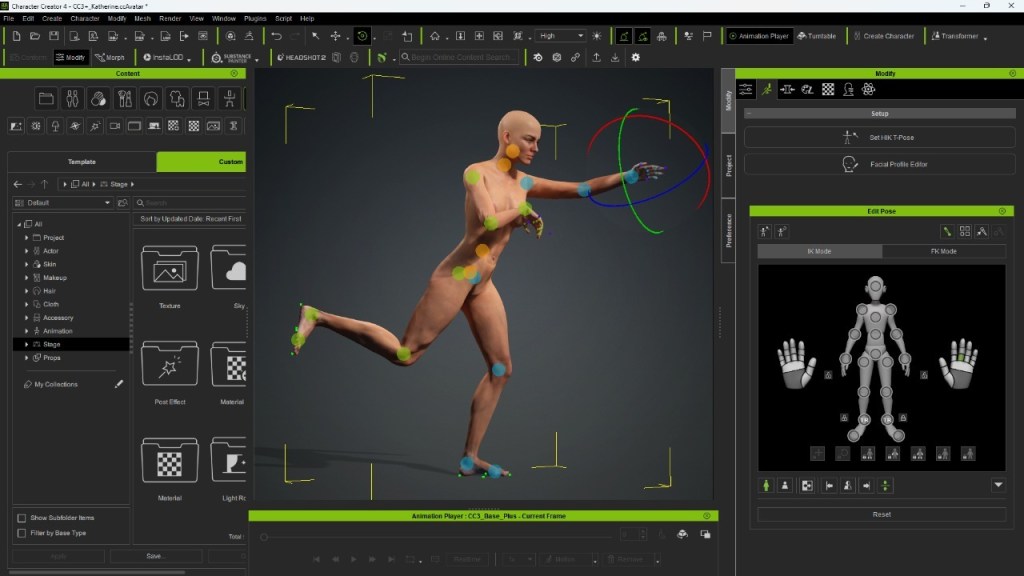
I begin by choosing a motion from the Parkour Content Pack tab in Character Creator 5. The Pack section includes a wide range of motion and animation packs you can download or purchase. For this project, I used a Parkour pack as a starting point.

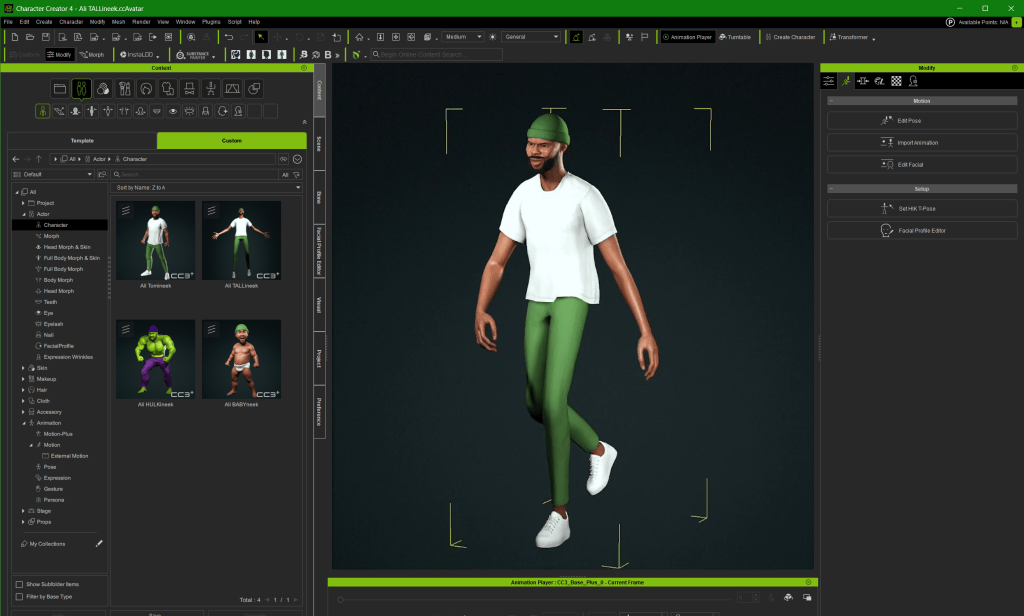
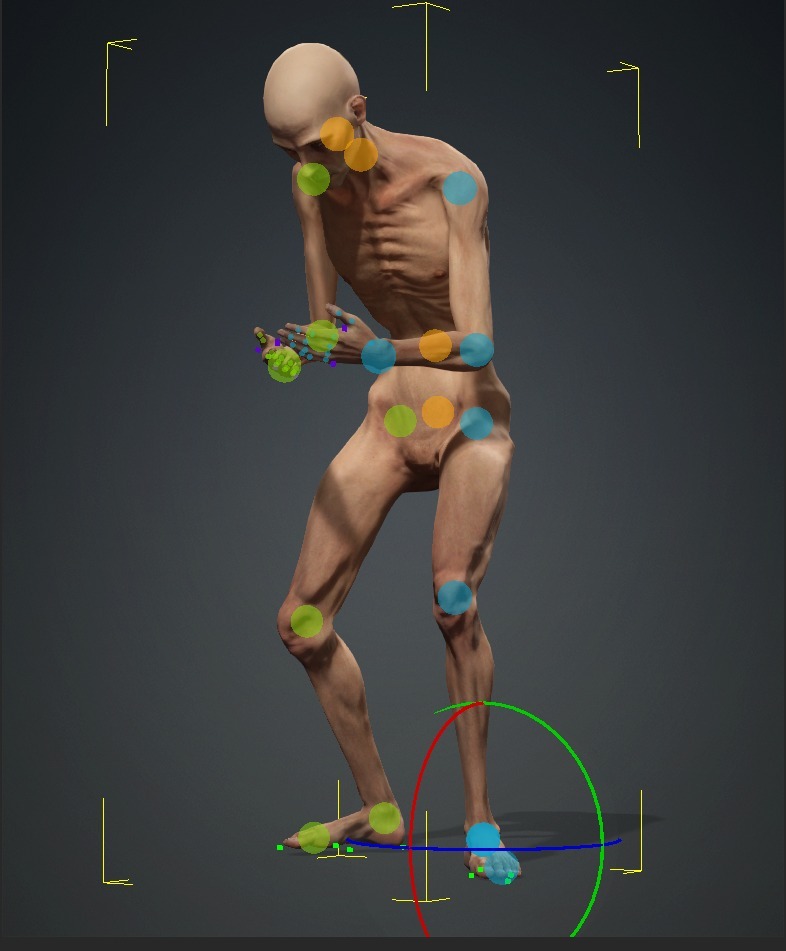
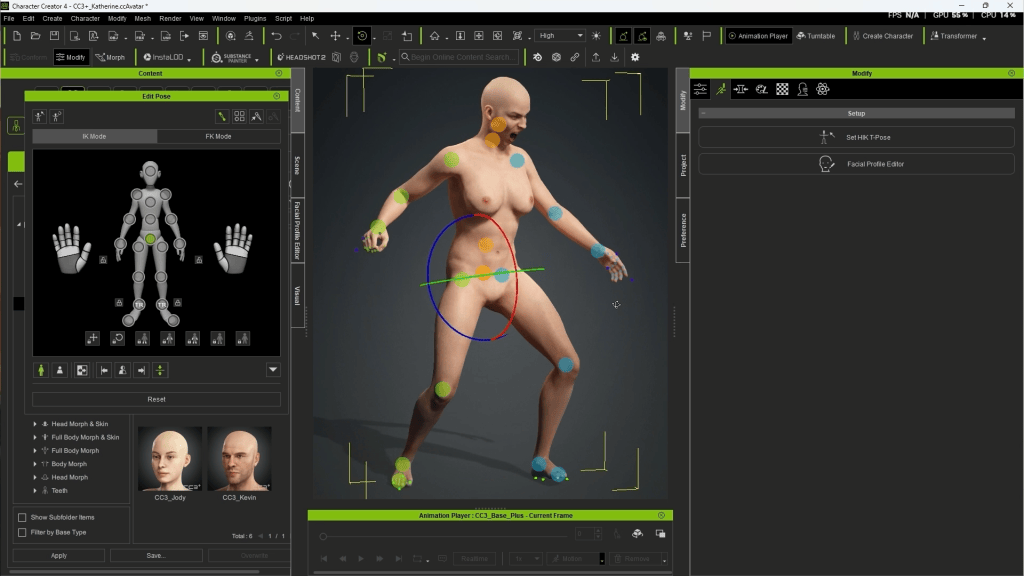
After dragging the animation onto the character, I scrub through the timeline until I find a frame with strong potential. Once a promising frame is identified, I switch to the Modify tab and use Edit Pose under the Motion section.
In the pose editor, I rotate joints to refine balance, weight distribution, and silhouette. I usually toggle off the joint dots to reduce visual clutter while adjusting the center of gravity.

Working with intent is critical. I give each pose a simple backstory so the body language makes sense. In this case, I imagined the character running while charging an energy orb between their hands. That narrative explains the cupped hands and forward-leaning torso, keeping the pose coherent rather than arbitrary.
Matching the Facial Expression
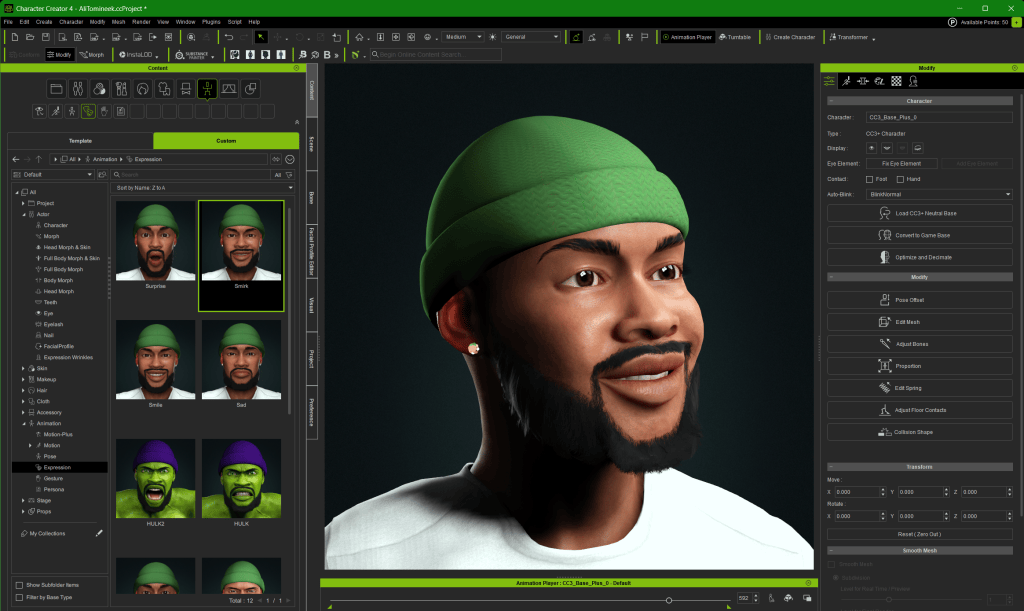
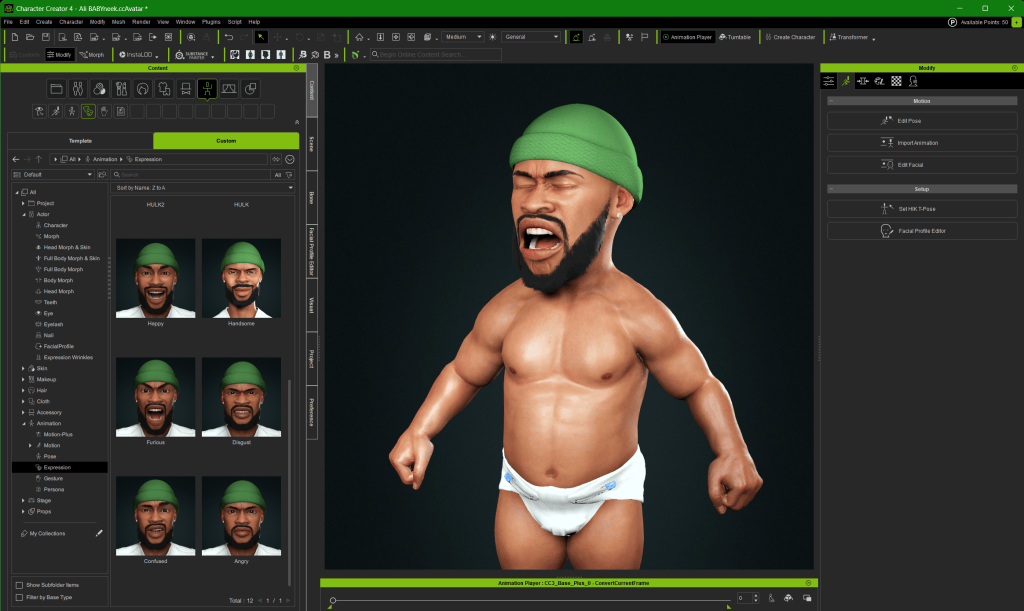
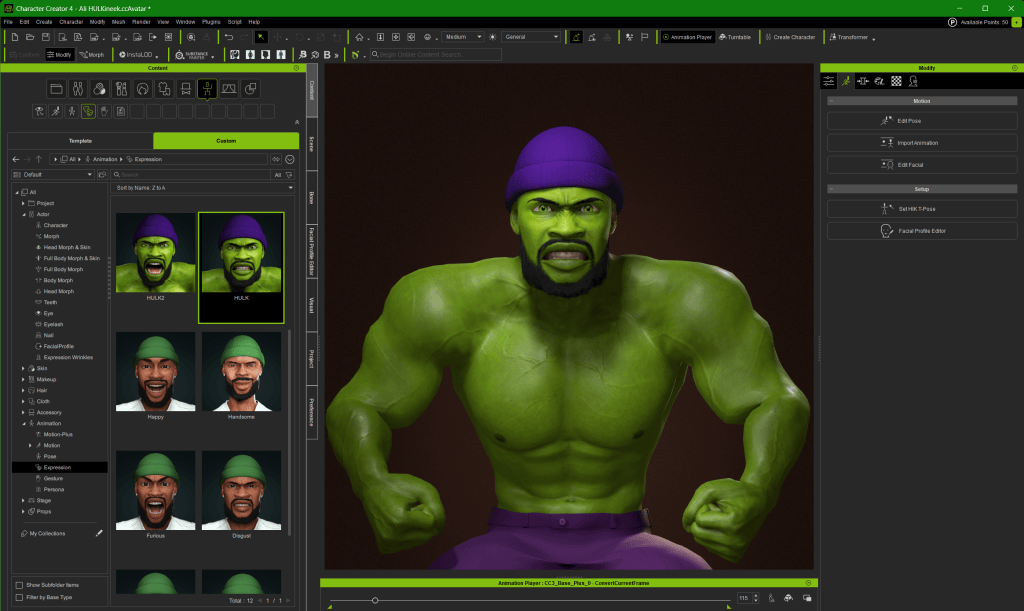
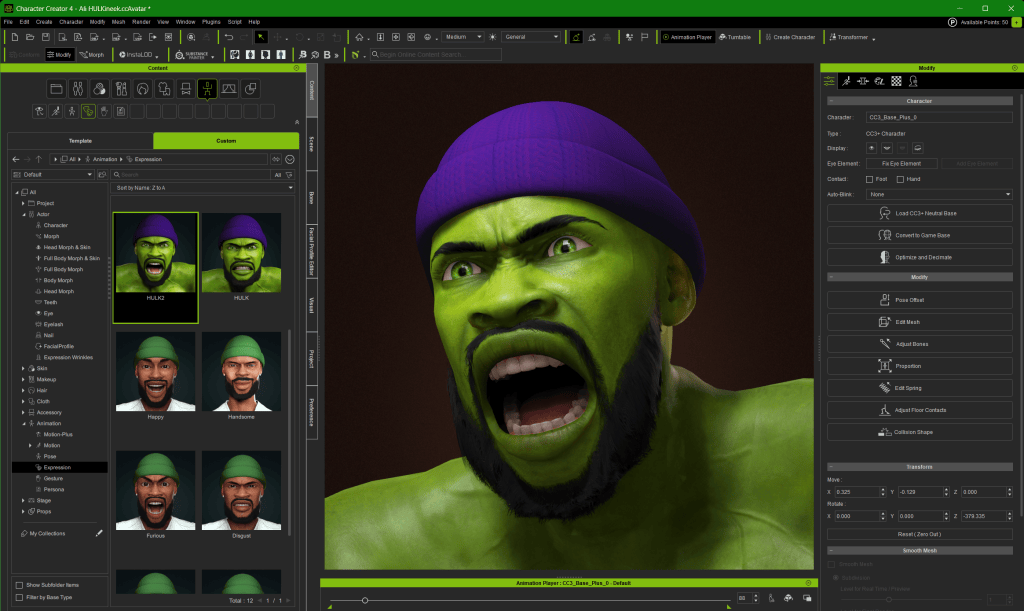
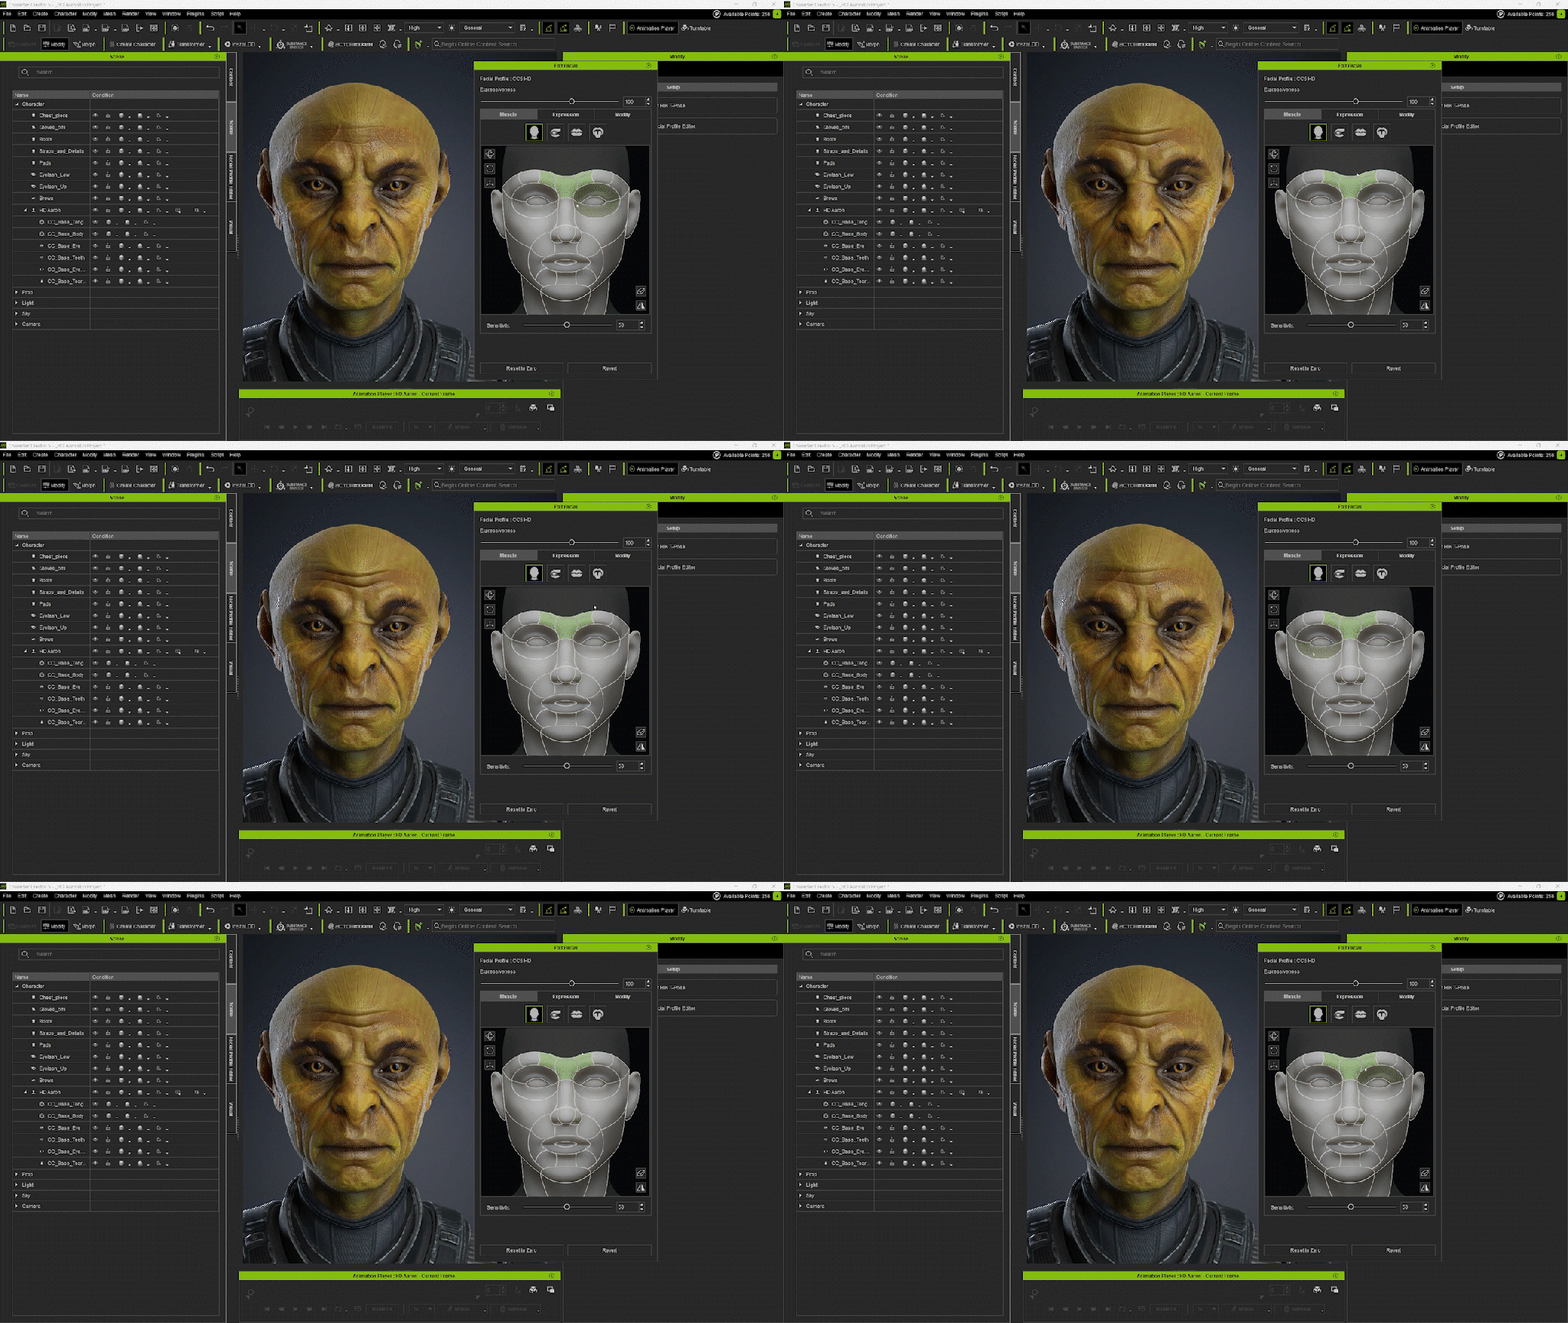
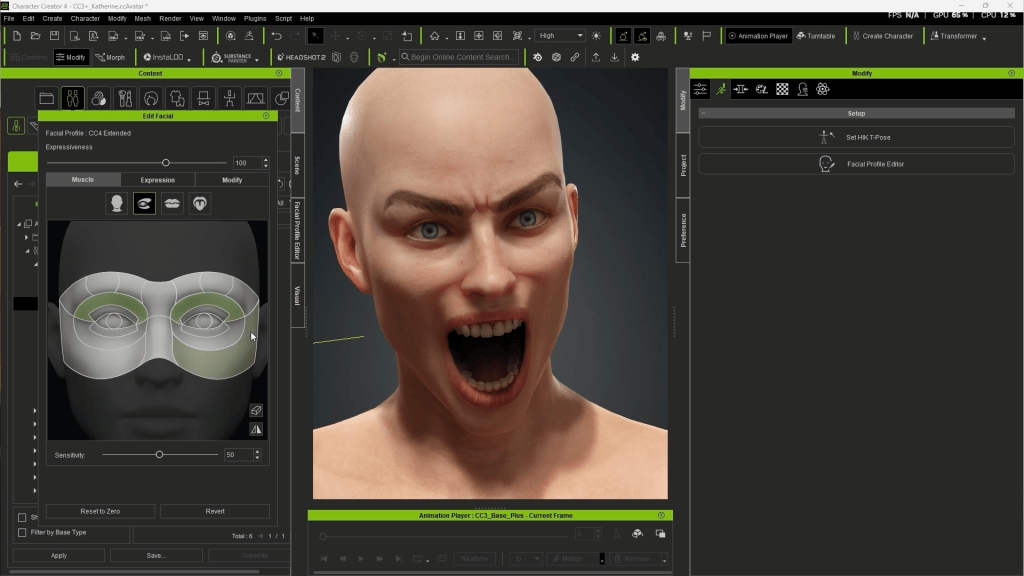
A strong pose needs a matching facial expression. In CC5, I use Edit Facial from the Motion section. Under the Expression tab, CC5 provides a range of base expression presets that can be selected as a starting point.
After choosing a base emotion, I switch to the Muscles tab and fine-tune specific facial areas. The workflow mirrors body morphing: select a facial region, then use middle-click drag to sculpt the expression. Subtle adjustments here have a major impact on believability.
I always save finished poses to my personal pose library so they can be reused on other characters or future projects. Building a strong pose library quickly pays off in both speed and consistency.

Exporting the Posed Character to Marmoset Toolbag 5
To send the posed character into Marmoset Toolbag 5, I use the CC Auto Setup plugin for Marmoset. Installation is straightforward: place the plugin folder into Marmoset’s plugin directory and restart the application.
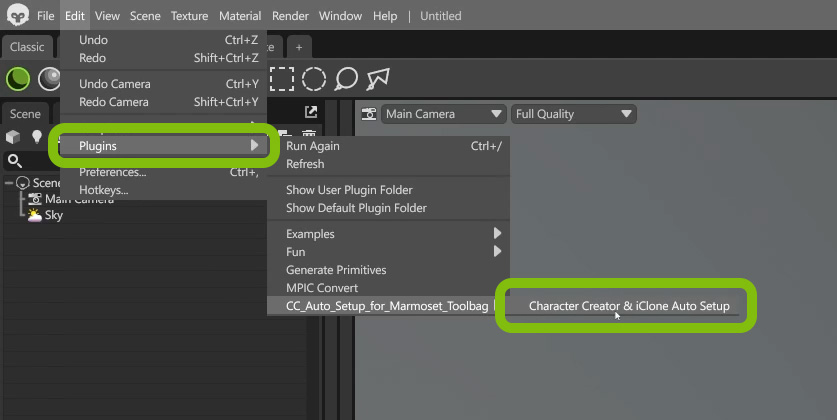
In CC5, I export via File → Export → FBX, selecting Clothed Character so armor, accessories, and external props export alongside the base mesh. In the FBX settings, I choose the Marmoset Toolbag preset, set Export Type to Mesh and Motion, and enable Current Pose to export a single posed frame rather than an animation.

The exporter generates an FBX, a JSON file for material mapping, and a texture folder. This allows the plugin to automatically detect and assign assets during import.
Auto Import and Material Setup in Marmoset
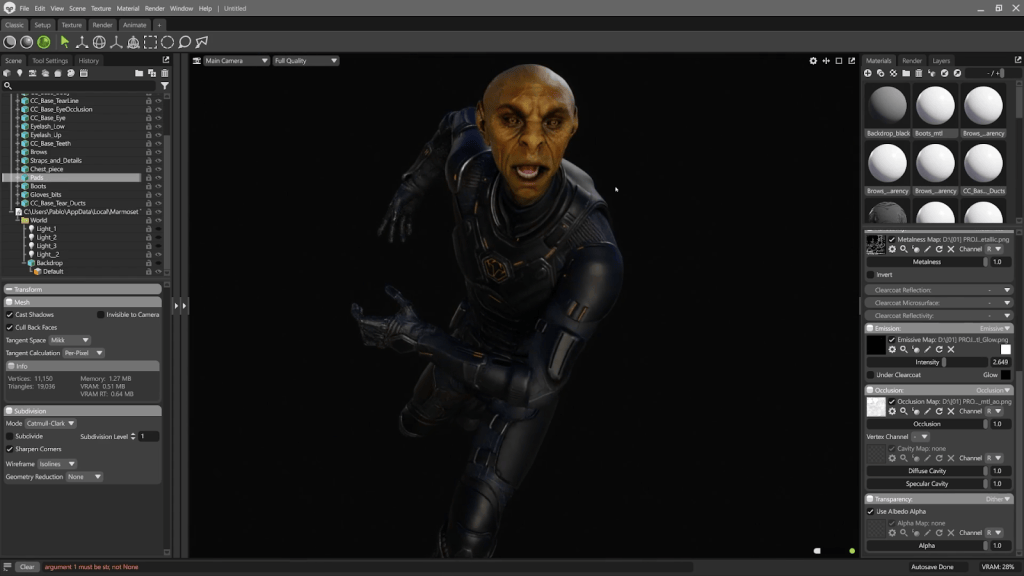
Inside Marmoset, I open the CC Auto Setup plugin window, select the exported FBX, and click Import. The plugin reconstructs the scene with materials and basic lighting already in place.
This is an excellent starting point, but I usually customize lighting and materials to better match the intended mood and story of the character.
Emissive and Displacement Tweaks
Some imported materials include emissive channels that are fairly subtle by default. By opening the material properties and increasing Emissive Intensity, UI elements or suit accents can be made to stand out more clearly.
If displacement maps are present, small scale adjustments can enhance details such as iris curvature or subtle surface relief. These minor tweaks add realism without overcomplicating the setup.
Building Custom Lighting
I typically disable the default world lighting generated by the plugin and load a low-contrast HDR as a neutral ambient base. From there, I sculpt the lighting manually using explicit light sources.
To position lights intuitively, I create a spotlight and temporarily switch the viewport camera to look through the light itself. This makes it easy to adjust key and rim lighting while observing the render view in real time.
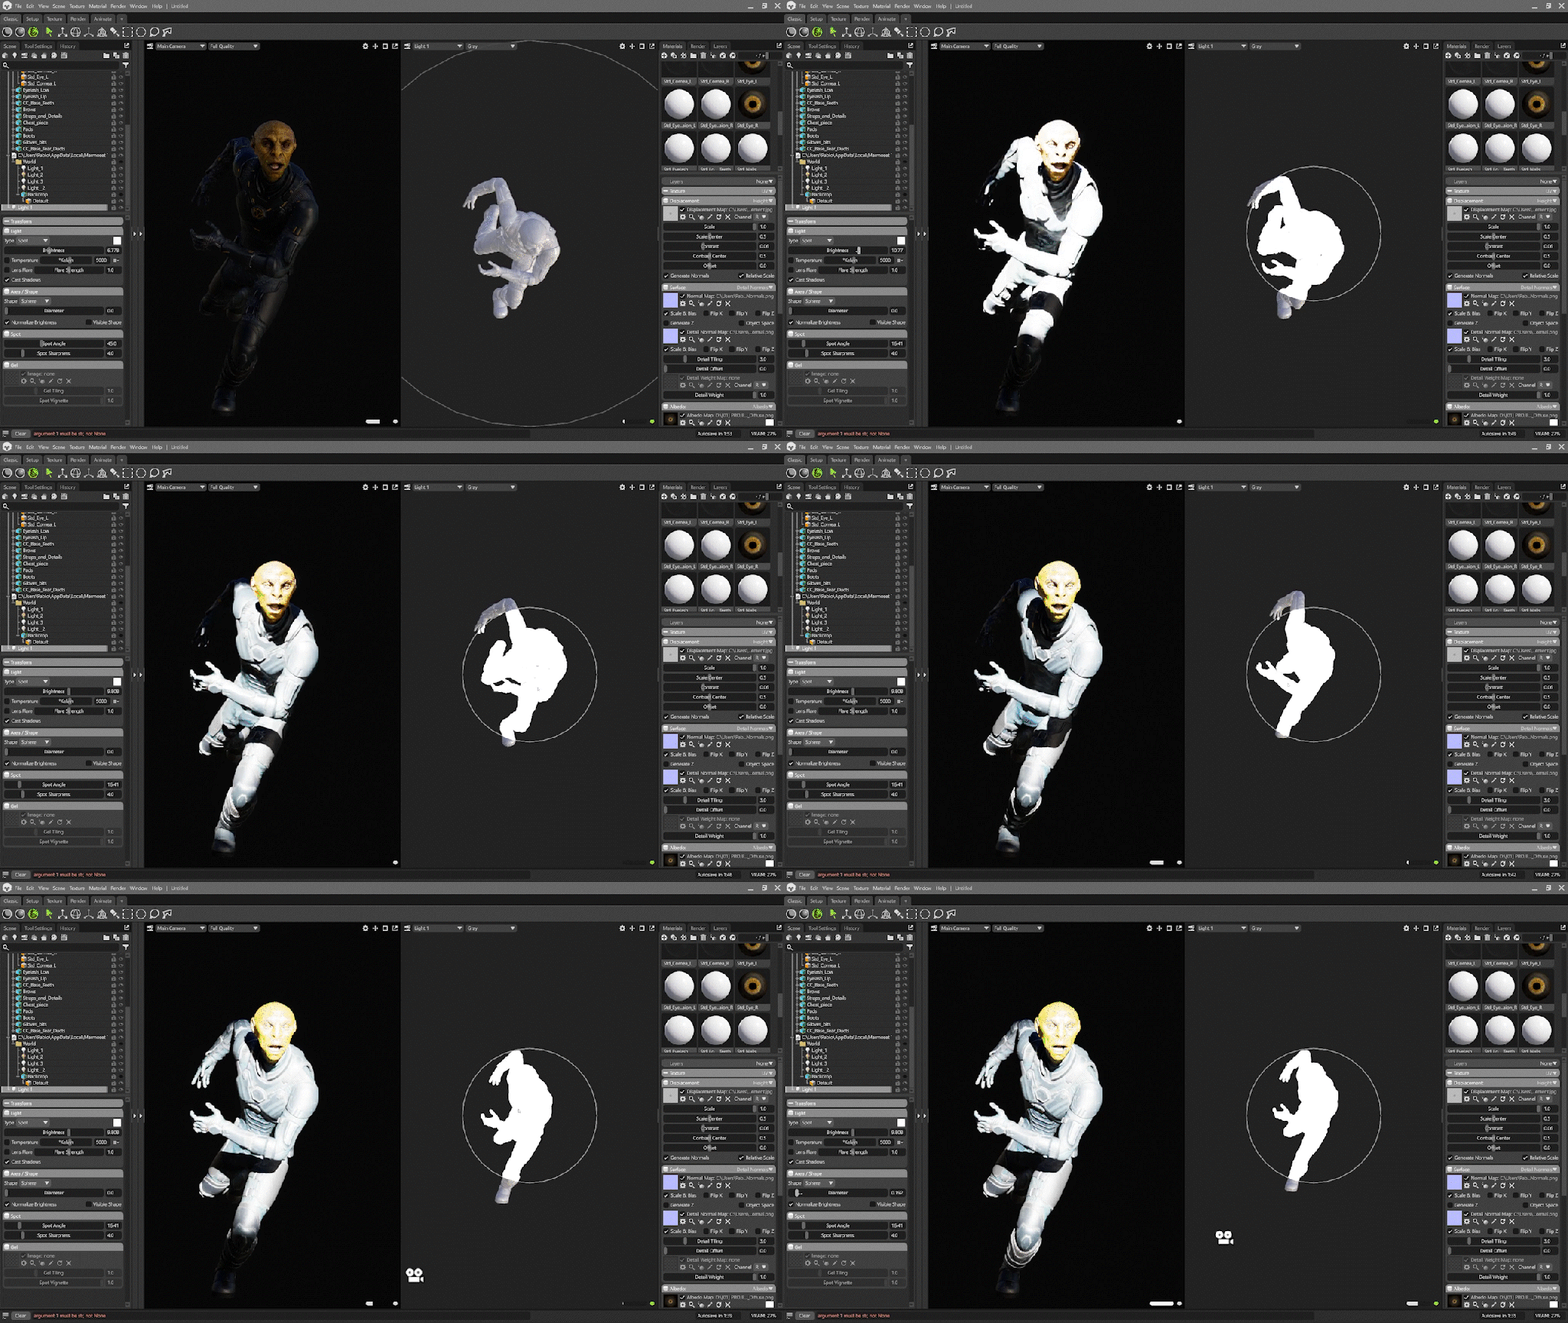
For the glowing energy orb between the hands, I add an Omni light, tint it blue, and increase intensity. Omni lights work well for spherical sources because they emit light evenly in all directions and interact naturally with nearby surfaces.
Always tweak light color, angle, and intensity to bring out the materials and silhouette you want. Presets are fine as a base, but custom adjustments make the scene read correctly for each pose and character costume.
Camera, tone mapping, and depth of field
I create a dedicated Render Camera and set the resolution and aspect ratio. For full-body characters, I often use a portrait orientation.
Under Tone Mapping, I switch to ACES for a more cinematic color response, then adjust the field of view to control perspective. Depth of field is enabled using ray tracing, with Sticky Focus set by middle-clicking on the character’s eye. Keeping the eyes sharp helps anchor the viewer’s attention, even when hands or limbs fall slightly out of focus.

Scene view with shadow catcher plane visible alongside the rendered character.
Composition and Final Touches
Before rendering, I check for silhouette clarity and tangents, making sure limbs or props do not overlap in confusing ways. A shadow catcher plane helps ground the character so they don’t appear to float.
In the render settings, I confirm that the Render Camera is selected, then render all images with transparency enabled. Exporting with an alpha channel allows for flexible compositing later.
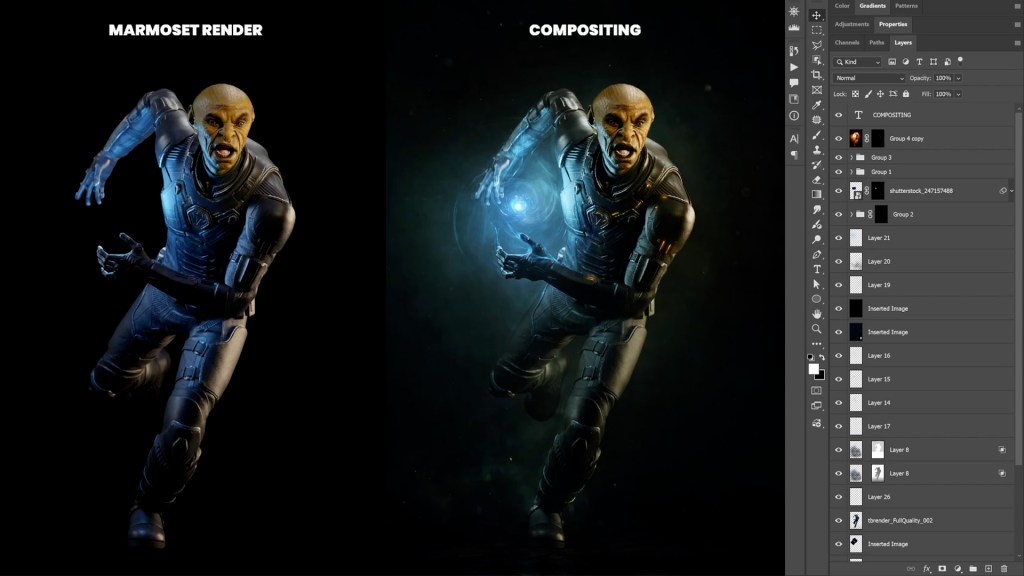
In Photoshop, I usually add a subtle background, atmospheric haze, and soft rim glow. Small painted details like dust or particles help transform the image from a raw 3D render into a narrative frame.
Final Thoughts
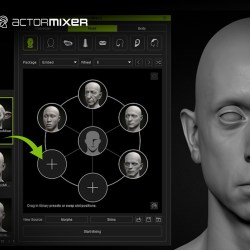
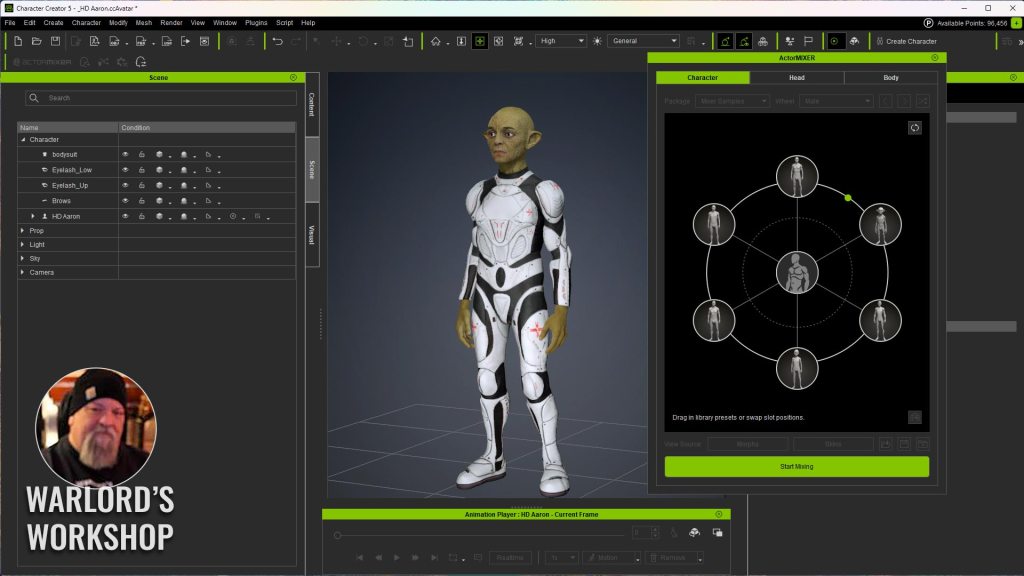
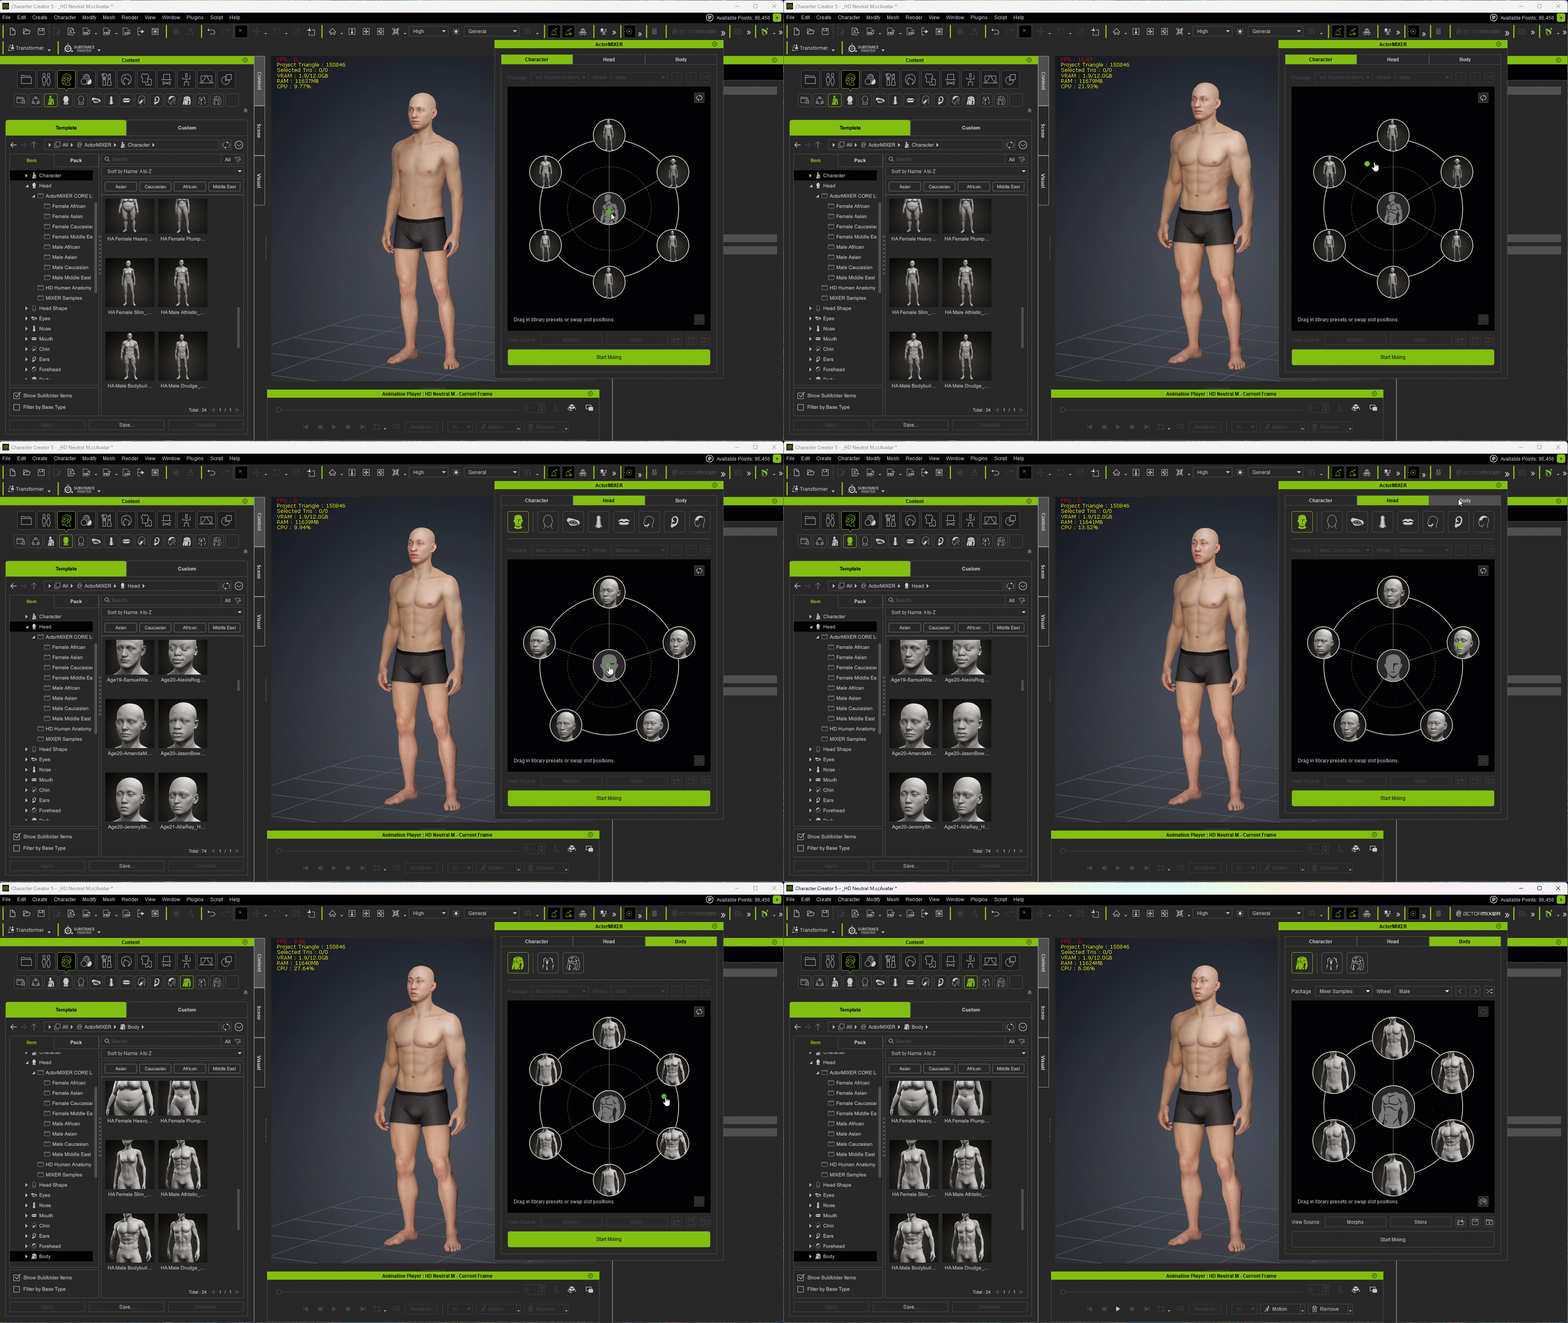
This pipeline turns Character Creator 5 into the connective tissue that binds sculpting, texturing, and rendering into a seamless creative loop. By leveraging tools like Actor Mixer, subdivision level support, and the Dynamic Wrinkle system, technical friction is reduced and iteration stays fast.
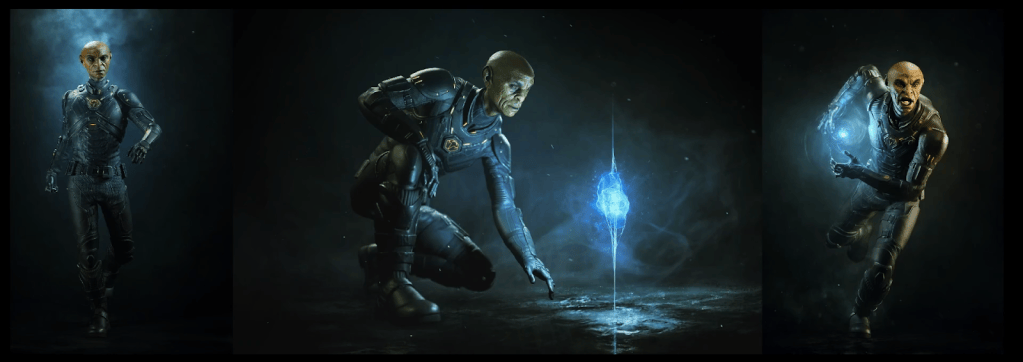
The tight integration with ZBrush, Substance Painter, and Marmoset Toolbag 5 allows you to move from a rough silhouette to a polished final render without breaking flow. The result is a workflow that is efficient, non-destructive, and artist-driven from start to finish.
Related Posts
- CC5 x ZBrush: Create a HD Sci-Fi Vanguard (1/7)- Character Base Creation with ActorMIXER
- From Concept to Motion-Ready Alien Character: ZBrush and CC5 HD Step-by-step Workflow
- Building a Custom Vampire Character from Scratch with CC5 and Unreal Engine 5.7