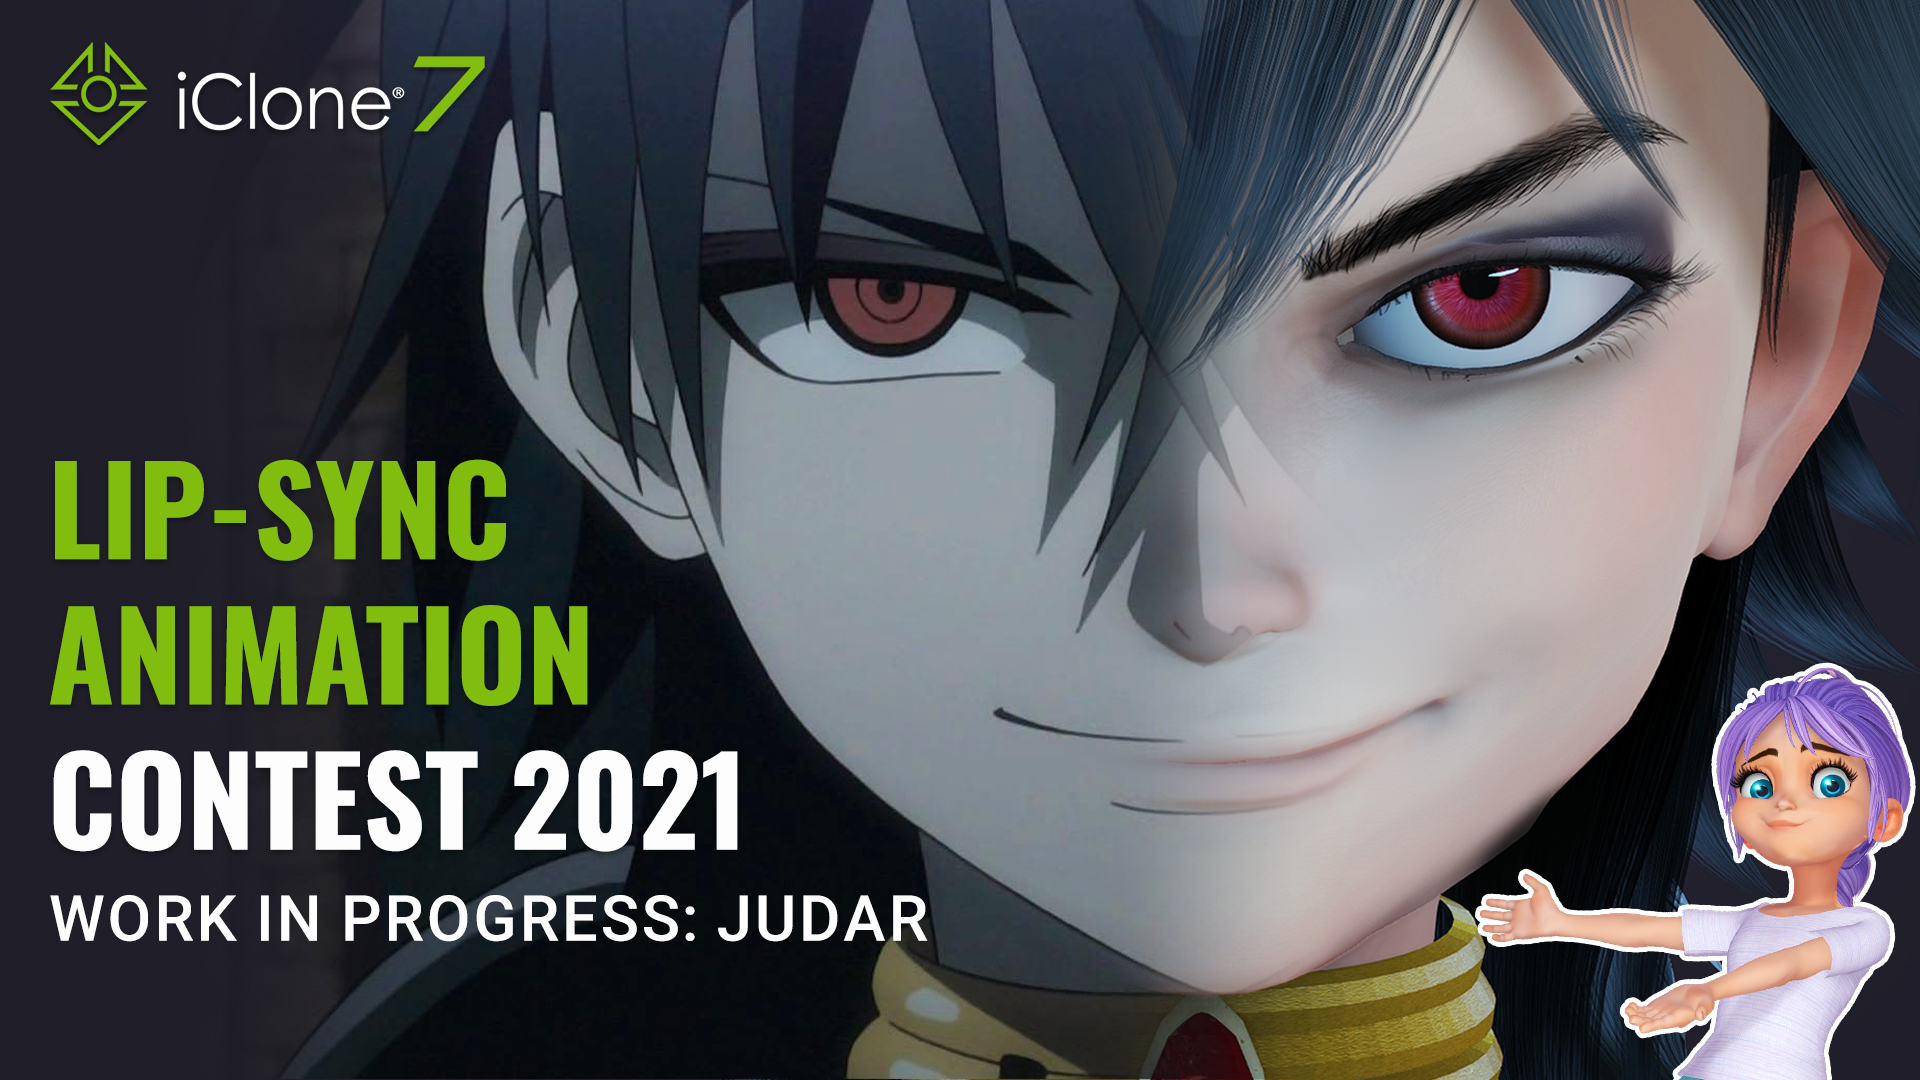
This “Winning Tips & Tricks” article series covers the best Works In Progress from the 2021 iClone Lip Sync Animation Contest. Learn key steps from winning entries and be inspired by the featured artists that rendered with; Unreal Engine, Unity, iClone (iC), Blender, and Cinema4D – all of which will be mentioned in separate articles. Let’s now take a look at Gergana Hristova’s Character Creator(CC) + iClone entry: “Judar”.
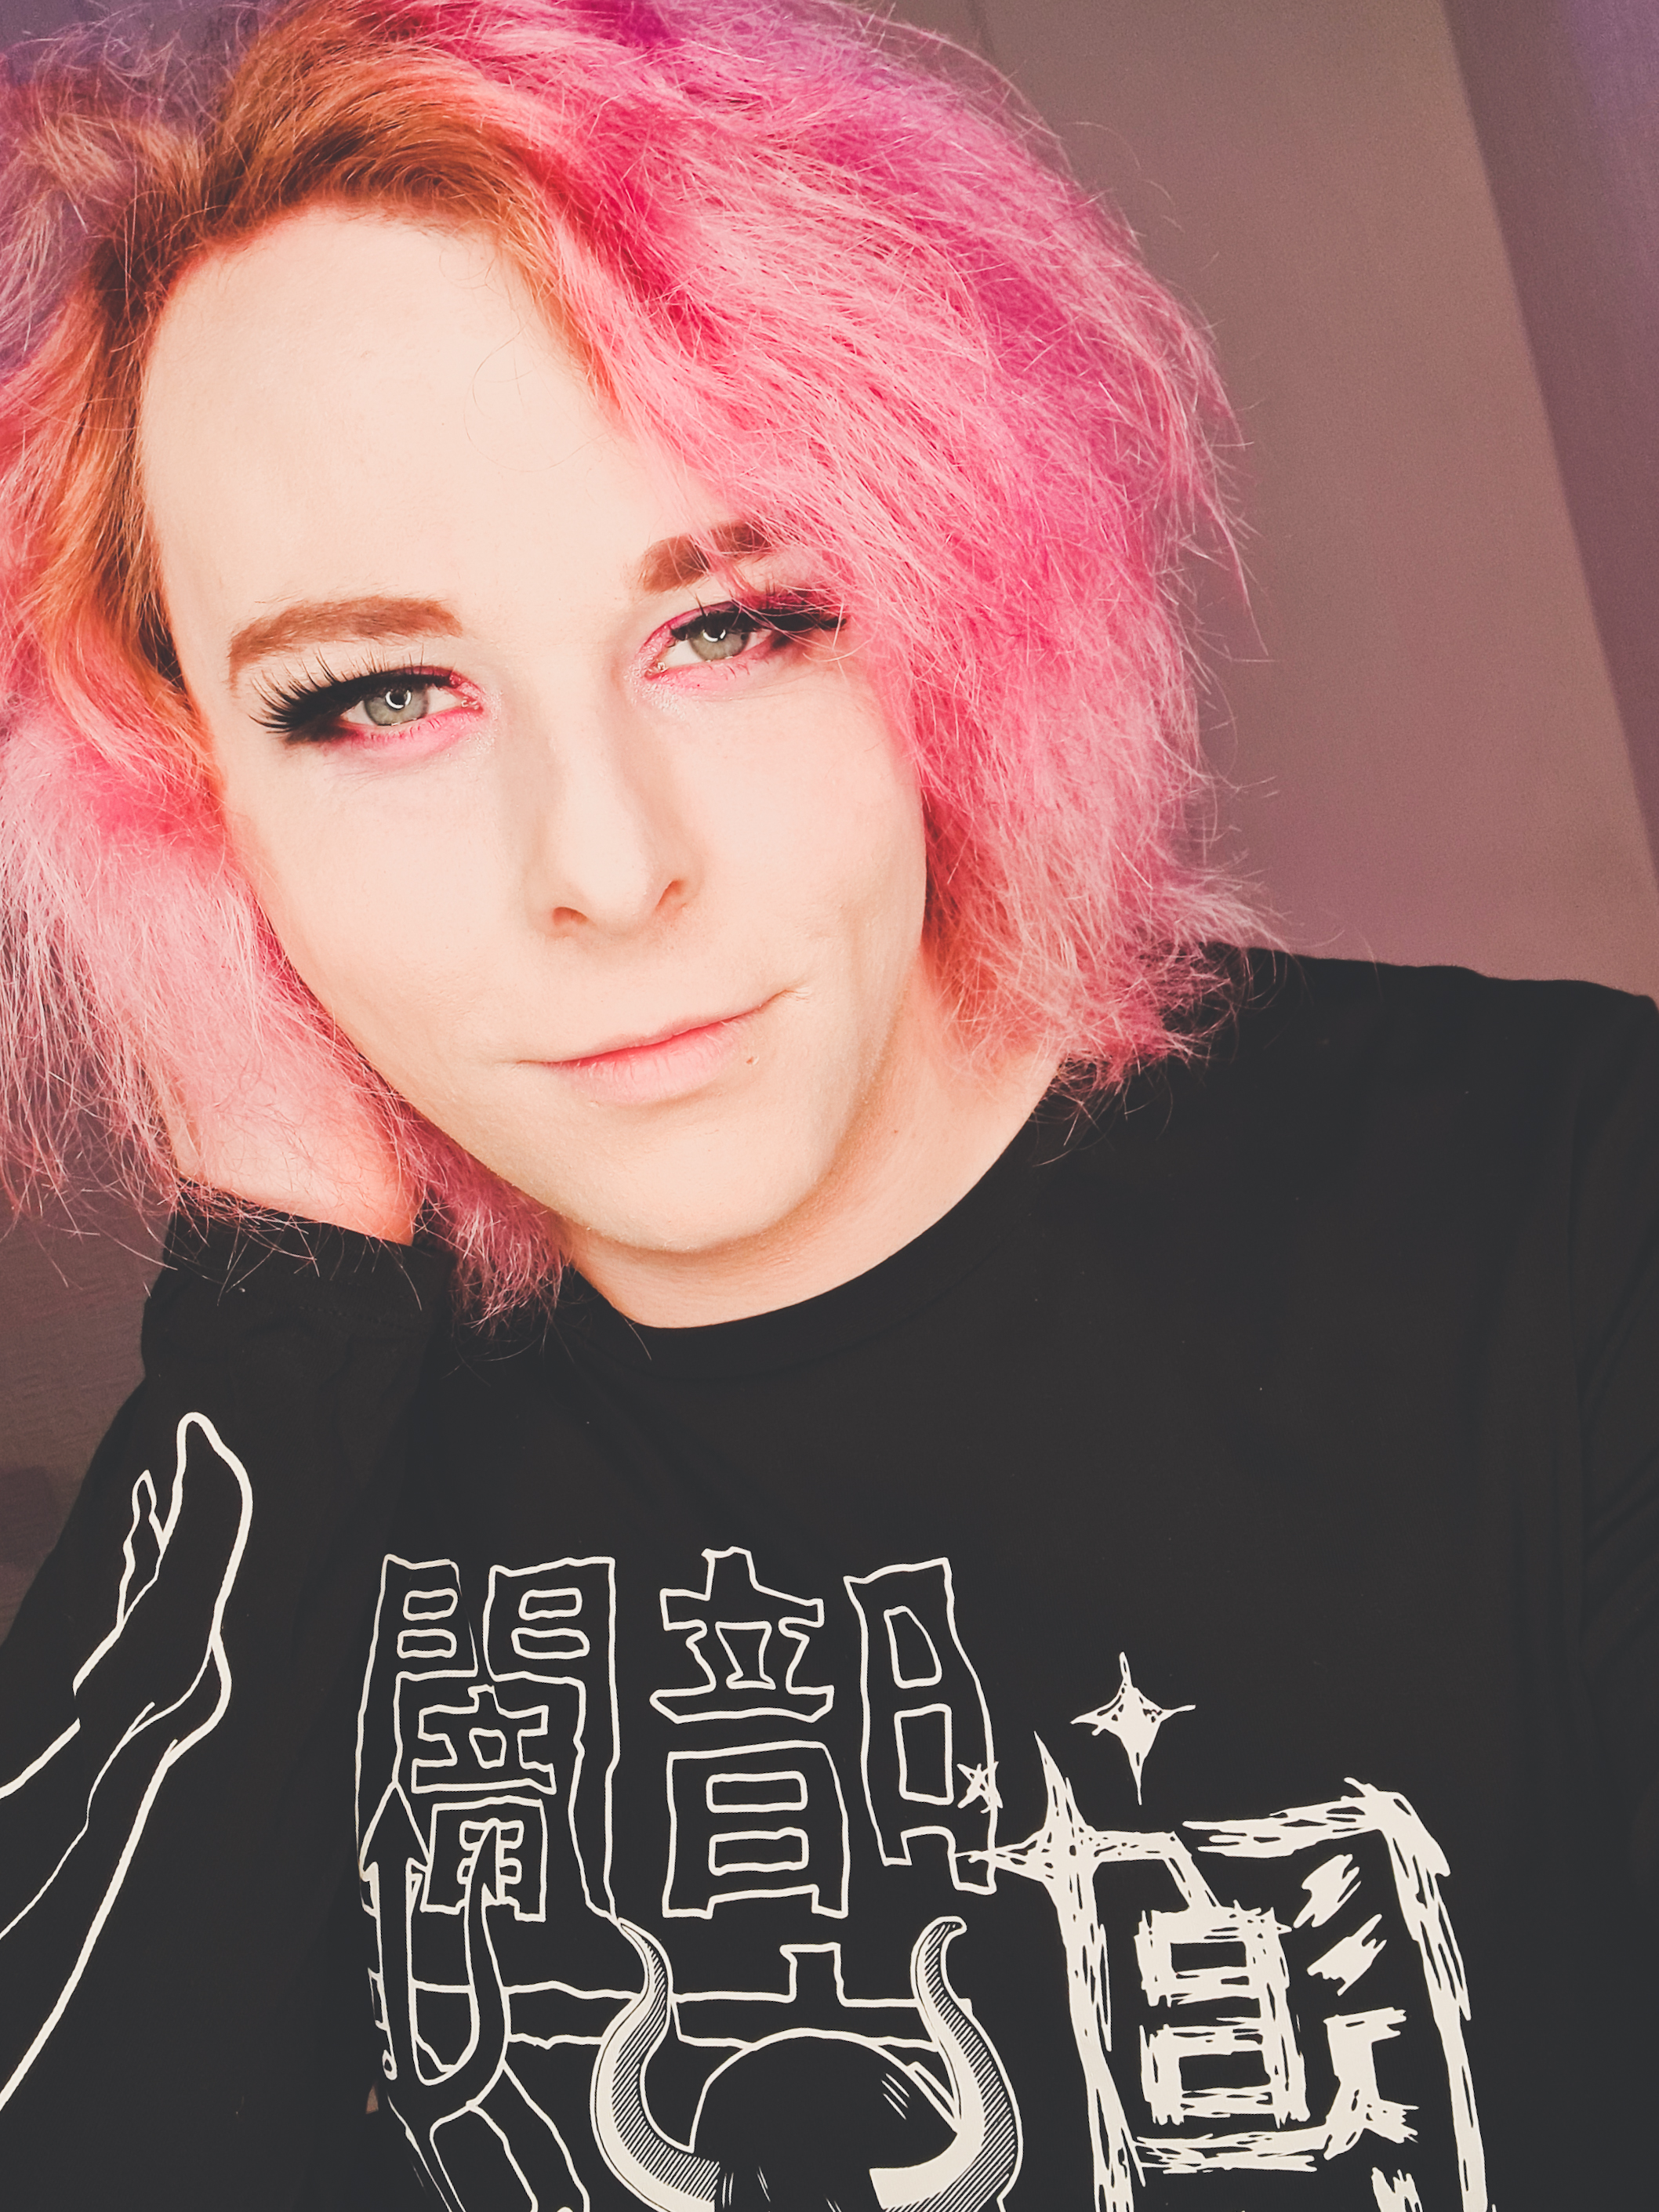
Gergana Hristova
Hello! My name is Gergana Hristova, and I am from Bulgaria. I am also a freelance product designer, children’s book illustrator, character designer… pretty much anything that can be done in Photoshop. I have been very lucky to work with some amazing clients such as Warner Brothers, Hasbro, and others. Thanks to that Toy Design developed gradually as a passion of mine.
Although drawing is both my hobby and career, a few years ago I started realizing the need to expand my skill set to stay competitive in the market. My role was always limited to a concept illustrator, so in 2020 I finally decided to sign up for a month-long ZBrush beginner’s course. Later, I started learning Blender through all the free tutorials on YouTube and I eventually discovered Character Creator 3 and iClone 7.
Why I created this showcase
For the contest, my goal was to take something stylized and 2D and see how well it would translate into 3D. Almost instantly I decided to go with Anime as I highly admire the industry.
My dream was to one day create toys, but when I decided to participate in the lip-sync animation contest, I was blown away by how easy and fluid the animation process in iClone felt. Creating characters and giving them life took very little time, and I was only scratching the surface!
Anime characters tend to be designed in a way that works best when drawn. To recreate them in 3D I debated whether I should keep this stylization, which was going to be too tricky for my skill level, go more realistic or attempt a balanced mix with (my favorite) Disney/ Pixar styles.
Trying to get as close as possible to the original source without turning the character into a Disney Princess was an interesting experience, and the result still leaves a lot to be desired. Nevertheless, for the first time, the 3D world felt accessible and limitless with possibilities!
How I do it with iClone
3D Judar Tutorial #1 and #2 :
Step 1: Finding and building the character in Character Creator
For my character pick, I decided to go with Judar from a show called Magi. I enjoyed the voice actor’s performance and I also thought animating long braided hair would be fun.
Thankfully, Character Creator saves me days building and rigging the models from scratch. In addition, I used the already stylized “Steve” from the Cartoon Character Bundle to save even more time. From then on, it was only a matter of playing with the convenient sliders in the software until I reached the desired result. And adding details like abs, arm muscles, and even make-up was made super easy through the Realistic Human Skin feature in the program.
Step 2: Additional software
One of the fun parts is customizing your character. Since I was following a model sheet I had to consider other programs to get what I needed.
With the help of Photoshop, I created the PBR maps for the eyes and even adjusted some of the details on the skin.
The scarf I created in Marvelous Designer to make it look more realistic.
Blender helped with pretty much everything else. Using simple shapes, I was able to sculpt them into jewelry, pants, and even a braid-looking thing. And the Blender Hair tool Plug-in is probably the best and most enjoyable way to create any specific hairstyle. For the anime look, all you have to do is taper the ends slightly to make them look pointy.
Step 3: Creating and lighting the sets
The “super complicated” sets are actually flat surfaces covered with PBR textures. Even the arches in the 4th sequence are a simple plane with the creative use of an opacity map. There are plenty of Royalty Free images on the internet, but I also created/modified some in Photoshop too. Basically… I am lazy when it comes to backgrounds. I prefer to focus on the characters.
For the Lighting, I limited the palette to blues, teals, and a bit of orange as a complementary color.
Step 4: Animating the Body and Hair
The scenes I picked to recreate in 3D had little to no character animation. Nevertheless, I took advantage of the Motion Puppet tool to create some simple movements and avoid having the character stand in place like a statue the whole time. In the first sequence, for example, I positioned his hands above his head and only recorded the movements of his lower body using Motion Puppet’s “Bored” option. It’s super easy to customize and probably one of the best features in Iclone7.
Similarly, the braid’s subtle animation in most scenes was quick to pull off by using the Spring Effect option and the Prop Puppet tool.
If there was one thing that I was worried I would completely mess up, it would be lip-syncing. Lip-syncing was what made me give up on traditional character animation a decade ago. It can be the most time-consuming, mind-numbing, tedious task and I wasn’t looking forward to it… So when I saw what AccuLips could do, I almost wanted to cry with relief!
With a large chunk of the job automatically completed, I was able to focus more on better matching the mouth shape to the sounds, facial animation, and expressions. There are many ways to animate the head, but I decided to use the keyframes method as it allowed me to better control the movements.
Final Step 6: VFX
And finally, it was time to add all the cool effects, such as smoke, lighting, magical butterflies, and, of course, floating dust particles. I had already bought the PopcornFX plugin and I was dying to see what it could do. Surprisingly, its library covered all the effects I needed and some more! They were easy to customize, simple to use, and fast to preview. I might not need an exploding fireball for a video any time soon, but some of the features, such as the Steam, Raising Dust and Dust Particles effect I imagine are a wonderful finishing touch for any scene.
Final Thoughts and Conclusions
As you can probably tell, I am a very lazy and yet picky person. That’s why I found Character Creator and iClone to be a perfect match for me. The most tedious, time-consuming tasks can be done in an instant, allowing me to focus on being creative and having fun!
Michael Choate – Artist, Content Developer, Animator
Michael Choate
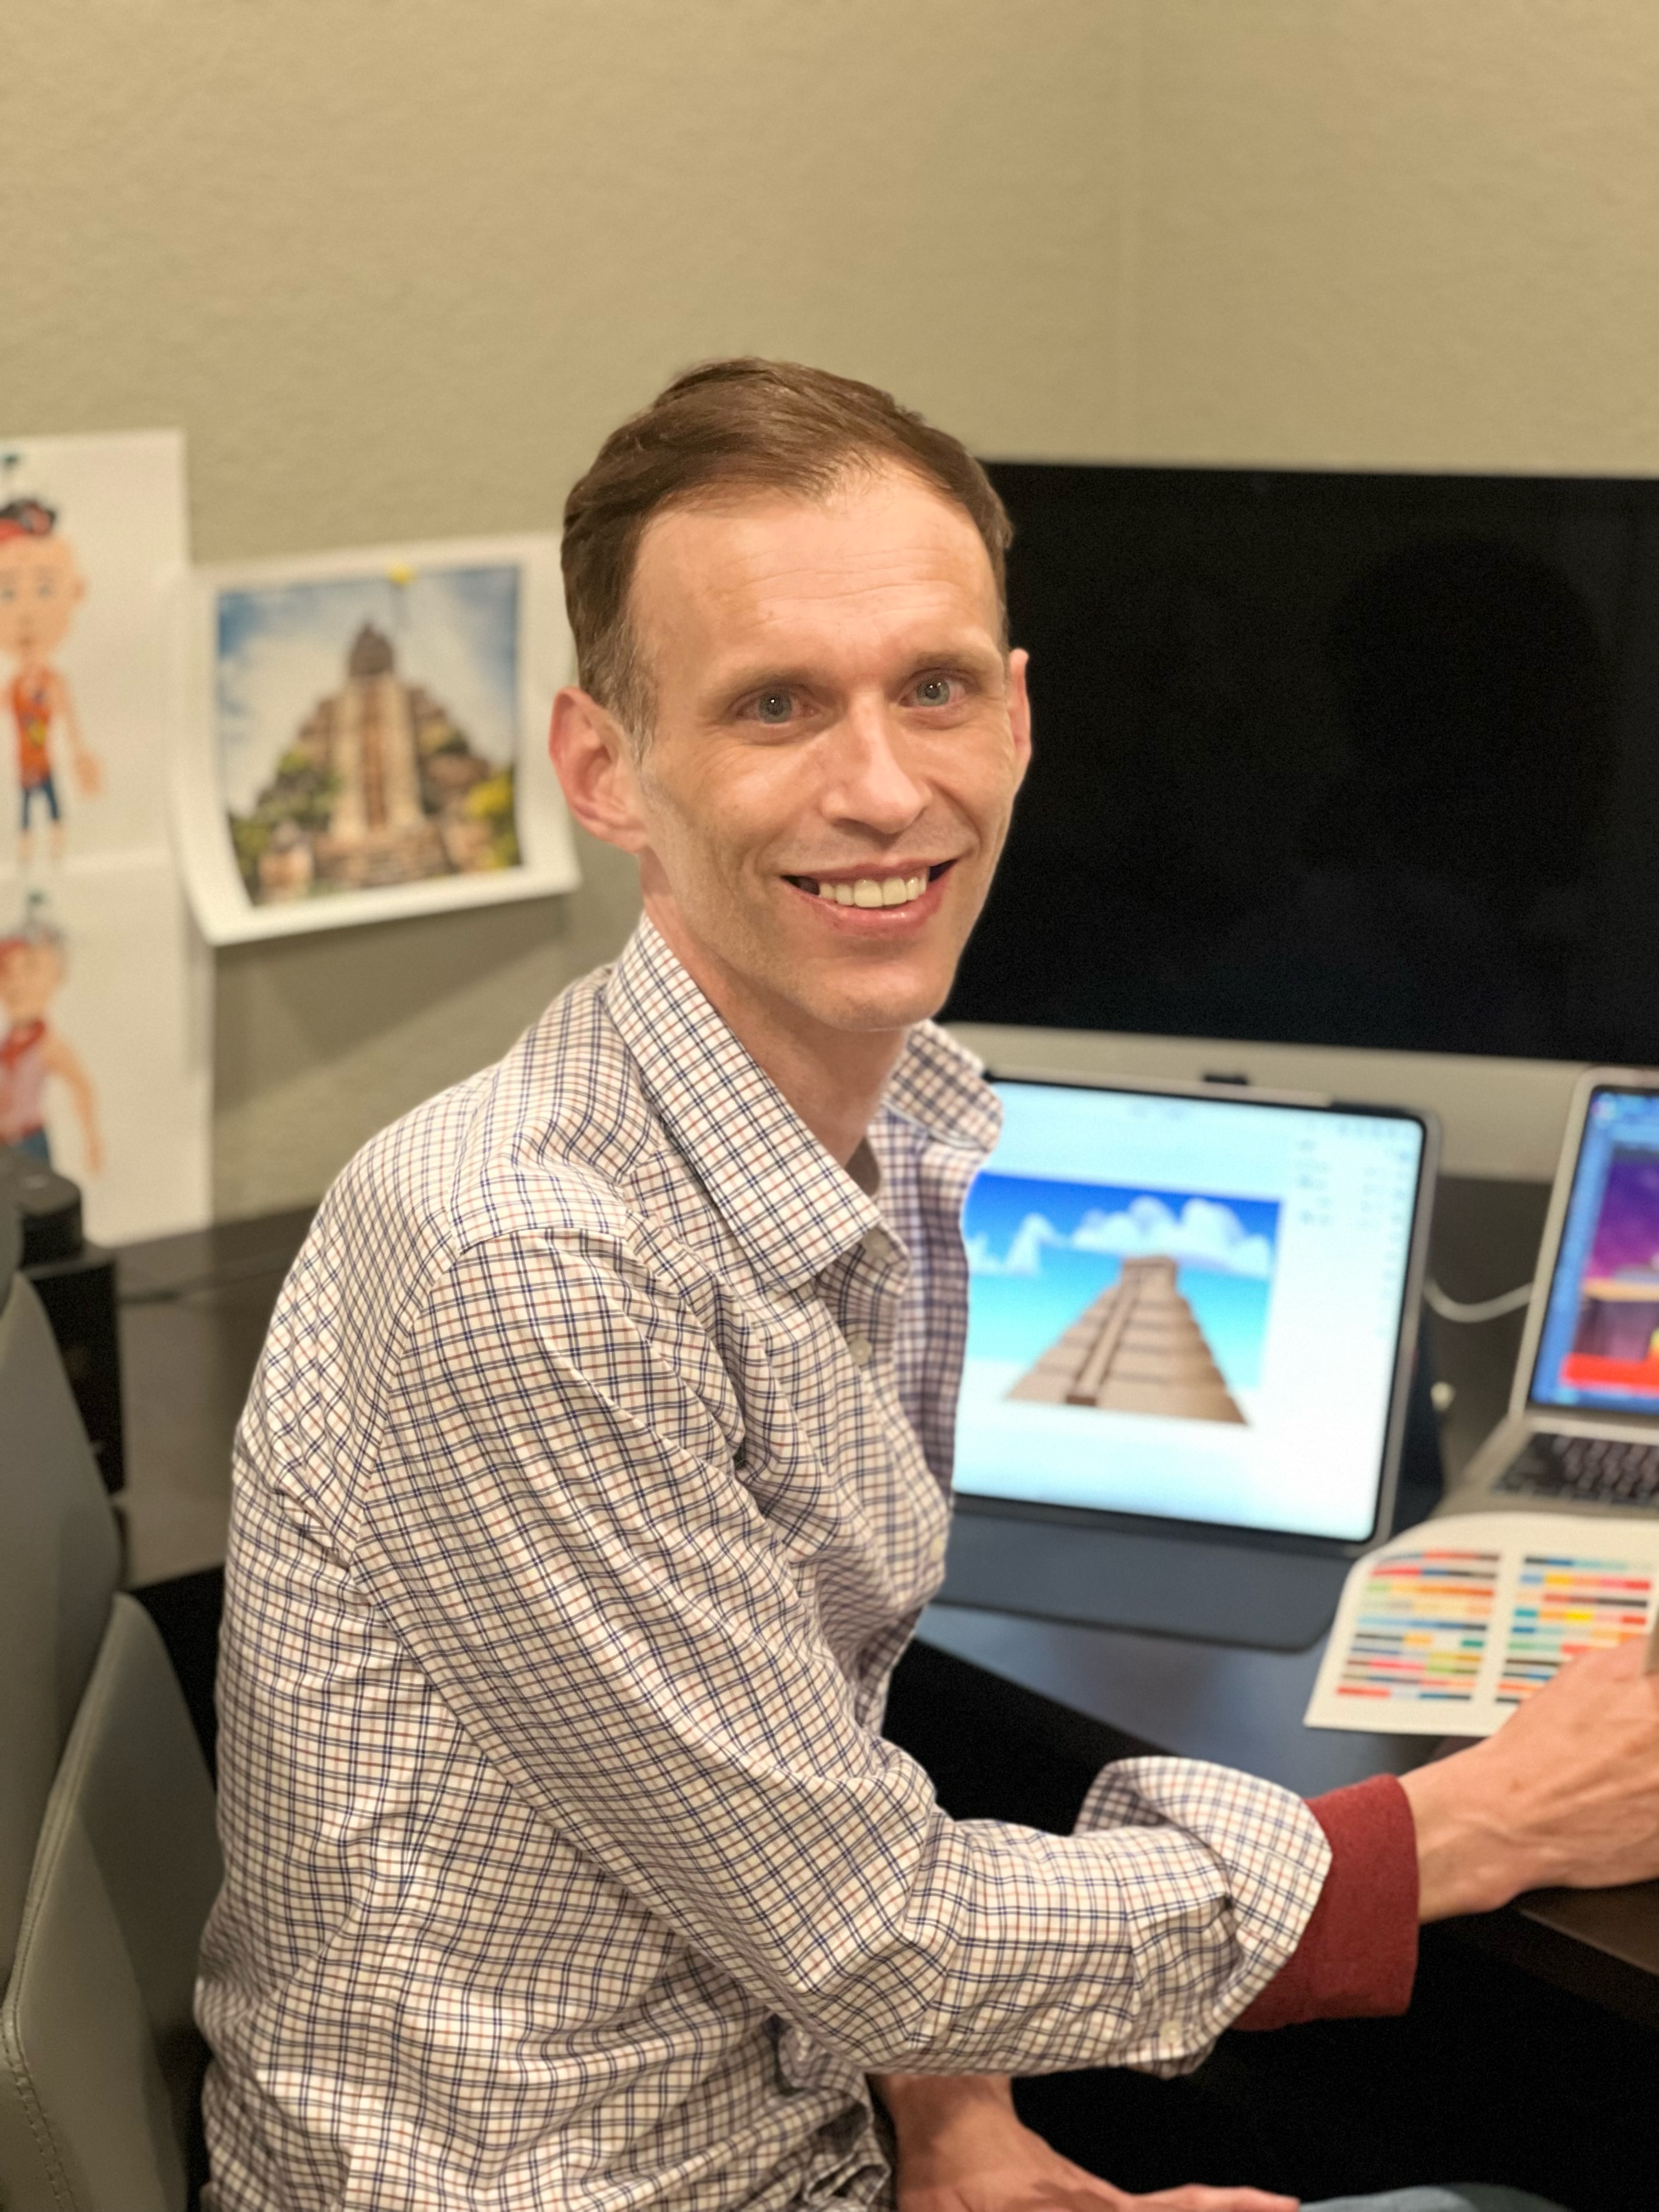
Michael Choate is a part-time artist, but after discovering Cartoon Animator, he now has a strong desire to take his art to a new level and become a full-time artist and 2D animation content developer, creating entire worlds of assets for other animators.
Drawing inspiration from the world around him including his own neighbourhood, Michael’s enthusiasm and passion for his work are the driving forces in his goal to dominate the 2D Marketplace.
.
.
“When it comes to ease, Cartoon Animator is unmatched! I found Cartoon Animator and the ease of it blew my mind. It is so quick to just open Cartoon Animator and start animating, and this program has attracted so much talent and kind people that the benefits of the community are a plus.”
Michael Choate – Artist, Content Developer, Animator
Hasraf ‘HaZ’ Dulull – Filmmaker / Director / Animator
Hasraf ‘HaZ’ Dulull
HaZ started his career in Video games before moving into Visual Effects, and then later transitioning over to Directing & Producing with his breakout feature film THE BEYOND, the indie sci-fi was released in 2018 and was number 2 in the iTunes Charts before being licensed on Netflix and turning into a profitable movie.
His second feature film – 2036 Origin Unknown, starring Katee Sackhoff (Battlestar Galactica, The Mandalorian) earned a limited Theatrical release before landing on Netflix. He was then hired by Disney to helm the pilot for action comedy series Fast Layne, where he also served as EP / Creative Consultant on the entire series.
HaZ is the co-founder of production company HaZimation producing animated feature films, series and video games based on their propriety pipeline utilizing Reallusion’s Character Creator, and iClone with Unreal Engine. He is represented in Hollywood by The Vendetta Group.
“The Reallusion toolset empowers me as a filmmaker to have hands on control with the animation, thanks to the intuitiveness with the tools available from iClone’s Face puppet, to AccuLipsync, Hand Gestures and more, which I use on a daily basis when creating shots and collaborating with my team. I don’t think we would have been able to have this creative flexibility and high-quality output for our feature film and video game simultaneously, without the integration of Character Creator and iClone in our pipeline. ”
Hasraf ‘HaZ’ Dulull – Filmmaker / Director / Animator
Skye Russell – Sr. Producer, Level Designer & Environment Artist, Character Designer
Skye Russell
I’m the Sr. Producer, the Level Designer & Environment Artist, and the Character Designer for TwilightStar: Heart of Eir at Dragonclaw Studios. I am what many would call a wearer of many hats- or crazy! I like to think both.
When I first joined Dragonclaw Studios, I did so intending to build a community around the games they were going to make, as well as spearhead crowdfunding campaigns and marketing efforts. Though the direction quickly changed. I found myself needing content that wasn’t being produced. I began getting involved in the project directly in Unreal Engine. At first, I was just using Sequencer to create video renders to showcase the game. However, the environments at the time were not what I would call compelling- not at all the direction that the project lead saw for Heart of Eir (there wasn’t an environment artist or level designer on the team).
So for me to be able to create the video renders and screenshots that I wanted to give to the community, I had to start creating environments and scenes- and I like to think I got relatively good at it in quite a short space of time. My skills were constantly evolving and so too were the environments. This process was made easier by the fact my fiancée is a creative writer, she helped craft the story and lore for the game & Twilight Star universe. But even with these developing environments and meaningful story, something was missing- people!
And this is when we discovered the Reallusion ecosystem. I dove right in, and as I did with the environments, I did with characters. Iteration after iteration to better my skills and in turn the characters I could produce with this amazing suite. Soon enough I found myself assisting in the day-to-day management of Dragonclaw Studios, and its TwilightStar franchise, starting with TwilightStar: Heart of Eir.
“The entire Reallusion suite has been paramount to our studio’s success. For anyone looking to add production value to their indie studio/games that allow you to go up against even AAA quality- Reallusion’s suite will really allow you to transform your workflow, game and success. A must have tool for all creatives!”
Skye Russell – Sr. Producer, Level Designer & Environment Artist, Character Designer
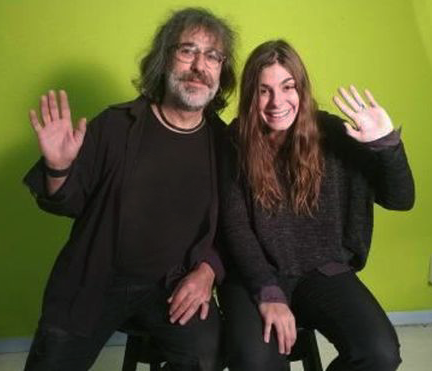
Indigo Studios is an independent game development company, created by Judit and Kim, two professionals with long experience in the audiovisual world, as directors and scriptwriters.
The main focus of their productions are games with great stories, deeply developed characters and suggestive atmospheres with elaborate scripts. It also focuses on the creation of original soundtracks and the treatment of scripts of all kinds.
“We believe that in the future, even beyond video games, there will be new realities, distinctly wonderful and exciting, where you can feel everything from the heat of the desert to the cold of winter, where you can even smell from a garden rose to a dusty old book. A new dimension, where virtual characters will accompany you in an immersive way through realities imagined by the most creative and surprising minds. From Indigo Studios we will try to improve every day and do our best to try to bring the player closer to these new experiences. ” – Indigo Studios
“As a small studio, we have achieved incredible results in record time, previously only possible for big studios. Reallusion makes this magic possible as in the world of video games it is so difficult to choose the right development software. Reallusion was for us the unquestionable best choice for realistic characters and animations. Thanks to their tools, our games can reach the next level of quality.”
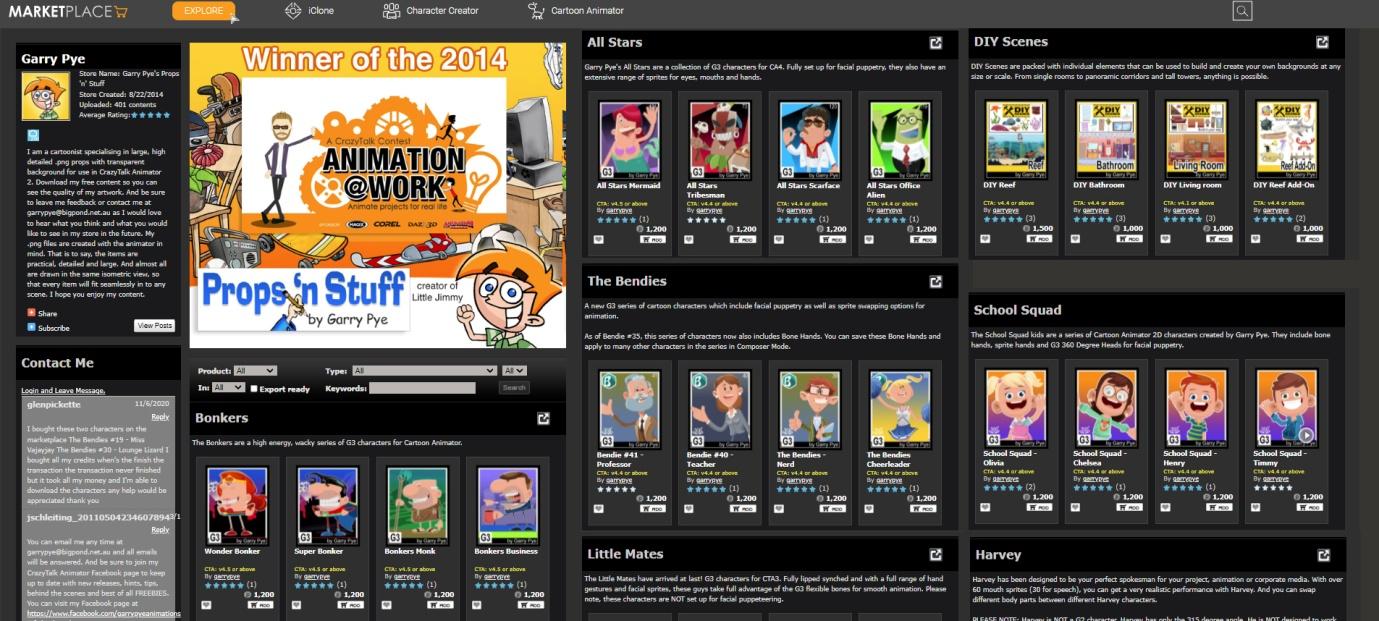
by veteran Cartoon Character Animator content developer – Garry Pye
Introduction
Being able to draw or animate does not guarantee success when it comes to making money from your talents. Having been a content developer in Reallusion’s 2D Marketplace since 2014, through hard work and good customer relations, I have built my own brand and have enjoyed considerable success, to the point that I was able to sell my family business and fulfil my dream of making content development my full-time profession.
Simply put, success does not happen overnight. Building a name for yourself in the Marketplace takes time, dedication and perseverance just as much as it takes artistic skill. If not more. I see many talented animation artists frustrated by their lack of success and sales, and I’ve seen artists with limited skills flourish and thrive. In other words, being talented is just the beginning.
I wrote this article because I am often asked “How can I make more sales?”. And I believe that there are a number of factors that developers need to focus on and maintain in order to be successful, all of which rely more on your customer skills and business logic than your ability to draw — and I want to share these ideas with others in the hopes of helping them reach the success they dream of.
I assume you have already set yourself up as a content developer in the Marketplace. If not, check this article on how: https://bit.ly/3u9o85L
What do I need to be successful?
This article will cover the 6 key points I focus on every day which has helped me become a successful Reallusion Content Developer.
Communication
Social Media Presence
Stay Current
Pricing
Freebies
Hard Work and Attitude
Communication
Coming from a background of 31 years in the retail industry, I treat my time in the 2D Marketplace exactly as I would if I was operating a store in the real world and dealing with customers face to face. I believe every customer deserves your undivided attention and should be made to feel like they are your only customer. I take the time to respond to or answer every single message, thread, post and email that is sent to me.
It is not enough to simply load your content to store, sit back and wait for the money to roll in. You need to make yourself available to people and engage with them. Not just your customers, but others in the animation community you come across on social media who are looking for help or advice. Be open to engaging in conversations about the industry that can present opportunities for you to attract new customers. On many occasions, I have taken time out to help a total stranger who was so appreciative that they became a loyal customer.
Your audience will first start to build because people like your animation work. They will continue to support your animation work if they learn to like YOU. Making yourself available to your audience and your customers allows them to feel connected to you, and in return, they will support your animation work because they want to see you achieve.
Be sure to nurture your audience. Don’t run the risk of losing loyal customers by assuming they will always be there while you go off in search of shiny new ones. Pay attention to the customers you do have and more will follow. The customers you already have are the most important asset and deserve your attention.
Social Media Presence
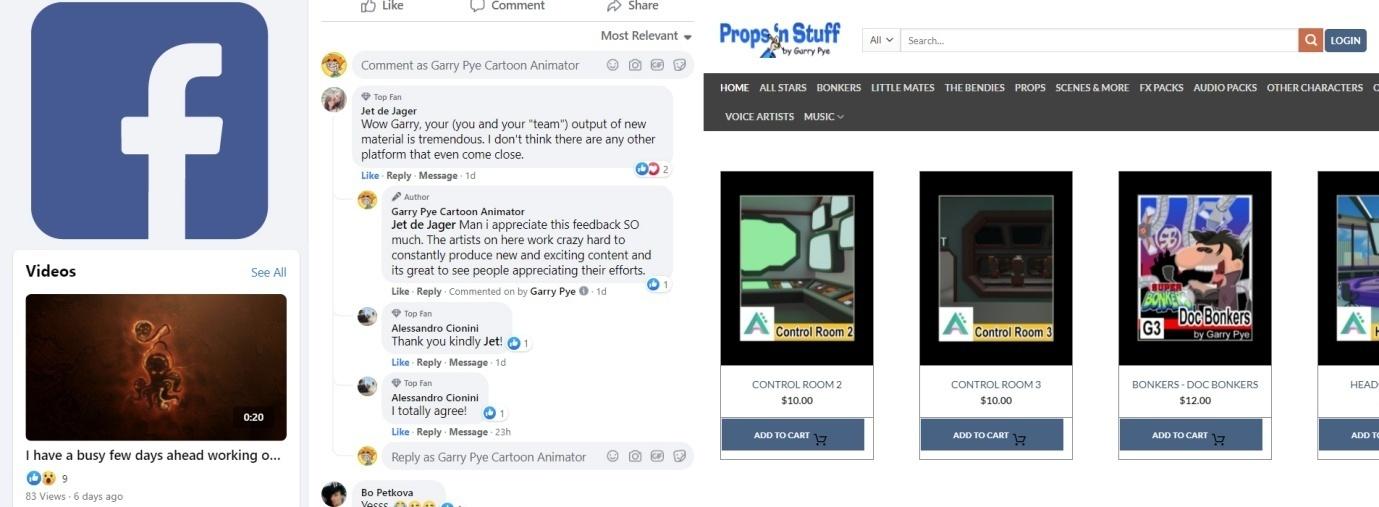
My main promotional platform other than the 2D Marketplace itself is Facebook. Facebook is a very visual platform that encourages deeper conversation, engagement and feedback much more than other social media platforms in my opinion. I do use other platforms like Instagram and Twitter, as it is good to spread your presence across them all to reach the largest possible demographic.
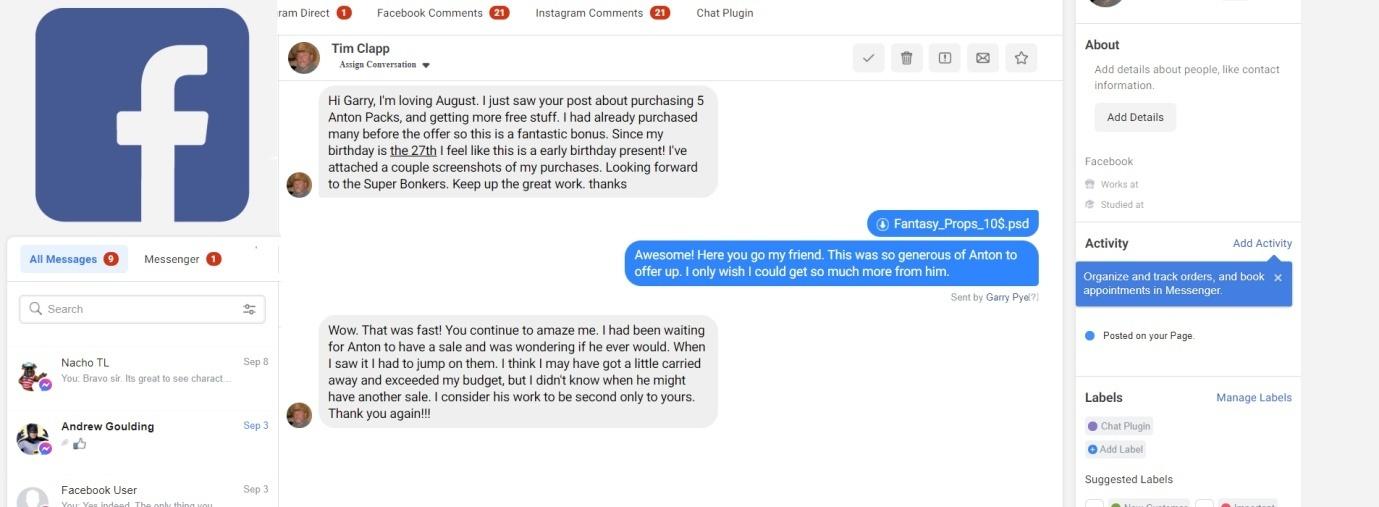
As I run my animation business full time, I am always at my computer and Facebook allows me to engage with customers in real-time. As a customer, there is nothing more frustrating than waiting several days or even longer to receive an answer to a question. Having Facebook on my computer and phone means I am always available to my customers and my reply time is very fast.
Social media gives you the power to be your own marketing guru. You can create ads, both free and paid for, as well as behind the scenes features and articles that give unique insights to your customers about your content creation. Use social media to create a buzz around the release of your next big content pack and let your audience know what’s ahead, as well as entice potential new customers to check out your work.
Consider publishing animations that incorporate your content and even videos of you talking to the camera about your work which will help your target audience connect with you as a person, rather than just a retailer. In my experience, videos attract a much higher rate of engagement than static images with text.
Stay Current
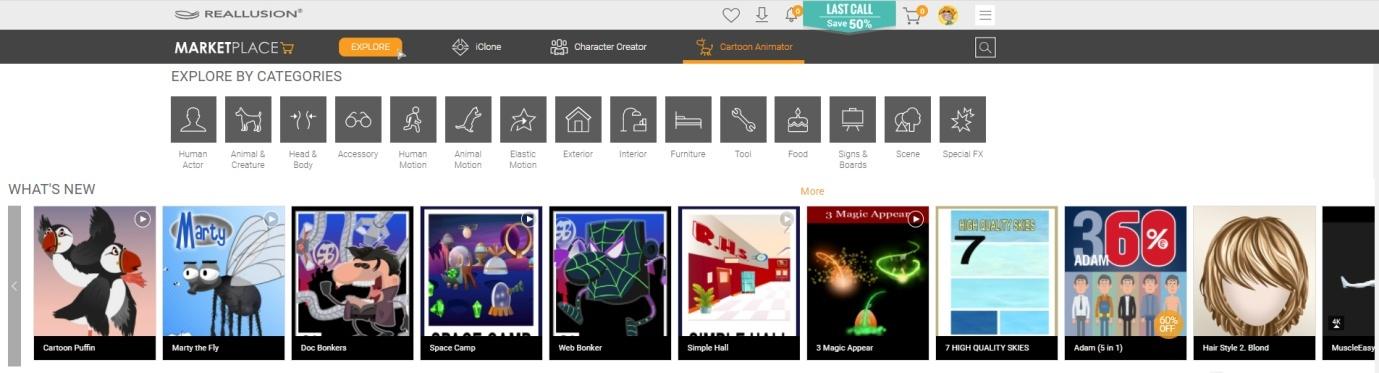
The 2D Marketplace is a visual guide to what’s new, what’s selling and what’s most popular. A bustling, fast-paced community that is consistently being updated. However, a content item you post today may only last a day or two before being lost in the crowd of new inclusions because the page is updated daily with great new content, and if you are not constantly visible on the Marketplace page, people are less likely to think about you and buy your content.
There are seven key areas of the 2D Marketplace where your content can appear, and if you plan your releases, you can ensure you are always visible to potential clients.
First up on the Marketplace page is the “What’s New” section, and as the name suggests, this is where all new releases feature first. Because every single pack released appears here, your newly uploaded content will most likely disappear quickly and the only way to stay in this row is to produce content at a fast pace, which is my strategy. Another way of ensuring that your work is always visible in the “What’s New” section is to monitor the page and stagger your releases, adding new content as required to ensure your name always appears in this section. And finally, a small discount on new release content for the opening week or month is a sure-fire way of attracting potential customers. After all, who doesn’t love a bargain!
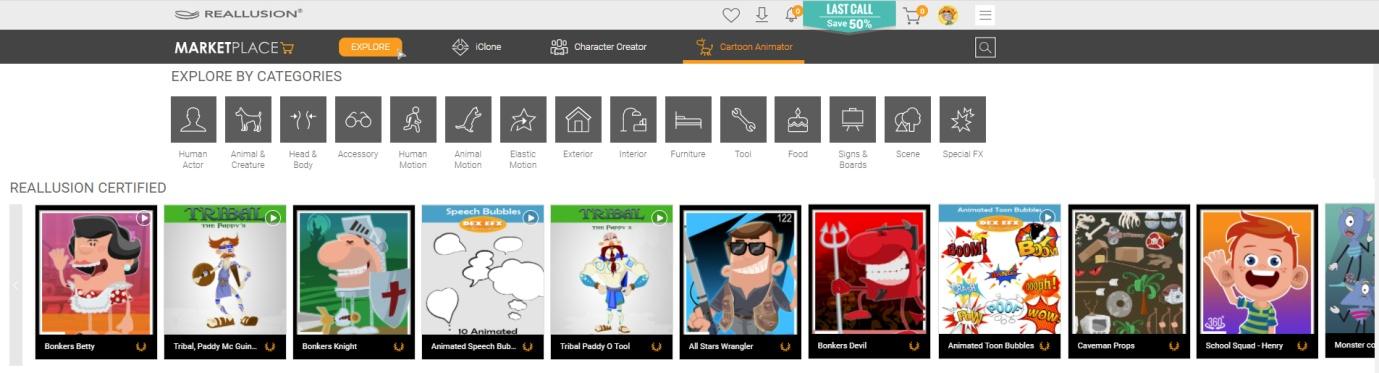
The next row, “Reallusion Certified”, showcases the best content packs in the Marketplace, handpicked by the staff of Reallusion. This is content created by developers whose work can be relied on as the highest quality and customers know they can purchase with confidence. Once you prove yourself as a quality developer, your work may automatically appear here.
Next is “Top Trial Download”. When you load new content to the 2D Marketplace, you have the option to set it as ‘Trial Enabled’ in your Content Uploader. This allows potential customers to download your content to test it, but it will remain watermarked until it is purchased. A good way for you to allow customers to try before they buy. “Top Trial Download” represents the best selling content that is trial enabled.
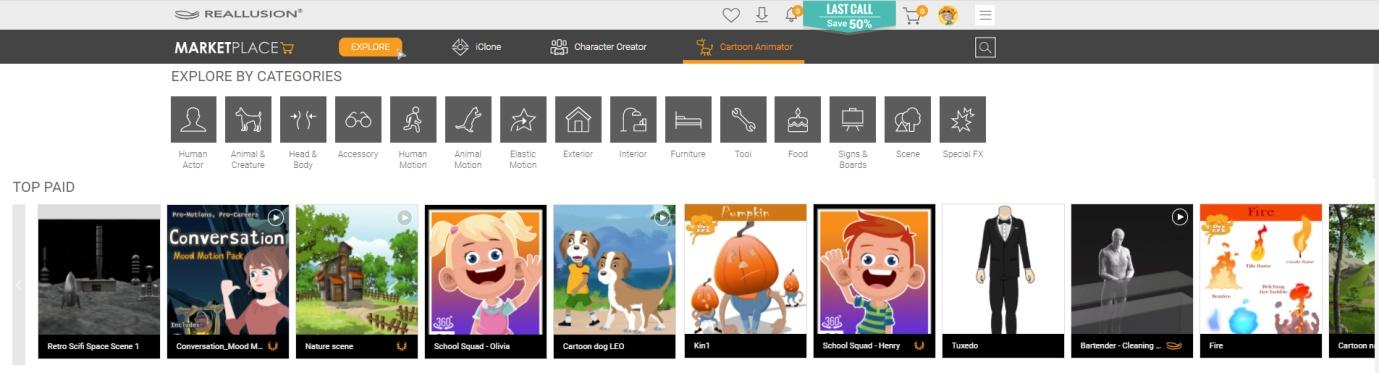
“Top Paid” content is that which has had the largest volume of sales, and if you are fortunate enough to have your packs featured here, this means your work is selling and you are making money!
A very important section of the Marketplace to feature in constantly, and also the easiest to appear in is the ‘Free’ section. Everyone loves a freebie, and the ‘Free’ section of the 2D Marketplace is one of your best assets. By giving away free samples of your work, potential new customers get to test out your content quality risk-free, and if they like it then they know where to find you for more. I always make sure I am listed in the free section because it is the first place most customers look.
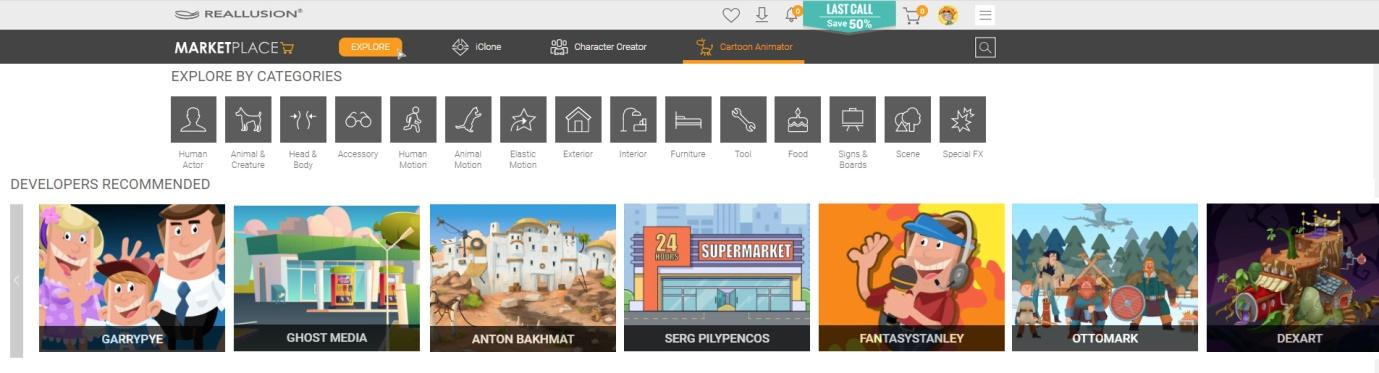
Once you have built a reputation for yourself as a trusted developer, there are two more sections of the Marketplace page you may find yourself. First is the “Developers Recommended”, again chosen by Reallusion. These are developers with a solid reputation for work quality and quantity. Once added to this section, your thumbnail will take customers directly to a page featuring only your content.
And finally, we have the “Featured Stores”. If you are invited by Reallusion to have a Featured Store, then you will be recognized as one of the top independent developers forCartoon Animator. The number of Featured Stores is very limited and a goal you should strive for if you want to reach the highest level of success.
Staying current means reinventing yourself and your art so that your customer base sees fresh material all the time. Don’t get stuck in the rut of doing the same thing over and over. It’s great to create a series that has a large volume of material with a consistent look and feel, but you will attract a wider audience if you offer variety. When I started contributing to the Marketplace, my focus was on creating only props and backgrounds for 2D animation, however as time progressed, my greatest success came from cartoon character creation. So be open to the possibility of a variety of content.
Pricing
How to price your content is hard for anyone to offer suggestions for. After all, who is to say what an artists time, talent and work are worth. The digital sales of the Marketplace work very differently from retail sales in the real world.
For instance, in the real world if you make a pizza and sell it for ten dollars, then you have to make another pizza before you can make more money. This takes time and resources. But in the Reallusion Marketplace, once you make a content pack, you can sell that same item indefinitely. The same item sells over and over and over again. That’s why the price point is so important. You need to set your price in a way that is competitive in the Marketplace and sales are constant.
If you put in a week’s worth of work on a content pack, and you ask for a weeks pay for that one pack, it’s unlikely it will sell. You need to think of it in terms of passive income. Once you create that pack, regardless of how long you spent making it, it will forever sit quietly in the Marketplace selling, and you never have to do another thing to update it. So it is better to have a low price and sell high volume, as opposed to a high price that sells low volume.
I can spend a week on a pack and sell it for $12 USD. But remember, if a hundred people buy that pack at twelve dollars each, then that time and effort is now worth twelve hundred dollars. And that’s a good payday! So my advice is to be careful that you do not outprice yourself.
Freebies
Potential customers have an abundance of great content to choose from in the 2D Marketplace and only a limited amount of cash to spend, so they need to be selective about the animation artists they spend their hard-earned money with. They might see your content and like it, but have to choose between your content and another developer work. So how do you make them choose your content? I treat my Marketplace store as if it is a chocolate shop, with me standing out the front handing out free samples of chocolate to entice people to enter my store because when you give someone a sample of your content for free, they now have your content in their toolkit, can test it out and if they like it and use it, then chances are they will want to expand on their collection of your work for future projects. Not only that, but they now see you as a generous developer and are more likely to support your work.
Free content is eye-catching and can keep you current on the marketplace page in the ‘Free’ section where even more people will see your work.
It is not just potential new customers you should focus on when handing out free content. Reward your most loyal customers and followers with free content as a way of thanking them for their support. I have given away thousands of dollars worth of content, and the more I give away the more money I make because it attracts people to my content. I want to make sure that every visitor to the Marketplace leaves with some of my content, so they can work with it and come back for more.
Hard Work and Attitude
You are your own brand now. This is a business. Just like any other major corporation in the world. The only difference is, while big corporations have hundreds, if not thousands of people running their businesses each day, you are only one person. Imagine your local retail giant. This company has a multitude of people for every job that needs doing. But you have to do them all yourself. Design, production, marketing, customer service, advertising and promotions. Every job performed by an employee inside a company, from the janitor to the CEO is your responsibility. So you need to focus and work hard to fill each of these roles. And you have to do it every day with a smile on your face that keeps your customers happy and engaged.
The right attitude to your work is just as important as any artistic skills you can bring to the table. I wake up every day excited about getting to my home office and starting work, and the biggest challenge I face every day is knowing when to stop because I love what I do. The saying I live by is “Find a job you love and you’ll never work a day in your life.” If you enjoy what you do, then you’ll automatically work harder and produce better results.
If you work hard, results will follow. But do not expect this to happen in your first week or even first month. Becoming a Marketplace Developer should be a long term pursuit. You are going to start your journey in the 2D Marketplace with a single content pack, but as you produce more and more content you will increase your chances of attracting a loyal customer base. Just like you, I began seven years ago with a single content pack, and at the time of writing this article, I now have over 5,000 items listed in the Marketplace, all of which sit quietly earning money each month with absolutely no additional work required by me. For any animation artist prepared to put in the time and effort, the 2D Marketplace is a gold mine.
Conclusion
You cannot underestimate the value of hard work. Becoming a content developer for the 2D Marketplace might be a fun hobby, but you still need to approach it like a nine to five job. Your little corner of the Marketplace is your own personal retail store, and as such, you are the owner/operator, manager, advertising guru, customer service desk, information hotline, shelf stacker and cleaner. You have to do be able to do it all to be successful. Creating new content, completing these tasks and fulfilling these roles will take time and effort and focus. And you’re playing the long game. Success will not come overnight. Initially, you will join the Marketplace with a single content pack and will be vying for peoples attention against other successful, established developers with thousands of listed items in the Marketplace. However with work hard, quality content and a little bit of luck, in time, you too can dominate the 2D Marketplace.
Best of all, the Marketplace is open 24 hours a day all year round. So while you sleep at night, your content continues to generate a nice passive income for you. I wish you the best of luck in your new venture as a Reallusion 2D Marketplace Content Developer, and if ever you would like to discuss further how you can achieve success here, never hesitate to contact me at garrypye (at) reallusion.com
Marc Arnaud is a Reallusion Certified Cartoon Animator Trainer who has progressed beyond using the 2D animation software for his own purposes to educating and training individuals and also larger companies on how best to apply the animation software for their needs.
In this interview Marc discusses the ways he shares his own extensive knowledge of CTA to use in order to help others and build his business brand.
“Cartoon Animator is the most advanced software for creating 2D animated videos, without necessarily knowing how to draw. What I like about Cartoon Animator is the ease with which you can animate a character.”
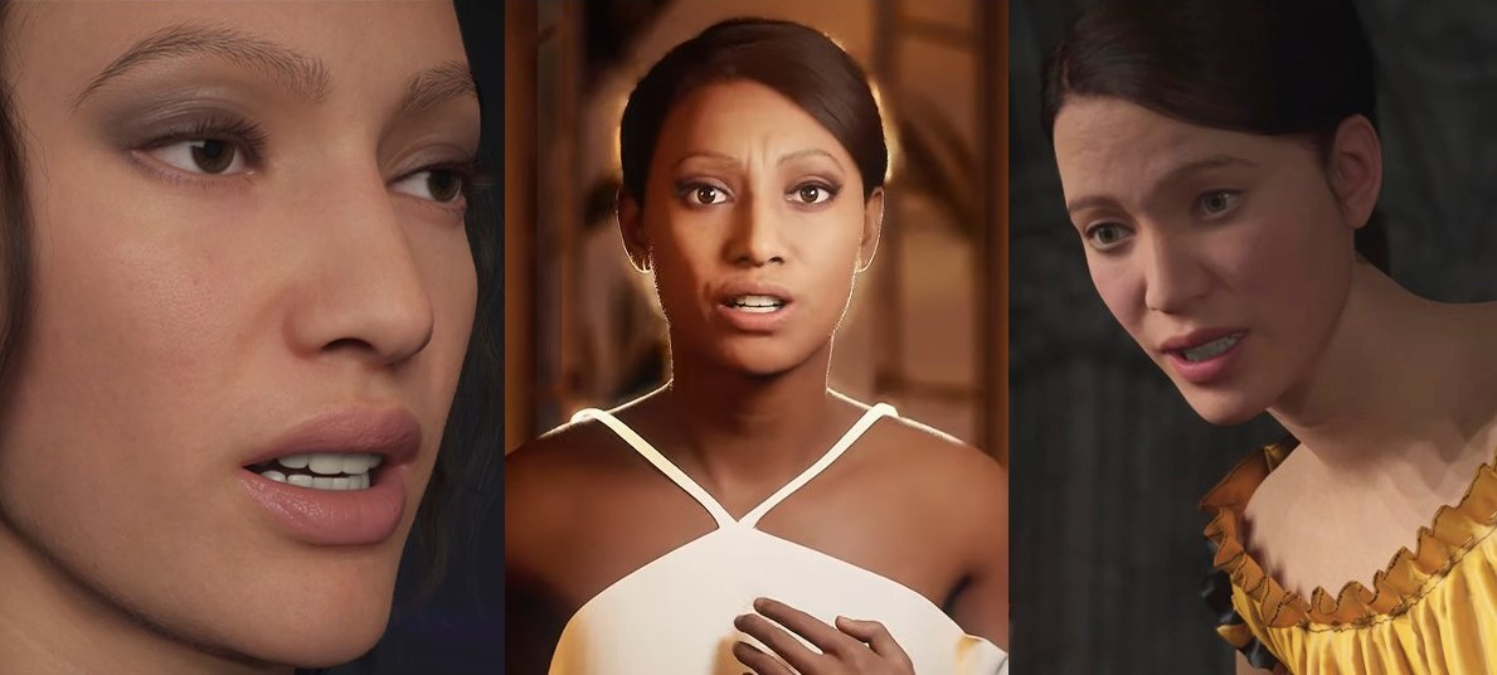
Having received more than 450 entries around the world, Reallusion is happy to announce the final winners of the October, 2021 iClone Lip Sync Animation Contest from a line-up of very compelling artworks. Using 3D tools to represent real-world visuals is difficult, especially when it comes to human facial expressions, subtle behaviors, and expressive emotions. That’s in part why we find it fascinating to see the diversity of MetaHuman performances from the submitted entries. Especially those that have expressiveness and vivid acting, that not only demonstrates the efficient use of iClone animation tools, but also proves that creating realistic humans in 3D does not require one to sacrifice originality. In this article, we will offer five lessons that we have learned from the contest winners, underlining the tools they have used and their insights into animating MetaHumans.
Lesson One: Effortlessly achieving outstanding facial and body animations in iClone
Complex human emotions such as affection, nostalgia, indignation, are features that Metahumans must possess to give convincing performances. And in order to express those emotions in a life-like manner, artists need to have a keen eye for details, such as the interconnected musculature between the eyes and brows, the frequency of blinks accompanying a variety of motions, like dancing and talking, and even the digital actor’s relation with the environment and other props in the scene. It’s worth noting that most contest winners have integrated many different tools to overcome these challenges to deliver the most convincing performances.
Petra Puljiz (HR)〈Love, Rosie〉Best Character Animation 3rd place
In Petar’s WIP video, you can clearly see how he skillfully combines several critical animation techniques to complete a well balanced piece of animation. He was able to deploy the best practices of the iClone to MetaHuman animation pipeline—a must watch you won’t want to miss!
Here are some key takeaways from Petar’s workflow:
After refining the Rokoko mo-cap data, Petar used iClone’s Motion Layer Editor to create several natural body movements giving emphasis to the character’s talking animation, including hand contact on the table, grabbing and releasing the cup prop.
Like the other contestants, he used AccuLips to drive the main lip-sync animation, and observed the Unreal render in real-time via the iClone to Unreal Live Link.
Instead of using facial mo-cap, Petar cleverly chose to blend subtle emotional expressions using iClone’s Face Puppet, and made final detailed tweaks via MetaHuman’s facial controller.
He relied on Marvelous Designer to create the character’s unique dress, and give it a dynamic animation within an environment built up in Blender—clearly, Petar has all-round talent.
Apart from wearing a Rokoko Smartsuit for motion capture, Jae’s choice of using Perception Neuron is a prime example of the high degree of interoperability within the iClone pipeline.
Robert Suckrow (DE)〈Dieter tells jokes〉Special Award-Replica.WIP
“I used Replica Studio to import the voice. Then I used AccuLip sync to improve everything a bit, in collaboration with Replica Studio… it is simply fantastic”
Robert Suckrow, founder of rosuckmedia
Lesson Two: Taking advantage of useful software synergies
Quite a few entries have attempted to blend the MetaHuman system with Character Creator into one holistic scene. Some entrants chose to apply both tools to one character, like Farayi, who used Character Creator to create an African warrior’s armor. While others have created two different characters to interact with one another, like in “Beauty and the Beast” by Lim Phong Hian, who skillfully captured the essence of a tearful scene between the Methuman “Beauty” and the “Beast” made with CC3.
Farayi Chinyanga (ZA)〈Azania Rises: Chinyere〉Special Award- Best MetaHuman.WIP(2:30)
Tool: iClone7, Character Creator 3, Blender, Unreal Engine, After Effects
“iClone facial animation is a life-saver. iClone’s Live Link compatibility with Unreal Engine makes that part of the production pipeline seamless.”
Farayi Chinyanga, founder of Formation Animation
Lim Phong Hian (MA)〈Beauty and the Beast〉Special Award-Movie Remake.WIP
“AccuLips provides me with a highly efficient way to make my character talk. I learned so much from using the various software from Reallusion. This is not the end but a new beginning for me.”
Lim Phong Hian, founder of Betapuru Digital
Lesson Three: Fast talking with style
Rapid talking animations can be the bane of accurate lip-syncing. However, some participants went beyond mimicking the audible language, they also worked to capture inaudible body language as well. In this aspect, CENIT Studio was able to reproduce the monologue performed by Woody Allen in Annie Hall, and layer upon it details that the original act did not have. On the other hand, we’re also impressed by Warren Gokul’s bold move to replicate the fast, but subtle, rap of Scatman John, well known in the 90s.
CENIT Studio (MX)〈Woddy Allen Monologue from Annie Hall〉Special Award- Movie Remake.WIP(1:36)
Tool: iClone7, Unreal Engine, Premiere, Rokoko
Compared to the long shot in 1977 Annie Hall, CENIT Studio was able to change the camera angles to sustain the audience’s interest, while Woody Allen’s character delivered jokes about his relationships with women over a symbolic background, which is a metaphor of loneliness and unease experienced by the character, exemplified by what was and was not spoken.
Warren Gokul (ZA)〈Scatman〉Special Award- Best MetaHuman.WIP
Tool: iClone7, Character Creator 3, Unreal Engine, HitFilm
“Accu-lips is amazing. I managed to produce an almost perfect animation in less than a day —it is truly unbelievable!”
Warren Gokul, Appifiny Games
Lesson Four: Imbuing personality and attitude
People around us express themselves by wearing different styles of clothing, adorning certain jewelry, and even undergoing body modifications, like getting piercings and tattoos. MetaHumans can also do the same! When given a small amount of time, artists can deploy these accessories to help personalize their characters and, in the process, garner attention.
StyleMarshal (DE)〈Ex-Sicario〉Special Award- Best MetaHuman.WIP
Tool: iClone7, Character Creator 3, Cinema 4D, Unreal Engine, After Effects, Xsens
StyleMarshal’s “Ex-Sicario” is a great example imbuing a MetaHuman with lively personality with carefully selected clothing and accessories. Firstly, the physics simulations of the fluffy hood and the Parka makes his dance more dynamic and interesting. Secondly, his Eskimo suit is a dead give away of the cold, harsh environment where he is currently in hiding, while his tattoos, nose ring, and earring are telling accoutrements of his quirky personality. When combined, these elements present to us a very compelling character, which makes the piece really stand out.
Giuseppe Vecchio (IT)〈War Cry〉Special Award- Best Student Artwork.WIP
Another good example is Guiseppe’s “War Cry”, in which a primitive warrior is chanting and preparing to fight with an enemy. The tension is thick between the clean face intruders and the tribal hero, adorned in war paint, as they face off. This piece has the dramatic impact to draw the viewers in to watch further as the telling of the hero’s past unfolds.
Piero Varda (PE)〈I like to move it〉Special Award-Honorable Mention.WIP(1:20)
Tool: iClone7, Unreal Engine, Davinci Resolve
Last but not least, “I Like to Move It” makes a noteworthy appearance with eye-catching clothing and dance performance that is sure to arouse interest from the audience.
Lesson Five: Tribute to the Classics with a Twist
We’ve also noticed a trend of paying tribute to pop culture classics with a surprising twist. Either it’s a contemporary representation of the legendary sci-fi film “The Matrix”, or the satirical juxtaposition of an old lady lip-syncing to Britney’s “Oops!… I Did it Again” with impossibly nimble dance choreography, iClone animation tools makes it possible to communicate any artistic vision in a timely manner, while pushing boundaries beyond technical limitations.
Bijay Balia Hembram (IN)〈Matrix-Blue pill Red pill〉Special Award-Best Digital Double.WIP
“iClone is really a very powerful software and is a boon for indie artists. The features in this software are amazing and it actually helped me by doing most of the heavy-lifting and allowing me more time to try many ideas in a short period of time.”
Bijay Balia Hembram
Cesar Turturro (AR)〈Yes, do it again!〉Special Award-Best MetaHuman. WIP(1:40)
“I never imagined finishing this type of work with this level of detail and quality, just in a matter of days! I tried to show how an older person looks when she is dancing and singing with a smile on her face. There is no age (limit) to do that. So yes, do it again!”
Cesar Turturro, Film director
If you haven’t had the chance to use iClone before, we highly recommend you to try it now. A 30-day trial of iClone includes Unreal Live Link andMetaHuman Live Link Kit, which means you can animate MetaHumans in real-time for free in the Unreal Engine!
Also, with the aim of empowering the global 3D community, Reallusion encourages all the freelance developers, indie artists to apply for the Indie License Program, which grants free access to the premium Unreal Live Link plug-in to produce like a professional studio. Check if you’re eligible on the program page, or hone your craft today with free upgrade offers for iClone 8.
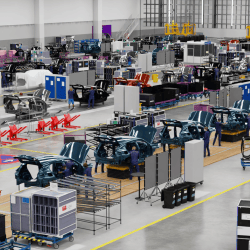
The future is already here. A BMW factory in Germany now has its identical digital twin in the metaverse, designed and operated in a real-time 3D simulation where digital humans and robots perform various real-life tasks.
The real factory is gigantic: it occupies 600,000 square feet, employs 57,000 people, contains tens of thousands of objects, thousands of materials, and produces hundreds of cars simultaneously. And the digital factory is an exact copy of the real one.
The way it looks and functions, and even the materials, textures, and lighting are physically accurate – and obey the laws of physics. Thanks to such precision, BMW’s teams can now fully simulate complex workflows with humans, robots, and vehicles working in sync.
Now the engineers can easily test new solutions and make quick iterations. They can also foresee the outcomes of their experiments before making any actual changes or moving a single screw. And these experiments don’t cause lengthy downtimes and high interruption expenses as they happen virtually, as though in a video game.
Building, refining, and iterating efficiently, these teams can find optimal solutions far earlier in the design process. This keeps operations smooth, saves time and resources for the company, and makes planning processes much more efficient.
What is the metaverse, and how does it work?
All this is now possible in the metaverse – a virtual-reality space where users can interact with each other and a digital environment. This 3D space is like a combination of virtual reality, a multiplayer online game and the internet. Users (via avatars) can move around, work, play, and socialize in real time. The metaverse is becoming a reality fast, especially now when significant parts of our lives have moved online due to the pandemic.
To illustrate interaction in the metaverse, let’s return to BMW’s digital factory. It ’employs’ 120 digital humans, whose job is to simulate and test ergonomics, efficiency, and workflows for the real workers. They can move around the factory and perform various tasks. These avatars were created using real-life data and are physically similar to the real workers (they have unique faces and features that reflect the diversity of real employees).
Virtual workers performing tasks in a simulation (Image credit: NVIDIA)
Omniverse – a doorway to the metaverse
BMW’s digital factory is designed and run in Omniverse, an open metaverse platform for 3D simulation and collaboration. It makes such complex projects possible in the first place. And it also significantly speeds up production processes. To work in the Omniverse, you don’t need to switch from design and 3D apps that you are familiar with and love, because most of them already have integrations with the platform. For instance, designers can simultaneously work from such applications as 3ds Max, Blender, Character Creator, Maya, Unreal Engine, or Archicad, among others.
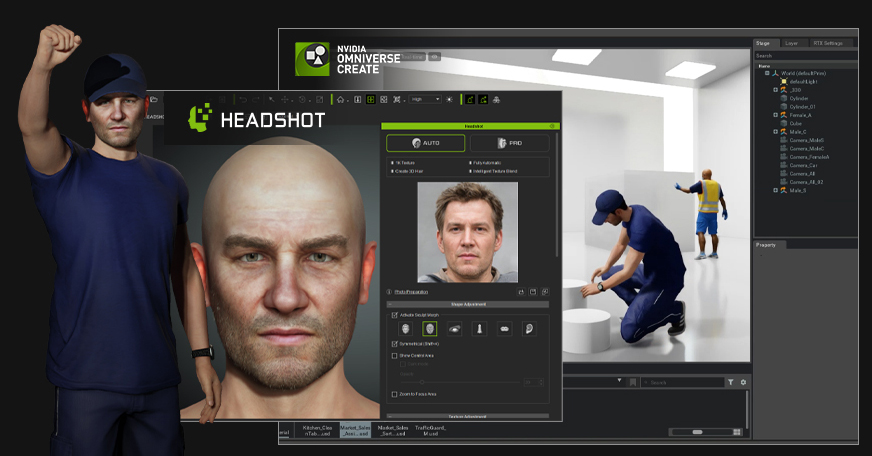
Interface of the Character Creator plugin in Omniverse (Image credit: Reallusion)
In Omniverse, users can render characters, place them into a simulation, or collaborate with other people in real-time. For example, while you are focusing on characters, your team members can work on other elements of the environment. You can all work from different design applications simultaneously, and all the changes will be immediately reflected in Omniverse. These features would be incredibly valuable for distributed and remote teams.
How were BMW’s digital workers created?
Users can turn a single photo into a 3D human in seconds in Character Creator, an all-in-one AI software for character development. The designers used it to create and animate the factory workers. Once you convert a photo into 3D, you can fully customize the character: change the shape of their head, add photo-realistic details and skin features, dress them, and, finally, animate. Plus, the software comes with massive asset and motion libraries to choose from.
To personify the workers, the designers used AI-generated images from Generated Photos. In this library, you can choose from 2.6M strikingly realistic headshots of people of all colours and ages. You can also generate unique faces in real-time by setting desired parameters, or find synthetic look-alikes to keep the privacy of real people. These tools would be especially handy when looking for peculiar character features or demographics.
AI photos and search filters on the Generated Photos website (Image credit: Generated Photos)
This step-by-step guide illustrates how to create a full-body 3D character from a single headshot.
The combination of Character Creator and Generated Photos is a big time saver. Generating a single character from scratch would take around five days. With a ready-made model and unique life-like face, it would take from a few hours to one day depending on how elaborate the character is; thus, it saves nearly 80-90% of the time and effort without compromising the quality.
Once the characters are ready, you can export them into Omniverse for further editing, rendering, simulation, and working with others. Character Creator Connector, a special plugin for Omniverse, also supports drag-and-drop export of motions and accessories.
Are there other uses for digital avatars?
Besides the use in large industrial projects such as the BMW factory, the demand for digital avatars is growing across many other fields, particularly in animation, game development, visualizations, AR/VR, and interactive design.
Brands like Samsung, IBM and Gucci are already deploying AI avatars that interact with their audiences and make communication more human and personalized. Other businesses use AI avatars for online learning and training their staff. For example, Walmart introduced them to train and prepare their employees for challenging retail situations (like the Black Friday rush).
Digital avatars are now also a global phenomenon in the media and entertainment. Virtual influencers like Lu do Magalu and Lil Miquela attract millions of followers. And several real musicians, including Ariana Grande and Travis Scott, have recently given massive virtual concerts where their digital avatars represented them.
Gaming and animation are some of the main consumers of digital characters. With Character Creator and Generated Photos, makers can develop protagonists in great detail as well as create secondary characters at scale. Using Generated Photos and ready-made assets, such as morphs, hair, clothes, and skin textures, they can make hundreds or even a thousand secondary characters in a day.
Architects and property developers use digital crowds to make their visualizations appealing, vibrant, and life-like. And there is now a constantly increasing demand for diversity in the field.
Not only large corporations and producers can benefit from the AI tools – small teams and amateurs can join in, too. The toolset combining Omniverse, Character Creator, and Generated Photos, saves a great deal of time and effort. Even creators on a tight budget can now be in line with the industry leaders. They can also focus more on creative tasks while the AI is doing all the heavy lifting.