Will Iverson has been working in the computer and information technology field professionally since 1990. His diverse background includes developing statistical applications to analyze data from the NASA Space Shuttle, product management for Apple, and developer relations for Symantec’s Visual Cafe.
Clients over the last two decades include Sun, BEA, Canal+ Technologies, AT&T, T-Mobile, the State of Washington, and many, many more. From 2010-2016, Will grew Dev9, a premier Seattle-based consulting company focused on continuous delivery solutions for a wide range of enterprises, including the backend for many large entertainment firms.
Starting in 2017, Will transitioned to independent game development, with a new company, Double Robot where he used iClone and Character Creator to complete his game.
I simply couldn’t have those animated characters without CC3 and iClone, full stop. I was able to build characters from my story bible and animate them in just a few days.
FYQD-Studio reveals the secrets behind Bright Memory: Infinite game development
A new era for game developers has dawned: small and indie game studios can now compete against triple-A studios with the support of real-time technology.
Bright Memory: Infinite, a fusion of FPS and action genres created by a solo developer at FYQD-Studio, has found success and popularity since its January 2019 launch via Early Access on Steam. It received an Unreal Dev Grant in 2019 and was presented by NVIDIA CEO Jensen Huang at GTC China 2019. The developer, Zeng Xiancheng, lays out the behind-the-scenes story on how he achieved a spectacular looking game – with the help of Unreal Engine, NVIDIA RTX, and real-time animation tools: iClone and Character Creator.
Developer Zeng Xiancheng is currently working on content for Bright Memory: Infinite, which is slated for release by the end of 2020. He hopes fans continue to stay tuned for the launch. In this article, Zeng shares how he was able to produce the game all by himself with very limited budget and manpower.
Discover how Headshot generates a 3D animated Pennywise from a photo.
Film-inspired fan art is nothing new. But, as many digital artists will attest, reimagining a movie character in 3D is a huge undertaking. Until now, that is.
Headshot plug-in for Character Creator software enables artists to quickly generate human 3D models from 2D images. In this article, digital artist Peter Alexander reveals how to take a photo of Pennywise the clown from hit horror film IT, and easily transform it into a complex 3D model using Headshot, ZBrush and Blender.
Alexander’s guide covers everything you need to know go get started, including photo selection and preparation, using the bake, edit mesh and sculpting tools native to Character Creator 3, manually adjusting Headshot masks in Photoshop, how to fix symmetry using ZBrush, and, finally, a crash-course on creating hair with a third-party Blender add-on called Hair Tool.
Download a free trial of Headshot plug-in here, and learn how to easily create a fully animatable 3D Pennywise model from just a single 2D image.
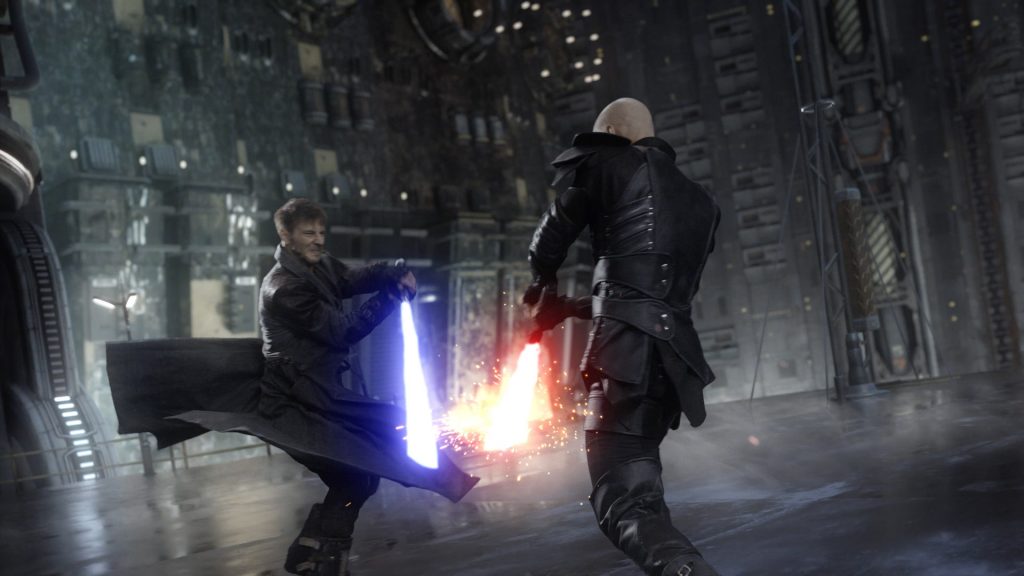
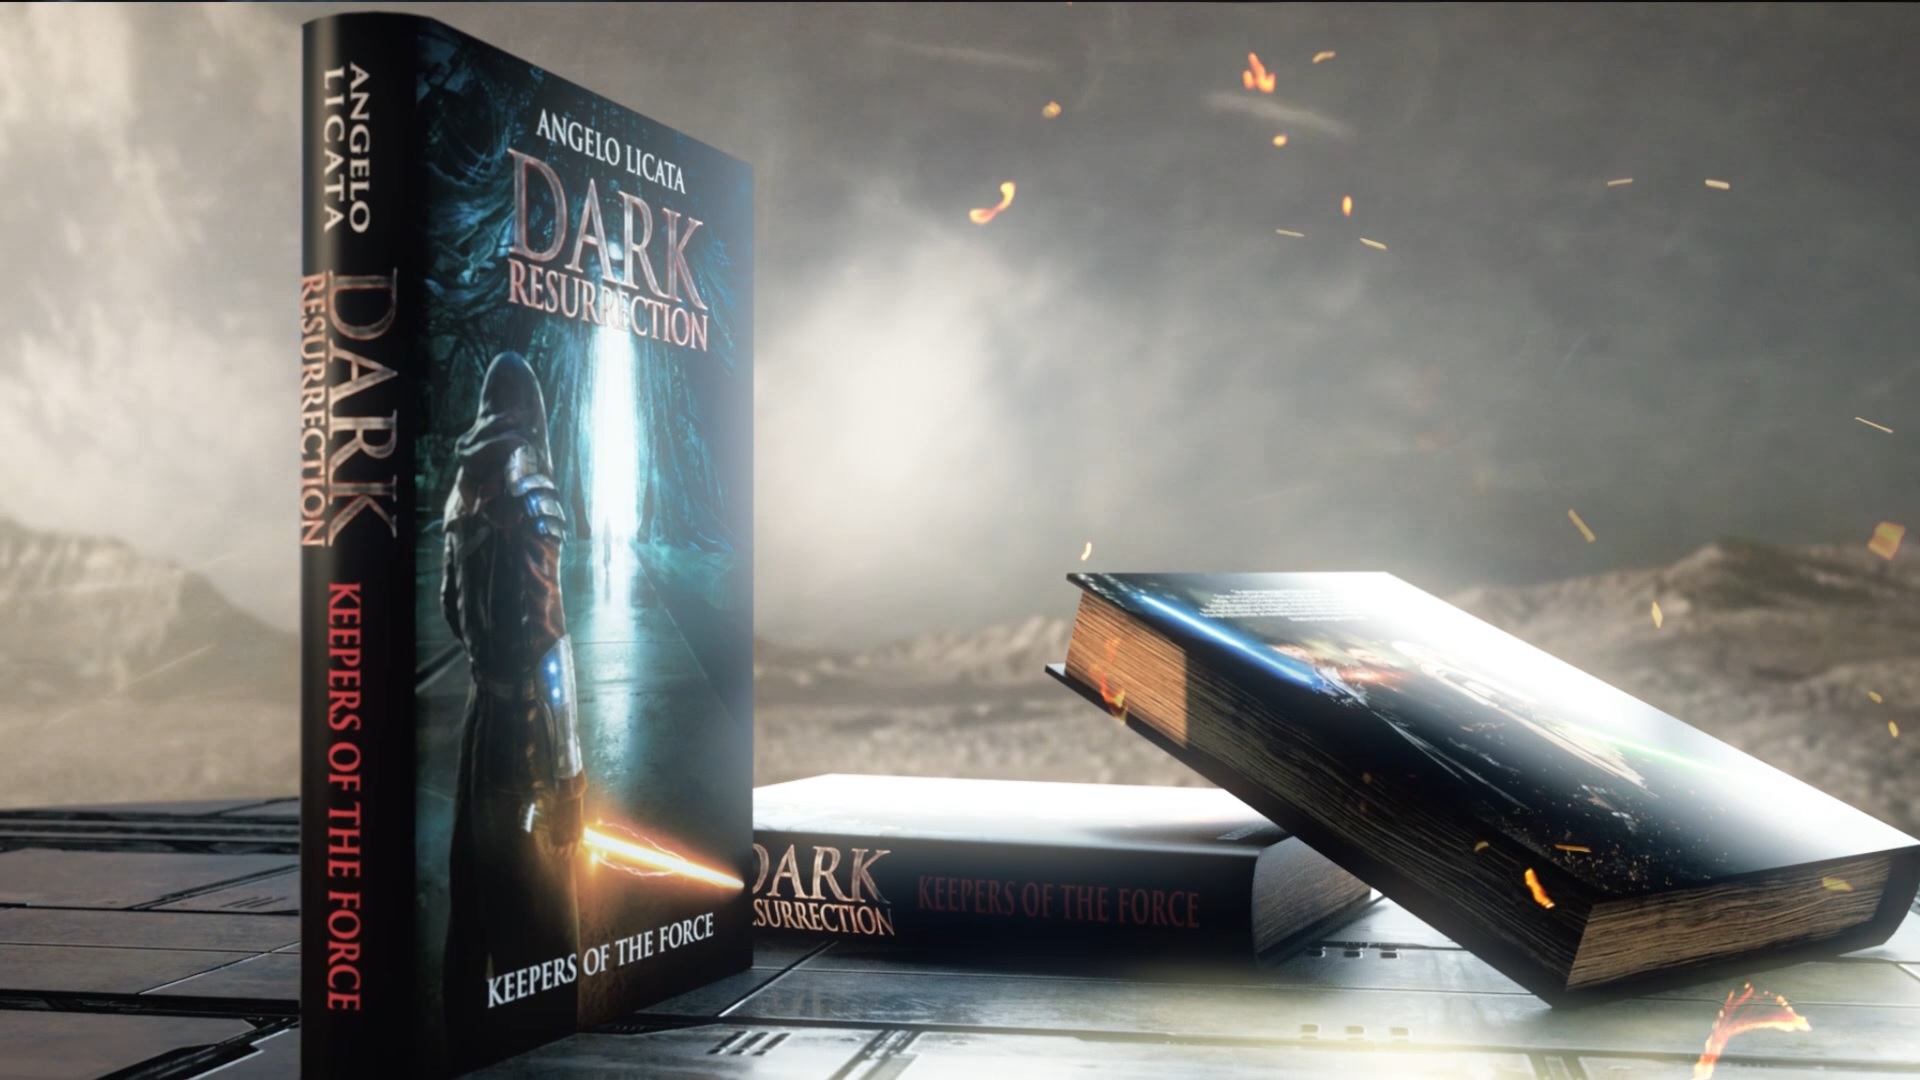
Angelo Licata is a Turin born, Director/ Writer / VFX supervisor known for his 2007 independent film – Dark Resurrection, a tribute to Star Wars.
His film was was greatly acclaimed by the media, paving the way towards the film industry where he collaborated on several films including “EX” and “Maschi contro Femmine”, while directing numerous TV commercials. In 2013, he wrote and directed the short sci-fi film – Closer, which received over 8,000,000 YouTube views. In 2015, Angelo directed and wrote Mala Vita, a RAI television production with excellent reviews and winner of various awards including a special mention from the National Syndicate of Italian Film Journalists.
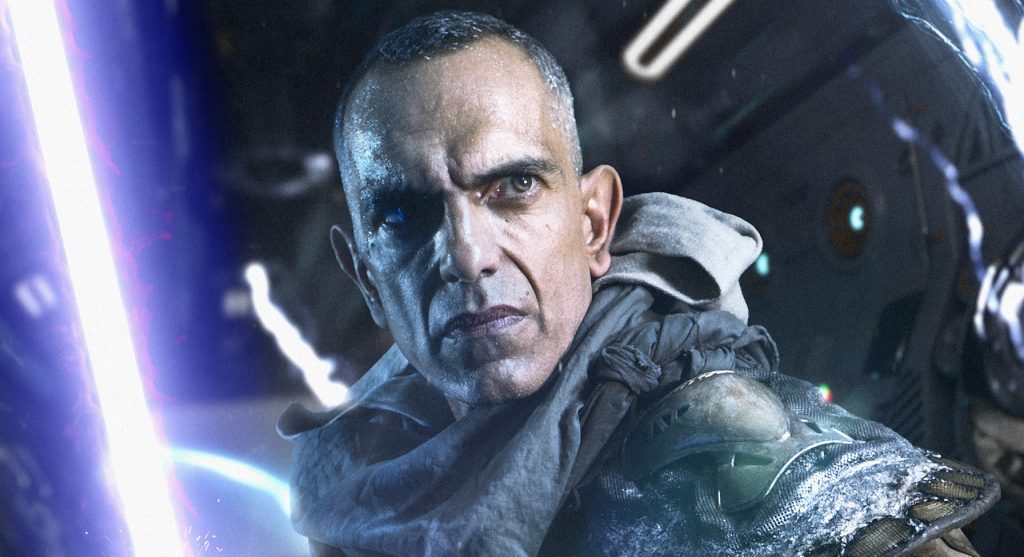
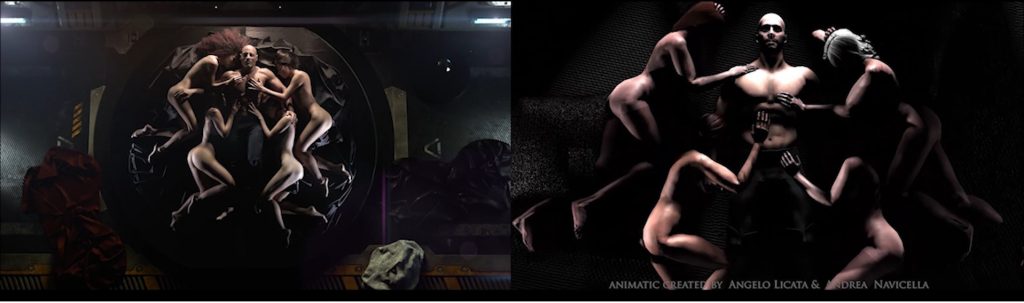
In the last chapter of his Dark Resurrection series, Angelo created a short trailer/film where he employed iClone and Character Creator‘s Headshot plugin to plan for just 4 days of movie shooting!
Q: Greetings Angelo, and welcome. Kindly share with our audience your background and trajectory in filmmaking.
Hello, and thank you Reallusion for the interest in my story. I started the adventure in the world of entertainment thanks to a small experimental film that was freely inspired by Star Wars, titled Dark Resurrection. It was 2007 and since then I have found myself being the director and supervisor of visual effects in various Italian productions.
Despite having participated in large productions such as the Mulino Bianco campaign with Antonio Banderas, and three blockbuster cinema films in Italy, the thing I’m best known for is always the Dark Resurrection saga,
which at the time had an incredible impact media in my country, and the science fiction short Closer which has seen over 9,000,000 views on YouTube. In the meantime I have written some scripts and a novel, which have been approved and will hopefully soon become films and TV series.
Q: Your Star Wars-inspired saga, Dark Resurrection has developed over a decade. How have your creative tools changed during this time?
The software and also the way of using visual effects has changed dramatically from one film to another. In the first volume only the spaceships had been animated in 3D. All the other backdrops, on the other hand, were static renders and then animated at parallax levels with after effects.
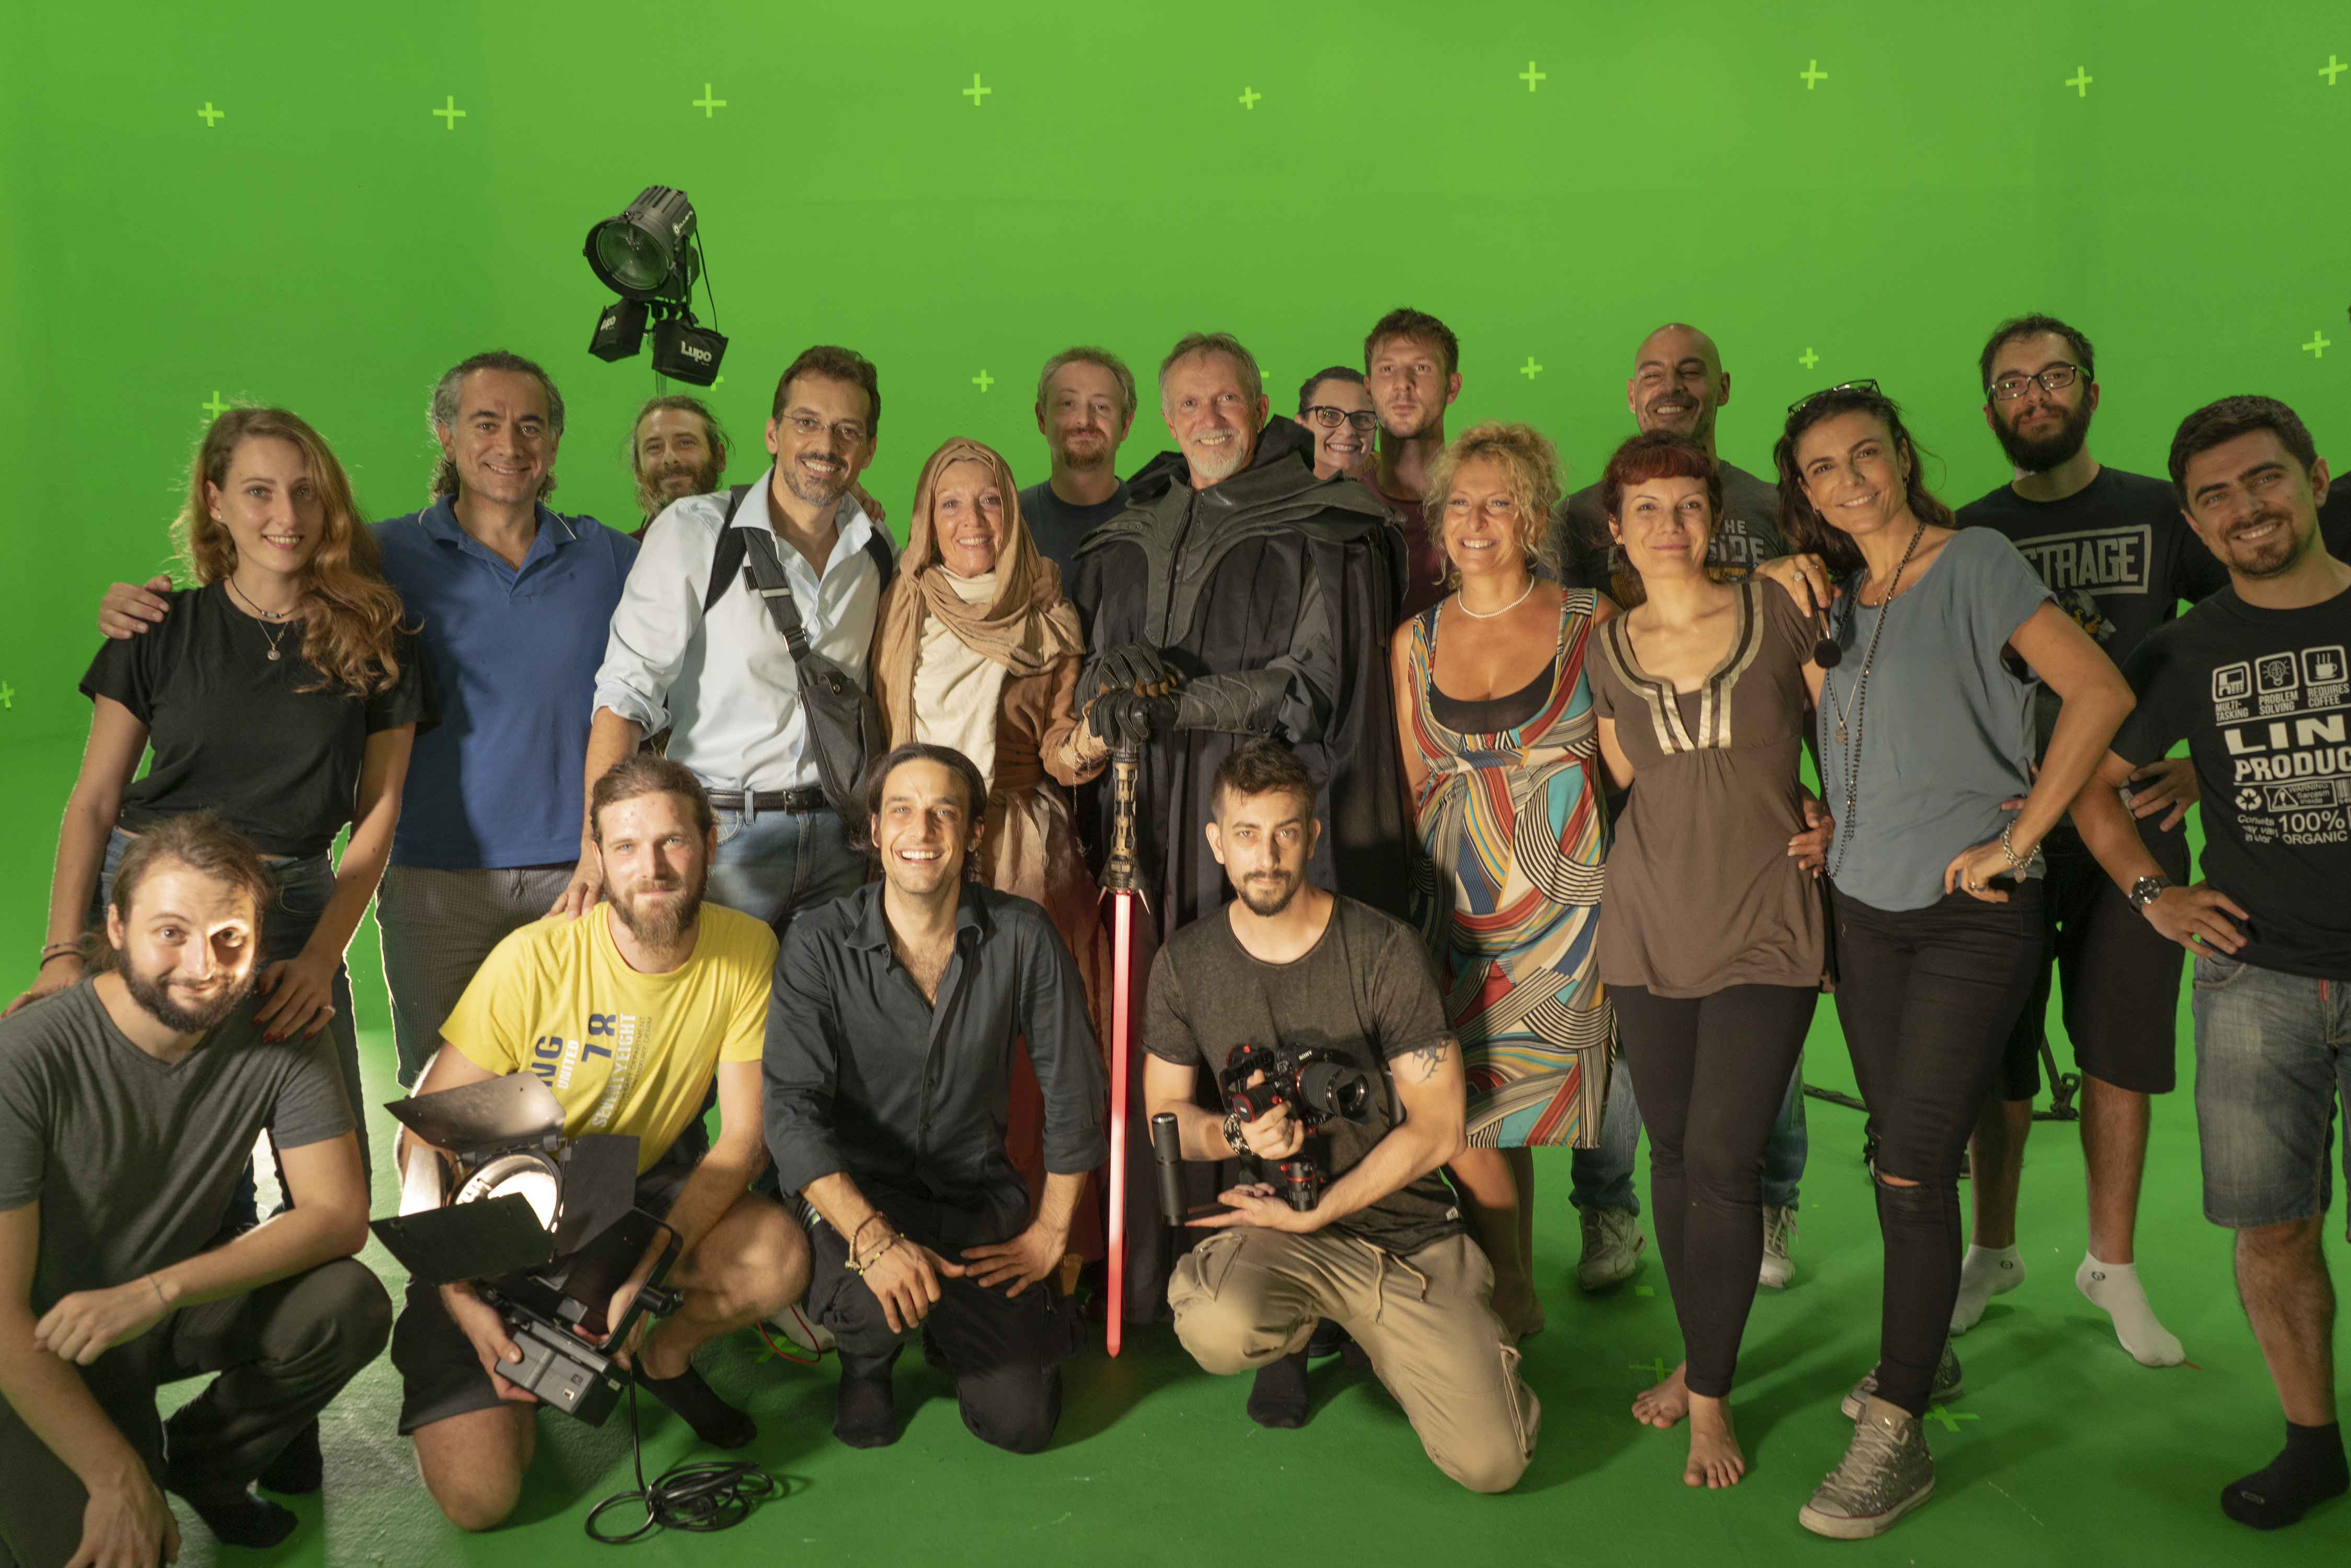
Volume 0 in 2011 was shot entirely on the green screen but this time the backdrops were obtained from real macro models created by a brilliant scenographer named Tommaso Ragnisco, then they were photographed and mapped on 3D.
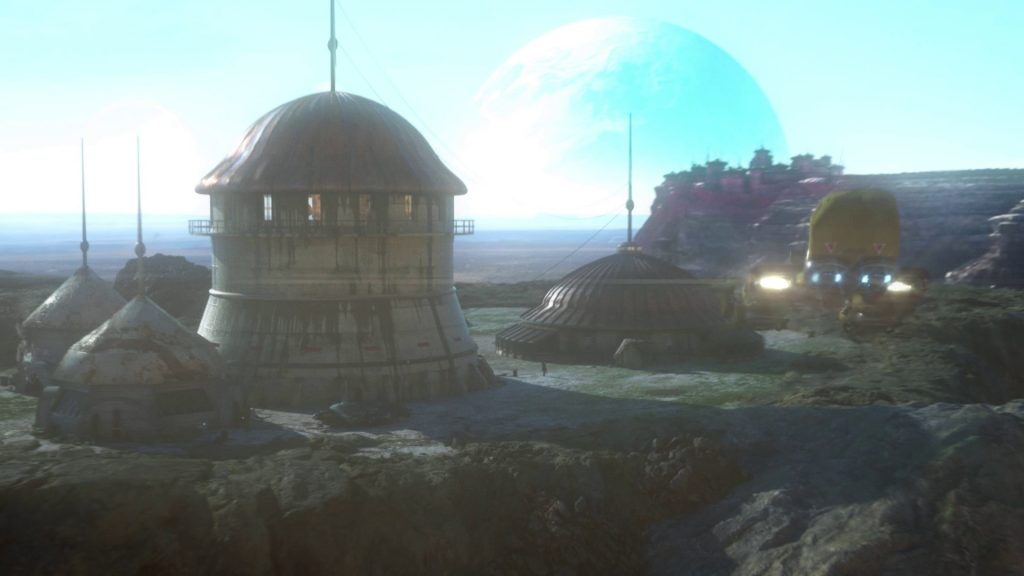
The result is great realism that still works and collects consensus today. For the final chapter, also shot entirely on the green screen, 23 totally digital locations were created, textured with Substance Painter and rendered thanks to Octane Render in Cinema4D.
There has been a frightening evolution, and every time I have had to learn new techniques. The last chapter also had complex management to rely only on the storyboards and for this reason it was totally previewed in iClone.
Q: Dark Resurrection employed the use of iClone real-time animation, and Character Creator digital doubles. What are the advantages of using these tools?
“iClone was an irreplaceable productive tool. Having to build everything digitally, it was essential to design each shot. We had to understand which movements and which shots were possible within the soundstage, and be sure that we would only shot scenes that were useful for the final editing. ”
– Angelo Licata / Filmmaker
And of course it had to all have high quality and aesthetics. We started by photographing our actors and creating their avatars in Character Creator. The use of similar digital doubles may seem exaggerated, but it is not at all.
As with accurate digital doubles you can understand what is the best angle of recovery for an actor’s face, play with different heights and answer a lot of unknowns directly inside iClone. Finally, the animatics also improve communication with the entire crew, allowing each production department to prepare well in advance.
Q: You literally learned iClone and Character Creator in 1 day! How did you accomplish this, and what advice can you give other industry professionals being pressed by deadlines?
I understood the basics of its functioning in a morning and in the evening I had my hands in my first animatic, rough but very functional. Maybe I did it because I was moved by despair: I had to make a commercial and they called me with very little notice. I had very few hours of sets available, and I wasn’t sure what I had in mind would work in editing. With iClone I tested my ideas and made an animatic pre-assembly of the spot.
Personally I find that the interface is quite simple, the ability to animate various parts of the body with keyframes allows me to work very quickly.
“Character Creator is also a very powerful tool and in my opinion even easier to use. It is really easy to create characters of various workmanship by changing features and building by clicking directly on the point concerned. ”
– Angelo Licata / Filmmaker
In my opinion, animatics are an indispensable production tool when using visual effects or very complicated scenes, and it is essential to plan filming. In any other case they are a unique, creative tool that allow directors to experiment with alternative solutions and eliminate the superfluous. For me it is a sort of parachute to “not get hurt” on the set. Obviously, seeing the scene before shooting it allows the production to plan the shooting days and the costs with remarkable precision.
Q: Now that your Dark Resurrection saga has come to an end, what can the filmmaking community look forward to from Angelo Licata?
Finishing Dark Resurrection was a dutiful commitment to the thousands of fans who supported me from all over the world. Since January almost 10,000 people have downloaded and read the free ebook and many are asking me to make the full film, but it is an impossible thing to do. It would cost millions of euros and three years of work and is unthinkable for a non-profit film.
Download eBook
In the last few years I wrote some screenplays, including a fantasy and a thriller, both very close to seeing the light thanks to important production houses in my country, but the world of cinema and TV has totally stopped due to the pandemic.
In the hope that everything will start again soon I am writing my next novel and continuing to study Unreal and iClone. I’d like to make a fully animated short film using these two incredible tools. Thank you.
How Reallusion’s iClone and Character Creator helped Previs” Dark Resurrection – Keepers of the Force”
Special thanks to Ian Failes – visual effects / animation journalist / owner of vfx publication Befores & Afters for wrapping up the story!
Star Wars-inspired Dark Resurrection fan film – a series that has been watched over a million times on YouTube, that used Reallusion’s iClone and Character Creator for previs.
Director Angelo Licata’s Dark Resurrection – Keepers of the Force:
With a reduced budget, but high ambitions for this project – Angelo decided to use iClone to build a CG version of the characters which were made both in Daz3D and Character Creator.
“Working with iClone allowed us to discard all unnecessary shots, thus defining a much smaller list of shots than the initial shooting list. It also made communication with all departments extremely simple and made actors understand the necessary actions during filming. The crew was also excited to watch the animatic, and this motivated every element of the team enormously.”
— Angelo Licata
The iClone previs:
“In one morning I understood the basics of animation in iClone and in the evening I had an approximate but extremely functional animatic. Although the environment was done with simple volumes, the movements and action mirrored exactly what I had in mind. Since then I always have a preview of the filming with iClone, especially if there were special effects or elaborate camera movements. It is an exceptional tool that allows me to solve many problems before going on set.”
Experienced Video Director/Animator – Benny Dee shares a detailed tutorial on how to customize characters for realtime animation in iClone 7.
Hello in this iClone tutorial I will show you how to create
your custom characters for real time animation. This tutorial is part of the Master
Class series to help iClone users improve and level up their creative skills.
The Headshot plug-in for Reallusion’s Character Creator allows users to generate 3d animated digital humans from one photo. You can download a free trial here, and learn how to create a classic movie character like Gollum without any 3d skills.
To find out more about the process, we invited Peter Alexander to walk us through it. Alexander is a digital freelancer specialized in illustration, graphic design, and 3d modeling. He develops content assets for various digital marketplaces.
Peter Alexander
In this video and text below, Alexander explains how to create a fantasy movie character by using Headshot for Character Creator 3. He touches on how to choose a quality reference, overcome an open-mouthed reference image, choose appropriate masking features, and block proportions for the head and body using the “bake” feature. Alexander also covers the Mesh Editor tool, which can be used for a variety of purposes, and in this article will be used to customize a hair asset.
Discover how to use iClone for compositing, mixing real footage, lights, particles and CGI.
In addition to making animations, iClone can be used to facilitate the compositing process by enabling you to add backgrounds or billboards, textured with real footage, to your 3D models. The tool reduces the number of meshes needed to create complex sets, while at the same time ensuring the scene is highly realistic.
See how the process works in the video below, or read on for a full explanation and some expert tips for taking advantage of this feature in your own projects. All these methods are surprisingly straightforward and flexible, allowing you to make adjustments on the fly.
November 20th in Brisbane – Six teams gathered in Australia to compete in SIGGRAPH Asia’s Real-Time Live! Reallusion was invited as a guest to showcase its latest Headshot technology for Character Creator 3.
The show featured the host and Real-Time Live! chair; Mike Seymour – editor of FXguide, introducing each team in the competition from Australia, Japan, China and the USA. Reallusion’s John Martin presented Character Creator Headshot with a demo that created a digital human from a photo and added the character to a virtual production previs shot in iClone.