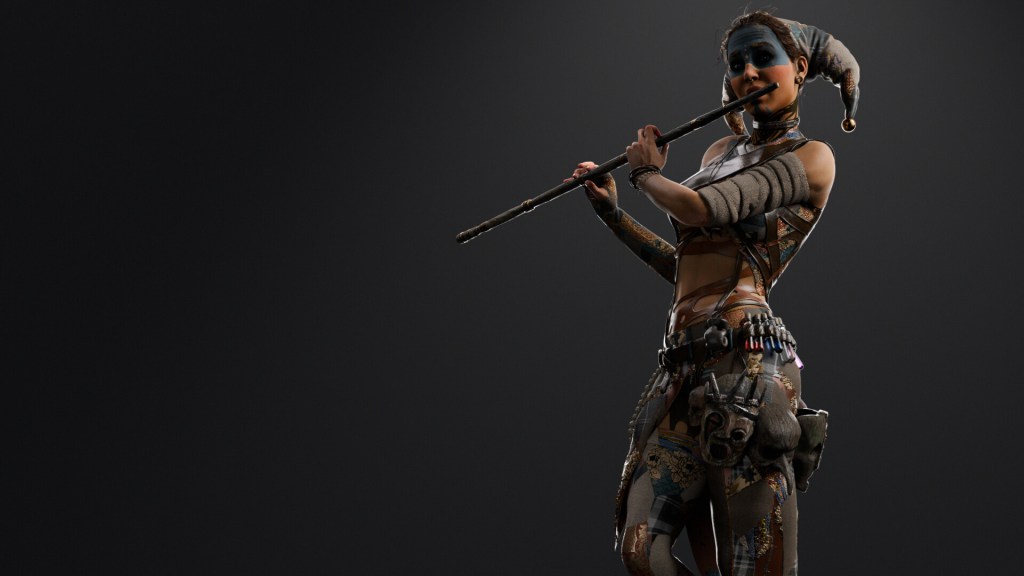
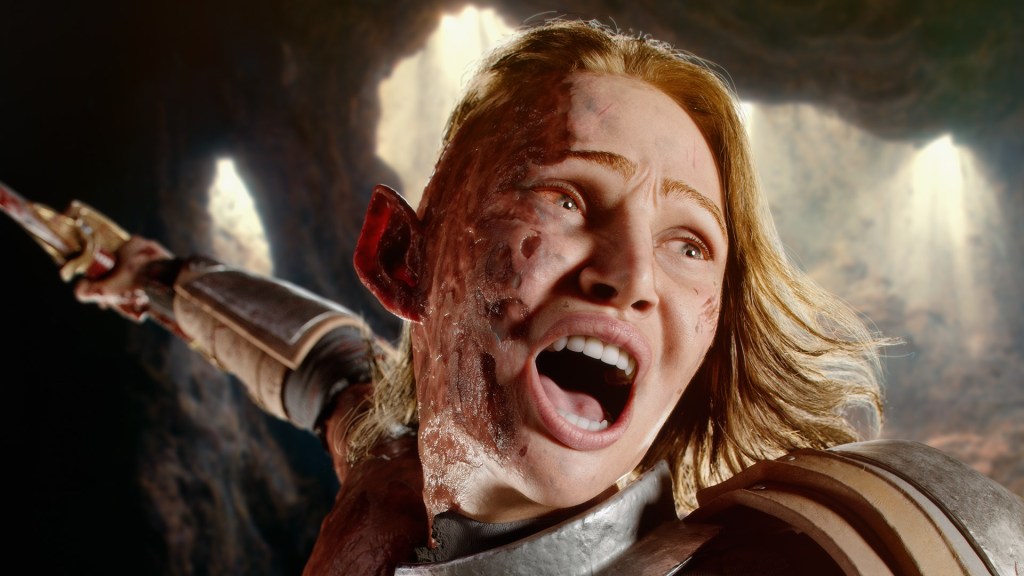
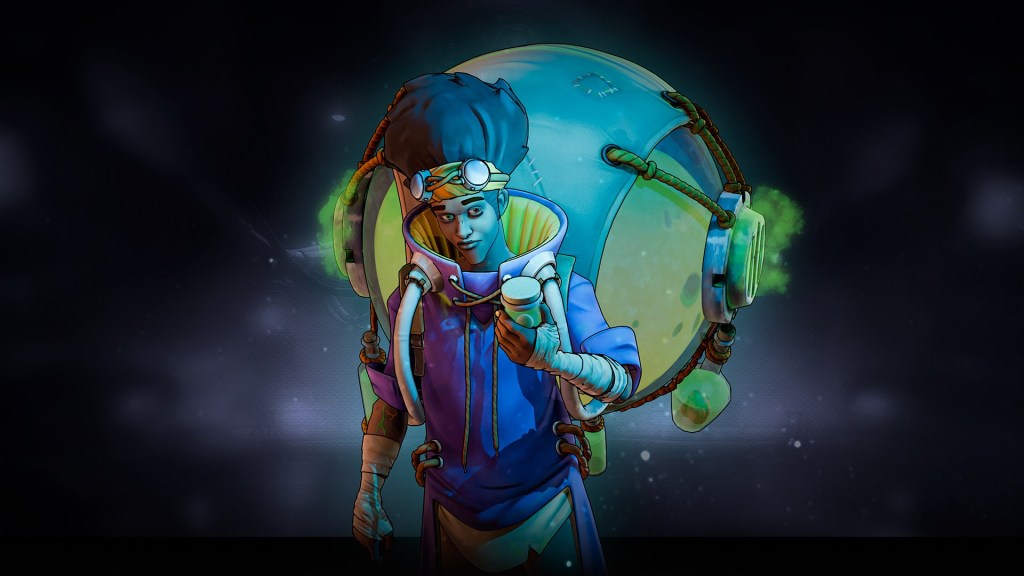
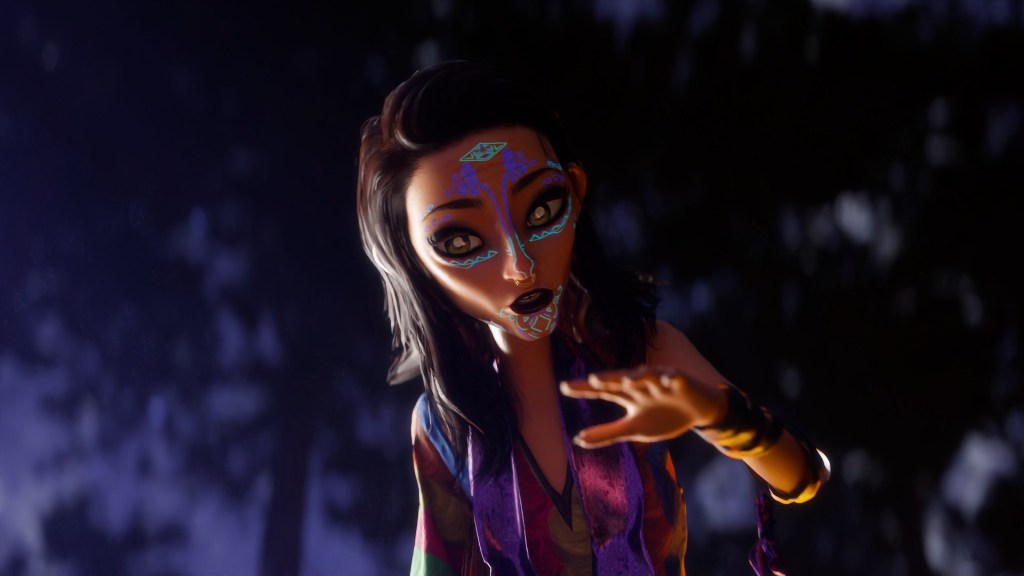
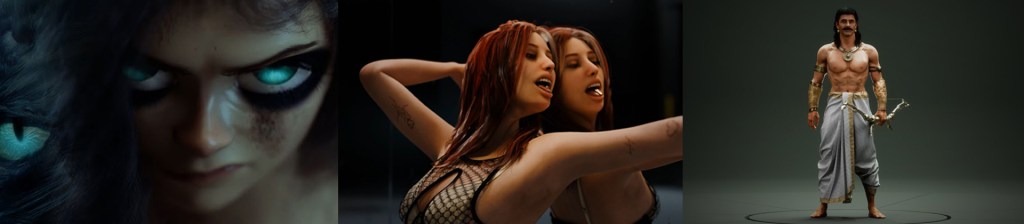
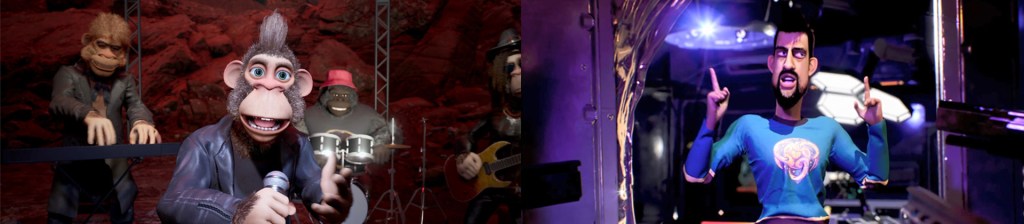
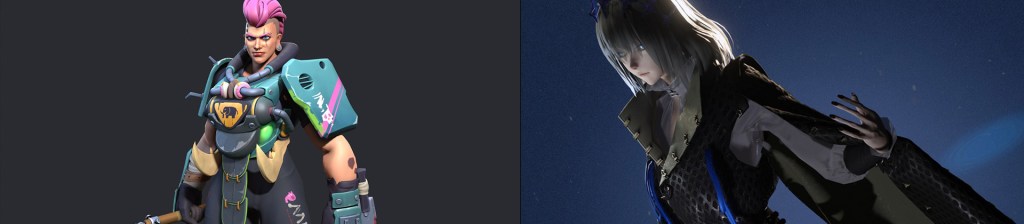
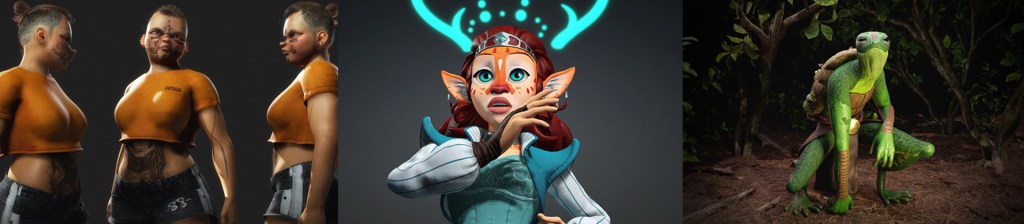
Reallusion is excited to announce the 2024 Animation at Work Contest launch. This annual contest invites 2D artists of all levels to showcase their skills and creativity using Cartoon Animator 5. With four unique categories, cash prizes, and industry exposure, the contest promises to be a celebration of talent, innovation, and artistic expression.
Contest Details
The 2024 Animation at Work Contest is designed to inspire both beginners and professionals to bring their animation ideas to life. The contest starts on October 18th, and the submission closes on January 7th, 2025. The Winner Announcement date will be set in late January.
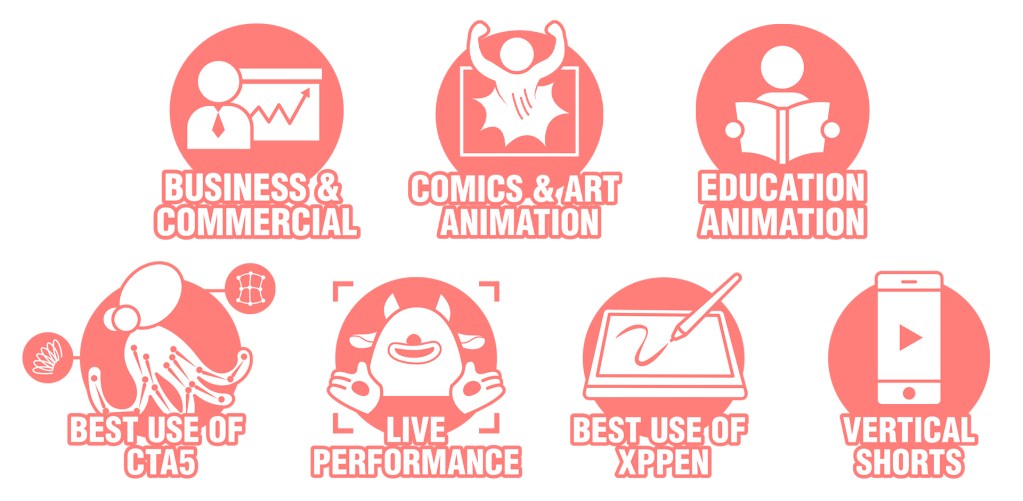
Submission Categories & Special Awards
Business & Commercial: Create animations that promote products, services, or businesses creatively.
Comic & Arts: Show off your artistic flair by turning comic panels and artwork into dynamic 2D animations.
Education Animation: Create animations teaching science, history, Math or everyday training. This category serves to enhance teaching experiences with Cartoon Animation videos.
Best Use of CTA5: Show off your mastery of Cartoon Animator’s dynamic features like secondary motion, spring dynamics, motion pilot, and more.
Best Live Performance: Integrate live animations, voice lip-sync, and facial motion tracking to create amazing live-stream productions.
Best Use of XPPen: Whether you’re working with vector or PSD files, display your best 2D creations using the XPPen drawing tablet.
Vertical Shorts: Capture attention on mobile with a 60-second vertical animation that’s designed to go viral. Tell a unique story, using unforgettable characters!
Sponsored Prizes
Contestants have the opportunity to win cash prizes, sponsor gifts, and Reallusion products. Additionally, participants can request a FREE 2-month license for Cartoon Animator 5 (CTA) to use during the contest period, allowing them to learn, and work with a full version of Cartoon Animator 5. To further support newcomers, there is unlimited access to Cartoon Animator tutorials on courses.reallusion.com to help entrants perfect their skills and connect CTA with their favorite 2D tools.
Support for New Animators
Reallusion is committed to making 2D animation accessible to all. With Cartoon Animator, artists can leverage features like Motion Pilot and Puppet Stage to create animations in seconds. Additionally, the Reallusion Forum and Cartoon Animator Facebook Group offer a supportive space where participants can ask questions, share progress, and get advice from seasoned community animators.
How to enter
To participate, entrants must submit their animated projects through the official Reallusion Animation at Work Contest webpage. Submissions can be made on video-sharing platforms such as YouTube or Vimeo, with a link provided during the entry process. Full submission guidelines and contest details are available on the Reallusion website.
Animating Expressive Jack Black: CC ZBrush Face Tools & iClone
Unleashing the Power of Real-Time Character Animation
Antony Evans from Digital Puppets UK
My name is Antony Evans. I am the Co-founder of Digital Puppets. It is a UK-based animation studio specializing in character design, animation, and virtual avatars. In this exclusive series, we’ll take you behind the scenes of our latest project—bringing the likeness of Jack Black to life.
Across three parts, we’ll explore how we utilized the innovative ZBrush Face Tools for Character Creator 4 (CC4). We used them to enhance facial expressions. We also tweaked wrinkle maps and finally animated the face using the iClone AccuFACE plugin for facial motion capture.
“The ZBrush Face Tools for Character Creator is a powerful addition to the Character Creator and iClone ecosystem. It enables faster and more efficient character development and animation.”
Antony Evans | Co-Founder of Digital Puppets UK
Crafting the Jack Black Avatar
In the first part of our series, we delve into the process of using the new CC ZBrush Face Tools features. We explore how to use these tools. These features help prepare a character model for animation with the AccuFACE plugin for iClone. We’ve previously covered model building in other videos. This time, our focus is on how the CC ZBrush Face Tools accelerates the refinement of facial morph expressions.
To create our Jack Black avatar, we started with our standard technique. We used the Character Creator Headshot plugin. We began with a photo of Jack Black to sculpt a likeness in a realistic style.
From there, we gradually transitioned into a stylized, cartoon version. A common challenge in character creation is extensive sculpting. After extensive sculpting, the facial morphs often fail to move correctly. This occurs especially when the model deviates from standard human proportions.
This is where the CC ZBrush Face Tools prove invaluable, streamlining the adjustment process and ensuring that our expressions stay true to the design
Animating a stylized Jack Black with CC ZBrush Face Tools and iClone
Understanding ZBrush Face Tools for Character Creator
The ZBrush Face Tools for Character Creator features allow animators to work directly with the base mesh. The base mesh includes pre-set facial expressions and lip-sync capabilities. However, when you alter the base mesh, especially for more stylized characters, expressions can become distorted.
Previously, fixing this required the Face Profile Editor and extensive back-and-forth between Character Creator and ZBrush. The CC ZBrush Face Tools simplifies this by sending all blendshapes to ZBrush at once, allowing you to adjust essential expressions like jaw movement, brow position, and more, in one go
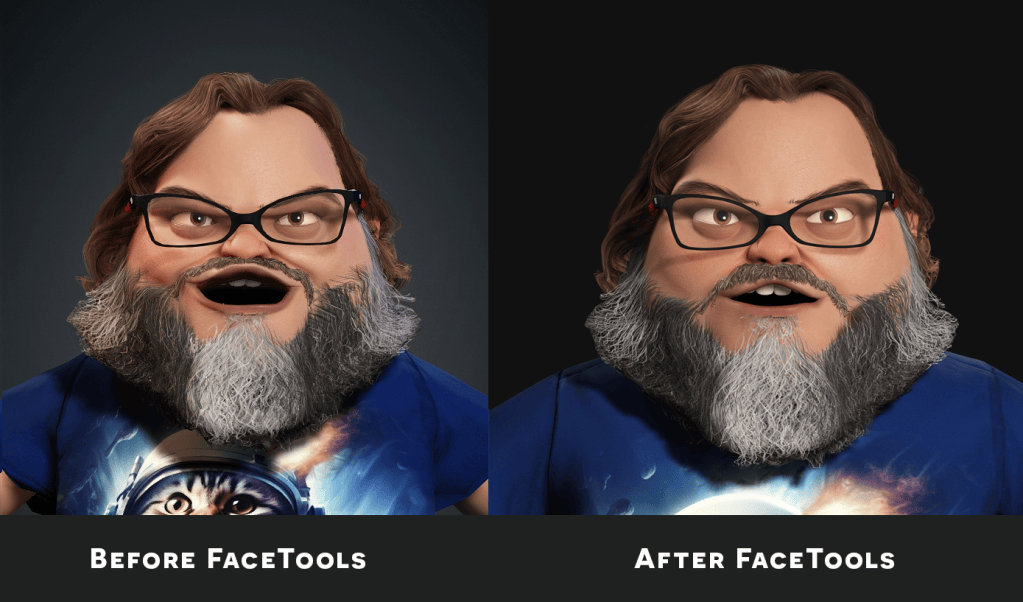
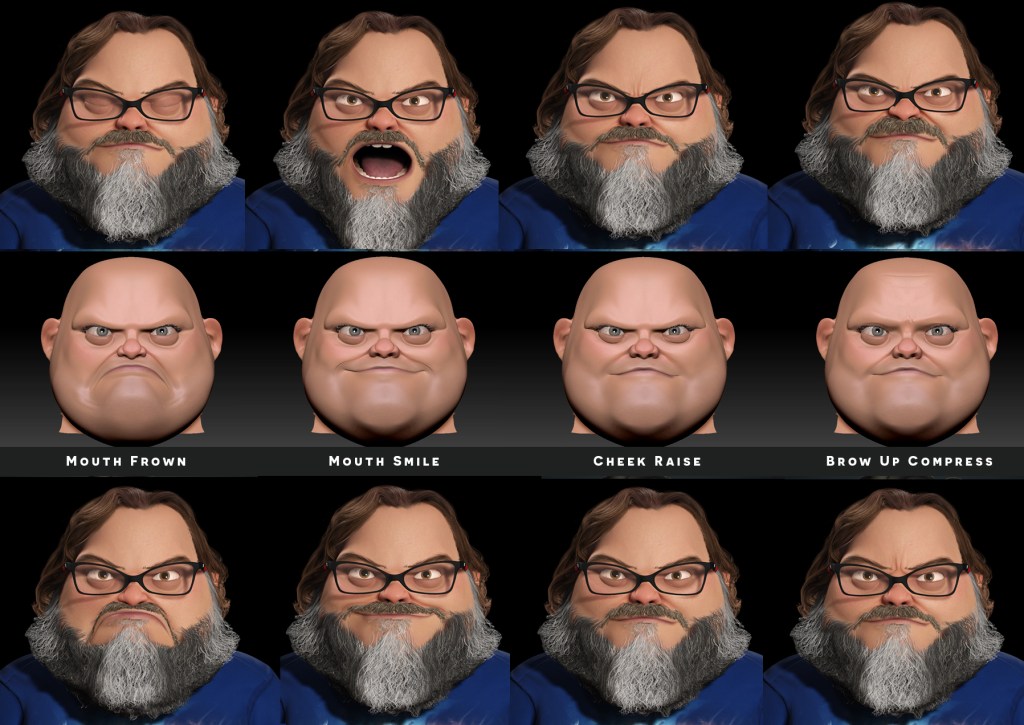
Before and after of how the facial expressions appeared before making adjustments with the ZBrush Face Tools for CC.
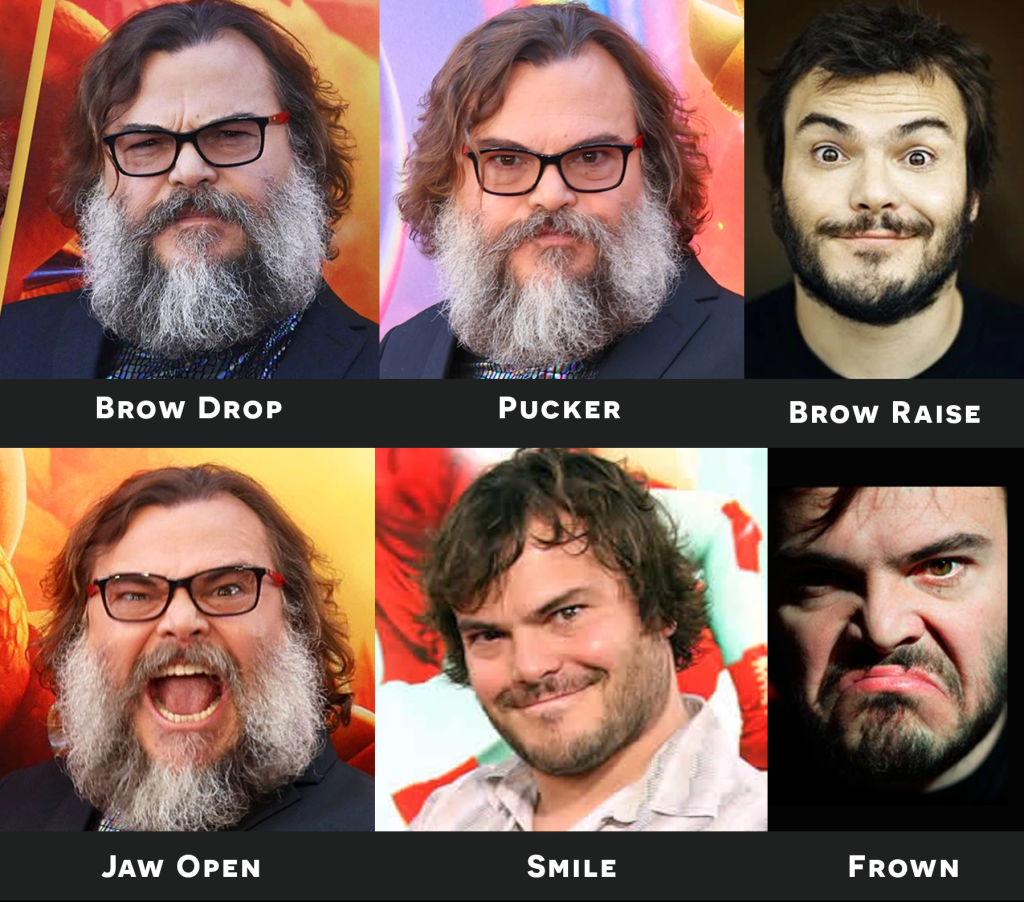
Utilizing reference images of Jack Black to guide the creation of his facial expressions
In our video, you’ll see how we used the CC ZBrush Face Tools to refine expressions. These expressions were for our Jack Black avatar.
Although we needed to make some additional tweaks using the facial profile tool due to the character’s unique proportions, the Face Tools significantly reduced our workload, enabling us to create a more polished final product
We utilized online reference images of Jack Black to guide the creation of his various facial expressions. Our goal was an accurate match.
It’s possible to create these expression shapes without references. However, having them on hand is invaluable. This is especially true when striving to capture someone’s likeness authentically.
In the reference image below, you can see the various facial expressions we refined in ZBrush. The image above is a ZBrush screenshot. The one below is a Character Creator render. It is complete with hair and accessories.
Tweaking the many expressions of Jack Black with Character Creator
Refining Wrinkle Maps
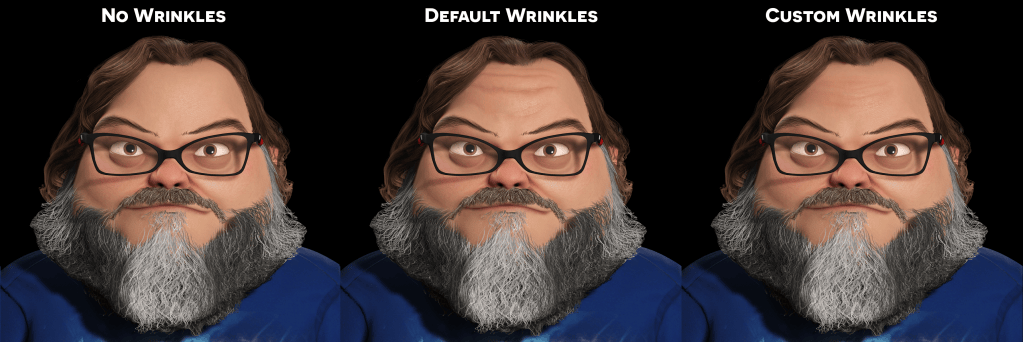
In the second part of our series, we focus on customizing wrinkle maps. The preset wrinkles in Character Creator are quite effective. The CC ZBrush Face Tools offers a more intuitive way to fine-tune these details. You can do this directly on the model in ZBrush. This approach enhances the normal maps. It also allows for direct painting onto the model, giving you greater control over the final look.
Wrinkle maps add a vital layer of realism to characters. With CC ZBrush Face Tools, the process becomes more experimental and creative. We kept the wrinkles subtle for our stylized Jack Black avatar. The video demonstrates how even small adjustments can make a significant difference. Additionally, wrinkle maps in Character Creator are compatible with other software like Unreal Engine. This compatibility makes them versatile tools in any production pipeline.
Customizing wrinkle maps with Character Creator
Facial Animation with iClone AccuFACE
The third and final part of our video series covers facial animation using iClone AccuFACE. This iClone tool excels in remote work scenarios. It allows you to create facial capture from prerecorded videos. These videos can be edited before finalizing the animation. This feature is particularly useful given that much of our work at Digital Puppets is done remotely.
AccuFACE supports both prerecorded and real-time facial capture, giving us flexibility depending on the project. One standout feature is its integration with iClone AccuLips, which records the viseme track simultaneously with the facial capture. This synchronization eliminates the need to align lip-sync and facial movements separately. It streamlines the animation process and enhances the natural flow of expressions.
In our demonstration, we show how combining AccuFACE with AccuLips produces more dynamic and lifelike animations. After recording, Character Creator’s robust toolset allows further refinement. You can achieve this by keyframing, re-recording specific elements, or using puppet tools for real-time adjustments.
iClone AccuFACE allows you to create facial captures from prerecorded videos
Final Thoughts
The ZBrush Face Tools for Character Creator is a powerful addition to the Character Creator and iClone ecosystem. It enables faster and more efficient character development and animation.
Reallusion continues to push the boundaries of what’s possible in real-time production, making our work not only easier but also more detailed and expressive.
As the industry moves toward real-time workflows, tools like these will become indispensable for studios worldwide. I’m excited to see what future updates will bring and encourage anyone in character development to explore Character Creator and iClone.
The ZBrush Face Tools for Character Creator is a powerful addition to the Character Creator and iClone ecosystem
Ace Carman is a seasoned environment concept artist with over six years of professional VR modeling experience in the industry. After graduating from art school in California in 2018, he has worked on major projects like Call of Duty, all while carving out a unique artistic path. His entry into the art world came after transitioning from a military career in the Marines.
Ace Carman
Initially on track to become a history teacher, Ace was inspired by an influential illustration professor to pursue art, ultimately leading him to California and igniting his passion for digital painting and concept art. Currently, Ace is teaching an online course titled 3DD Exploration to Execution at Brainstorm, where he covers topics such as kit building, lighting, terrain creation, hard surface modeling, and VR modeling workflow incorporating Character Creator, Blender, ZBrush, Substaince Painter VR Modeler.
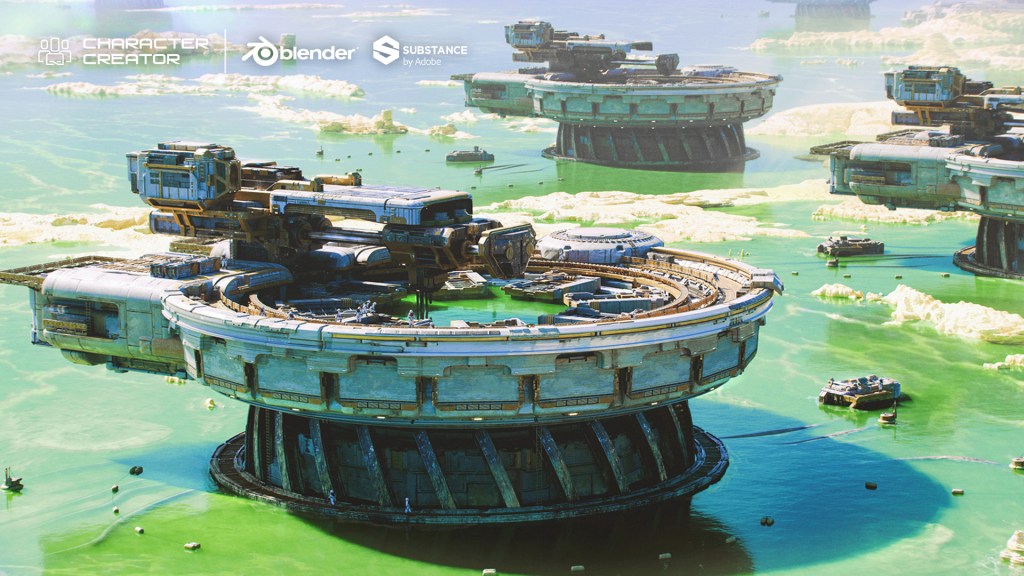
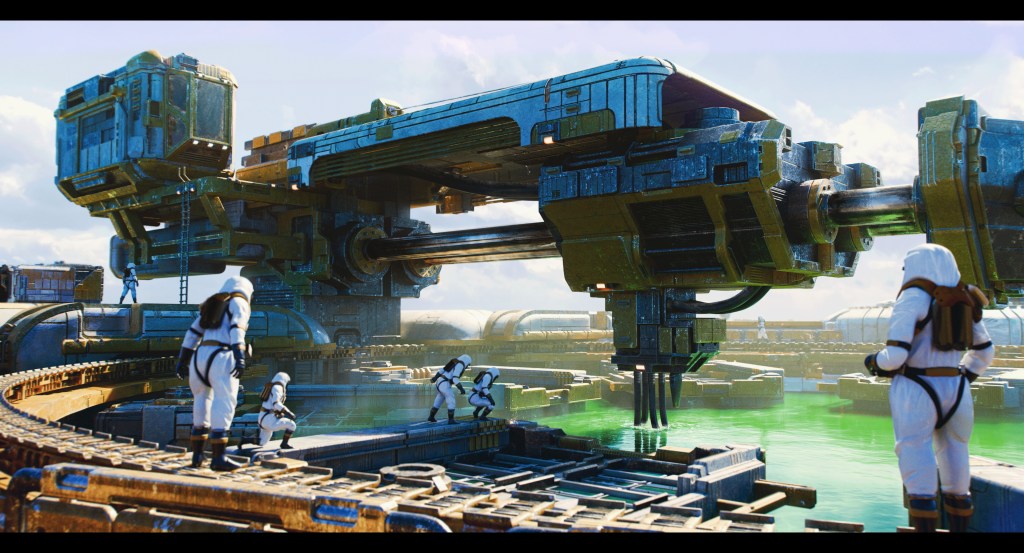
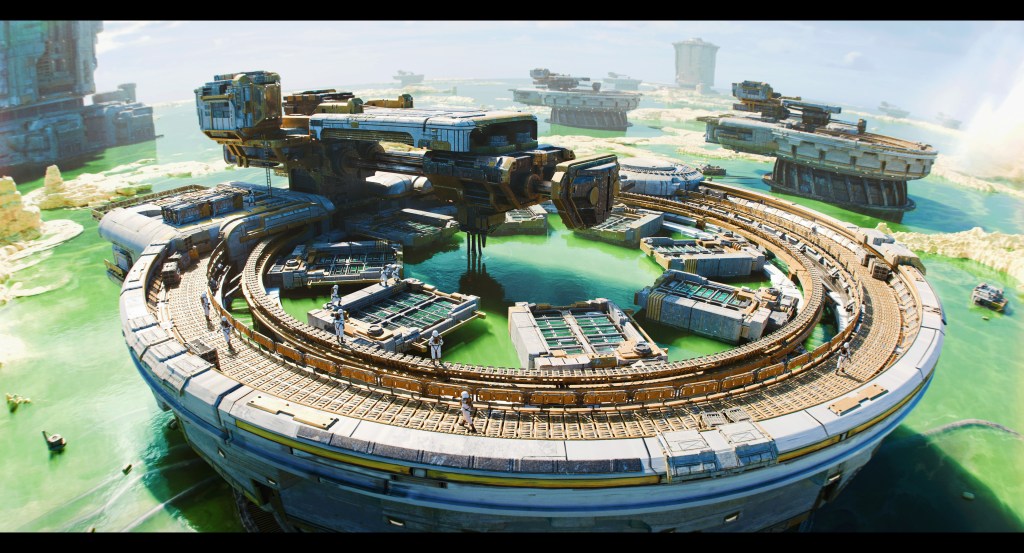
Ace first caught our attention on ArtStation due to his remarkable concept art piece,Acid Refineries. This work showcases his innovative use of Substance 3D Modeler and highlights his ability to seamlessly import assets into Blender. The coolest aspect of Ace’s process is his use of VR not only for environment modeling but also for creating characters, which he rigs in Character Creator (CC) to effortlessly pose them in Blender.
From the start, Ace believed the shift from loose concepting to 3D creation presented major challenges, until he discovered the power of VR modeling. This approach allowed him to quickly block out entire scenes and refine models in a more intuitive way. It not only simplified working with organic shapes but also made it easy to integrate assets from sources like Megascans, enabling him to swiftly build landscapes and avoid the tedious task of editing mesh components.
Ace Carman rigs his characters with Character Creator using VR
Ace’s approach involves blocking landscapes on a simple cube in VR, exporting a Z-depth to terrain generation software, and achieving rapid results. He has also transitioned to using Adobe Substance VR Modeler, which has resolved many technical hurdles associated with virtual modeling.
Discovering Character Creator
Character Creator unexpectedly became a key part of his workflow. Frustrated by the tedious posing process in ZBrush, especially for armored characters, he sought an alternative. After exploring several options, he settled on Character Creator, being impressed by its accessory features. This tool enabled him to efficiently handle the hard surface physics, a crucial element in his character designs.
He called Character Creator a game-changer, saying, “It meant I didn’t have to navigate a complex character art pipeline in ZBrush. I could focus on the cool things I wanted, and Character Creator made it happen seamlessly“. This simplicity has made Character Creator an integral part of Ace’s workflow, easing many of the typical challenges in 3D modeling. Other plugin integrations include Headshot and SkinGen, helping to boost the realism and quality of his characters.
Initially hesitant about modeling characters in VR, Ace took the plunge and created a character from scratch. He was pleasantly surprised by the efficiency and effectiveness of Character Creator during the rigging process; Noting that, despite being primarily an environment artist, the software made the process straightforward: “It worked easier than any other method I’ve tried”.
Modeling the character with Substaince Painter VR Modeler
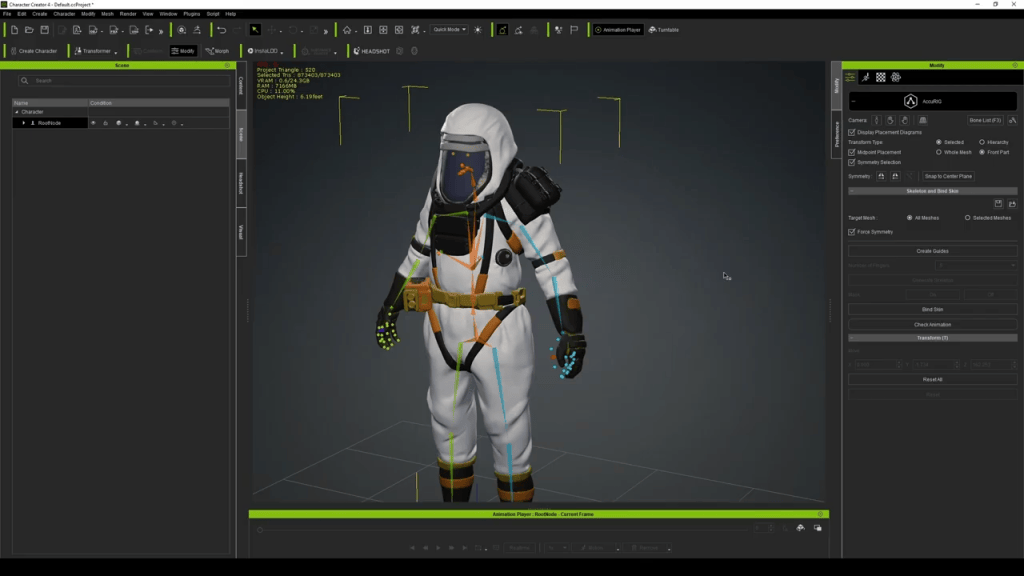
Auto-rig the character with Character AccuRIG
Ace appreciates CC accessory options, which allow him to incorporate armor, shoulder pads, and belts without mesh distortion. This feature has enhanced the quality of his character designs, providing him with a reliable platform for creating unique characters.
Ace Carman’s evolution as a 3D artist is marked by pivotal transitions, from traditional techniques to embracing cutting-edge tools like VR and Character Creator. His adaptability has boosted both efficiency and creative potential, showcasing how modern technology is reshaping the future of concept art.
Rodin, AccuRIG, and ActorCore inspire the next wave of creativity for 3D artists
José Antonio Tijerín
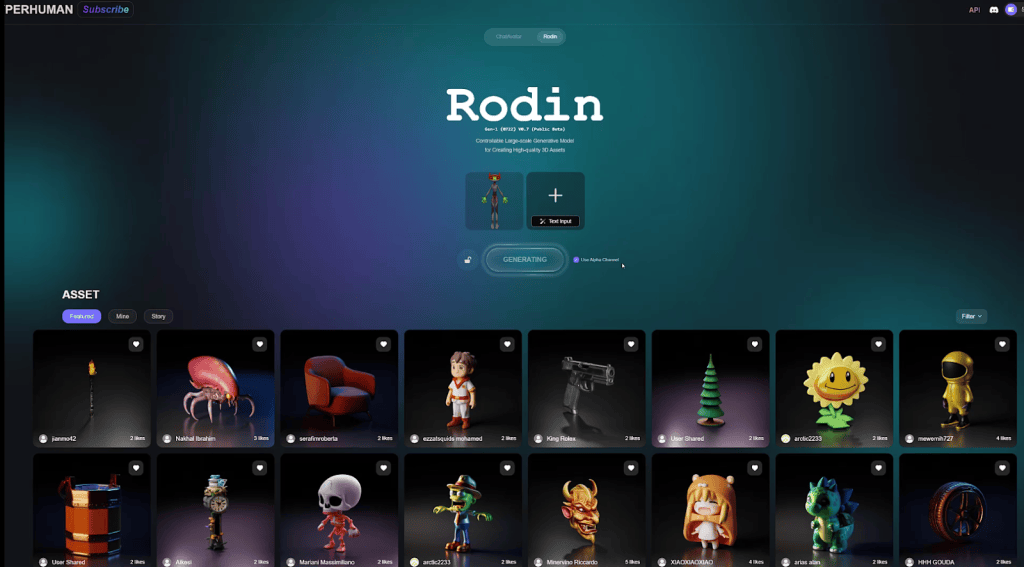
José Tijerín, a digital illustrator and 3D sculptor, is the creator of the video game “Dear Althea” on Steam and the content pack “We’re Besties” available in the Reallusion Content Store. In this article, he demonstrates how AI streamlines 3D model creation, featuring Rodin and its integration with ActorCore’s 3D motions and AccuRIG, a free auto-rigging tool.
The AI Revolution in 3D Creation
The 3D industry is undergoing a real revolution with the advent of AIs that generate 3D models. Of all the AIs I have tested, Rodin promises to transform the way 3D characters and models are created. In this landscape of technological advances, it is crucial to understand how these types of AIs can not only complement but also be enhanced by established tools.
ActorCore and AccuRIG offer a complete and optimized solution for professional 3D content creation. Together with this AI, these tools offer never-before-seen opportunities for artists without 3D skills to work on projects based on three-dimensional environments.
See my workflow on how these three worked together and created amazing results.
Rodin: A New Frontier of 3D AI Generation
Rodin represents a quantum leap in 3D model generation, using advanced algorithms to create characters with an unprecedented level of detail and realism. This AI is not only capable of generating complex geometries, but also understands and applies textures and materials in a coherent way based on our sketches. Being able to go directly from the conceptual design of a character to the 3D model drastically reduces the time it takes to go from idea to final result.
Rodin, a tool for generating 3D models from images or text, offers artists the opportunity to see their 2D sketches in the form of a three-dimensional model by generating geometry and materials. One of its main distinguishing features is the opportunity to ‘redo’ the model and textures a large number of times in order to find the perfect finish. It also allows 3D control via Bounding Box, Voxel or Point Cloud to manipulate scale and shape. Finally there is a mesh editor for quick tweaks and advanced options such as adding negative cues and pose control that offer far more control than any other AI today.
Rodin stands out for its ability to generate several results based on the same reference, free of charge, from which we can choose the result that best suits what we were looking for. This gives us the control that most of today’s AIs can’t give us and makes the 3D creation process much more creative.
However, its true strength is revealed when it is integrated with tools that have already proven themselves in the industry. This is where ActorCore and AccuRIG come into play, offering functionality that perfectly complements Rodin’s capabilities.
AccuRIG: Perfect Complement to AI-Generated Models
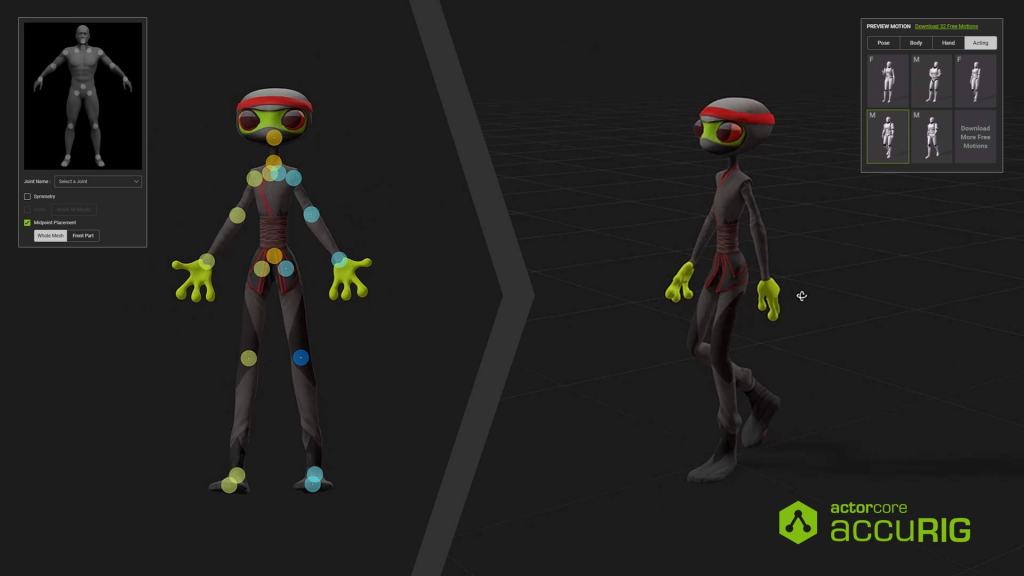
AccuRIG is the best free tool to complement Rodin. Although Rodin can generate complex models, the rigging process remains a crucial stage for these models to be animated effectively. This is where AccuRIG proves its worth, automating rigging with amazing precision, yet also allowing artists to manually adjust the result so that the character skeleton is exactly what we are looking for and the characters can be animated in a coherent way.
AccuRIG’s compatibility for rigging a wide variety of models, from humanoid figures to fantastical creatures, makes it the ideal complement to Rodin-generated character designs. This synergy between Rodin and AccuRIG not only streamlines the rigging process, but also ensures that models are ready to be animated with ActorCore 3D motions that can then be used in iClone. This way we can go from 2D character design to a fully functional 3D model in a Unreal Engine or Unity project in a matter of minutes.
ActorCore: Elevating the Potential of AI with 3D Animation
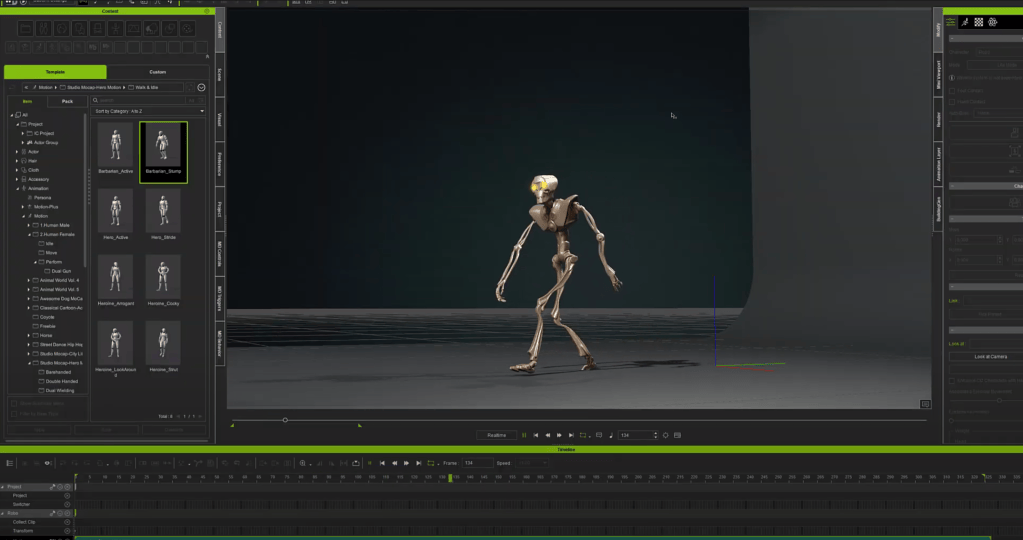
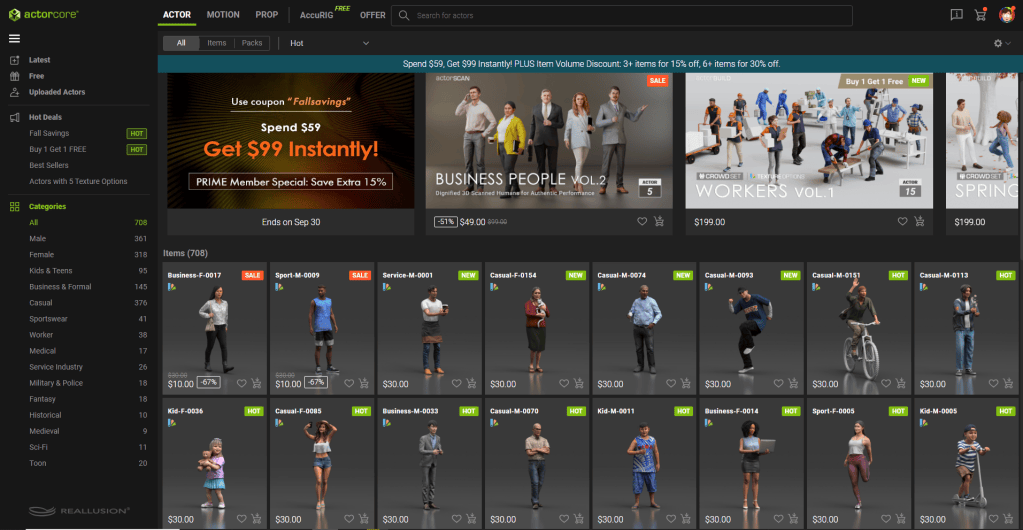
ActorCore is a platform that has established itself as a great resource for any 3D professional. With its extensive library of high-quality animations, ActorCore not only allows users to take advantage of Rodin-generated creations, but also brings them to life with precise and natural movements for any 3D character.
ActorCore’s mocap animations, created using advanced motion capture technologies, ensure that any Rodin-generated character moves with impressive fluidity and realism. In addition, ActorCore allows us to visualize these animations directly on our characters in the 3D viewer for free, ensuring that they are perfectly suited to the specific needs of any type of professional project. This also allows an artist to show their idea to the rest of the team in a much more effective way, instead of just presenting a couple of sketches, now an artist can show a character full of life in a matter of minutes completely free of charge and without any knowledge of 3D modeling or animation.
iClone: the Fastest Real-time 3D Animation Tool
To work with the rigged and animated character, there is no better program than iClone. With its tools we can edit the animation and work with the character to adjust it as much as we want to our needs. Thanks to this, for example, we can make our characters fit into the scenarios of our project or make them interact with each other. When we finish we will see that one of the great advantages of using iClone is its integration with other programs, so we will be able to send our character to Unity or Unreal perfectly configured in less than a minute. So, iClone will save us from having to work with multiple programs and with the tool sets it offers, it will allow us to focus only on what’s important.
Synergistic Integration: Rodin, AccuRIG and ActorCore
Rodin’s integration with ActorCore and AccuRIG can drive a new era in 3D content production. While Rodin brings with it the promise of more creatively generated 3D models, ActorCore and AccuRIG ensure that these models are not only visually stunning, but also fully functional and accurately animated. The real power of this combination lies in the ability of these tools to work together, creating a workflow that maximizes efficiency while leaving more room for creativity and experimentation.
Check out these great tools that bring real innovation to 3D content creators:
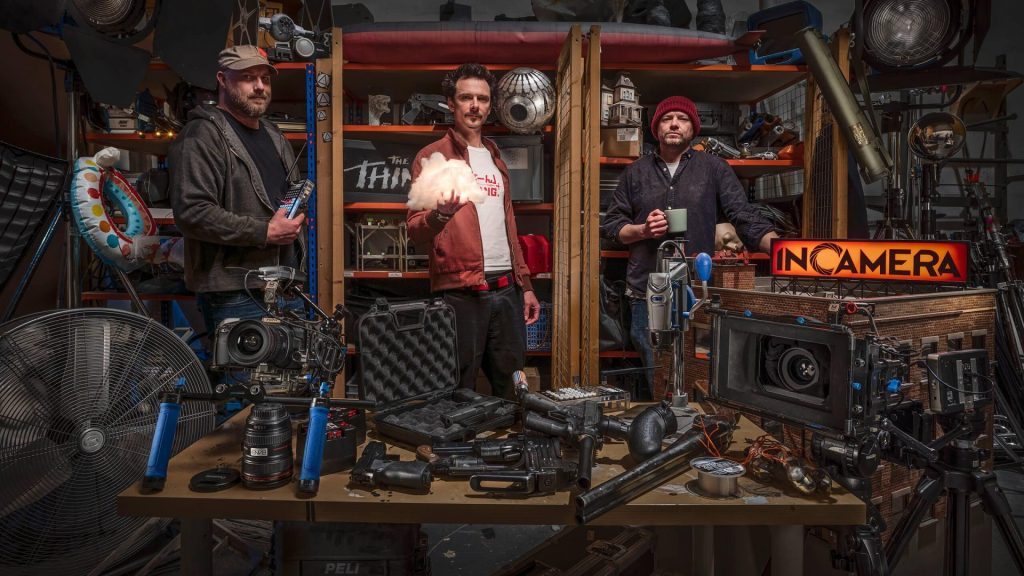
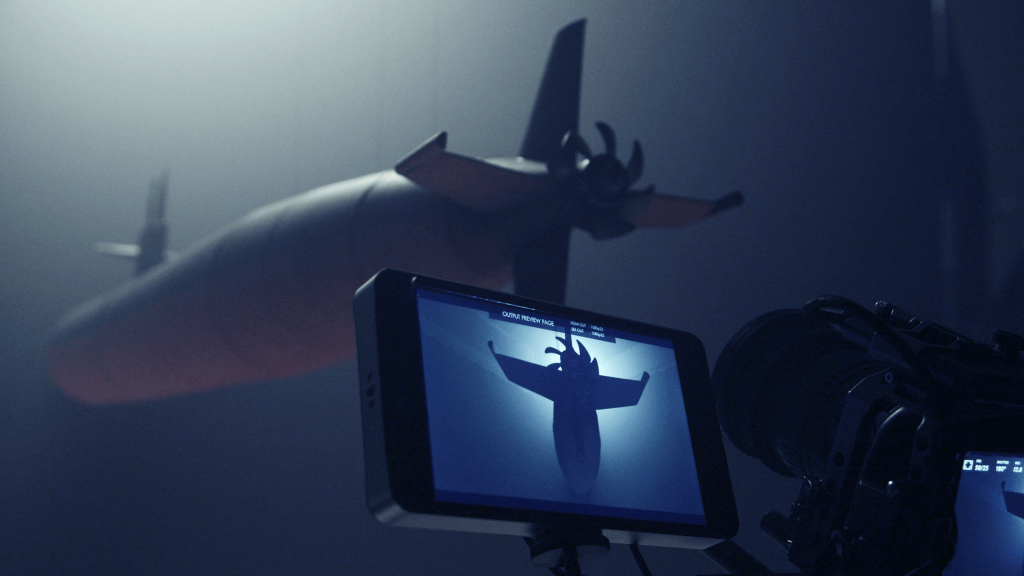
In September 2020, Incamera transitioned from a studio hire facility and production company. They became a full-fledged special effects powerhouse. They now collaborate with companies of all sizes across both the broadcast and commercial sectors. During this pivotal period, they launched their own YouTube channel. The channel showcases practical effects techniques used in the film and TV industry. They aimed to preserve and share this valuable knowledge with their audience.
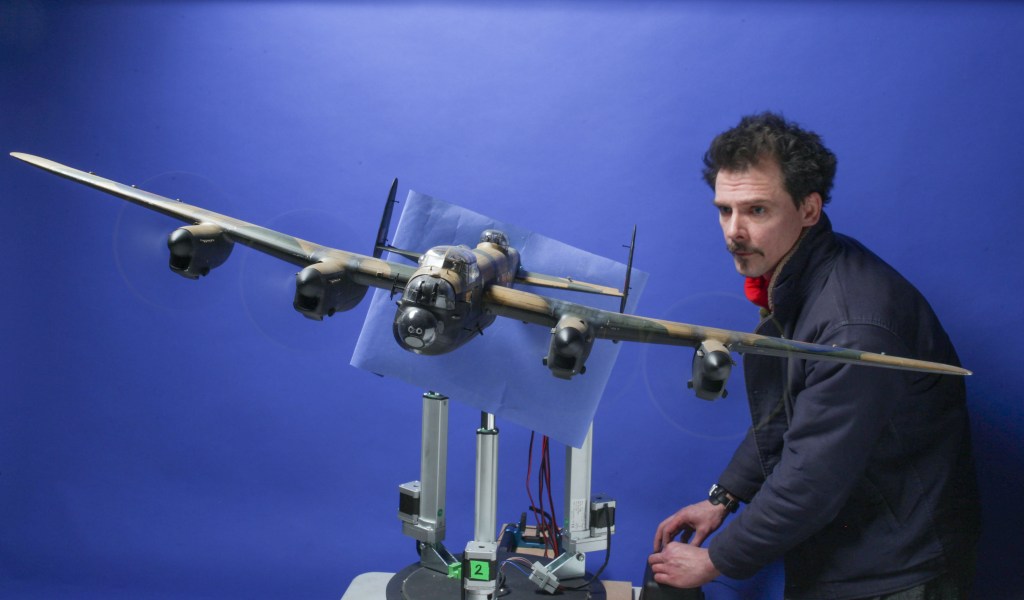
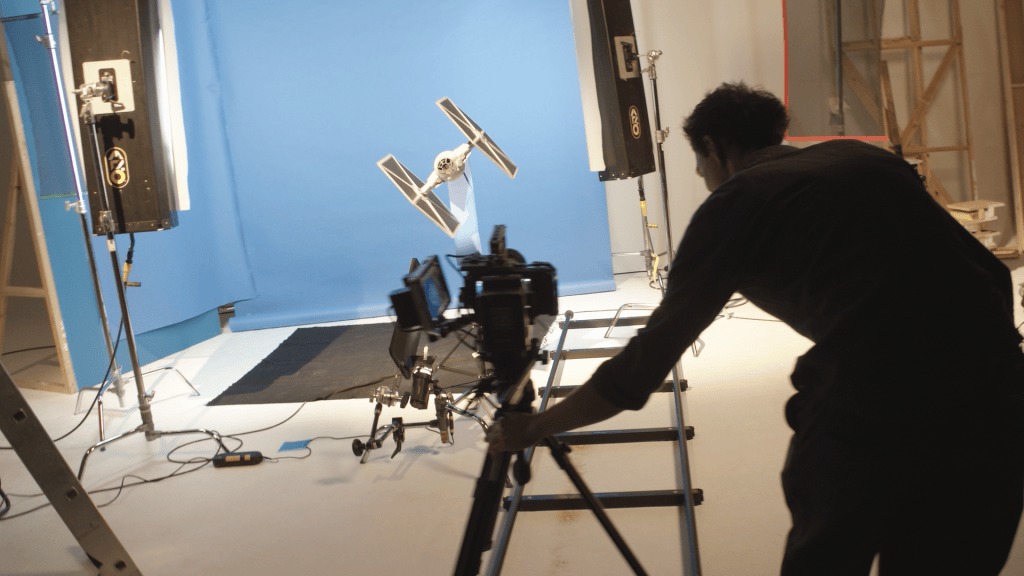
Over the years, Incamera has produced a wide range of content. They cover techniques such as pyrotechnics, animatronics, motion control, miniature photography, and more. The goal of their YouTube channel is to educate and inspire filmmakers of all levels. It demonstrates that practical effects remain a viable and powerful tool in modern filmmaking. When combined with CGI in the right context, these practical effects can create extraordinary results.
Incamera’s ethos emphasizes a ‘hybrid’ approach to visual effects. They educate filmmakers that CGI doesn’t have to be the default for every project. Instead, they encourage exploring alternatives that blend practical effects with digital techniques for a more balanced, creative outcome.
With a client roster that includes industry giants like Disney, Netflix, BBC, ITV, and Lego. Incamera continues to push the boundaries of practical effects. They are also producing unique content for their YouTube audience. Their ambition is to expand their content further. They aim to showcase even more examples of visual effects. They are also providing hands-on knowledge to aspiring filmmakers.
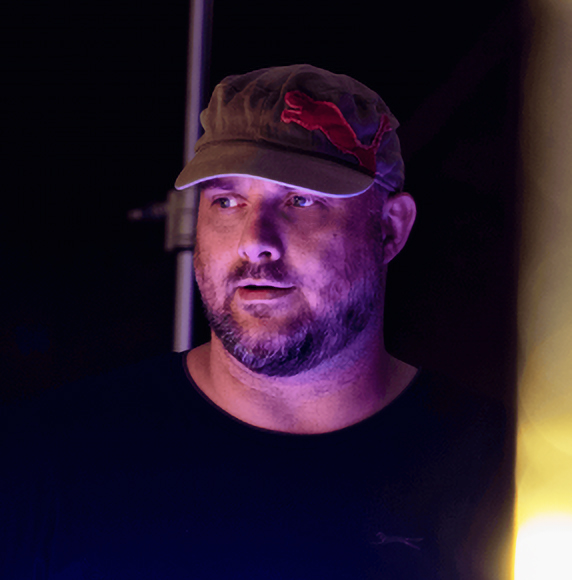
James Price (JP) has over 20 years of professional experience in TV and film production. His roles include those in the art department, visual effects supervision, and special effects. He recently joined Incamera to help create exciting new content for their channel.
In their latest video, JP’s Bench highlights how modern digital tools like ActorCore are revolutionizing the animation process. The video explores the use of replacement animation. It showcases how ActorCore’s extensive library of high-quality assets and seamless integration streamline animation workflows. Discover how traditional stop-motion techniques blend with cutting-edge technology. This blend boosts creativity, enhances quality, and saves time in creating dynamic, fluid animations.
“When I found out about ActorCore’s AccuRIG tools for quickly rigging a character and applying motion to a model, I was astonished at how simple and efficient it was…it was right at the end of our project and within minutes I had exactly the results that I was wishing for”
James Price – Visual FX Artist
How Incamera Uses Reallusion Software to Innovate in Filmmaking
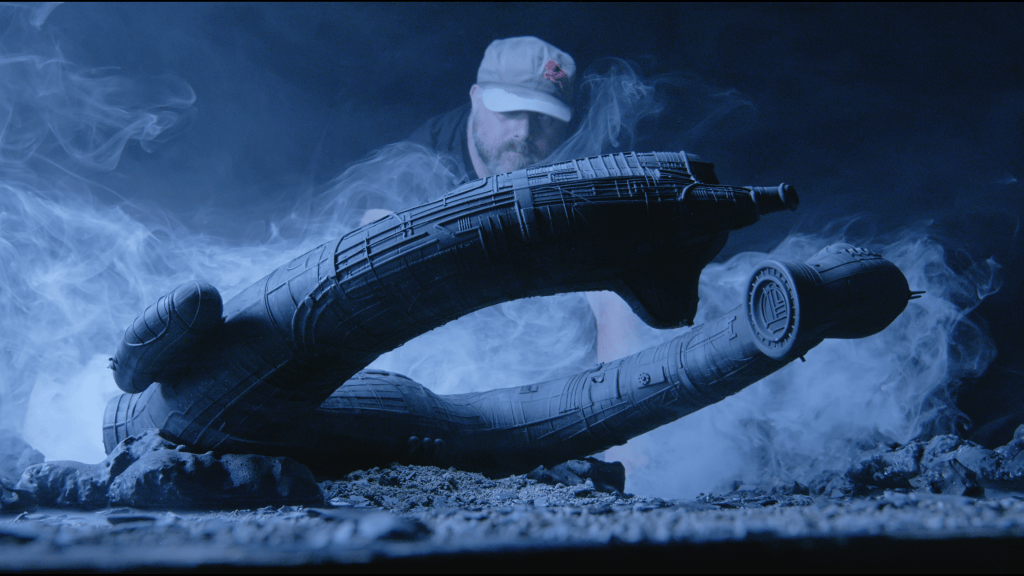
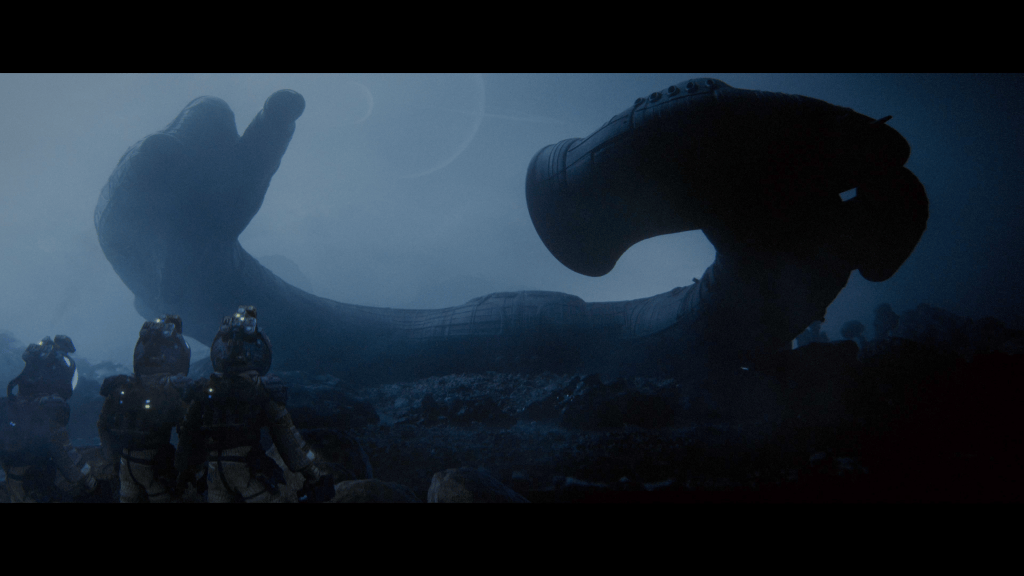
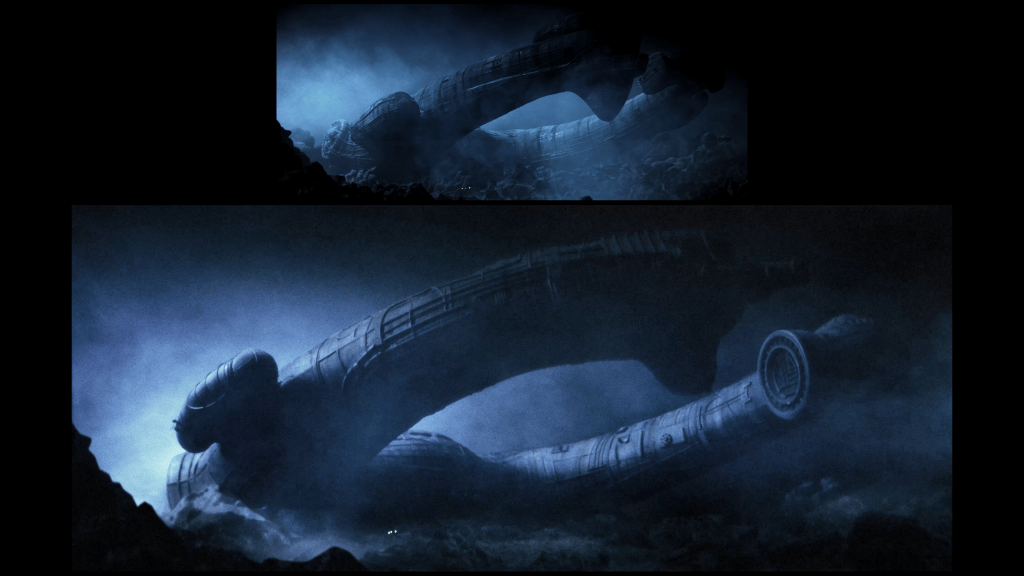
In today’s fast-evolving digital landscape, filmmakers constantly seek new techniques to blend traditional and modern tools for visual storytelling. One company at the forefront of this innovation is Incamera. Earlier this year, Incamera produced a video series recreating iconic scenes from Ridley Scott’s classic sci-fi film Alien.
To bring their ambitious vision to life, they utilized Reallusion’s cutting-edge software. ActorCoreshow the potential of these tools for animators and filmmakers worldwide.
ActorCore & AccuRIG: A Game Changer for Filmmaking
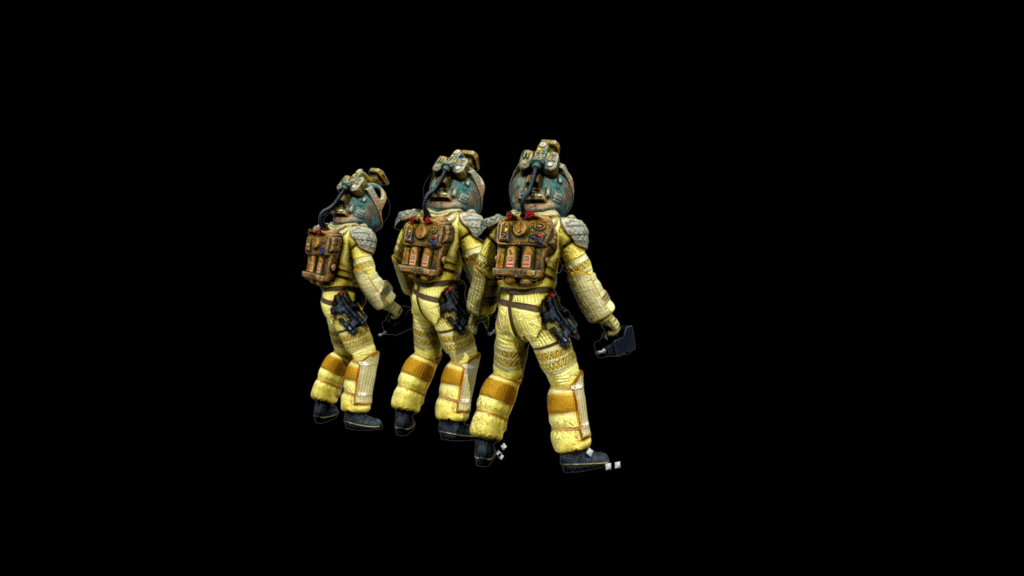
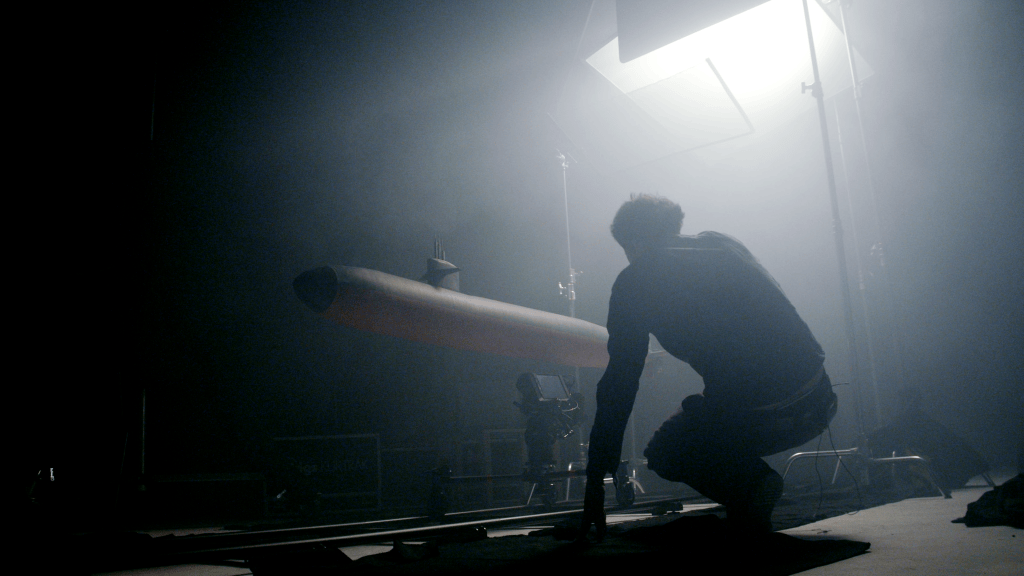
In one episode of Incamera’s Recreating Alien series, JP (James Price) is Incamera’s lead creator. He needed to bring extra realism to a miniature set. He did this by integrating foreground CG characters. Reallusion’s AccuRig tool inside ActorCore made it easy for him to quickly rig a character .OBJ figure, which was then multiplied and animated using the vast motion library in ActorCore.
“ActorCore has transformed the way I approach animation. The extensive library and easy integration make it an invaluable tool in my animation workflow.”
James Price – Visual FX Artist
Auto rigging any character with AccuRIGAuto rigging any character with AccuRIG
The character was exported via OBJ sequence. It was then brought into Adobe After Effects. JP used VideoCopilot’s Element 3D plugin to duplicate and composite the figures into the final scene. This quick yet powerful solution added depth and complexity to the project. It showcased how digital tools like ActorCore can elevate physical model-based projects.
Check out the Recreating Alien episode here:
Bringing Digital Animation into the Physical World with Replacement Animation
In a recent example, JP demonstrated how Reallusion’s ActorCore could be used to explore replacement animation. This is a technique traditionally applied in stop-motion. Replacement animation involves swapping parts of a puppet or model. This creates fluid movement. JP’s experiment gave this method a modern twist by incorporating ActorCore into the mix.
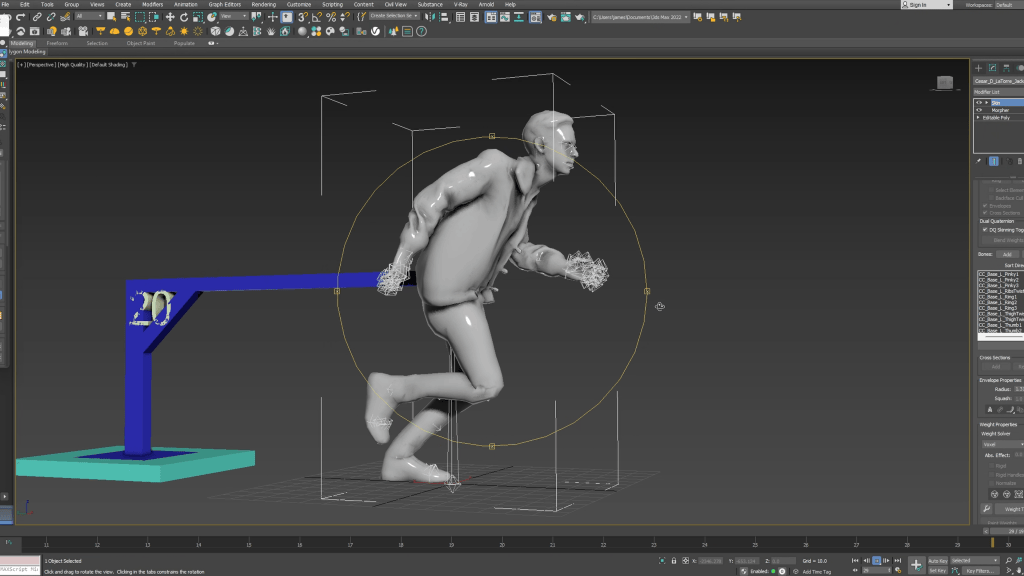
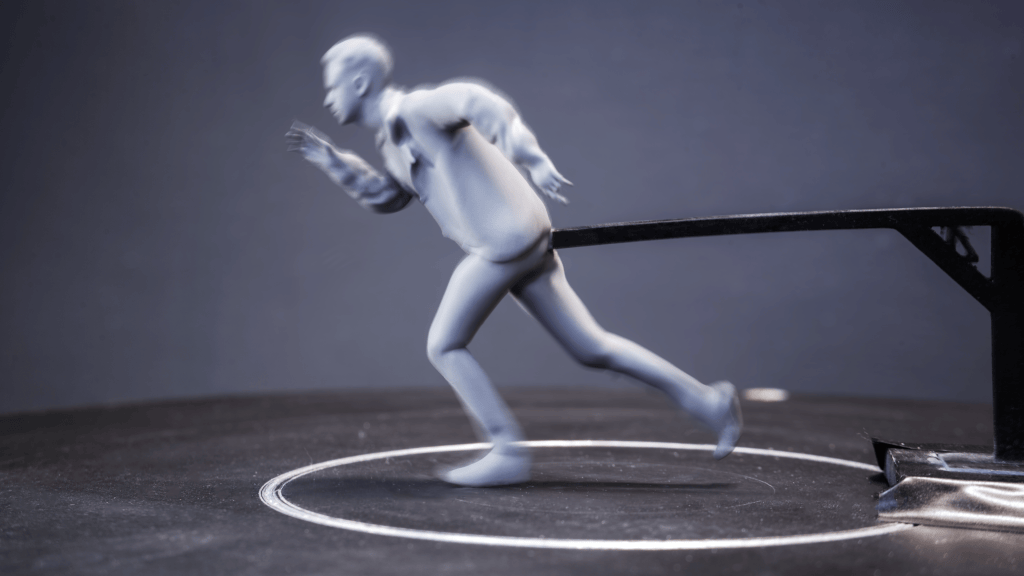
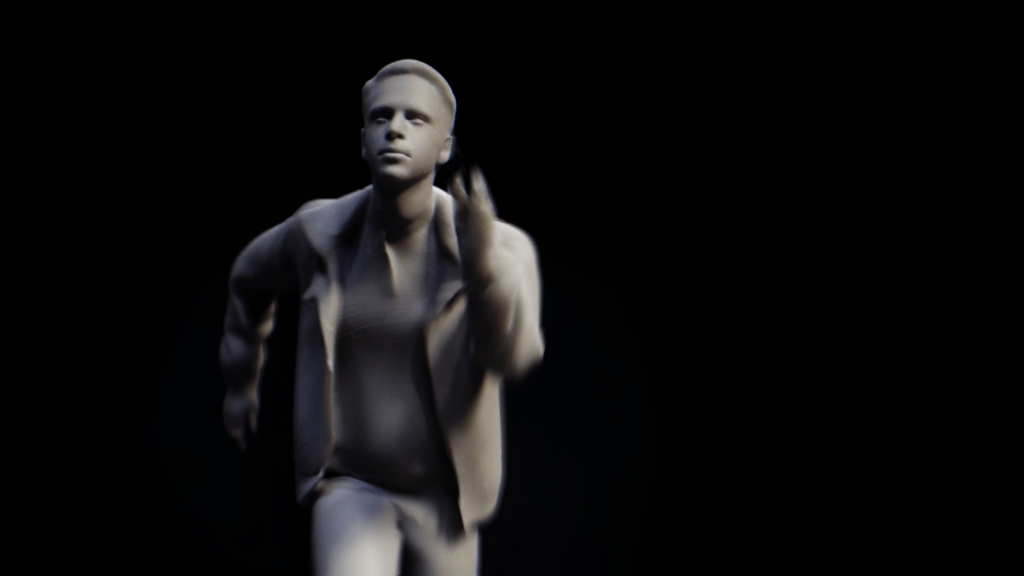
JP used a run cycle from ActorCore’s extensive library to create a series of 3D-printed figures. These were then physically photographed via stop motion, bridging the gap between digital and practical effects.
“The test example that I used to demonstrate replacement animation was very simplistic, but using a cycle of motion from ActorCore made it work brilliantly!…it took almost no time at all to select a suitable animation and have it linked to a figure that I really liked’ ”
James Price – Visual FX Artist
To achieve this, JP imported a 20-frame extract from ActorCore into 3D Studio Max. The frames were then exported as STL files, with support structures attached for 3D printing.
Using Dragonframe, a widely respected tool for stop-motion animation, the frames were captured and controlled to achieve the perfect sequence. This innovative use of digital animation blended seamlessly with traditional techniques, expanding the horizons of how filmmakers can work.
Why ActorCore is Essential for Filmmakers
Extensive Motion Library
One of ActorCore’s greatest strengths is its vast library of motion-capture animations, covering everything from simple actions to complex movements. These pre-made animations can save filmmakers and animators hours of work while delivering realistic and natural character motions.
Quick and Seamless Integration
ActorCore is designed to work effortlessly with major animation software. These include 3D Studio Max, Unreal Engine, and Adobe After Effects. The tool’s easy integration allows filmmakers to quickly bring in digital assets. They can apply animations and focus more on creativity than the technical details.
High-Quality Assets
In addition to its animations, ActorCore provides a range of high-quality character assets. These assets are meticulously designed for flexibility and detail. Whether you’re creating animated CG characters or blending digital elements with practical effects, ActorCore offers the precision you need.
JP on Reallusion’s Creative Potential
“I really love the broad range of solutions that Reallusion has…I feel like I’ve only scratched the surface of what creative uses their software and motion libraries have to offer. I can see so many opportunities to use their products to help us integrate digital characters into miniature sets and virtual production scenes…to make some great examples of how practical and digital tools can blend together, to make some magic happen.”
James Price – Visual FX Artist
This sentiment reflects the power and versatility that tools like ActorCore bring to the filmmaking world. These tools help creators like JP push the boundaries of visual effects. They do so by merging traditional techniques with modern technology.
The Future of Hybrid Filmmaking
Going forward, JP and his team at Incamera plan to continue experimenting with how Reallusion’s software can enhance their creative process. They aim to combine old-school craftsmanship with state-of-the-art digital tools. The accessibility and ease of use of products like ActorCore open up new possibilities for filmmakers, especially in the realm of independent and small-budget productions.
“Reallusion has become an essential part of our toolkit,” JP explains, “allowing us to achieve professional-grade results quickly and affordably. We’re excited to continue exploring new ways to innovate using these tools”
James Price – Visual FX Artist
Final Thoughts: Why You Should Consider ActorCore
For filmmakers looking to enhance their productions with high-quality digital animations, Reallusion’s ActorCore offers a reliable and efficient solution. With its expansive library of motion capture animations, seamless integration, and user-friendly interface, ActorCore is an invaluable tool for creating captivating scenes—whether for physical model sets or fully digital environments.
The possibilities are endless, and as JP’s work with Incamera shows, tools like ActorCore make it easier than ever for filmmakers to bring their visions to life.
Hello, I’m Scott Evans, founder ofDigital Puppets, an animation studio specializing in motion capture and VTuber production. We’ve collaborated with Disney, Cartoon Network, BBC, and creators worldwide.
I’ve received many inquiries about the differences between Adobe Character Animator, Live2D, and Reallusion’s Cartoon Animator 5. While I’ve created numerous videos on Character Animator, I’ve recently switched to Cartoon Animator 5 due to its new features that suit my workflow perfectly.
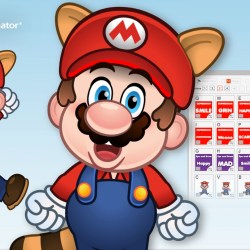
Instead of just explaining, I’ll show you Cartoon Animator 5‘s capabilities with a new Super Mario puppet I’ve created. Recognizable characters like Mario allow me to showcase the full potential of motion capture and trigger-based animation. Let’s dive in!
Setup a Living Mario
Before I started the design, I collected lots of Mario images and videos and tried to find his unique expressions and postures.
Once the character concept design was complete, I layered it in Photoshop, ensuring all elements were correctly organized.
Next, I imported the graphics into Cartoon Animator and aligned it with CTA’s PSD Character Templates, which offers a straightforward setup process. I positioned the character’s key points, like the arms, neck, knees, and feet, using anchor points. This step is crucial as it allows for smooth movement and animation. Once the character is set up, it’s almost ready for animation!
Animate Mario with 360 Head Turn
One standout feature is the 360 Head Turn, offering more dynamic motion than Live2D’s parallax system. While Live2D is popular, it can be somewhat limited for puppet creation. The 360 Head Creator, however, enables complex movements. I’ve layered Mario’s head with elements like the jaw, nose, eyes, and shading, resulting in a smooth 2.5D effect in 360 Head Creator that lets him look in any direction seamlessly. For those exploring advanced animation, I highly recommend trying this tool.
Smooth Facial Animations with Sprite Sequence
The enhanced image sequence feature allows us to create complex animations directly within characters, enabling precise control over facial movements, something difficult to achieve with basic face tracking alone. I’ve also created sequences for eyelids and eyebrows, allowing for seamless combinations of various expressions. This flexibility makes it easy to mix and match, giving characters more natural and expressive animations.
Real-Time Animation with Trigger System
Puppet Stage lets users build up custom triggers to make character animation easy and interactive. I’ve set up expressions for Mario, like happy, sad, and surprised, which can be activated instantly with key presses. I’ve also added different body triggers and camera angles, making the animations more engaging. This allows quick emotion changes to create expressive performances, perfect for live shows or real-time content.
Facial Mocap and Audio Lip Sync
The facial mocap and head-driven body movement features create smooth, lifelike animations that bring characters to life. With tools like Live Face, you can capture detailed facial expressions and achieve precise lip-sync in real-time. Head movements drive full-body actions, allowing characters like Mario to pivot, gesture, and move naturally, adding a dynamic and realistic touch to the animation.
Engaging Animations with Versatile Cameraworks
The Camerawork allows for multiple dynamic views during animation. You can easily switch between angles like full-body, upper-body, head and shoulders, or close-up, making live shows more engaging and professional. You can also create scrolling animations, like in classic Mario games, by setting the camera to follow the character along a path, keeping them centered on screen. It helps make the animation flow better and keeps the audience focused.
Massive Asset Library
The software offers a vast library of assets, including animations, VFX, and motion packs, for creating puppets. New packs likeCartoon Puppetand Anime Puppetallow you to mix facial and body movements to create unique performances. You can also add VFX, props, and backgrounds, linking them to character movements with custom hotkeys. For example, you can synchronize a happy expression with sparkles or a sad face with tears using the same key. This flexibility makes it easy to create visually rich animations with minimal effort.
Green Screen Setup for Live Streaming
You can activate a green screen background with a single click. This lets you place your character onto different backgrounds, which works well for platforms like OBS, Twitch, and other streaming services. It’s an easy way to add animated characters to any virtual setting during live shows.
Conclusion
The software offers a great workflow for making eye-catching animations, ideal for live shows or YouTube. It’s perfect for VTubers and animators wanting to improve their content. This is just a glimpse of what’s possible, explore more on the Reallusion YouTube channel. For questions, contact me at info@digitalpuppets.co.uk. Stay tuned for more tutorials and comparisons. See you next time!
Reallusion’s 2024 3D Character Contest was held between May 1st to September 30th, 2024. Within 3 months, 267 submissions were submitted from 55 countries. showcases the best 3D character design and animation created using Reallusion’s powerful character production ecosystems – Character Creator for 3D character creation, iClone for facial and body animation, and AccuRIG for rigging.
“At Reallusion we are proud to see an influx of high-level character artists who are adopting Character Creator and iClone into their professional pipelines. The contest proved the viability of using Character Creator to create unique 3D characters without thematic limitations. We congratulate all who participated, and look forward to bringing more innovations to the industry.”
– Enoc Burgos, Reallusion Director of Partnership Marketing
Prize Sponsored by Renown Industry Leaders
The 2024 3D Character Contest was hosted by Reallusion and sponsored by industry leaders such as NVIDIA, Maxon, Rokoko, Noitom, KitBash3D, 3DConnexion, KeenTools, TexturingXYZ, and Fox Renderfarm. Through this contest, Character Creator’s extensive pipeline allows artists to seamlessly integrate a new workflow designed for rapid creativity with zero sacrifice in character quality.
Meet our winners
REALISTIC CHARACTER DESIGN
Under this category, entrants create a realistic human character in Character Creator by combining the character base with tools like ZBrush, Substance Painter, Marvelous Designer, Blender, Wrap, Texturing.xyz, and Maya.
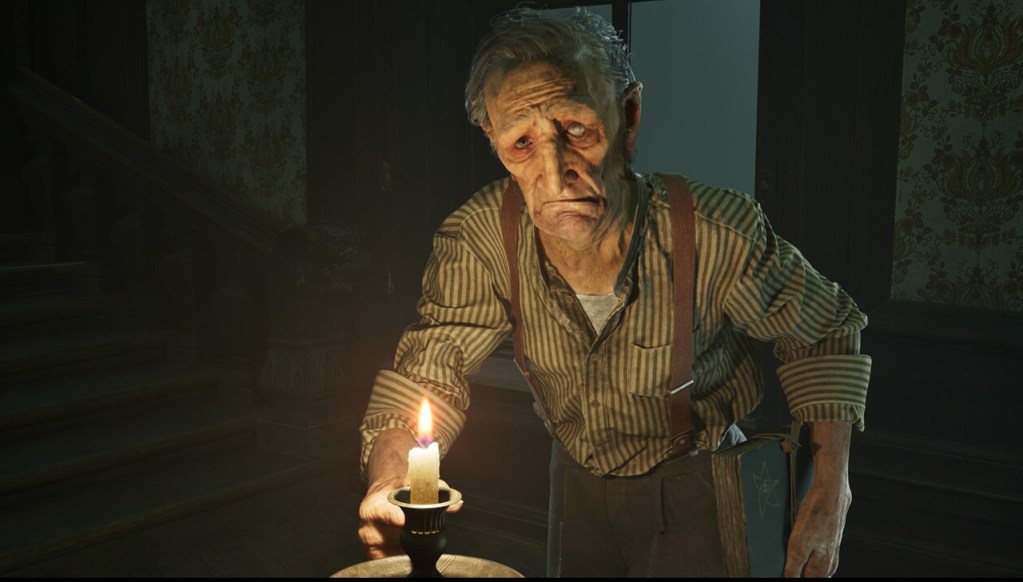
1st Place: The Last Entry – by Konrad Hetko, 3D Character Artist | Poland
“Reallusion’s tools were incredibly helpful, especially the ease of switching between Character Creator and ZBrush using GoZ. But what I appreciate the most is FaceTools, which takes care of the most tedious aspects of working with morphs and dynamic normals by automating everything with just one click!” – Konrad Hetko
2nd Place: Shannaz – by Tomáš Babka, 3D Artist | Czech Republic
“I really like tools from Reallusion. Especially the Character Creator. They help me speed up the character creation process tremendously. Quality textures, Topologies, Meshes and Morphs are of a high standard and very well made. As well as tools and addons for Blender, ZBrush, Unreal or Unity. Any pipeline including characters can be significantly sped up.” – Tomáš Babka
3rd Place: Hard Battle – by Jeet Shah, 3D Character Artist | India
“Character Creator introduced me to a refreshing new way of creating 3d characters with a very non-destructive approach with its hundreds of sliders (if not thousands using additional Headshot sliders) for full body modifications. I could easily try out new proportions, new ideas without fearing that I won’t be able to revert back to the old one. And on top of that the GoZ link allowed me to fine-tune the primary shapes that I could achieve with using only CC4. All of this flexibility comes with an additional benefit of having the character pre-rigged with both body and facial rig.” – Jeet Shah
STYLIZED CHARACTER DESIGN
Under this category, entrants create a stylized character in Character Creator by combining the character base with tools like ZBrush, Substance Painter, Marvelous Designer, Blender, Wrap, Texturing.xyz, and Maya.
“It’s such an ease to have a faithful base to the concept, reducing the time to see in action for the created assets and the character. Character Creator provides the possibility and versatility of adding bones for extra accessories, giving life to the character.” – Jorge Leonardo Ayala Arias
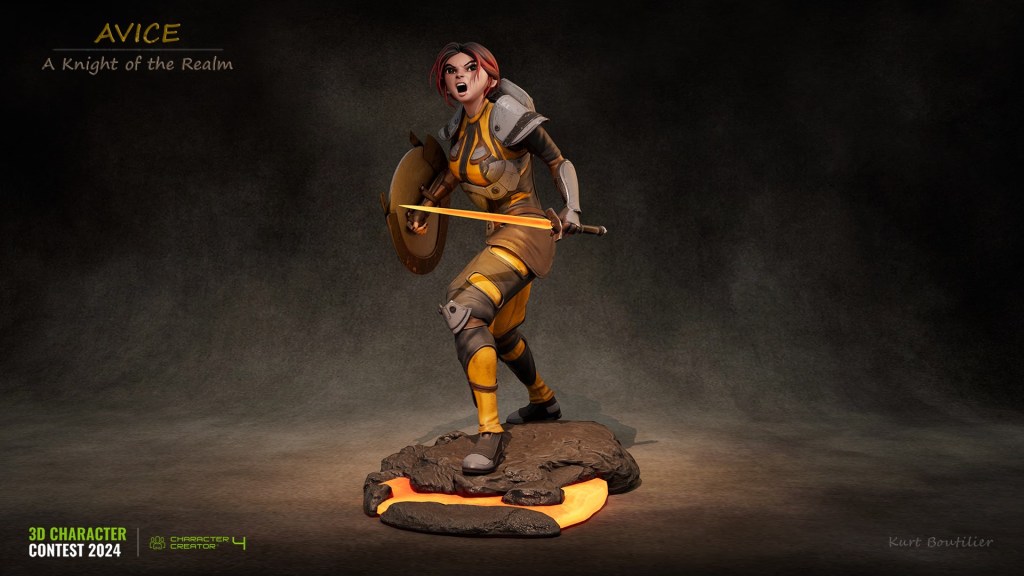
2nd Place: Avice – A Knight of the Realm – by Kurt Boutilier, Digital Sculptor / 3D Print Artist | Canada
“Reallusion tools helped me create a base mesh for my character, as well as the ability to rig and pose her much faster then modeling or rigging a character from scratch.” – Kurt Boutilier
“Character Creator 4 is an incredible software; it helped me save 50% of the time in my character creation pipeline. Additionally, it allows me to pose characters quickly without needing complex rigging methods. Its integration with ZBrush is so seamless that they almost seem like a single program.” – Duai Sebastian Florez
REALISTIC CHARACTER ANIMATION
Use iClone to create a realistic animation for a character made with the CC3+ Base. The character model can be customized with Reallusion tools and content or third-party software like ZBrush, Blender, Unreal Engine.
1st Place: Lisa & Fia – by Robert Lundqvist, 3D Hobby Artist | Finland
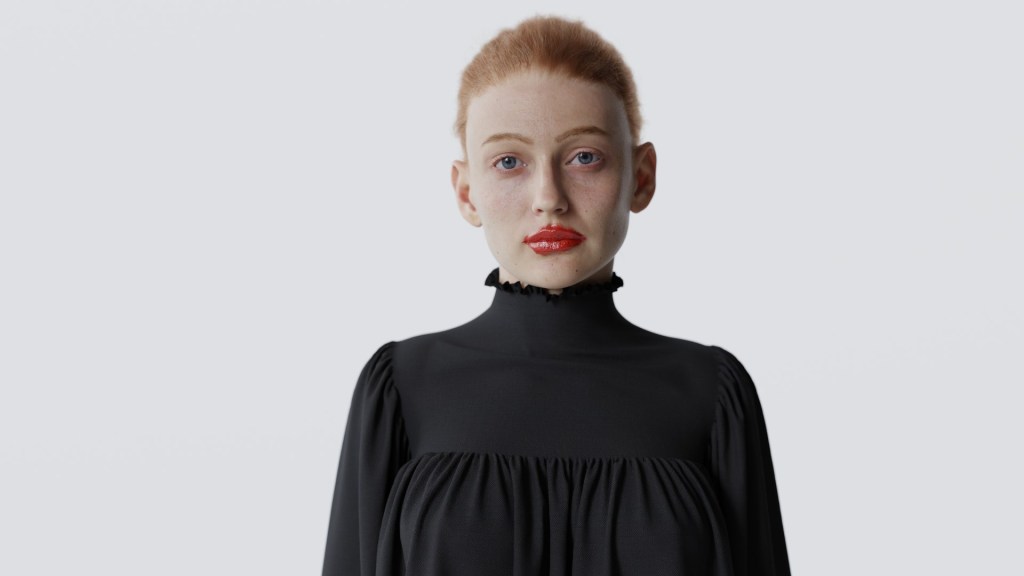
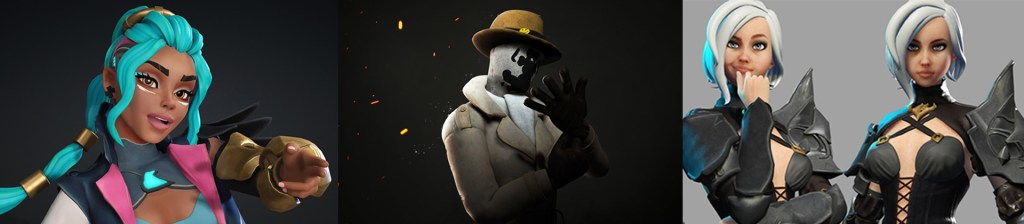
2nd Place: The Playful Deity – by Kay John Yim, Architect by day / CGI Artist by night | United Kingdom
“Character Creator 4’s Ultimate Morphs allowed me to create my character’s foundation non-destructively, which seamlessly integrated into iClone for posing and animation. SkinGen enabled me to add detailed skin textures and facial makeup, which I then exported as high-res textures for rendering in Houdini & Redshift. I utilized ActorCore motions as the base for the character animation and relied heavily on iClone’s ‘Edit Motion Layer’ and ‘Motion Correction’ for user-friendly animation adjustments. Digital Soul helped me test various realistic facial expressions before refining them with Face Key.” – Kay John Yim Watch the full entry: https://vimeo.com/1001507778
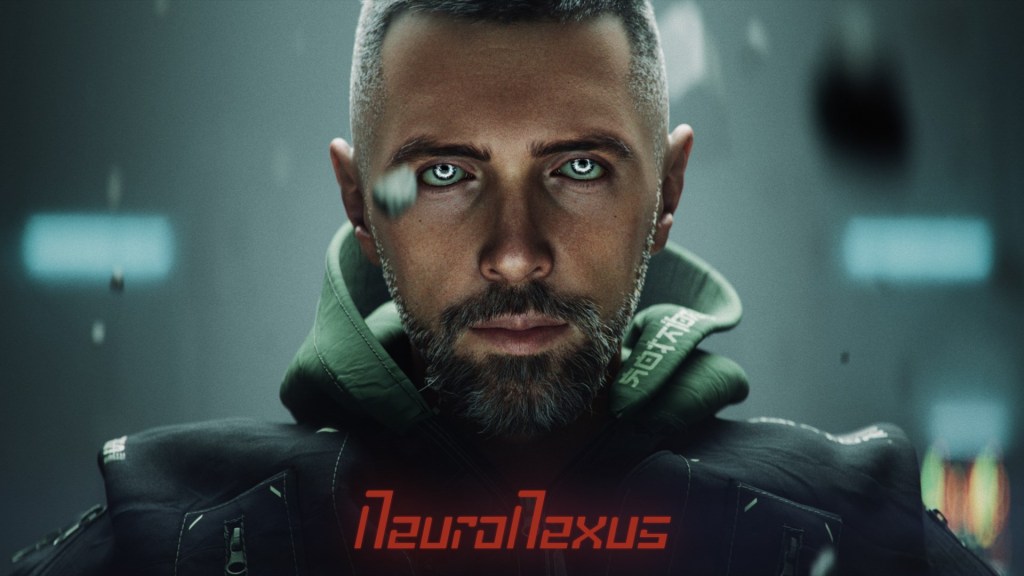
3rd Place: NeuroNexus – by Hamidreza Hamzehpour, CG Generalist – Film/Animation Maker | United Arab Emirates
“Initially, I used the base 3D model of the character creator and sent it to ZBrush using the ZBrush Face Tool Plugin to sculpt my character on the base m, then exported the rigged character to Cinema 4D. Also, I’ve used iClone to mix some animations like walking to stop, start to walk, etc.” – Hamidreza Hamzehpour Watch the full entry: https://vimeo.com/1004667047
STYLIZED CHARACTER ANIMATION
Use iClone to create a realistic animation for a character made with the CC3+ Base. The character model can be customized with Reallusion tools and content or third-party software like ZBrush, Blender, Unreal Engine.
1st Place: HellGal – by Loïc Bramoullé, Cinematics for indies and AA studios | France
“I started with Camilla in CC4, customizing her proportions to follow my concept, small hands and feet, elongated silhouette. I then started to design her face with FaceTools in ZBrush, already defining her custom expressions and wrinkles. I then used her body as a base to sculpt in 3DCoat, knowing I could use the skinning from CC4 to transfer the weights on my final low poly. I exported the character to Blender to make a simplified version to mocap in VR with Mocap Fusion, using my low poly environment blockout to walk around. And then import back the same animated armature into iClone. I gathered everything in blender in the end to keep polishing the environment while matching the animation, lighting, vfx, final edit, all in a single blend file. Character creator is always amazing to kickstart any humanoid character production, already supporting the really accessible facial motion capture in iClone, here with my iPad via LiveFace.” – Loïc Bramoullé Watch the full entry: https://www.youtube.com/watch?v=2elUL3Fhjis
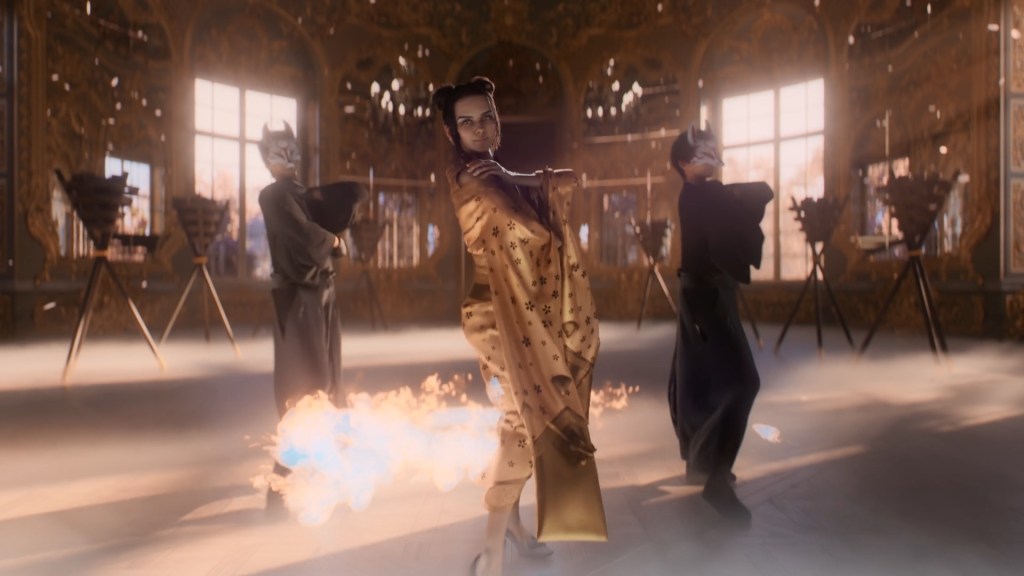
2nd Place: Dance of the Flying Spirit – by Melis Caner, 3D Generalist | USA
“As a 3D generalist, creating a character from scratch has always been challenging. Reallusion tools helped me build my character and animation significantly easier, faster, and more efficiently.” – Melis Caner Watch the full entry: https://www.youtube.com/watch?v=1r5JcroWf70
3rd Place: Nesting Realm Keeper – by Varuna Darensbourg, Artist & Game Dev | Canada
“For this challenge, I was able to complete everything using CC4, iClone, PS and GoZ+. Since I switched my direction on the final deadline week, haha! I needed to work as streamlined as possible. CC4 & GoZ+ really helped me finish my character efficiently and helped to quickly create props, like the Dragon egg, pillar and more. Another super massive time saver was using the facial capture from the Voice over video, using AccuFace.” – Varuna Darensbourg Watch the full entry: https://www.youtube.com/watch?v=TyiYUhXJnhI
BEST ACCURIG CHARACTERS
With the use of AccuRIG, artists can turn their static characters into fully animatable projects in any topology. The winning characters showcase high sculpting details with attractive poses and professional renders.
Special Awards and Prizes are reserved for outstanding achievement in certain areas of the competition. These awards are juried by our judges and add more to the winnings.
The judging process for the “2024 Reallusion 3D Character Contest ” proved to be quite difficult and took many hours of deliberation. Besides the top 3 placements from Best Character Animation & Best Character Design, Reallusion also selected 48 winners for AccuRIG characters, Special Awards, and Honorable Mentions. See the Winner Page for winner details and showcases.
Hello, I’m David, a multimedia producer and 3D designer from Cali, Colombia. A year ago, I studied at Libel Academy and completed a master’s program in Character Creator 4 (CC4) and ZBrush. This course provided me with a solid foundation in ZBrush, Character Creator 4, Blender, and Substance Painter. It allowed me to hone my skills and techniques in 3D design.
Although my professional background is in multimedia production, I decided to delve deeply into 3D design. I traveled to San José, Costa Rica, for an internship at a Virtual Production studio. There, I rediscovered my passion for 3D design. I created my first virtual environment using Unreal Engine 5.
My favorite tools for working include ZBrush, Blender, Substance Painter, and Character Creator. Each of these tools enables me to explore different aspects of design and elevate my ideas to new heights.
What I love most about being a 3D designer is the ability to create worlds and characters from scratch. I can bring my ideas to life. It pushes my creativity to the limit. It’s incredible to see how my designs come to life and interact with people in real-time.
One of the most notable projects in my career was creating a 3D character for an event in Malaysia. This character was designed in Character Creator and refined in ZBrush. It was integrated into Unreal Engine and connected with artificial intelligence. This enabled real-time verbal interaction during the event. This project not only allowed me to apply my technical skills. It also allowed me to use my ability to innovate and solve problems. This was especially true when we had to set everything up remotely using Pixel Streaming technology.
“One of the most notable projects in my career was creating a 3D character for an event in Malaysia. This character was designed in Character Creator and refined in ZBrush. It was integrated into Unreal Engine and connected with artificial intelligence for real-time verbal interaction during the event. This project not only allowed me to apply my technical skills. It also allowed me to use my ability to innovate and solve problems. “
David Pinzón – Multimedia Producer | 3D Designer
Character Creator and ZBrush integrated with Unreal Engine and artificial intelligence for real-time verbal interaction during event
“Would you recommend the union of these two software? ZBrush and Character Creator?
Totally! The truth is that I believe it is a lot easier to reach final results that look really professional. The truth is that I believe it is a lot easier to reach final results that look really professional.
It helped me so much being able to integrate Character Creator to my design workflow, because not only could I achieve a base for the character, but also a base that I could later animate with ease.
So we can say that we save many spaces (labor), and many moments to say it that way, to reach the final result.
How did you achieve your first 3D contract?
Well I was super happy because in a matter of months I was able to find a very good project. Through a client in Colombia we were able to take a project in Malaysia for an international event. It was a very good experience. The truth is that I had very good tools that allowed me to reach that final result.
What would you recommend to 3D Designers?
To research well the facilities we have with artificial intelligence and these new tools. They have served me much in saving effort, and in having this plus that in the final result.
David Pinzón – Multimedia Producer | 3D Designer
Workflow Description
Project Objective
The objective of the project was to present a 3D avatar at an international event in Malaysia.
The avatar could interact in real-time with the presenter and audience through artificial intelligence.
To achieve this, a combination of tools where used from the original character base, to the advanced design.
Later, artificial intelligence was used for the voice and lipsync of the talking avatar.
This was later used on a hologram to greet attendees at the event.
Character Creator and ZBrush integrated with Unreal Engine and artificial intelligence for real-time verbal interaction during event
Reallusion Tools Used
For the base design of the character, I used Character Creator 4 (CC4). Afterwards, I made adjustments and customized the character in ZBrush.
Main Challenges and Solutions
One of the main challenges was the need to prepare everything from Character Creator for remote execution. We used Unreal Engine’s Pixel Streaming technology, relying on third-party services to ensure the best quality.
Steps from Conceptualization to Project Completion
Planning Stage:
Executive Approval: In the early stages of the project, iClonewas instrumental in creating and presenting preliminary animations. Company executives then approved these animations.
Avatar Design
Base Design: I used Character Creator to get a solid and easily manipulable base.
Customization: I customized the character in ZBrush to give it a unique look.
Texture Editing: I edited colors and textures in Substance Painter.
Integration into Unreal Engine
Integration: I integrated the finished character into Unreal Engine using the “Unreal Auto Setup” tool.
Adjustments: I made adjustments to the lighting and camera in Unreal.
Implementation of Artificial Intelligence
AI Integration: I used Convai technology to integrate artificial intelligence into the character.
Training: I trained the character with the necessary information for the event. I gave it a name. I provided a voice generated by Eleven Labs.
Lip Sync Synchronization: I synchronized the lip sync using tools provided by Convai.
Remote Projection
Projection Setup: I used Eagle 3D Streaming technology for projection via Pixel Streaming.
Server Setup: I set up the project on their servers. I ensured the quality needed to obtain a remote connection link.
Opening & Presentation at Event: iClone was used to generate the introduction to the event. It was also used to create some supporting videos. These videos were shown throughout the presentation.
This project allowed me to combine various tools and technologies innovatively. I achieved a unique interactive experience for the event in Malaysia.
Sometimes you just need to get something done and get it done quickly. This is what we will look at today, Skinning Vs Rigging. Skinning is a bit easier, most times faster and simpler than AccuRIG. While AccuRIG is a powerful tool for skinning bipedal characters it can be a bit tricky when pushed outside of that box, but it can be done with enough effort if one needs the masking feature.
One of the biggest problems with using AccuRIG for a non-bipedal, “sort of character” or basically a block of mesh that some body parts defined but not all are usable, is a proper pivot point. Depending on where the mesh comes from or how it was created it may never have been given an appropriate pivot or worse the pivot is off from the center of the body because an arm is pointing outward like the example we will be using in this article.
This type of pose will naturally put the pivot in the center of the entire mesh, not just the bottom and between the legs. Odd pivots and other ways the mesh was made can make it very difficult for AccuRIG to properly place the markers on the mesh. It can also take a long time to create those markers even though they aren’t in optimal locations. If the mesh has proper clean topology this is not a problem, but statues are not made with animation in mind.
The best we can do is determine what limbs we think we can rig or skin and how we can accomplish that task in Character Creator 4. In this case it wasn’t rigging with AccuRIG but rather skinning the statue to the mesh as a cloth then using the Hide Mesh tool to hide the body.
AccuRIG Not the Best Choice for this Task
As I said earlier rigging a non-bipedal mesh is tricky and will take longer and sometimes it can be a lot of work for a result no better than simple cloth skinning. This is not the fault of AccuRIG as it simply wasn’t made for this task but that doesn’t mean we won’t try. In the tutorial at the end, I start with a sped-up clip of the failed AccuRIG process along with my narration.
LEFT: AccuRIG Struggles with Initial Marker Placement. RIGHT: Markers after being moved into place.
It took a long time for AccuRIG to place the initial markers on the statue mesh as it has few discernable limbs and only two that are not connected to the rest of the mesh. This is the arm and head which is all we need to animate. As you will see in the embedded tutorial, AccuRIG didn’t like my edited marker placement and widened out the skeleton to comical proportions.
LEFT: Disproportionally wide skeleton from previous manual marker placement. RIGHT: Tried masking to activate only the arm and head bones.
Even with masking enabled I could not get decent movement from the arm or the head as they were not lined up properly with the bones, basically disregarding most of manual marker placement. To top this off the skeleton jumped around refusing to stay centered on the mesh. This made animating the arm and the head very problematic as the pivots were way off and caused unusable mesh deformations due to the poor rigging.
Skeleton moved from center of mesh to left side when skinned making the arm and head useless as the mesh distorted with movement from the poor placement.
Like I said earlier, AccuRIG was given the task of almost having to rig a mesh brick making it very difficult to create proper rigging envelopes. The skeleton jumping out of place during skinning was the nail in the coffin because I knew I could try skinning and didn’t need to try again with rigging.
Skinning is Our Friend
Skinning is so much easier in this instance that it’s almost comical and this isn’t the only instance skinning will be better than rigging. It mainly depends on if the arms and legs have enough separation from the body or rest of the mesh to be skinned properly. The tolerances are much more forgiving for cloth skinning because again, we are only looking to animate certain parts of the mesh.
After we load the statue mesh as a prop, we can then load a character. In this case I chose the base Neutral Male. Again, the tutorial goes through all of this in more detail but all we have to do next is pose the Character as near as we can to the pose of the Statue. Then we move the character over to better align it with the statue.
LEFT: Load Avatar for Cloth Skinning. MIDDLE: Pose Avatar to Resemble Stature. RIGHT: Move Avatar to better align with statue.
After we have posed and placed the character nearer to the statue mesh, we can:
Select the Statue Mesh
ATTACH the Statue Mesh to the Character (this activates the Transfer Skin weights choice)
Skin the Statue Mesh as an “Other” cloth (I didn’t try any of the other choices)
Use the HIDE MESH tool after skinning to hide ALL of the body parts of the character mesh
Delete what unneeded features of the CC mesh as necessary
Turn off the visibility of the Tongue
LEFT: USE the HIDE MESH tool in CC4 to hide character. RIGHT: Only the Skinned mesh remains visible but the character will selected when chosen.
It is VERY IMPORTANT that we set the DEFAULT POSE in the Pose Editor otherwise the bind pose will revert to an A Pose and the mesh will be distorted badly when saved as a character instead of the native statue pose we need to keep for use in iClone.
Be SURE to set the Default Pose before sending to iClone or Saving, Otherwise the default will become an A Pose that will badly distort the mesh.
After saving the default pose, we can now transfer the character to iClone for a very simple keyframe animation of the arm and head. In fact, it is only a couple of keyframes. One each for the head and arm that can be on the same frame or different frame for variance. You can move down the timeline to your desired frame to rotate the head or move the arm to create an animation of the moving parts.
The Cloth Skinned Statue to Invisible CC3 Character animated with only two keyframes to raise the arm and rotate the head.
SUMMARY
Sometimes, as I said in the opening paragraph, you just need to get something done without taking several days to do it. There are times the animation calls for that much work, but, if you can figure out a way to skin for rig a static block of mesh like a statue that may be only partially defined, then you can add some nice touches or nuance to your scenes by animating objects that would generally be static or a more involved process just to move a couple of limbs.
If you need lip sync, expressions or anything like that then you have to resort to a more involved process that may or may not work in the long run depending on the statue mesh. Skinning is also a way to create quick prototypes or proof-of-concepts in the right situations.
Get creative and there is no telling what mesh you might be animating next with Character Creator and iClone.
MD McCallum – WarLord
Digital Artist MD “Mike” McCallum, aka WarLord, is a longtime iClone user. Having authored free tutorials for iClone in its early years and selected to write the iClone Beginners Guide from Packt Publishing in 2011, he was fortunate enough to meet and exchange tricks and tips with users from all over the world and loves to share this information with other users. He has authored hundreds of articles on iClone and digital art in general while reviewing some of the most popular software and hardware in the world. He has been published in many of the leading 3D online and print magazines while staying true to his biggest passion, 3D animation. For more information click here.