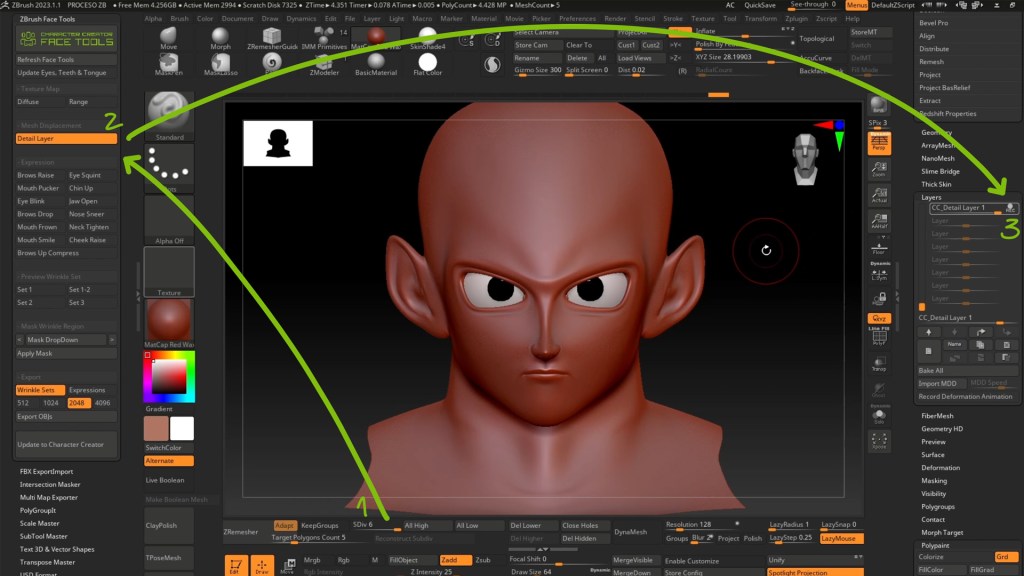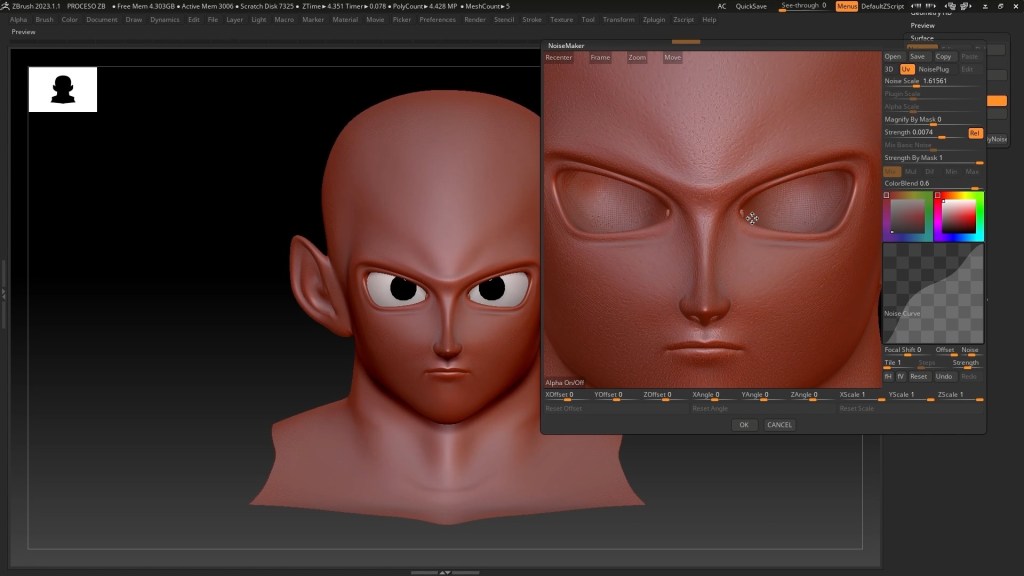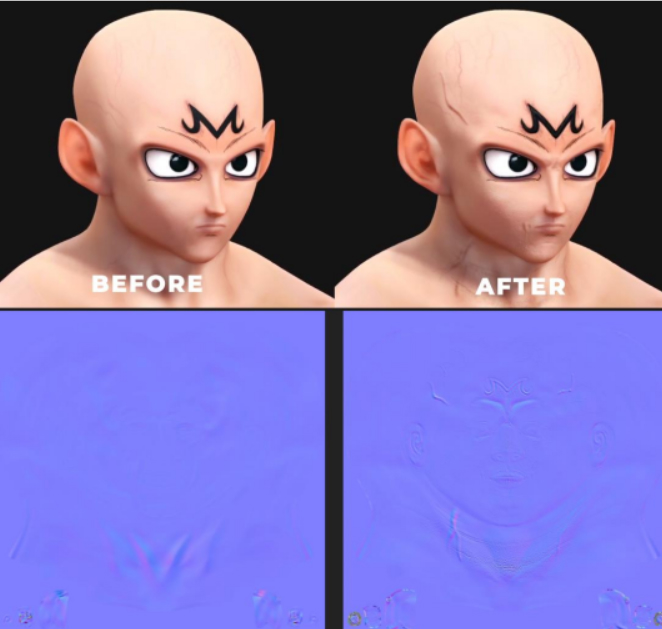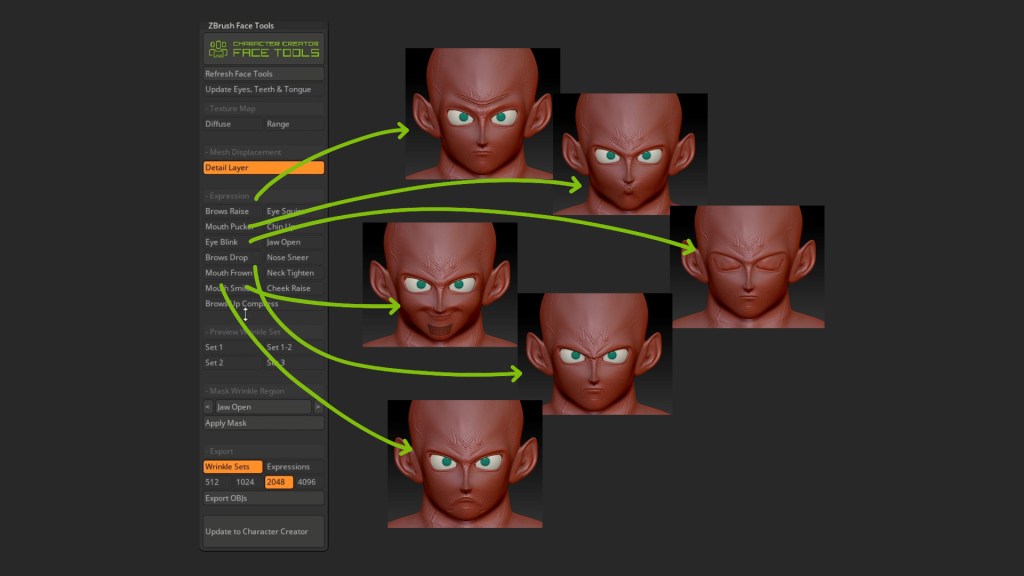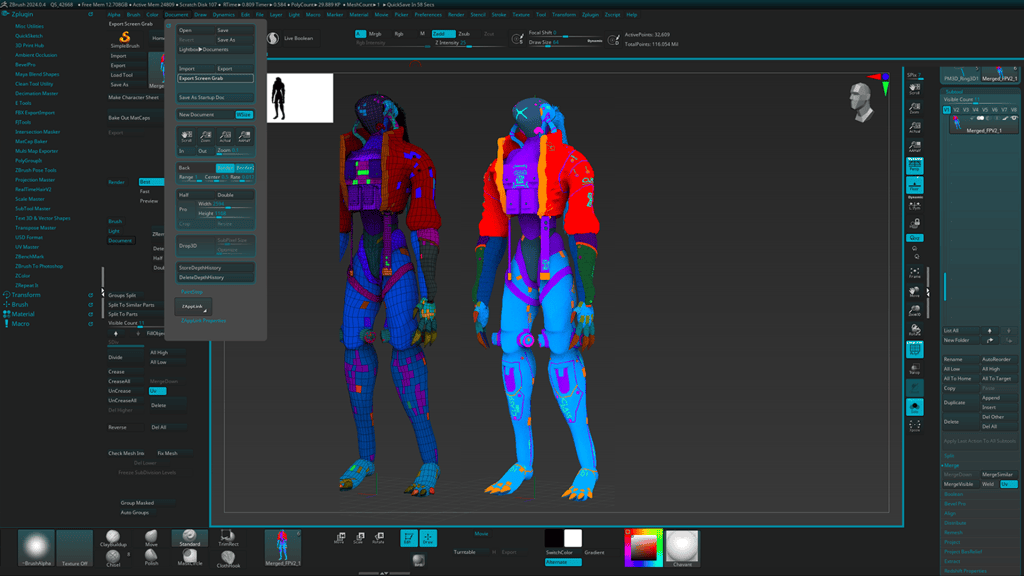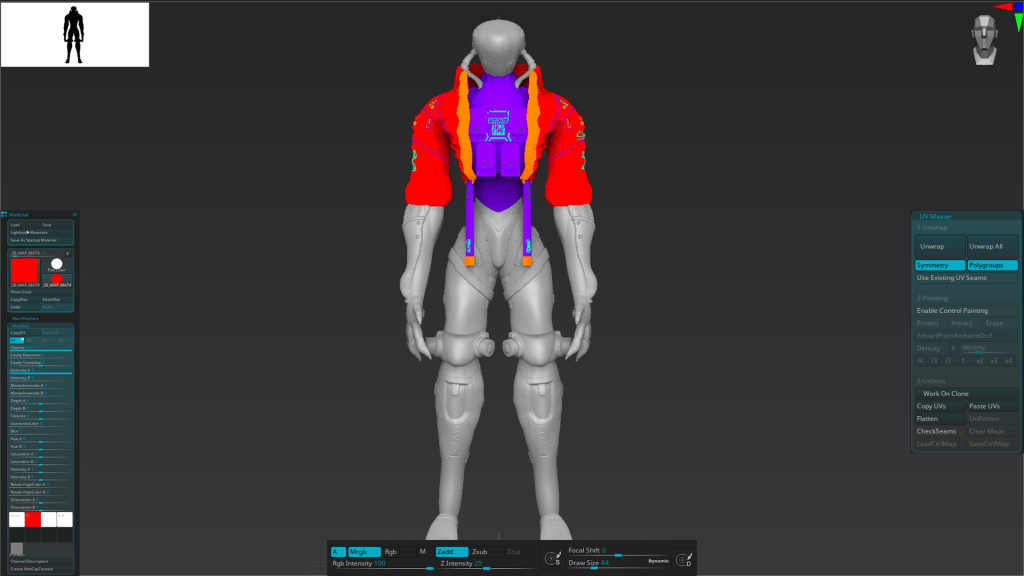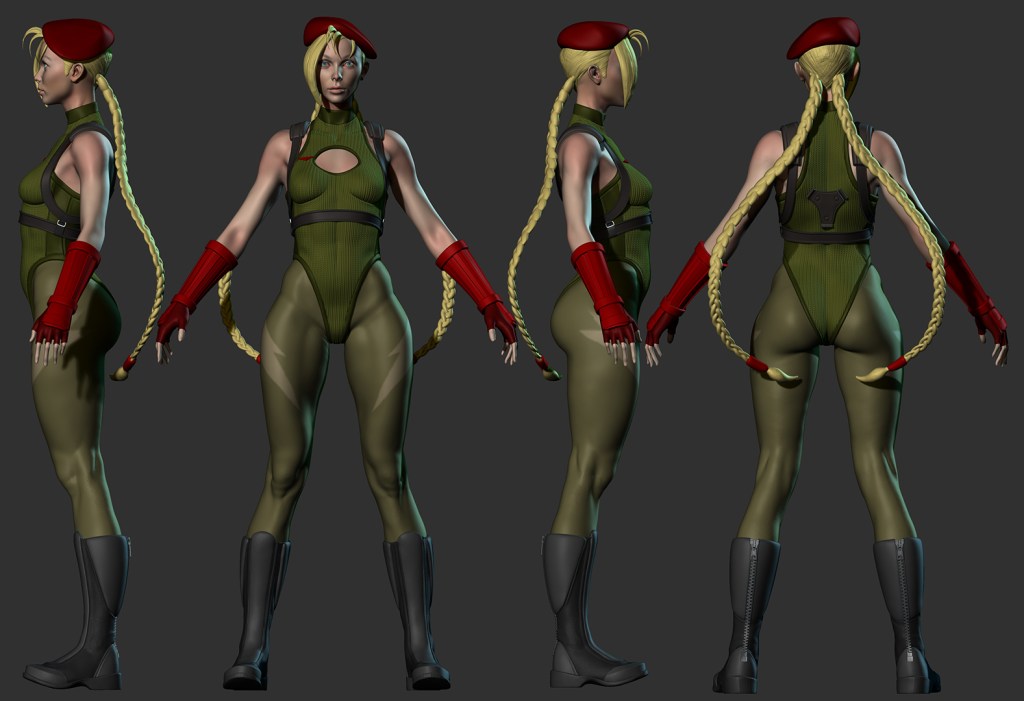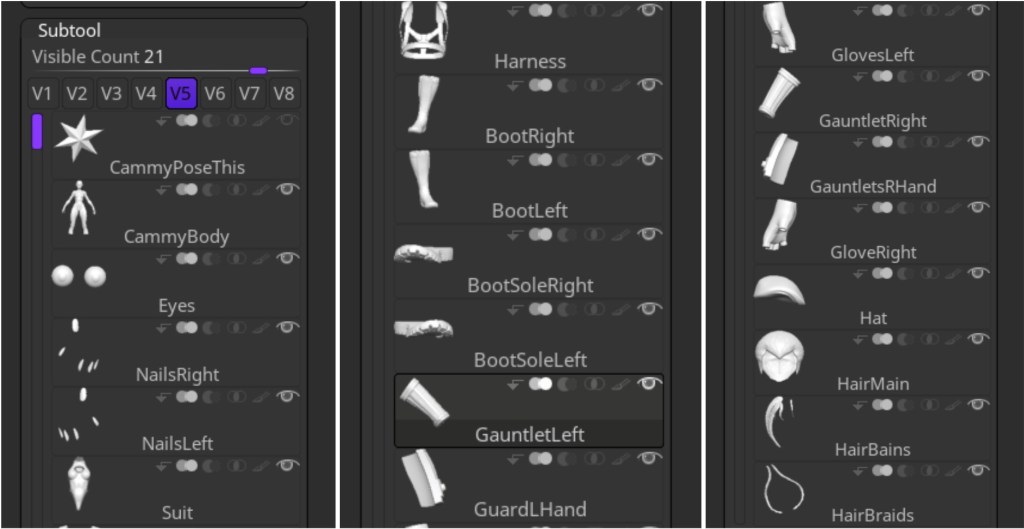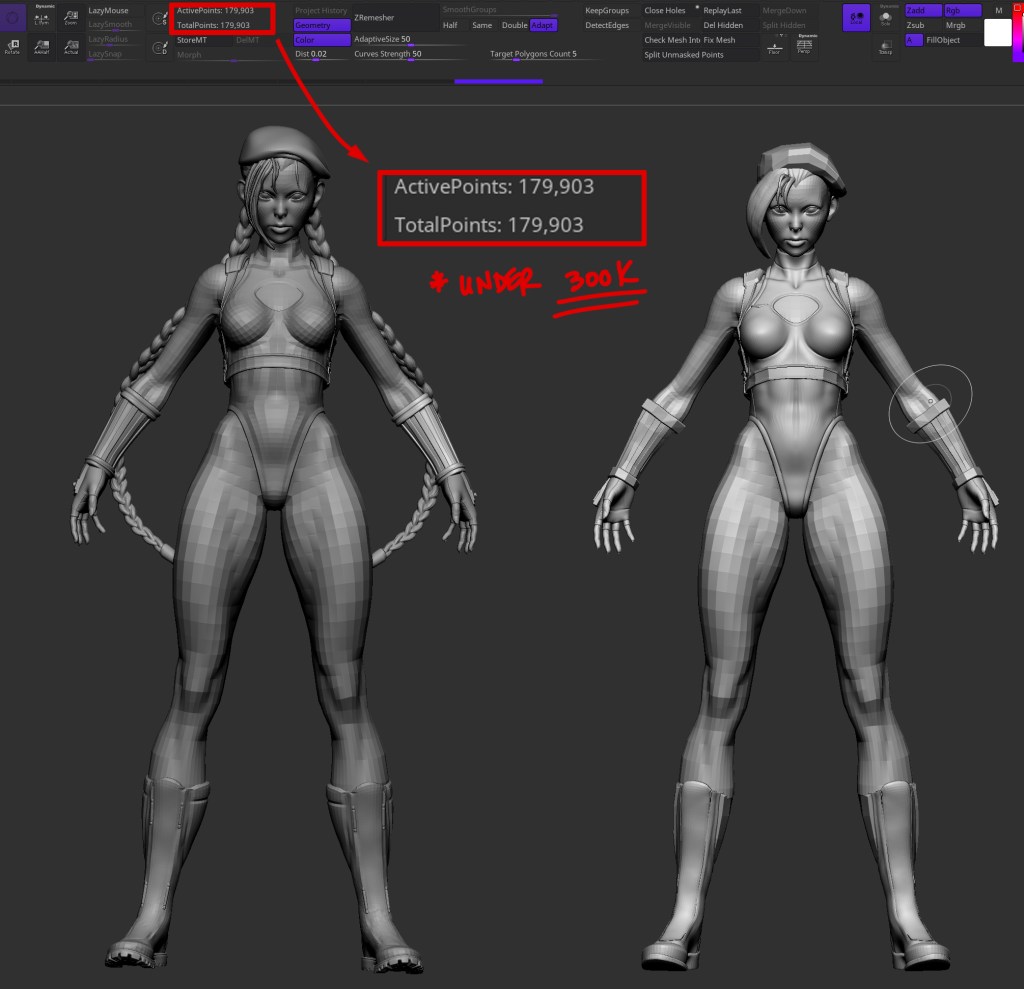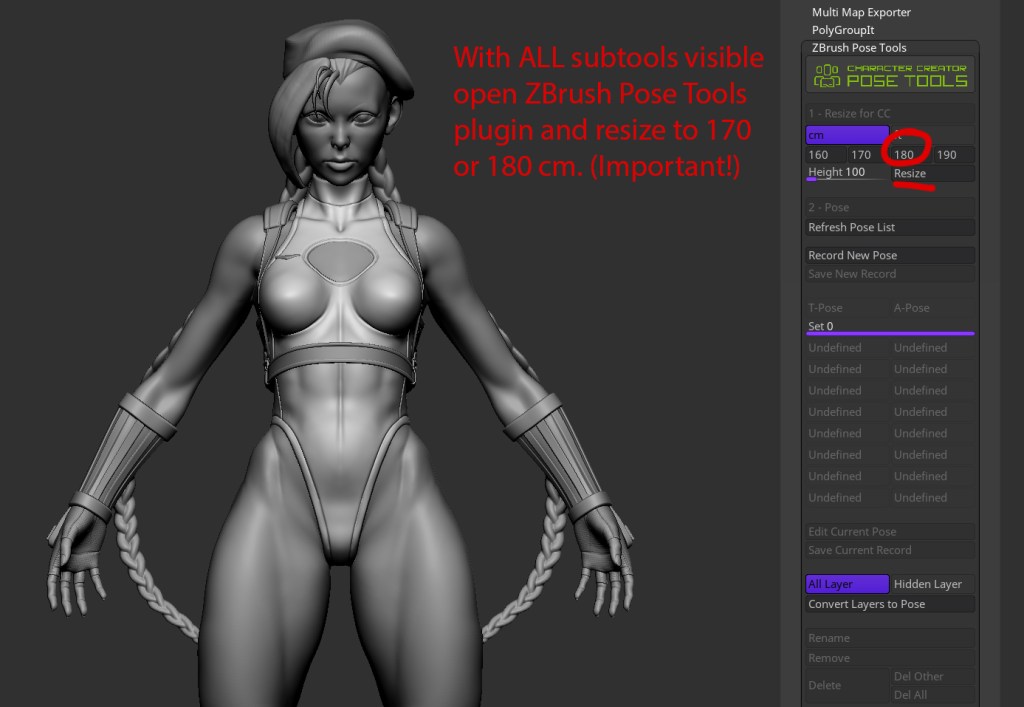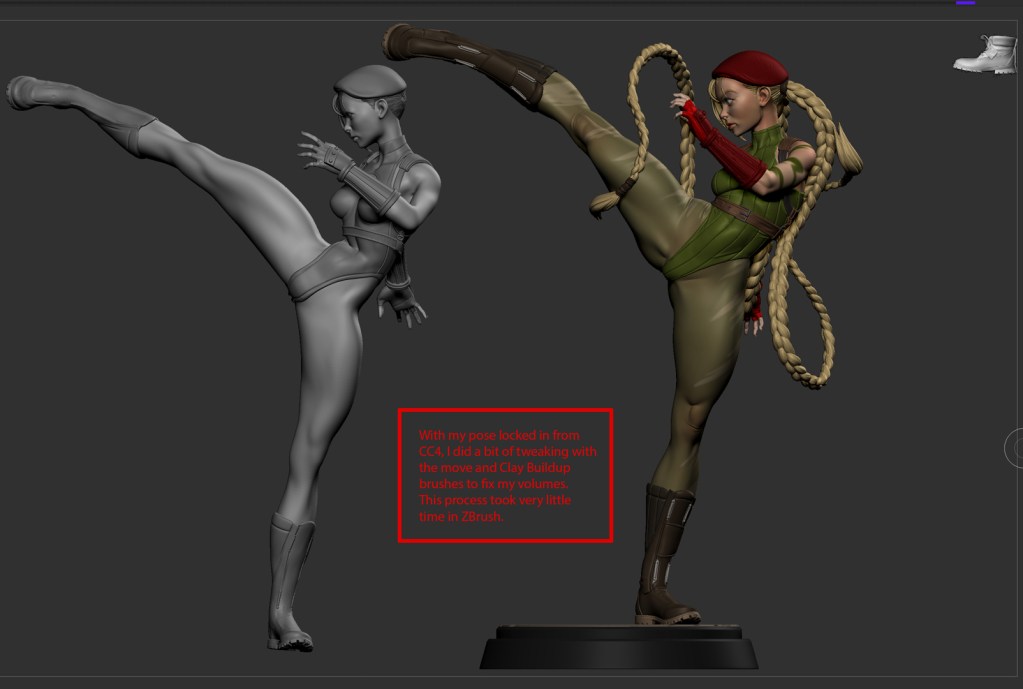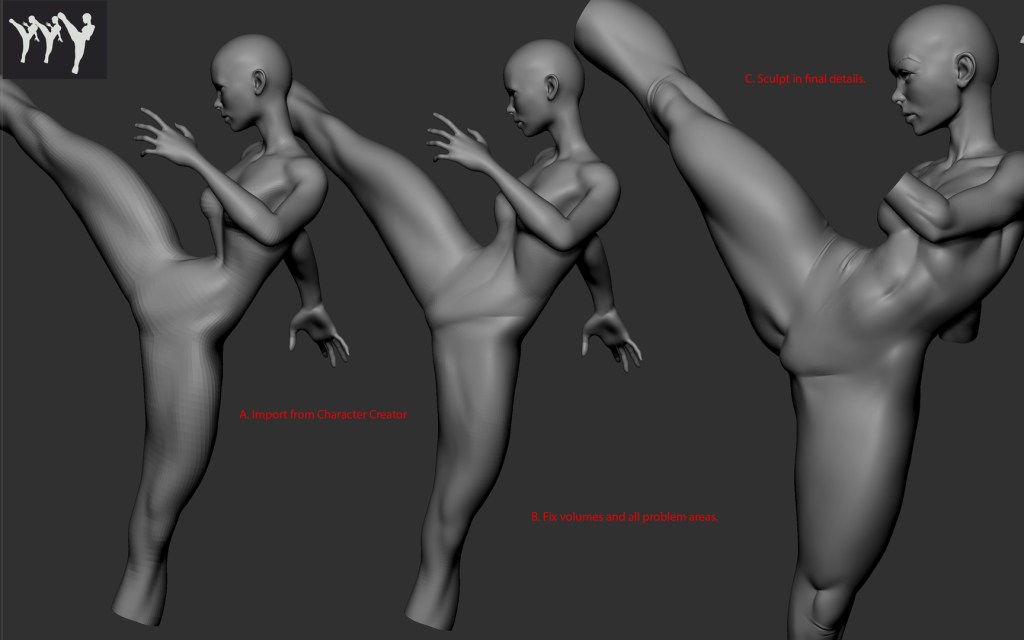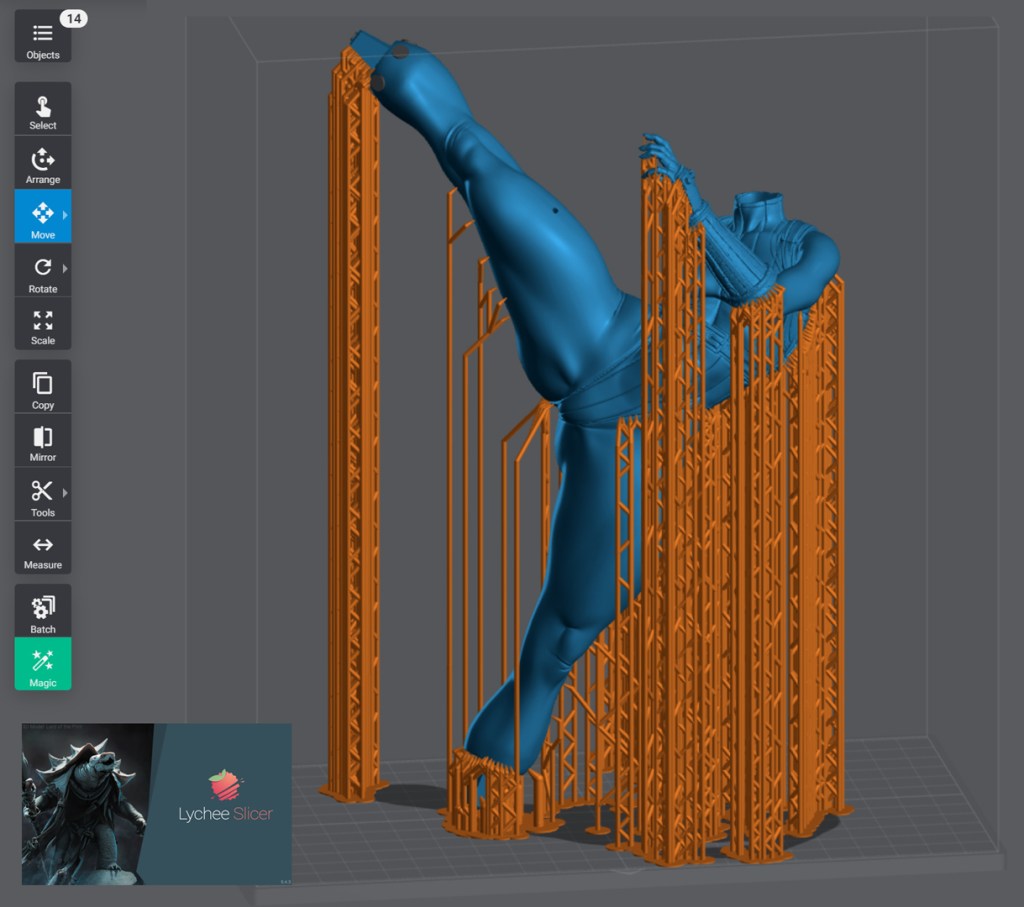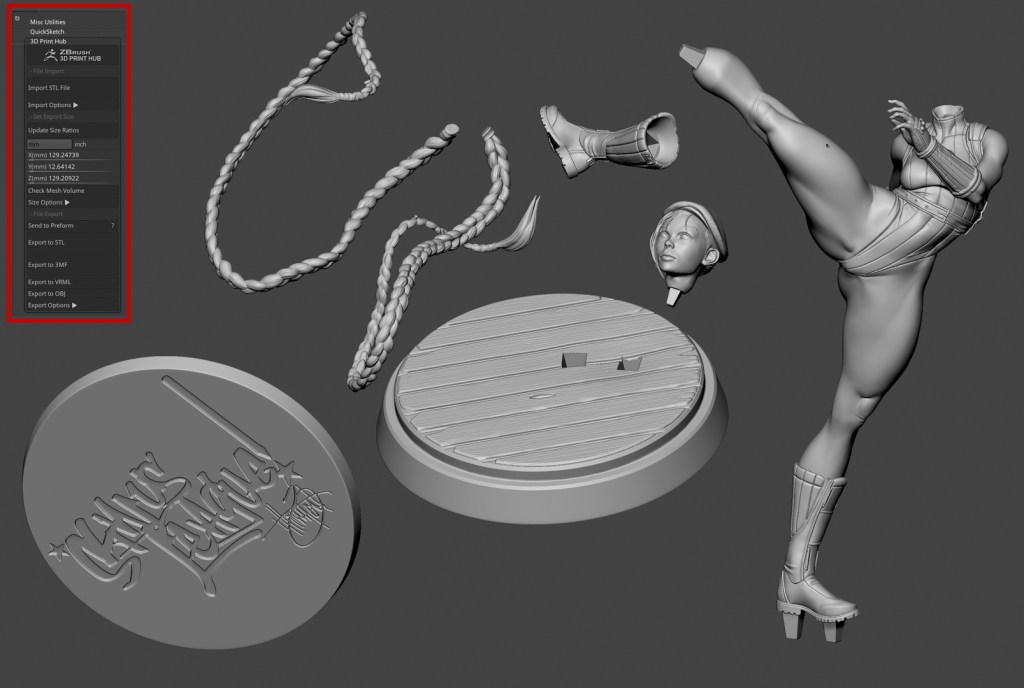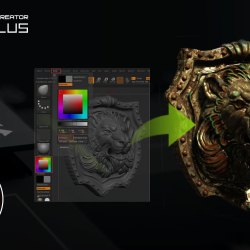
In this article, we will discuss the CC GoZ Plus workflow that makes it easier for you to work with bodies, clothing, accessories, and props between Character Creator (CC) and ZBrush. Going from Character Creator to ZBrush, you can convert color and normal maps to polypaint and high-res details with just a click of a button. Similarly, you can transfer your polypaint and high-poly sculpt from ZBrush to Character Creator using the same button, creating color and normal maps for use in CC. Let’s begin!
CC GoZ Plus Installation
We can already natively GoZ assets from ZBrush to Character Creator and back again – but in order to send assets from ZBrush to Character Creator AND have it bake a base color and normal map, AND have it plug those textures into a material for us, we need the CC GoZ Plus plugin installed for ZBrush. In order to do that, we need to GoZ something from Character Creator to ZBrush — in this case, I’m going to grab the “Lion Head” asset from “Content > Props > PBR”:

With your object selected in the “Scene” tab, press the “GoZ” button in the menu bar:

When you see the “CC GoZ Plus” prompt, choose the correct version of ZBrush from the drop-down menu, and hit “OK”. This will install the plugin to the correct path (“C:\Program Files\Maxon ZBrush 2024\ZStartup\ZPlugs64”).

In the “GoZ Settings” dialog box, the “Template” setting should default to “Create”, and you can see we’ll be baking the color map to the ZBrush assets vertex color (polypaint), and the normal map in Character Creator will be baked to a “Detail Layer” in ZBrush! Let’s choose 5 in the dropdown menu for “Subdiv” — this will give us more than 6 million triangles, plenty of polygons to transfer our color map to our polypaint, as well as plenty of polygons to sculpt with! Hit the “GoZ” button at the bottom to send everything over to ZBrush.

As you can see, our subtool in ZBrush has 5 subdivisions, and the normal details are in a layer called “CC_Detail 1”. I want the details to be applied to my highest subdivision geometry, so I’m going to press the “Bake All” button in the layer palette.

Let’s change this into a dark steel eagle head! Choose a gray color in the color palette, then go to “Color > FillObject”

Use ZBrush sculpting brushes to change the lion into another animal — in this case, an eagle head. Feel free to polypaint on your asset as well to add color variation. Since this is a symmetrical object, I’ll hit X on my keyboard to turn on symmetry while I sculpt. Feel free to drop down to a lower subdivision in order to make broad changes, and step back up in subdivisions to dial in your details!
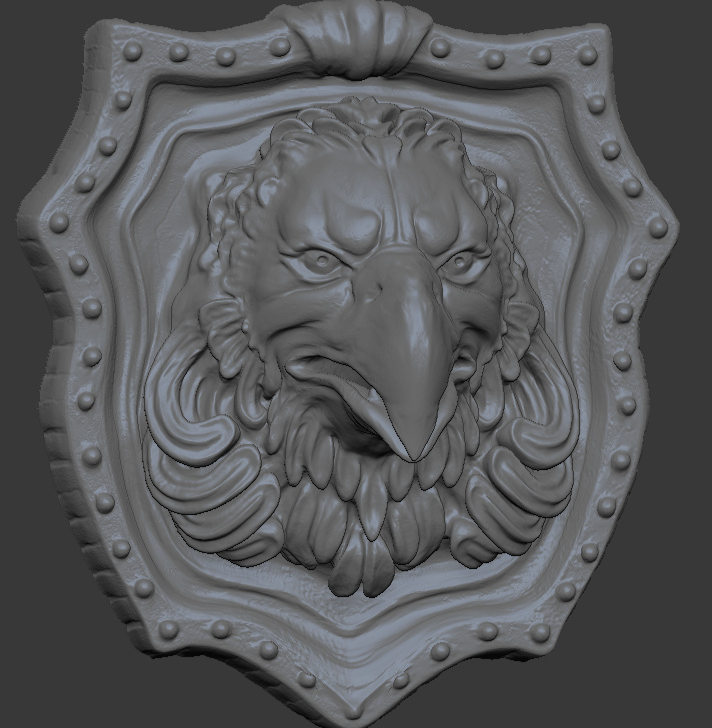
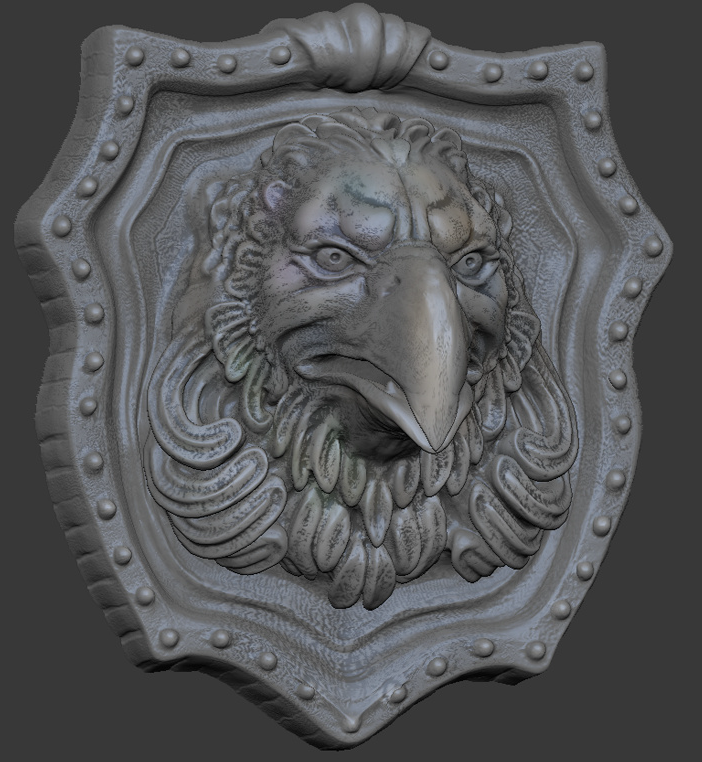
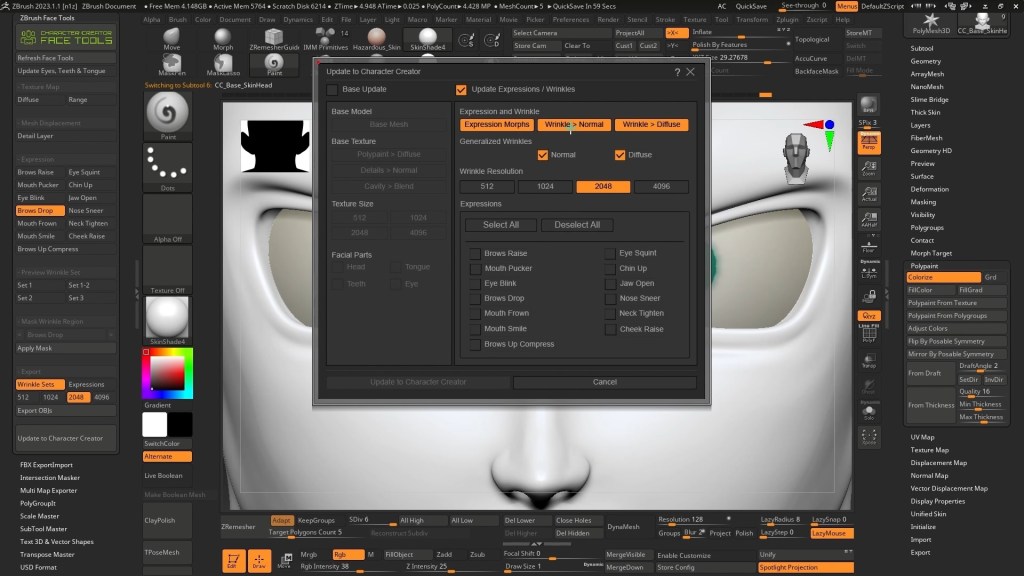
In the “ZPlugin > CC GoZ Plus” menu in ZBrush, press the GoZ button — with the default options, this will send the model back with the new low-res vertex positions, as well as bake your high-res sculpt detail to a normal map, and your polypaint to a base color map, with one button press!

Back in Character Creator, you’ll see that the GoZ Options have defaulted to the “Update Mesh & Texture” option, which will ensure that the “Mesh” and “Texture” boxes get checked, which means the mesh will update, and the new textures will be applied to our model after you click the Update button.

Textures and Materials
This particular asset has a displacement map applied; With your object selected, navigate to the material tab and select the displacement texture. Press the garbage can icon to delete it:

If your color map is too light or too dark, you can go back to ZBrush and adjust the polypaint, or you can click on the Base Color map, then click the “Adjust Color” button, and play with those sliders to get the exact look you want!

Right now the Metallic and Roughness textures are giving the asset a very grungy feel. If you want to modify those maps, you can double-click their map to load in your own custom texture, or press the “Launch” button to open the textures in an image editor. I’m going to go ahead and Launch the Metallic and Base Color textures!

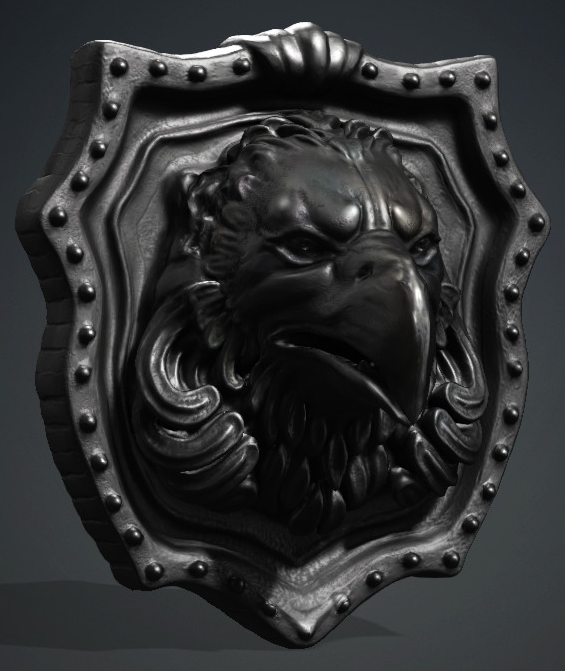
I’ll fill the Metallic texture with white (I want the entire object to appear metallic in the shader), Ctrl+S to save, close the window, fill the Roughness map with a middle gray, save, close, and head back to Character Creator.
When we arrive back in Character Creator, you’ll see that your Metallic and Roughness maps have been updated. Feel free to use either the “Launch” or “Adjust Color” feature to tweak your asset’s appearance!

About The Author

Michael Pavlovich earned a Bachelor’s degree in Computer Animation from RSAD in 2005. Initially, he contributed to the development of environment and character art for popular video games such as Madden and NCAA Football. Later, he relocated to Austin to join Daybreak Games, where he worked on the creation of art assets for DC Universe Online.
Presently, Michael holds the position of Director of Character, Weapon, and Vehicle Art at Certain Affinity. His expertise lies in implementing iterative pipelines for Certain Affinity artists helping develop renowned video game franchises, including Halo, Call of Duty, and DOOM. To stay updated on his latest tutorial projects, you can visit Michael’s YouTube or ArtStation page.
>> Check Michael’s Artstation
>> Check Michael’s Youtube Channel
Related Posts
- PavMike CC GoZ Plus Tutorial Part 2 – Accessory from ZBrush to Character Creator
- PavMike CC GoZ Plus Tutorial Part 3 – Body, Clothing, and Accessories from ZBrush to Character Creator