首頁 » Page 72

Fast Way to Create Animatable Game Characters for UE with Character Creator

Senior character modeler, Crystal Bretz, shares her experience in creating an animated character for Unreal Engine by using Character Creator and iClone.

Crystal Bretz is a Senior Character/Creature Modeler working in Canada. She has worked for many companies over the years such as Method Studios, DNEG, Artifex Studios, Redpill VR, TLM Partners Inc and BRON.

Crystal is currently working as a Senior Modeler at Digital Domain. She has a background as a generalist and has worked on many different types of media such as; TV episodic, Short films, Feature films, VR, and animated features.

In this tutorial, Crystal will be showing how easy it can be to create an animated character from a concept with Character Creator and send it into the Unreal Engine using the LiveLink from iClone.

Part 1: Creating Character Model in Character Creator and Sculpting in ZBrush

The first step of this project is to match the body proportions to the wonderful concept by Jue Li and it is made very simple with the use of Character Creator 3 (CC3).

The 3d character base (CC3+) mesh utilizes UDIM workflows as well as has optimized geometry and UVs to allow for a better final 3d character as well as opens more doors and opportunities in terms of texturing methods.

I utilized the morph sliders to fine tune all the muscles and proportions, and then used GoZ to send the 3d character into ZBrush for a final sculpt pass on the body. While I’m in ZBrush, I try to be careful to not move the positions of any geometry affected by a bone, such as elbows or eye locations. It’s best to alter these things inside Character Creator and sculpt details inside ZBrush. I then sent the body mesh back to Character Creator and transferred all of the newly sculpted details back to the base mesh simply by updating the mesh.

Part 2: Modeling Clothes and Accessories in ZBrush, Maya and Marvelous Designer

The next thing is to model the costume. I began by blocking out base forms in ZBrush by masking sections of the model, extracting the mask, zremeshing to refine the edges, and then panel looping to add thickness, if needed. I do this as a first step to proxy out the proportions of the costume and establish the forms and silhouette. My next steps were to use Maya for any hard surface modeling, as well as finalizing the proxy meshes I made in ZBrush. I also used Marvelous Designer quickly to create the flowy skirt.

After completing the final models in Maya, I brought the entire outfit into ZBrush for a final sculpting pass, created low poly meshes from the final sculpt and used GoZ to send the geometry back into Character Creator. Upon the geometry returning to Character Creator, I was making sure to establish if the geometry is clothing or an accessory as this establishes how it is skinned to the body. Accessories will follow the bones and clothing objects will skin to the body and current skin weights.

Part 3: Texturing the Body and Outfits with Substance UDIM Workflow

After I have modeled the body and the outfit, I begin texturing. I started this by baking my high poly sculpted geo to my low poly model that has the ideal UV layout. I will bake a normal, AO, curvature, ID, world space normal, and position maps. Once this is done I can save these for importing and using inside Substance Painter later.

The new CC3+ base mesh has a UDIM tile UV layout which allows for a seamless workflow within Substance Painter utilizing its new UV tile workflow options. I chose to work with the clothes using texture separate texture sets to demonstrate the versatility of the new base and the different ways you can work with your 3d characters going forward. On this specific game character, I have textured the clothing in a separate Substance scene than the body, because I had a lot of texture sets and was worried that the amount of large maps could create too large of a file size to work with if the body was included.

The first step for texturing the body is to make sure the game character is in A pose in Character Creator and then click the “Export Character to Substance Painter” button on the top bar to export the model. This will export the model and the maps in neat folders for me to set up inside Substance Painter and begin the texturing process.

Once the texturing is completed, I exported the maps using the Character Creator to export the appropriate maps to apply to my model inside CC3.

Applying the new textures to the model in CC3 is very simple, you only need to click the “Update Textures from Substance Painter” button on the top bar and navigate to the exported maps and it will all load into their respective spots.

Part 4: Utilizing the Content Library inside Character Creator to Create Original Designs

The next thing I want to talk about was the importance of utilizing the content library for the creation or this character. Character Creator has an amazing content library full of many useful tools; anything from poses to lighting rigs.
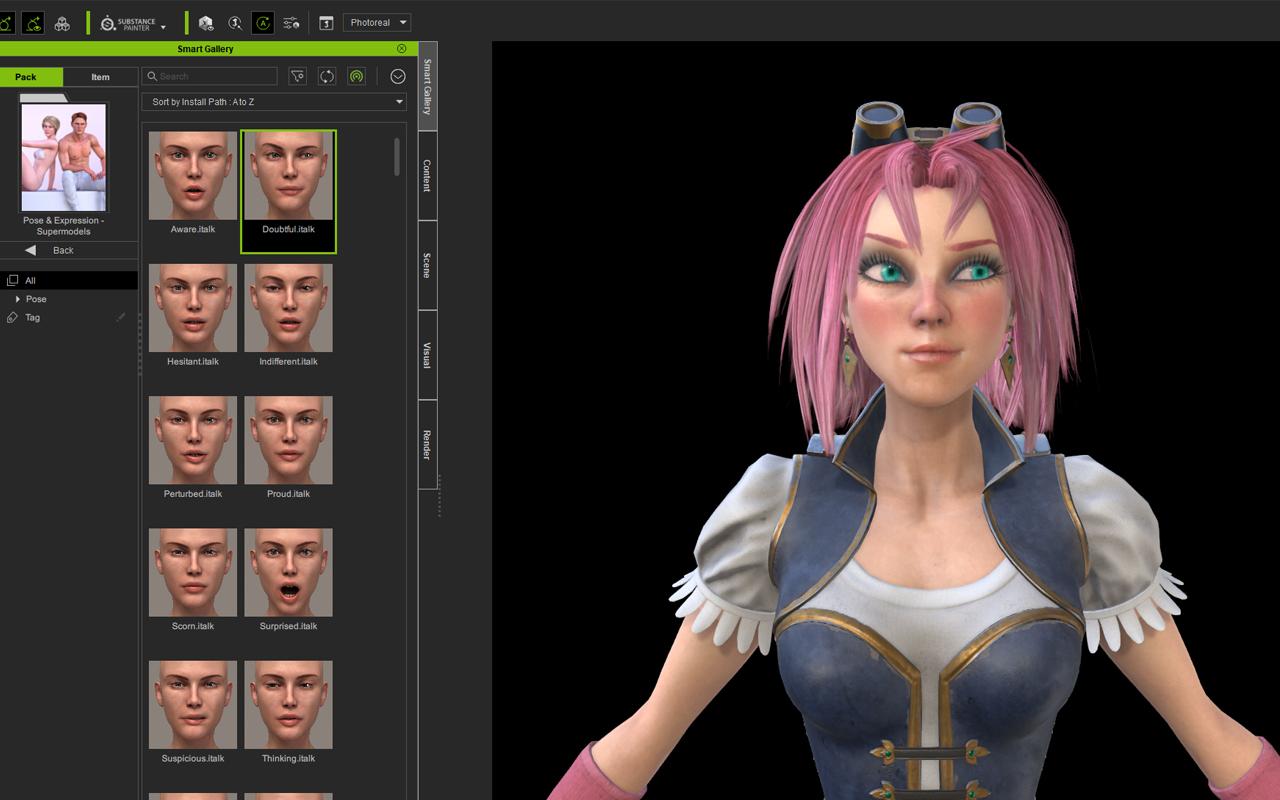
During the course of this project I used many of these tools to help along the way. I used built-in eyebrows with color customizations, SkinGen for tattoo and makeup, Facial and Pose Editor for posing, and many lighting setups to finalize my character.

Part 5: Animating with iClone and Live Link to Unreal Engine

The final phase of this project was to animate in iClone and use the Live Link to send the model directly into the Unreal Engine. iClone has so many useful tools for animation, but utilizing the Live Link helped me to adjust camera angles and animation choices in real time instead of making the iterations and reimporting the new character animation every time. I utilized the mocap animations already inside iClone and the purchased content assets, and blended them together with others to create a seamless animation that still felt very real.

Once the character was inside Unreal Engine, I ran the Auto Setup tool to set up the materials properly. There were some physics tweaks with the skirt and material tweaks on the hair that were needed as they don’t transfer at the exact same values, but polishing this inside Unreal Engine is very simple. Overall utilizing the iClone Unreal Live Link was really quick and well worth it to present my final character.

Thanks for reading! You can download a free trial of Character Creator, and iClone to test out by yourself.
Digital Puppets | Interactive Animation Studio offers Turnkey Services with Character Creator iClone

Digital Puppets | Interactive Animation Studio offers Turnkey Services with Character Creator iClone.
Scott Evans and Antony Evans, owners of Digital Puppets UK.

Digital Puppets UK

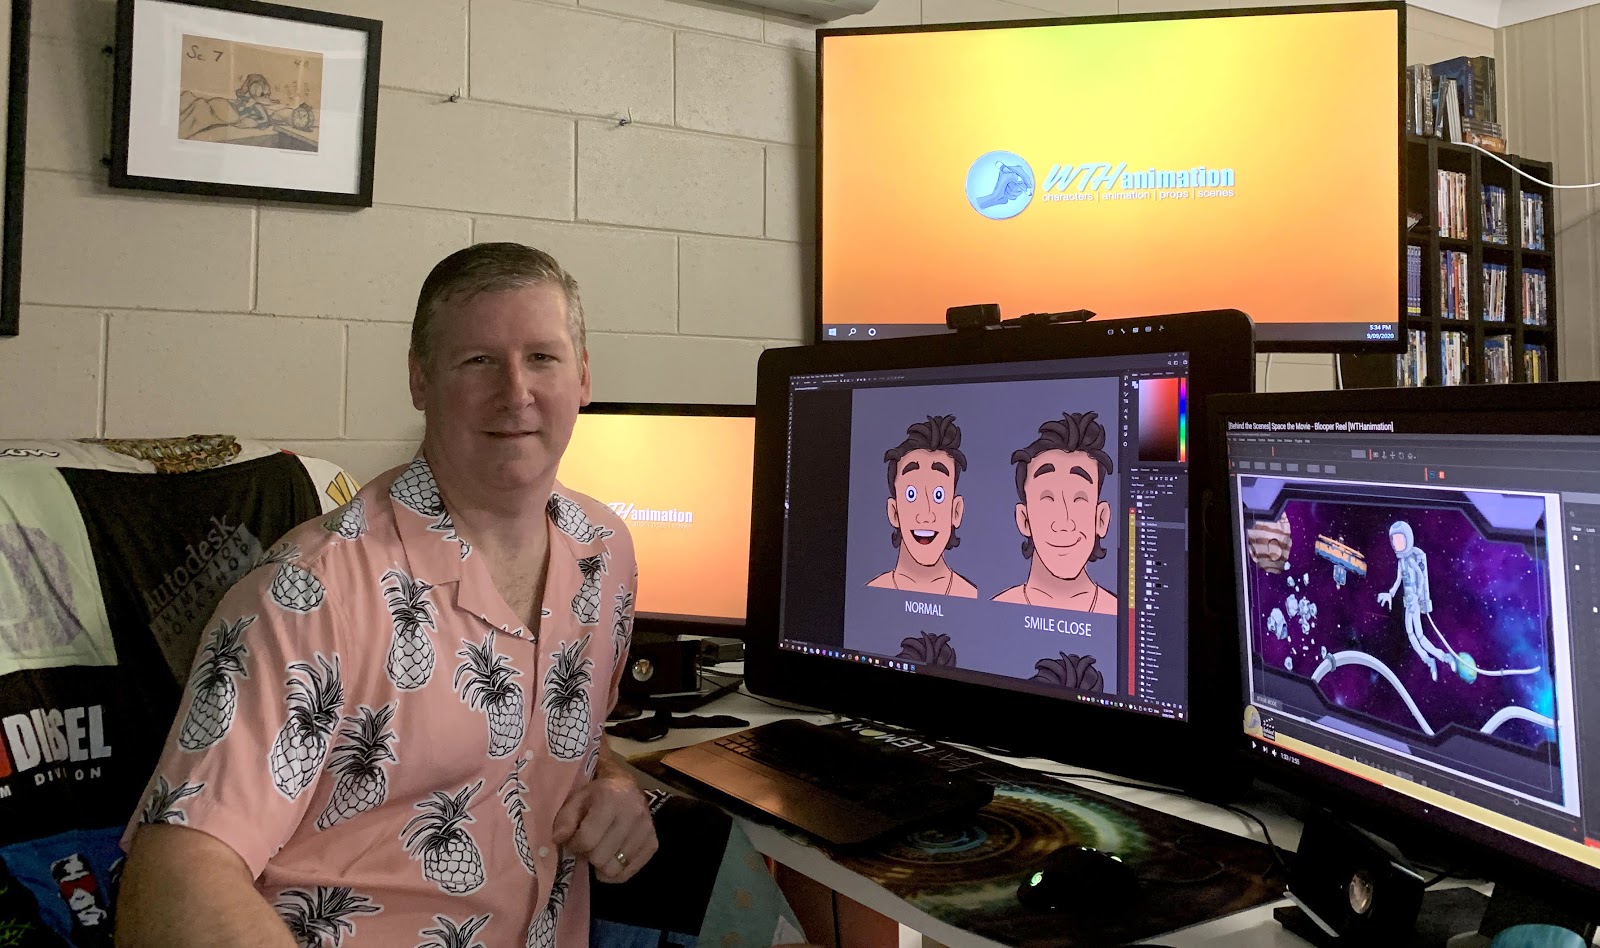
Digital Puppets is a UK based animation studio that specializes in Cartoon motion capture, both 2D and 3D. The studio is run by brothers Scott Evans and Antony Evans.

As well as creating real-time performing avatar puppetry, they also work in developing and designing custom characters for their clients, in a wide range of styles, though they can replicate any existing licensed character or company/product Mascot. The studio not only creates motion capture characters for online Entertainers, Educators and marketing/advertising agencies, but they can also take the characters that they produce and provide their customers with fully animated shows.

The duo has recently completed a 50 episode run for the UK nationwide radio station ‘RADIO X’, in which they animated the hosts and turned their weekly podcast for their online audience to enjoy. The studio also does work for multiple worldwide known broadcasters such as the BBC, Cartoon Network and more which cannot be disclosed due to NDA’s.

“iClone & Character Creator have dramatically increased how fast we can produce character designs and animations, which allow us to create client content at a more affordable price.”

Antony Evans | Digital Puppets UK

Quick Ways to Animate 2D Cartoons with 3D Motions using ActorCore, iClone and Cartoon Animator

My name is Warwick Hays and I’ve been creating content for Cartoon Animator for many years now. I am a featured content developer on the Reallusion’s Content Store and I love combining 2D with 3D assets to make things a little different.


I created the above video with the help of Reallusion’s ActorCore, iClone and Cartoon Animator. So let’s run through how I did it.

Vector Graphic Specialist brings High Quality Content to Cartoon Animator

Serg Pilypencos

For many years, artist Serg Pilypencos has specialized in vector graphics as a content contributor to online sites with his unique visual style. Providing custom orders for illustrations, banner designs, and others.

While currently working to create more characters, assets and content for the Cartoon Animator community and 2D Marketplace, Serg took time out to talk to Reallusion about his passion and projects.

“Cartoon Animator is easy even without a lot of experience in animation.”

Serg Pilypencos / 2D Content Developer

Pitch & Produce | GUARDIAN MAIA: Film & Game Project to Engage and Inspire Younger Māori Generations

Maru Nihoniho – Founder & Managing Director of Metia Interactive

Maru Nihoniho

Hi my name is Maru Nihoniho and I’m the founder of Metia Interactive a games studio based in Auckland, New Zealand. As a games designer and producer my focus is on indigenous storytelling as culture-based stories are hugely influential and are a powerful outlet for engagement and learning. I have designed several projects that tell Māori stories.  They have been produced to engage and inspire our younger generations and a great way to connect everyone to our culture as well.

Our biggest story development to date is a fictional story called Guardian Maia.  It is a story we have designed that incorporates the mythology of the Māori culture.  The story follows the journey of a young woman named Maia through a dystopian New Zealand. The first part of the story Guardian Maia Episode One is currently released as interactive fiction on the App Store and Google Play with the conclusion being released in early 2021.

Since releasing our story, we have looked at ways to bring the story to life. Our first step was to create imagery including storyboards which then led into the idea of creating an animation. Our challenge was to find a pipeline to help us develop an animation efficiently with a small team. We found that the Character Creator and iClone Pipeline met our needs and provided the essential tools to create our animation and yet be flexible enough to allow us to bring in other assets into the project if needed.  Through the animation process, we realized that using the Character Creator and iClone software with the Unreal Engine a real potential to build a game prototype existed; that will be our next project to work on as soon as our animation is finished.

“Easy to use, flexible, timesaving describes our experience with the Character Creator, iClone and Unreal Live Link pipelines.  A great solution for quickly creating and bringing content to life especially so for a small team like ours.  The Reallusion products are now an essential part of our design and development pipeline.”

Maru Nihoniho – Founder & Managing Director of Metia Interactive

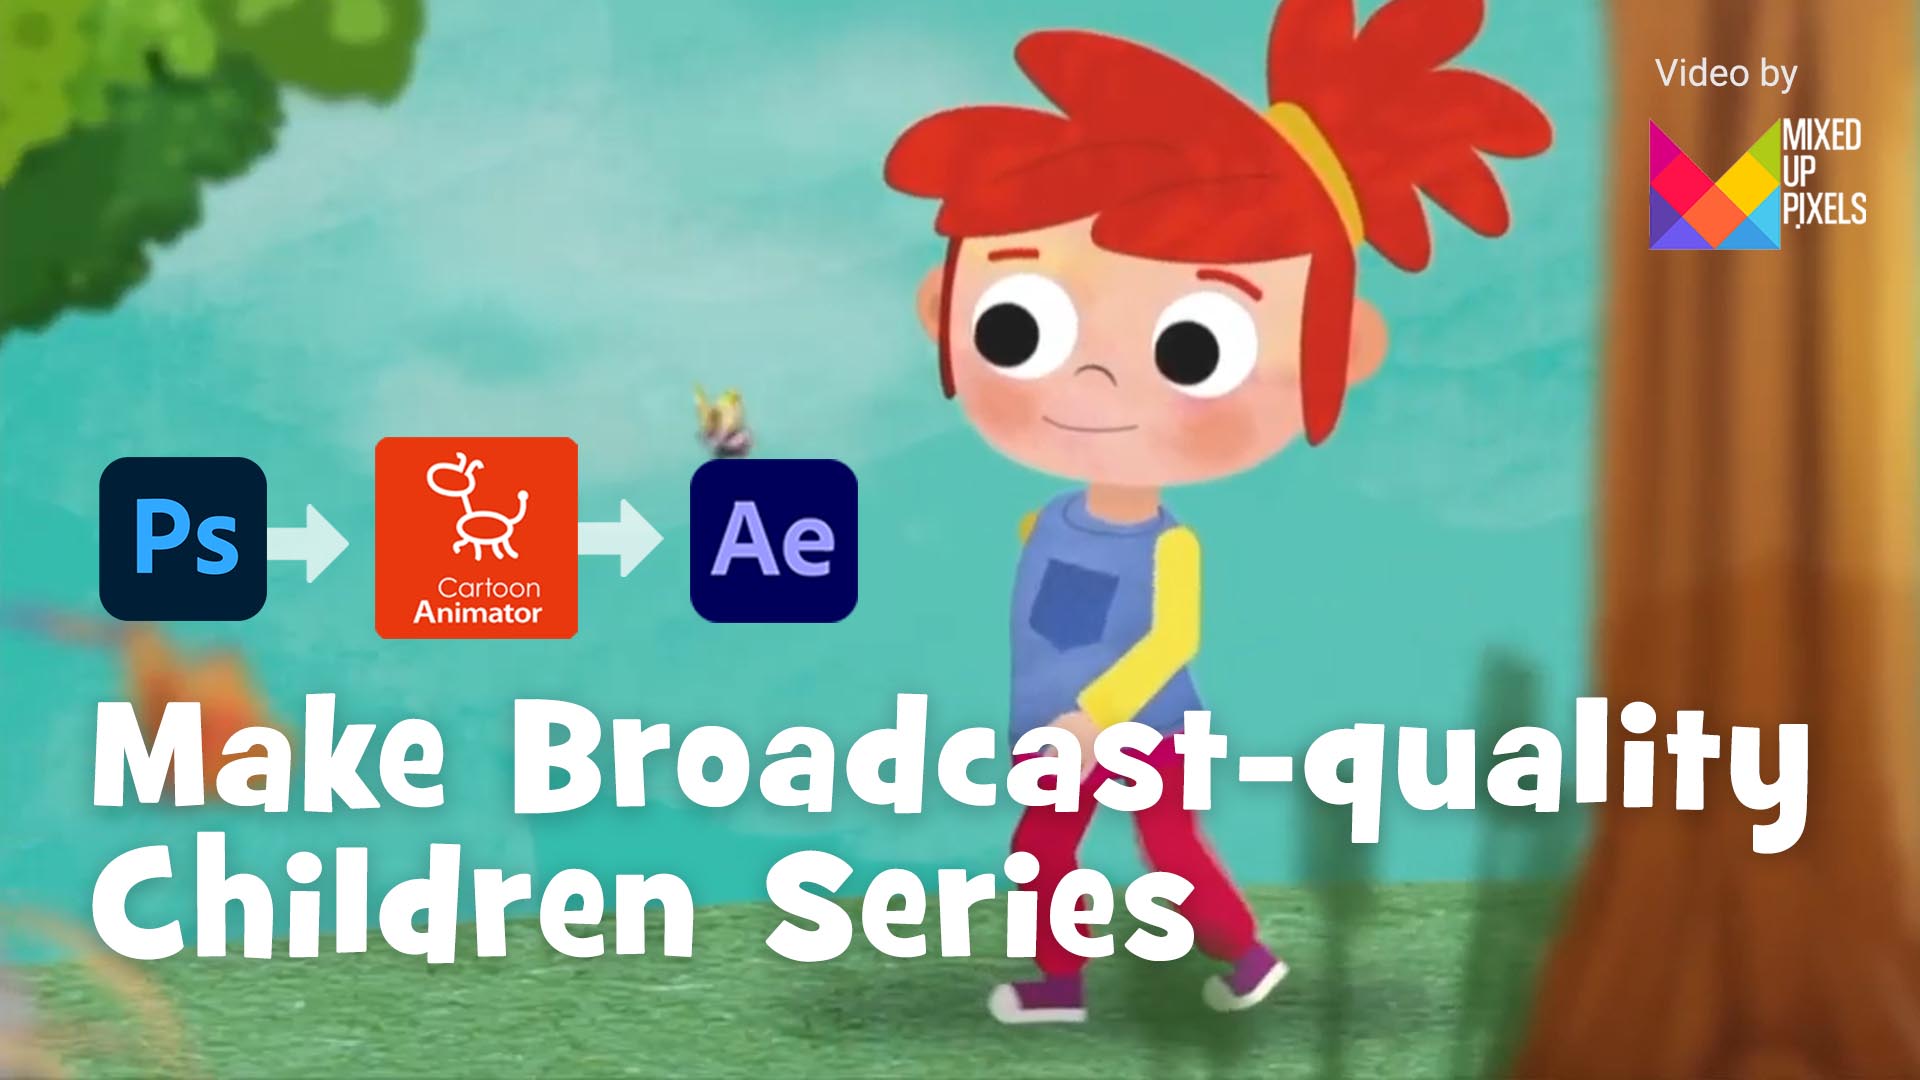
How to make broadcast-quality children’s animations with Cartoon Animator

How Mixed Up Pixels discovered animation solutions with Photoshop, Cartoon Animator, and After Effects.

Hi, I’m Chris and I wanted to show how you can use Cartoon Animator and After Effects as an ideal pipeline to create broadcast quality children’s animations, in the same genre as Peppa Pig, Hey Duggie, and lots of other hugely successful shows.

(Image credit: Chris Meyer-white)

I’ve worked in Home Entertainment for 15+ years, in both the US and the UK, and worked on projects for Warner Brothers, Disney, BBC, Paramount, and many other studios. The most time of which being at Abbey Home Media who was the UK’s leading independent home entertainment company for lots of well-known children’s shows, Care Bears, Topsy and Tim, Peter Rabbit, Sooty, Horrid Henry, Fireman Sam and more. 

Working on these brands gave me a good grounding on what children want, what needs to be included, along with what works.

01: Character design and stories.

The design of your characters needs to fit the branding of your show and suit the target audience. Everything I make is for preschool children, so, for characters:

  • Keep them colourful
  • Use bold colours (sometimes soft pastel colours can work too)
  • Big eyes (which are a great way to show expressions)
  • Shapes – have a lot of shapes, it keeps the characters simple looking, and that works well
  • Don’t over-design, especially the background – try and keep the characters simple, but keep the background even simpler

And for the stories, try to include:

  • Education elements
  • Fun
  • Friendship and empathy

These always seem to be a popular combination for children and parents too.

02: Software

I use Cartoon Animator to animate. Although I’ve used After Effects for over 15 years, the character rigging, DUIK / Joysticks / sliders and more have always confused me. Others might say how easy they are to use – but for me, I just couldn’t get them to work correctly!

The reasons why I think Cartoon Animator is by far the best software are simple:

  • Easy to use
  • User-friendly
  • Universal character skeletons (easy to rig)
  • Smooth pipeline
  • Ready-made motions
  • Free templates
  • Lots of tutorials 

I love designing content for children, coming up with stories and brands, but I can’t animate. With Cartoon Animator, that’s no problem at all. The reason being, there are lots of ready-made motions that you can use and have an animated sequence in no time. You can of course keyframe your own motions, or use motion capture in Cartoon Animator. But, one of the beautiful things about Cartoon Animator is the ability to use ready-made motions that can be easily retargeted to different characters, each with its own different body shape and size.

(Image credit: Chris Meyer-white)

03: Leverage the combination of Photoshop, Cartoon Animator and After Effects

The pipeline I use is:

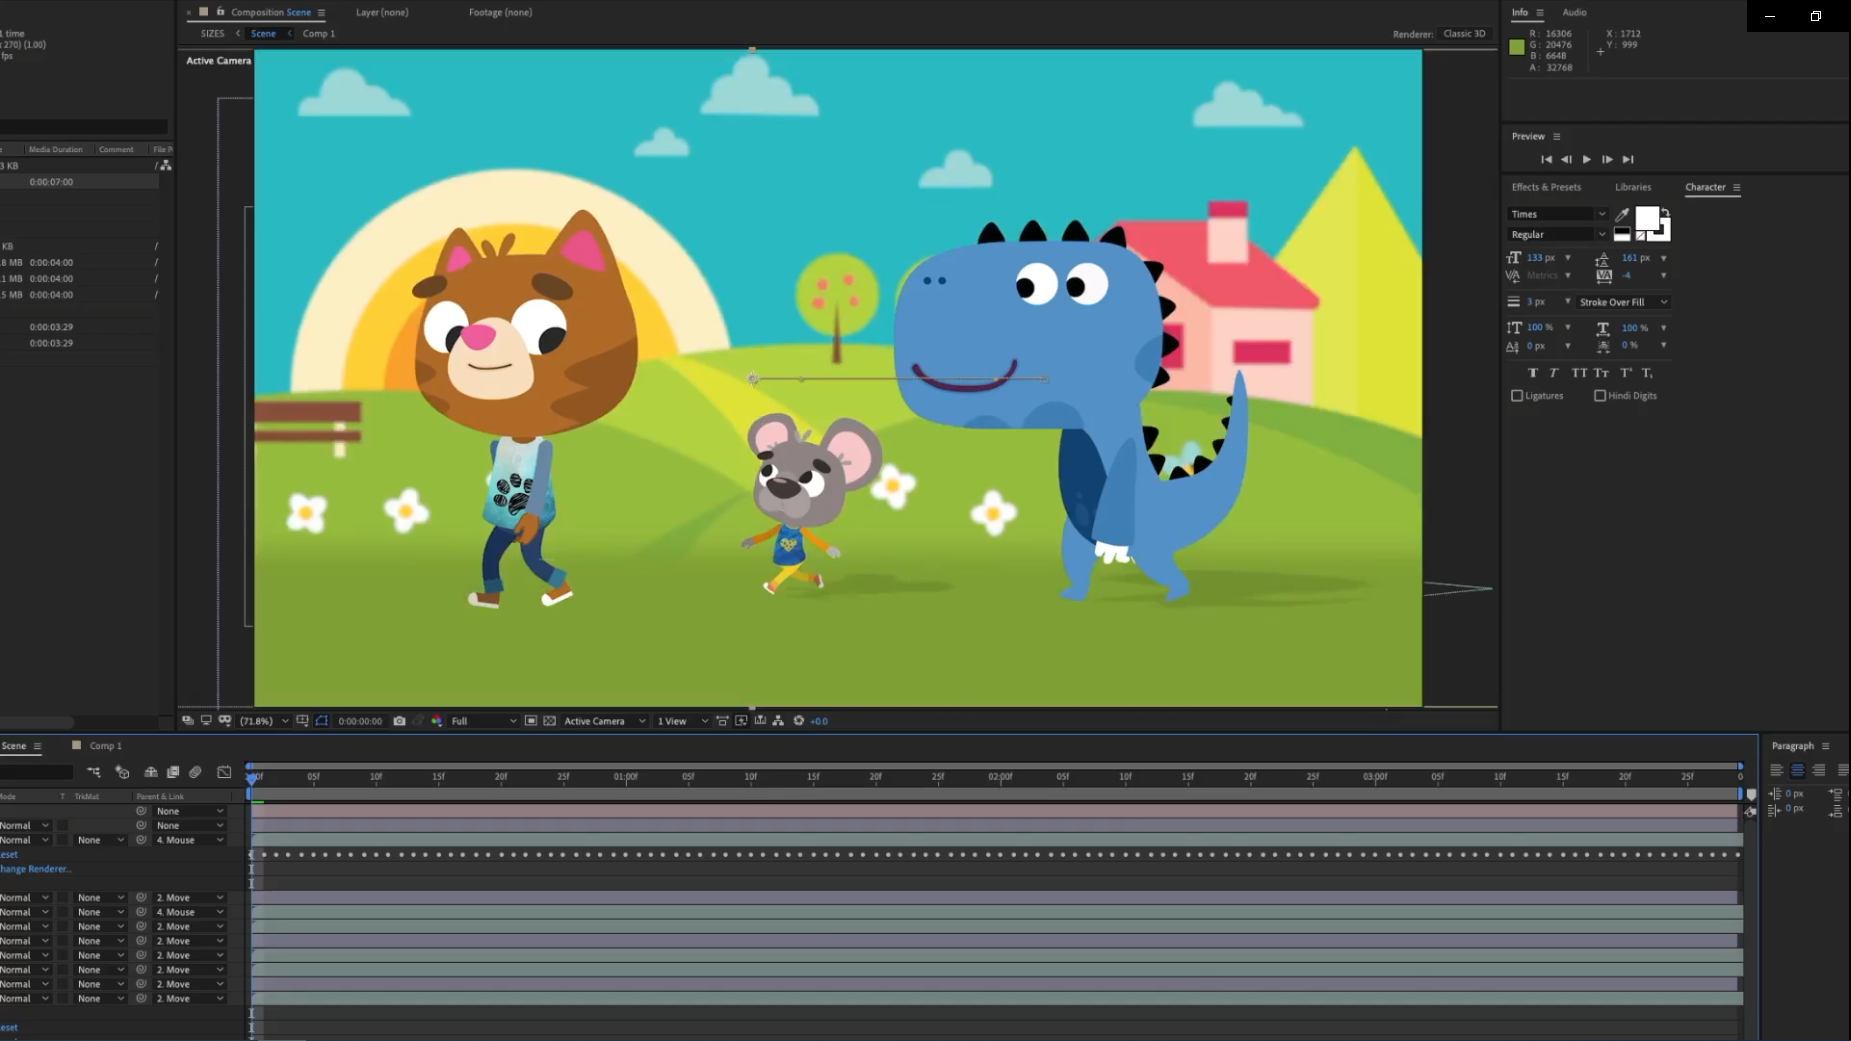
Design in Photoshop, animate in Cartoon Animator, and then export the project to After Effects via the plugin to do the final compositing. This makes the workflow quick and creative.

(Image credit: Chris Meyer-white)

Cartoon Animator has a pipeline where you easily rig mostly in the animation design process using their universal character skeletons – and it’s easy to understand. For example, you can take one character and quickly update your animation design to make additional characters. In short, it takes away a lot of technical confusion and keeps the creativity fun.

(Image credit: Chris Meyer-white)

As mentioned earlier, I’ve used After Effects for many many years and it was great when Reallusion added the plugin where you can export from Cartoon Animator to After Effects for additional compositing. All of this means you can easily create a broadcast-quality children’s animated video series in no time.

04: Characters and Animation

Right out of the box, Cartoon Animator comes with a selection of templates, humans, and quadruped characters. My main tip here is to study the templates and other characters, see how they are put together, and really study joints and bones to see how they bend a move. Once you understand this, you’re good to go – and can start designing.

(Image credit: Chris Meyer-White)

Pre-school children are used to seeing things that are cute, so, my style is to keep it cute, simple, and appealing.

05: Make use of plugins 

One massive highlight of Cartoon Animator is that there are always new features being added, new plugins made available to help with animation (face motion capture, leap motion plugins for hand animation), and plugins for full-body motion capture.

(Image credit: Chris Meyer-white)

As mentioned earlier, the After Effects plugin is a huge addition – simply click the AE button and then import the .Json file via the After Effects plugin, and all your characters will be brought in as separate sequences, backgrounds, elements, and audio. In After Effects you can then add additional elements – lighting, shadows, footage, anything that really helps you create your animation. It really does help you polish off your final animated video to get it to broadcast quality.

Cinematic Director employs Character Creator, iClone and Blender in Epic Ancient Greece Film Project

Martin Klekner – Cinematic Director

Martin Klekner

Martin Klekner is a freelance director and CG artist from Prague, Czech Republic who is also a Blender specialist, an instructor on CGBoost.com, and an Ancient Greece enthusiast.

Martin has embarked on an ambitious project “Heroes of Bronze” where he will be creating his own CG short film project from the Ancient Greek era, while documenting his workflow and sharing with the audience all the tools that will help them create their own CG projects.

Heroes of Bronze is an upcoming “proof-of-concept” short film set in Ancient Greece, showcasing the magnificence, beauty and horror of the time set between two famous battles of ancient history – Marathon (490 BC) and Plataea (479 BC).

It will be a three minute CG animated short film, using Blender 2.8 and variety of other software, including Substance Painter, Marvelous Designer, Character Creator and iClone.

“I’m mostly working alone on my personal projects, so I really need to focus on how to automate or make easier, parts of my pipeline. Reallusion tools help me speed up several crucial steps: character mesh creation, texturing, rigging and animation.”

Martin Klekner – Cinematic Director / Blender Specialist

3D Modeler discovers iClone Real-time Tools for Quick Character Animation

Cris Marchal / 3D Modeler

Cris Marchal

Before starting in the world of 3D,  Cris studied sculptural  techniques for 2 years in art school.  After her studies, she decided to follow her dream and took a Master’s Degree in Video Game Art and Design at U-TAD, Spain. Now she works in a company as a 3D Modeler.

Cris found iClone as a catalyst for speedy production. Let’s see her story with Reallusion iClone, Character Creator and Unreal Pipeline.

“The Character Creator Tool allows you to have many unique ‘actors’ for the development of your scenes. This app is perfect for professional studios, as it not only has a myriad of utilities, but is also compatible with various motion capture suits, providing studios with endless possibilities. In short, an excellent tool for your program library.”

Cris Marchal / 3D Modeler