TL;DR:
- Solo artists can achieve remarkable consistency and ownership over generative AI models by integrating 3D assets from tools like Character Creator 5 and iClone 8.
- The workflow, championed by Cristian Spagnuolo (PXLmentor), leverages Headshot 3 for rapid 3D head generation and AI Studio for training consistent AI actors.
- Combining tools like ComfyUI, Tripo 3D, ZBrush, MetaTailor, and iClone’s AccuFACE with Reallusion’s ecosystem dramatically streamlines character creation and animation.
- Strategic pre-production and a connected toolchain transform weeks of studio work into a solo artist’s achievable pipeline.
The pursuit of consistent, production-ready characters from initial AI-generated concepts has long been a challenge for solo artists working with generative AI. This article details an innovative workflow centered around Reallusion’s Character Creator 5 and iClone 8, demonstrating how to maintain visual fidelity and creative control over your assets. By leveraging specialized plugins and an integrated pipeline, artists can transform rough AI concepts into fully rigged 3D characters, ready for animation and consistent AI output.
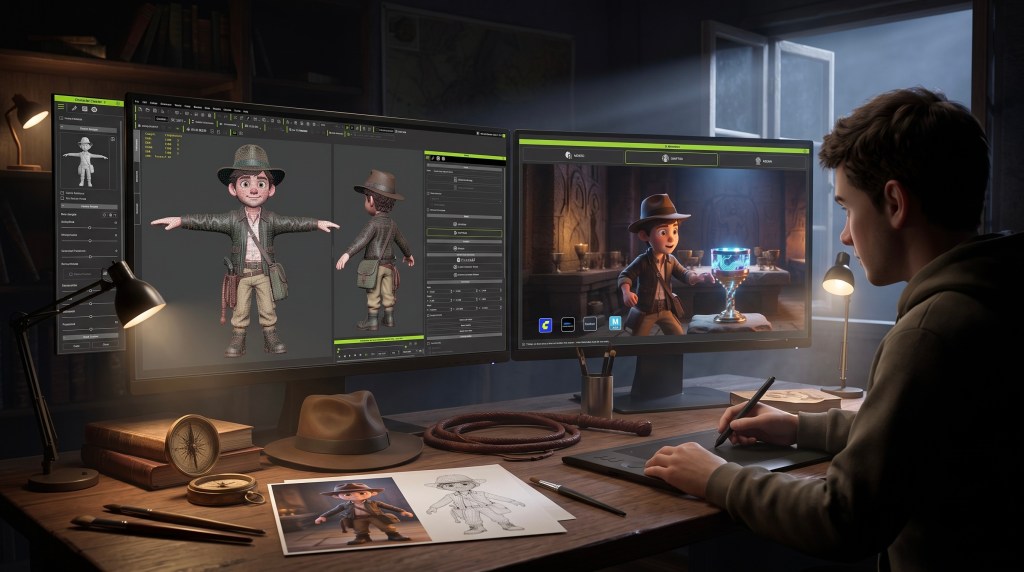
How Can a Solo Artist Use Real 3D Assets to Achieve Consistency and Ownership with Generative AI Models?
Achieving consistency and ownership in generative AI projects as a solo artist requires a strategic bridge between initial AI concept art and production-ready 3D assets. The core of this workflow involves using dedicated 3D character creation software to establish a stable, controllable base. This means moving beyond fleeting AI generations to a tangible 3D model that serves as the “source of truth” for all subsequent AI iterations.
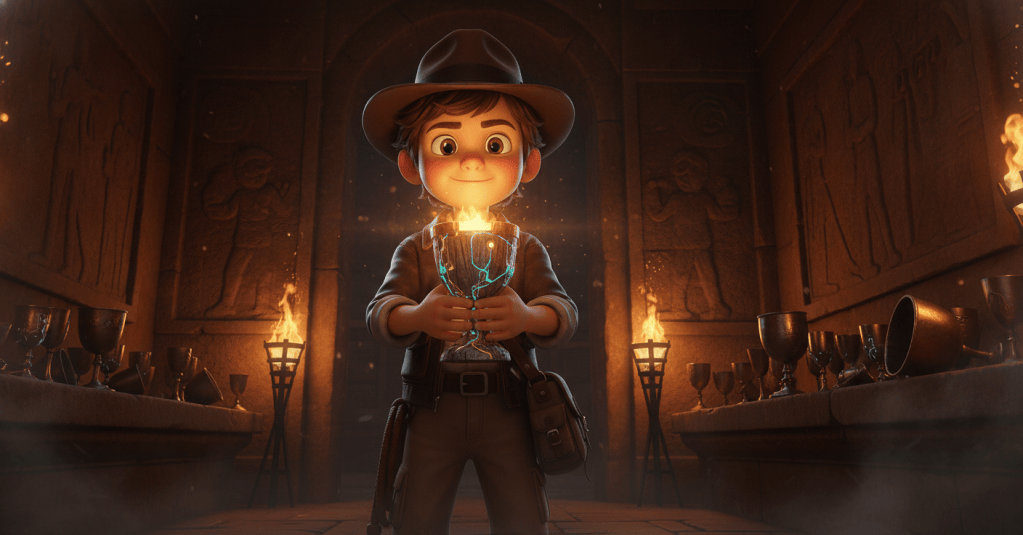
Creating the Initial Concept Art and Rough 3D Models
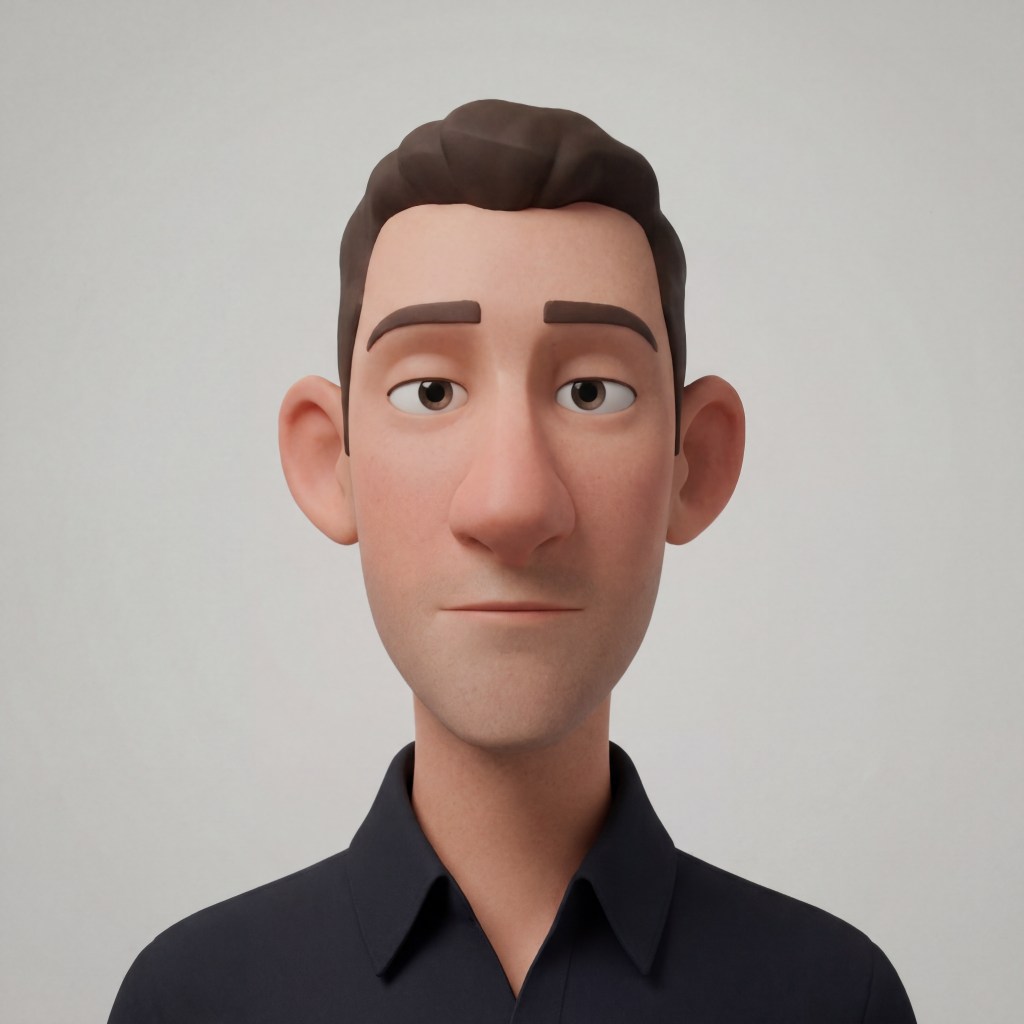
The foundation of this generative AI workflow begins with a core idea and rapid concept iteration. Starting with inspirational pictures, artists can utilize curated workflows inside ComfyUI to generate and develop their initial concepts. Through a series of refinement steps within ComfyUI, these initial ideas are carefully expanded to build a comprehensive, full character sheet.
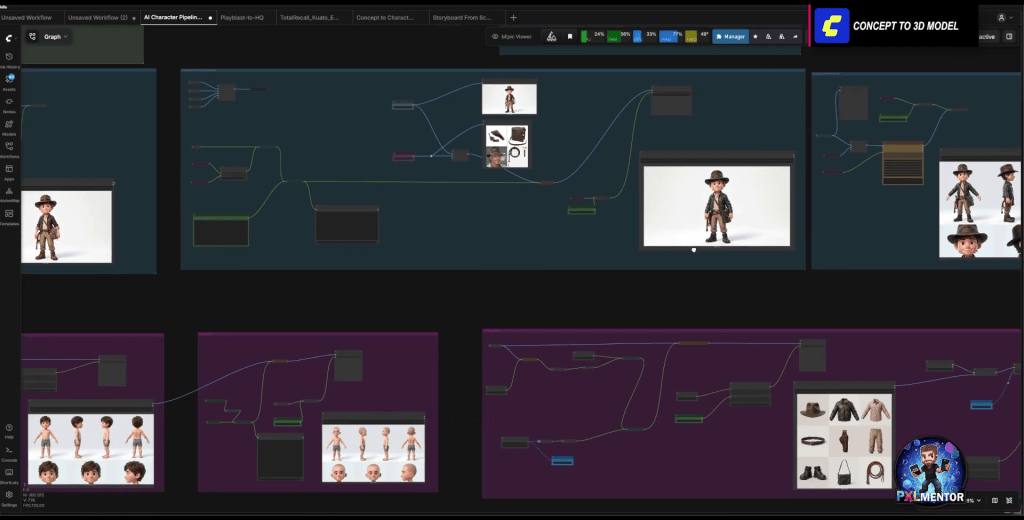
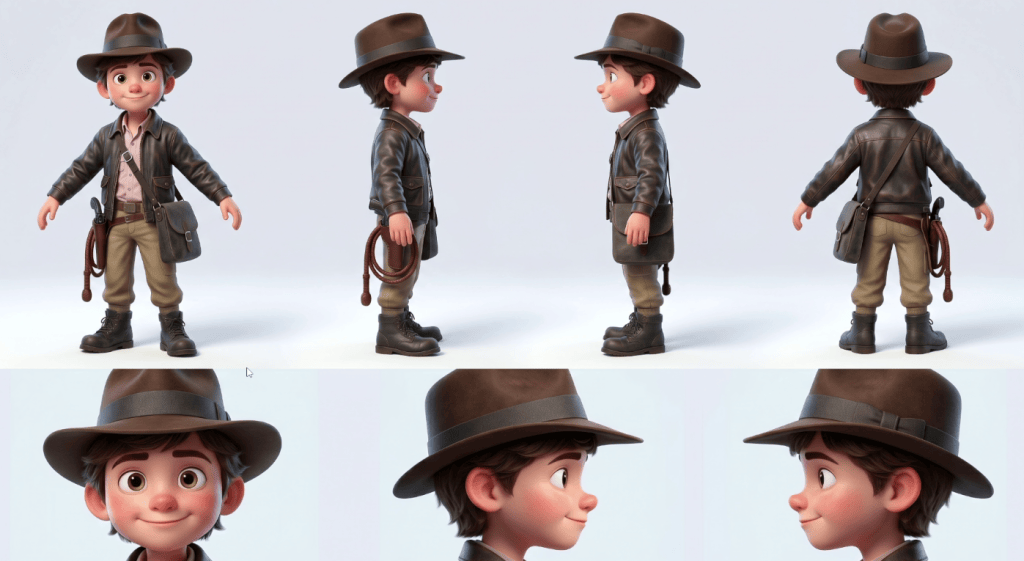
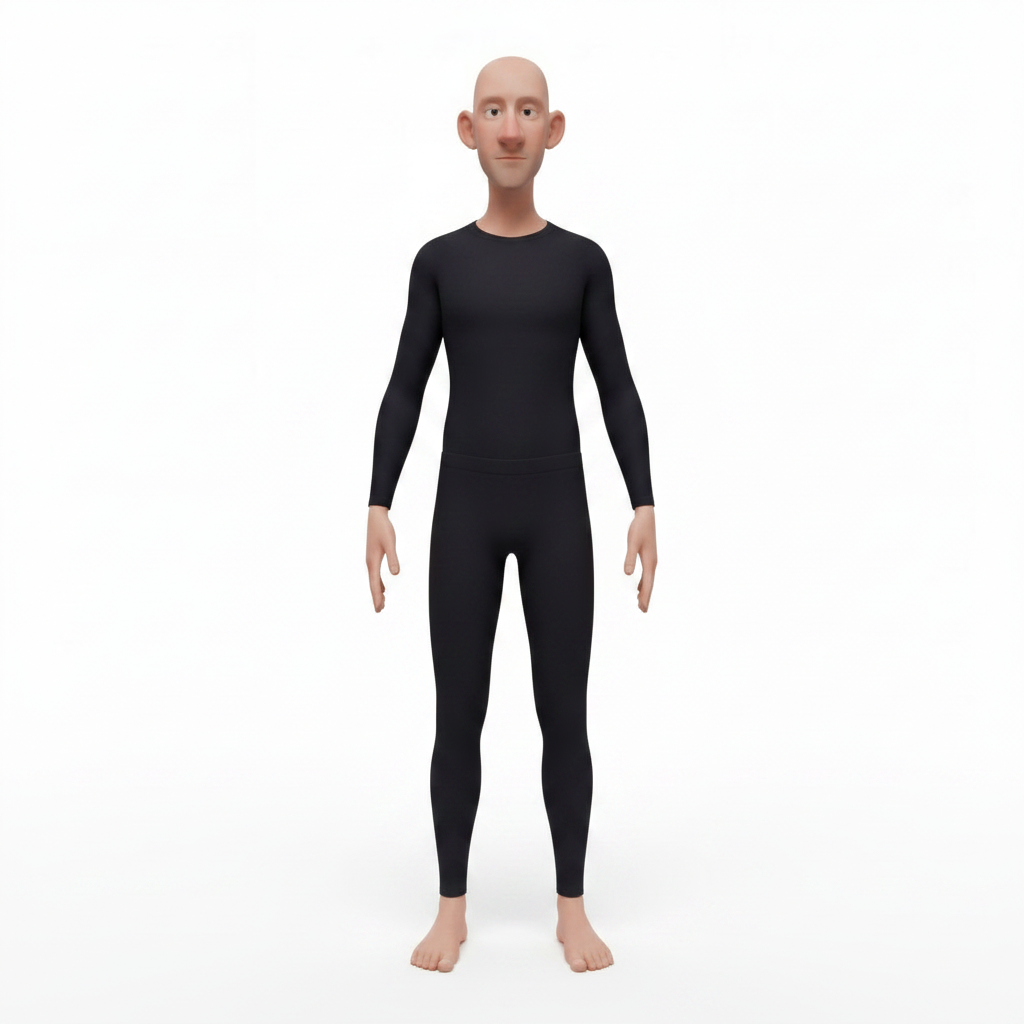
To ensure a smoother transition into the 3D workspace, it is recommended to design the character’s base body without hair, which allows for easier 3D reconstruction. Additionally, every garment and accessory should be generated as a separate piece.
Once the 2D character sheets and component images are finalized, they are brought into Tripo 3D. This AI-powered tool efficiently turns those flat images into your very first rough 3D models. While these initial Tripo 3D meshes are rough and not yet ready for production or animation, they provide a vital, controllable 3D base that serves as the starting point for the rest of the pipeline.
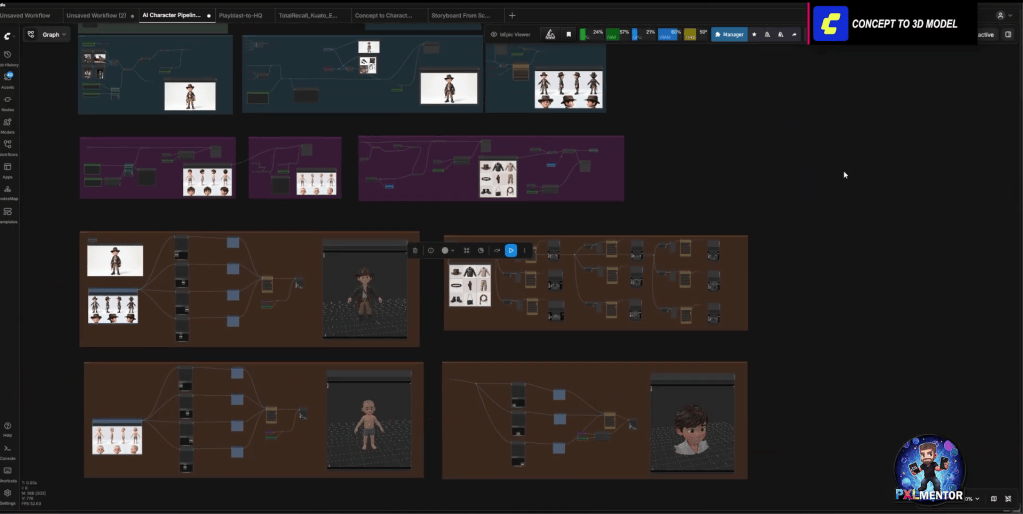
“Getting from that rough base mesh to a clean rigged production ready character, that’s usually the longest, hardest stretch of the whole pipeline. But a few tools shrink that road dramatically.”
CRISTIAN SPAGNUOLO — Experienced VFX/CG Supervisor | Content Creator
Streamlining 3D Character Creation with Character Creator 5 and Headshot 3
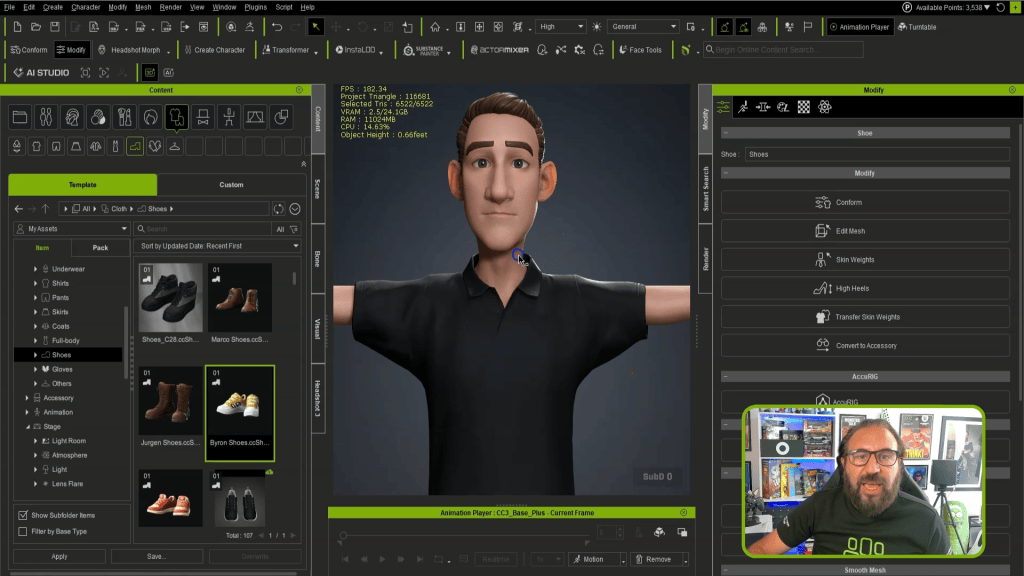
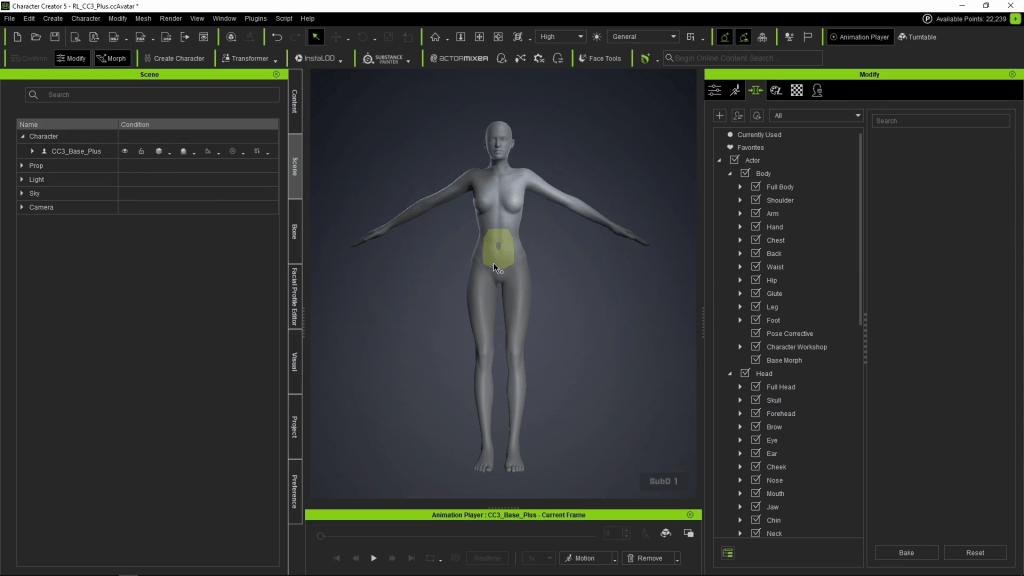
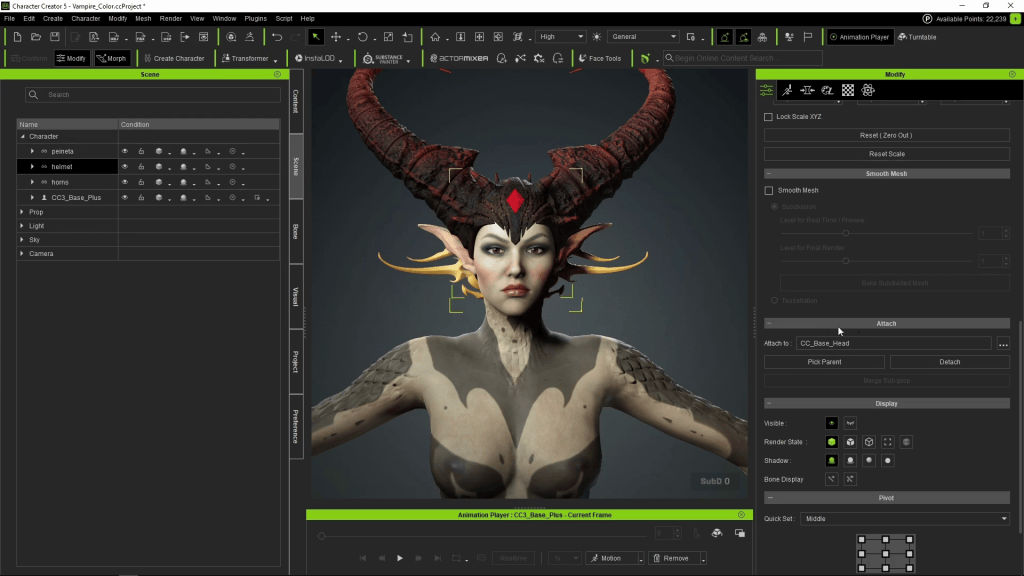
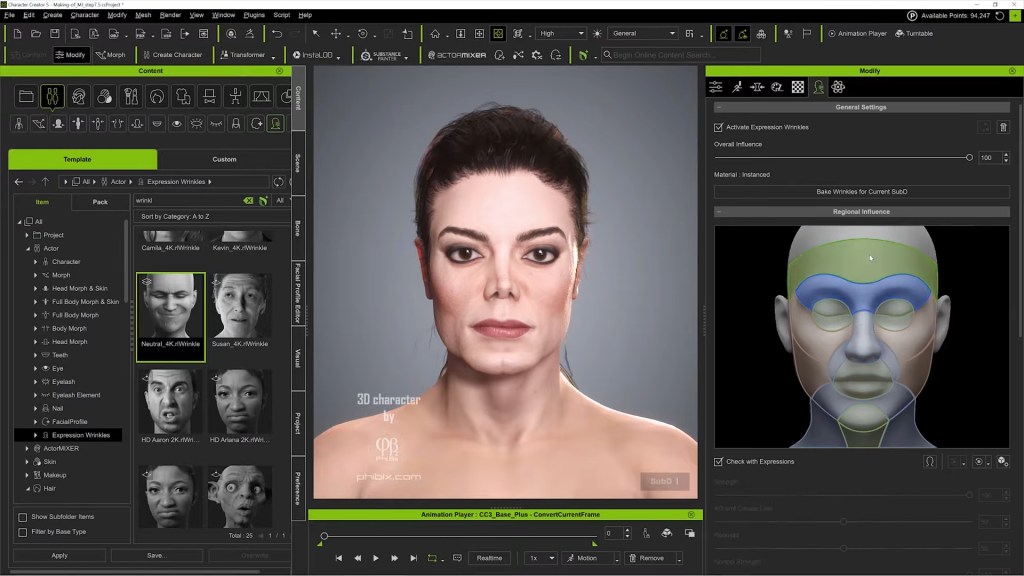
The most critical phase for a solo artist is transforming a raw 3D concept into a fully rigged, production-ready character without needing extensive rigging expertise or a large team. This is where Character Creator 5 becomes indispensable. As Reallusion’s comprehensive 3D character creation tool, CC5 simplifies the complex tasks of modeling, rigging, and texturing.
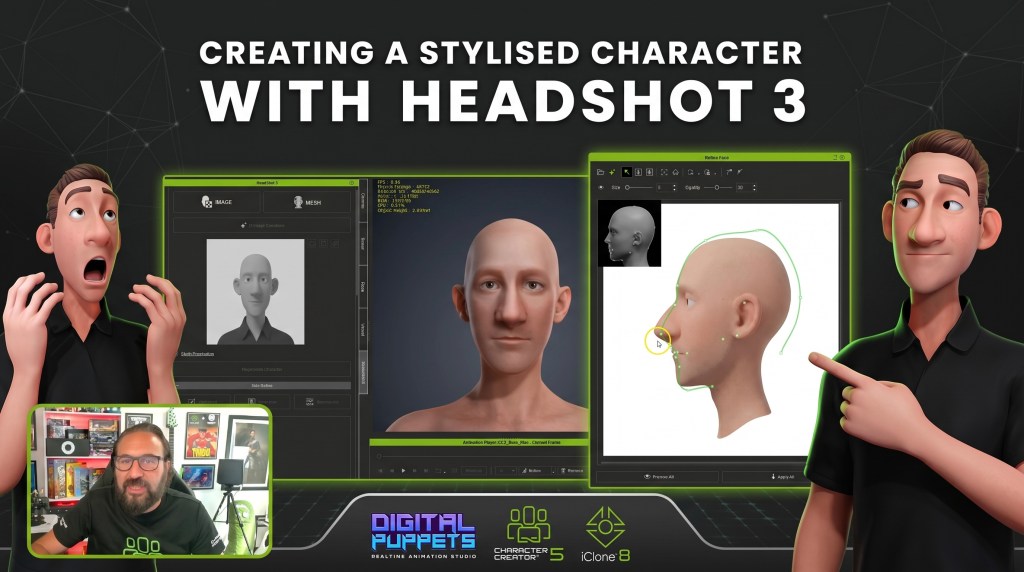
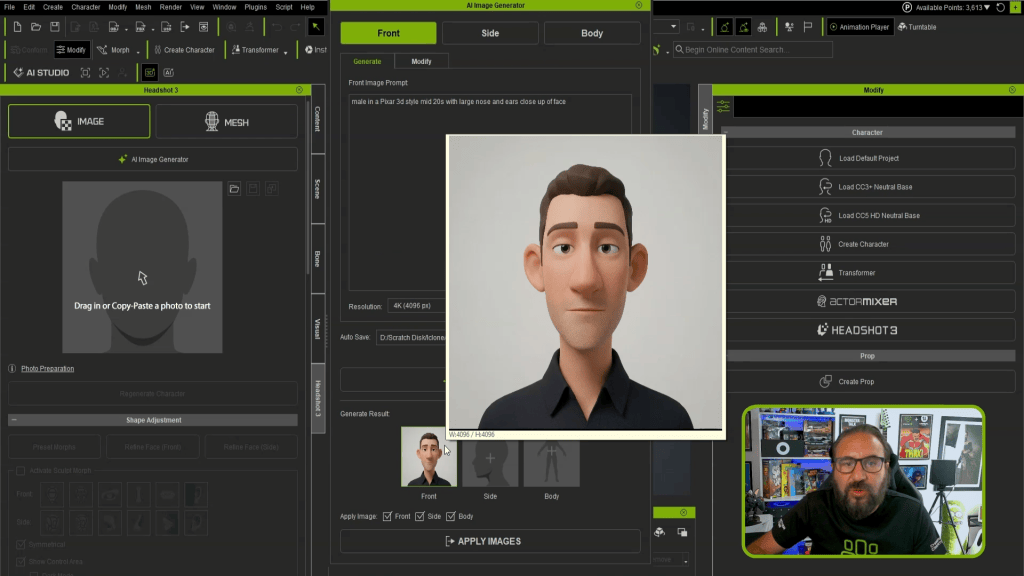
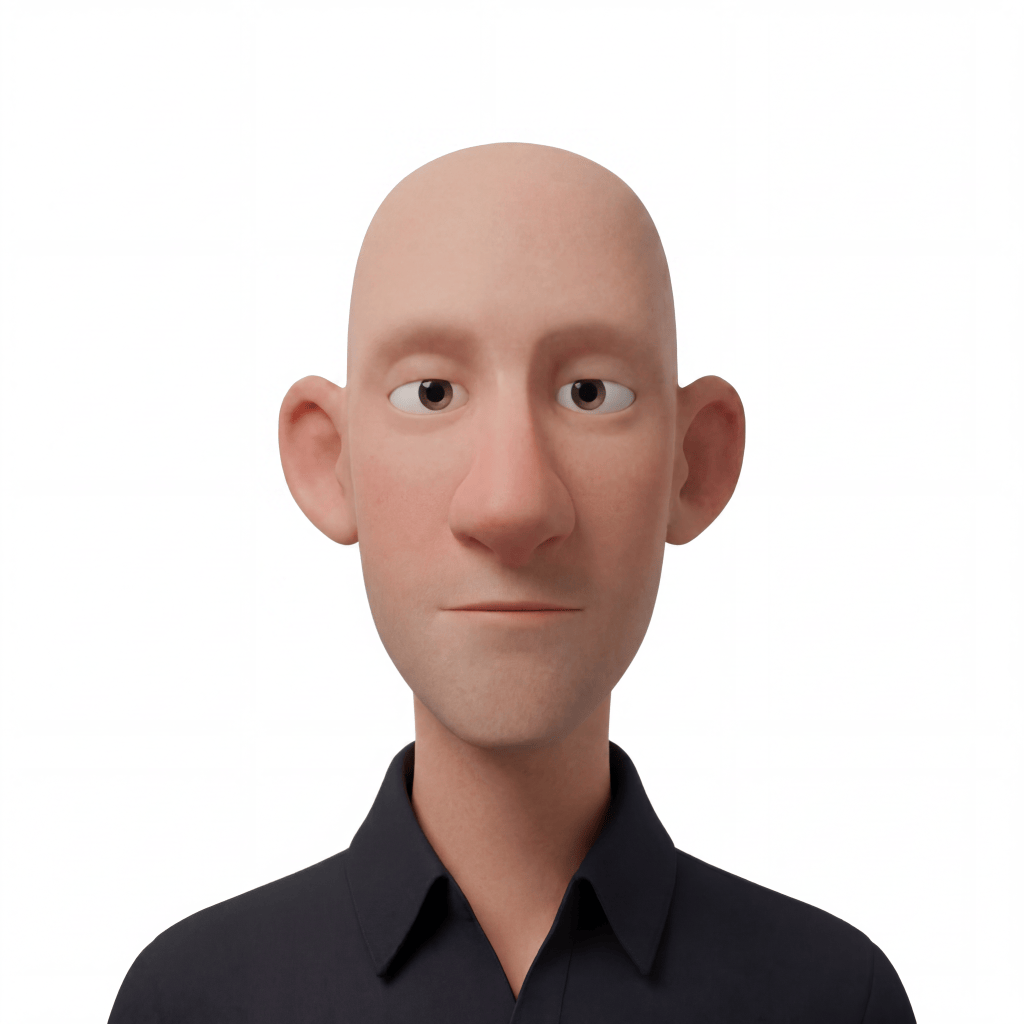
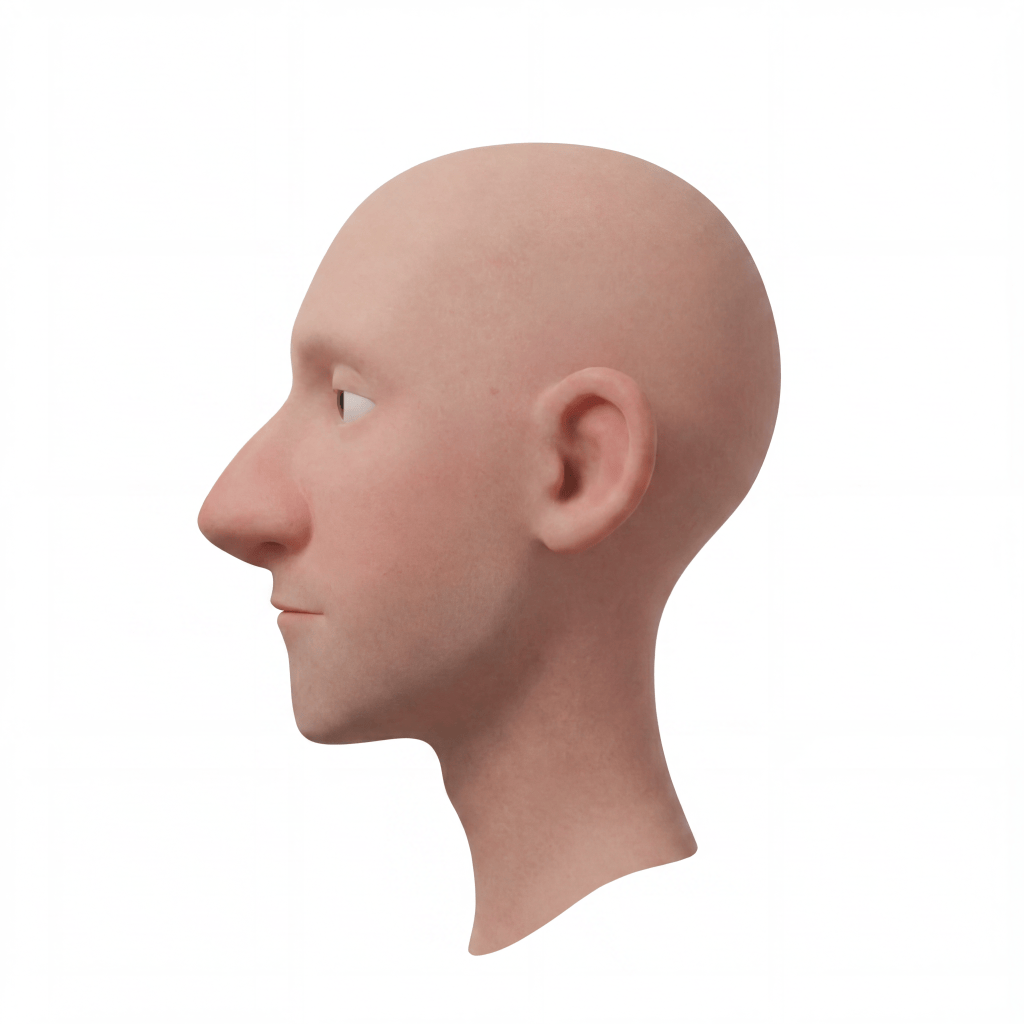
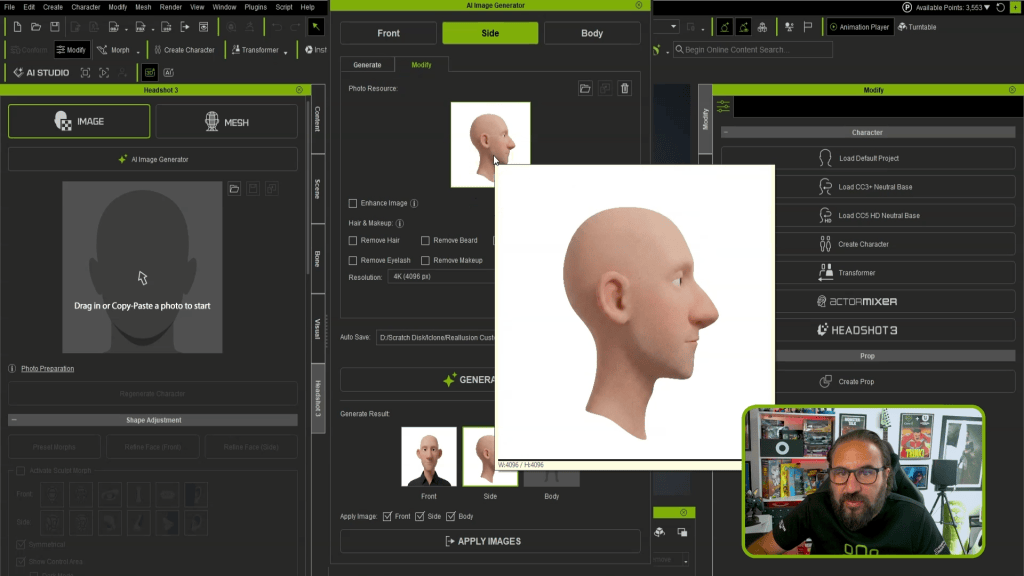
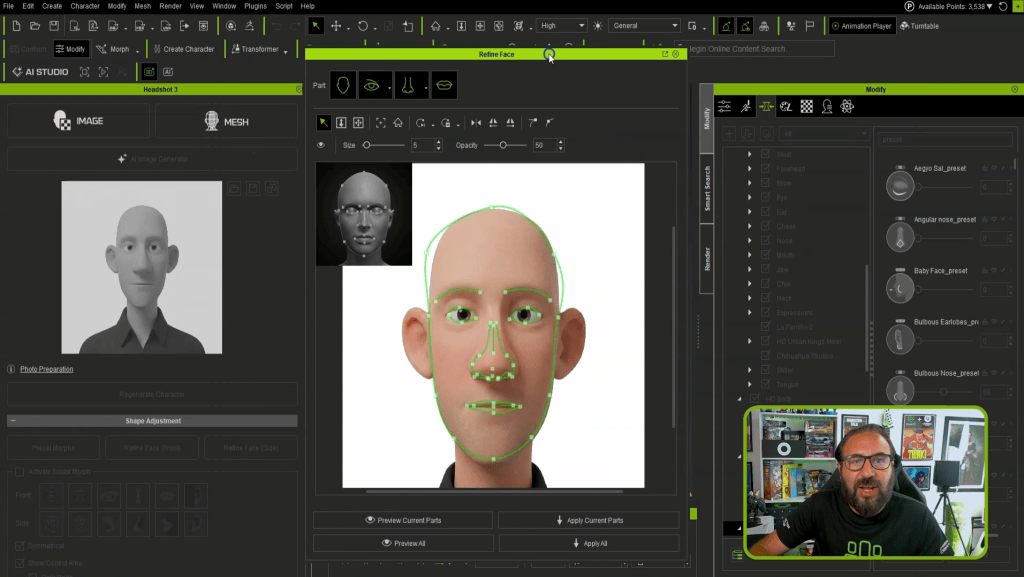
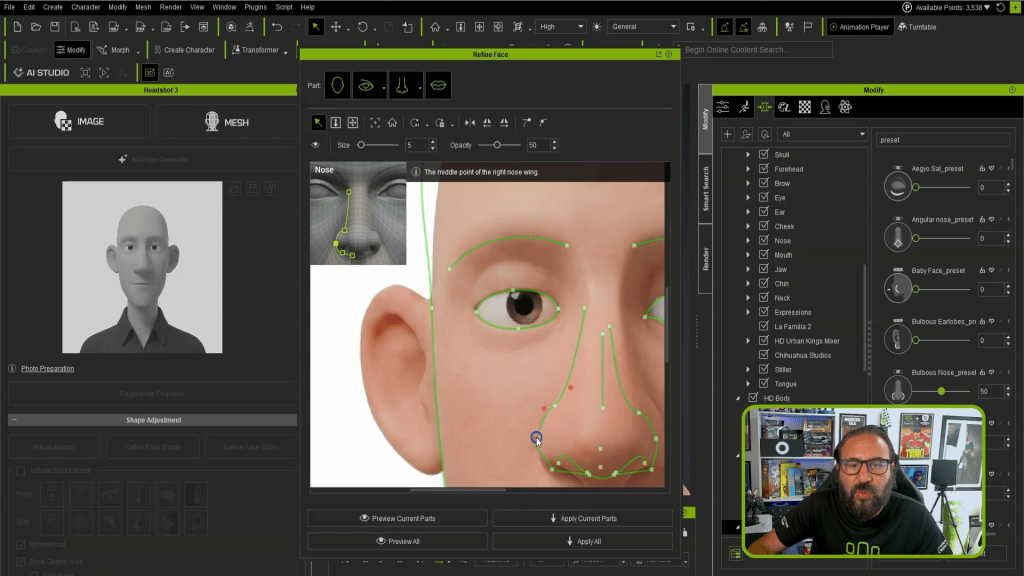
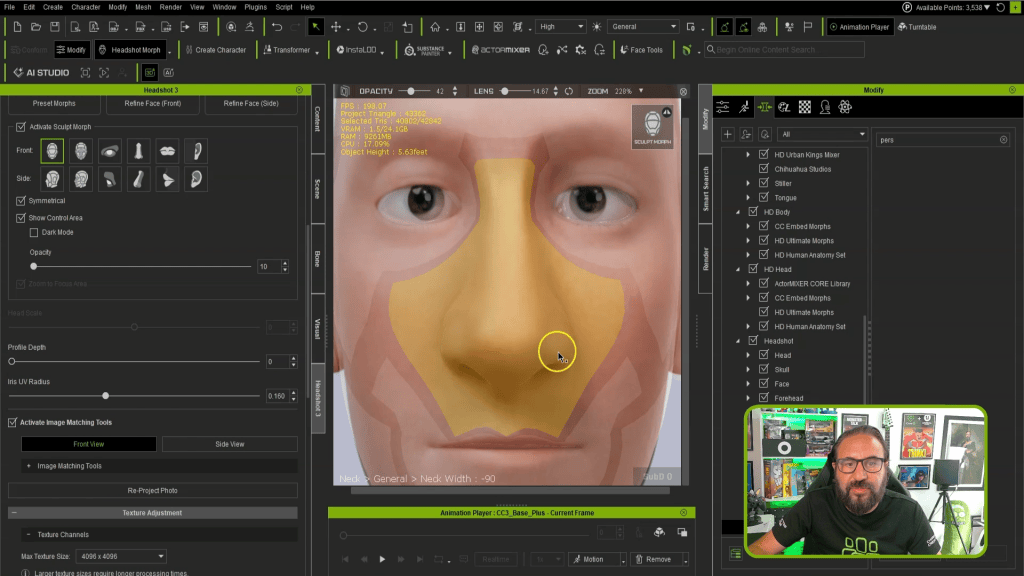
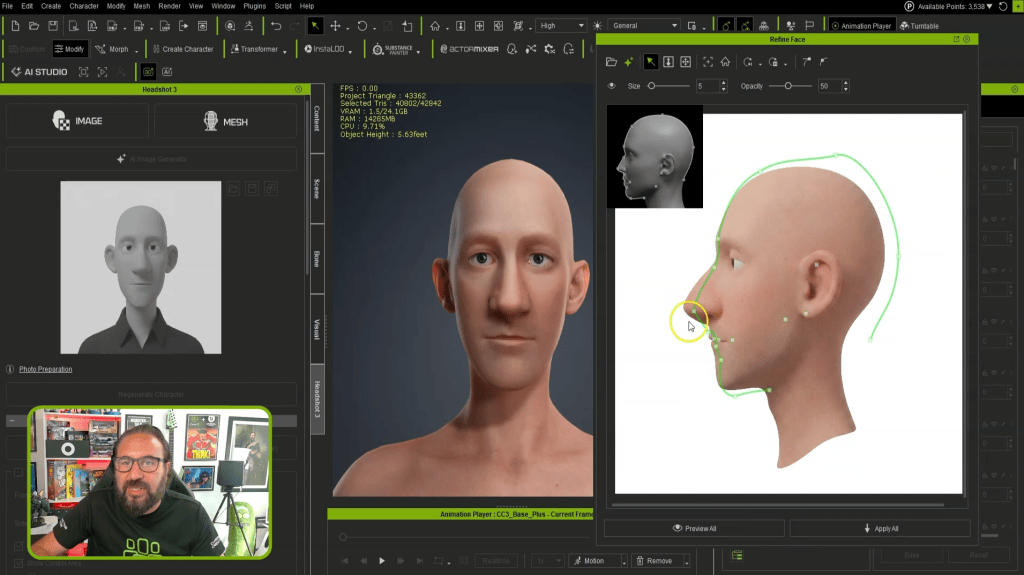
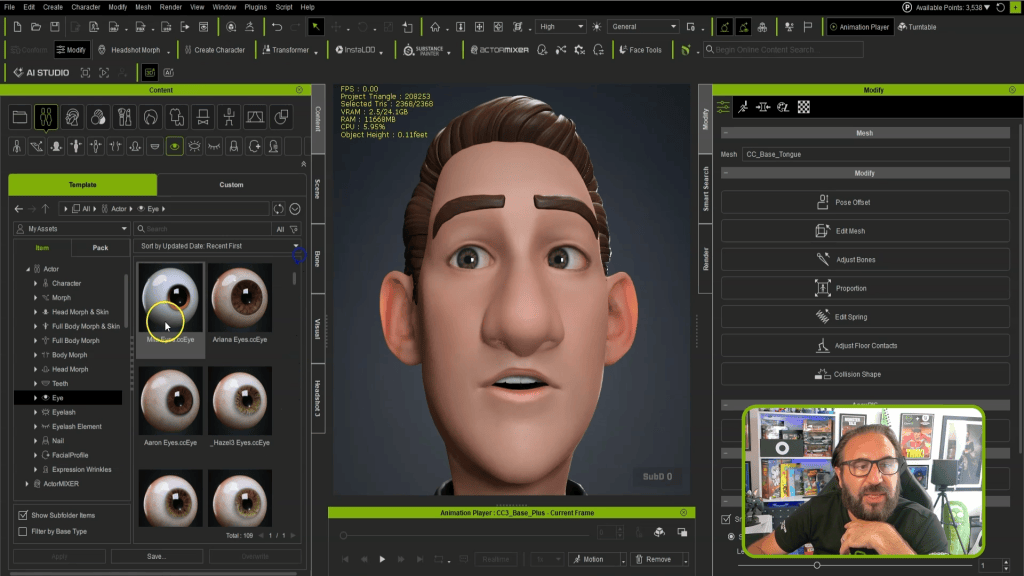
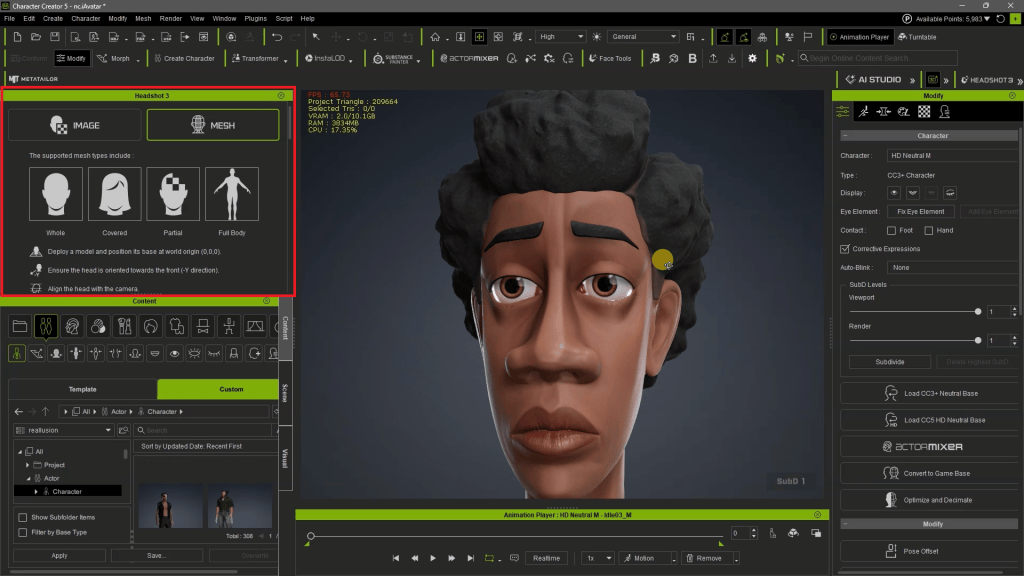
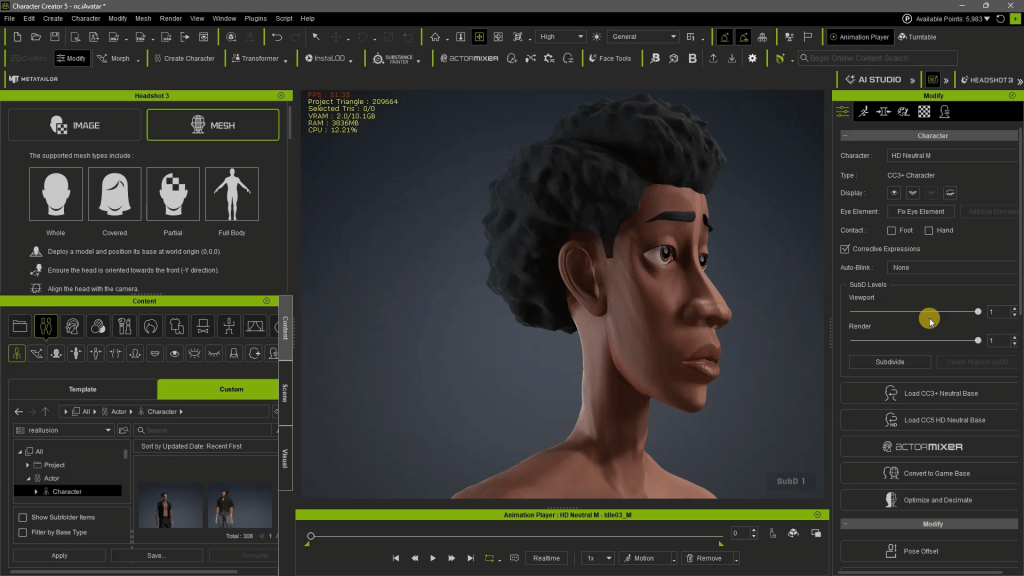
A key component in this stage is the Headshot 3 plugin for Character Creator. This powerful plugin leverages proprietary AI to automatically generate highly accurate, fully rigged 3D heads from a single image. What makes Headshot 3 particularly impactful is its ability to take a rough AI-generated head from Tripo 3D and rebuild it onto clean, production-ready topology. This means the facial mesh is optimized for animation, complete with blend shapes, without any manual rigging.
“What used to take weeks, if not months, can now be done with Character Creator and Headshot 3. One person, with zero rigging knowledge, can end up with a high-end, fully rigged hero character. It doesn’t replace a studio, but it puts that starting line within reach of anyone with a brilliant idea and a story to tell.”
CRISTIAN SPAGNUOLO — Experienced VFX/CG Supervisor | Content Creator
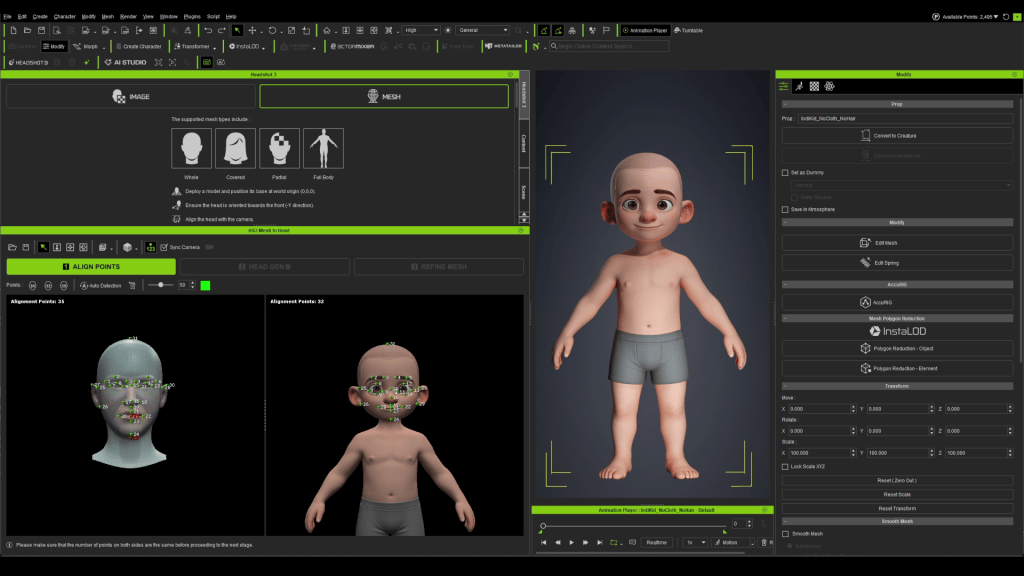
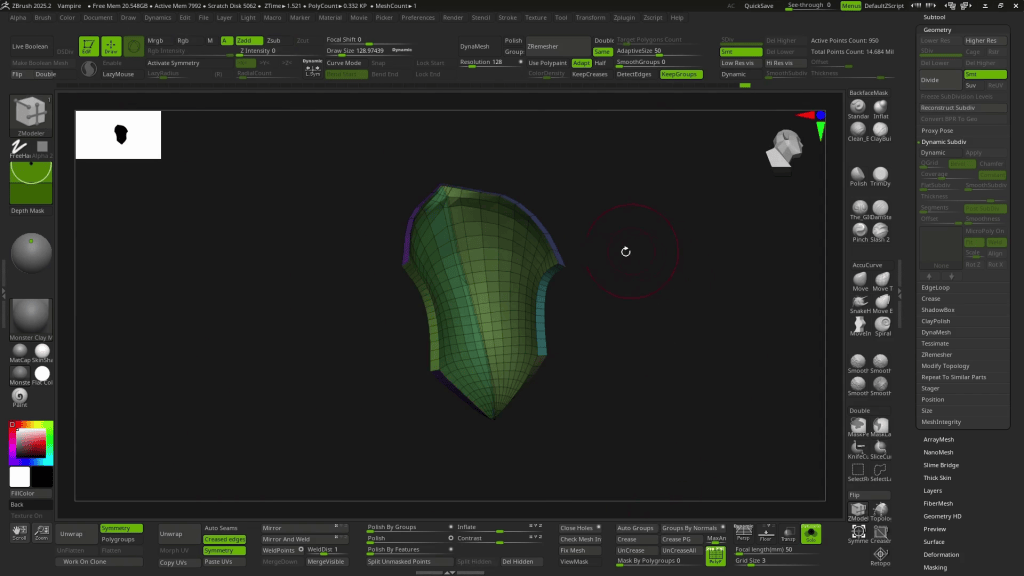
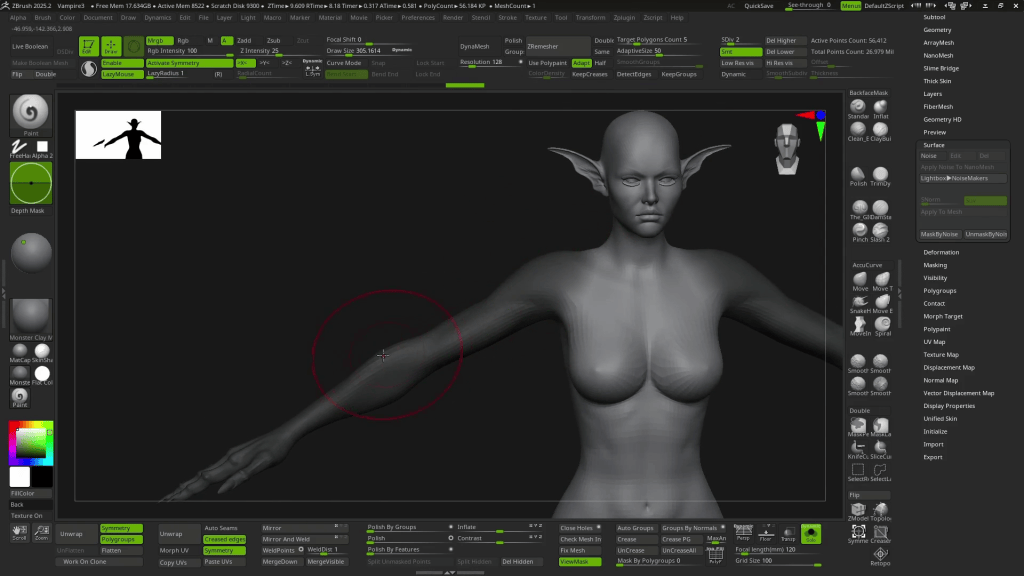
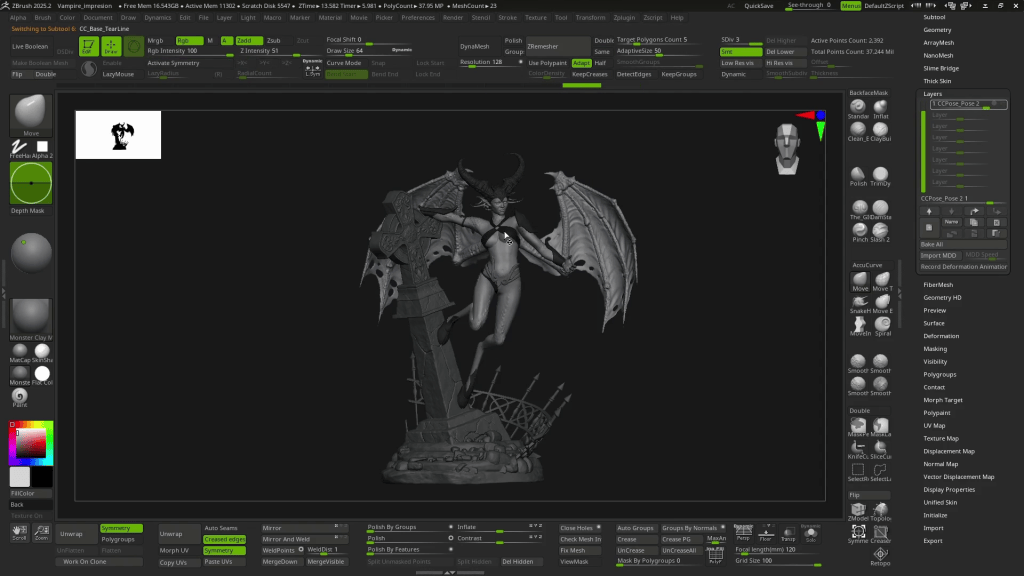
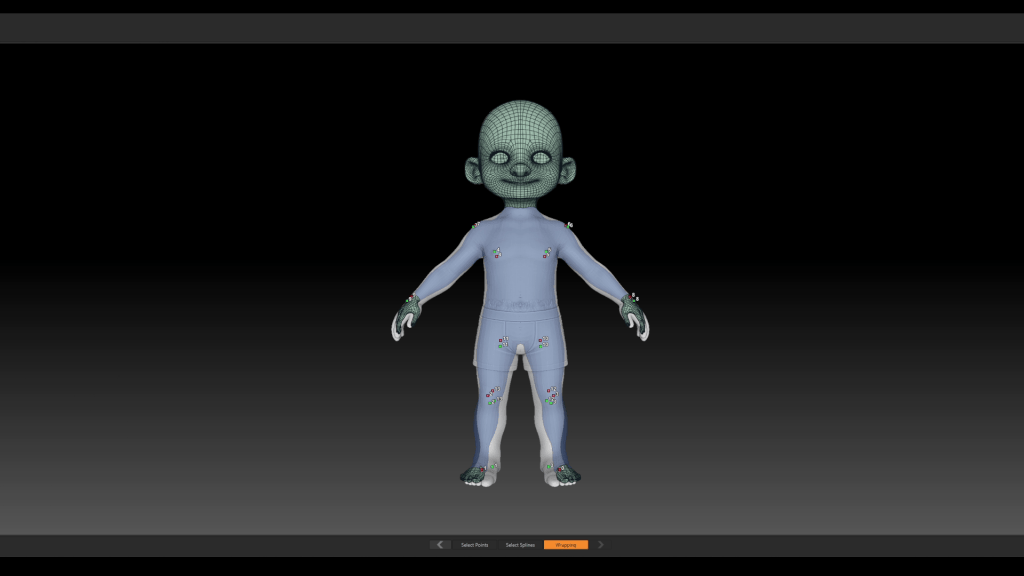
For the character’s body, the workflow integrates with sculpting tools like ZBrush. Artists can use ZWrap to transfer the clean topology of a CC5 base mesh onto the rough Tripo model, ensuring the refined mesh perfectly matches the original design intent. Iterative refinement between CC5 and ZBrush, facilitated by the GoZ plugin, allows for customization of expressions and the finalization of the body rig directly within Character Creator 5. This integrated approach reduces weeks, if not months, of work typically performed by multiple specialists in a studio setting, into a single-person operation.
Q: How does Headshot 3 maintain facial detail from AI concepts?
A: Headshot 3 employs advanced AI features that push the fidelity and detail of AI-generated faces further than traditional methods. Its topology transfer mode is crucial; it rebuilds rough Tripo 3D heads onto clean, production-ready facial topology while preserving critical likeness and detail. This ensures the character’s unique features, derived from the initial AI concept, are accurately translated into a fully rigged 3D model, ready for animation without manual setup.
Pro-Tip: Leverage the “topology transfer mode” in Headshot 3 within Character Creator 5. Instead of manually re-topologizing rough AI-generated heads, point Headshot 3 at your base mesh, and it will automatically rebuild the face on clean, production-ready topology, complete with a full rig. This method saves roughly 2 hours of manual weight painting and rigging per character head, making a complex task accessible to artists without specialized rigging knowledge.
Refining Garments and Props for Optimal Performance
Beyond the main character, garments and props also require careful optimization to ensure they behave correctly downstream in the animation pipeline. Initial AI-generated models, like those from Tripo 3D, often come with dense, heavy meshes that are unsuitable for real-time animation or efficient rendering.
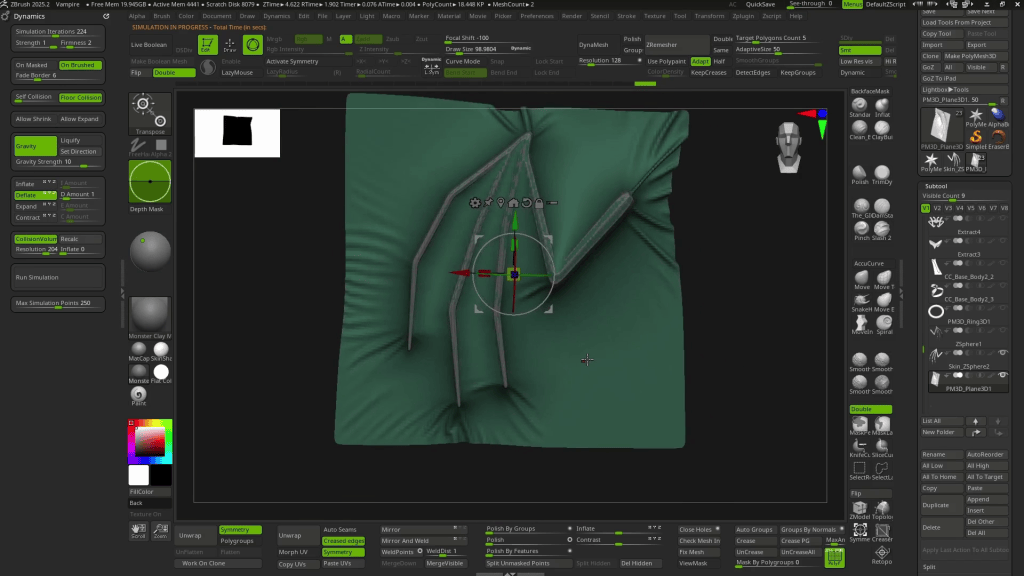
Using the GoZ plugin, artists can seamlessly move models from Maya, their primary DCC, to ZBrush. There, ZRemesher quickly re-topologizes each garment and accessory, converting dense meshes into clean, production-friendly topology in minutes. Once the topology is clean, proper UVs are laid out using tools like UV Master in ZBrush or Maya’s UV editor. This foundational work ensures that all subsequent texturing and animation steps proceed smoothly, as Cristian Spagnuolo emphasizes, “Foundations matter.”
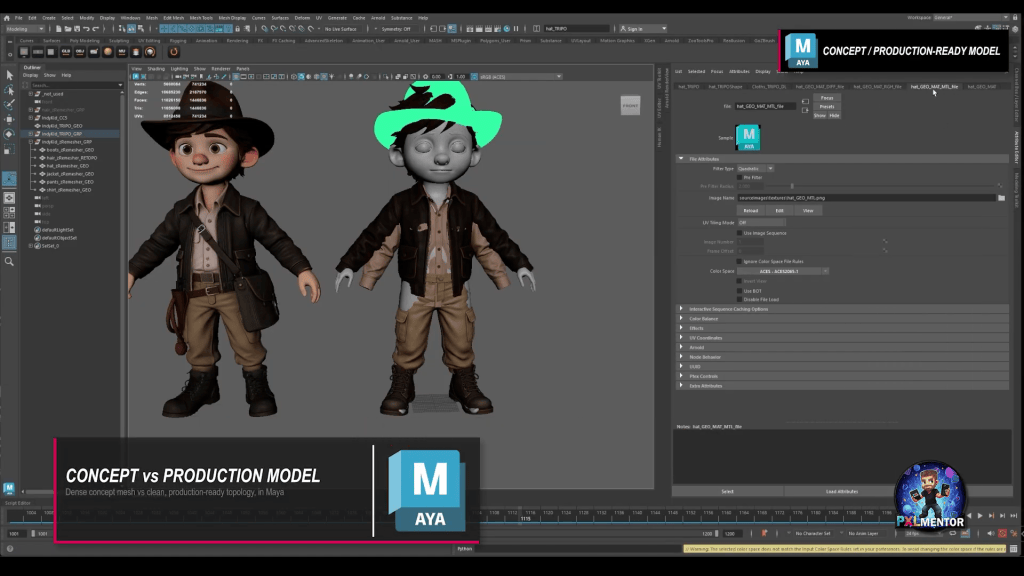
After re-topologizing, textures and high-resolution details are transferred. PBR textures and fine surface details (wear, stitching, grain) from the initial AI-generated meshes are baked onto the new, clean low-resolution models using Substance Designer for PBR textures and Substance Painter for high-res details. This preserves all the rich, AI-generated surface detail without sacrificing performance. Finally, MetaTailor provides a direct connection to Character Creator 5, enabling precise layering and fitting of garments onto the character, making them sit like real cloth.

| Workflow Stage | Primary Tools Used | Key Benefit for Solo Artists |
|---|---|---|
| Concept & Initial 3D | ComfyUI, Claude Code, Tripo 3D | Rapid concept iteration, rough 3D generation |
| Head Creation & Rigging | Character Creator 5, Headshot 3 | AI-powered production-ready heads, auto-rigging |
| Body & Garment Retopo | ZBrush (ZWrap, ZRemesher, GoZ), Maya | Clean, animate-able topology from dense meshes |
| Texturing & Detail Bake | Substance Designer, Substance Painter | Transfer AI-generated details to optimized assets |
| Garment Fitting | MetaTailor | Realistic clothing drape and fit |
| Facial Animation | iClone 8, AccuFACE | Camera-based performance capture |
| AI Actor Generation | iClone 8, AI Studio | Consistent AI characters, IP ownership, advanced AI models |
Elevating Facial Animation with Character Creator FaceTools
While optimizing garments and laying out props is efficiently handled in a primary DCC like Maya (Maya workspace setup with Indy Kid garments and props), breathing life into a character’s face requires dedicated attention. To push the character’s performance beyond a standard rig, the workflow utilizes the power of Character Creator FaceTools to bridge Character Creator 5 and ZBrush.

Instead of manually building complex facial blendshapes from scratch, an artist can use FaceTools to transfer the CC5 production-ready mesh and its core expression set directly into ZBrush. Inside ZBrush, these core expressions become editable layers. This allows creators to easily customize the bundled expressions, sculpt high-fidelity dynamic wrinkles, and apply detailed polypaint to the character’s skin to ensure their unique personality shines through.
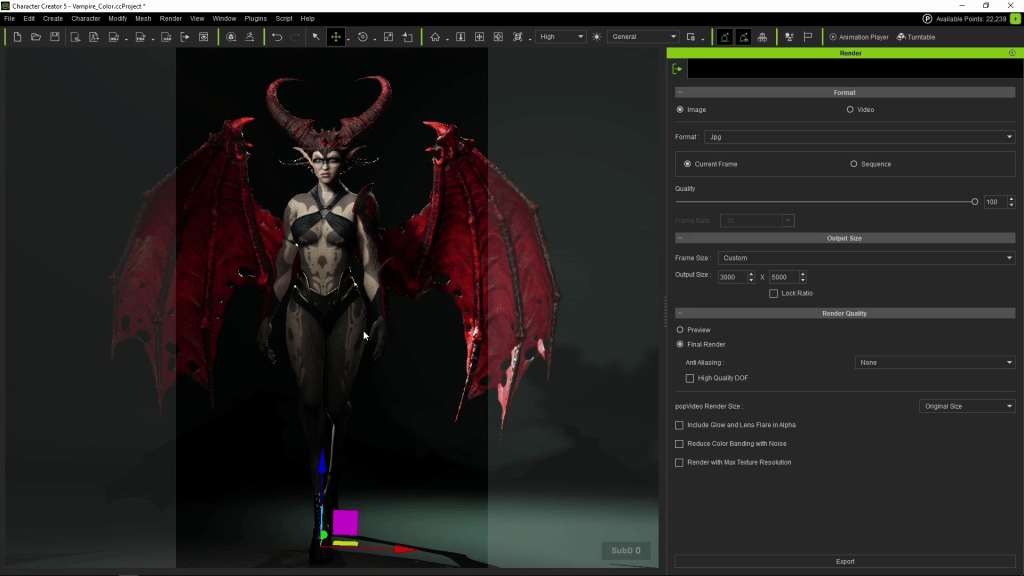
Once the nuanced sculpting is complete, everything is synchronized back into Character Creator with a single click. This pipeline effectively eliminates the weeks of technical setup typically required by a dedicated facial rigger in a traditional studio. The result is a highly expressive, production-ready hero character equipped with bespoke facial morphs, fully prepared for performance capture and animation.
This video provides a basic walkthrough of the various ways you can utilize the Face Tools plugin, including creating custom expressions and dynamic wrinkles.
Getting Started with Face Tools | Face Tools Tutorial
Bringing Characters to Life with AccuFACE and iClone 8
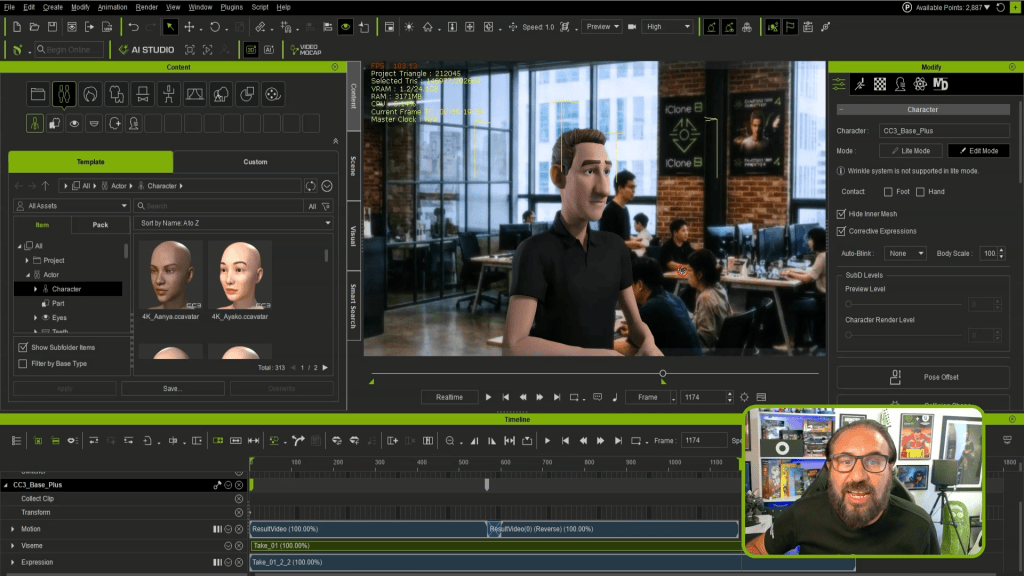
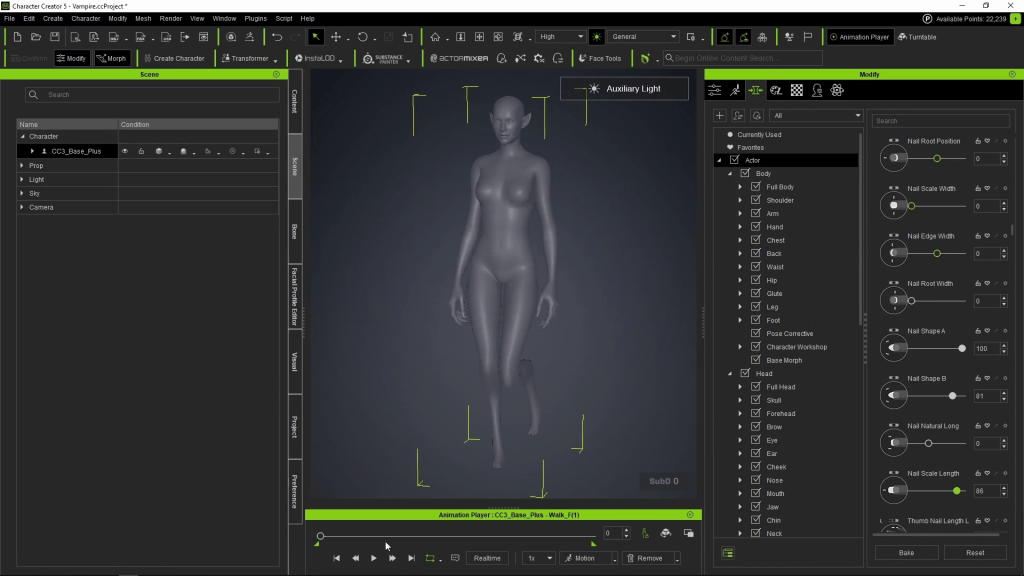
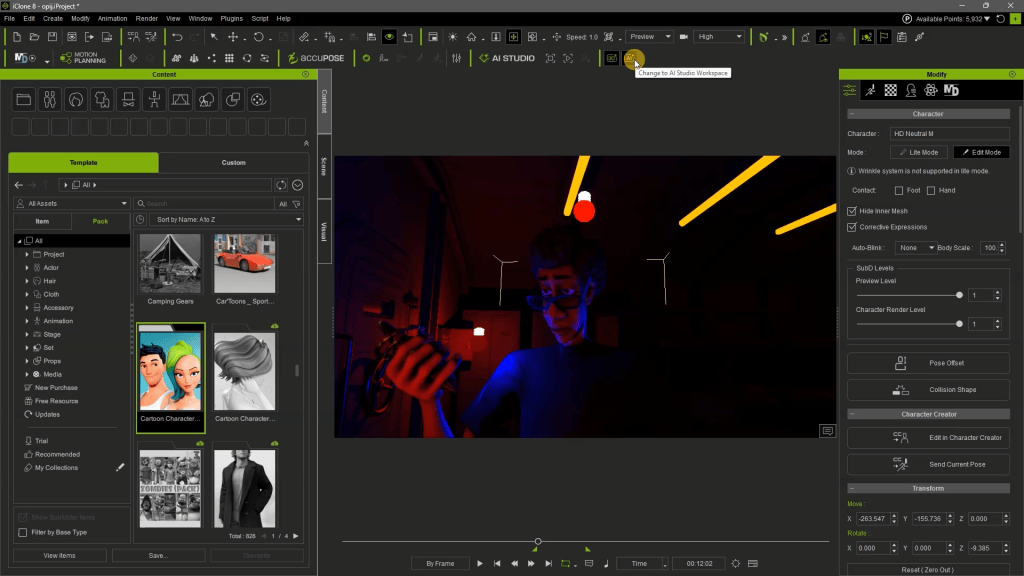
With a high-quality, fully rigged character, the next step is animation. For solo artists, traditional animation can be incredibly time-consuming. Reallusion’s iClone 8 is designed to accelerate this process, particularly for real-time animation.
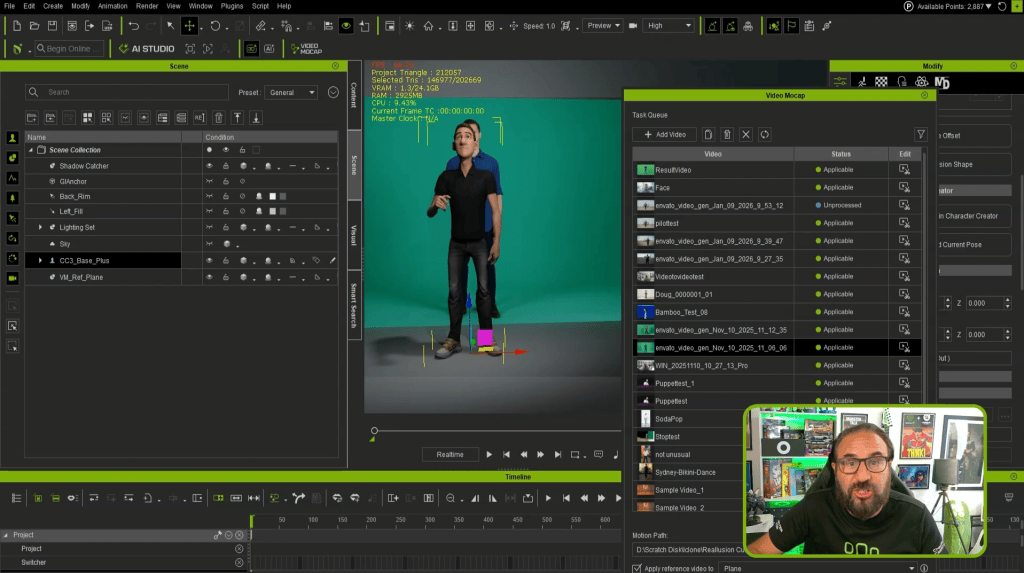
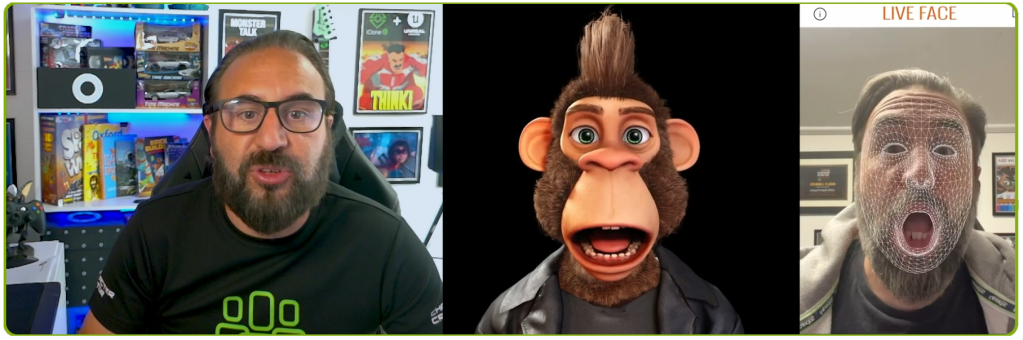
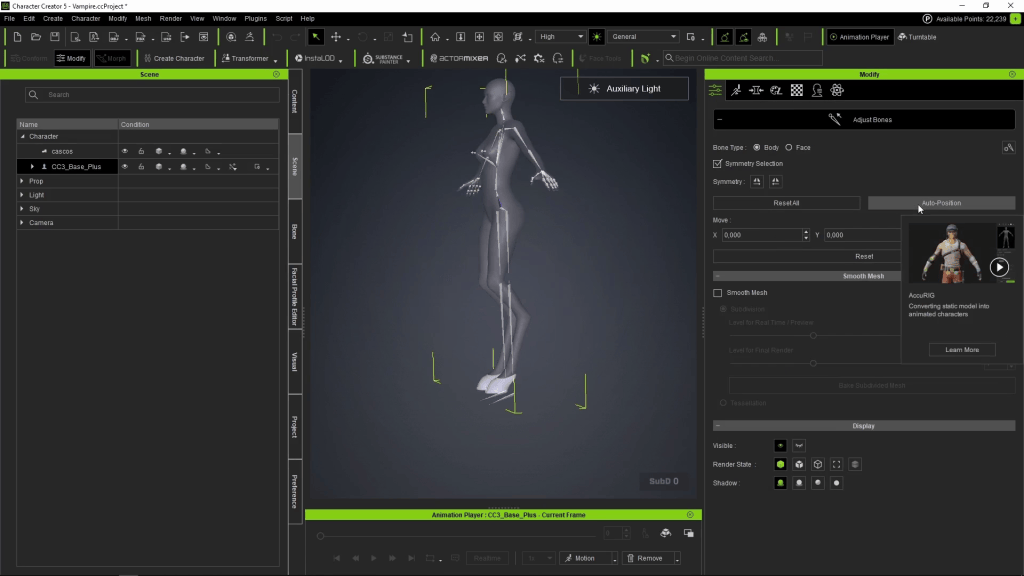
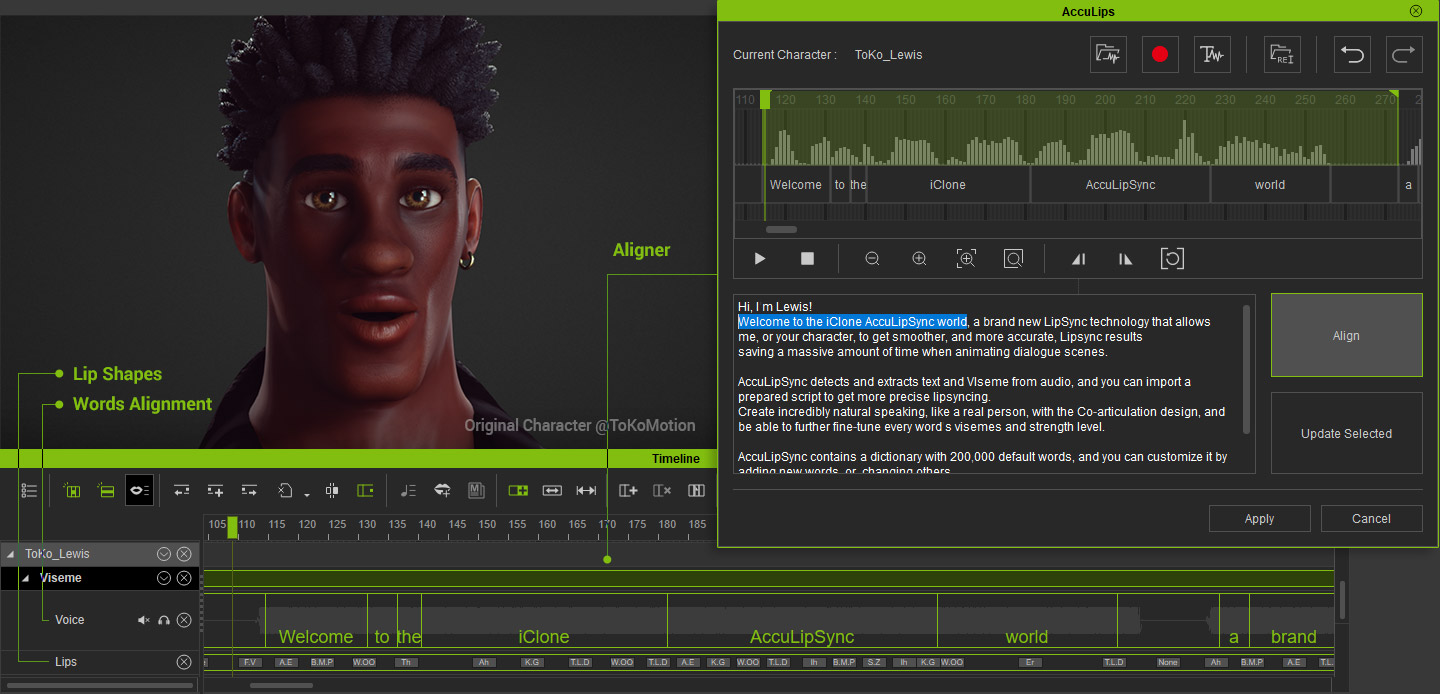
A groundbreaking tool for performance capture on a solo creator’s budget is the AccuFACE 2 plugin for iClone. This plugin captures any facial performance using just a camera, eliminating the need for expensive motion capture suits or complex head rigs.

The artist can simply act out the desired facial movements, and AccuFACE 2 facial mocap plugin for iClone, translates them directly onto the 3D character in real-time. This includes every subtle blink, smirk, and eyebrow raise, making high-fidelity facial animation accessible to independent creators. This democratizes Motion Capture for facial performances, drastically cutting down animation time.

Leveraging AI Studio for Consistent Generative AI Output
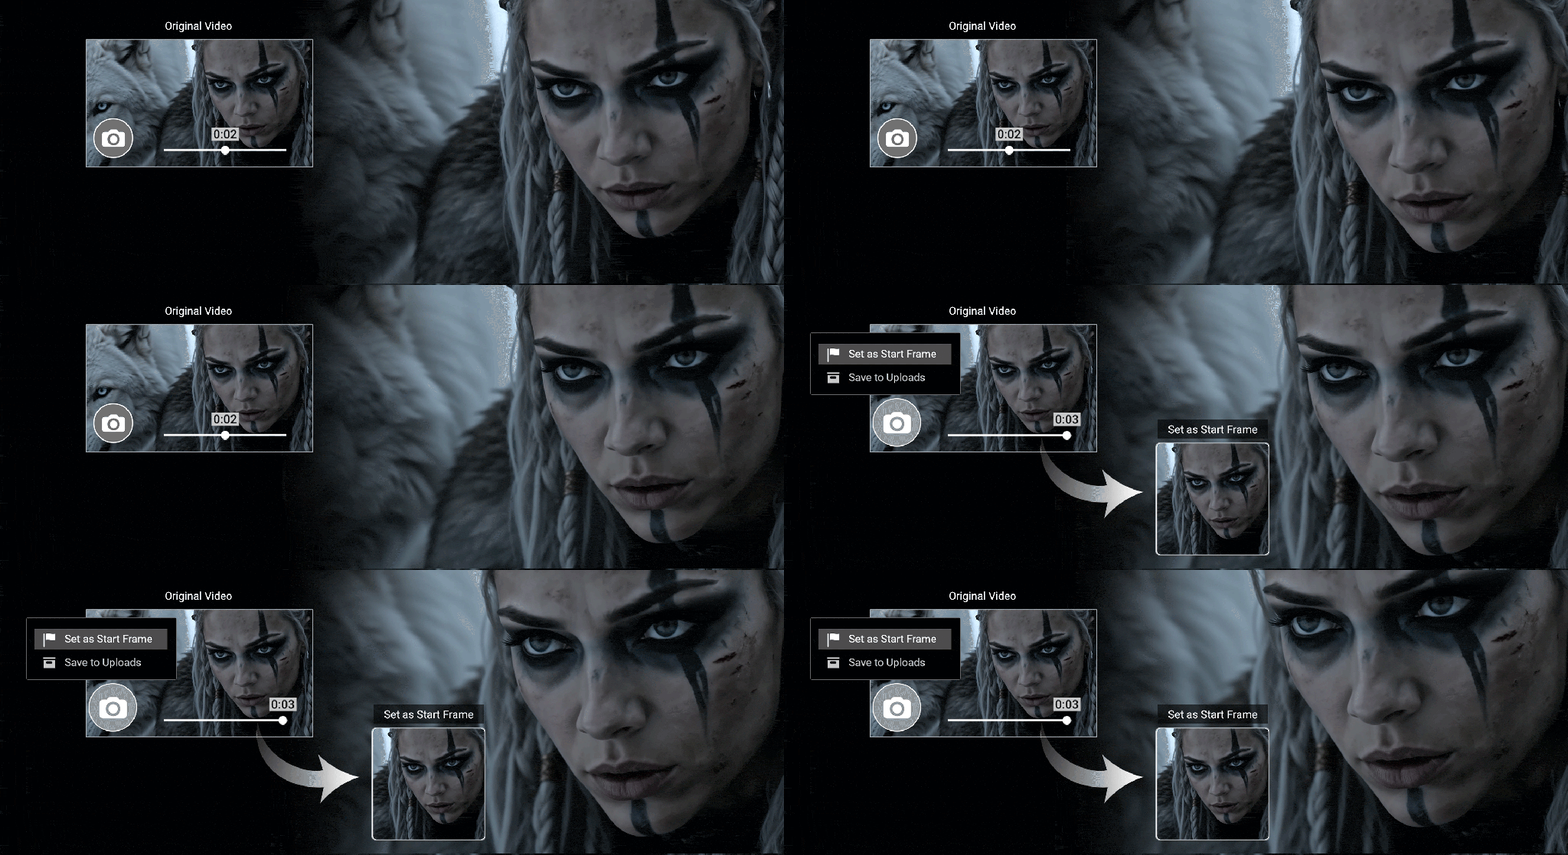
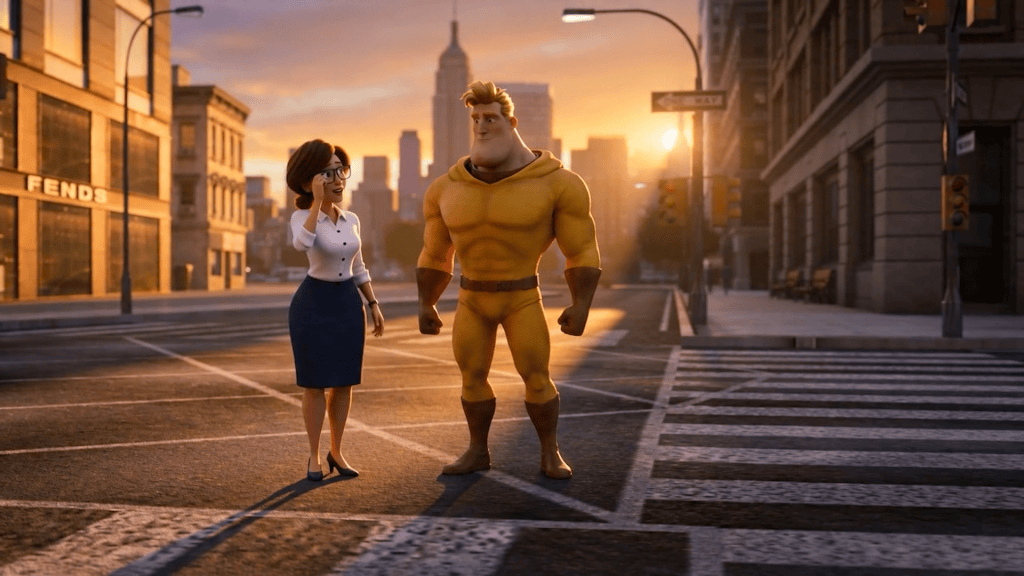
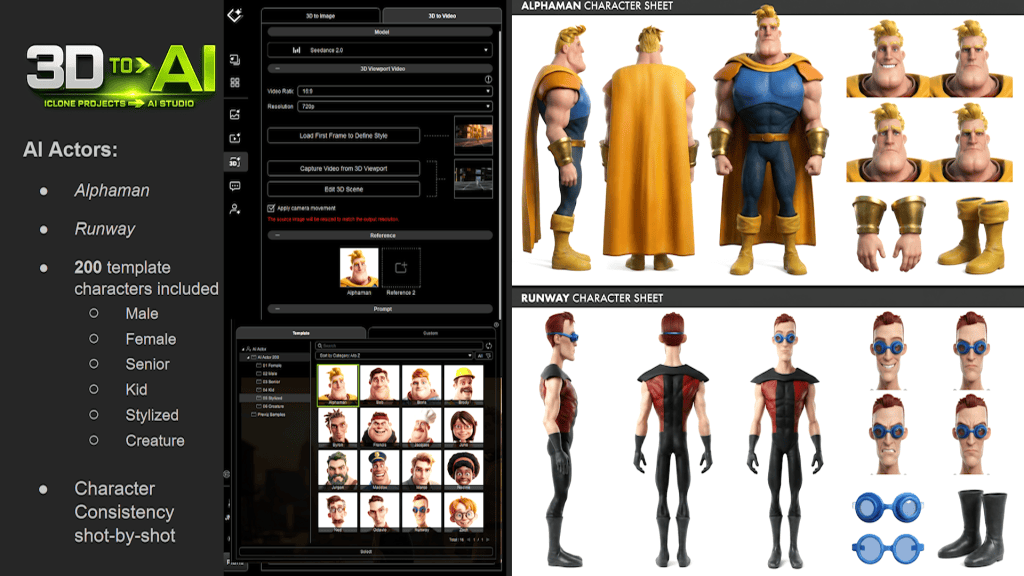
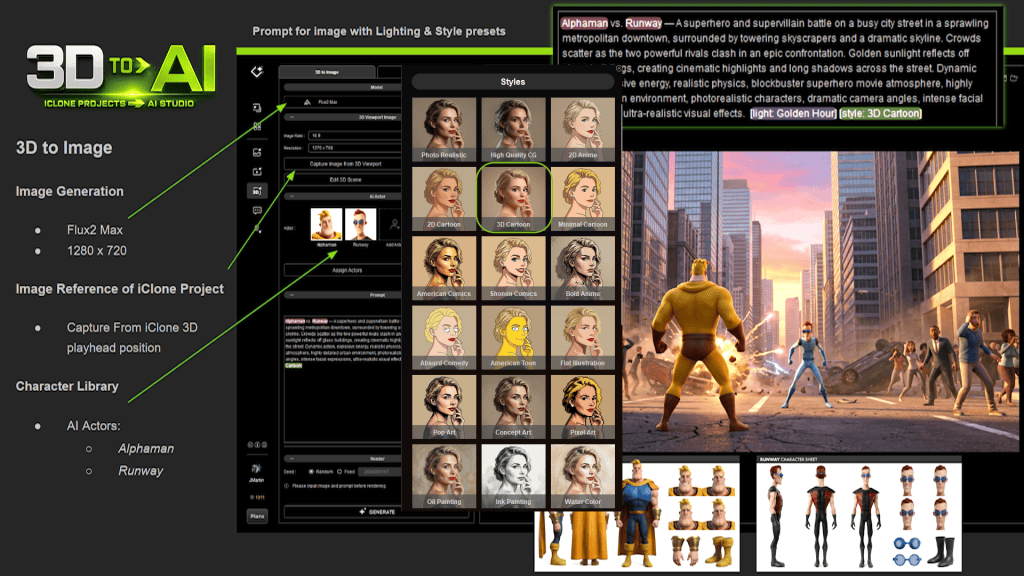
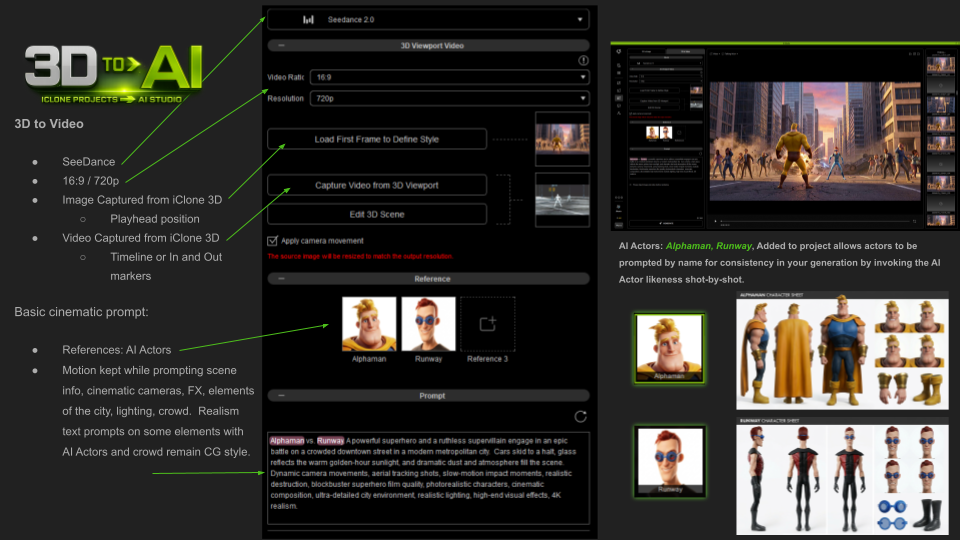
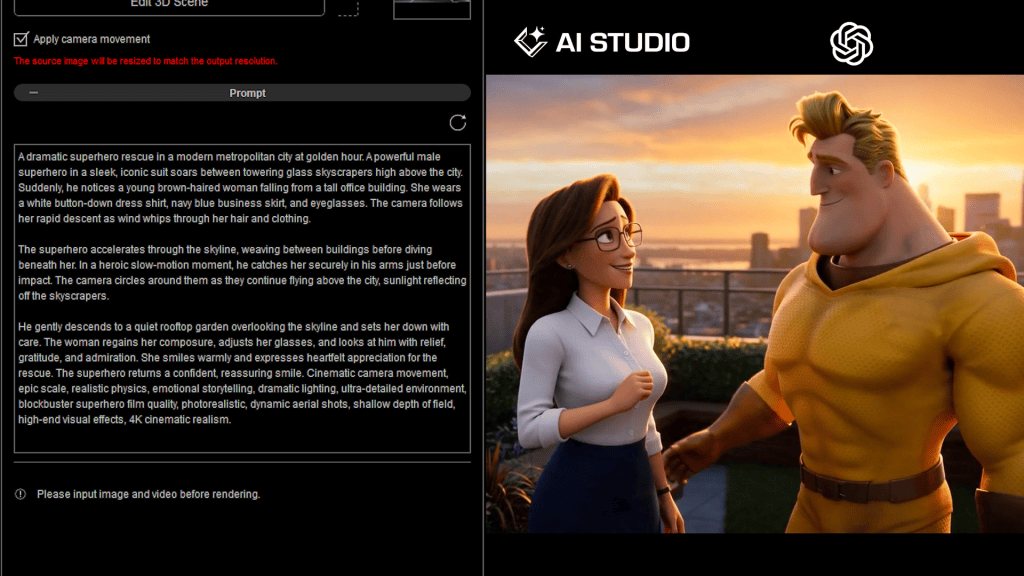
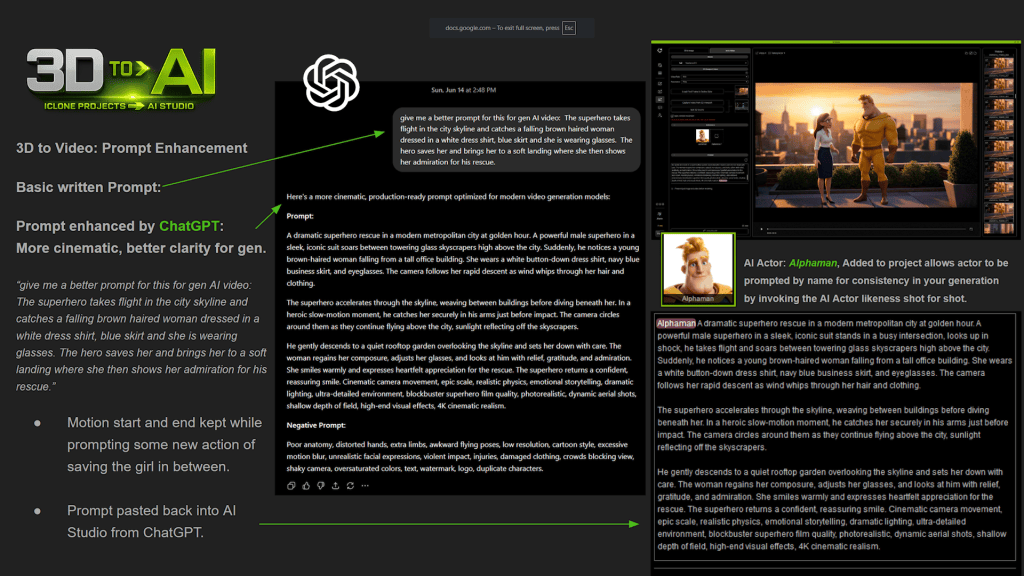
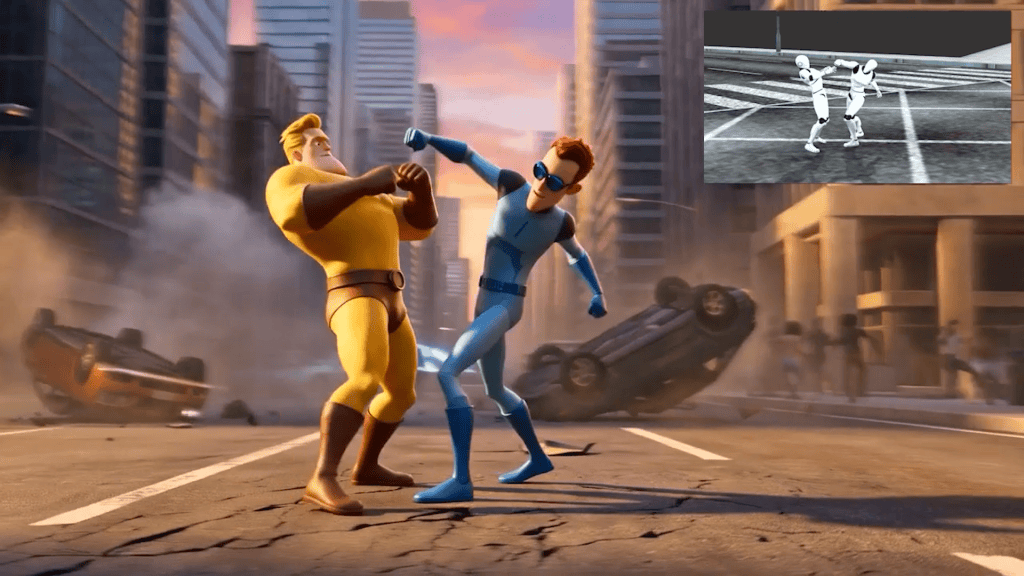
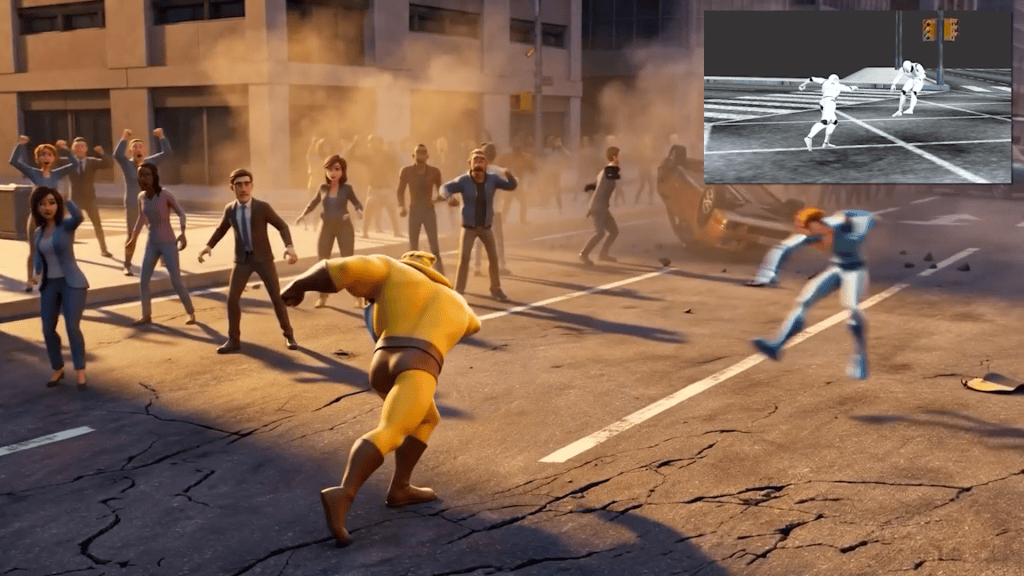
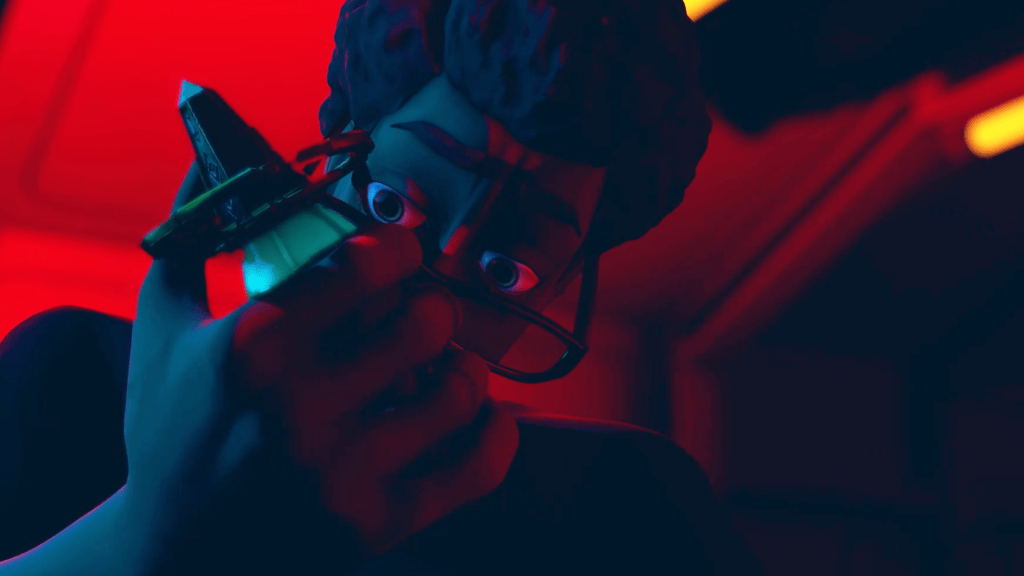
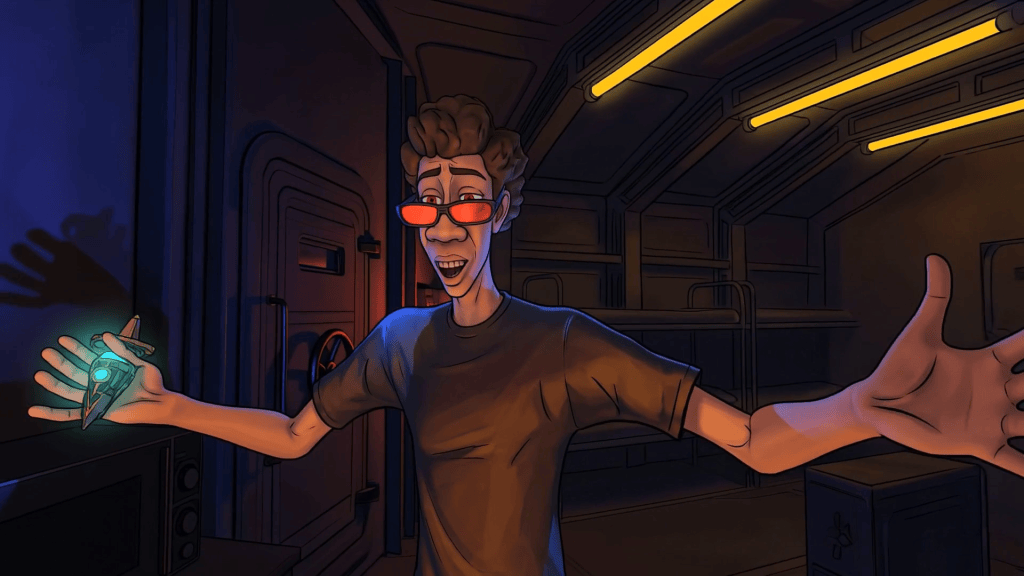
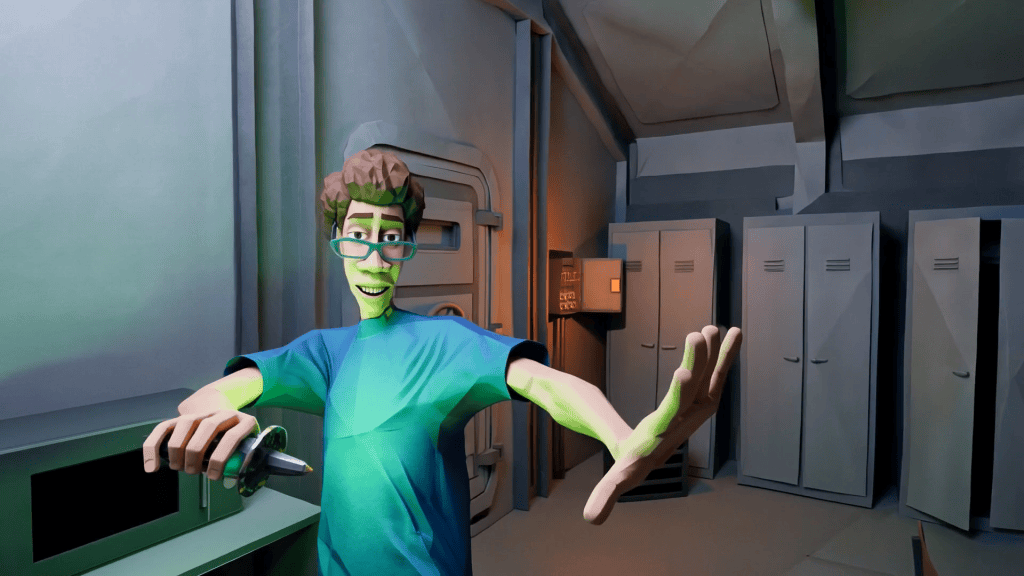
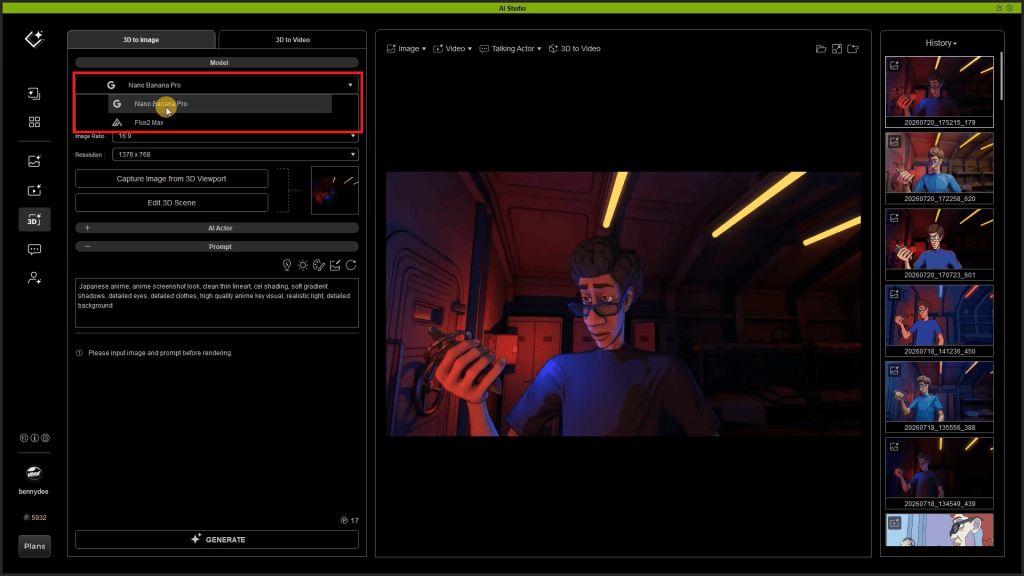
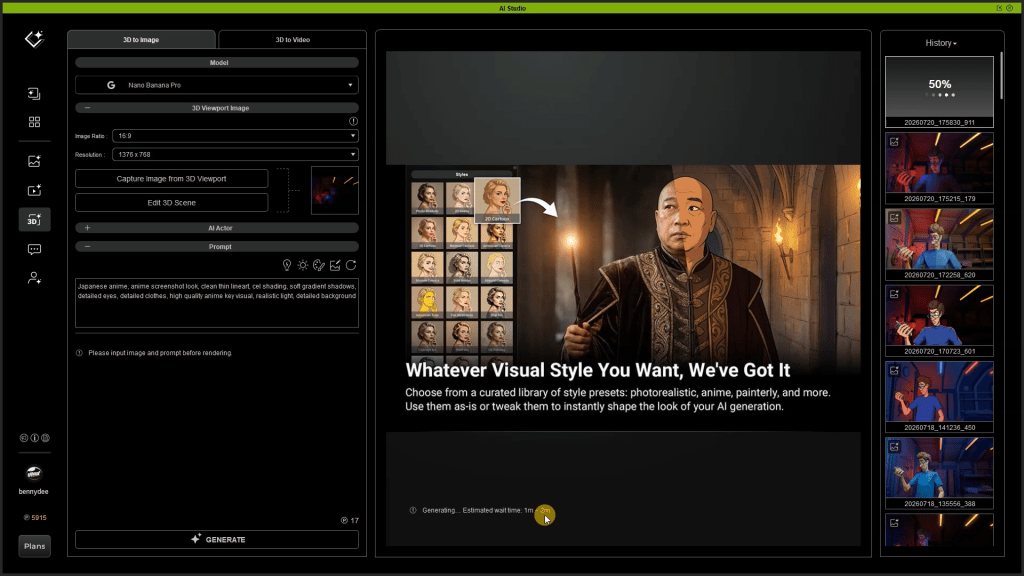
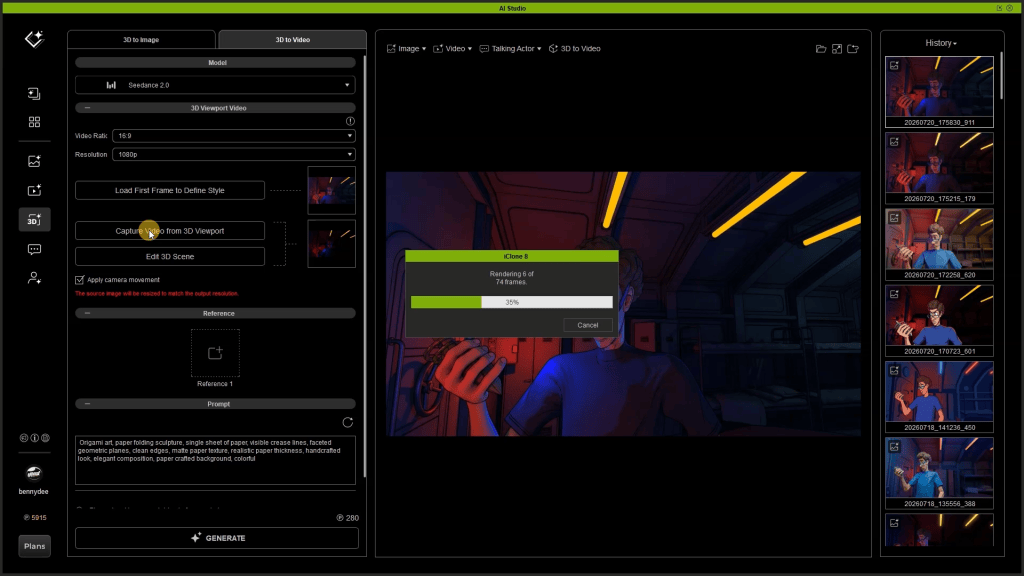
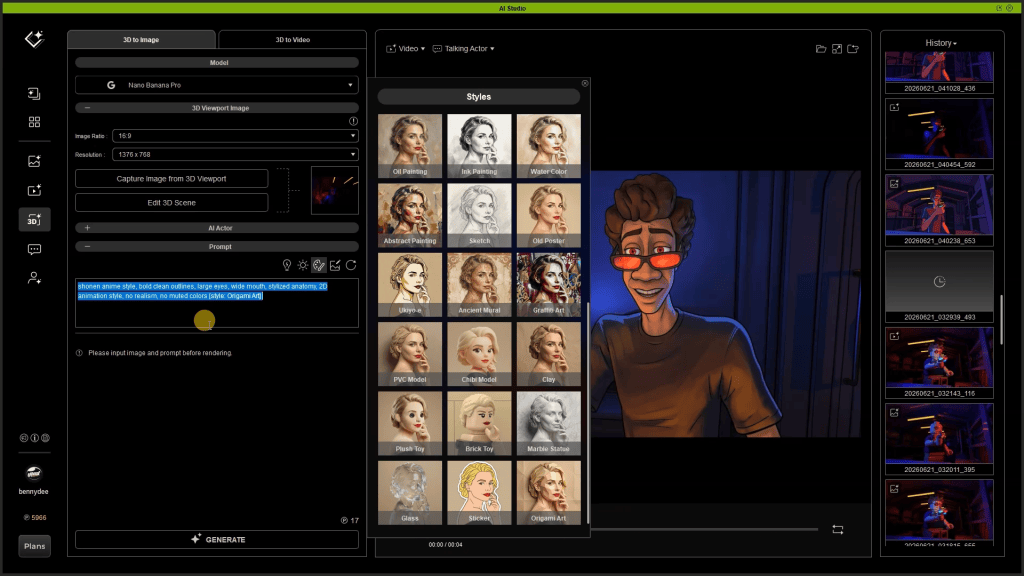
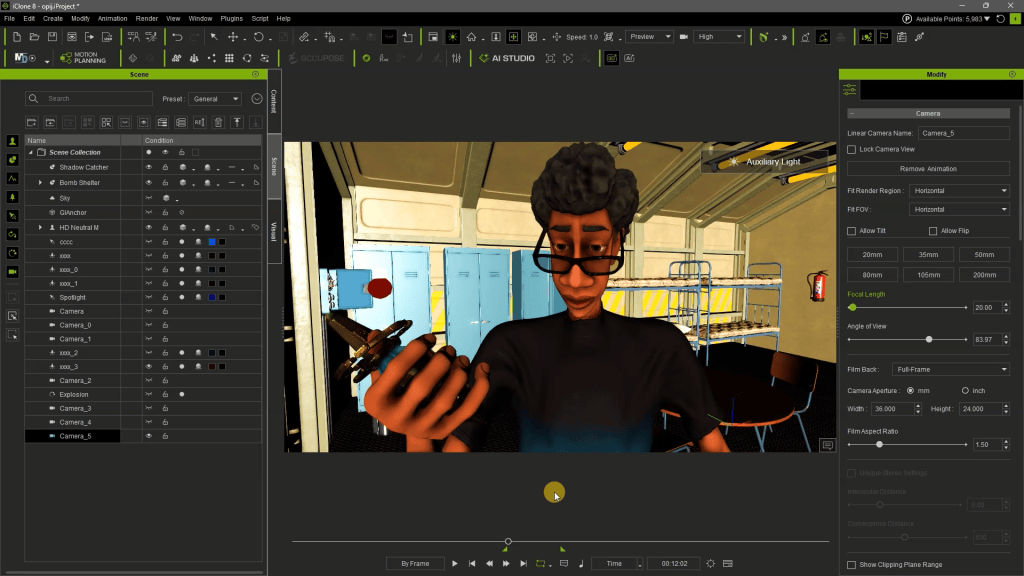
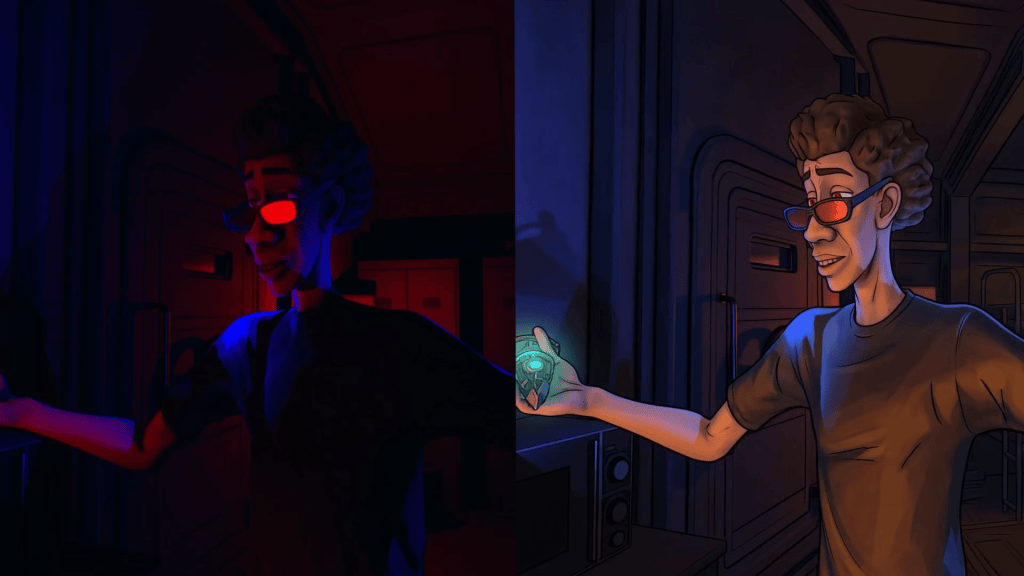
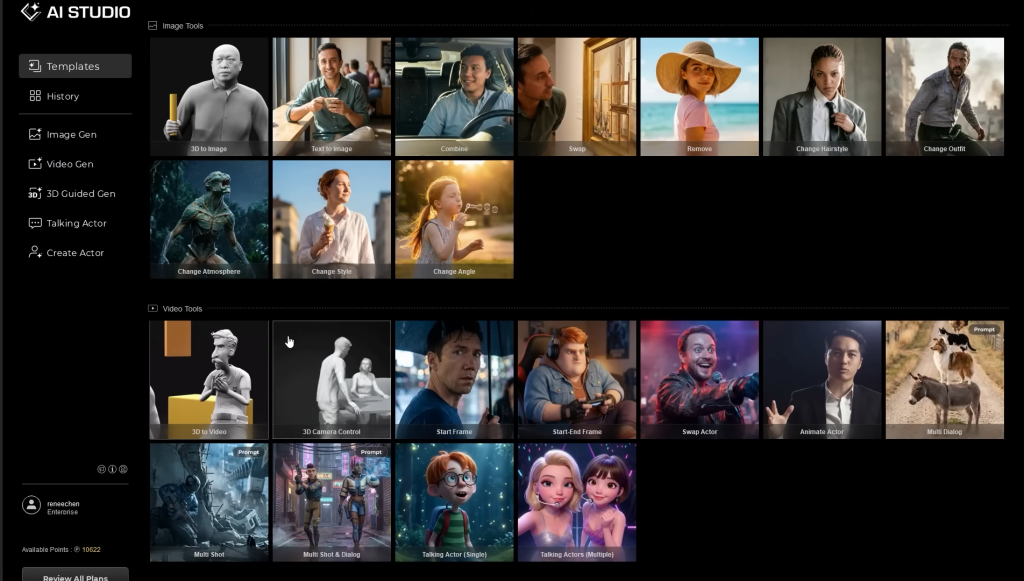
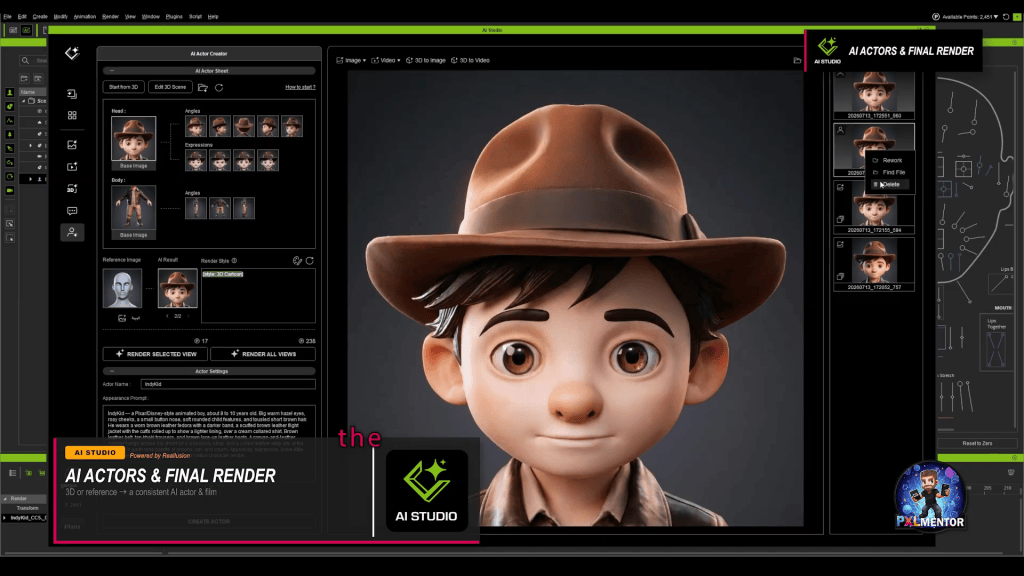
The culmination of this workflow lies in achieving consistent AI-generated visuals, preventing the common “identity drift” seen with purely AI-driven projects. Reallusion’s AI Studio, built directly inside iClone 8, is a revolutionary 3D-to-AI workflow that addresses this head-on. Launched recently, AI Studio transforms your 3D characters into consistent AI Actors.
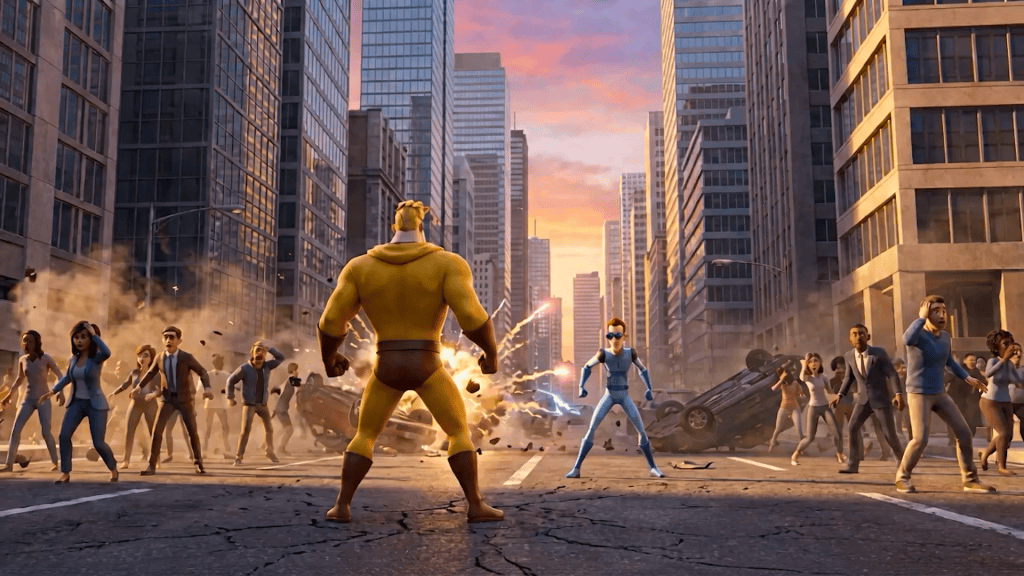
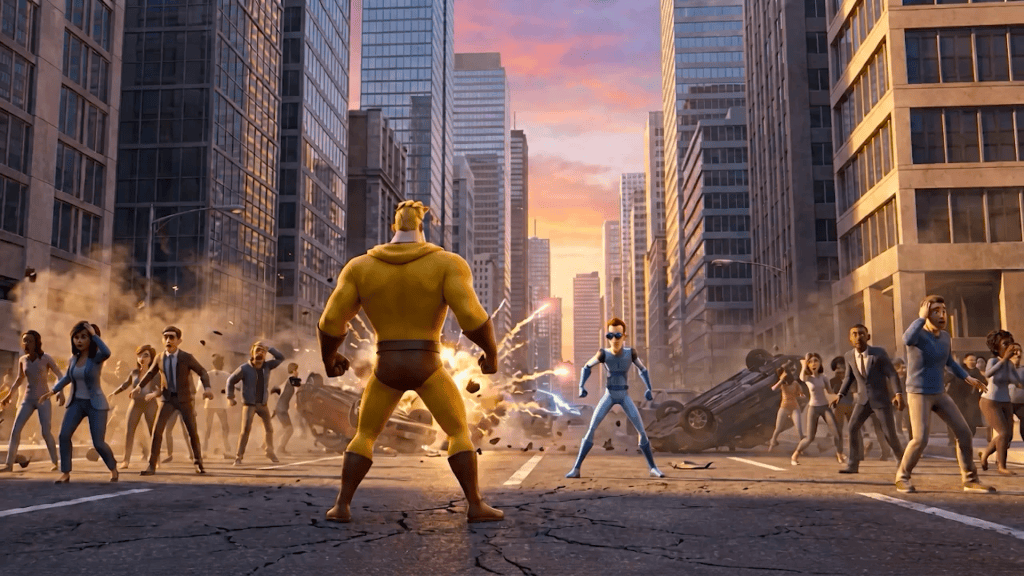
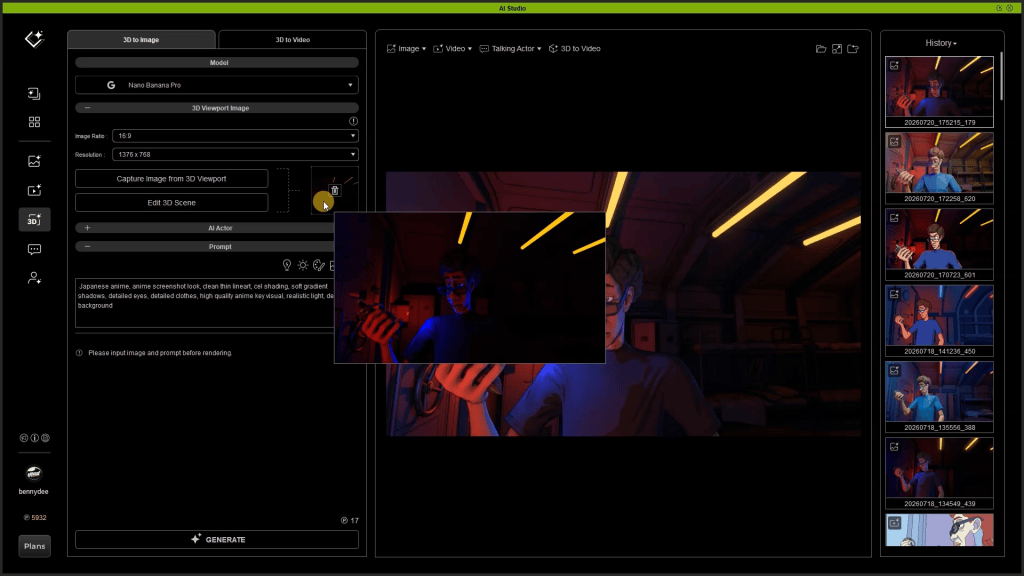
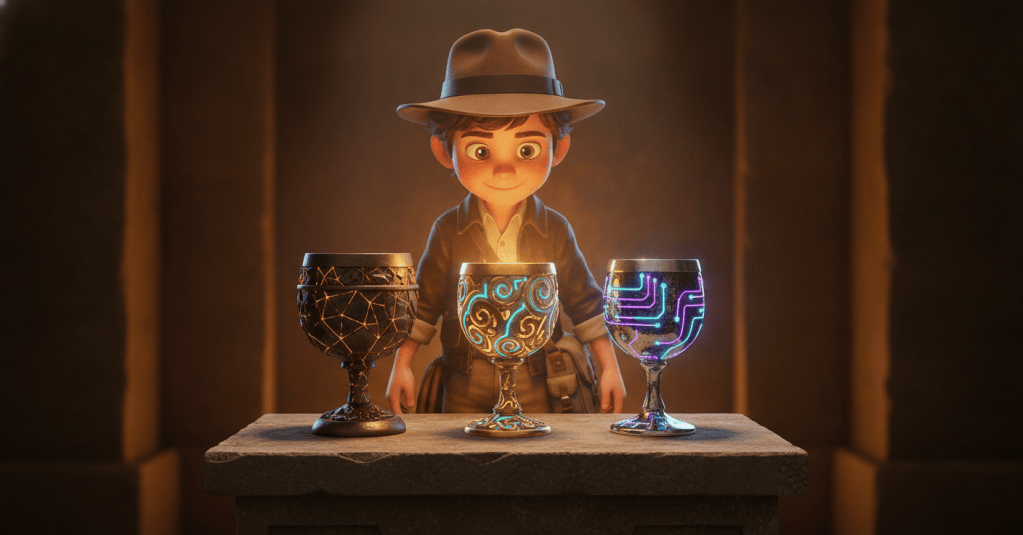
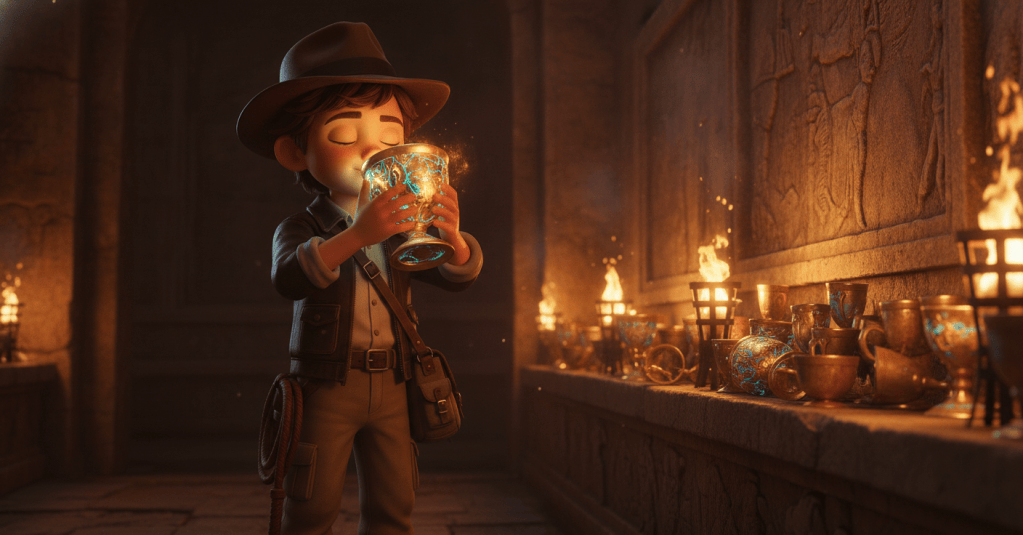
AI Studio operates by training a dedicated AI model based on your Character Creator 5 character. This ensures that across multiple shots and prompts, the AI-generated output maintains the exact likeness and characteristics of your original 3D asset. This is vital for maintaining creative ownership and visual continuity throughout a project.
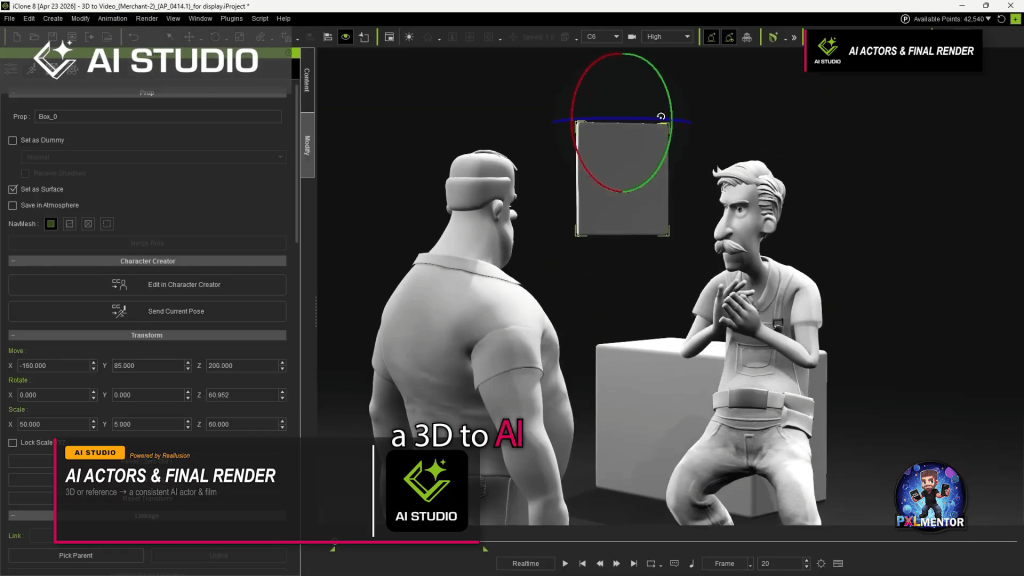
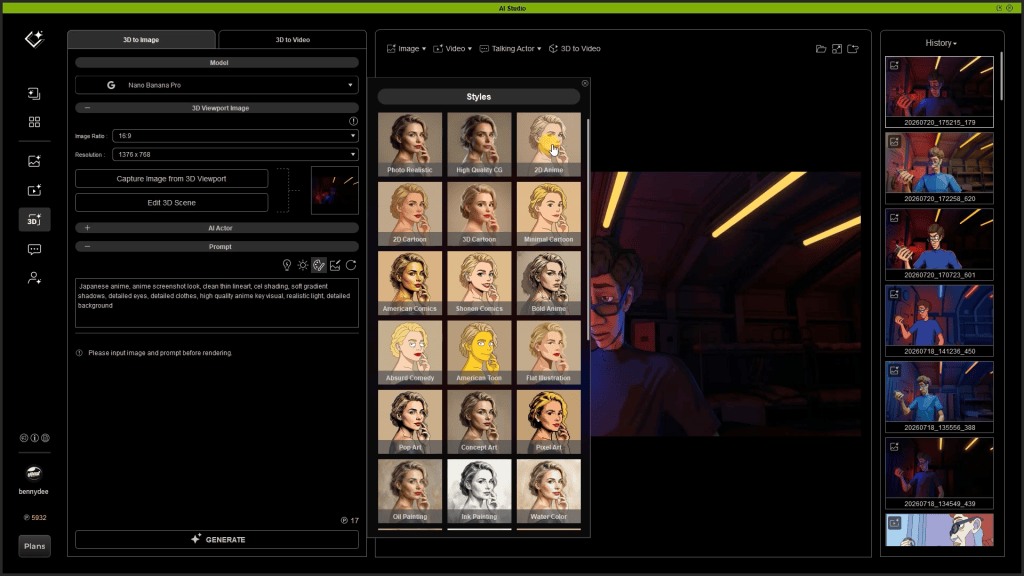
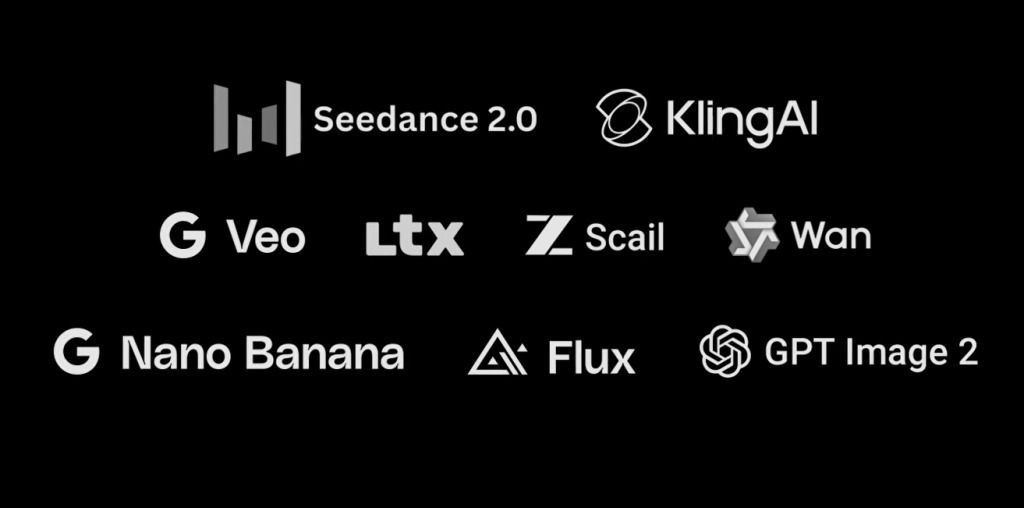
Under the hood, AI Studio integrates leading AI models such as Seedance 2.0, Veo 3, KlingAI, and Flux, giving artists access to cutting-edge generative capabilities. It allows for precise 3D scene layout, camera control, and motion influence, ensuring that your AI generations are guided by your detailed 3D previs. The platform also offers access to over 5,000+ 3D previz assets and 200 production-ready AI Actors, further empowering solo creators.
Featured Artist Spotlight:
Cristian Spagnuolo (PXLmentor)

Cristian Spagnuolo, known as PXLmentor, is a highly respected CG and VFX Supervisor with nearly two decades of experience across commercials, movies, TV series, and animation. His journey has refined both his artistic and technical skills, making him a dedicated beta tester for cutting-edge software and a proponent of innovative, optimized workflows. Cristian’s primary focus is enhancing VFX efficiency and elevating final product quality, making his “Indie Kid and the AI Crusade” project a perfect demonstration of his expertise.
Cristian’s workflow exemplifies how solo artists can achieve AAA-level results. He starts with concept art refined in ComfyUI and Claude Code, then uses Tripo 3D for initial 3D meshes. The core of his character creation relies on Character Creator 5 and Headshot 3 for rapid, production-ready head and body rigging. He then employs ZBrush with ZWrap and ZRemesher for clean topology on garments and props, leveraging GoZ for seamless integration. Texturing is handled in Substance Designer and Substance Painter, and garment fitting with MetaTailor. For animation, he utilizes iClone 8 and AccuFACE for accessible facial performance capture. Finally, AI Studio becomes his engine for consistent AI actor generation and scene control, with Maya (using Maya MCP) for initial scene layout and Adobe Premiere for final editing, including AI-generated sound effects with Claude Code.
- Website: www.blackmamba3d.com
- Mentorship: www.pxlmentor.com
- YouTube: https://www.youtube.com/@pxlmentor
- LinkedIn: https://www.linkedin.com/company/pxlmentor
- Instagram: https://www.instagram.com/pxlmentor
- TikTok: https://www.tiktok.com/@pxlmentor

The Pre-Production Advantage: A Pro Tip for Solo Artists
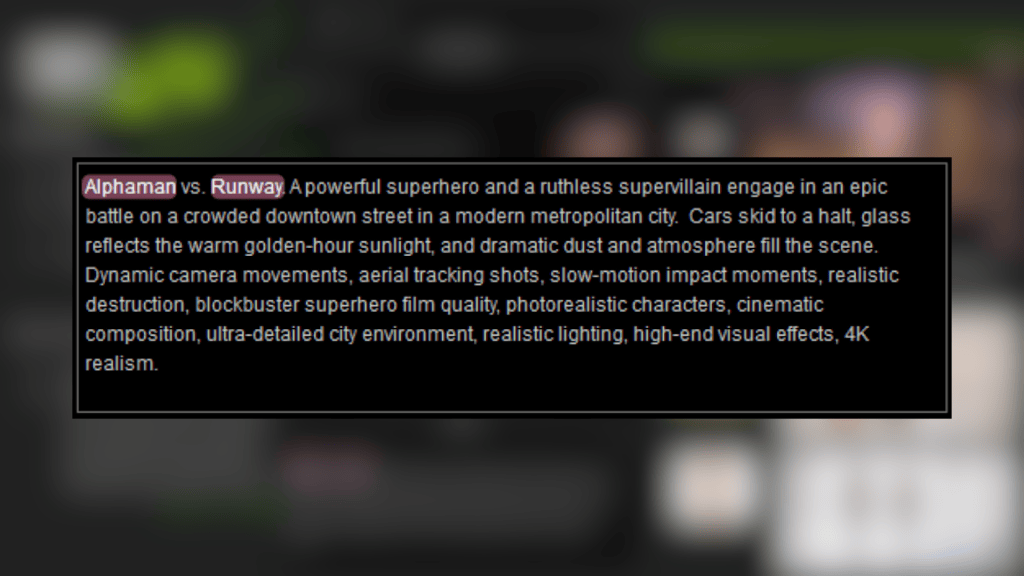
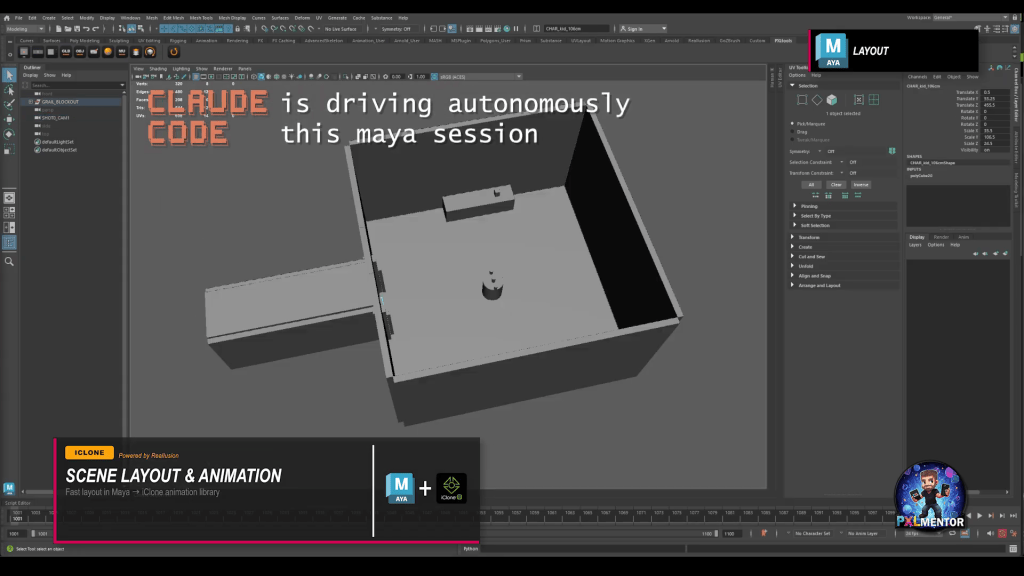
Pro Tip: According to Cristian Spagnuolo, robust pre-production is the “real secret” to a smooth AI workflow. By utilizing tools like Claude Code to develop the story, write every prompt, and craft action descriptions upfront, and then using the Maya MCP to lay out basic 3D scenes and cameras, you establish a solid foundation before entering AI Studio. This methodical preparation can make your AI generation process roughly 50% faster, saving days of iterative prompt engineering and scene adjustments.
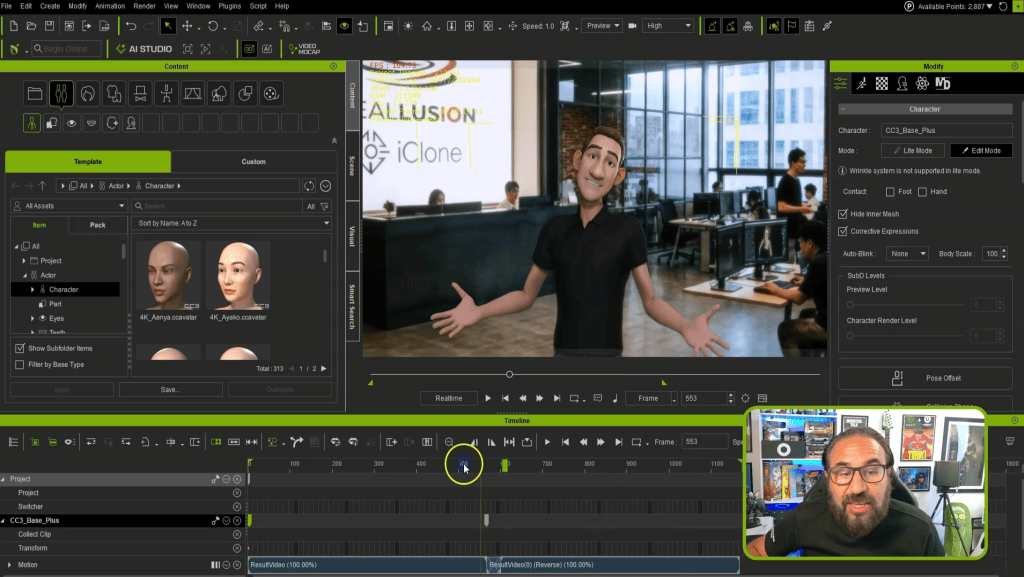
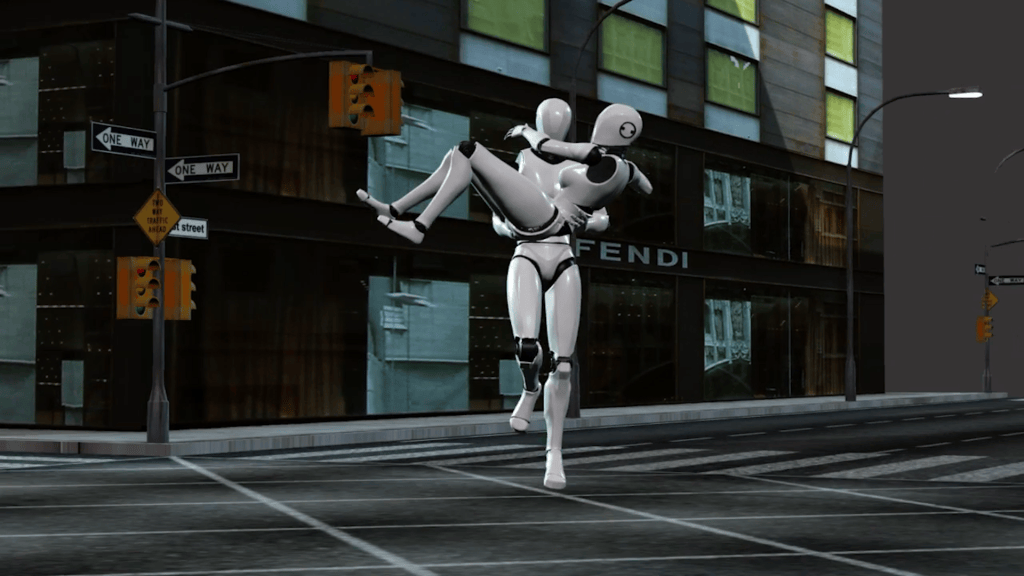
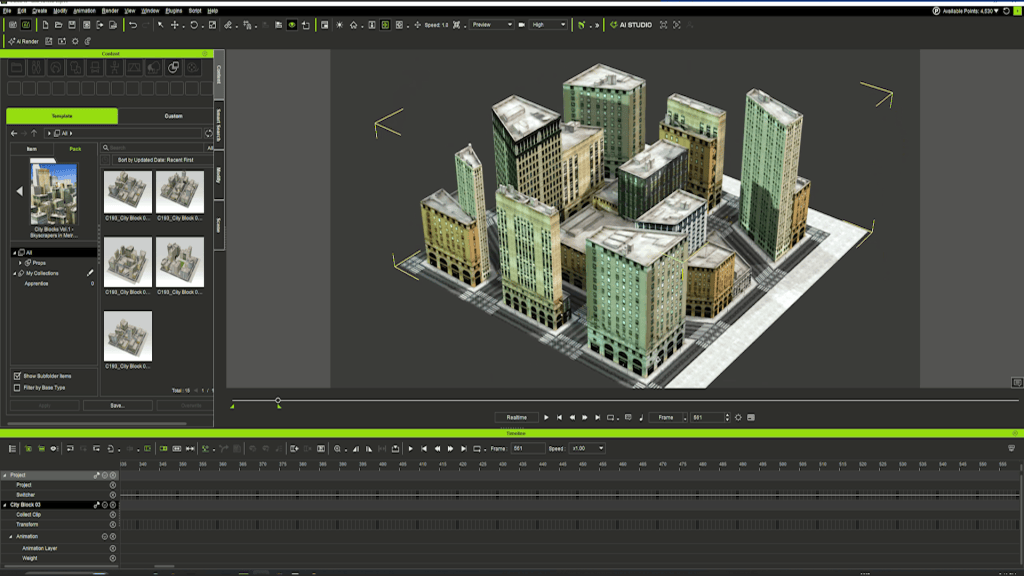
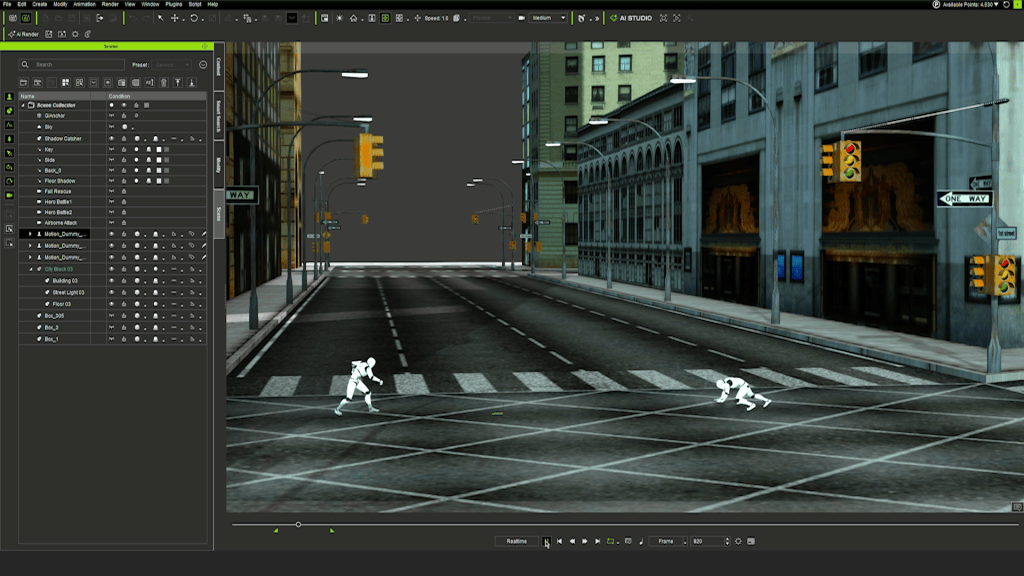
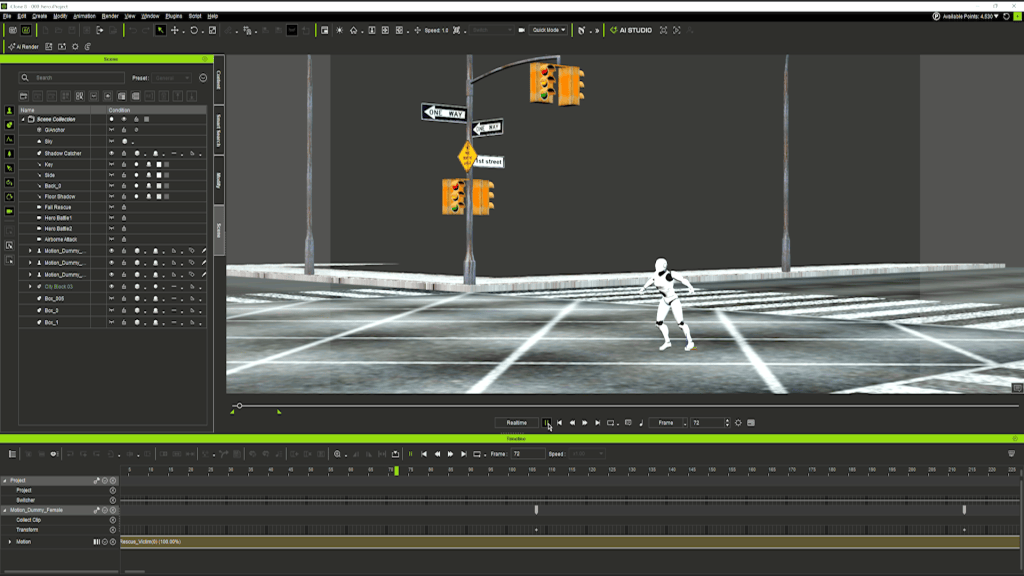
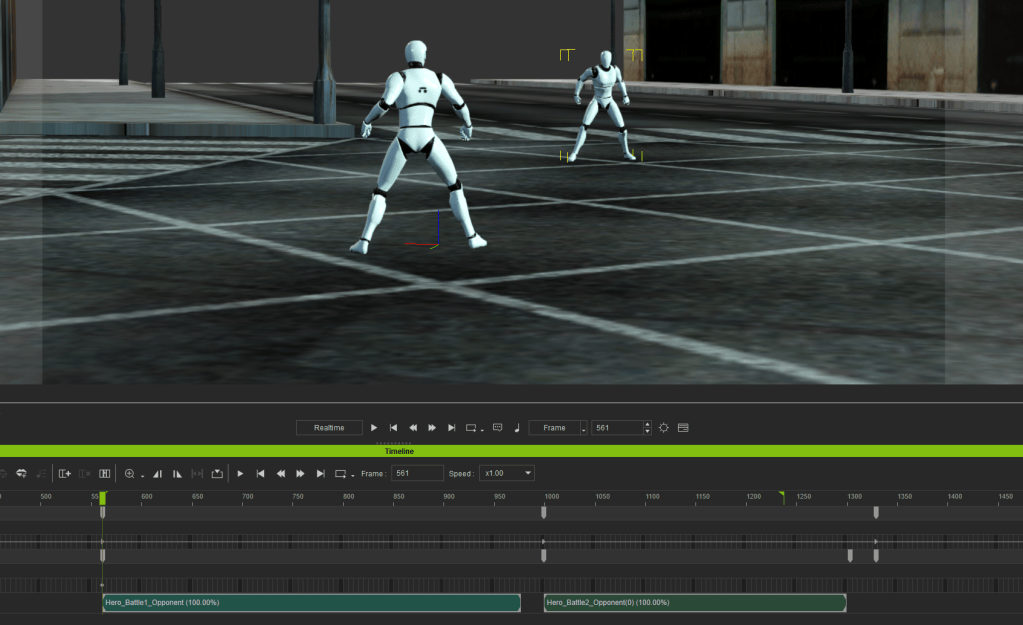
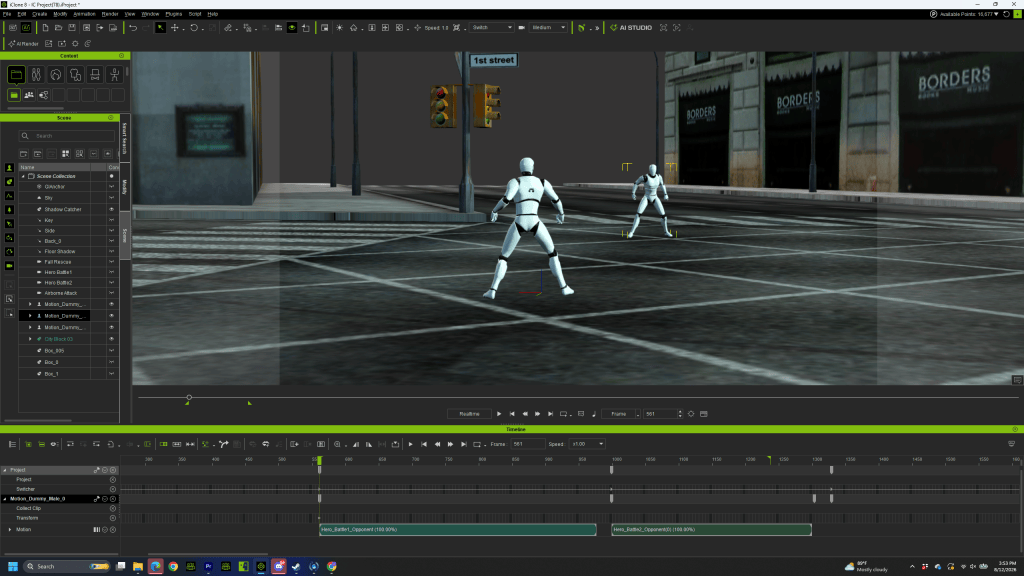
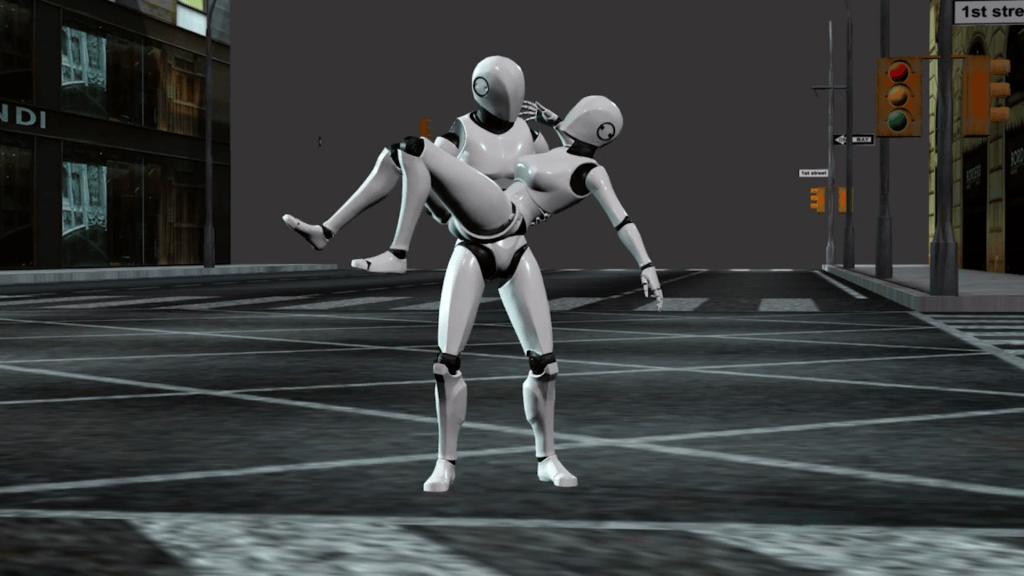
For scene layout and camera work, initial plans can be developed in Maya using the Maya MCP (Maya Camera Planning) to define basic 3D scenes and camera movements. This layout is then brought into iClone 8, where its extensive animation library can be leveraged, combined with custom touches and driven by the prepared cameras. This approach ensures real animation and camera work is quickly established, serving as a powerful guide for subsequent AI generations.

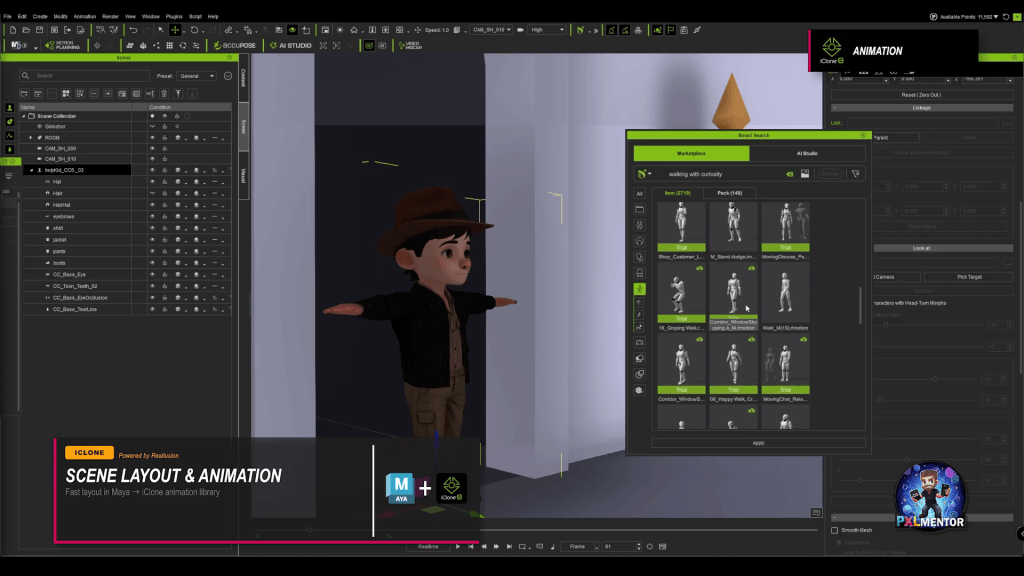
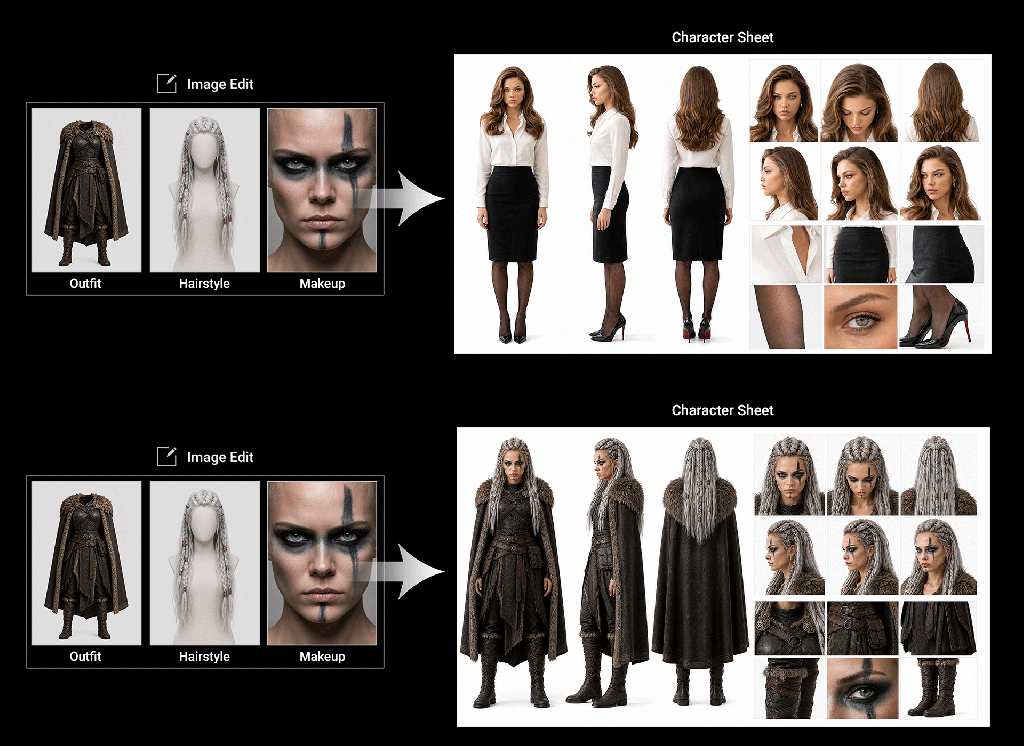
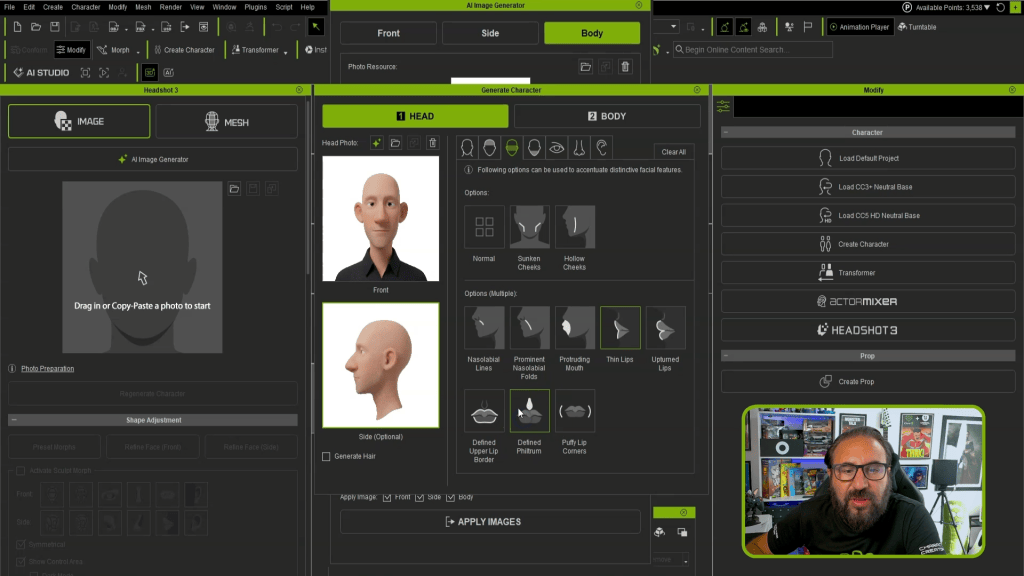
AI Studio offers two primary methods for creating AI actors: directly from your iClone 3D character (using a simple button press to create a character sheet) or from reference images. The ability to generate AI actors from your custom 3D models guarantees that your unique character design is consistently represented across all AI outputs, avoiding “identity drift.” This integrated approach ensures that even purely prompted shots within AI Studio benefit from the underlying 3D structure and character consistency.
“AI did not replace the creative job here… It is a multiplier. It takes your craft, your fundamentals, and amplifies them.”
CRISTIAN SPAGNUOLO — Experienced VFX/CG Supervisor | Content Creator
Conclusion:
Amplify Your Creative Vision with Reallusion and AI
By strategically combining Character Creator 5, Headshot 3, iClone 8, and AI Studio, solo artists can overcome the traditional hurdles of consistency and technical overhead in generative AI projects. This integrated workflow empowers creators to maintain ownership of their intellectual property, transform rough concepts into polished 3D assets, and generate consistent AI-driven content with unprecedented efficiency. It’s a pipeline that amplifies your existing creative skills, putting high-end production capabilities within reach of independent developers and freelance artists alike.
Claim your exclusive offer for AI Studio and iClone today

Frequently Asked Questions
Q: How do I ensure my AI-generated characters look consistent across different shots?
A: Consistency is achieved by building a high-quality 3D character in Character Creator 5, using plugins like Headshot 3 for realistic heads, and then transforming that 3D character into an “AI Actor” within iClone 8’s AI Studio. This process trains AI Studio on your specific 3D model, allowing subsequent AI generations to maintain the character’s exact likeness and details across various scenes and prompts, preventing visual identity drift.
Q: What is the difference between Headshot 3 and AI Studio?
A: Headshot 3 is a Character Creator 5 plugin that focuses on generating fully rigged 3D heads from images, often taking a rough 3D scan or AI-generated model and rebuilding it with clean production topology. AI Studio, integrated into iClone 8, is a broader 3D-to-AI platform that takes your fully rigged 3D characters (often created with CC5 and Headshot 3) and converts them into “AI Actors” to generate consistent AI images and videos while maintaining 3D control.
Q: Can I use my existing 3D models with Reallusion’s AI tools?
A: Yes, Reallusion’s ecosystem is designed for flexibility. While Character Creator 5 provides a powerful base, you can import and refine existing 3D models. Tools like ZWrap and GoZ facilitate transferring detailed meshes and topology. Your refined 3D models can then be brought into iClone 8 and AI Studio to serve as the consistent “source of truth” for generating new AI-driven images and videos, ensuring visual continuity.
Q: Why is pre-production so important when combining 3D and AI?
A: Pre-production is crucial because it establishes a solid foundation for your entire project, minimizing costly rework downstream. As highlighted by Cristian Spagnuolo, thoroughly planning your story, prompts, and camera layouts using tools like Claude Code and Maya MCP before engaging AI Studio significantly streamlines the creative process. This upfront effort ensures your AI generations are guided by clear intent, accelerating iteration and improving final output quality.
Read Next:
- Learn more about Character Creator 5 pipeline integrations
- Discover advanced real-time animation techniques in iClone 8