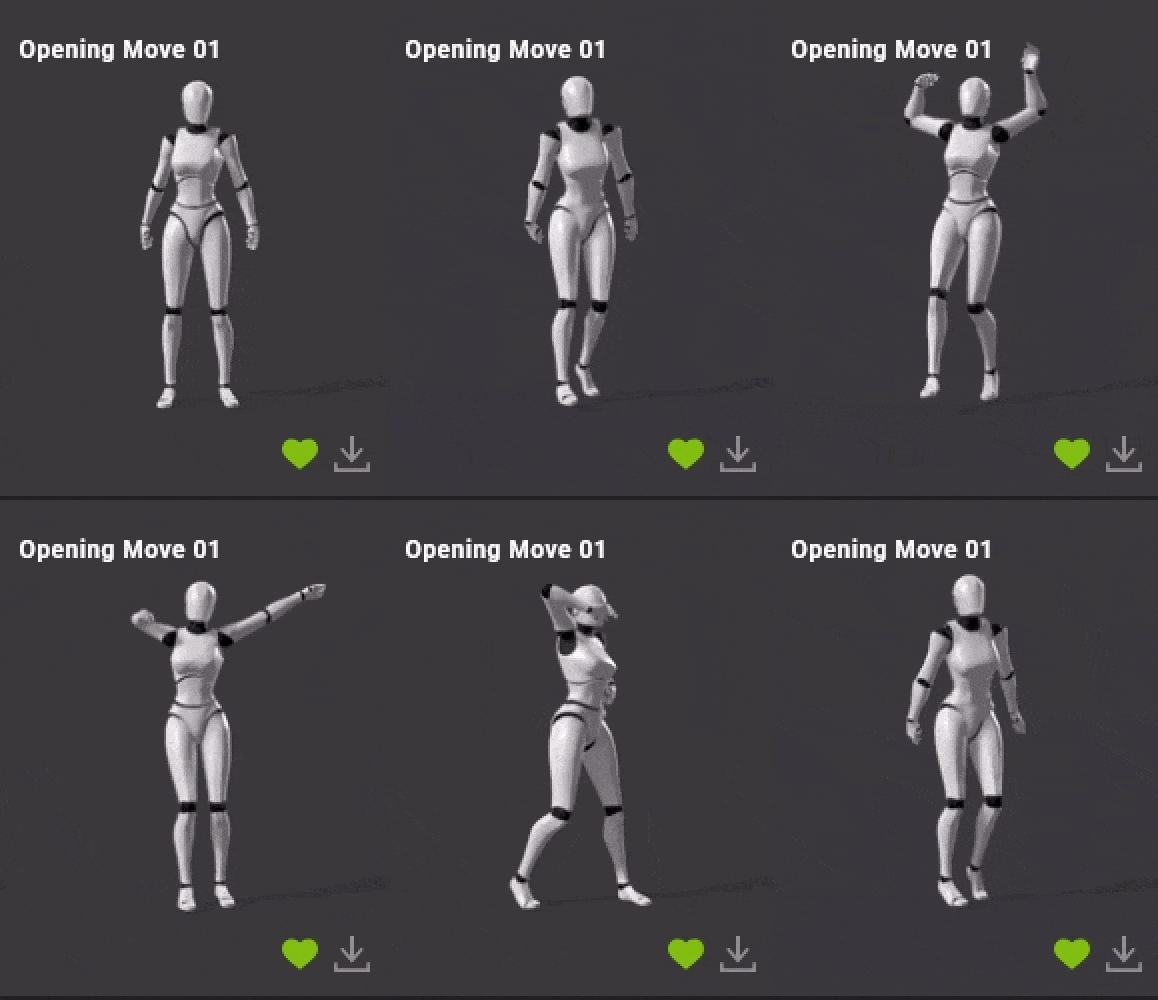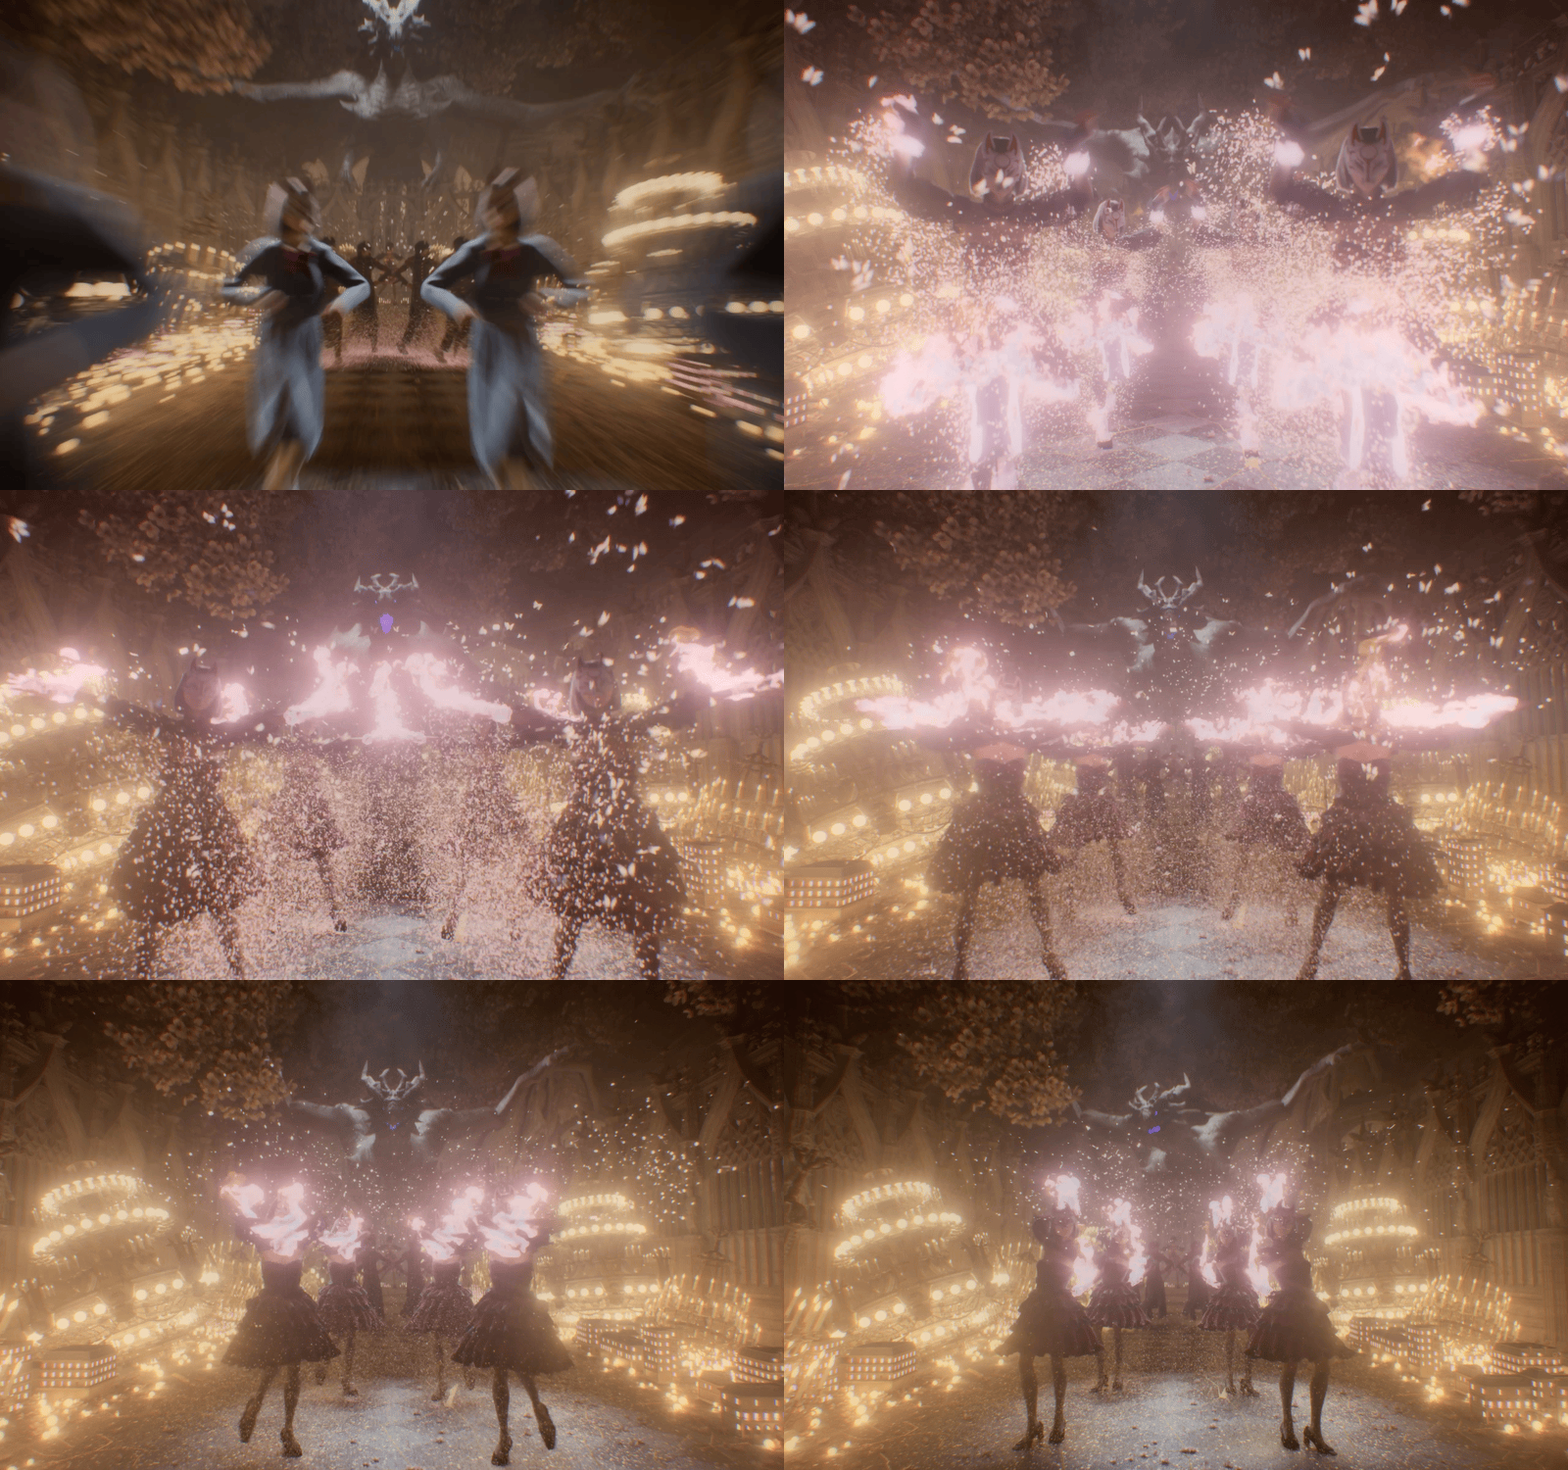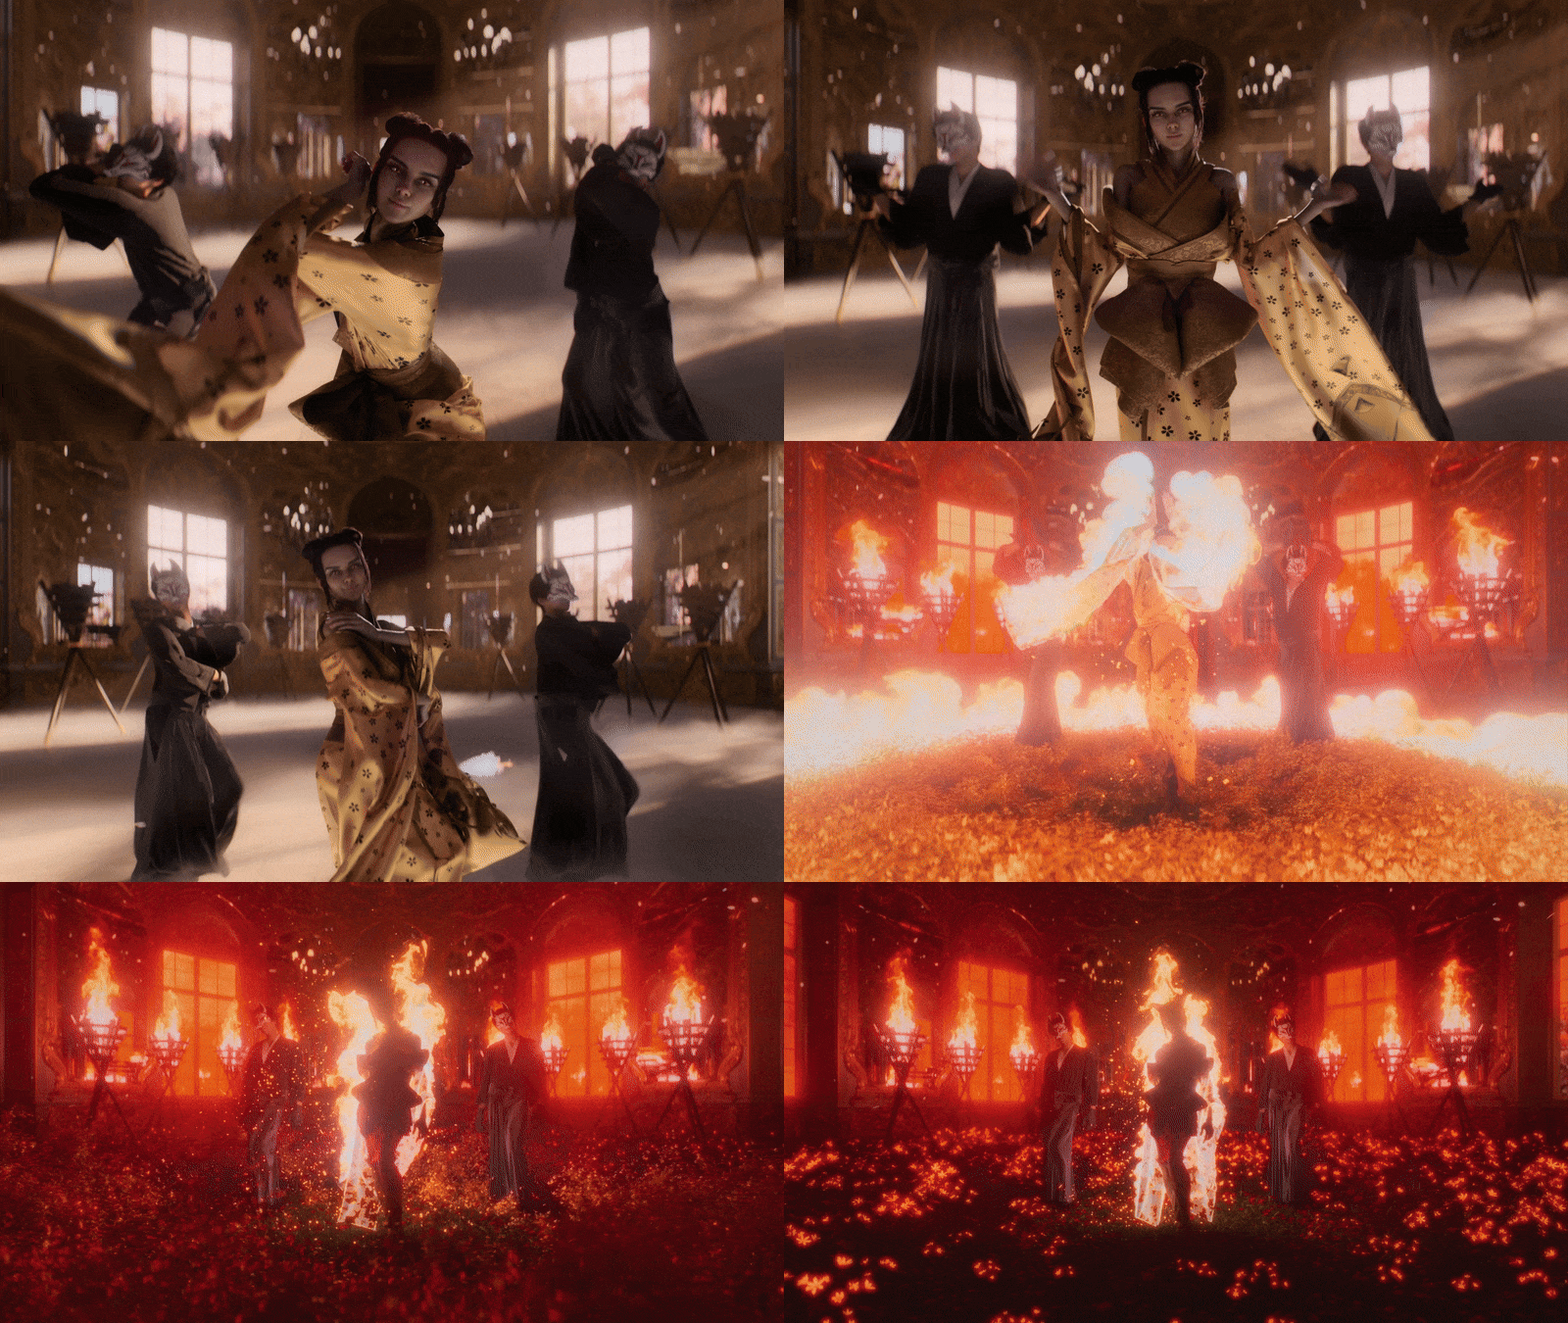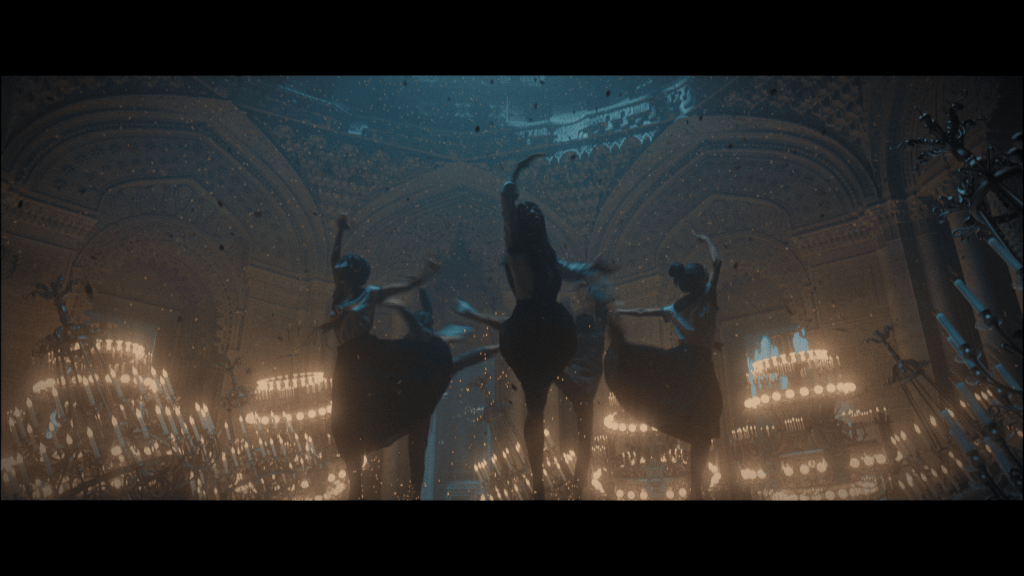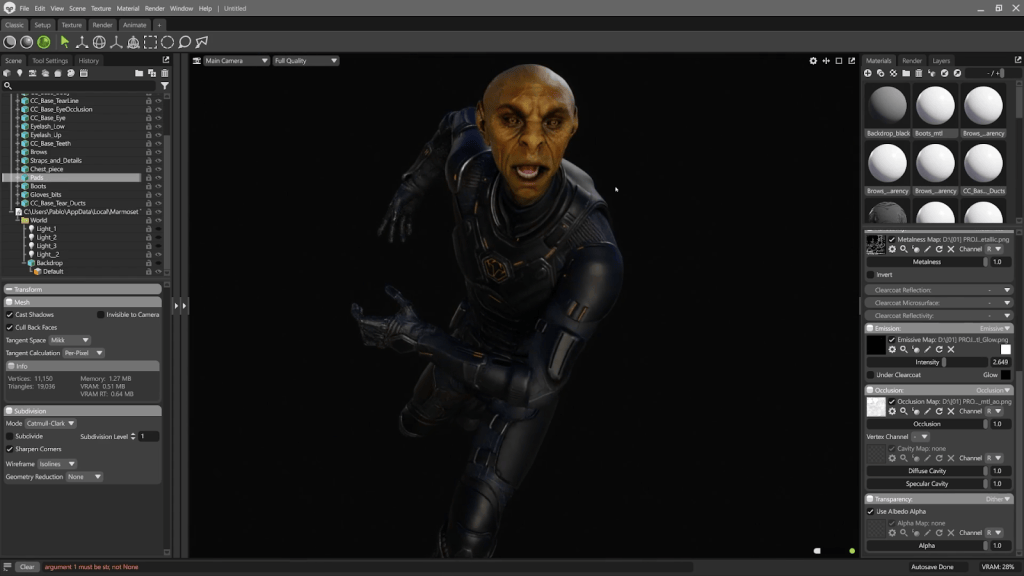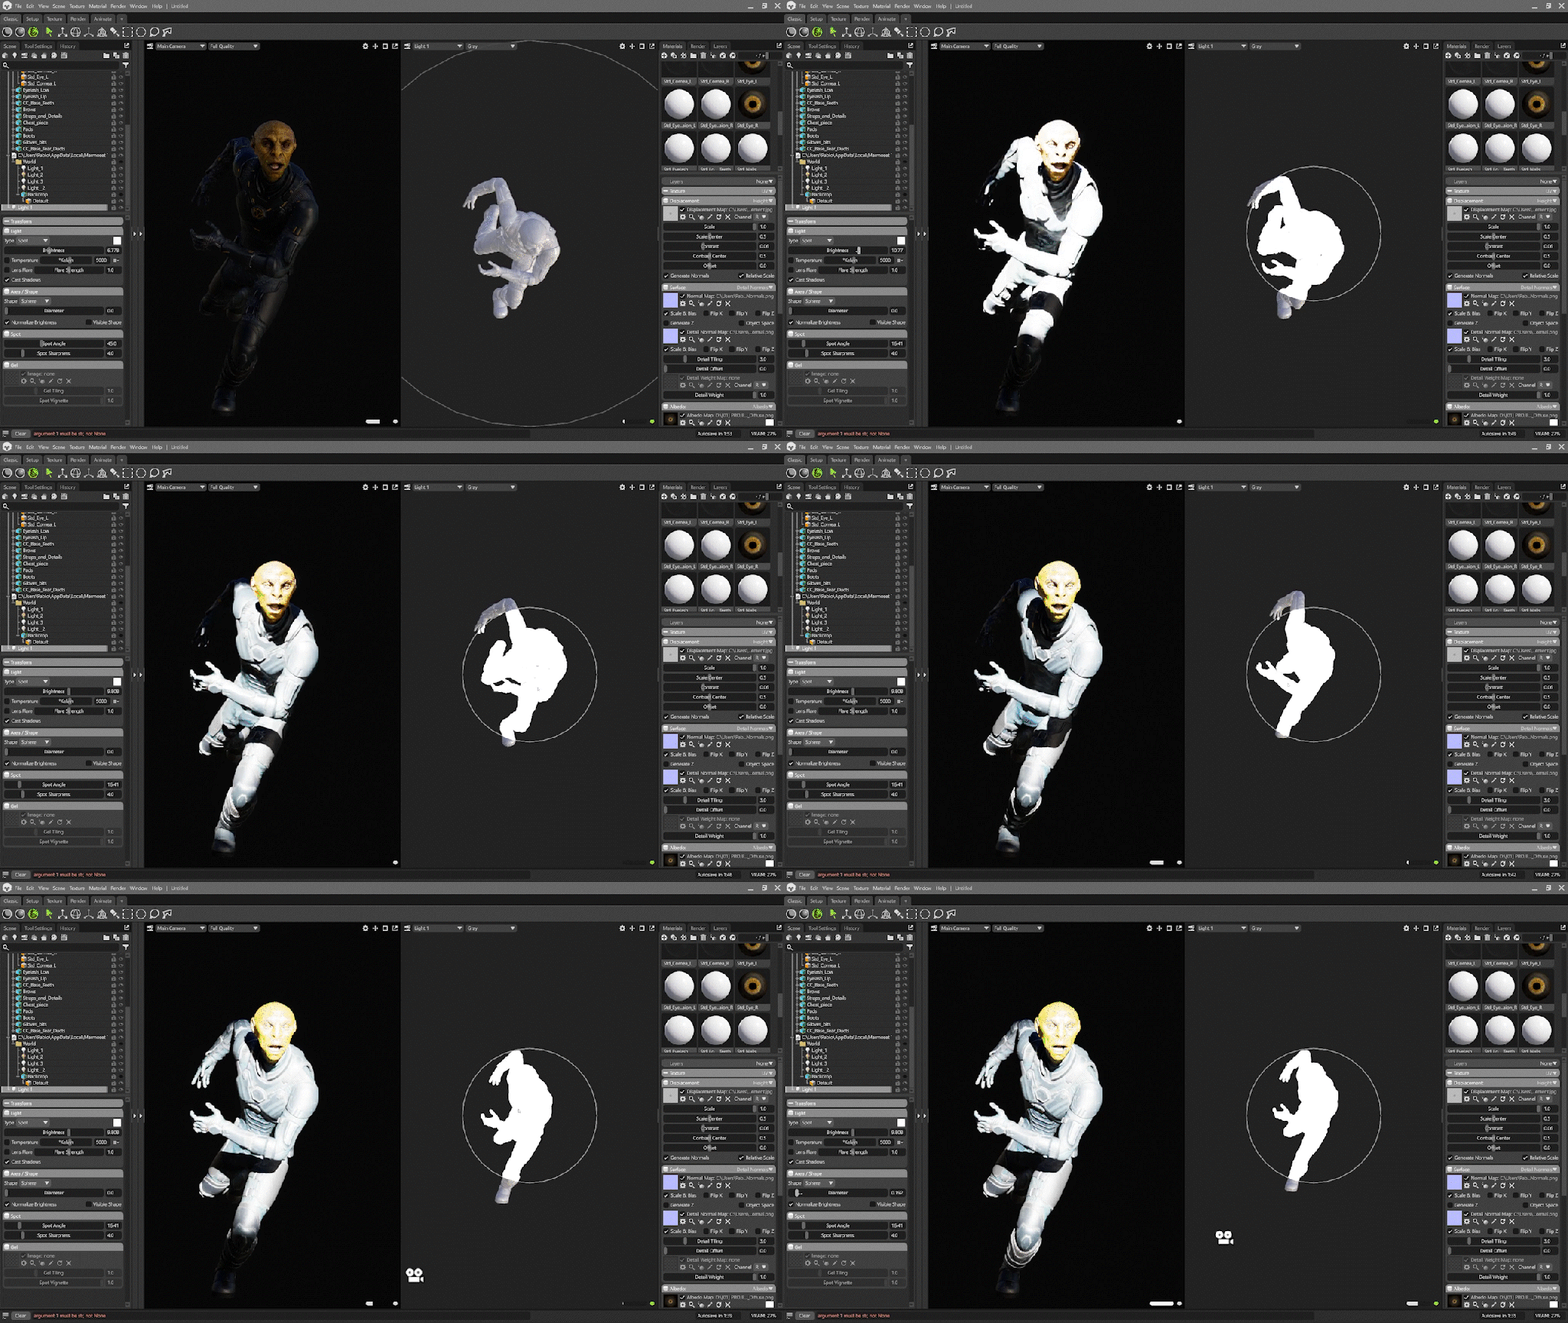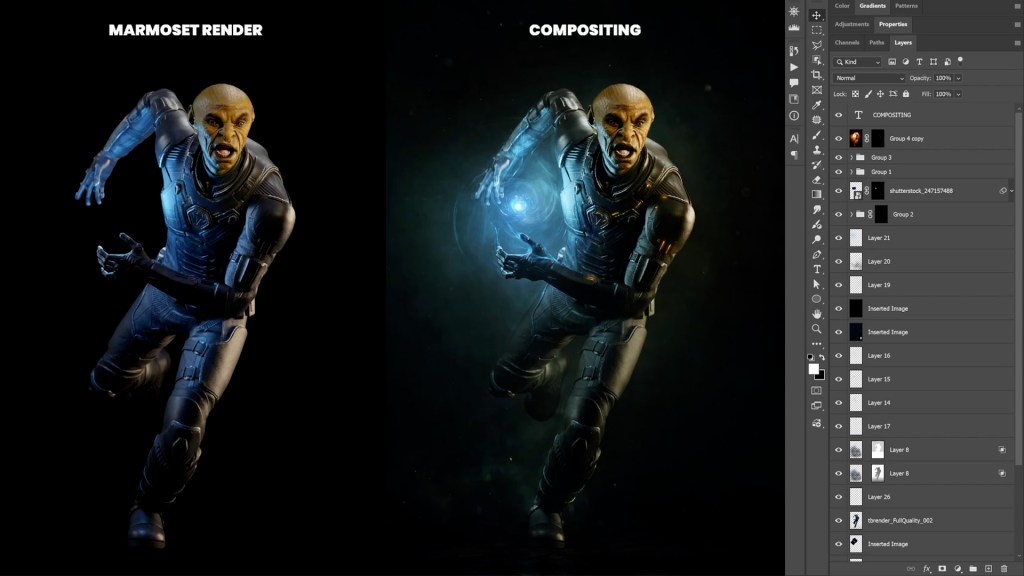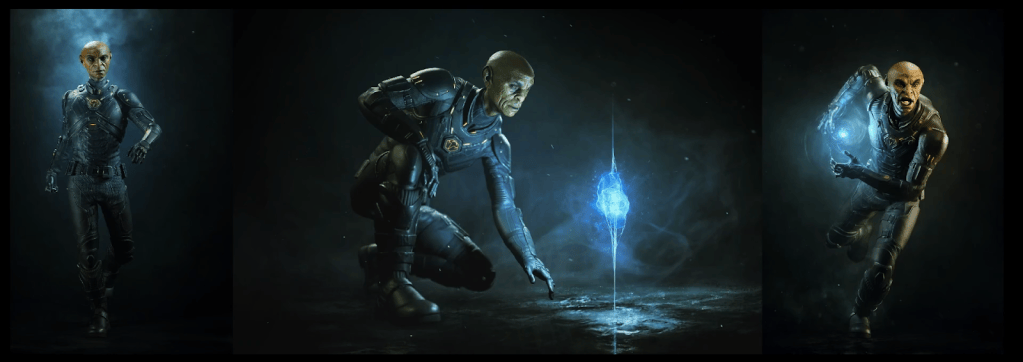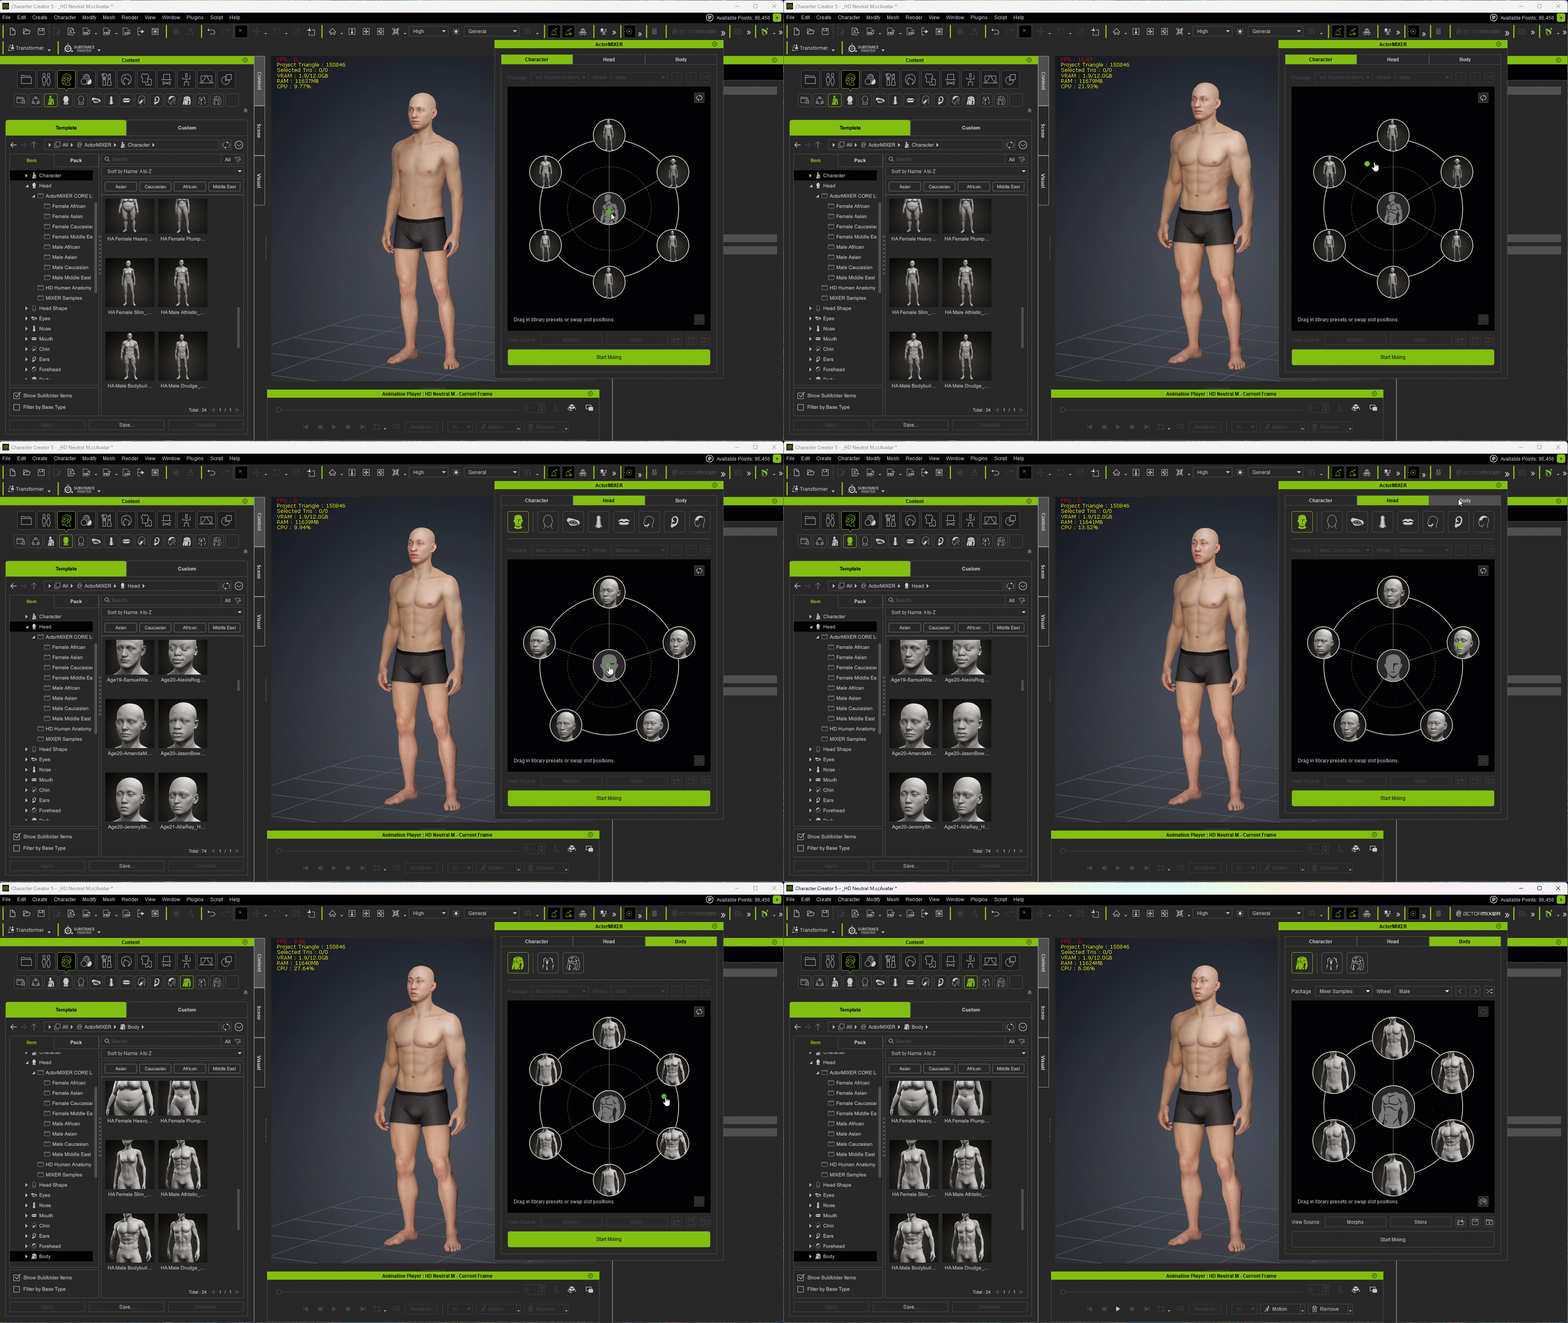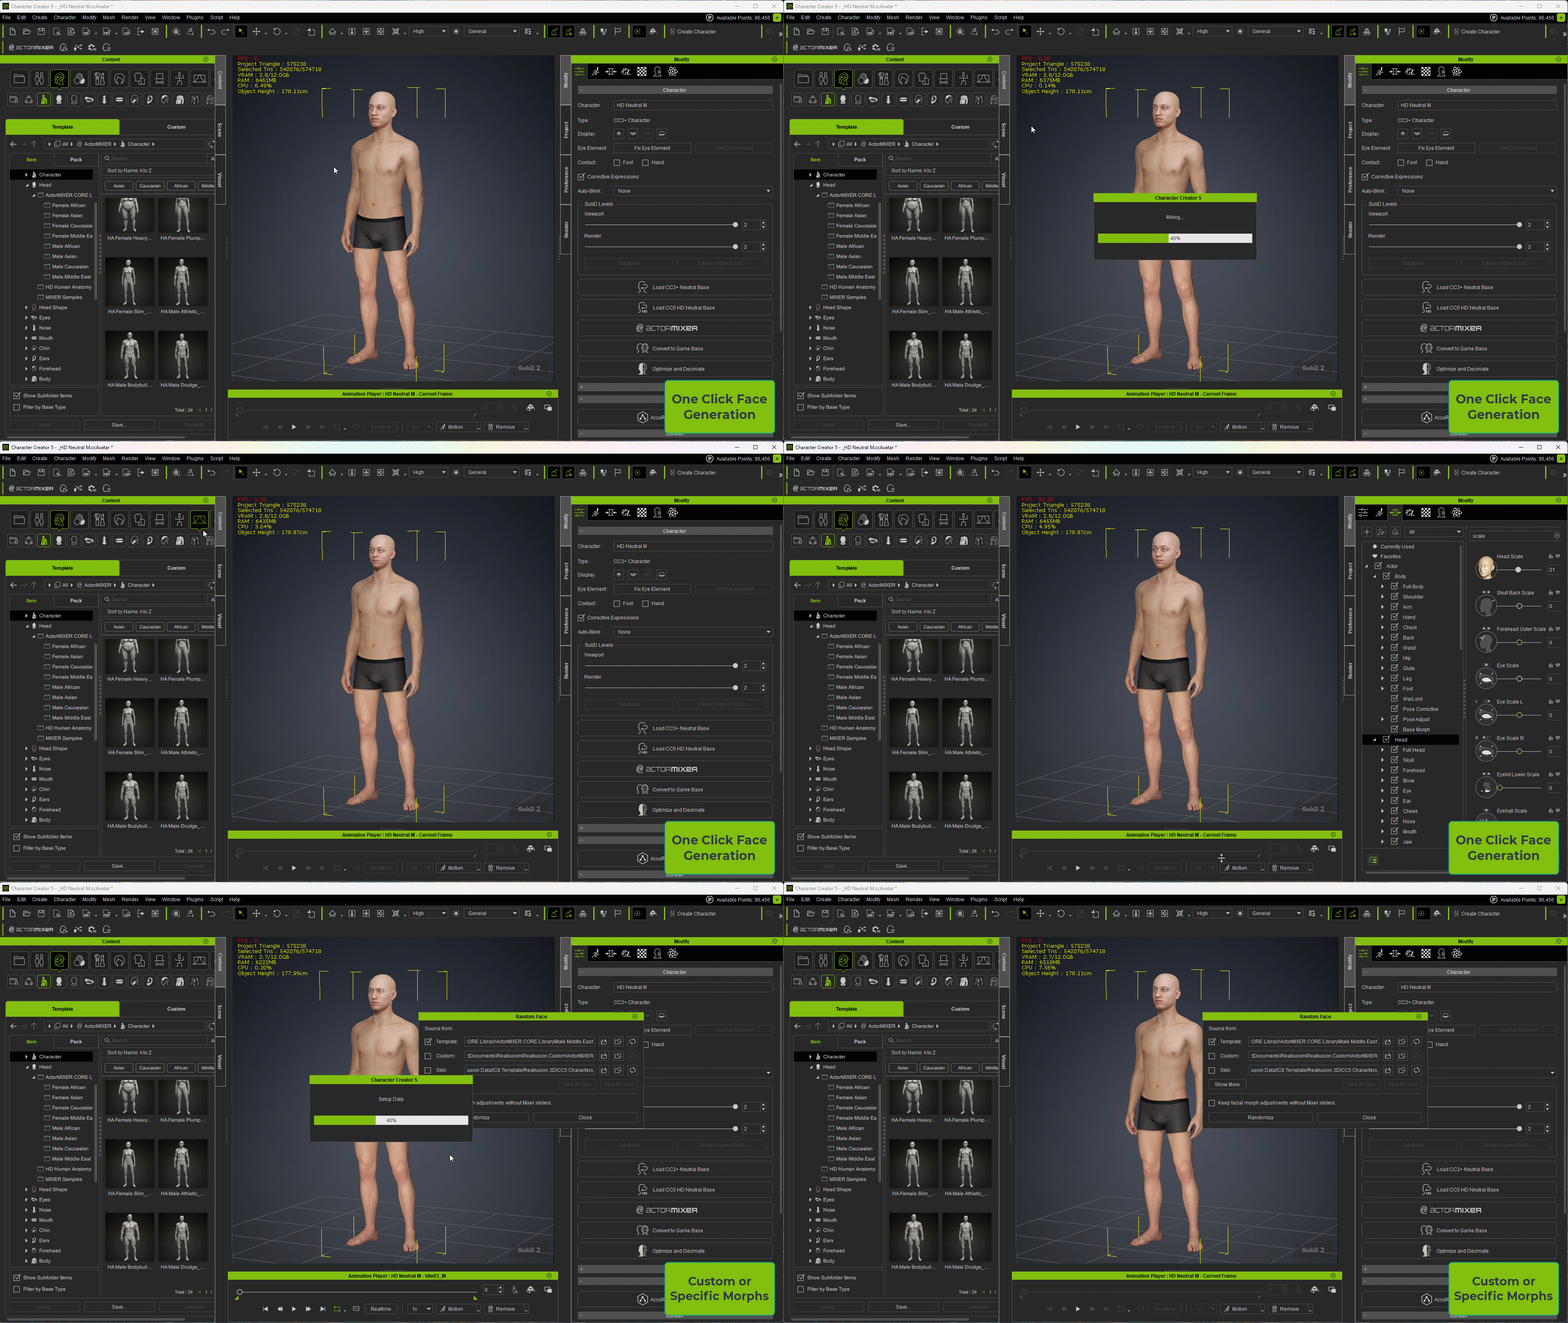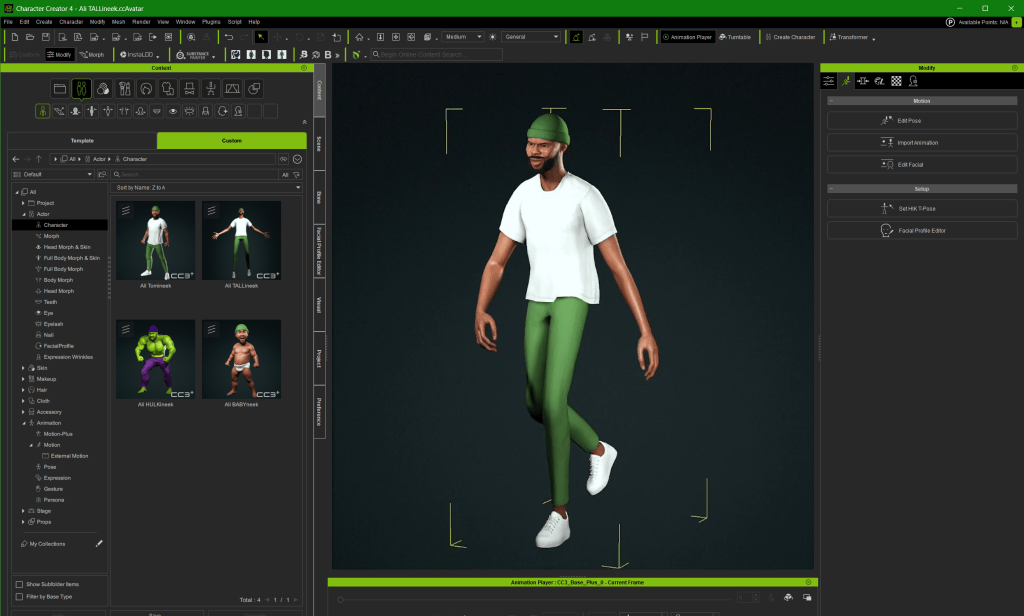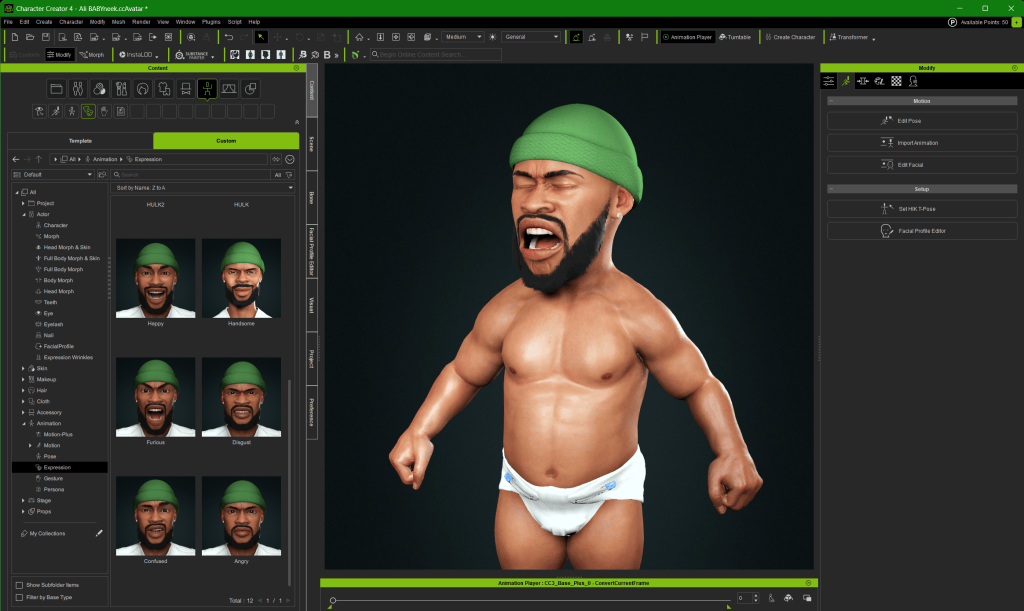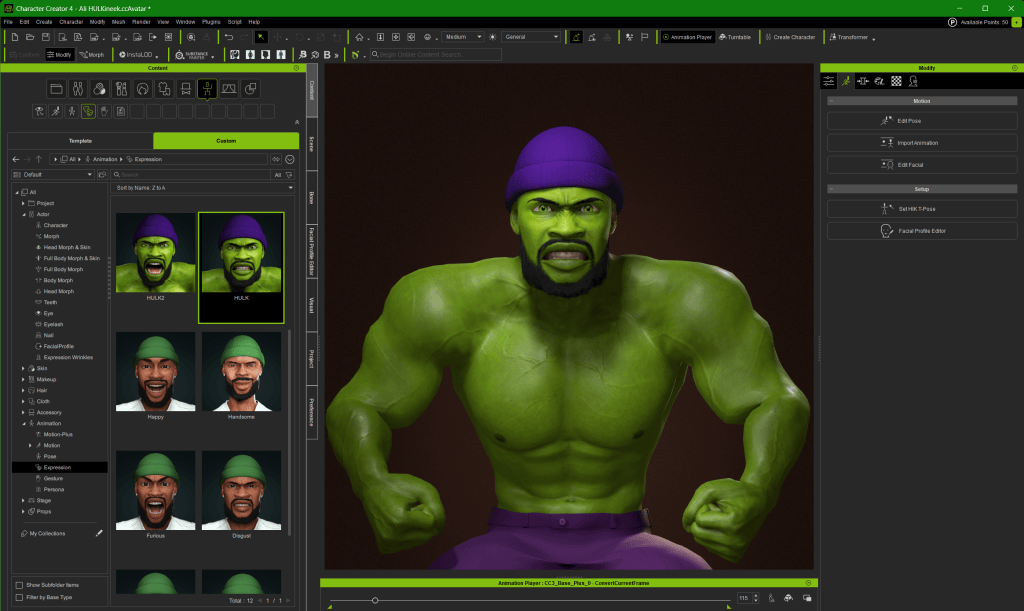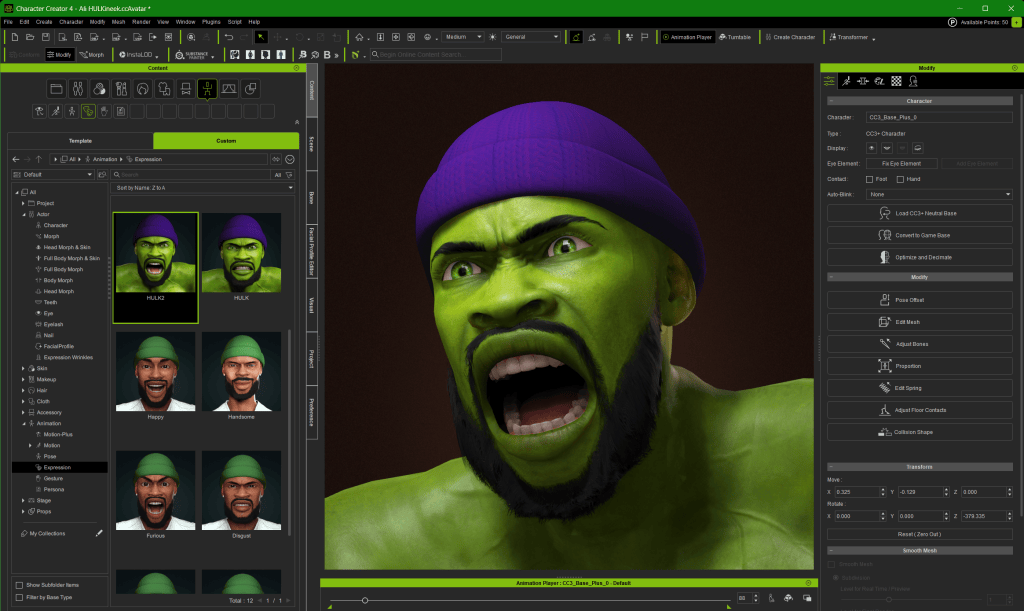
For most of his career, Mike Wuetherick worked inside large studios, surrounded by character artists, riggers, animators, and graphics engineers. He shipped games, led Unity’s film team, collaborated with Disney and Netflix, and even won an Emmy for CG production work.
Today, he is building an ambitious cyberpunk indie game largely on Unity by himself.
The difference between those two worlds is not just team size. It is the tools.
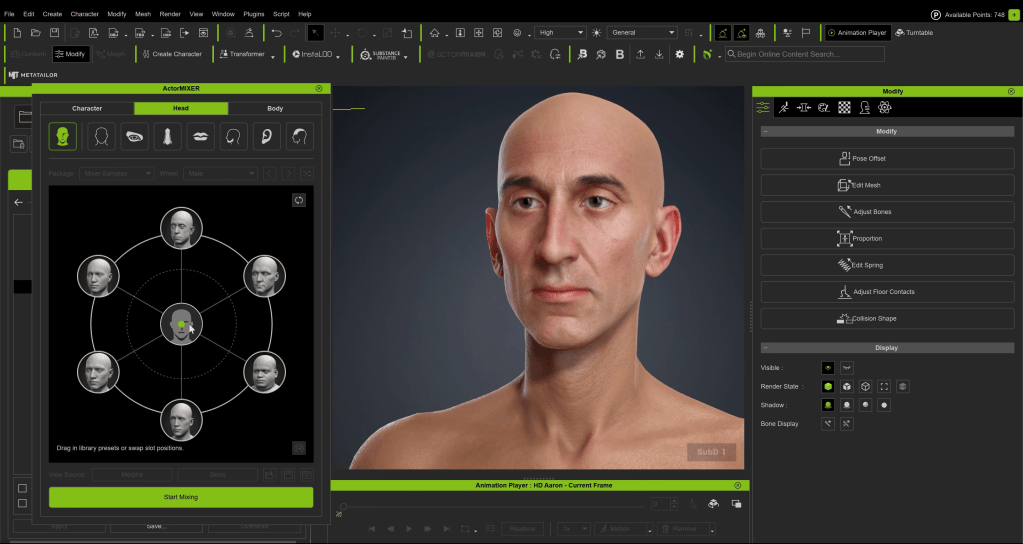
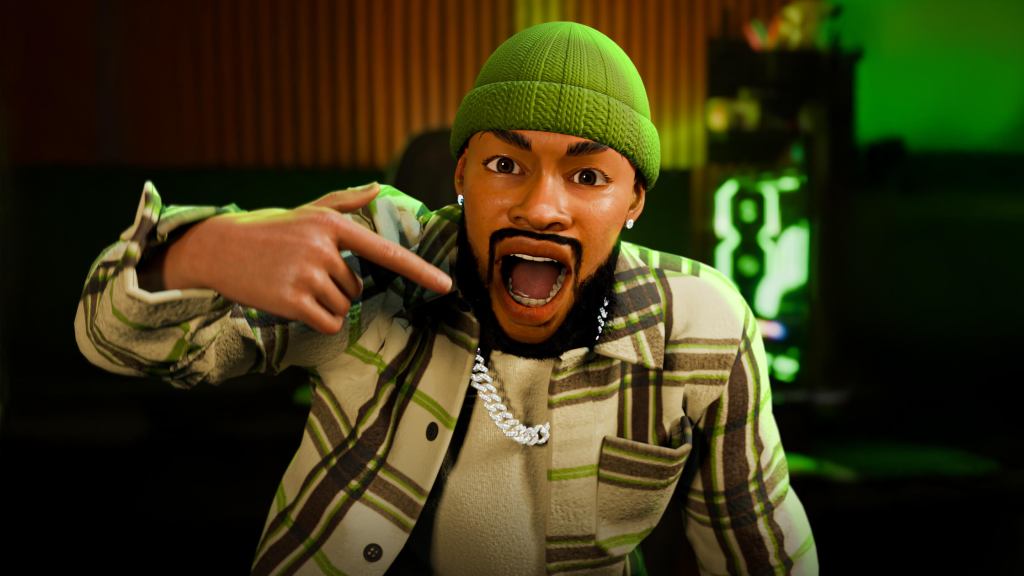
For Mike, Character Creator and iClone have become the foundation that makes solo, production-quality game development possible.
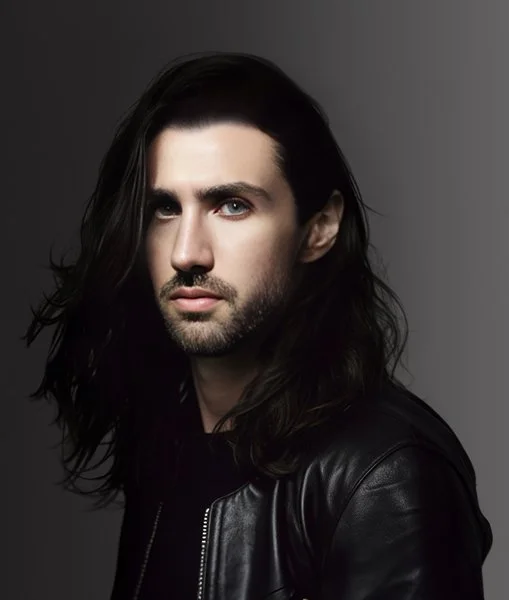
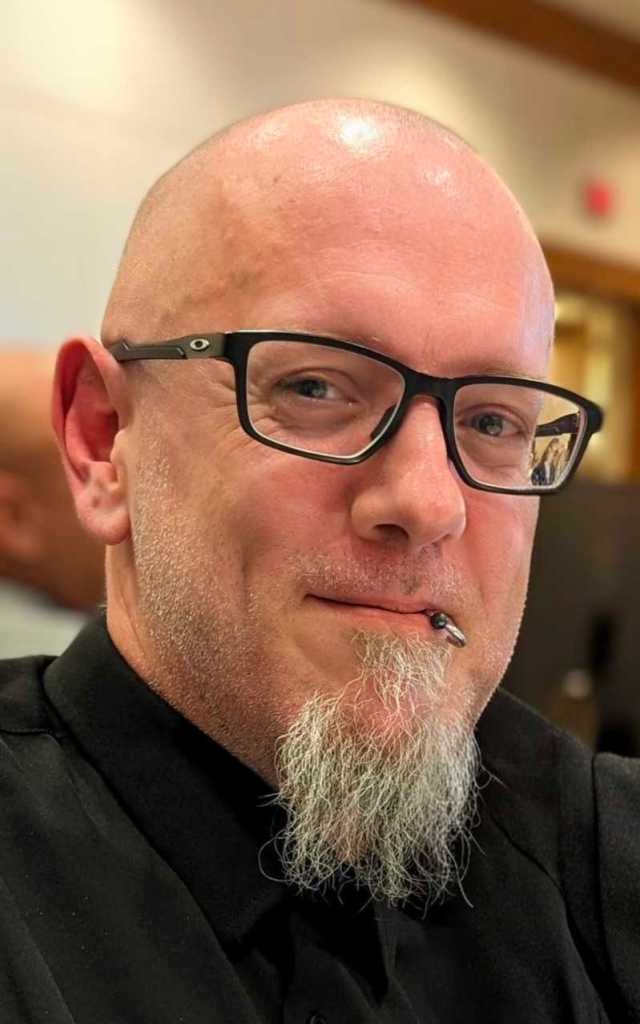
Mike Wuetherick
Mike Wuetherick has spent more than 25 years working across games, film, and real-time production.
He shipped multiple commercial titles early in his career, including Pac-Man games and a Katamari project at Namco. From 2016 to 2023, he worked at Unity, starting in product management before moving on to lead the company’s film and virtual production initiatives.
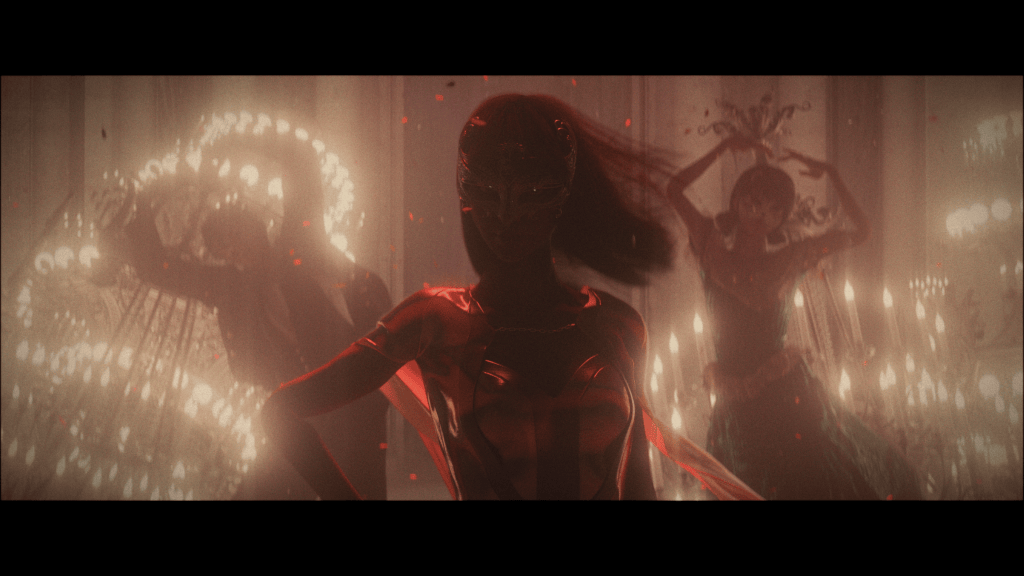
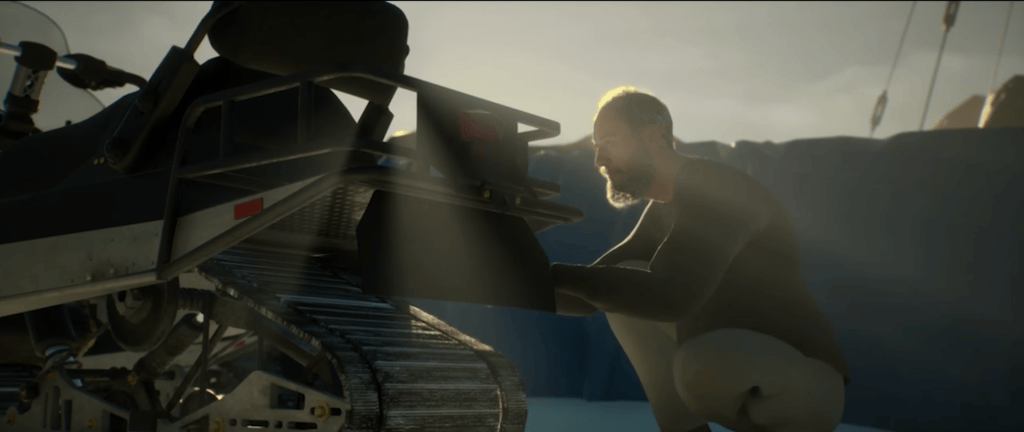
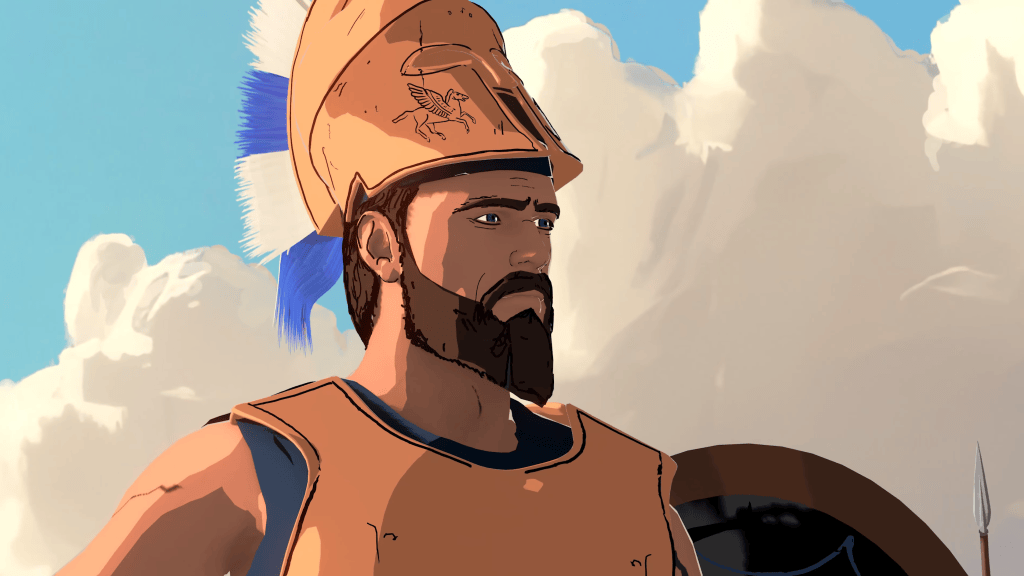
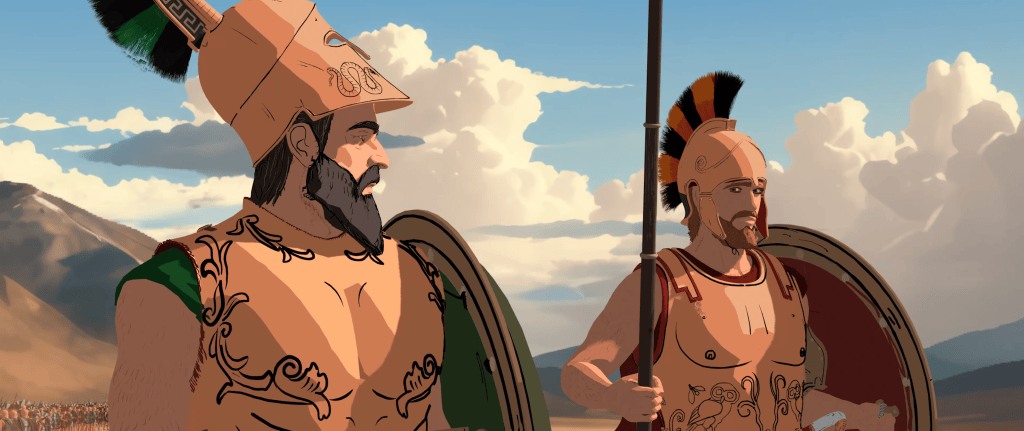
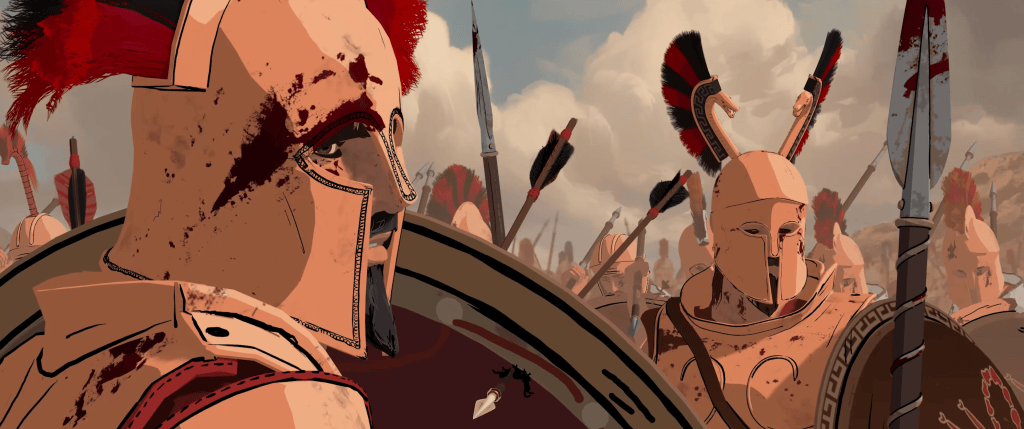
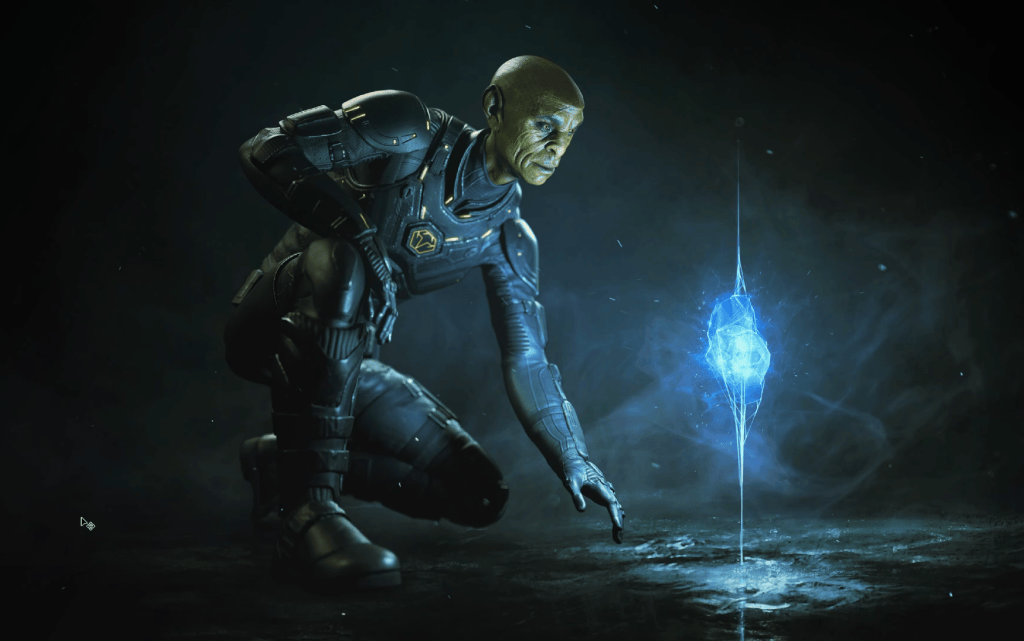
During his time at Unity, Mike collaborated closely with Oats Studios, contributing to the production of Adam Episodes 2 and 3, where a small, elite team pushed real-time CG storytelling to cinematic quality.
He also worked with Disney Television Animation on projects including Baymax Dreams and Sherman, combining real-time technology with character-driven animation. The Baymax Dreams project was later recognized with a Technical Emmy Award in 2018, highlighting the impact of real-time pipelines in broadcast animation.
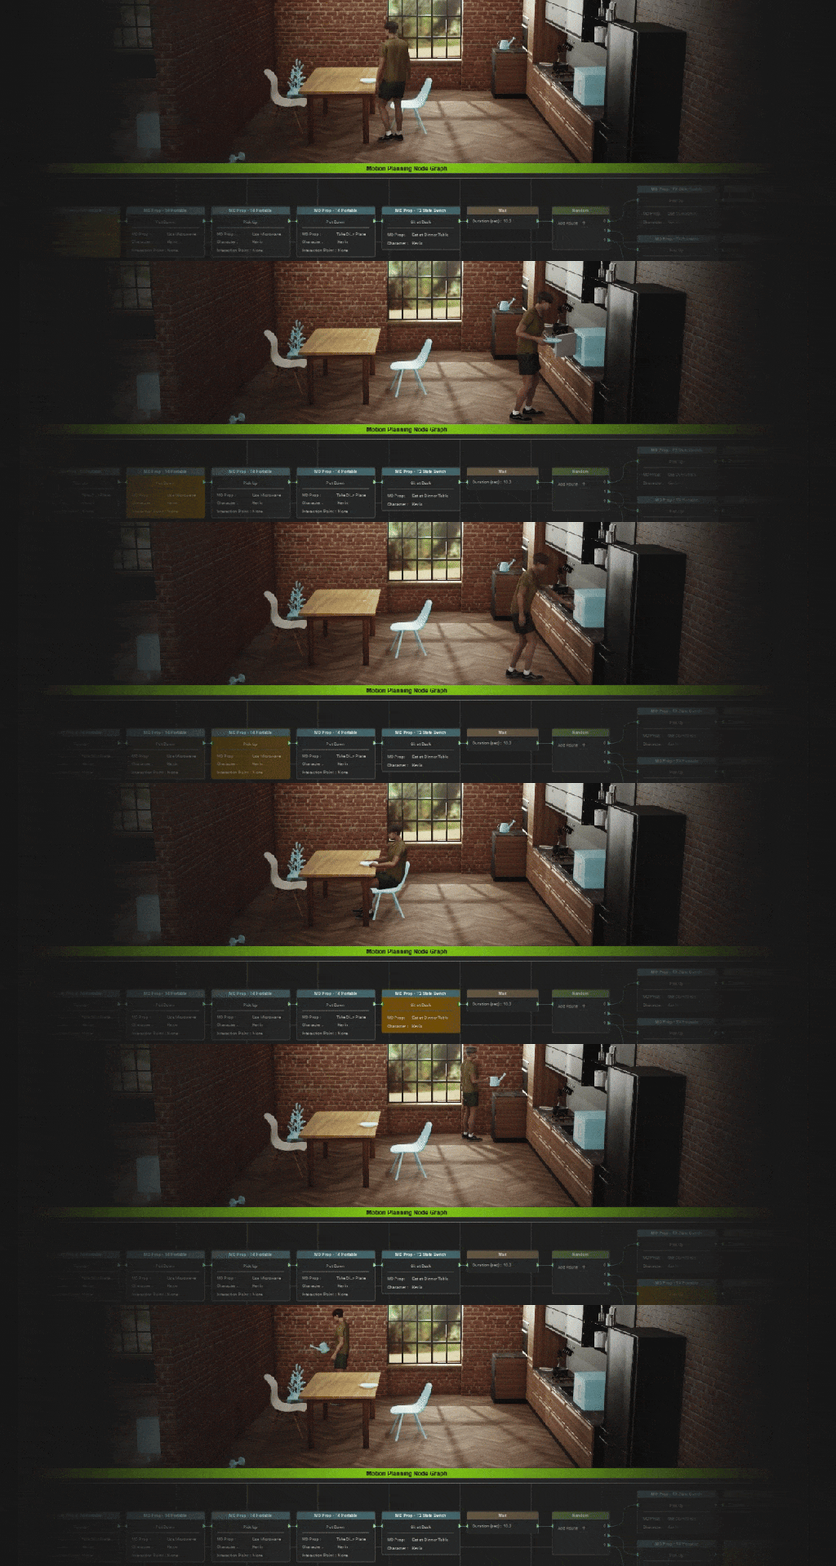
Alongside these productions, Mike ran a dedicated motion capture stage in Vancouver, supporting facial, body, and performance capture workflows for film and episodic projects.


What’s He Building on Unity? Dystopia Punk: Zero Hour
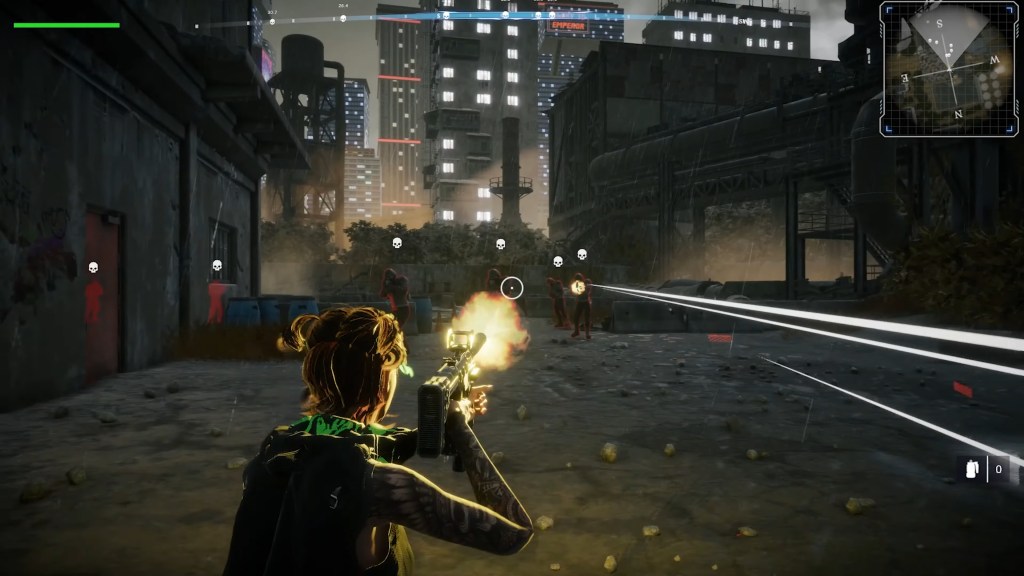
Mike’s current indie project is Dystopia Punk: Zero Hour, a cyberpunk, near-future co-op game built on Unity.
Set in a world dominated by powerful governments and corporations, Dystopia Punk focuses on four-player online missions. Players work together to infiltrate facilities, hack systems, fight enemies, and complete objectives across a series of mission-based maps. Rather than a massive open world, the game uses carefully designed environments that support different play styles, from stealth to direct combat.

The game is built in third-person, a deliberate design choice. For Mike, character customization only matters if players can actually see their character in action. Animations, outfits, and movement are part of the experience, not something hidden behind a first-person camera.
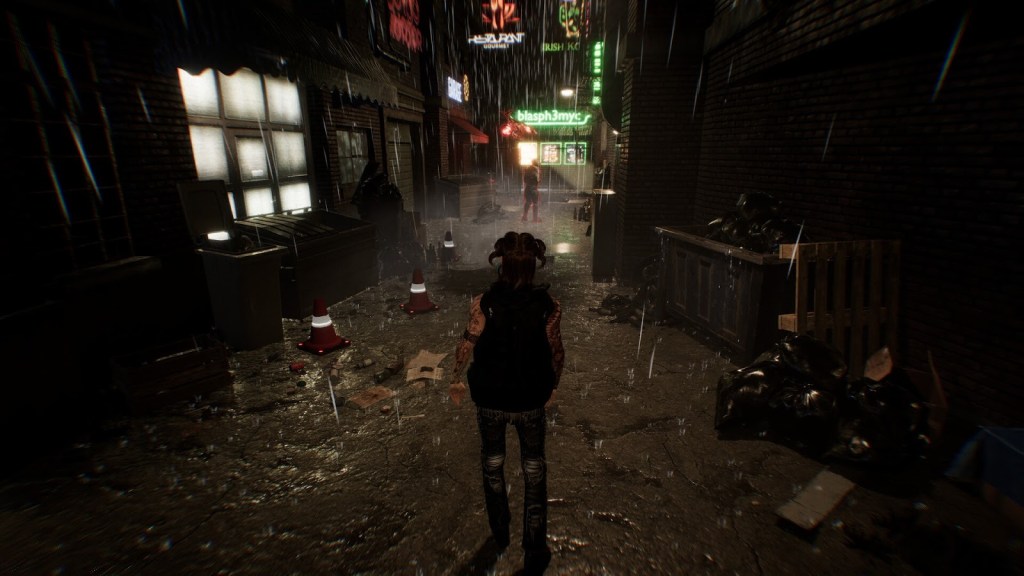
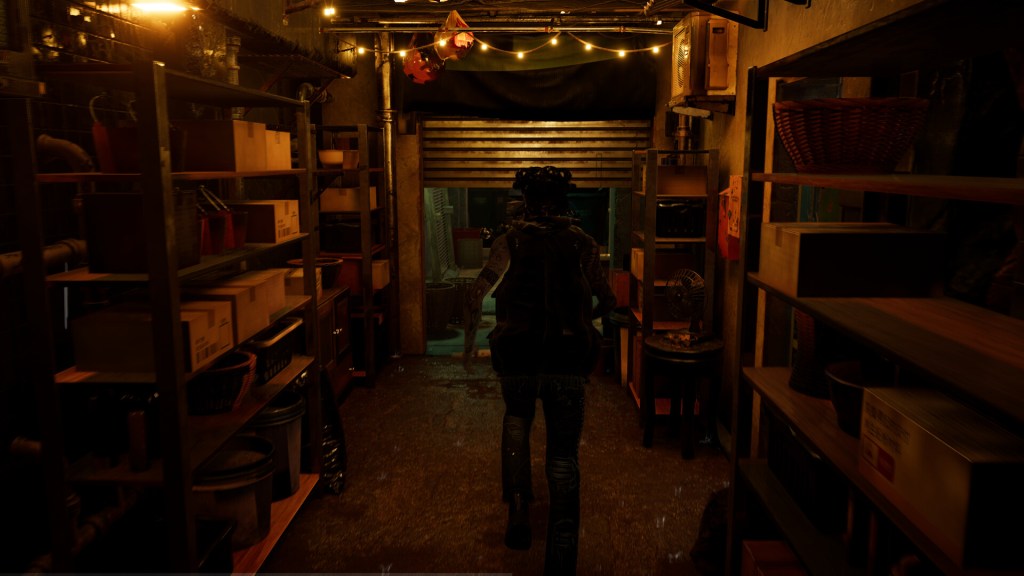
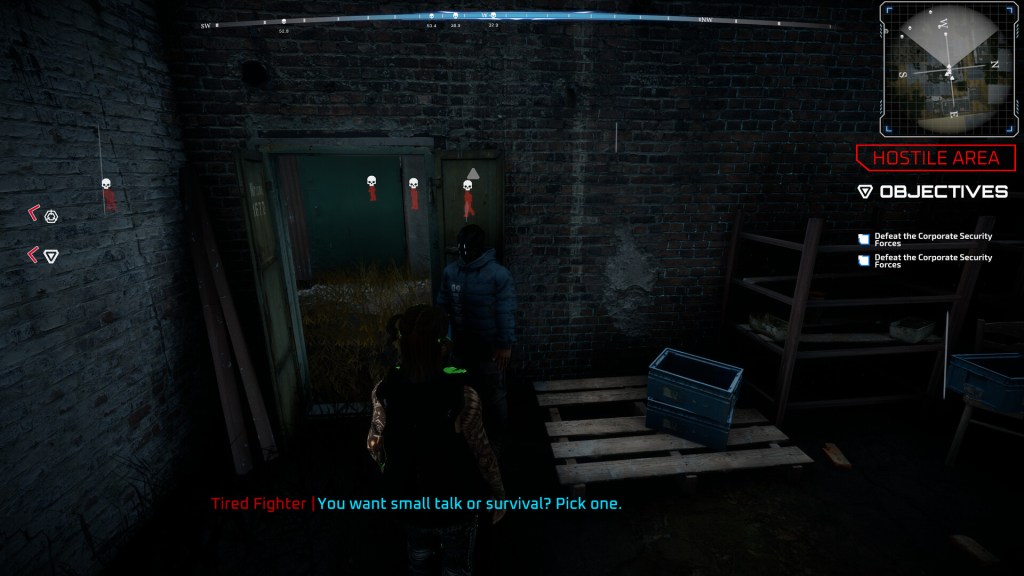
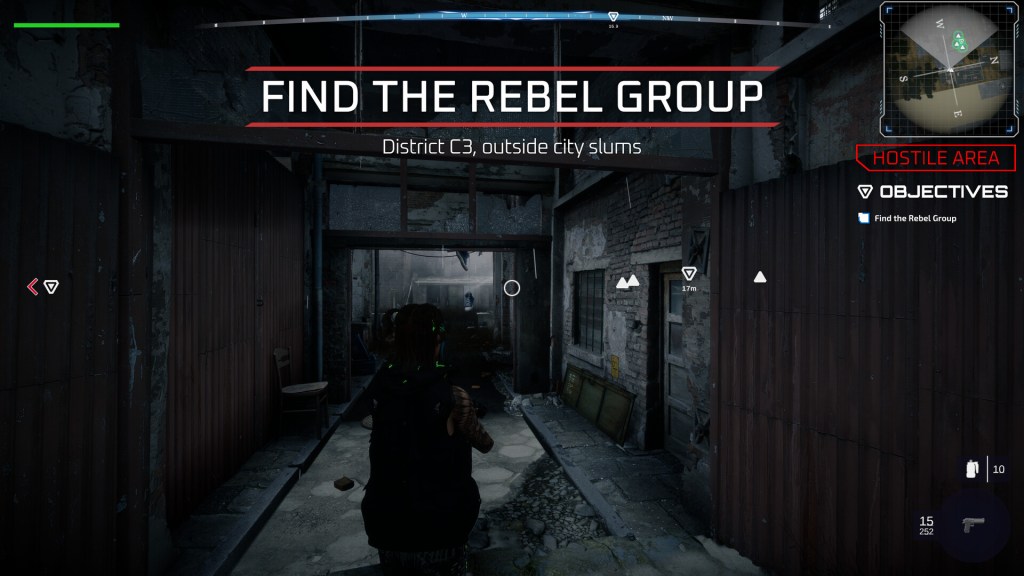
Mike is aiming to release an early playable version within the year, targeting summer if possible.
Mike’s Indie Game Pipeline
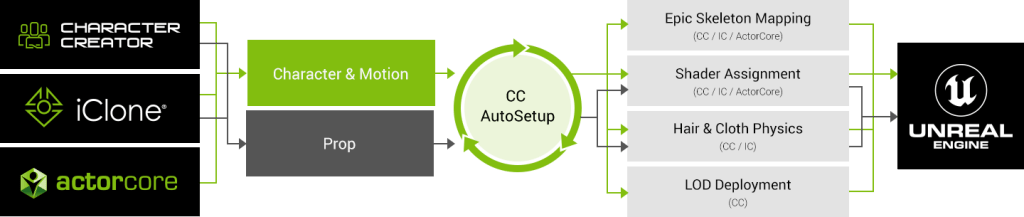
While Dystopia Punk is a solo project, the pipeline behind it is closer to what you would expect from a small studio:
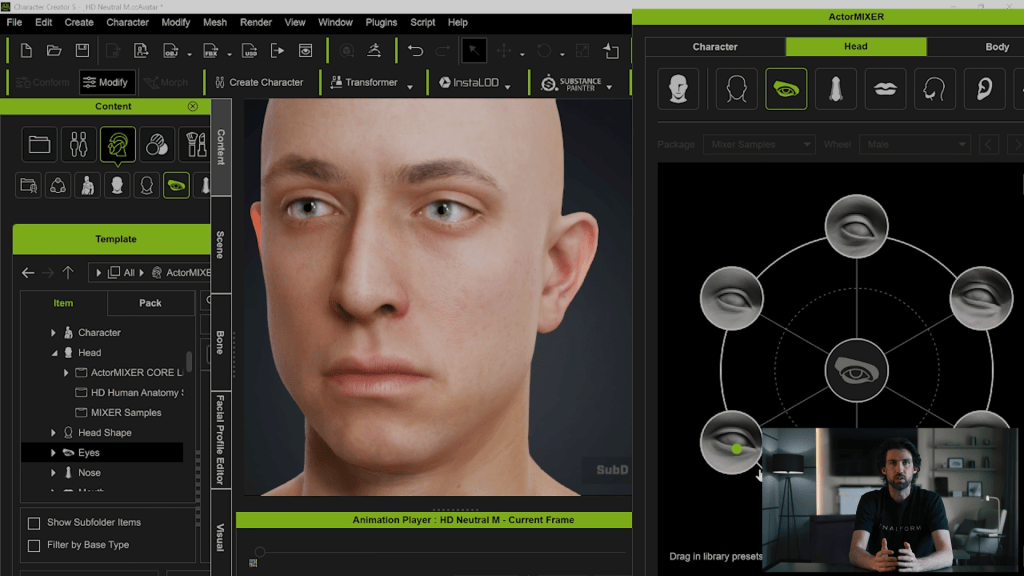
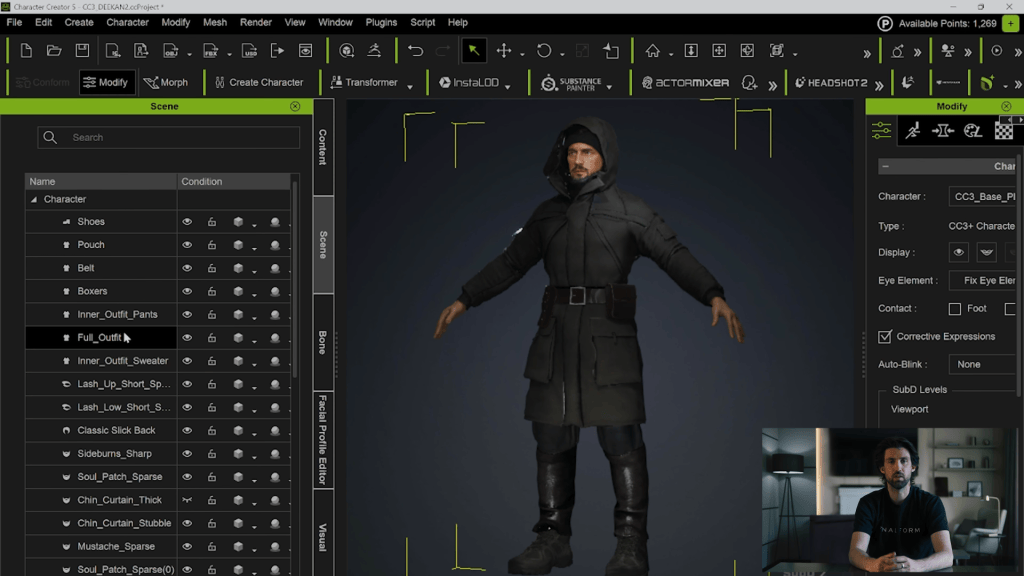
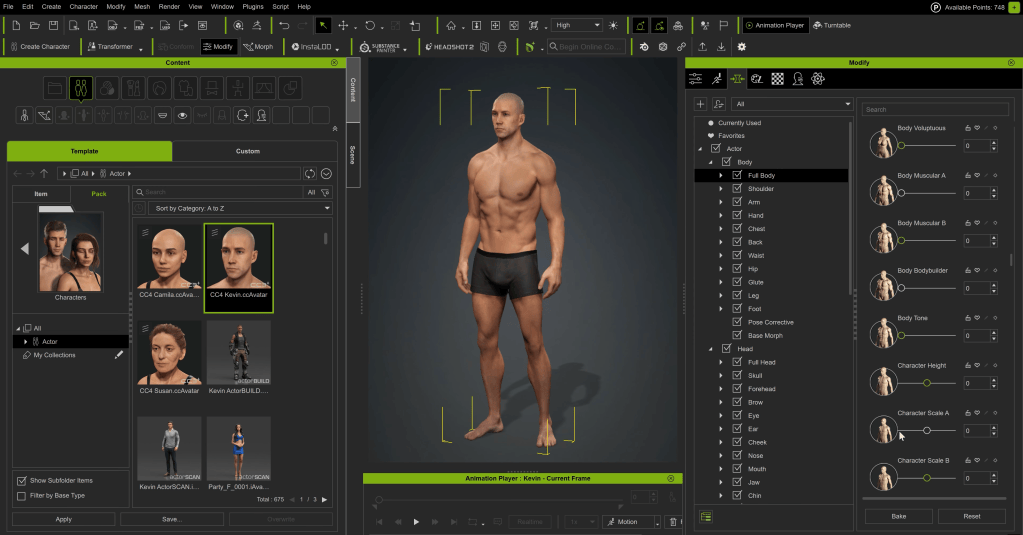
- Character creation and assembly in Character Creator
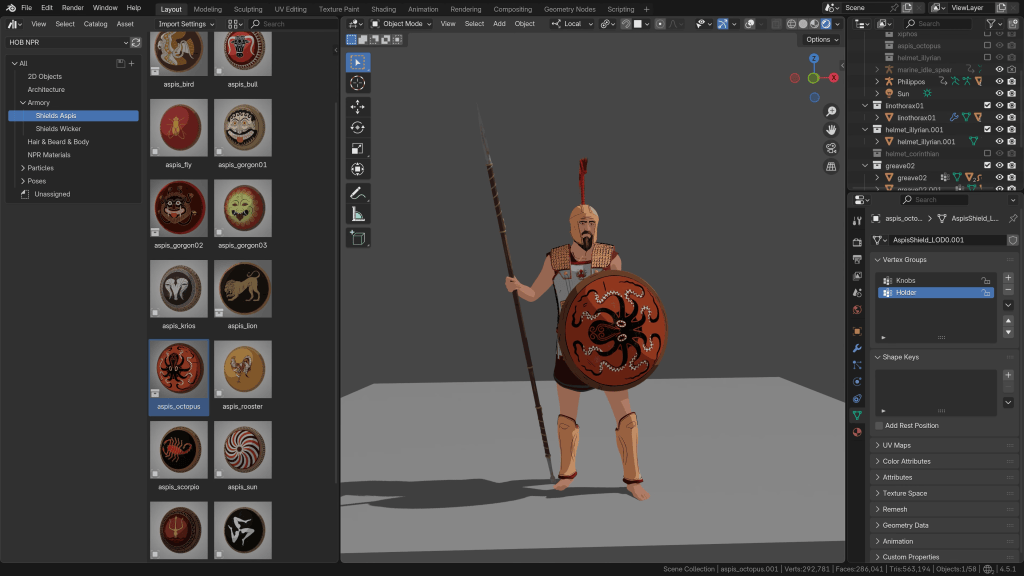
- Clothing authored in Marvelous Designer, refined in 3ds Max or Blender
- Rigging, skinning, and optimization handled inside Character Creator
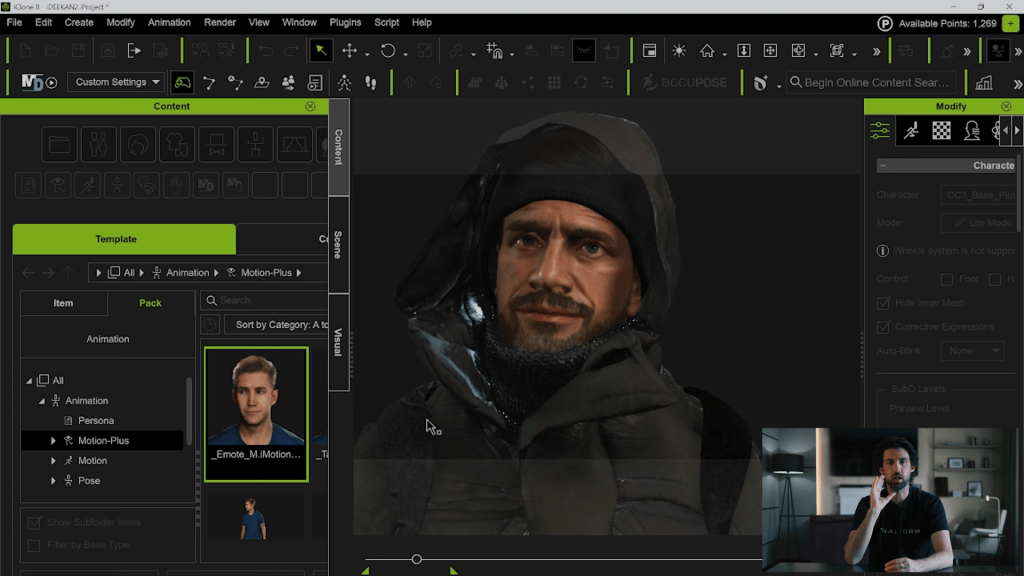
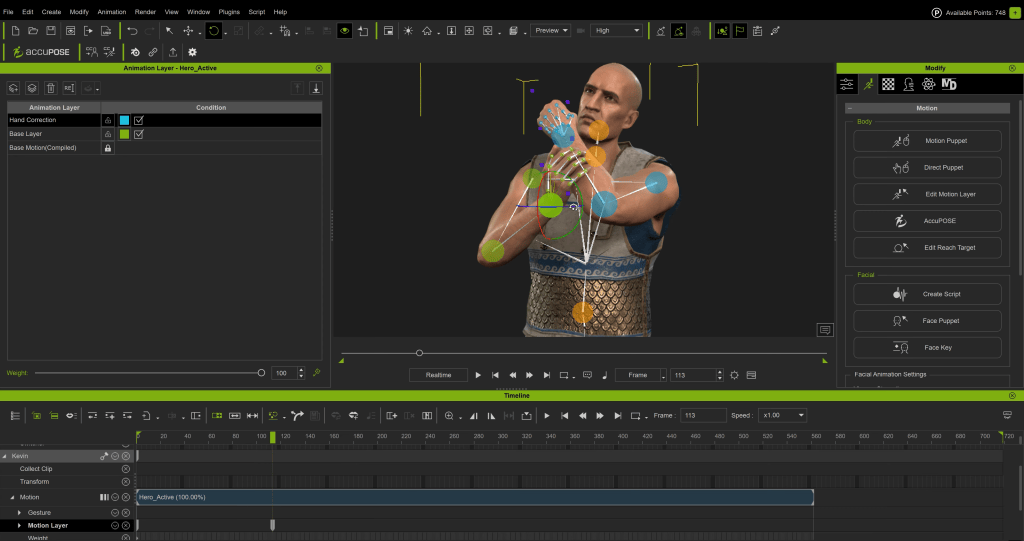
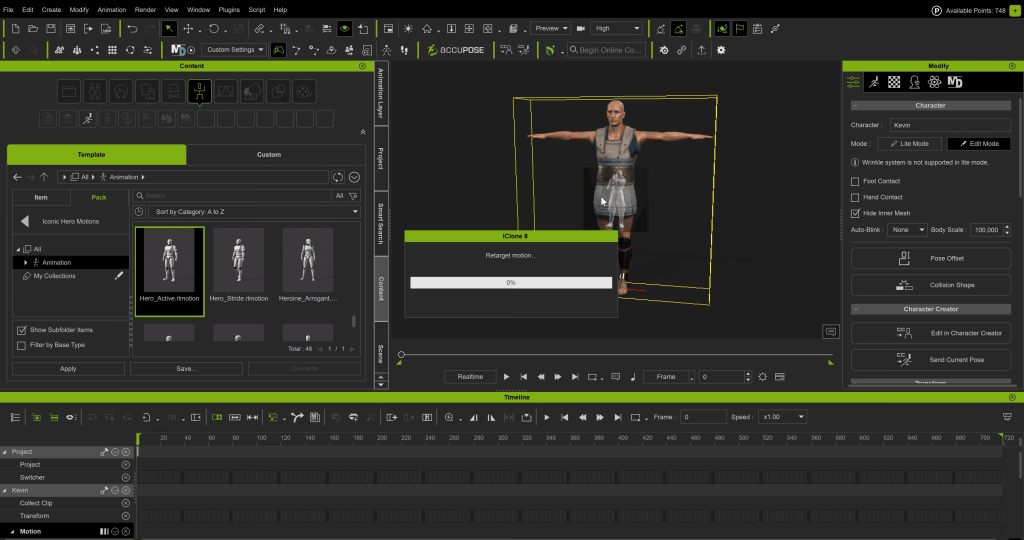
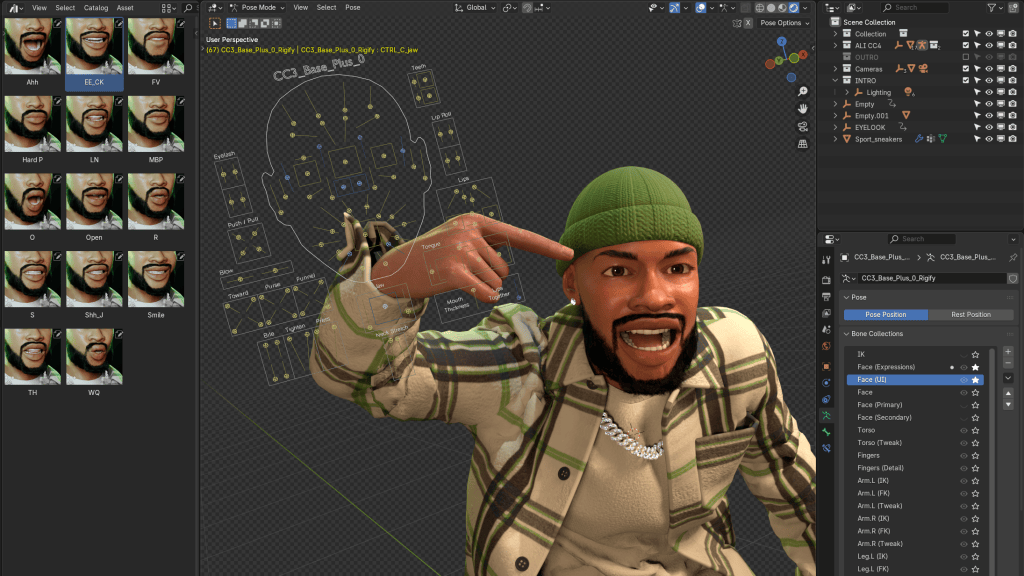
- Performance and facial animation created in iClone
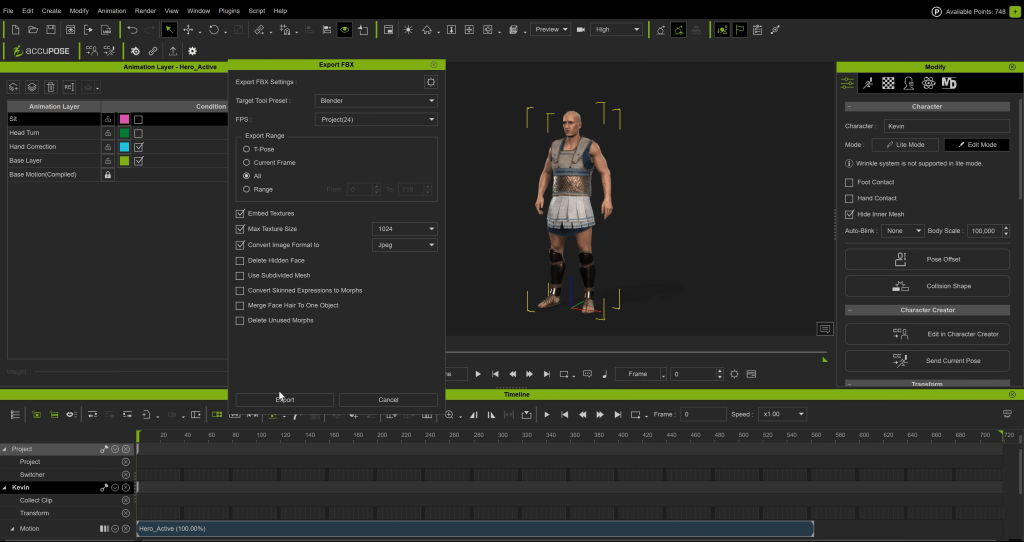
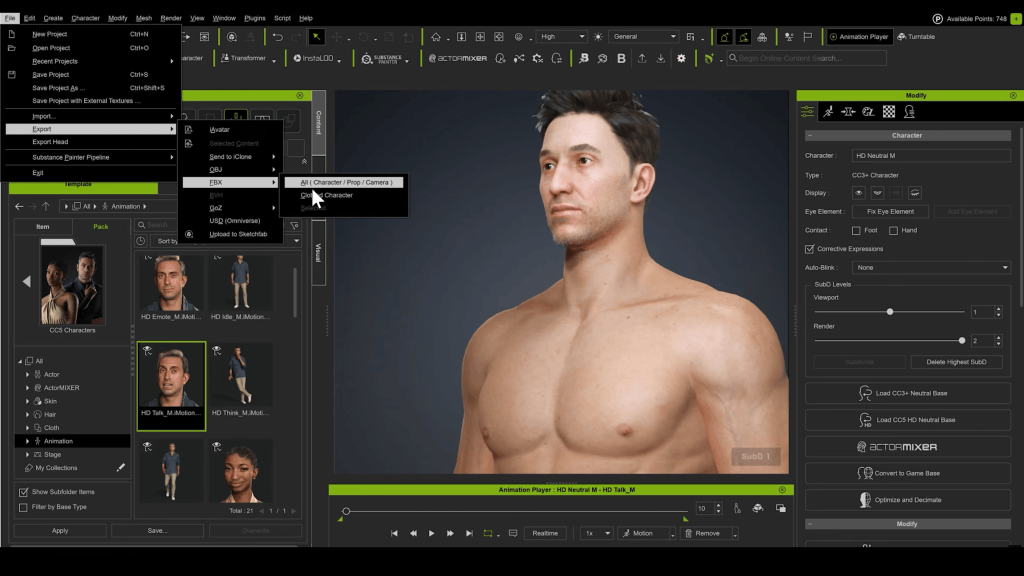
- Export to Unity, where runtime customization and gameplay systems take over
Character Creator sits at the center of this workflow. Everything else connects to it.
Why Character Creator Is the “Core of Everything”
Mike describes his current workflow with a simple reality check: when you are a one-person team, you do not have the luxury of rebuilding character pipelines from scratch.
In a studio environment, character production is distributed across specialists. In solo development, those responsibilities still exist, but the person handling them is the same one designing gameplay, writing code, and building levels.
Character Creator replaces an entire layer of production overhead.
Built for a One-Person Team
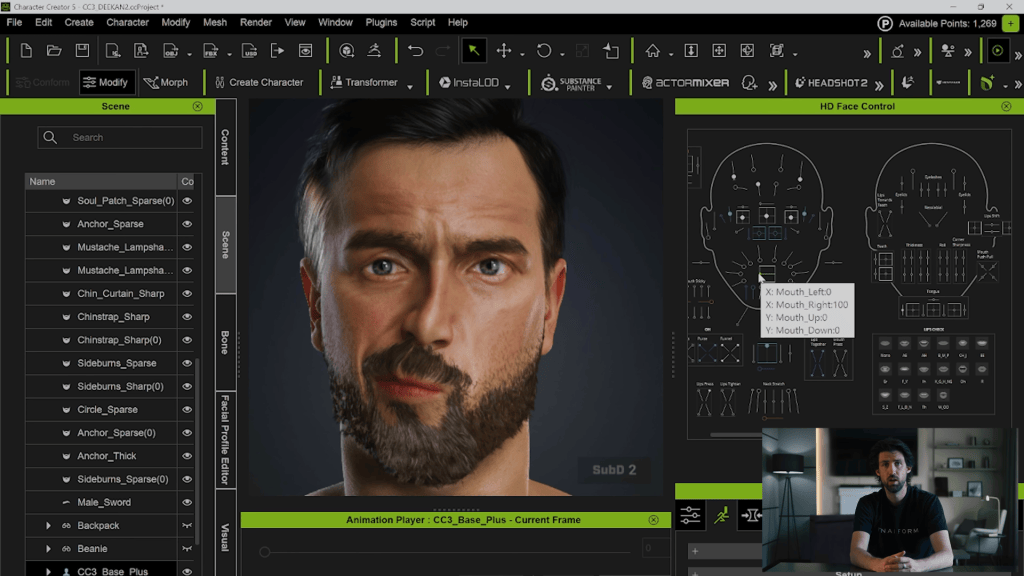
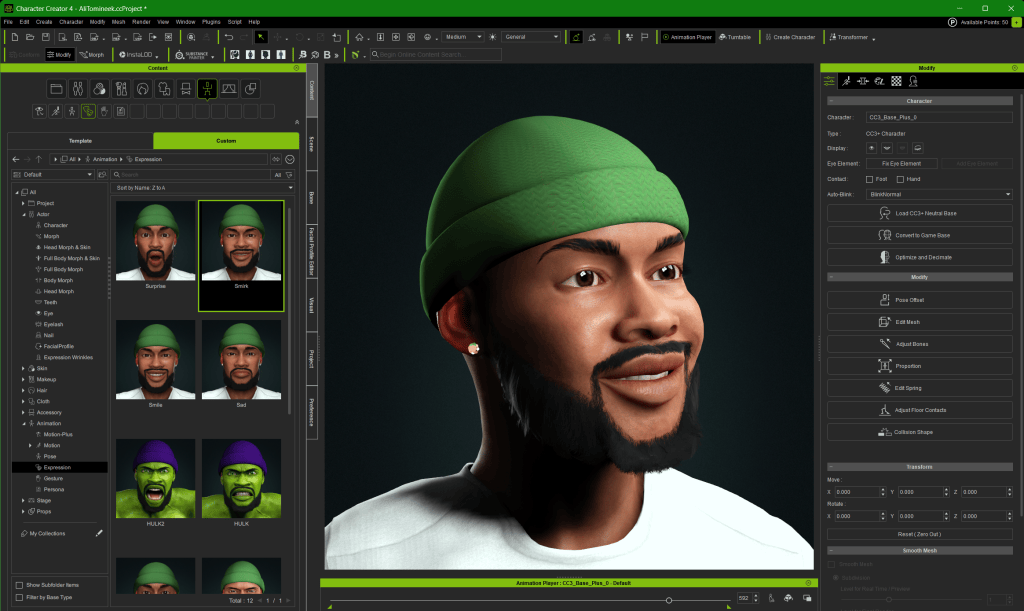
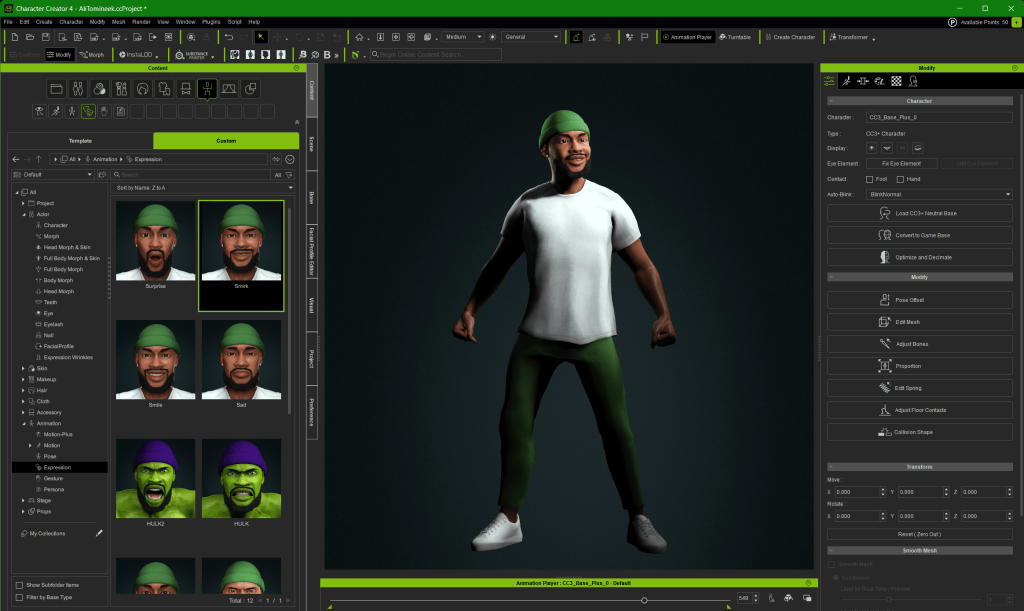
For Mike, the value of Character Creator is not one single feature. It is how many traditionally separate tasks are solved in one place:
- Rigging and skinning
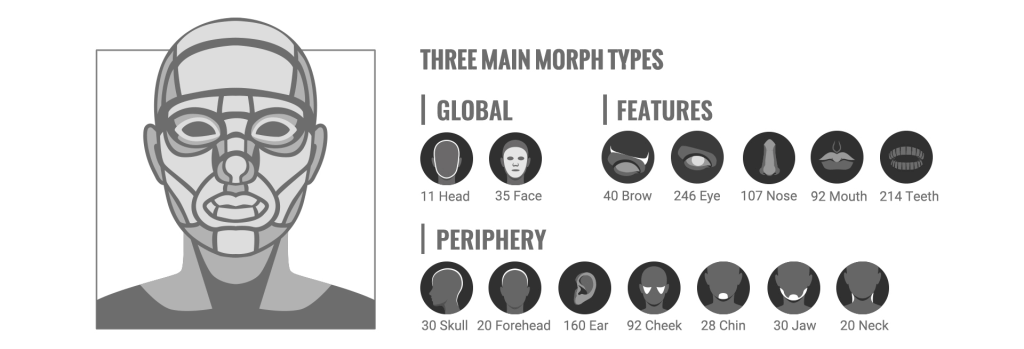
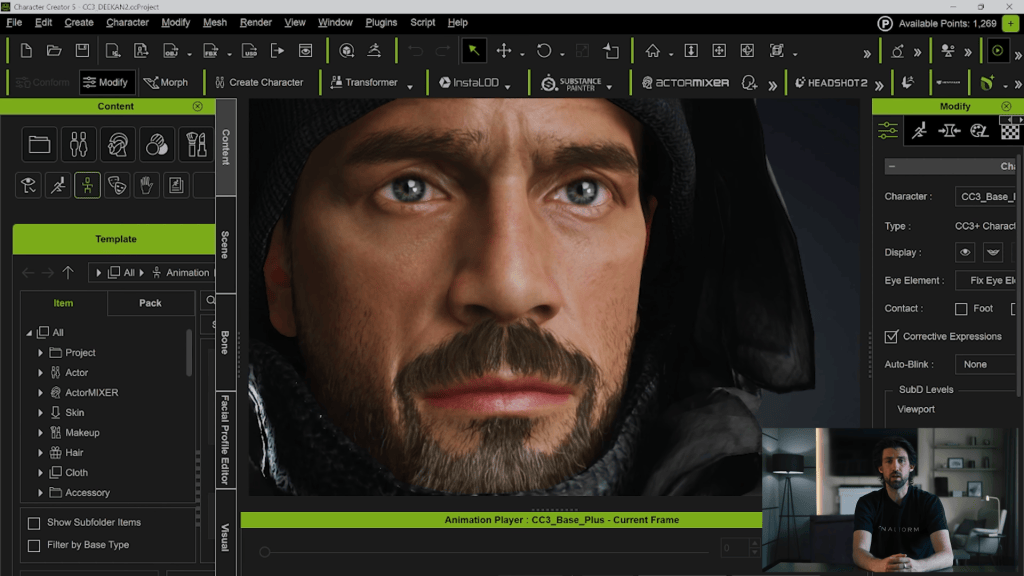
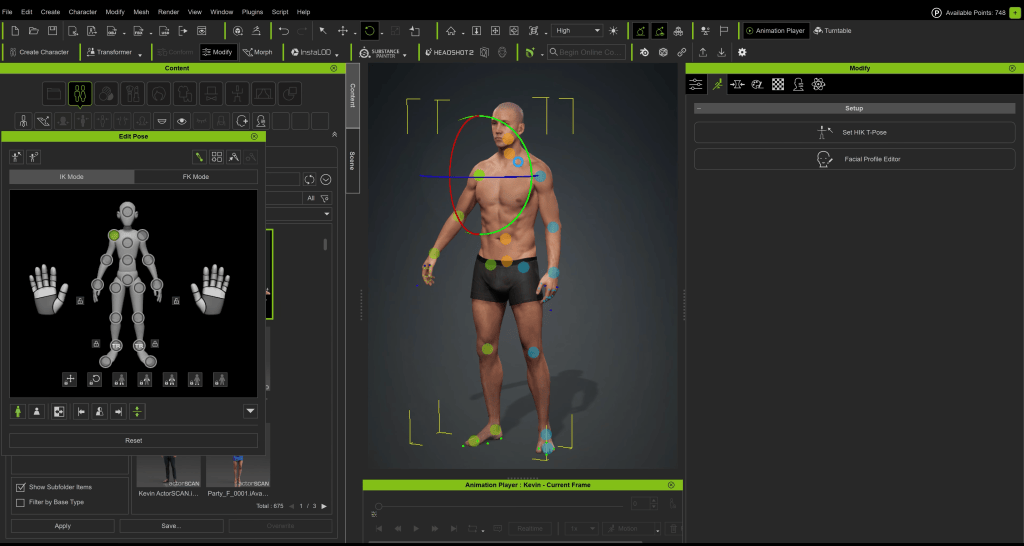
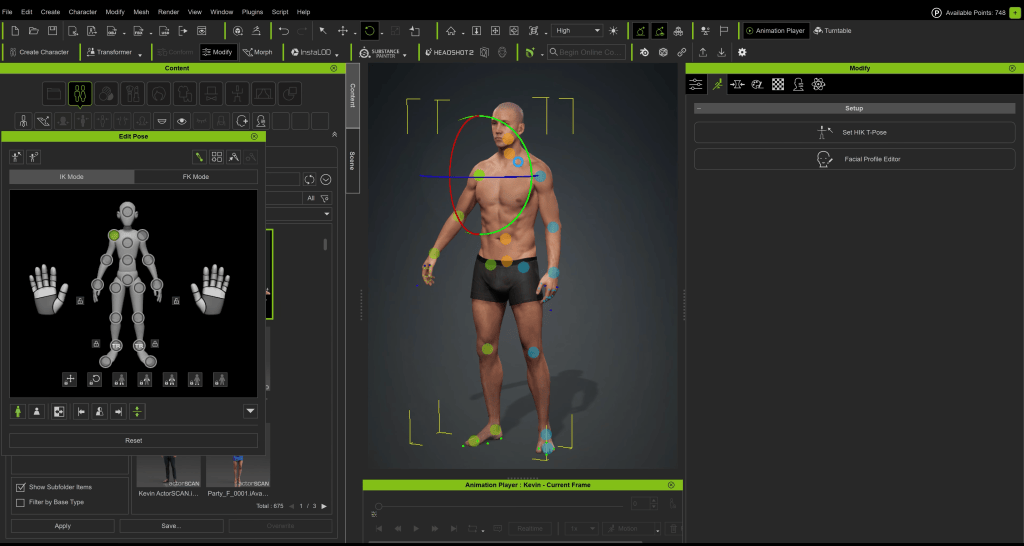
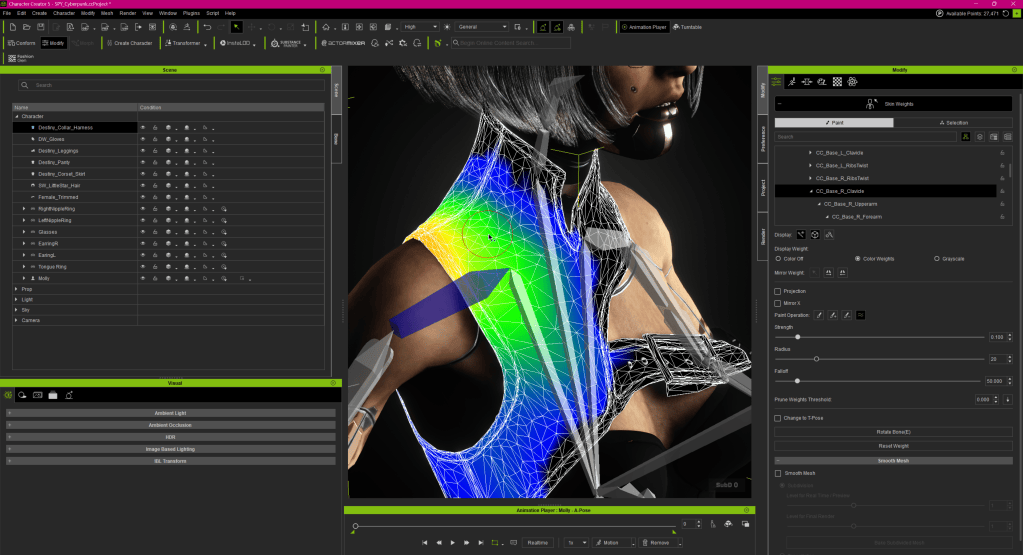
Character Creator allows him to auto-rig with AccuRIG and skin characters quickly, with live skin weight painting that is far faster and more intuitive than traditional DCC workflows.
- Wrinkles and expression systems
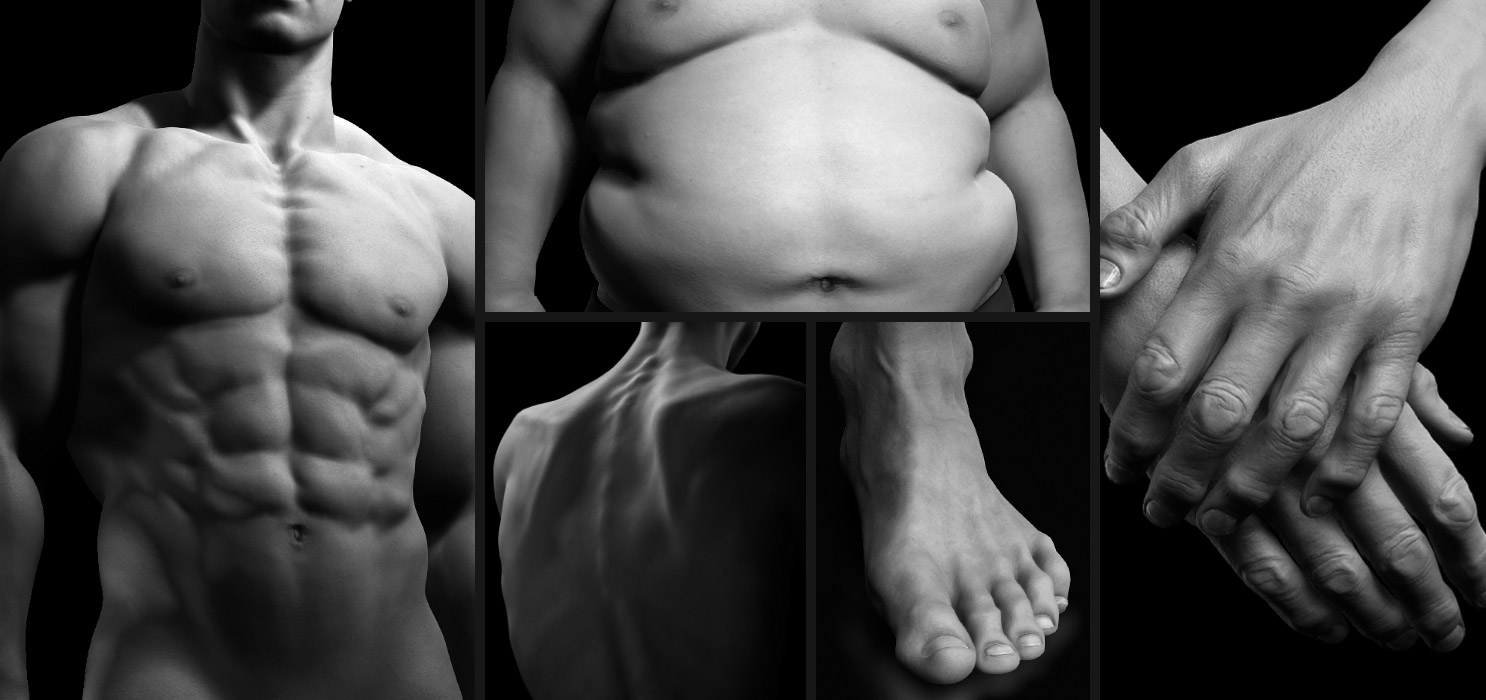
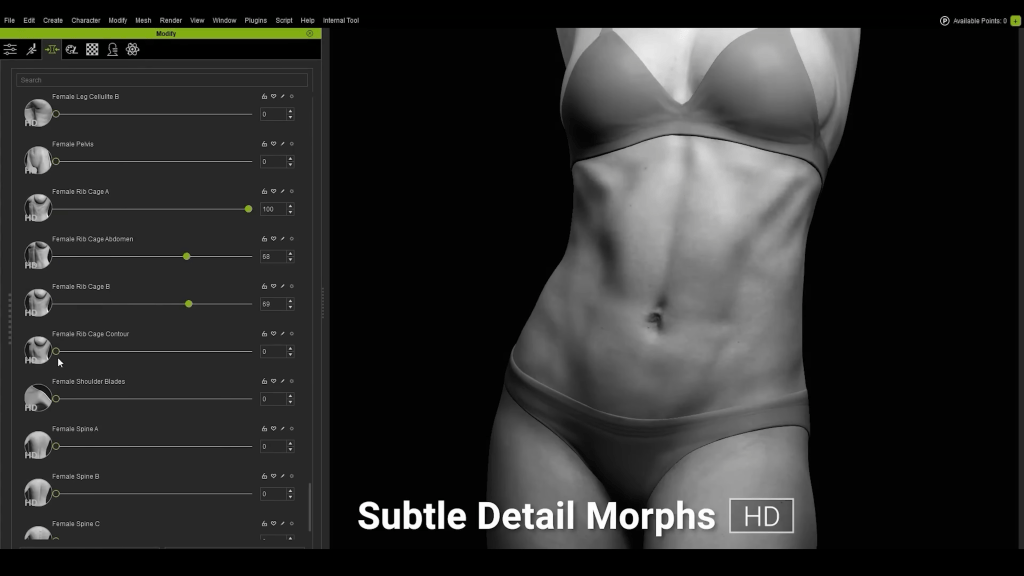
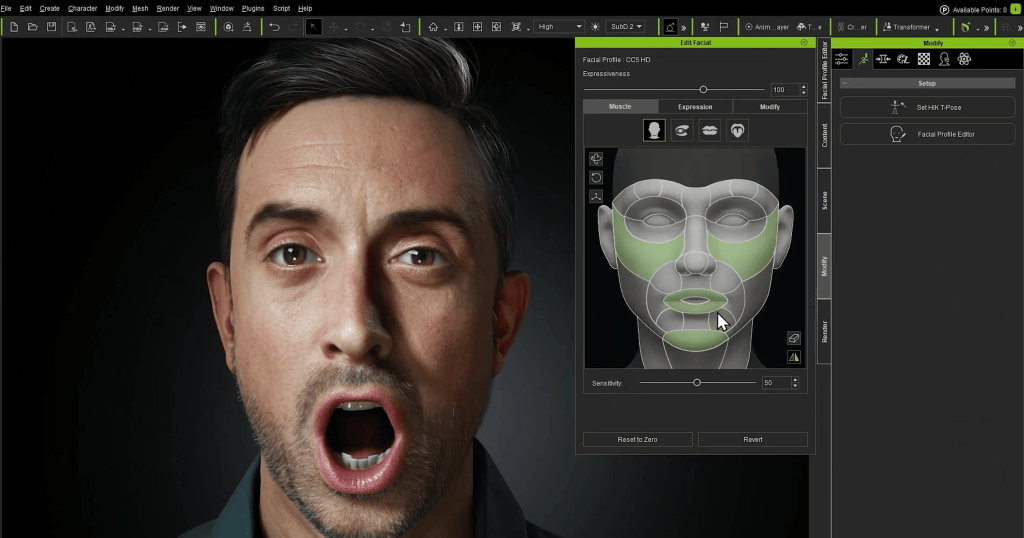
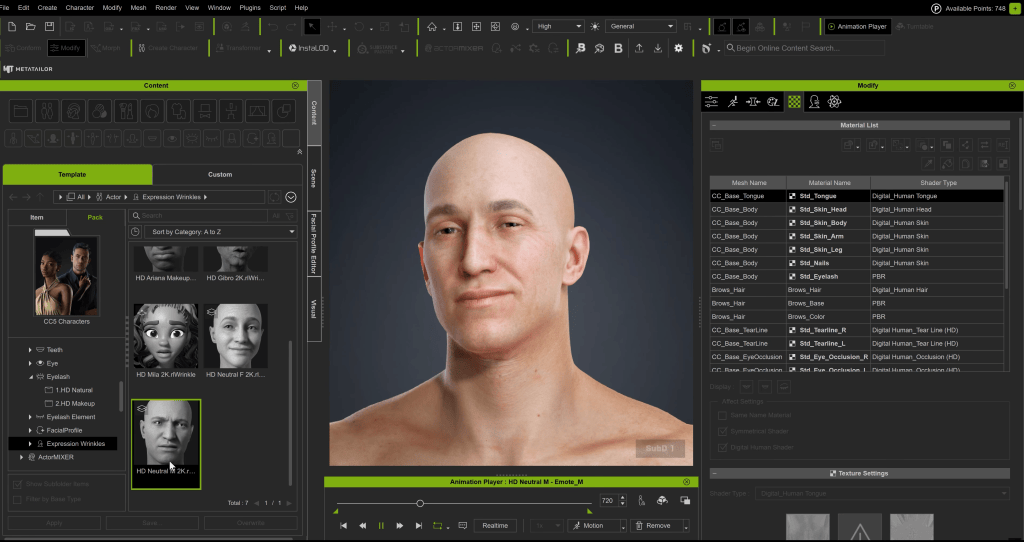
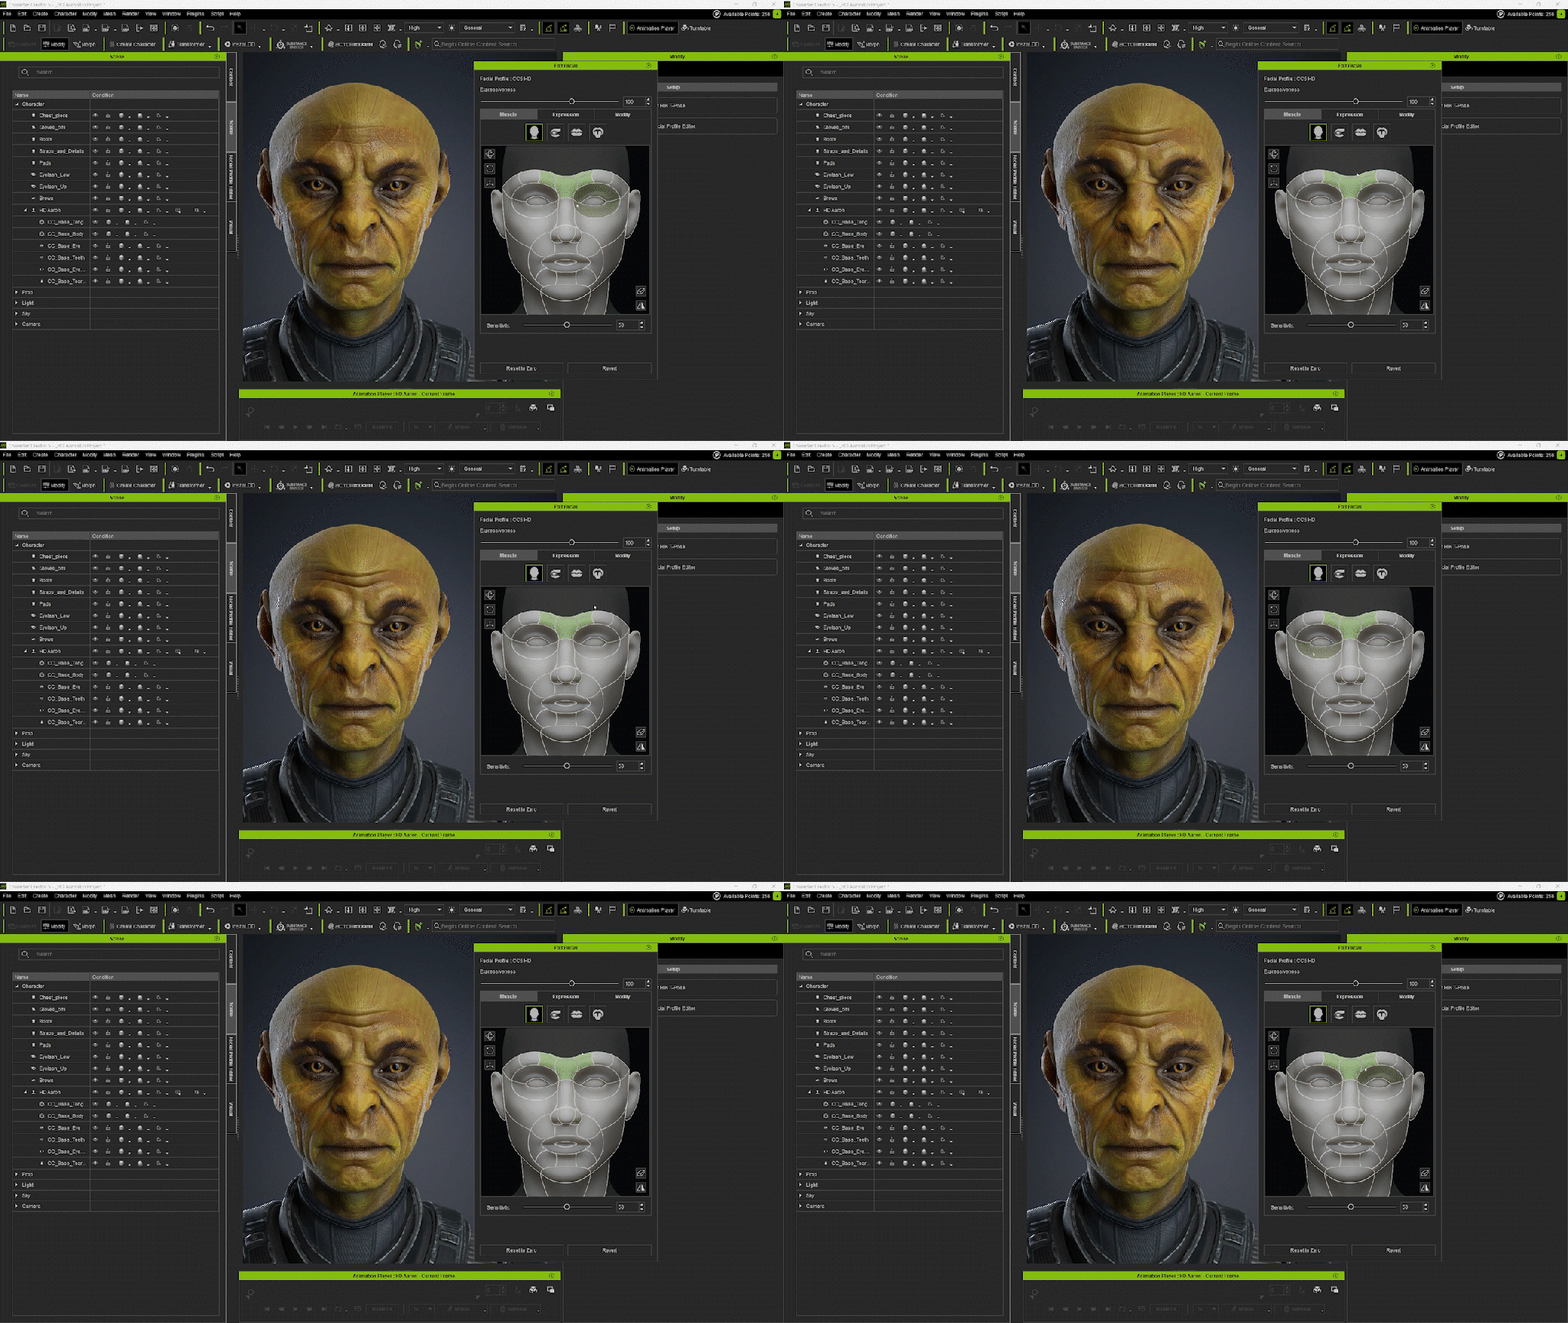
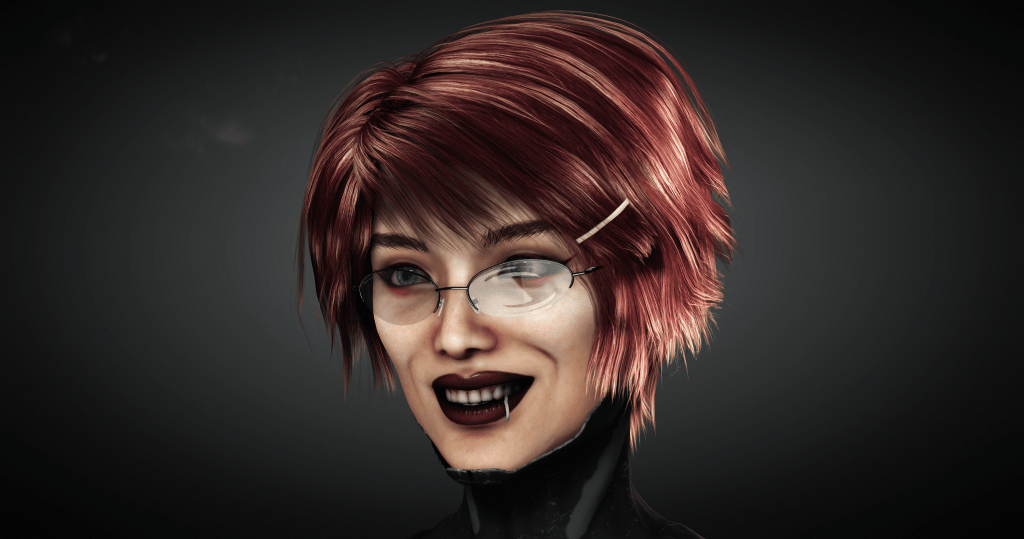
Upgrading characters from CC4 to CC5 instantly adds wrinkle maps and higher-quality deformation, improving realism without redoing work.
- SkinGen for layered detail
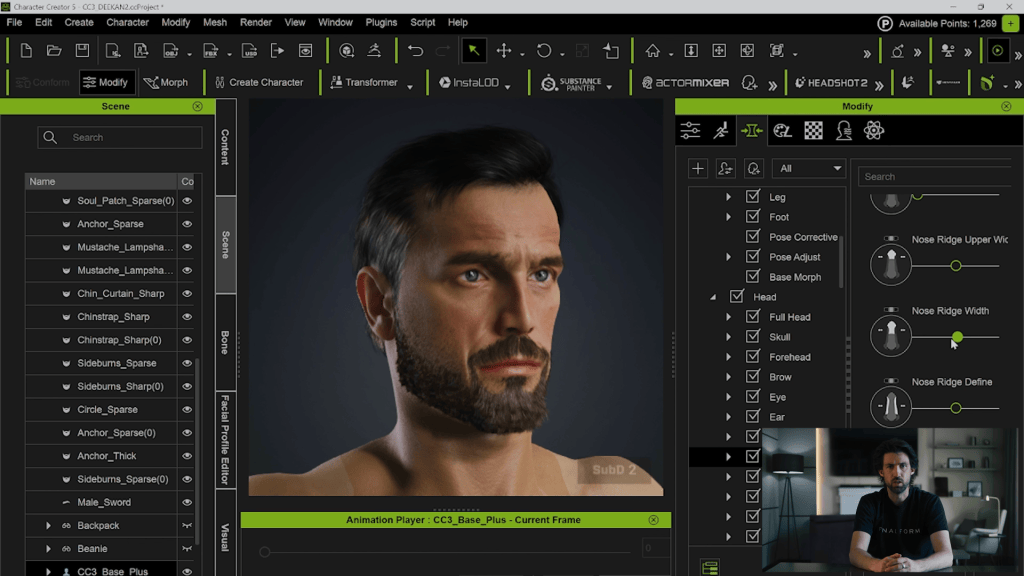
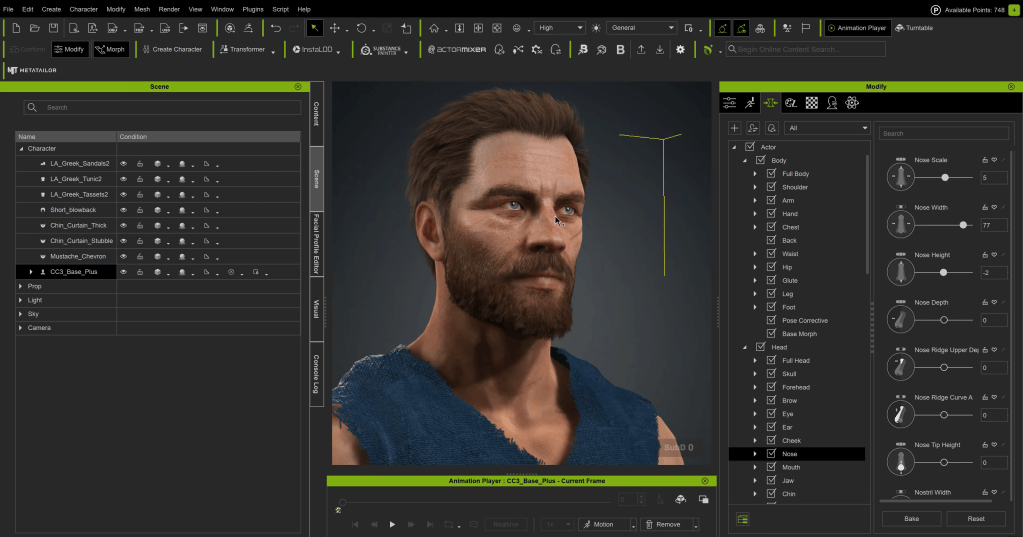
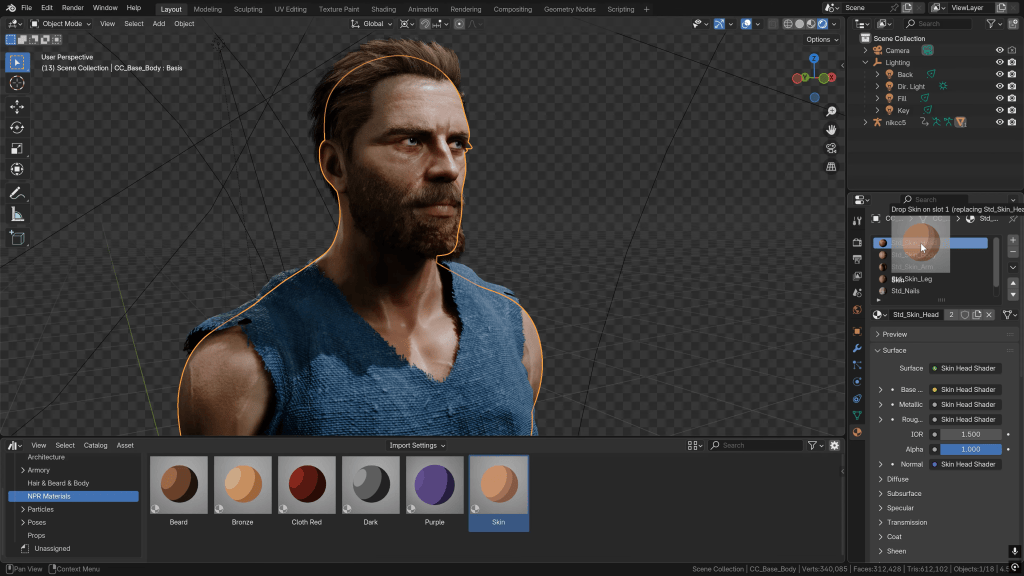
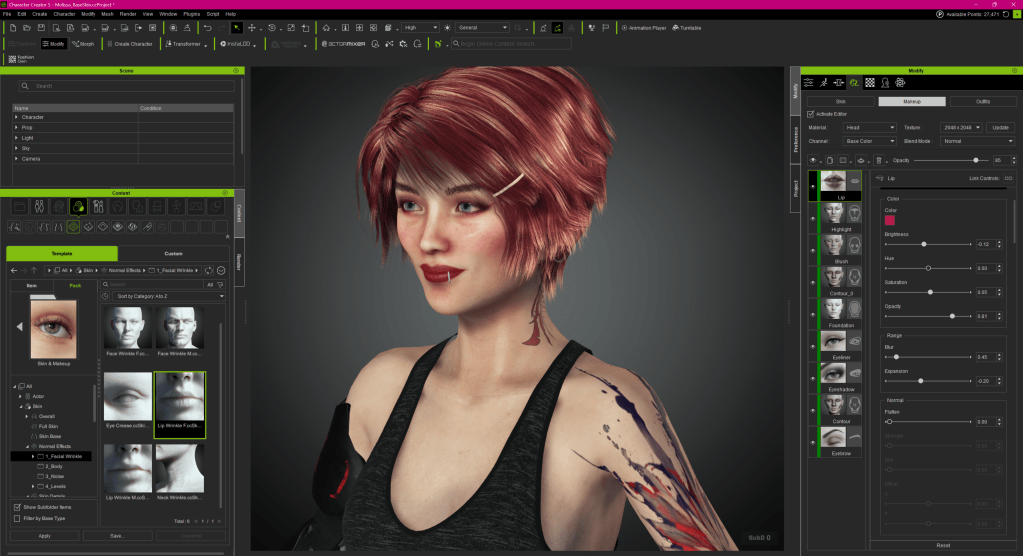
SkinGen is essential for Dystopia Punk’s cyberpunk aesthetic. Tattoos, decals, and layered skin details can be added and adjusted rapidly, making iteration painless.
- Hair Builder for game-ready hair
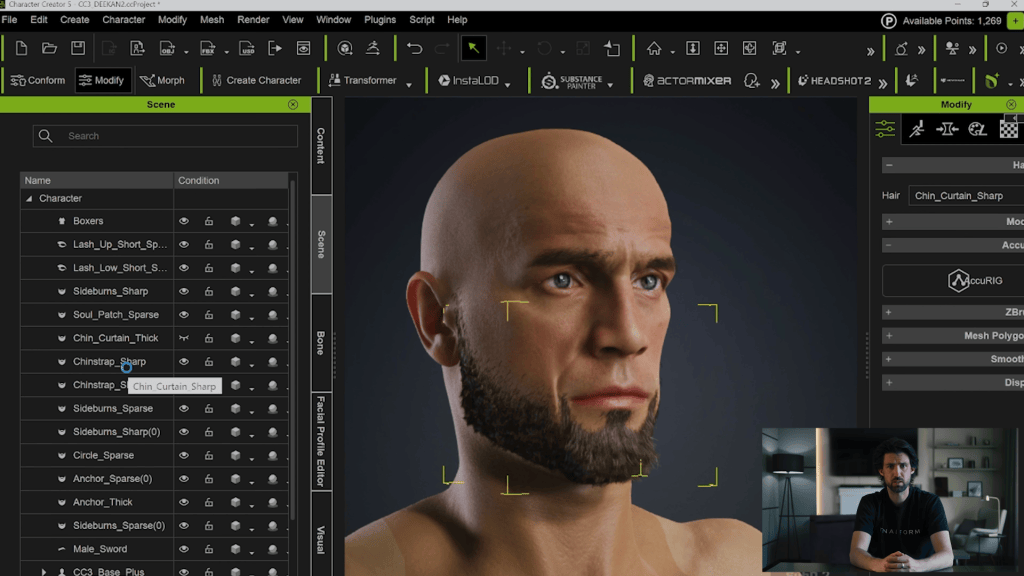
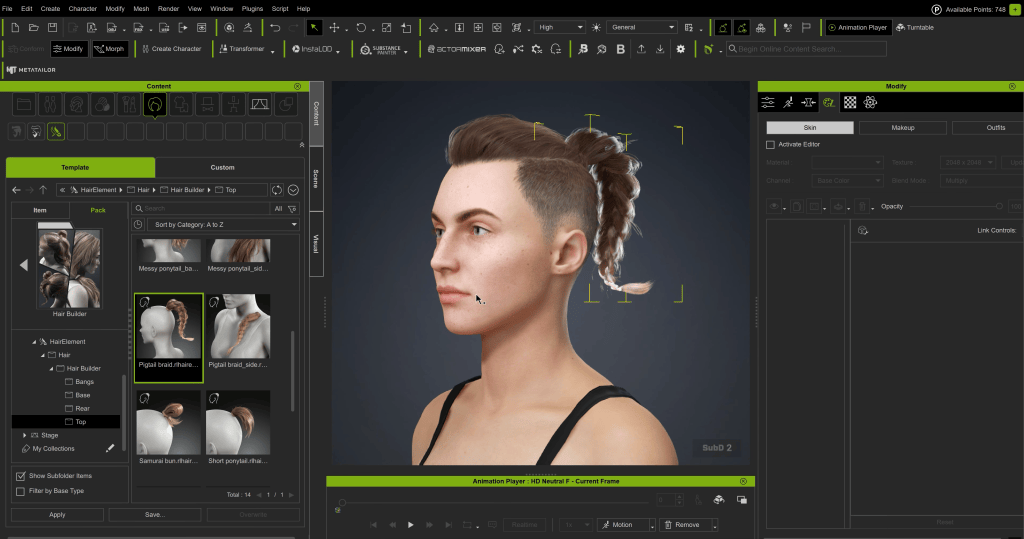
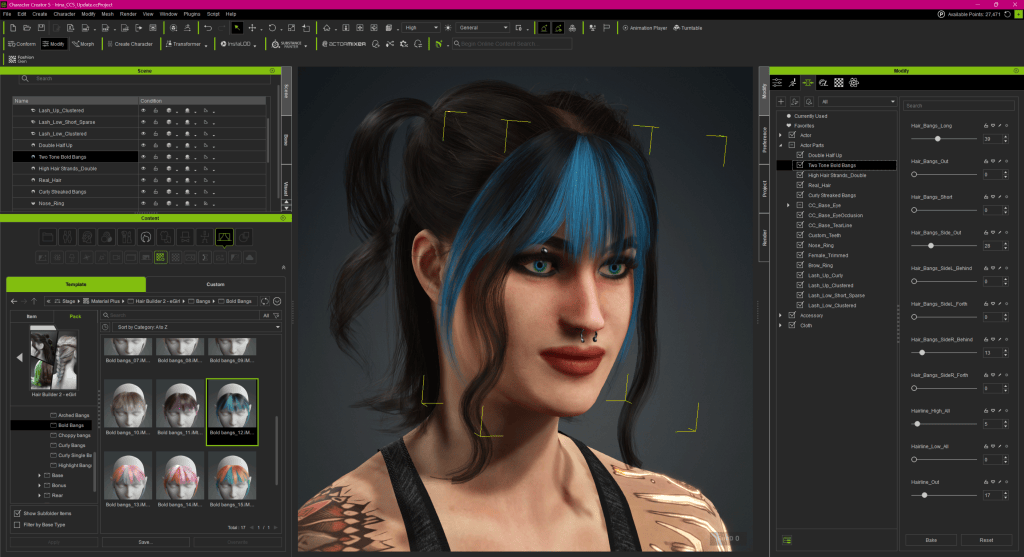
Mike relies on Hair Builder rather than custom groom pipelines. It allows him to mix, adjust, and recolor hair components while keeping performance suitable for real-time games.
- Optimization tools for game character
Depending on the project, Mike uses Game Base conversion, LOD generation, and the Remesher to tailor characters for runtime performance. These tools are available when required, without forcing a separate optimization pipeline.
Runtime Customization in Unity
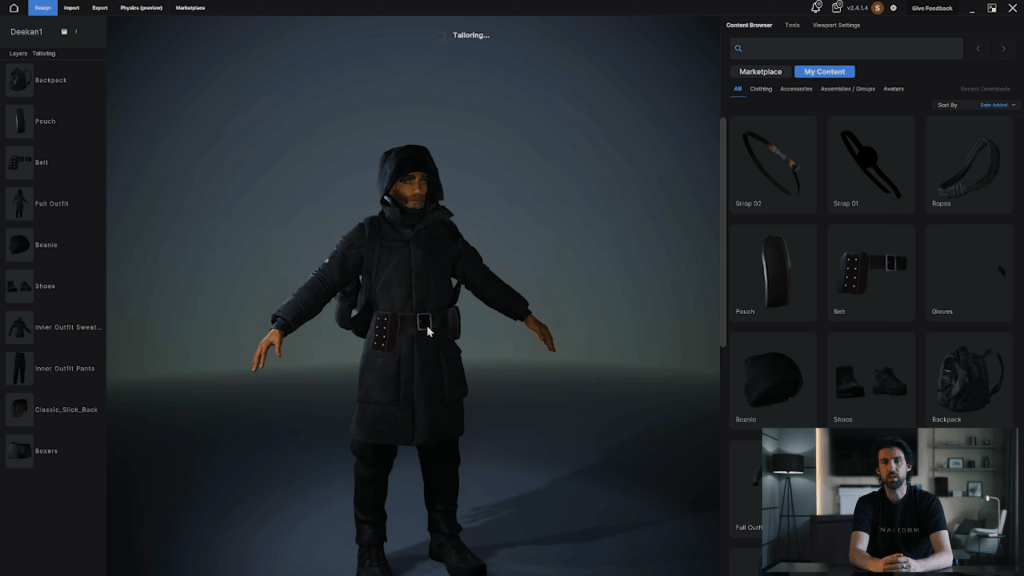
Inside Unity, Mike has built custom systems that extend what Character Creator provides. Clothing and body part masking, modular outfit combinations, and mix-and-match customization all happen at runtime.
Character Creator provides the structured, consistent foundation that makes these systems possible.
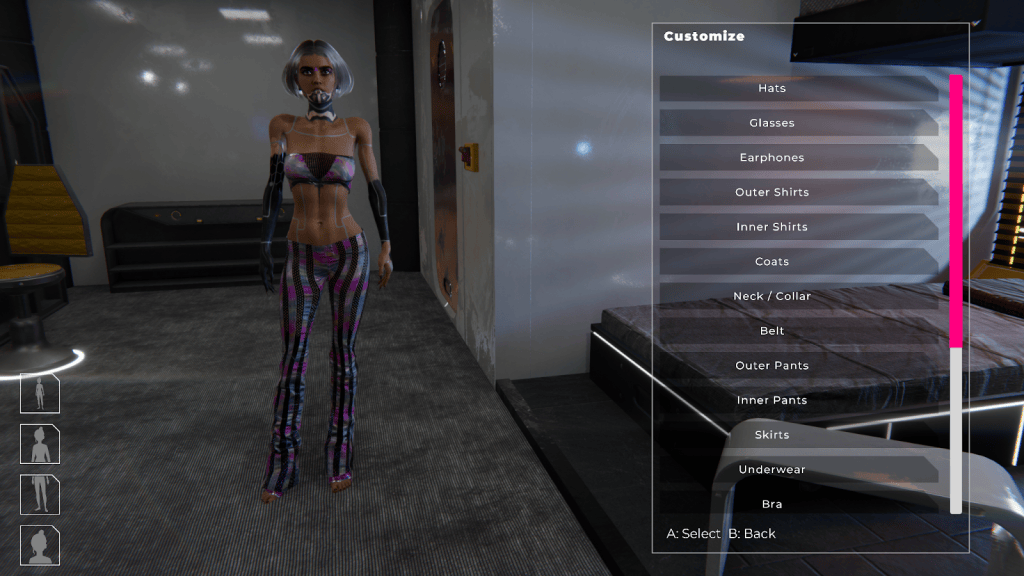
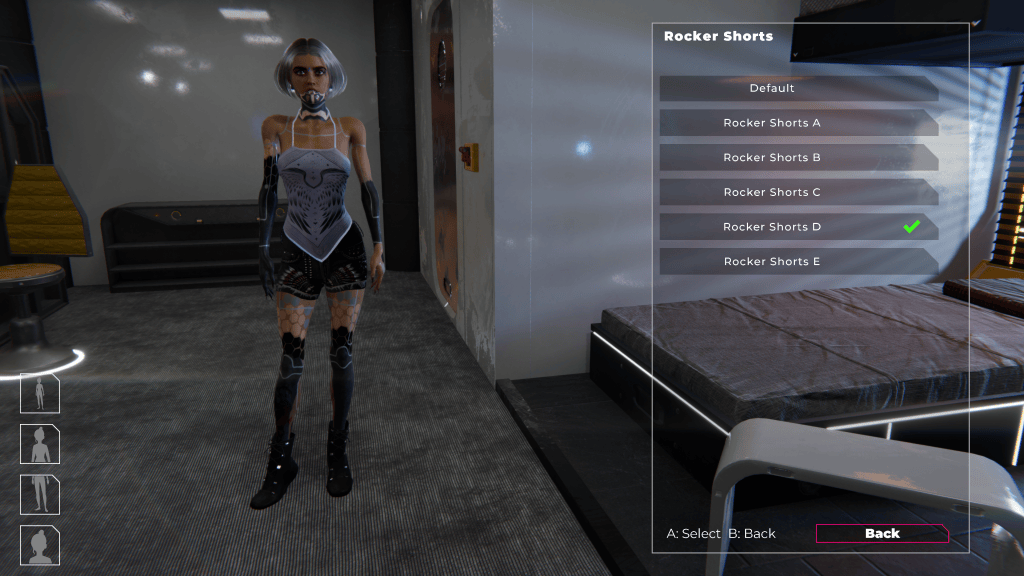
Taken together, these features allow Mike to handle character creation at a level that would normally require multiple dedicated roles.
iClone for Performance: Face + Body + Hands That “Just Sync”
Animation is another area where solo developers often struggle. Traditional motion capture pipelines rely on multiple tools for body, face, and hand capture, followed by time-consuming alignment and cleanup.
Mike has managed those pipelines before. At Unity, he ran a full mocap stage using professional systems.
With iClone, the experience is fundamentally different.
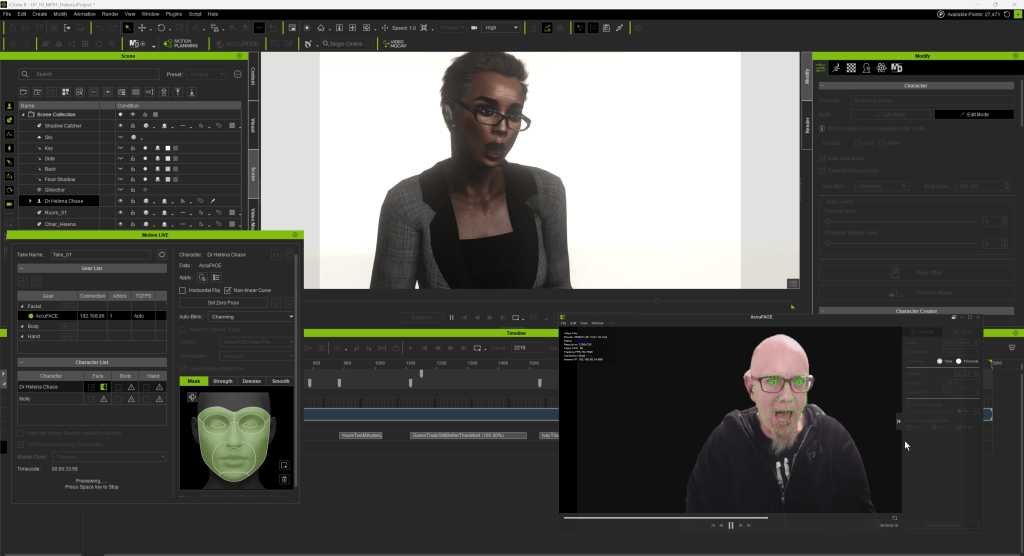
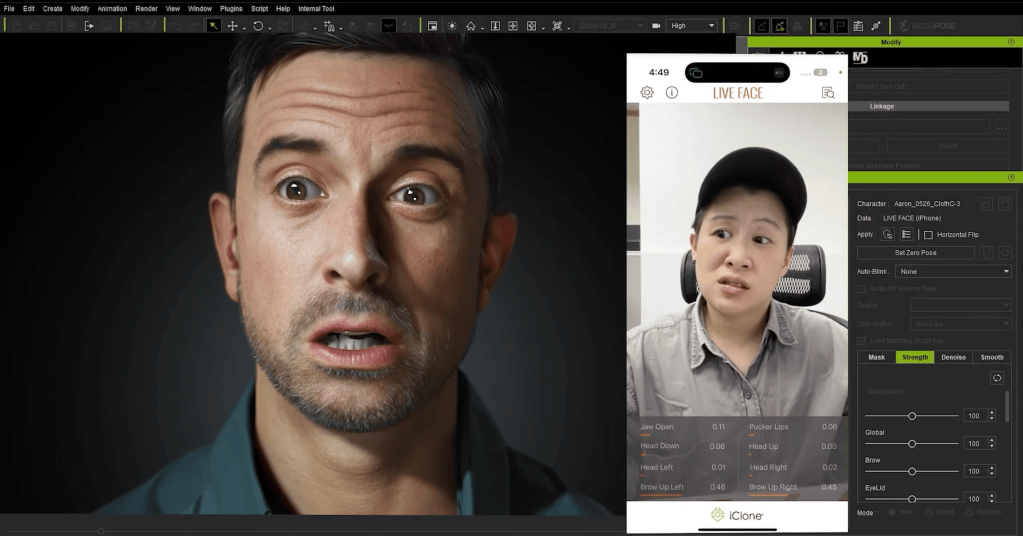
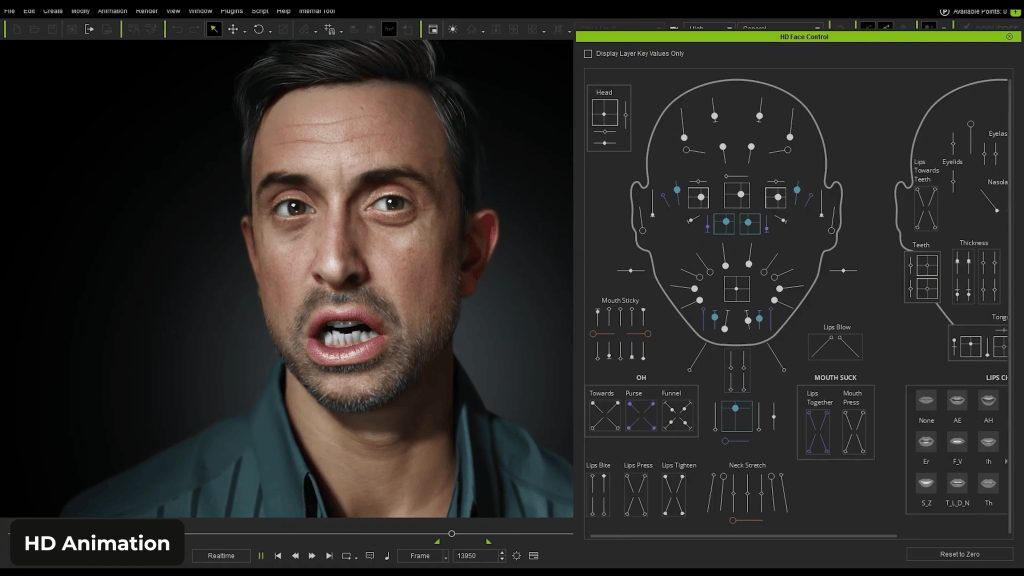
Facial animation, body motion, and performance data are unified in a single environment. Mike uses Faceware regularly and has also worked with Rokoko suits, though he notes that hardware setup time can be a barrier. This is why he is particularly interested in video-based mocap, which aligns closely with how animators already work—by recording reference footage.

For Mike, iClone removes technical friction and lets him focus on performance rather than data management.
ActorCore for Background Crowds
Character Creator is not only used for hero characters.
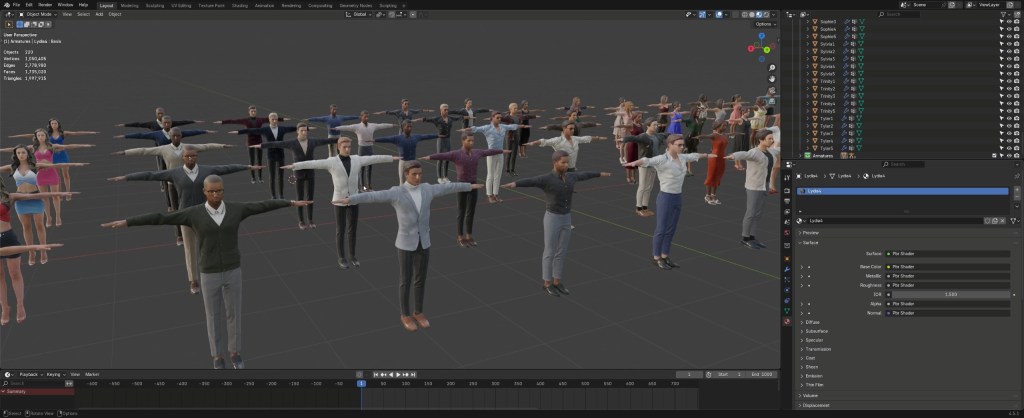
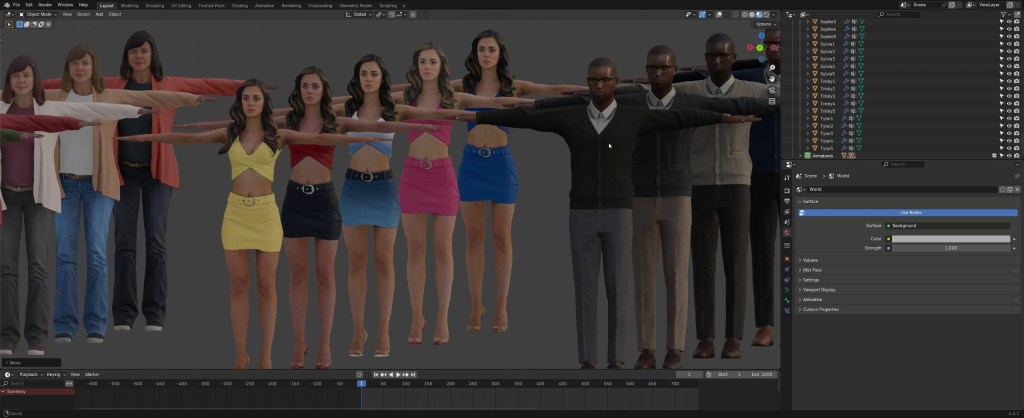
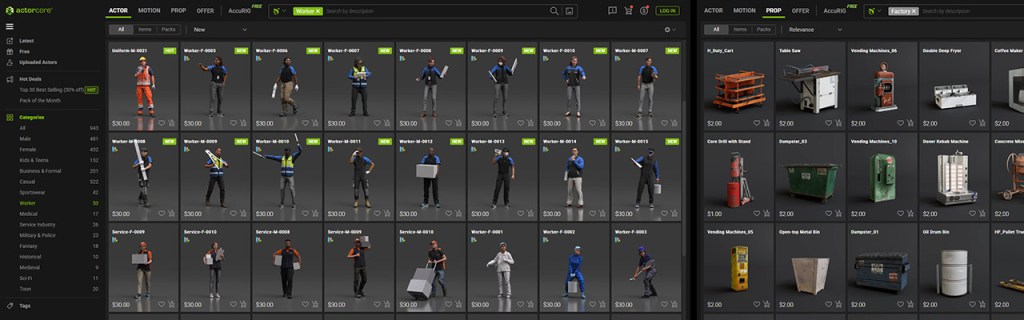
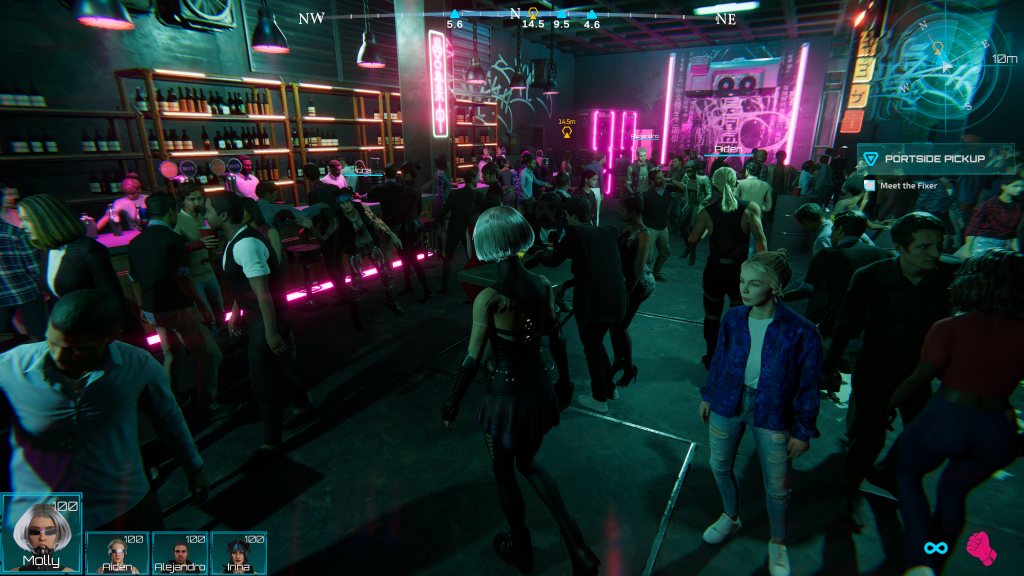
To populate environments quickly, Mike relies heavily on ActorCore. With ready-to-use characters and animation libraries, he can block out crowd scenes and background activity in minutes rather than days. This is especially important for creating the sense of a living city in Dystopia Punk.
Unity Auto Setup: The Real Indie Superpower
One of the biggest challenges for solo developers is rendering quality. Skin, eyes, hair, and wrinkles are notoriously difficult to set up correctly without dedicated graphics engineers.
Mike has fought those battles before.
With Unity Auto Setup, he does not have to anymore.
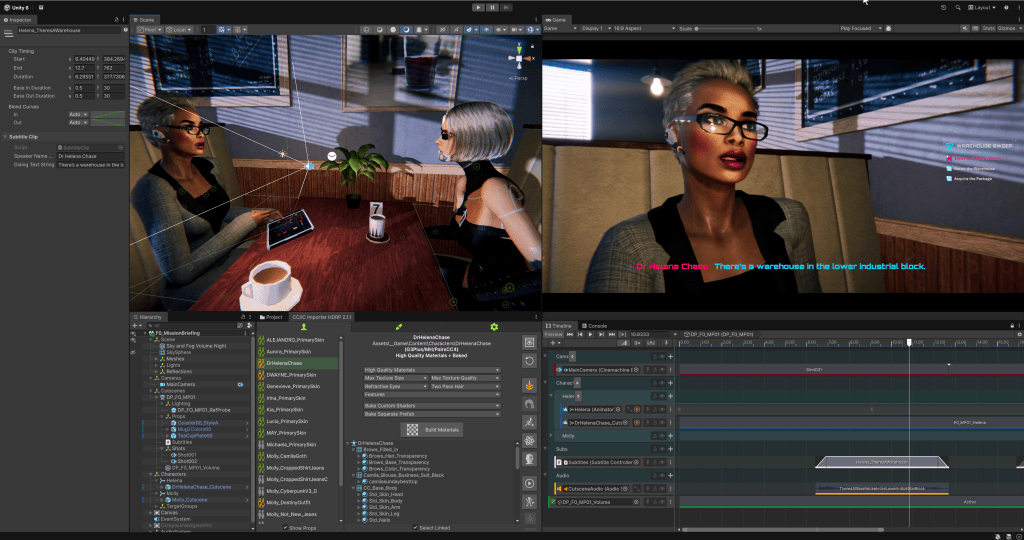
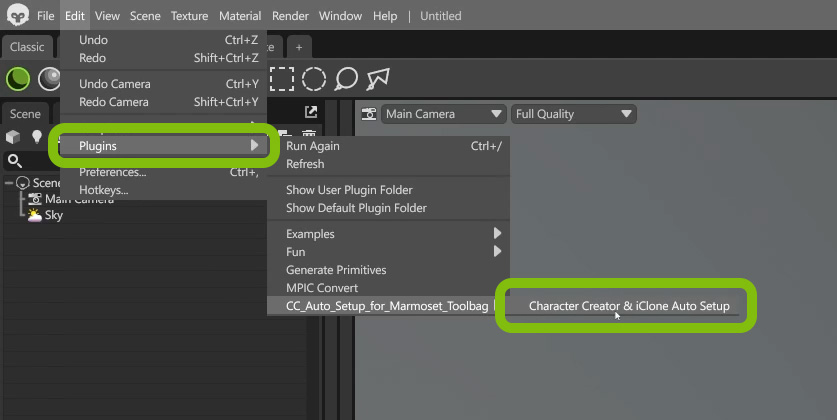
Whether working in HDRP or URP, Auto Setup ensures that characters exported from Character Creator arrive in Unity with shaders, materials, and wrinkle systems configured correctly. The result is predictable, production-ready visuals without weeks of shader development.
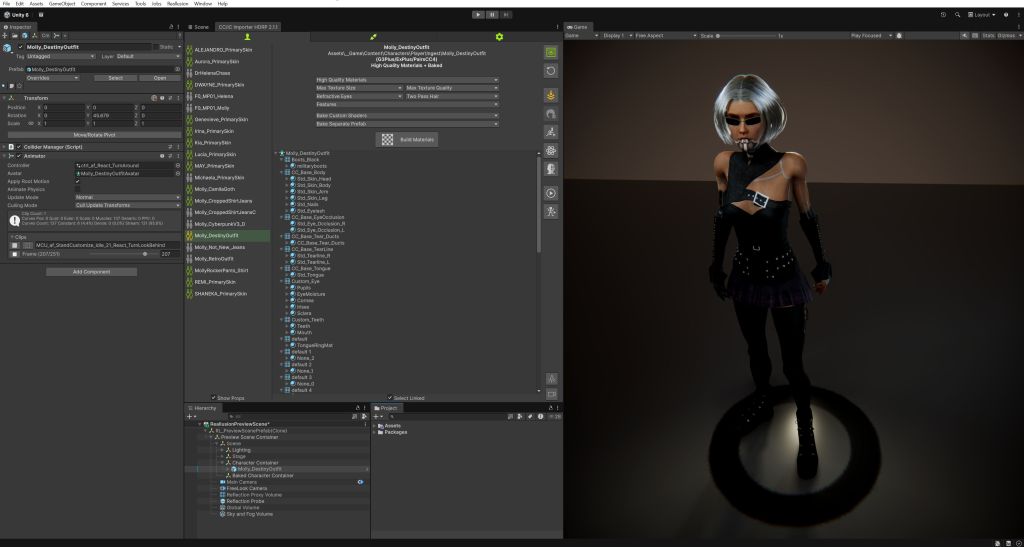
For a one-person team, that reliability is invaluable.
The Time Savings: Months vs Days (And a Two-Week Game)
Mike often compares his current workflow to his experience producing at scale.
In a traditional studio environment, even with multiple character artists and outsourcing support, it could take three to four months to complete a single production-ready character.
Using Character Creator, Mike can build a new character in a couple of days.

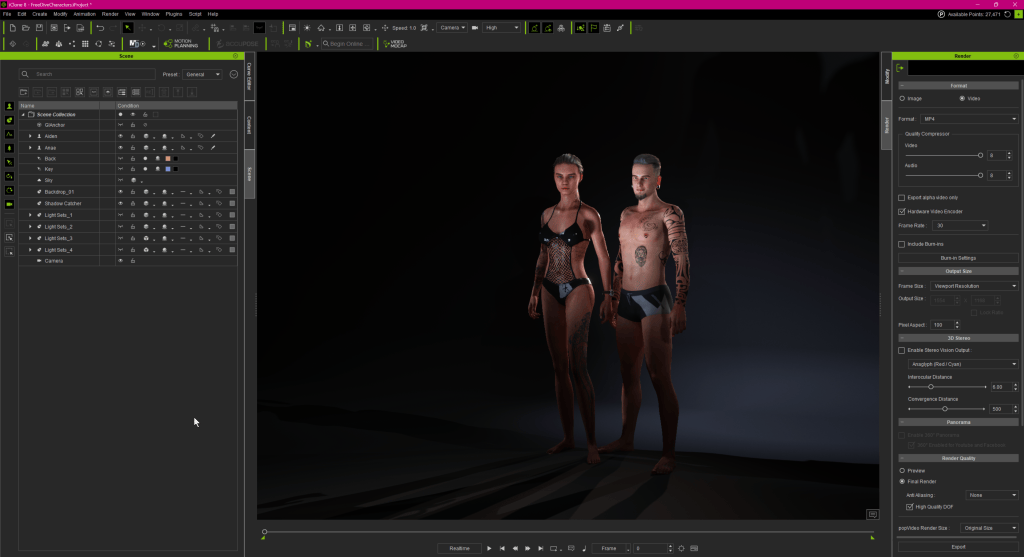
That difference compounds quickly.
As proof, he points to Free Dive, a small third-person game he built during a game jam. Using Character Creator and iClone, he was able to create characters and ship a complete playable experience in two weeks.
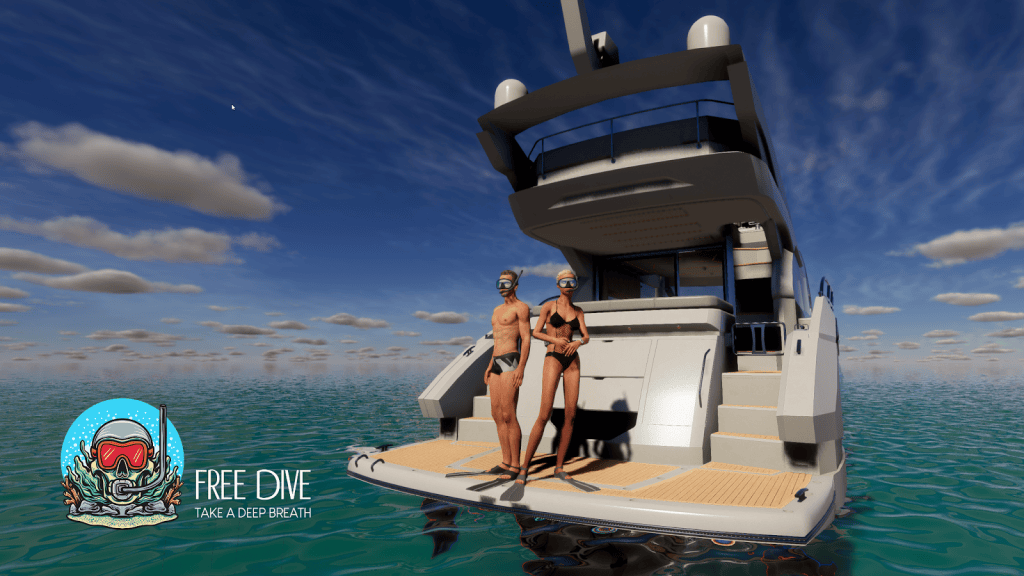
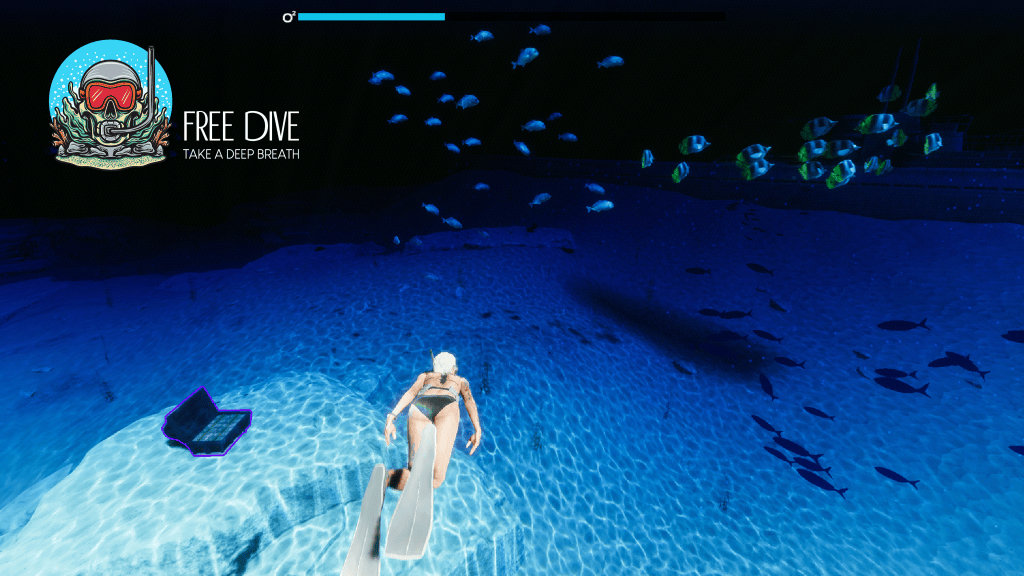
For Mike, that project was a turning point. It demonstrated that solo development was not just possible, but sustainable.
Conclusion
Mike Wuetherick’s journey—from Emmy-winning virtual production to solo indie game development—highlights a fundamental shift in how characters are made.
Character Creator handles the foundation.
iClone handles performance.
Auto Setup makes Unity integration dependable.
Together, they allow one developer to work at a level that once required entire teams.
For indie creators and small studios, that changes what is realistically achievable.
Related Posts
- How to Create a Game Ready Character Hexblade Anathema: From Original ZBrush Model to CC4
- CC5 HD Pipeline Workflow: Creating Fortnite-Style Action Heroes for Animation
- Building a Custom Vampire Character from Scratch with CC5 and Unreal Engine 5.7