Cartoon Animator: A New Creative Era for 2D Animators
What happens when decades of traditional animation experience meet modern artificial intelligence? According to Australian illustrator and animator Garry Pye, it doesn’t replace creativity—it amplifies it. In a world where anyone can now press a button to generate an image, the real opportunity lies in combining AI with professional animation tools to gain speed and control.

This article explores Garry Pye’s evolving 2D-first workflow—blending Cartoon Animator (CTA), AI-powered image and video generation, and professional post-production tools—to show how 2D animators can create their own character, design compelling stories, and future-proof their creative careers without abandoning familiar pipelines.

From Pencil and Paper to AI-Assisted 2D Creativity
For most of his life, Garry learned animation “the hard way.” Reference books, hand-drawn sketches, frame-by-frame animation—every skill earned through repetition and persistence. Creating a simple cartoon scene once meant hours or days of preparation.
AI changed that overnight.
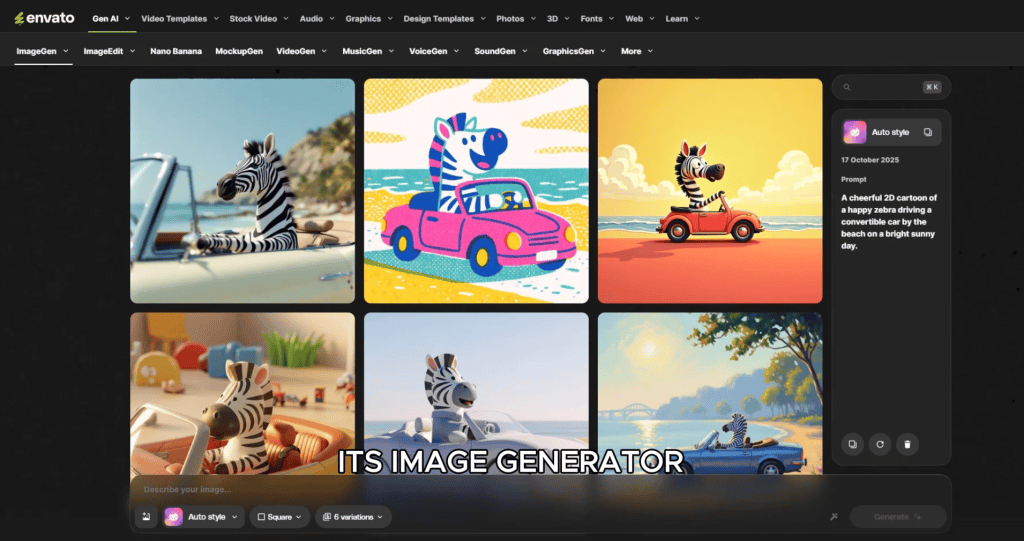
By describing an idea—like a zebra driving a convertible along the beach—Garry can now generate concept images in seconds. Even better, those images can be refined through iterative prompts: wardrobe changes, lighting adjustments, props, and camera angles.
But while AI accelerates ideation, Garry quickly learned an important lesson: AI alone is not a one-stop shop.
AI Is Not a Pipeline—It’s a Powerful Assistant
Despite its impressive results, AI still struggles with long-form storytelling, precise character acting, and consistent performance across scenes. Generating one good image often means discarding several unusable ones.
That’s why Garry approaches AI as a modular toolkit:
- ChatGPT / Grok for ideation, scripts, and concept exploration
- AI image generators for rapid visual development
- Nano Banana for controlled image editing and camera angle changes
- Envato Image to Video for short animated sequences
- Photoshop for cleanup and compositing
- CapCut for final edits

This modular approach allows one animator to achieve results that previously required a full production team.
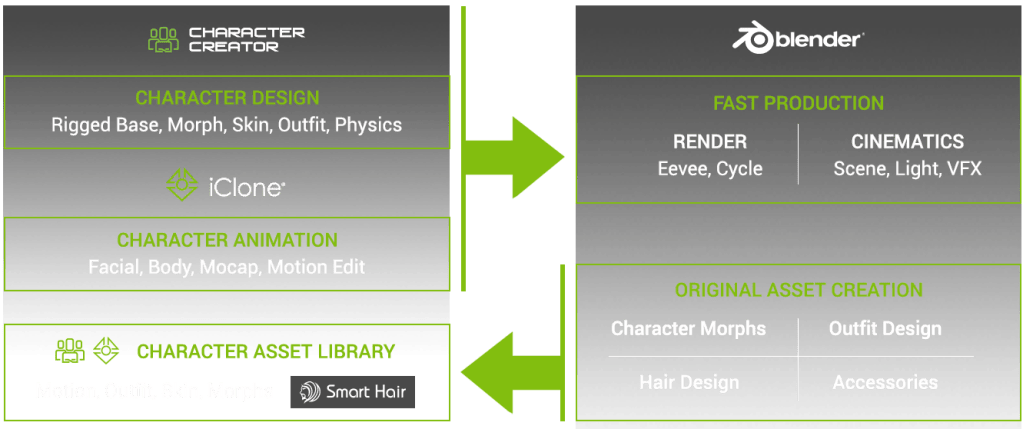
Read more here: AI Render for iClone & Character Creator Enters Open Beta with ComfyUI Workflow
The Role of ChatGPT and Grok in Storytelling
Every day, Garry begins by opening ChatGPT and having a conversation. Rather than issuing commands, he treats it as a creative collaborator—sharing goals, ideas, and challenges.
ChatGPT and Grok are used for:
- Producing reference images
- Story concepts and scriptwriting
- Visual descriptions for image generation
- Exploring alternate narrative directions
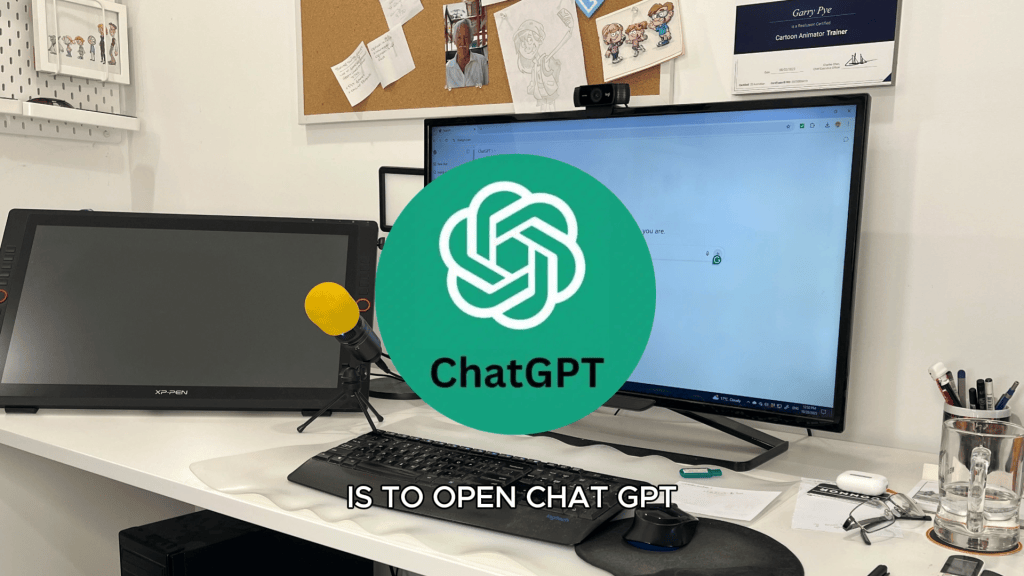
The more specific the prompts, the better the results. Garry emphasizes that AI must be guided carefully—clear language and precise direction are essential.
Why 2D Artists Have an Advantage
Although AI excels with 3D figures, Garry’s expertise lies firmly in 2D animation—and that’s where Cartoon Animator truly shines as a professional 2D animation software.
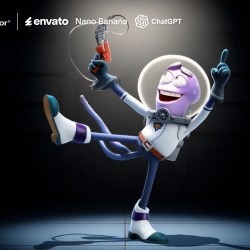
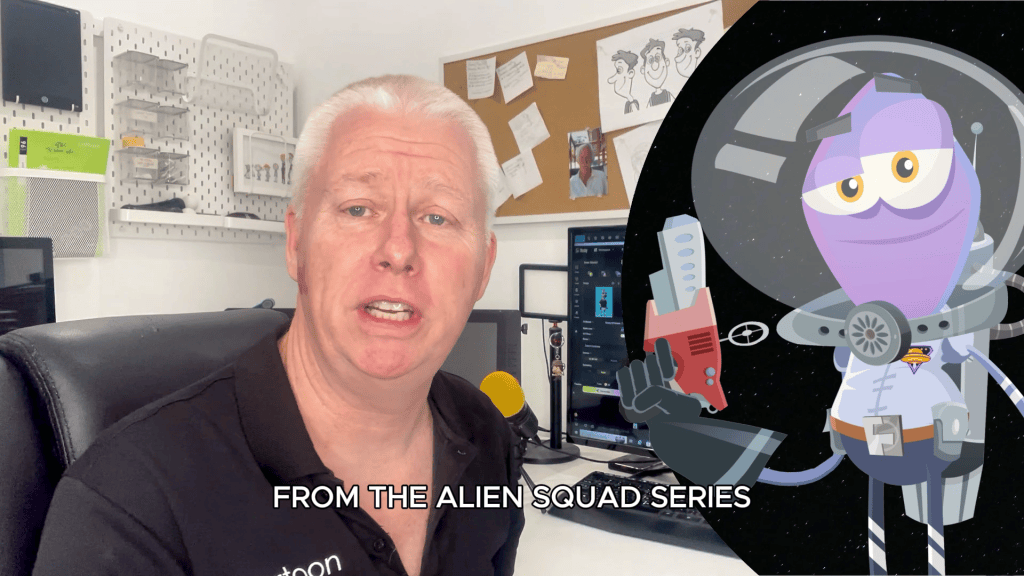
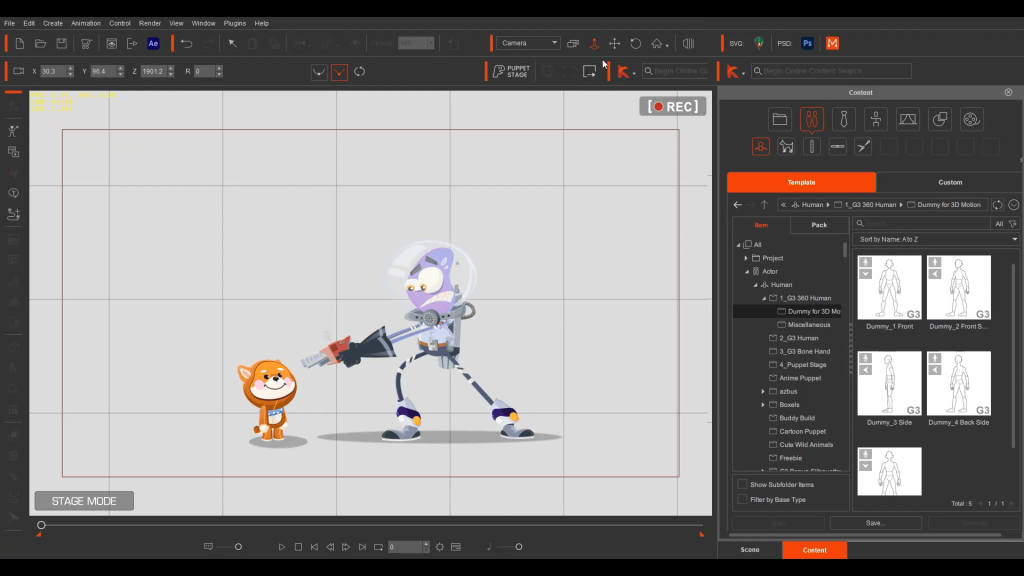
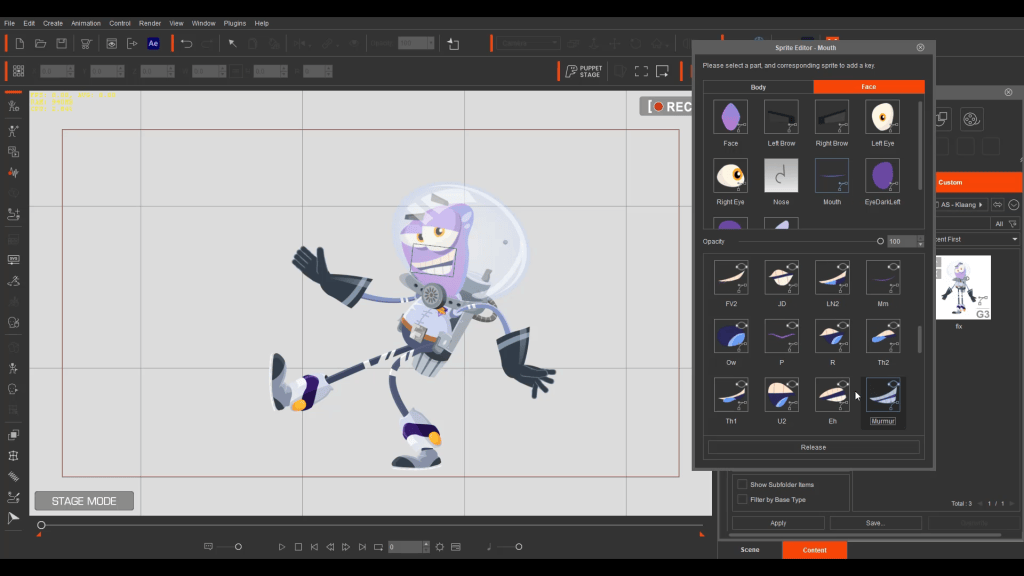
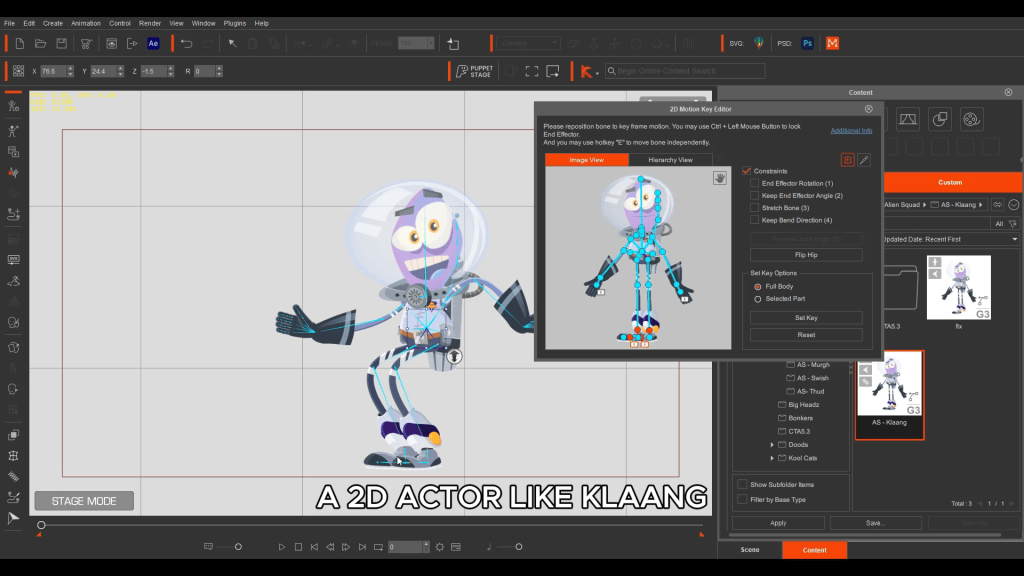
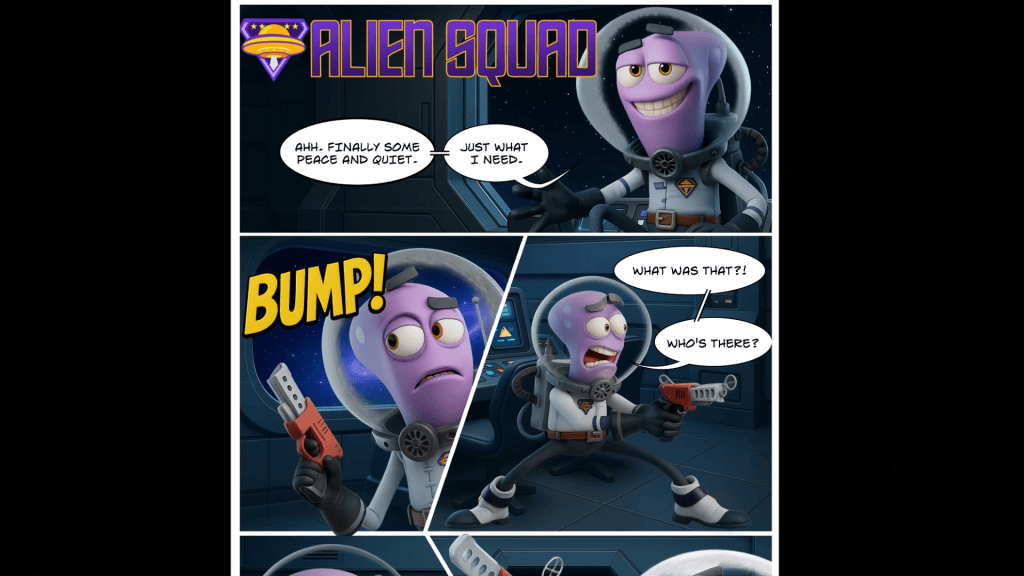
Using his original 2D character, Klaang from Alien Squad, Garry demonstrates a powerful 2D-centric hybrid workflow that keeps Cartoon Animator at the core:
- Pose the character in Cartoon Animator
- Export a still image
- Ask AI to reimagine that pose as a 3D character
- Refine results in Photoshop
The consistency across poses is impressive, and each pose becomes a standalone asset usable in print, comics, or animation.
This approach bridges 2D and 3D while keeping 2D animation, sprites, and performance control inside Cartoon Animator—without requiring deep modeling knowledge.

Envato: Image, Edit, Animate
Envato has become a cornerstone of Garry’s AI workflow. Its tools combine image generation, editing, and animation in one evolving platform.

Nano Banana: Controlled 2D Creativity
Nano Banana allows creators to edit only what they request—preserving character identity, lighting, and composition. Unlike many AI tools, it doesn’t randomly alter the entire image.
Key advantages include:
- Camera angle changes from a single image
- Selective edits
- Lighting and color adjustments
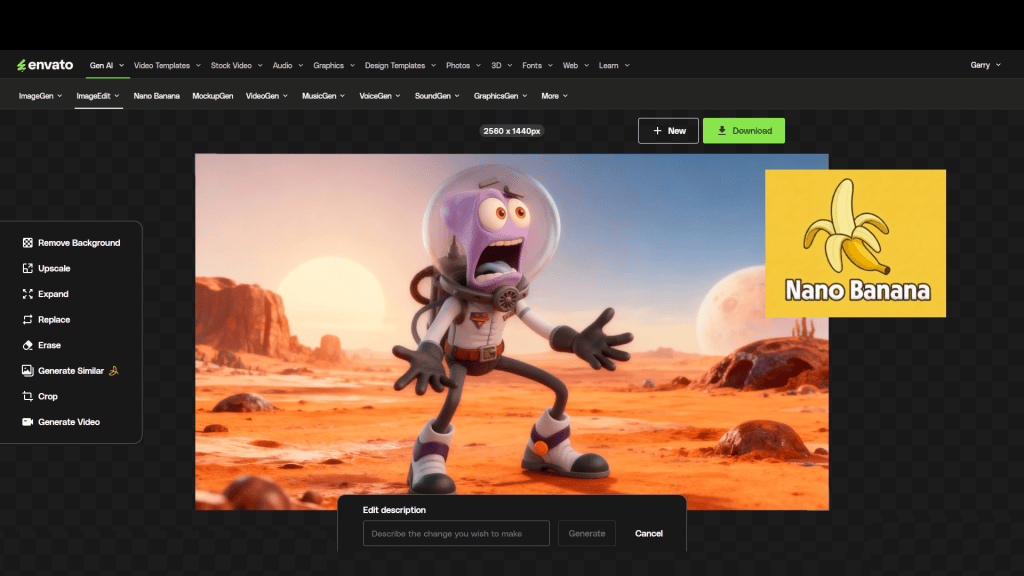
For Cartoon Animator users, this is equivalent to gaining virtual 3D camera control inside a 2D pipeline.
Image to Video: Speed Meets Consistency for 2D Animation
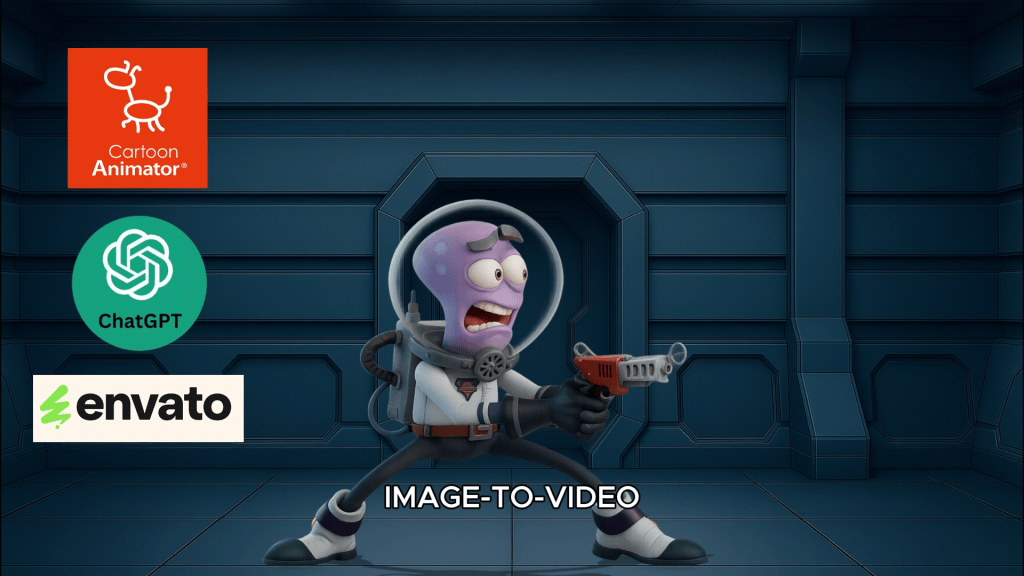
Envato’s Image to Video generator has transformed Garry’s workflow. By defining a start and end frame—often created directly in Cartoon Animator’s Stage or Composer modes—he maintains visual consistency while AI fills in the motion.
In under an hour, Garry can:
- Set up shots
- Generate multiple animated clips
- Assemble them into a coherent sequence
Even creators who struggle to draw can now produce polished animations—while experienced animators gain unprecedented speed.

Expanding What’s Possible with 2D + AI
Beyond character animation, AI excels at tasks that are traditionally time-consuming:
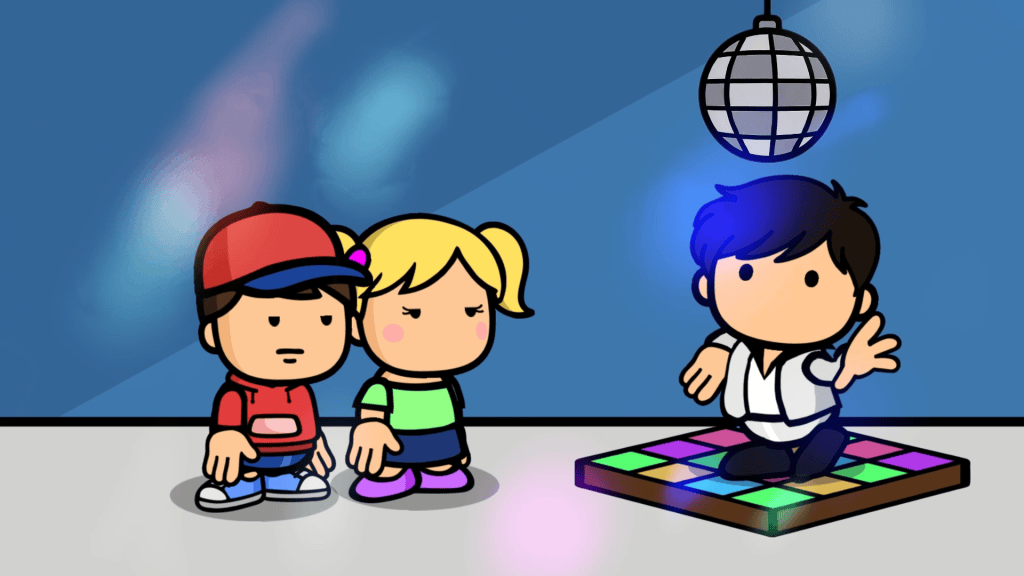
2D Animated Props
Static objects like disco balls or fire can be animated via Image to Video tools. Individual frames can then be imported into Cartoon Animator as animated props.
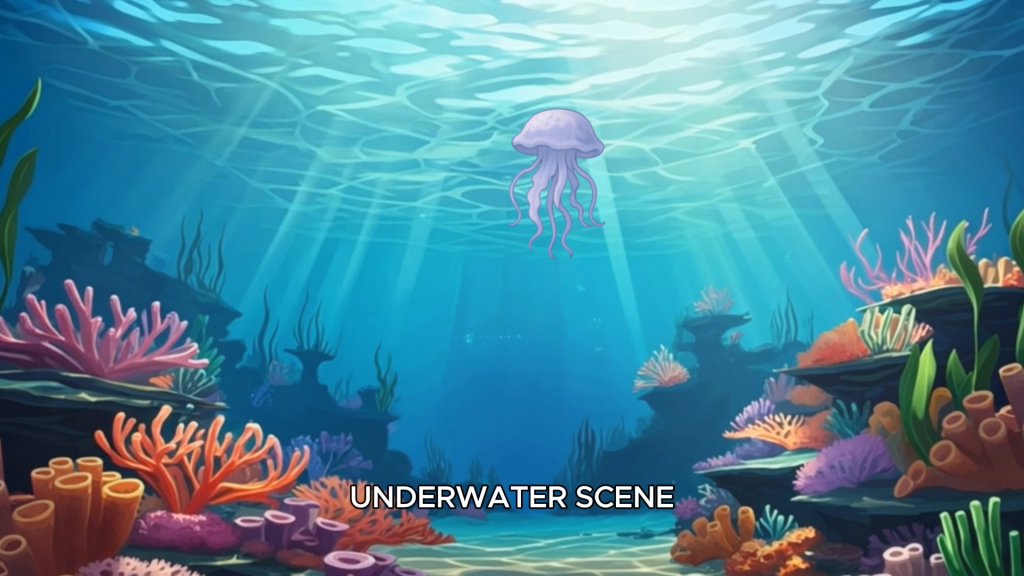
2D Living Backgrounds
AI-generated environments—such as underwater scenes—can be cleaned in Photoshop and animated to create dynamic backdrops. These animated backgrounds drop directly into CTA’s Stage Mode.
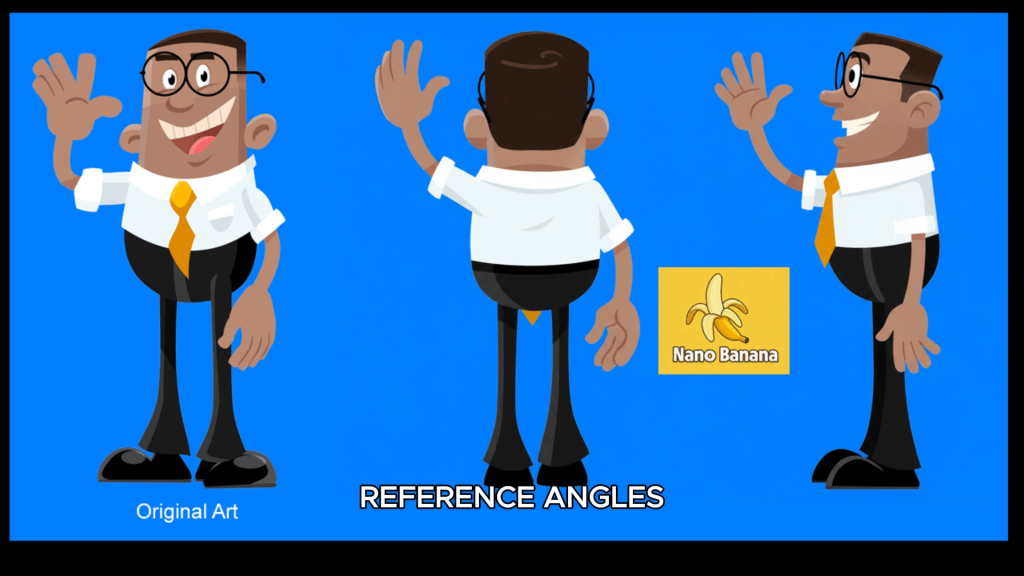
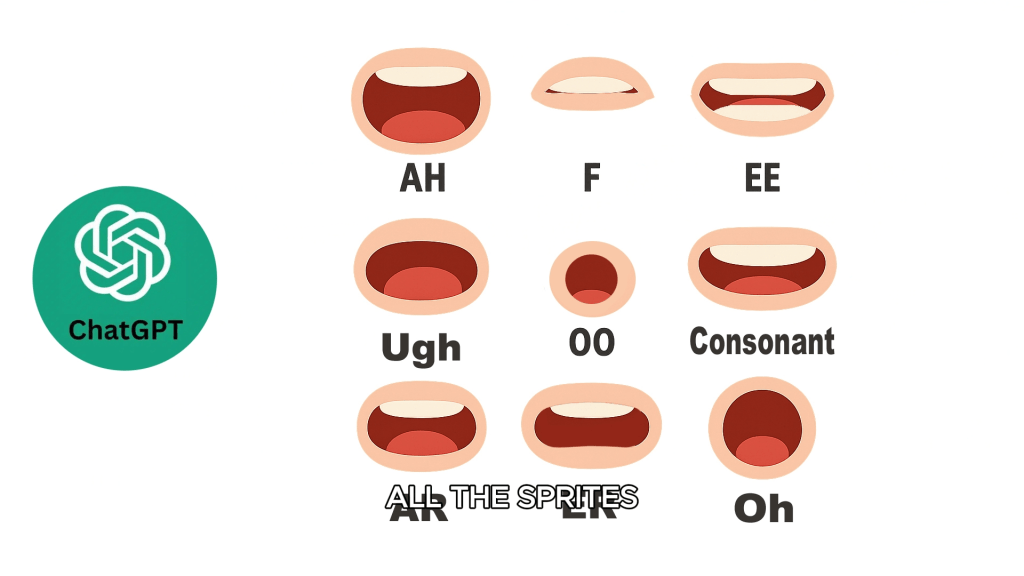
Cartoon Character Turnarounds and Sprites
AI can generate side and back views of characters, mouth sprites, and eye sets—ideal for creating custom rigs or preparing assets for 360-degree heads.
Additionally From AI Images to 3D Characters
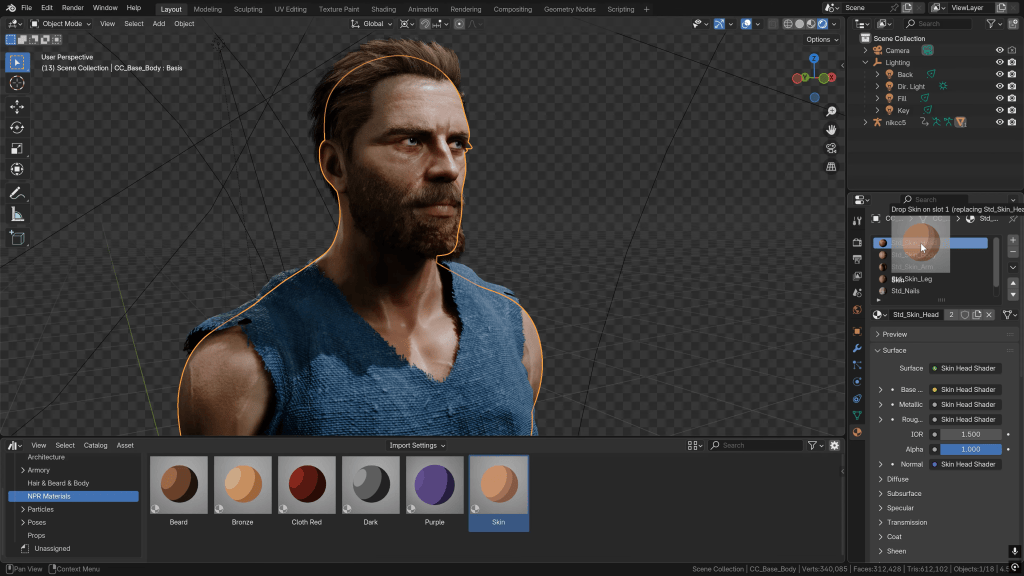
One of the most exciting developments in AI is the ability to convert images into 3D models. Tools like Meshy can generate a Blender-ready character base from a single image.
While current results may include dense topology and imperfect meshes, the speed is undeniable. Garry notes that what once took months of modeling can now be achieved in minutes—and the technology is improving rapidly.
For creators working in Blender or other 3D animation software, this opens new doors:
- Rapid exploration of styles and proportions
- Faster prototyping
- AI-assisted character designer workflows

Cartoon Animator: The 2D Control Layer AI Can’t Replace
Despite AI’s rapid growth, Garry is clear: AI is not a replacement for professional animation software.
For 2D-focused productions, Cartoon Animator provides:
- 2D rigging, bone systems, and sprite-based character control
- Precise motion editing
- 2D camera control, staging, and shot continuity
- Performance-driven storytelling
AI speeds up the process, but Cartoon Animator delivers the polish, timing, and performance control that 2D animation requires and AI cannot provide on its own.
Pros of Combining Cartoon Animator and AI for 2D Production
Speed: AI handles repetitive and experimental tasks while CTA focuses on performance
Creative Freedom: Explore more 2D ideas, poses, and shots without increased production time
Solo Production Power: Small teams can produce studio-level results
Future-Proof Skills: 2D artists who master Cartoon Animator are perfectly positioned to leverage AI
Quality Control: Human direction ensures consistency and storytelling integrity
Key Lessons Garry Has Learned
Garry summarizes his AI experience with three guiding principles:
- Free plans limit results; professional output requires investment
- Think outside the box—anything is possible
- Be extremely specific with prompts
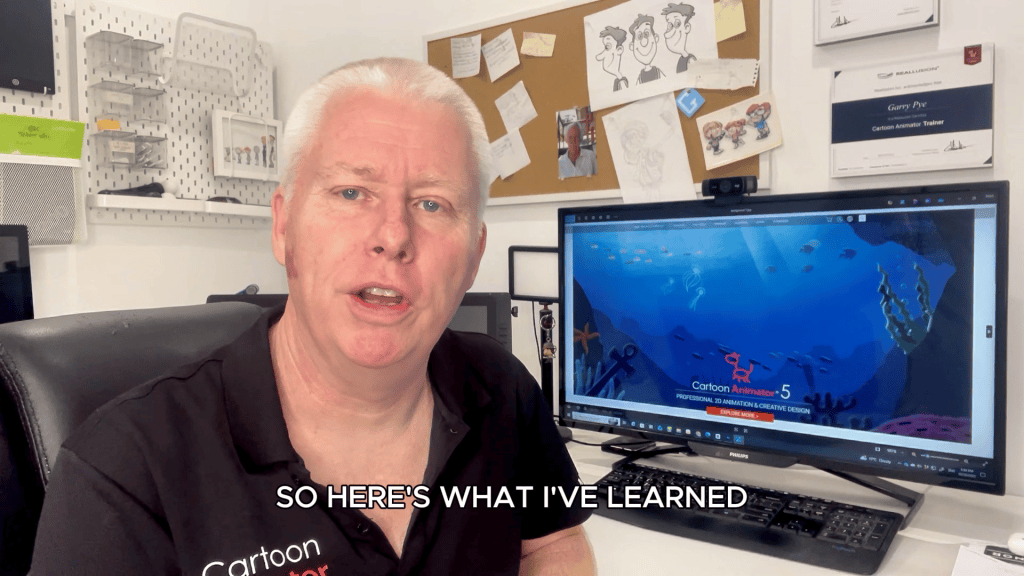
Above all, AI needs a creative boss.
Conclusion: AI Has Supercharged Creativity for 2D
AI hasn’t taken creativity away from animators—it has expanded what’s possible. By combining AI tools with Cartoon Animator, iClone, and traditional skills, creators can work smarter, not harder.
For 2D animators, content creators, and production studios, the message is clear: use AI to accelerate production—but rely on Cartoon Animator for performance, storytelling, and control.
Explore Cartoon Animator, iClone, and Character Creator to build an animation pipeline where AI accelerates your ideas—and your skills remain the driving force.
FAQ
Can AI replace Cartoon Animator or iClone?
No. AI enhances speed and ideation, but Cartoon Animator and iClone provide essential animation control and polish.
Is this workflow suitable for beginners?
Yes. AI lowers entry barriers, while Cartoon Animator helps beginners learn professional animation fundamentals.
Can I use AI-generated characters in Blender?
Yes. Tools like Meshy can convert images into Blender-ready models, though cleanup may be required.
How does Character Creator fit into this pipeline?
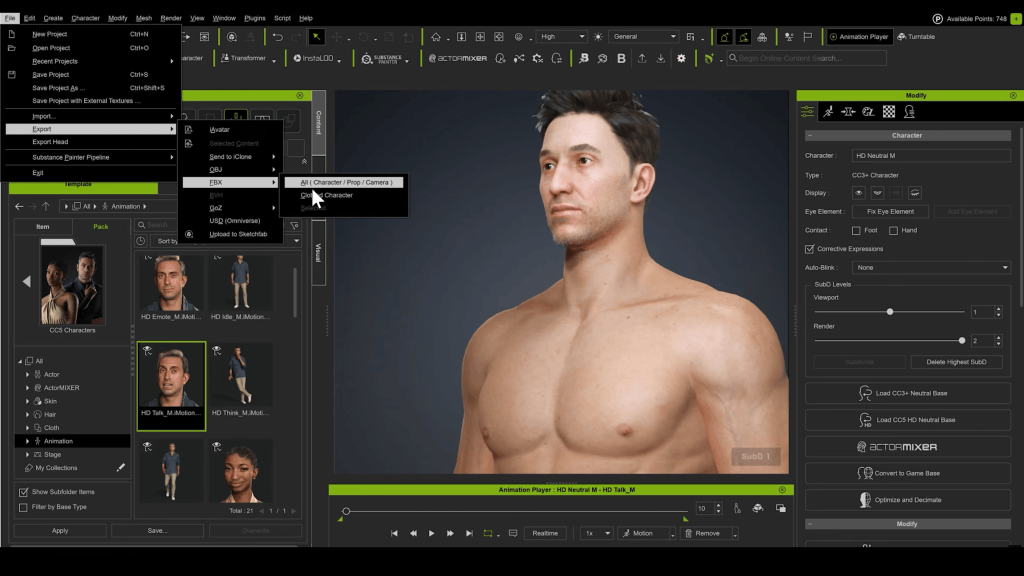
Character Creator 5 provides a professional character base for consistent, production-ready assets.
What’s the biggest advantage of combining AI and Cartoon Animator?
Speed without sacrificing storytelling control.
Related Posts
- The Evolution of Cartoon Animator: A Conversation with Garry Pye
- From AI to Animation: 3 Ways to Bring Hunyuan3D Characters to Life in CC4
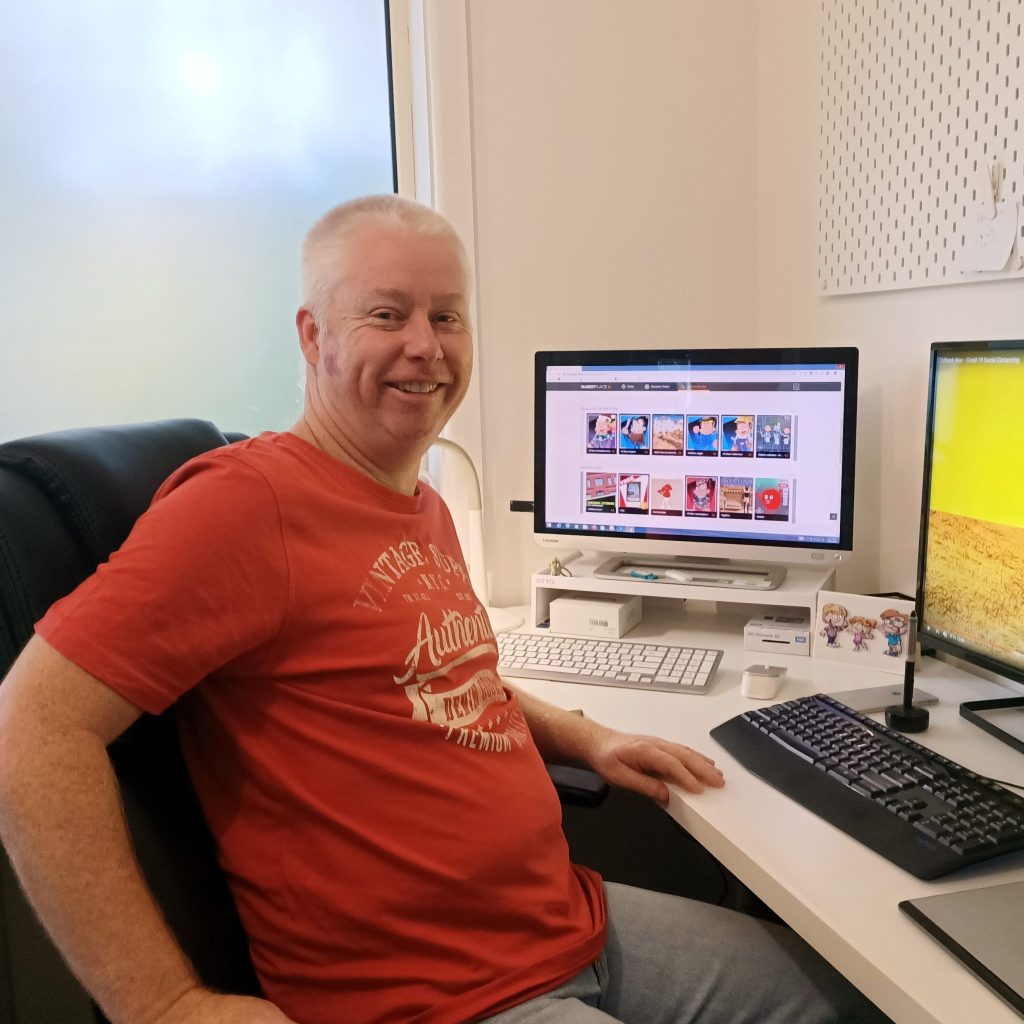
Garry Pye – 2D/3D Animator | Content Developer
Garry Pye is an Australian illustrator, animator, and Cartoon Animator instructor with over a decade of industry experience. Known for his approachable teaching style, sharp humor, and deep technical knowledge, Garry has built a reputation for making animation accessible to beginners while still inspiring seasoned professionals.
His work spans animated shorts, educational content, and live presentations where he demystifies complex workflows. At the core of Garry’s philosophy is a belief that storytelling always comes first—and tools should serve creativity, not limit it.
Today, Garry is exploring how AI can become a creative assistant inside professional animation pipelines rather than a replacement for skilled artists.
Follow Garry Pye’s iClone Page|2D Animation Page|2D Marketplace | Instagram