Kay John Yim
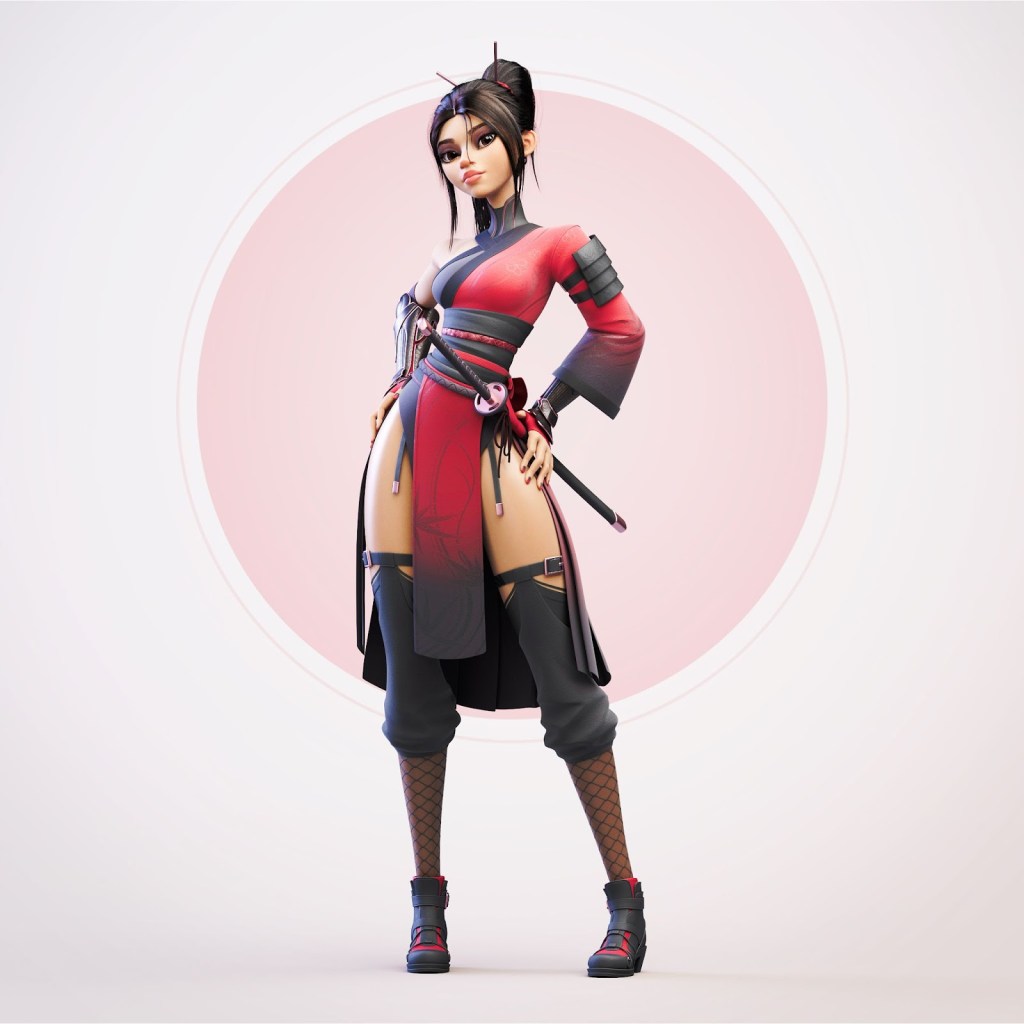
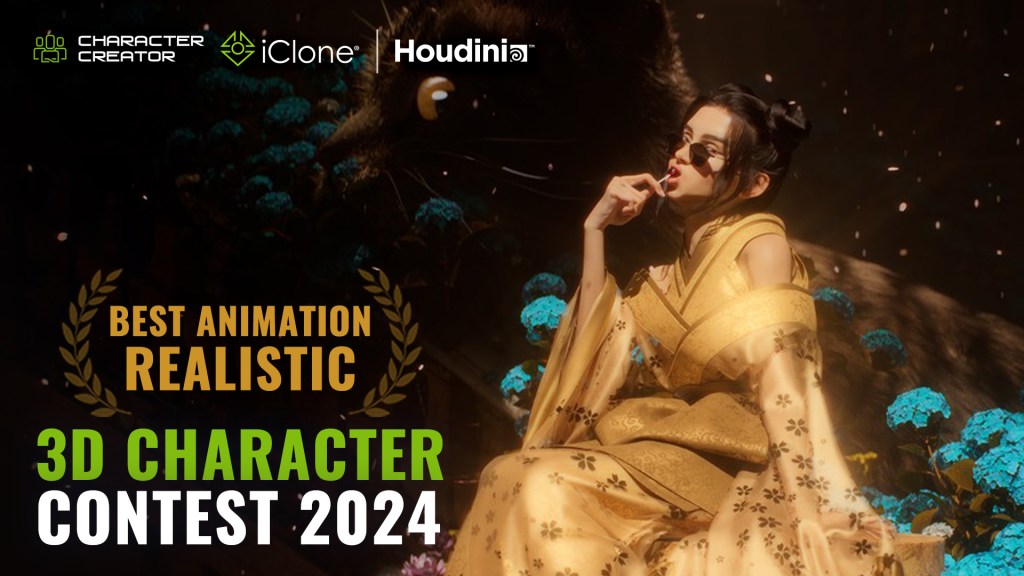
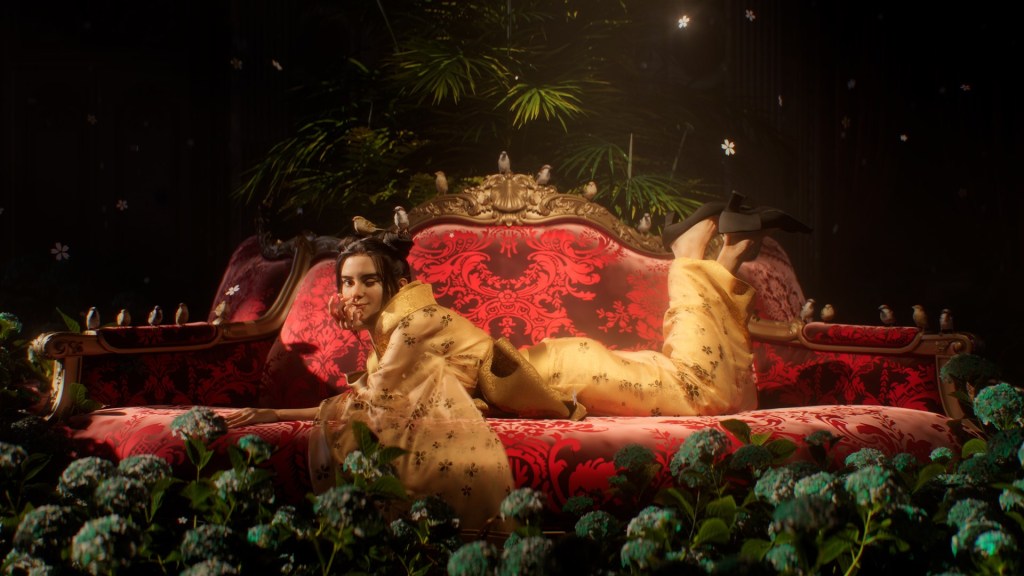
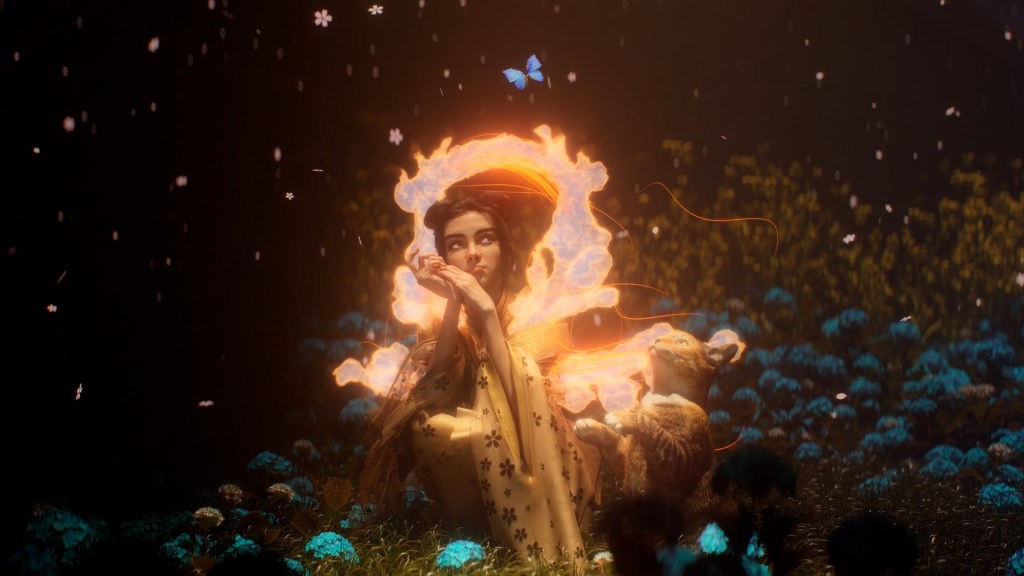
I have long dreamed of creating an animated personal project based on a Japanese deity. As I am deeply inspired by Japanese culture, particularly its traditional attire and mythological lore. Inari Okami, beyond being the deity of prosperity and agriculture, is wrapped in numerous legends and mysteries. This rich variety of lore makes her personality, behavior, and appearance particularly open to artistic interpretation and design.
Three years ago, when I first began learning Character Creator 3, I attempted to create a version of Inari Okami. At that time, my skills and knowledge were limited, preventing me from fully realizing my vision. I took this contest as an opportunity to revisit the character from scratch. This allows me to gauge how far I have progressed in CG character creation.

Starting with Character Creator (CC)
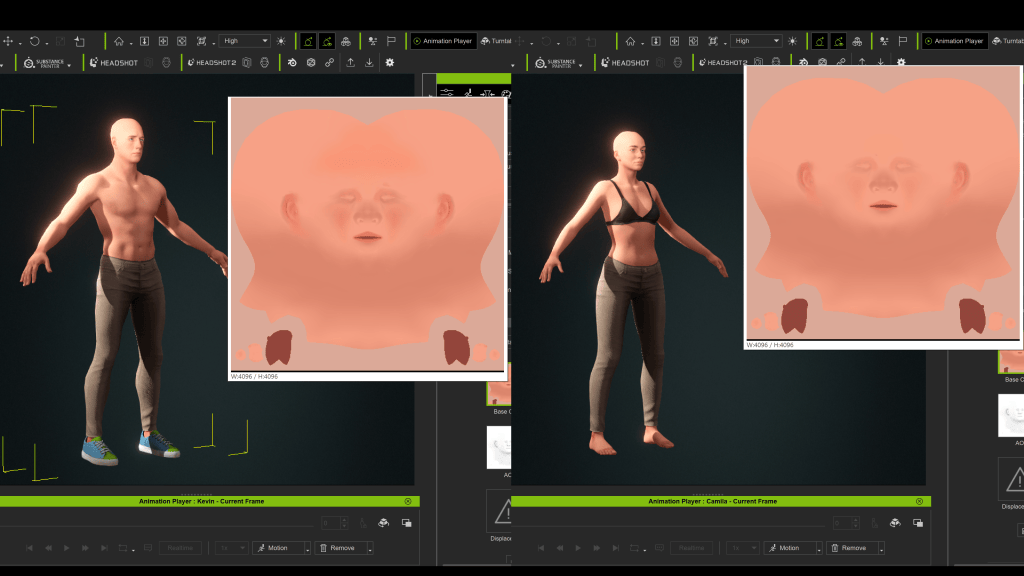
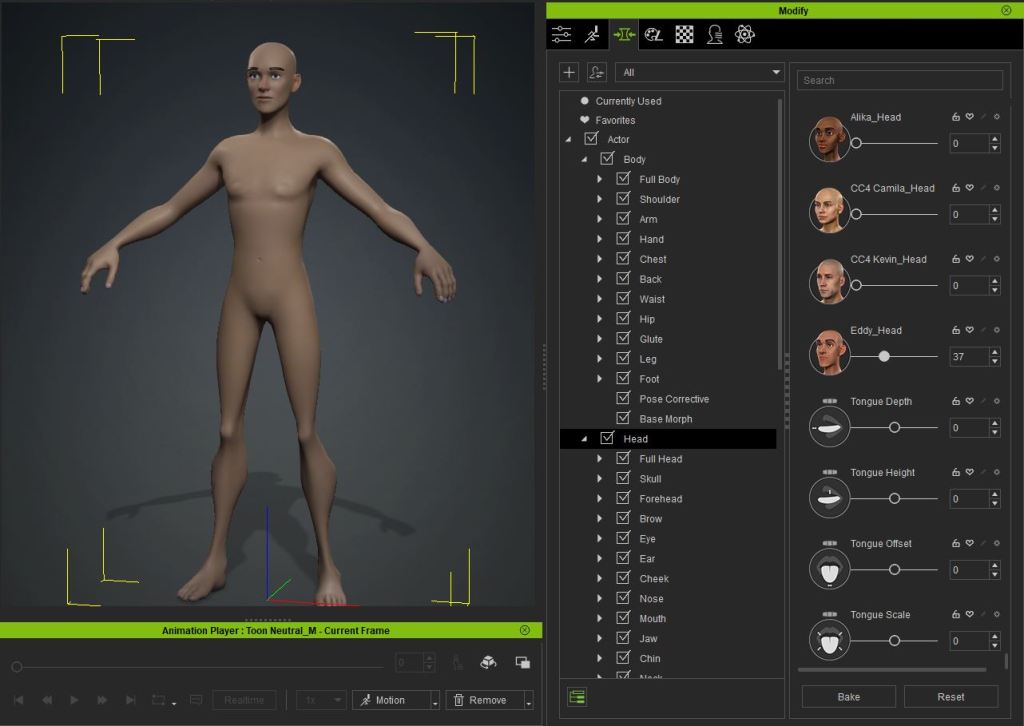
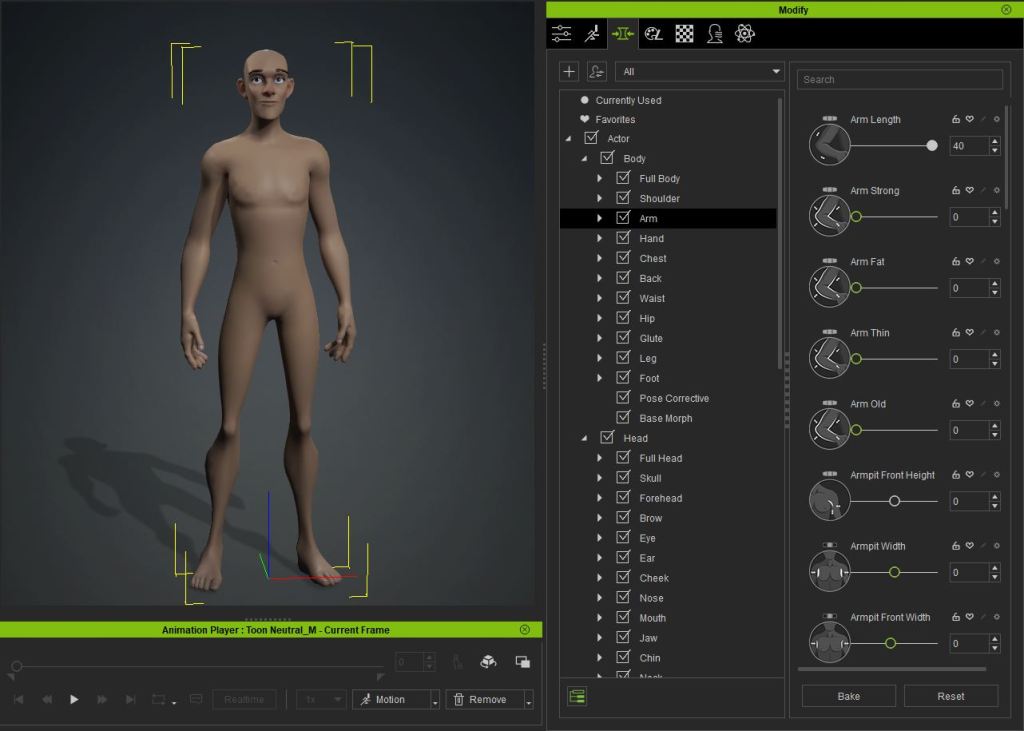
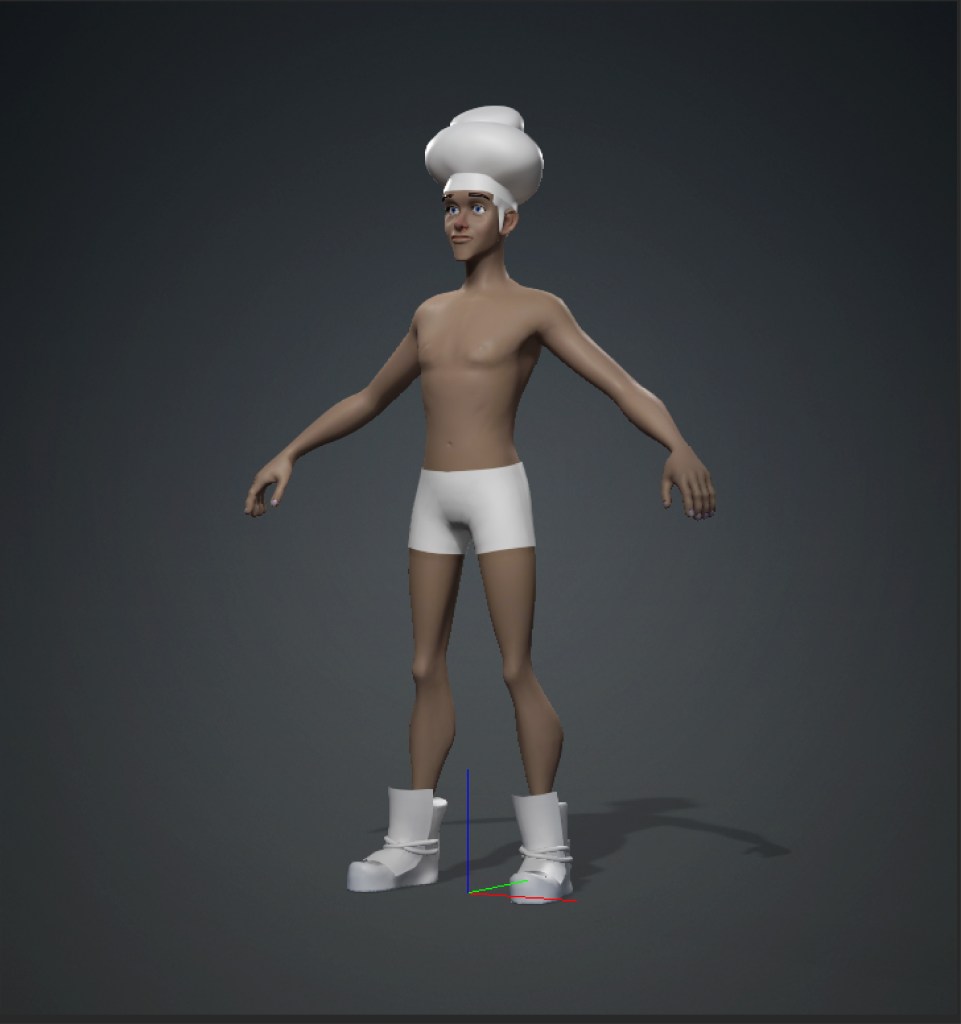
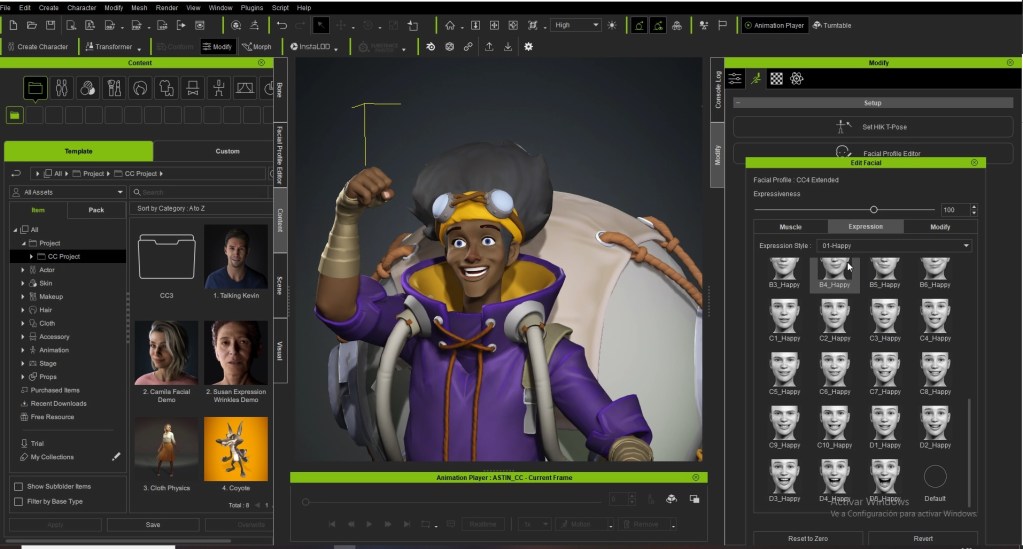
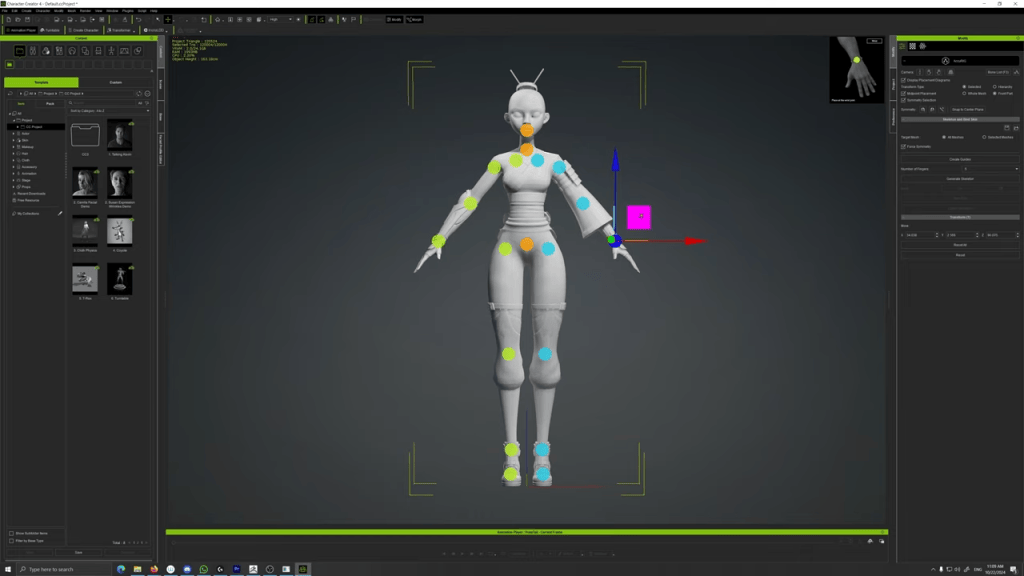
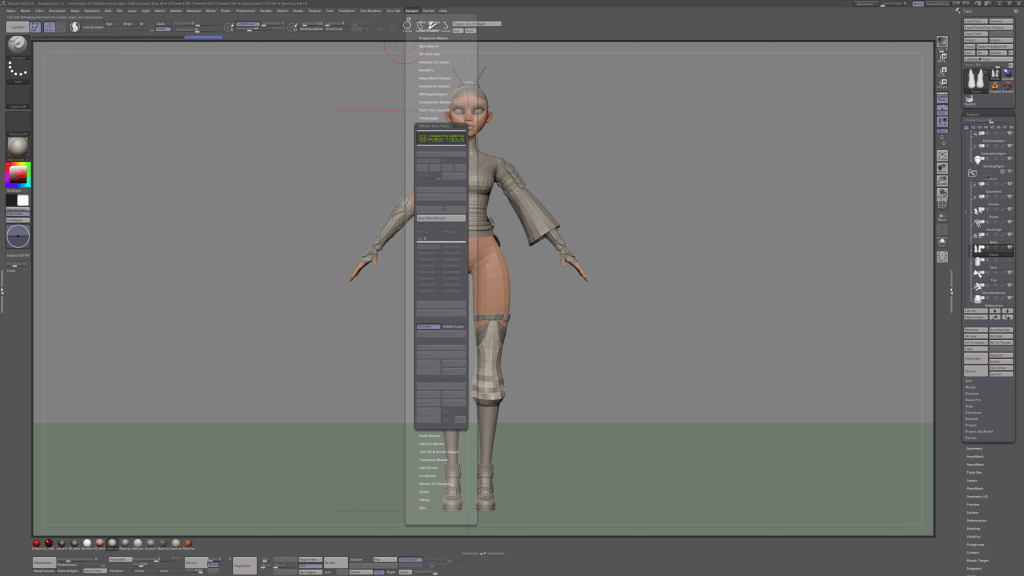
The entire project spanned approximately two months, with the customization of the CC base character taking only a day. It’s a relatively quick process compared to the project’s overall timeline, made possible by Character Creator 4’s morph sliders.
A valuable tip I discovered is that you can input values that exceed the morph slider’s default range. This revelation effectively removed many limitations I had previously encountered in the creation process!
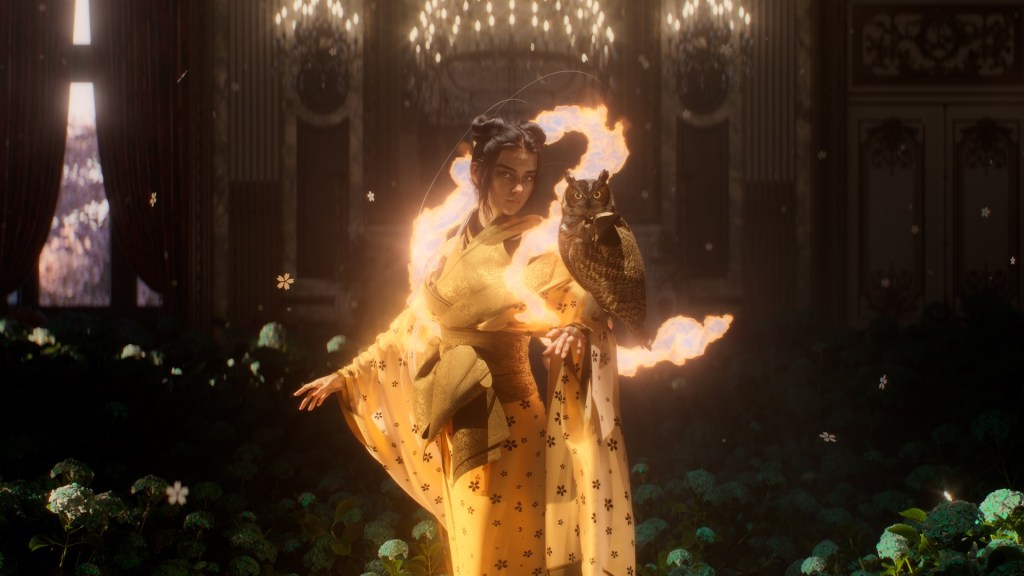
Traditional Japanese attire follows precise rules governing design, wearing methods, and hairstyles, which would have required extensive research to recreate. Therefore, I chose to create a modern interpretation of the deity (kimono, 3d hairstyle and movements) while preserving key traditional Japanese elements (kimono fabric pattern).
I designed her hairstyle, eye contact, and expressions to convey a playful personality, offering a contemporary twist on the traditional deity’s representation.
Animation Posing in iClone
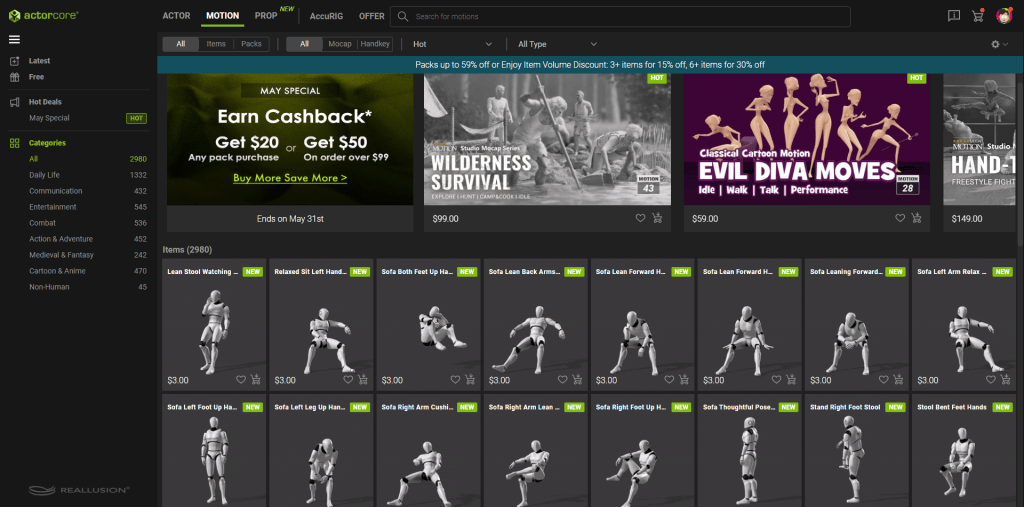
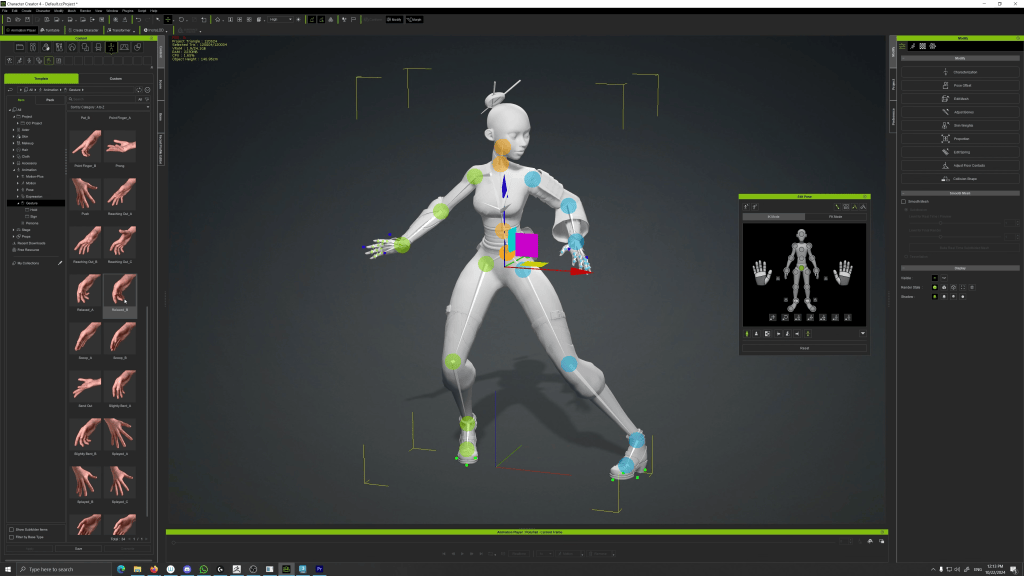
I began by selecting an appropriate rhythm featuring Taiko drums. Then, I chose complementary ActorCore motions that fit with both the beat of the music and the deity’s personality. To achieve the aesthetic of a filmed dance performance, I established a fixed camera position early in the process. I also focused my editing efforts solely on elements visible within this frame.
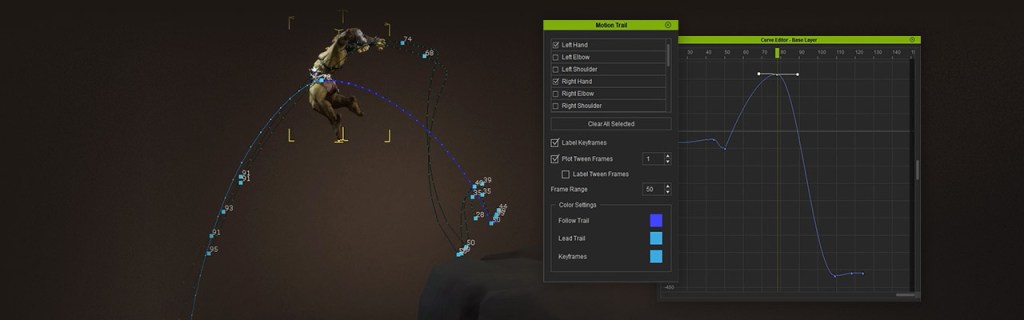
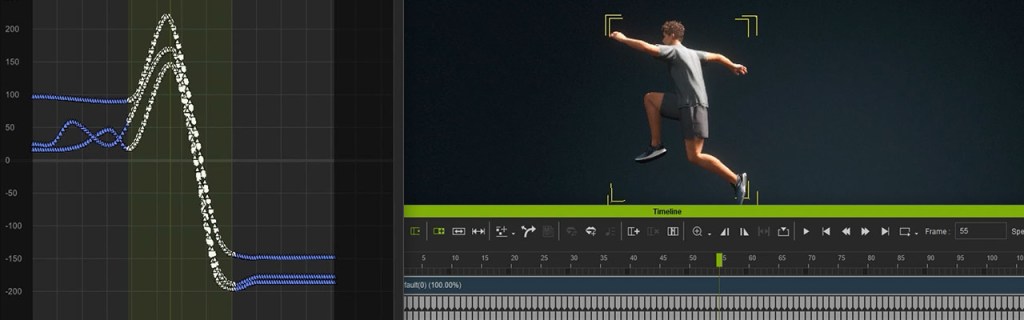
Additionally, I utilized iClone’s “Look At Camera” function to maintain consistent eye contact between the deity and the audience. This creates a more engaging experience. I primarily used the “Edit Motion Layer” function, manually creating keyframes to seamlessly blend one movement into the next. So I can transition between multiple Actorcore Motions.
Clothing in Marvelous Designer & Houdini
The final aesthetic required approximately 3-4 weeks of iterative refinement. In my experience and workflow, I have found that garments that look decent in the Marvelous Designer viewport do not always translate to final renders, particularly when animating complex garments like kimonos. To address this challenge, I developed a mini “pipeline” connecting Marvelous Designer, iClone, and Houdini.
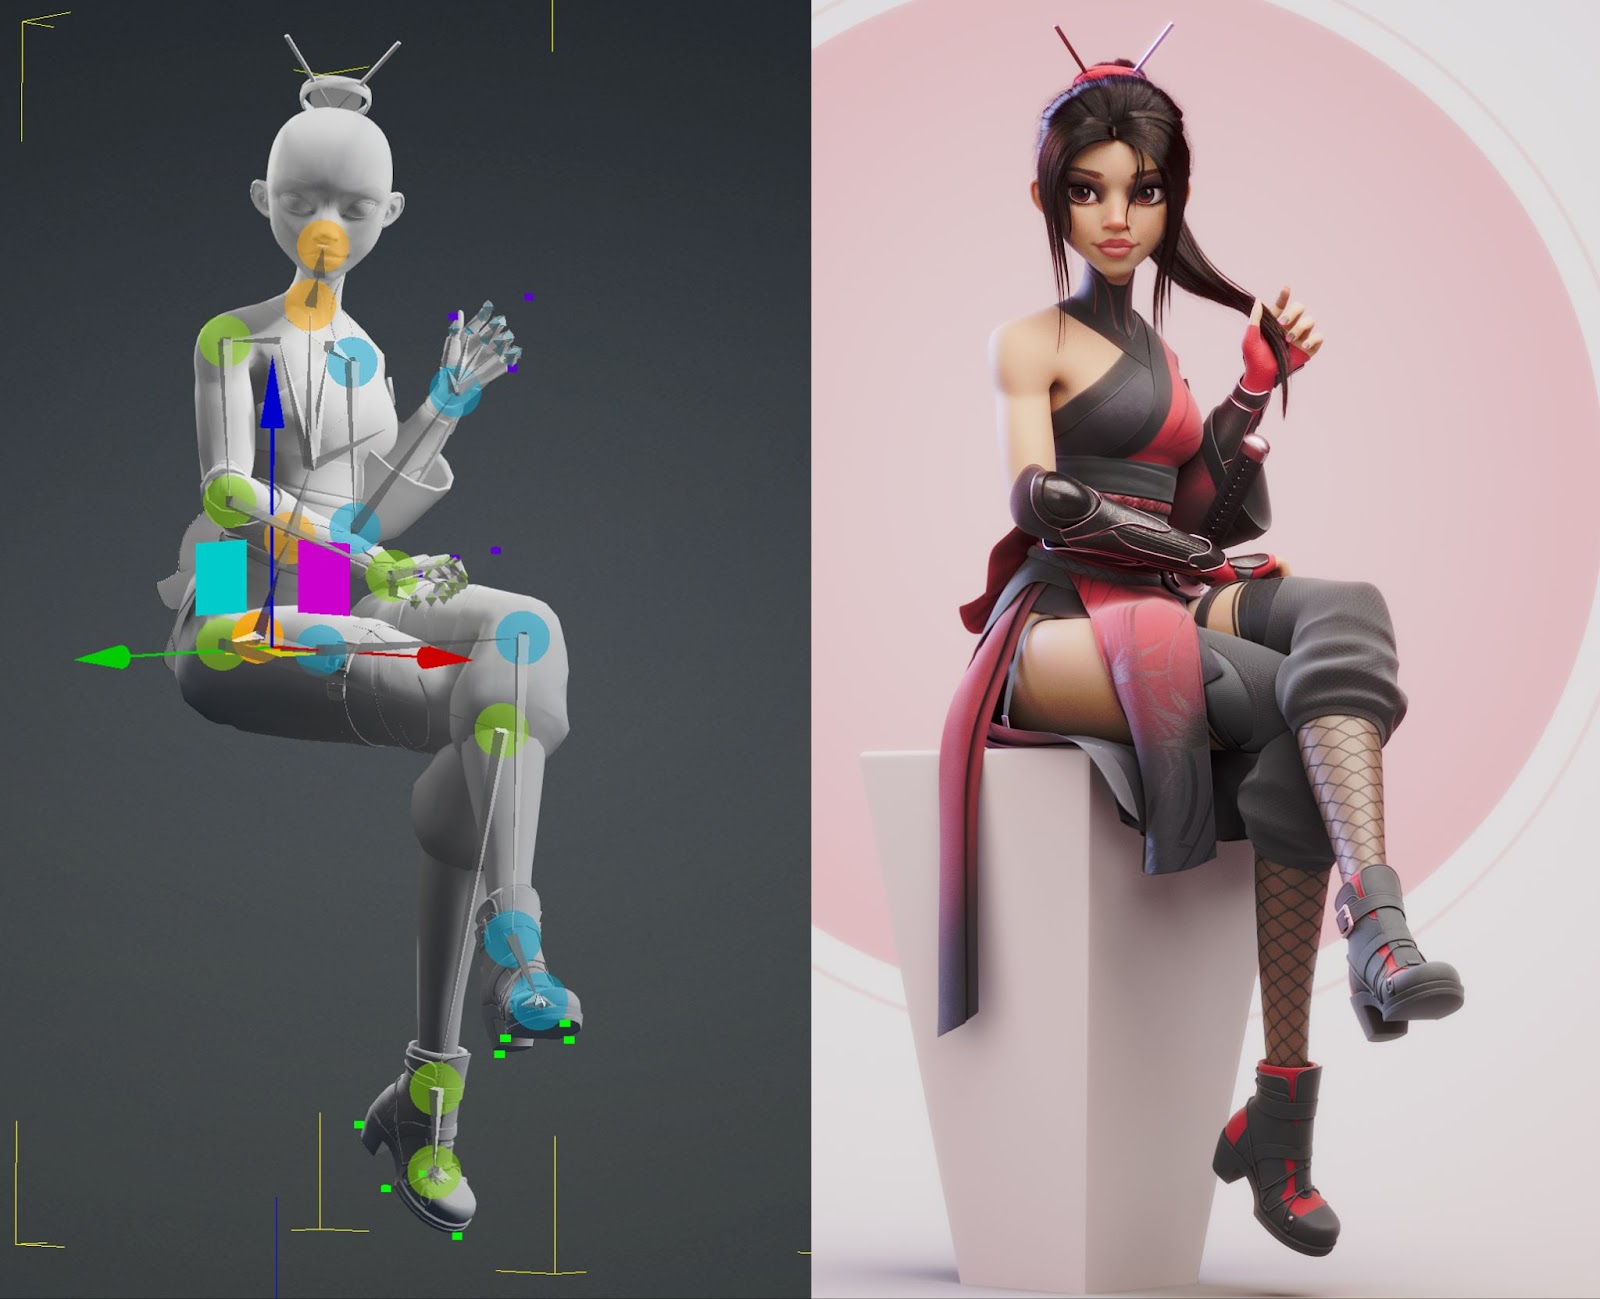
Garments exported from Marvelous Designer would automatically conform to four different character poses in Houdini. I then rendered these variations using Redshift to evaluate multiple aspects of the design: its fit on the character, behavior under various lighting conditions, and material properties. This procedural approach enabled me to comprehensively assess each design iteration before committing to a final design for cloth simulation.
Although it can be tempting to use low particle distances to high fidelity garments in Marvelous Designer, I recommend maintaining a higher particle distance to optimize performance. The priority should be establishing a strong silhouette while keeping the garment’s mesh as lightweight as possible. When working with cloth simulation specifically, efficiency is best achieved by perfecting the base simulation before adding realistic details such as cloth thickness, buttons, and stitches. This approach streamlines the workflow and allows for better control over the final result (I personally recommend cloth simulations in Houdini as it is a lot more controllable; MD can be unpredictable and frustrating when it comes to cloth simulation).
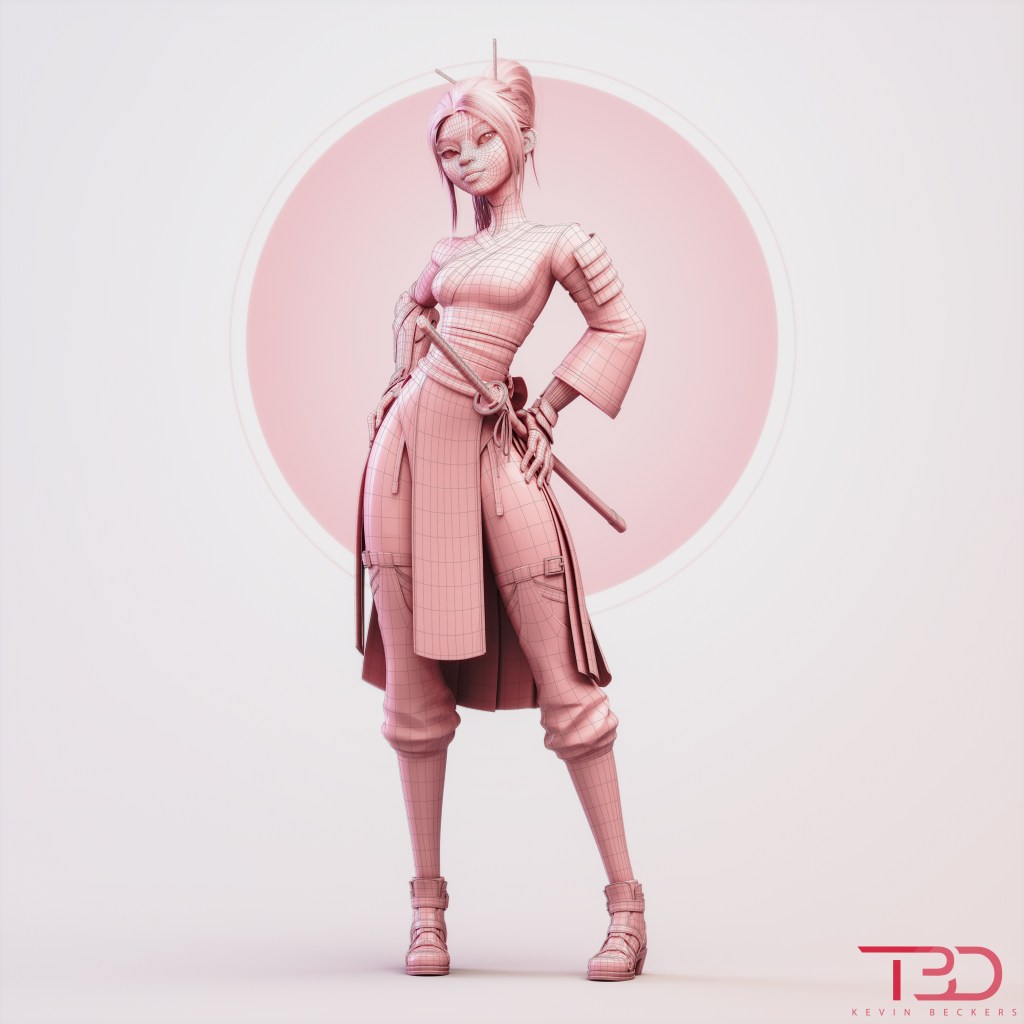
I converted all garments to quad meshes and maintained a particle distance of 10 or higher before exporting them to Houdini for Vellum cloth simulation. The simulation took over 40 iterations before achieving satisfactory results. Many of my early attempts failed due to fabric catching in the character’s armpits or fingers. This led to an iterative workflow where I would export the problematic simulated cloth as Alembic files into iClone, using them as reference points to edit the character animation and resolve these collision issues.
Render Composition in Houdini
One of the primary yet subtle effects throughout the animation was the ground-level fog, which emulated the atmospheric haze commonly used in stage productions to enhance drama and mystique. I created this effect in Embergen, importing the character animations as Alembic files to serve as collision objects interacting with the fog. This added both depth and a layer of secondary movement that complemented the character animations.
Another primary effect appears towards the end of the animation: a shockwave + fire spread on the Kimono created by combining an Embergen simulation with cloth PyroFX simulated in Houdini. While Houdini excels at complex object interactions and offers unparalleled iteration efficiency, Embergen is much quicker for simulating effects that do not require detailed external object interactions.
I simulated the shockwave independently in Embergen, then exported it as both VDBs and particles (Alembic) into Houdini. The cloth PyroFX involved a hybrid approach using both SOP solver and Axiom solver. I used an SOP solver to isolate specific point groups from the kimono sleeves and direct their upward spread. These transitional point groups were then fed into the Axiom Solver to generate the final pyro simulation.
To optimize rendering efficiency within deadline, I exported each animation frame as Redshift Proxies once the animations were finalized. This significantly reduced iterative and final rendering time while preserving the flexibility to refine materials and lighting. I used Fox Renderfarm to render more than half of the final frames. This further expedite final rendering times and reduces strain on my local workstation.
Working with Character Creator
Although the primary judging criteria was animation, I dedicated half of the project time to character design. During this phase, I concentrated on creating still renders to establish my character’s personality and background before even considering the animation. I believe that investing time in refining the character is ultimately more productive, as it helps inform the movements and expressions needed to create a compelling final animation.
I encourage anyone interested in Character Creator to jump right in. Unlike many other programs (such as Houdini or Blender), which require a certain level of familiarity with the interface before you can start using them effectively, Character Creator is highly artist-friendly and requires minimal learning to use well—especially for those with any prior 3D experience.
Related Posts
- Winner Select: Making Photo-realistic Fashion Models with Character Creator and Blender
- Winner Select: Leveraging Rokoko Mocap & iClone for Delicate Character Animation
- Reallusion’s 2024 3D Character Contest – Meet the Winners!