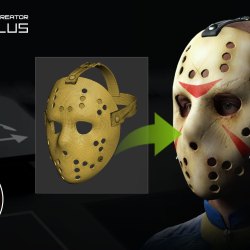
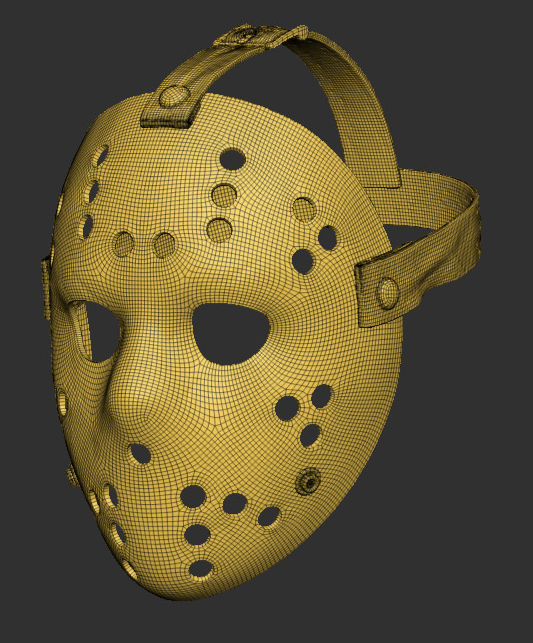
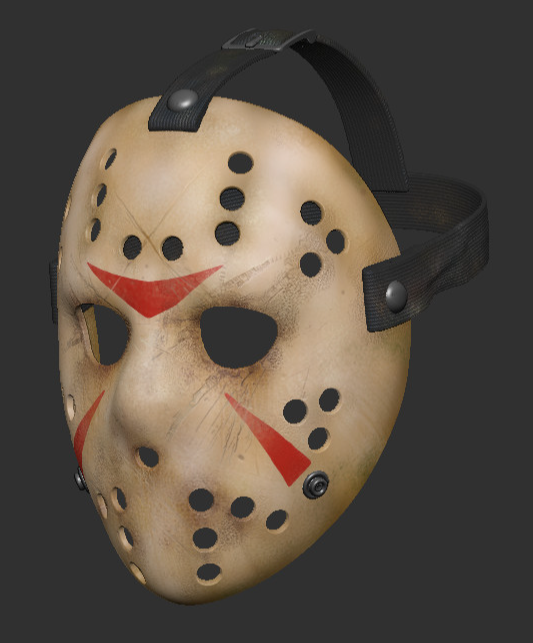
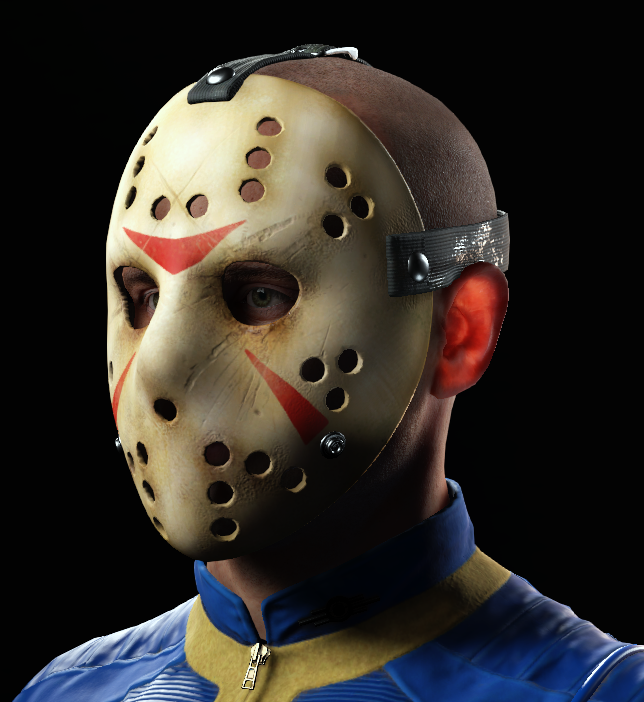
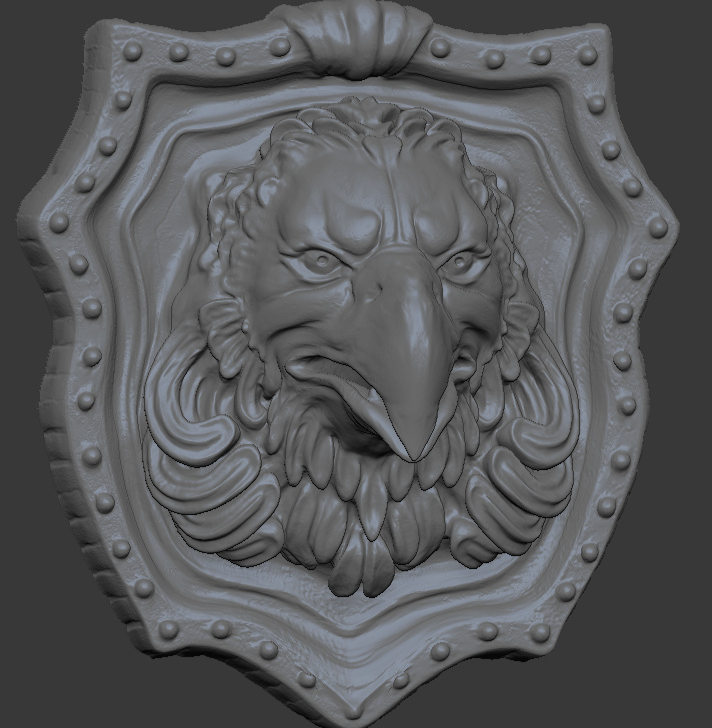
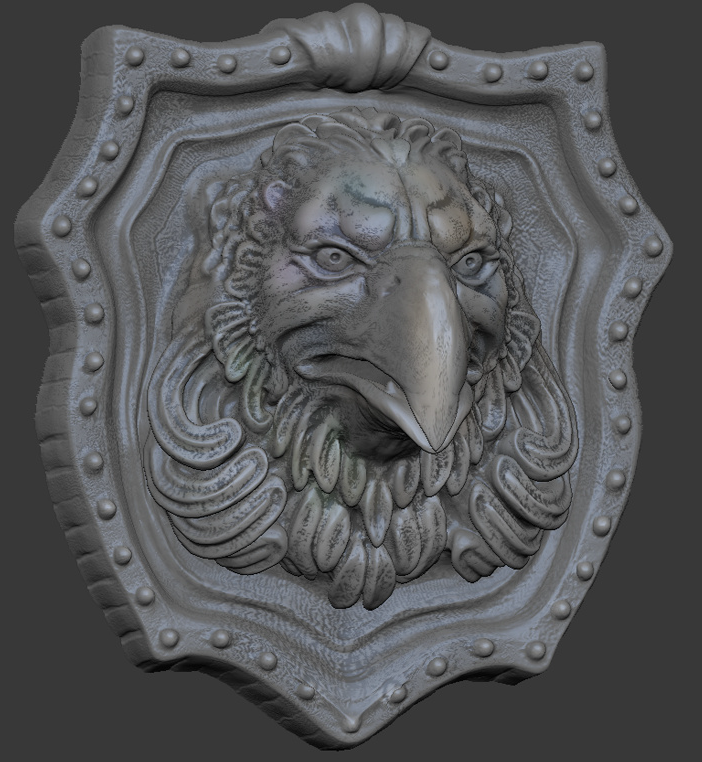
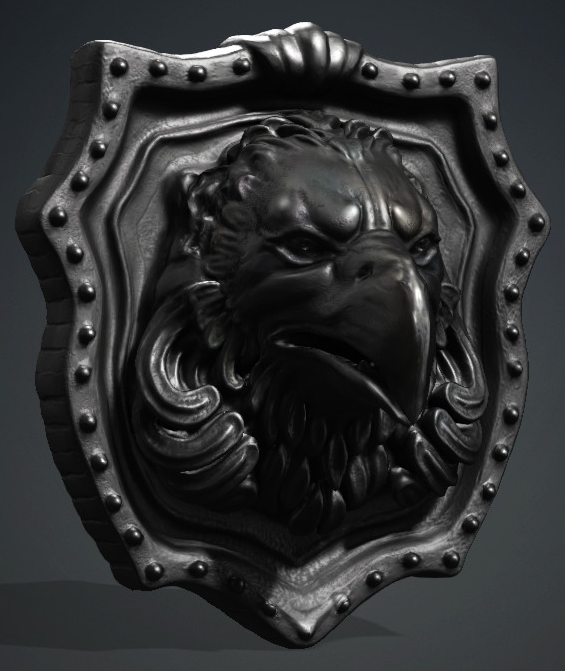
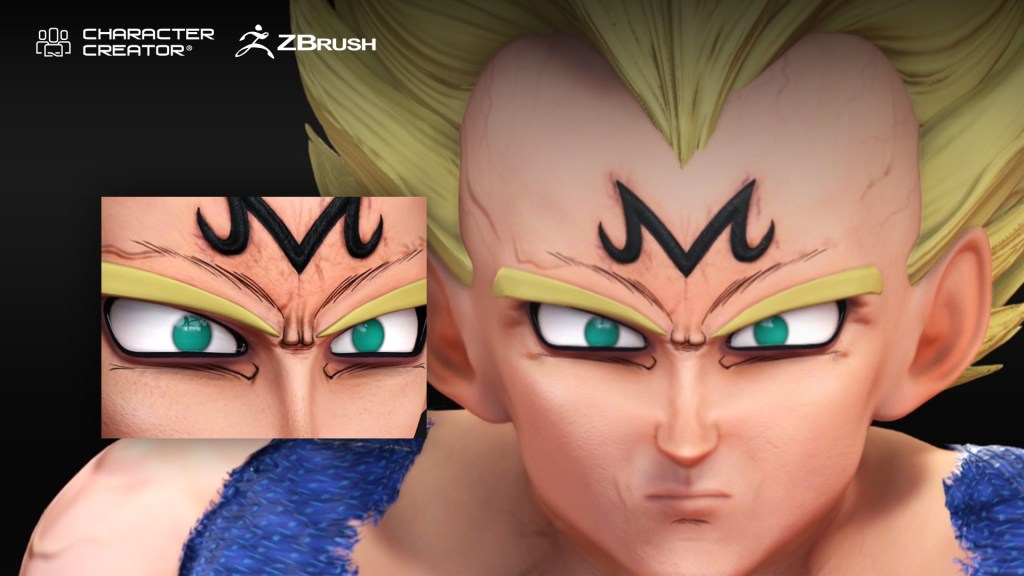
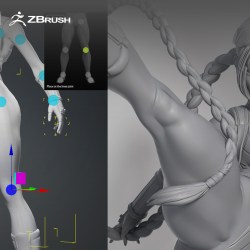
In the previous article, we sent a single accessory from Character Creator to ZBrush using CC GoZ Plus. In this article, we’ll use CC GoZ Plus to bake a detailed base body polypaint with UDIMs back to Character Creator, along with an entire clothing costume, complete with accessory attachments!

GoZ Base Body
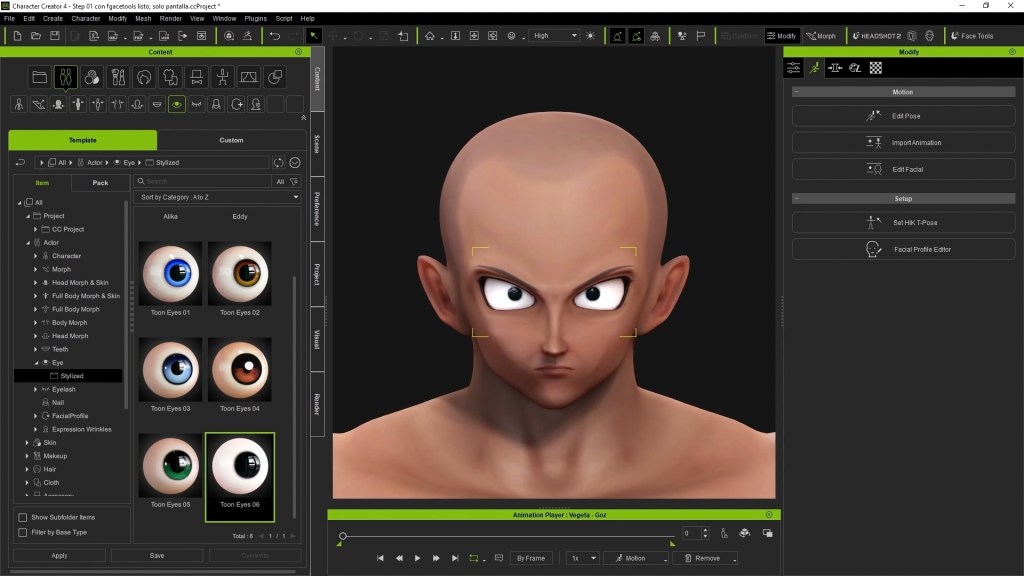
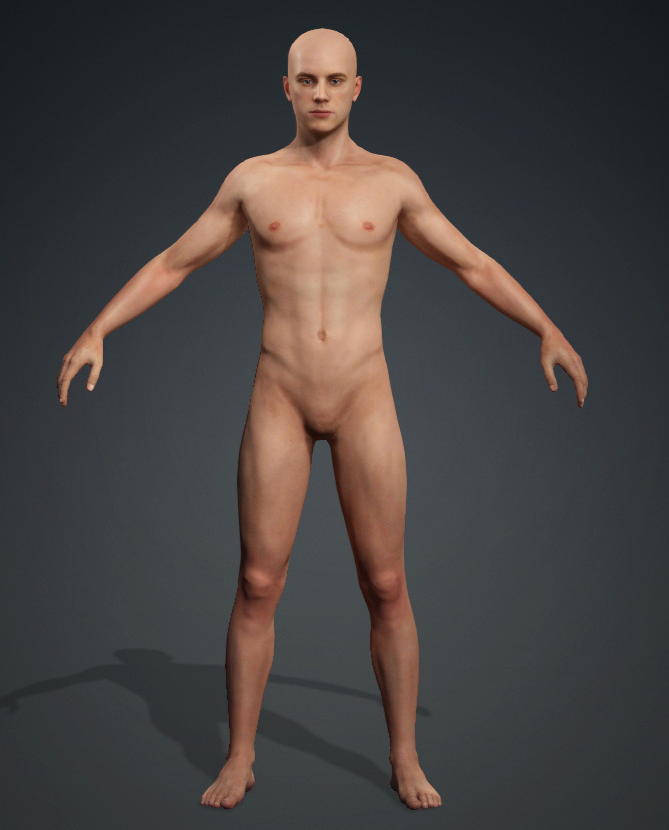
I’m going to make Cooper from the Fallout TV show, so I’m going to start by loading up a neutral male base body from the “Content > Actor > Base” folder in Character Creator. For our initial setup, we’ll select our character in the “Scene” tab, then hit the “GoZ” button in the menu bar to send this mesh over to ZBrush. In the dialog box prompt, I’m going to uncheck “Enable GoZ Plus” — in this demo I’m not going to bake over the skin textures and pore detail, HOWEVER, if that would be useful as a starting point for the character you want to make, feel free to check this box on.
The last thing I’m going to do is check on “Eyelash” and “Tear Ducts” so they are separated out from the base body in ZBrush. This isn’t technically required… It is just how I like to work. Finally, select “Current Pose” and press the “GoZ” button; this will send over just the base topology meshes as a starting point for our character.

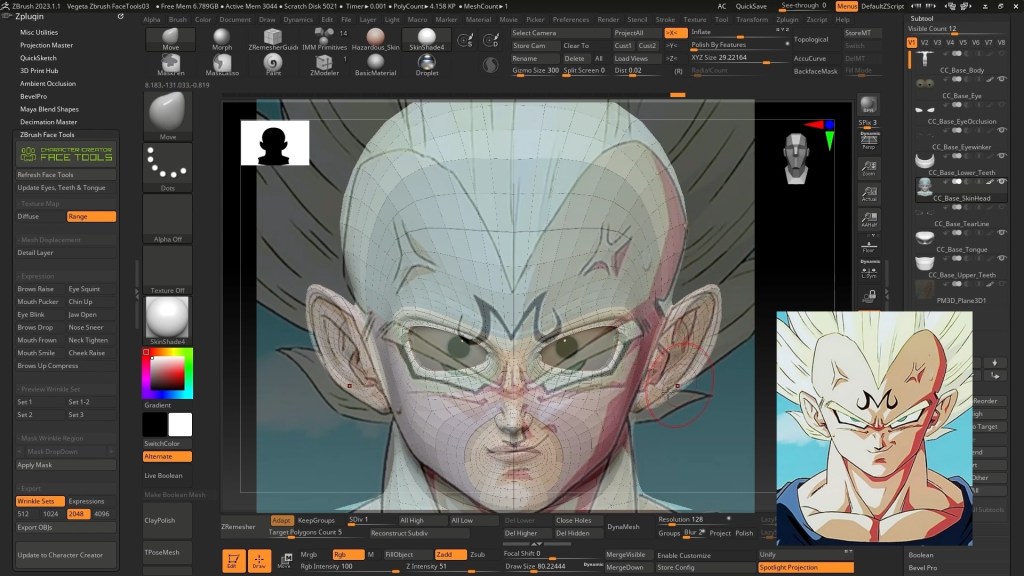
Now that we’re in ZBrush we can refine our character. To get more details, go to the “Tool > Geometry” menu and hit the “Divide” button. Continue to refine the sculpt and subdivide as needed, until you have your fully detailed sculpt complete.
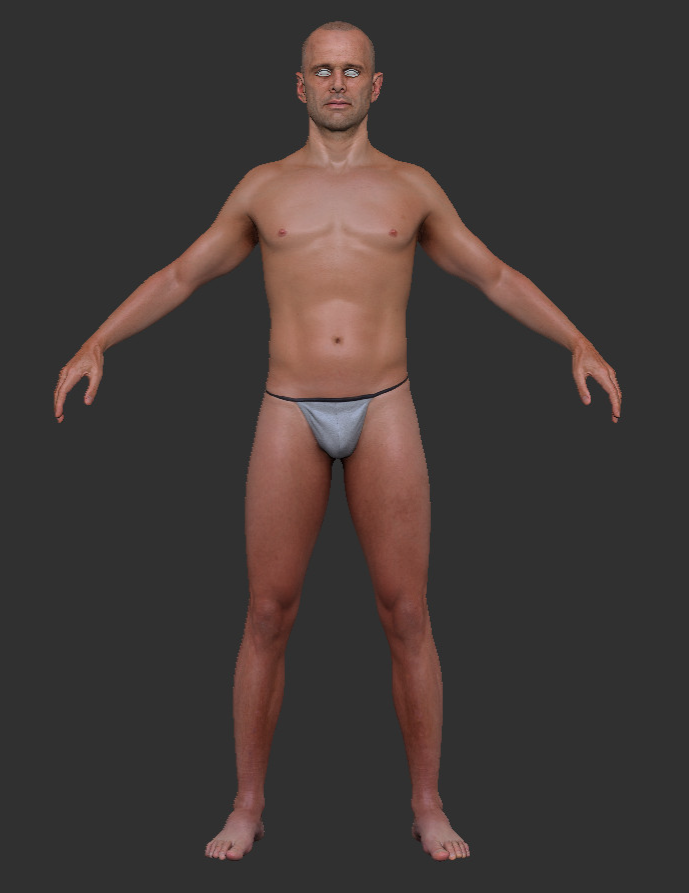
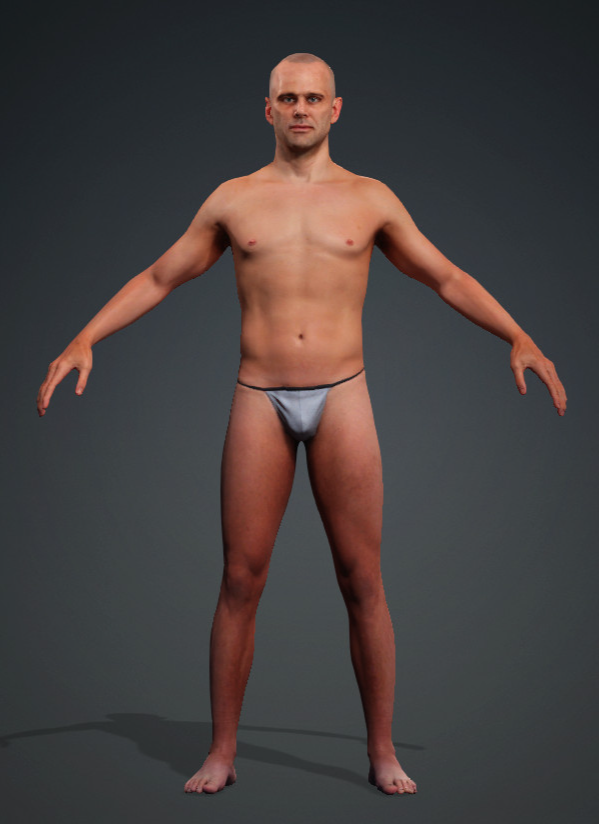
For textures, turn on the paintbrush icon for your “CC_Base_Body” subtool to toggle colorize on, and start painting directly on the model (hit B, P, A on your keyboard to select the “Paint” brush, which is just the standard brush with RGB turned on, and Zadd turned off). If you’re wondering how I got such an accurate human skin polypaint, I’ll admit I just transferred the pore level details and color from scan data and modified it. However, feel free to paint from scratch using any ZBrush brush with RGB turned on.

If you want more information on a similar workflow, check out the Character Creator Pipeline Body article. There, we go through the process of:
- Starting with a neutral body in Character Creator dialing in our specific character look with morphs.
- GoZ that result into ZBrush.
- Subdivide and refine the sculptural details.
- Use the Substance 3D Painter bridge to texture the result.
- Then update everything in Character Creator.
Also, check out the Free Character Bases article, where we cover:
- How to download the free Character Creator base meshes that come in a variety of character body types, styles, and formats.
- How to import or open those files into your 3D modeling program of choice.
- How you can modify them into whatever crazy character you want — in this case, a Warhammer Ultramarine beefy boy!
CC GoZ Plus Base Body Bake
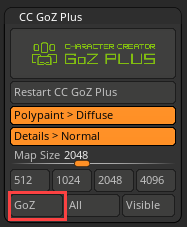
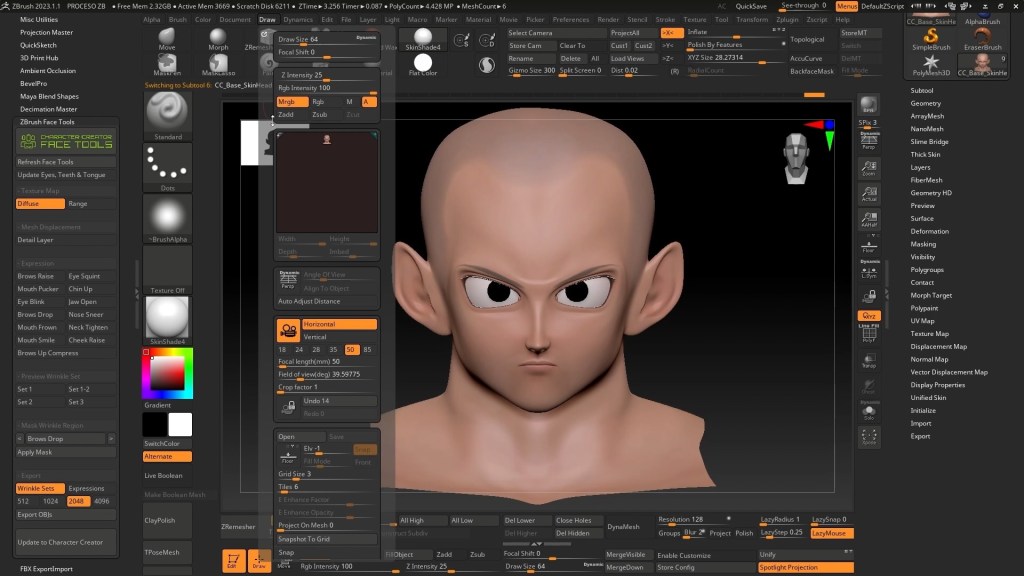
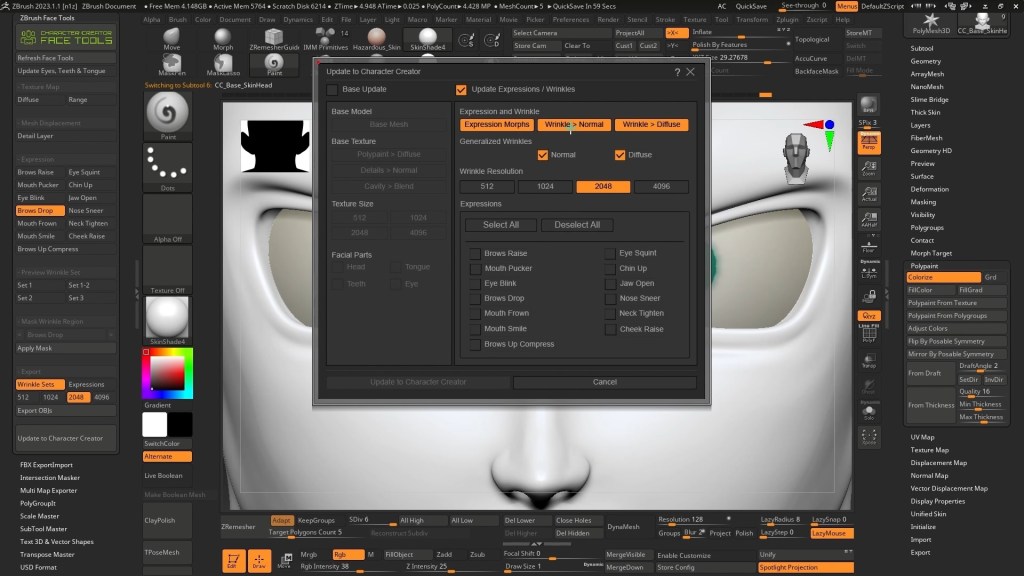
Let’s get our high-res sculpt and polypaint updates back to Character Creator. Go to the “ZPlugin > CC GoZ” menu, make sure the “Polypaint > Diffuse and Details > Normal” buttons are turned on, set your map size, and hit the “GoZ All” button. This will send over all the “CC_Base_Body” parts back to Character Creator.
GoZ Cooper Clothing and Accessories
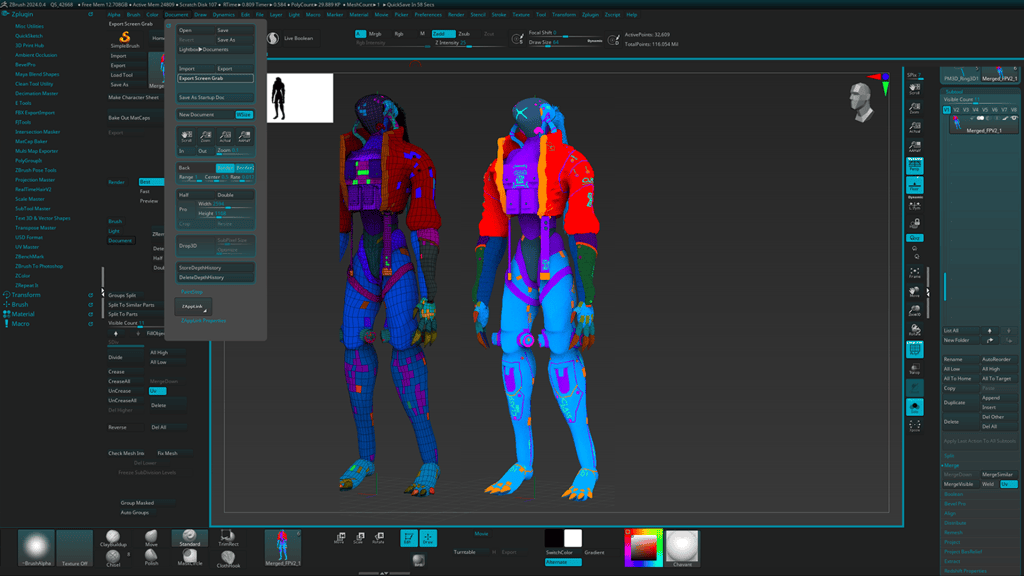
Back in ZBrush, create any clothing and accessories you’d like to send over, appended as subtools to your base body ZTool. Just like the base body, any sculptural high-res detail for your clothing and accessory assets and polypaint applied to the object will be baked into a texture map for use in Character Creator.
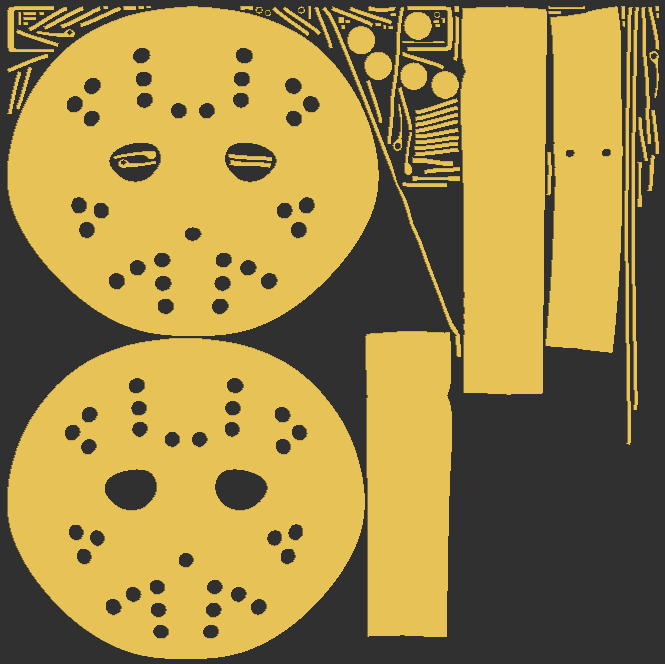
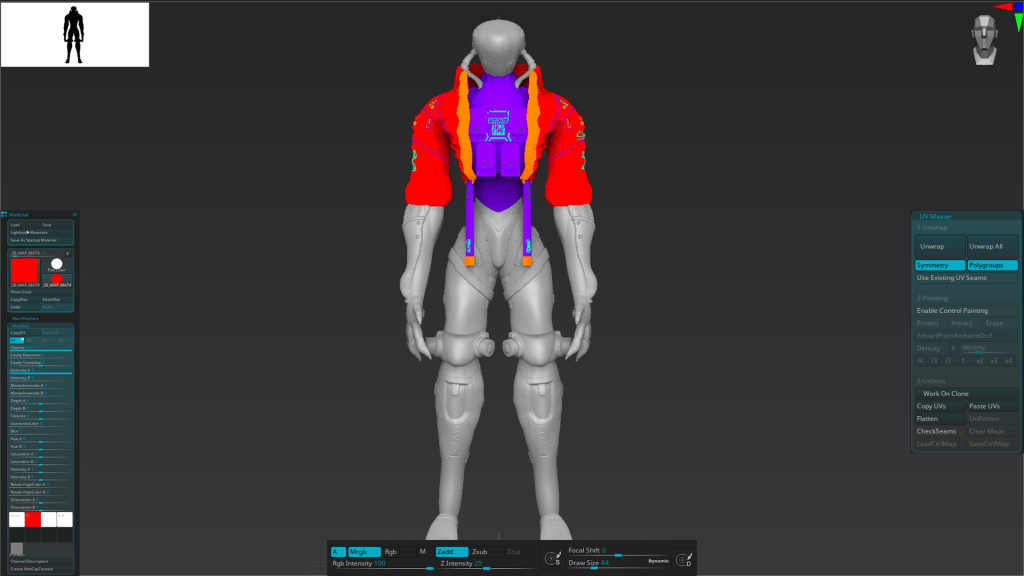
Just remember, our base body was sent over with UVs from Character Creator; However, anything new you create will need to have UVs. If you’re in ZBrush, use the “ZPlugin > UV Master” and/or “UV Map > Create” (Unwrap). More information on creating a game-res mesh in ZBrush is in this video, and creating UVs in ZBrush can be found in this video.
Since we’ve already sent over and baked our body, we can hide all of the “CC_Base” subtools, and just have our suit and accessories visible. In the CC GoZ Plus ZPlugin menu, I’m going to choose the “4096” option to get a large texture size for the suit, but we’ll be able to reduce the texture size of the other objects in the next step. Press the Visible button in the CC GoZ Plugin to send your clothing and accessories over to Character Creator.

Back in Character Creator and inside the GoZ Options window, you can choose what texture size you want each asset to be, and you can also choose whether the object coming over will be a clothing, accessory, or prop. If your object will be affected by multiple joints during character movement (shirt, pants, boots, etc…), choose “Create Cloth”; for objects that can be bound to a single joint during movement (a hard surface item like the lapel pin), choose “Create Accessory”. Don’t worry if you pick the wrong option, you can convert an accessory to a clothing item and vice versa in Character Creator later. Dial in your settings and hit the “Update” button.

If you change your mind over what should be an accessory or clothing item, simply select the item and go to the “Attribute” tab. Choose “Convert to Accessory” to convert a previous clothing item to an accessory, or “Transfer Skin Weights” to convert an accessory to a clothing item that will inherit the body skin weights.

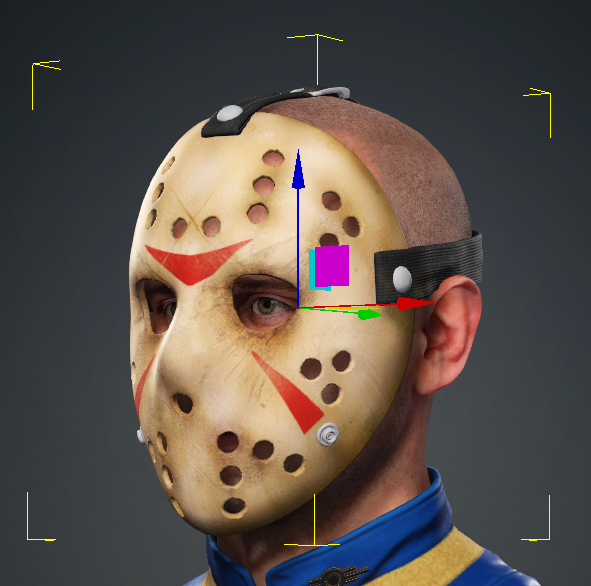
For any Accessory items you’ve created, there’s a few things we have to do. First, we’ll ensure that the accessory is in the right place — with the accessory object selected in your scene, hit the W key to enter move mode, and in the “Attribute” tab, scroll to the bottom to the “Pivot” section. I usually click the middle button to center the pivot on the object, but you can also use the “Edit Pivot” button at the bottom to fine-tune the pivot location. Then use the gizmo to reposition the asset.
We also need to make sure the accessory is bound to the correct joint; in the “Attach” section above the “Pivot” section, click the “Pick Parent” button, and click on your character to choose the correct bone for the object to be bound to (binding a helmet asset to “CC_Base_Head”, for example). If you can’t quite click the correct bone, use the 3 dots menu to select the exact bone you want.

Skin Weights
If we go to the “Motion” menu in the Animation Player and choose walk, we can see that some of our weights need to be slightly modified:
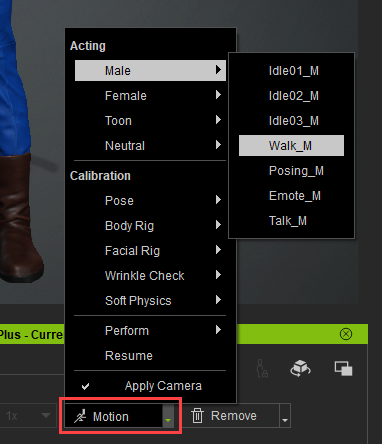
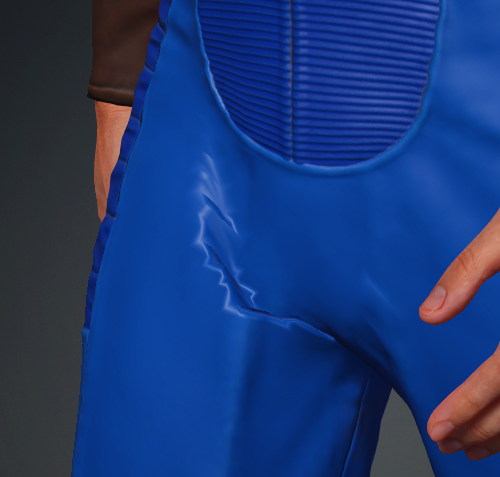
With the suit selected in the “Scene” tab, go to the “Attribute” tab and click the “Skin Weights” button. With “Paint” selected, right-click on the bone behind the problematic area, and choose the smooth brush. Paint the verts in this area to smooth the effect of the weights as the joints influence the mesh. In this case, the thigh weights need to be smoothed for both ThighTwist01 and 02. Click the “Skin Weights” button again to exit skin weights mode.

Materials – Metallic and Roughness
You might notice your metallic assets don’t look very metallic; With a metallic accessory selected, go to the “Material” tab, select the Metallic texture, and click the “Adjust Color” button. In the “Adjust Color” menu, you can pull the brightness to 100 in order to switch the texture from black (not metallic) to white (full metallic).

You can do the same thing for the suit roughness for example; If I select the suit, select the roughness texture, I can make the gray texture darker (shinier) or lighter (more matte). But what if I want to have the cloth areas more matte, and the rubber areas more shiny?

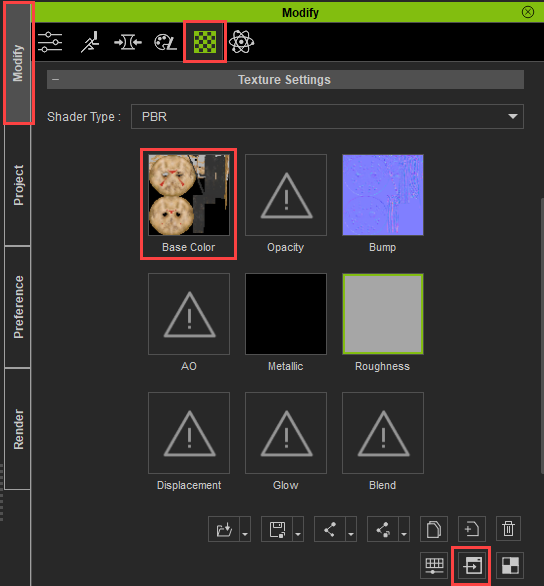
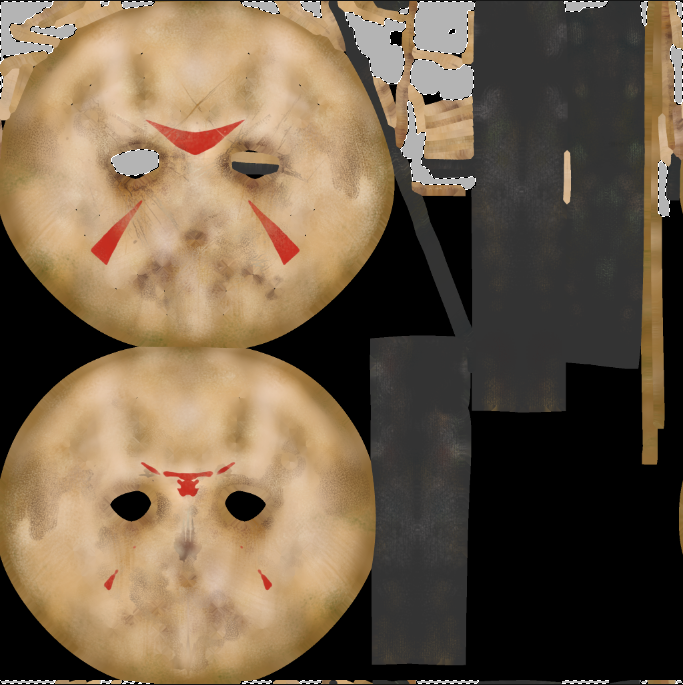
Instead of changing the brightness on the gray roughness texture, I’m going to select the Base Color texture, and click the “Launch” button. This will open the texture in an image editing program, and I can desaturate the image, create selections, change the levels, and/or fill/paint areas with different values to create rough or shiny areas of the suit.


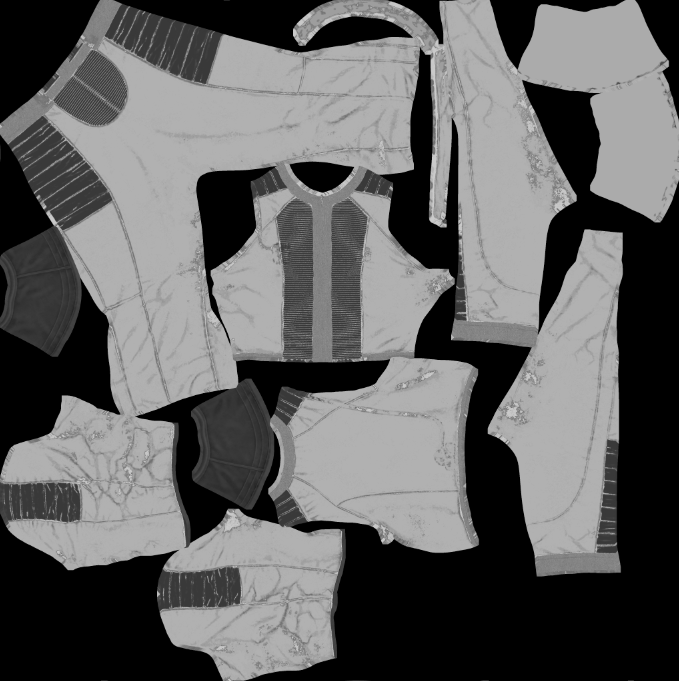
Go to “File > Save As”, and save this roughness image somewhere on your computer (I saved it as SuitRoughness.png). Back in Character Creator, double-click the Roughness image in the “Material” tab, and select your newly created roughness map. Your suit will now have matte and shiny areas!
Hiding Body Parts
While wearing the boots and suit, we shouldn’t ever see the underlying human body polygons, so let’s hide them. With the suit selected in the “Scene” tab, go to the “Attribute” tab, and click on the “Hide Body Mesh” button. Use the mannequin to hide major sections of the body, and fine-tune with face selection. Do the same process for the boots. Now whenever the suit or boots are applied to a Character Creator mesh, it will always hide those underlying base body faces. Check out the previous CC GoZ article to see how to save clothing and accessories to your custom library to use on other characters.

Posing and Facial Expressions
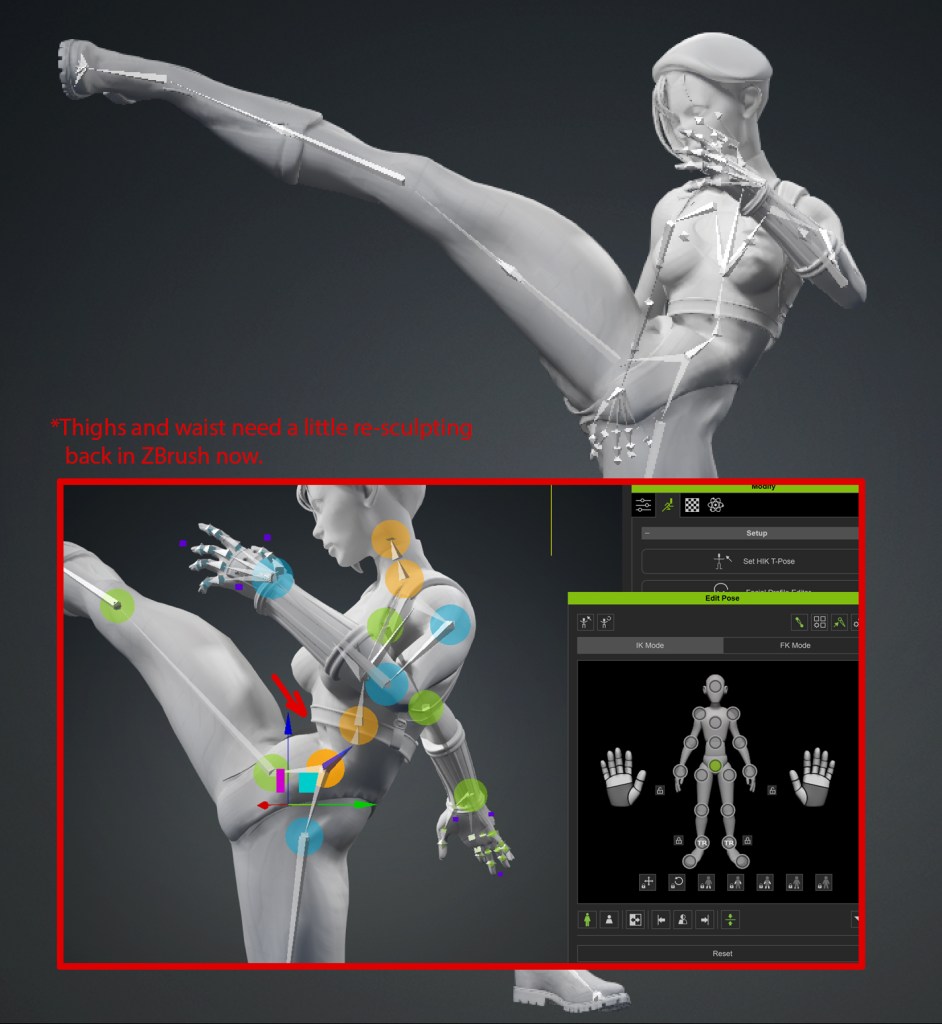
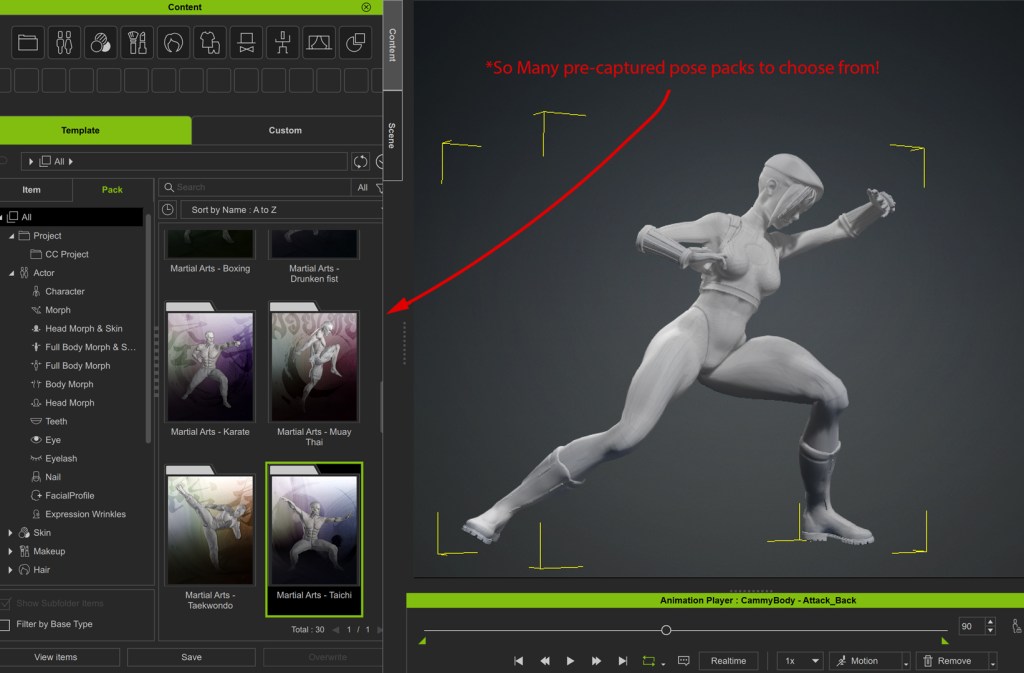
Feel free to apply poses or animations to your character from the “Content Template” library. In this case, I’m going to apply the “Sporty_Pose01” pose to our character, and fine-tune it with the “Edit Pose” button in the “Motion Pose” tab:


We can change the facial expression as well: click the “Edit Facial” button in the “Motion Pose” tab:

Use the “Muscle”, “Expressions”, or “Modify” tabs to dial in an expression for your character.

Apply any other hair or accessories from your Character Creator library that you want to finish out your character.

Sending our Pose Back to ZBrush High-Res Source Assets
Let’s say we want to send this pose back to our ZBrush high-res so we can 3D print it. Select all of your character objects in your “Scene” tab, and hit the “GoZ” button in the menu bar:

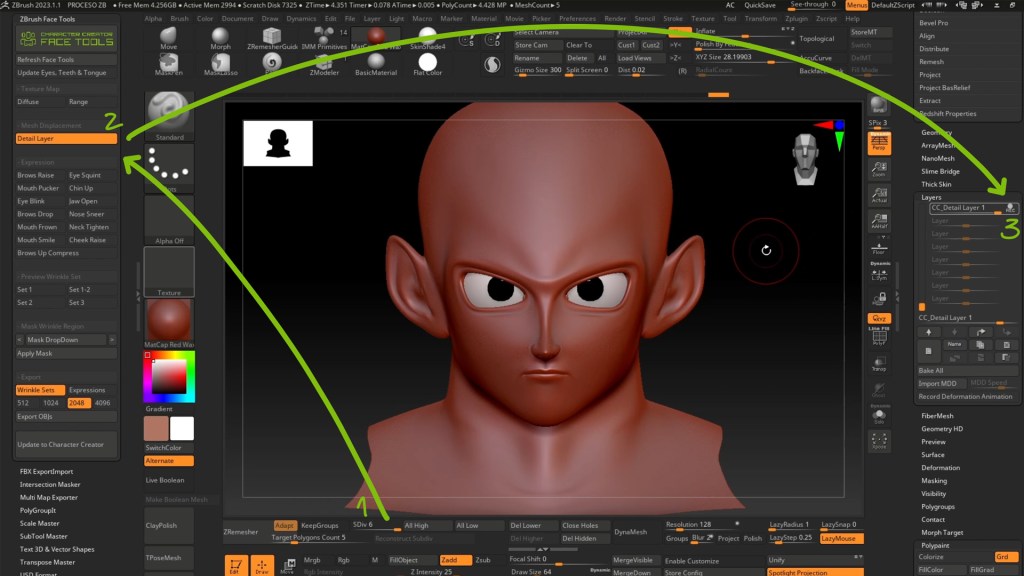
In the GoZ Settings window, we’ll uncheck “Enable GoZ Plus” (we’re not baking any color or normal map info back to ZBrush, we’re just moving around SDiv 1 verts to match our posed assets). Check on “Relink Mesh Changes” in New Layer if you want your pose to be stored as a layer for all of the Asset subtools. We’ll also check on “Eyelash” and “Tear Ducts”, since we had previously separated those parts out of the base body earlier, and we want to match that.

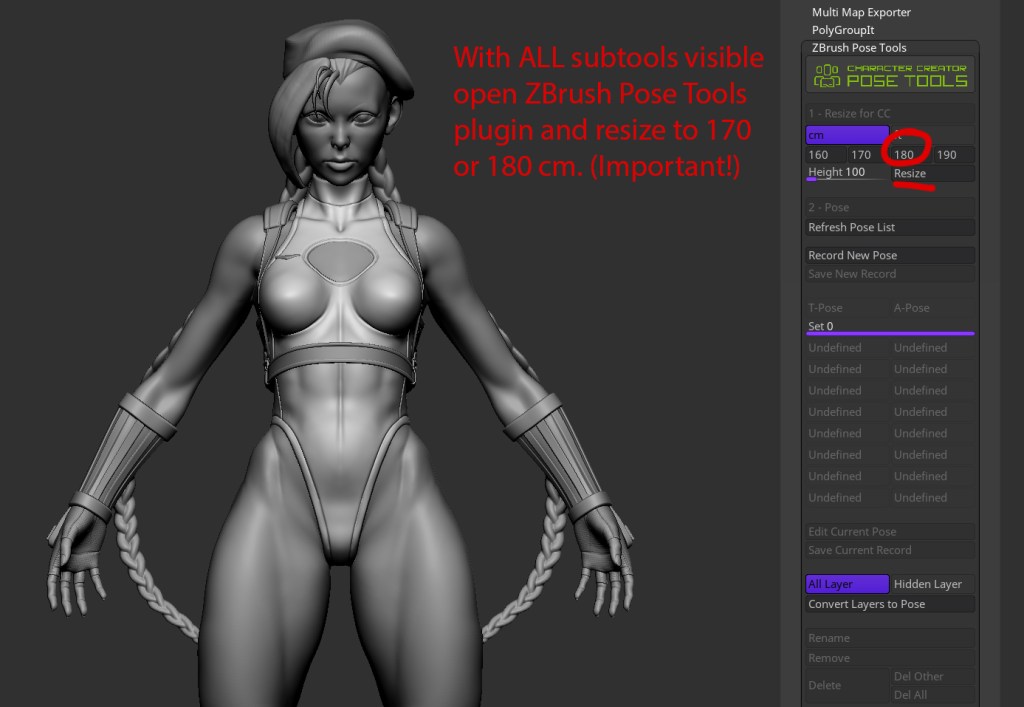
Because our pose was saved out as a layer on all of our subtools, we can open the “ZPlugin > ZBrush Pose Tools” menu, hit “Refresh Pose List”, and a pose should be available in the selectable library. Select it and Rename it to something that makes sense. For more information about ZBrush Pose Tools functionality, check out this article.
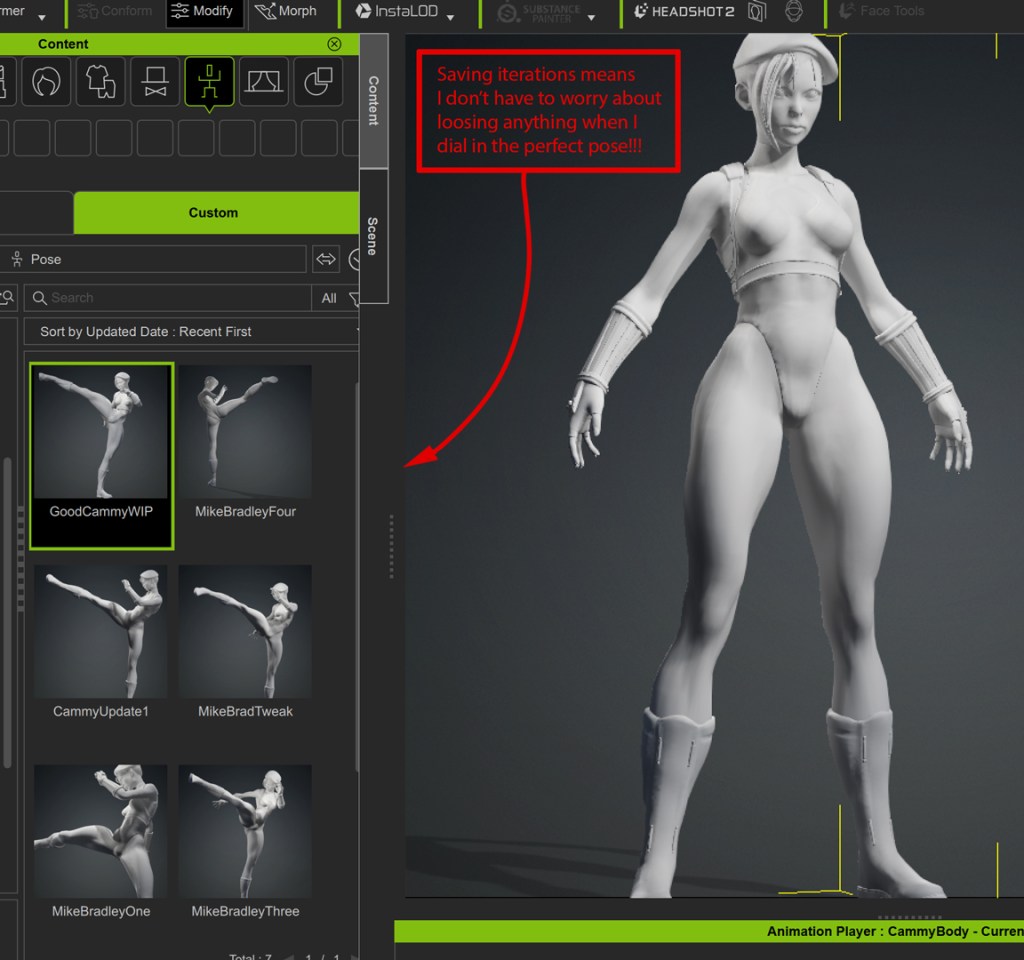
Feel free to go back to Character Creator and create more poses / facial expressions. As long as you GoZ them over on a layer, you can keep adding them to your Pose Tools library for your character.


About The Author

Michael Pavlovich earned a Bachelor’s degree in Computer Animation from RSAD in 2005. Initially, he contributed to the development of environment and character art for popular video games such as Madden and NCAA Football. Later, he relocated to Austin to join Daybreak Games, where he worked on the creation of art assets for DC Universe Online.
Presently, Michael holds the position of Director of Character, Weapon, and Vehicle Art at Certain Affinity. His expertise lies in implementing iterative pipelines for Certain Affinity artists helping develop renowned video game franchises, including Halo, Call of Duty, and DOOM. To stay updated on his latest tutorial projects, you can visit Michael’s YouTube or ArtStation page.
>> Check Michael’s Artstation
>> Check Michael’s Youtube Channel
Related Posts
- PavMike CC GoZ Plus Tutorial Part 2 – Accessory from ZBrush to Character Creator
- PavMike CC GoZ Plus Tutorial Part 3 – Body, Clothing, and Accessories from ZBrush to Character Creator