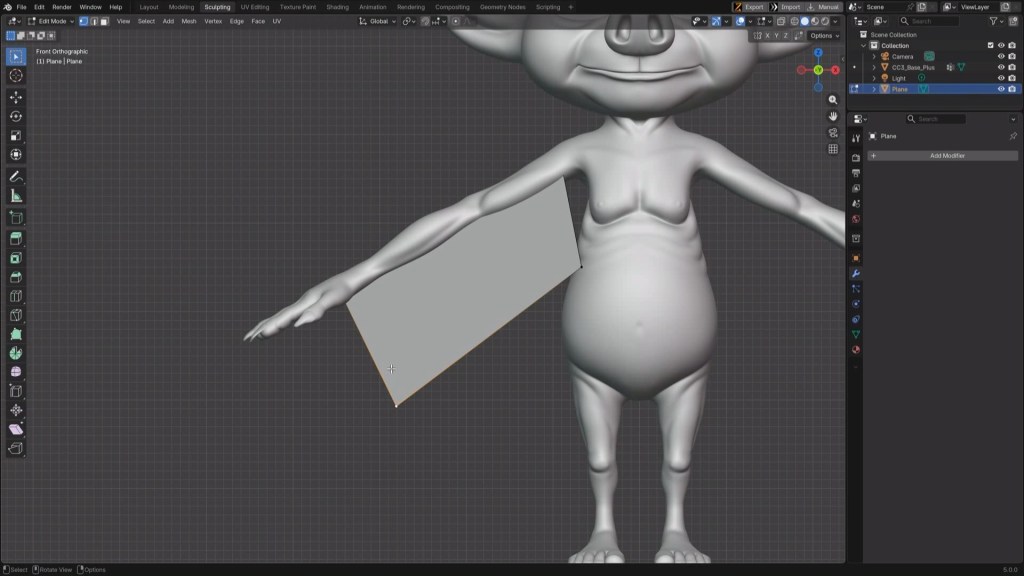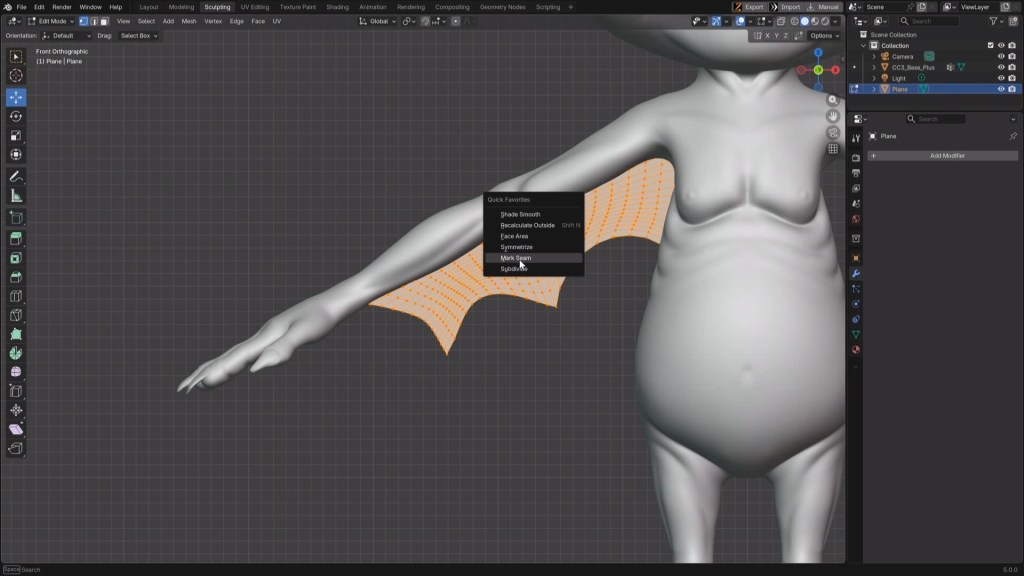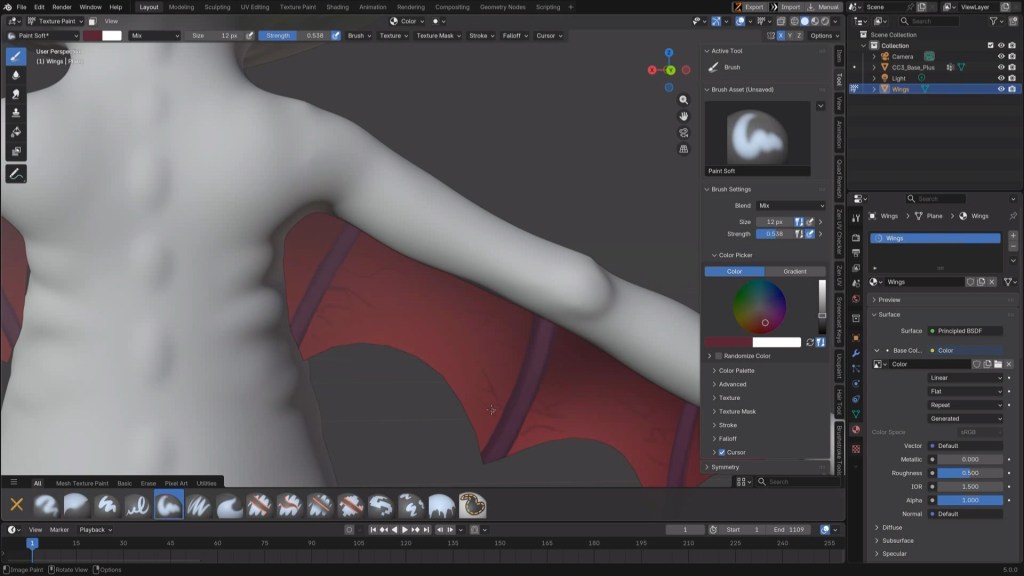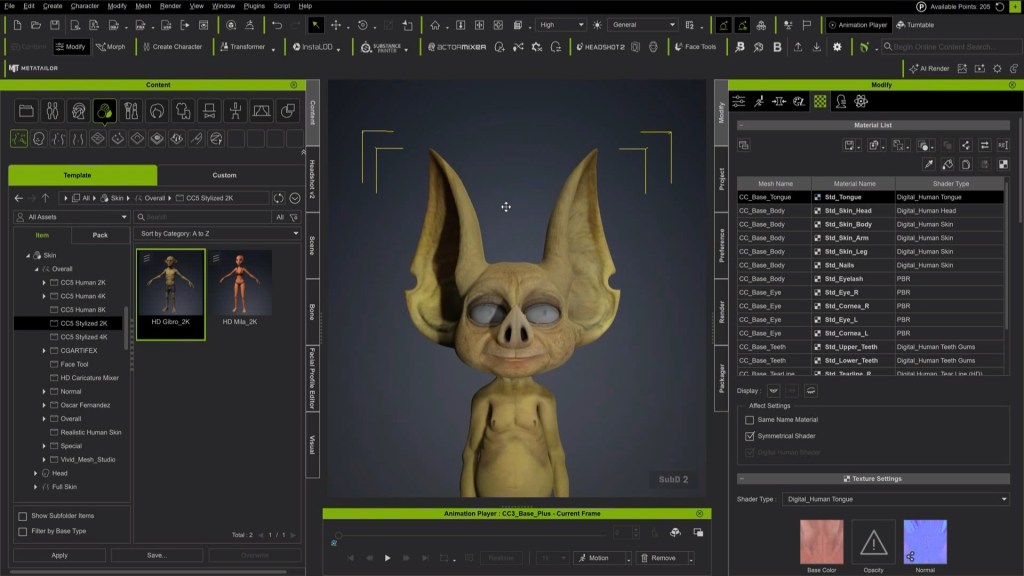
Master 3D Character Creation & Animation for Games
The world of indie game development is booming, but bringing compelling characters to life with realistic animation often presents a significant hurdle. Many independent studios face constraints in budget, time, and dedicated art teams, making the creation of high-fidelity 3D characters and complex animation pipelines seem out of reach. Reallusion offers an accessible, powerful ecosystem designed to democratize AAA-quality game character production.
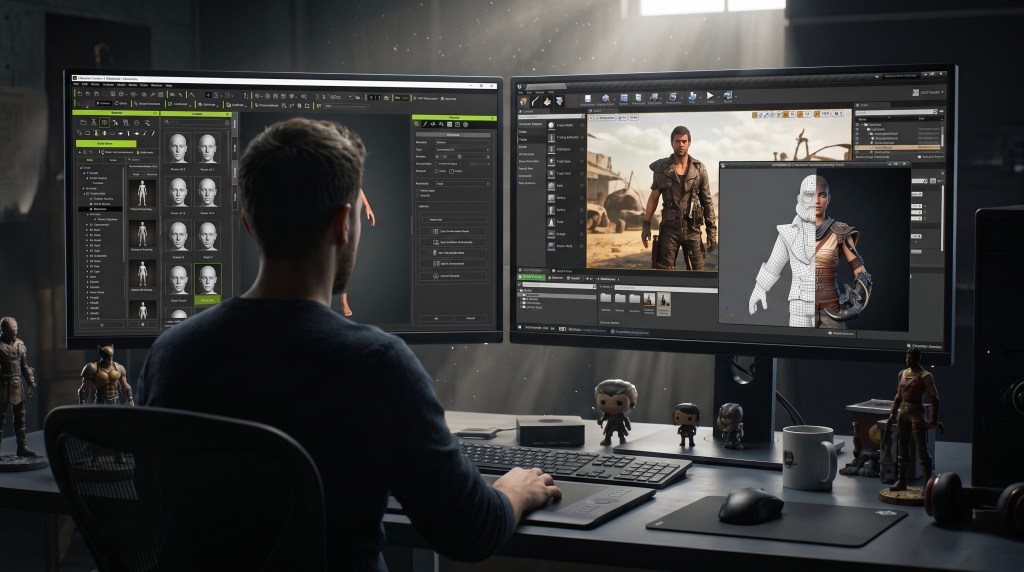
This guide explores how indie developers can leverage Character Creator 5 and iClone 8 to streamline 3D character creation and animation. We will delve into efficient workflows, from generating diverse NPC rosters and detailed facial sculpting to utilizing AI-powered motion capture and seamless integration with popular game engines like Unreal Engine and Unity. Discover how to overcome common development challenges and deliver visually stunning games without the need for extensive resources.
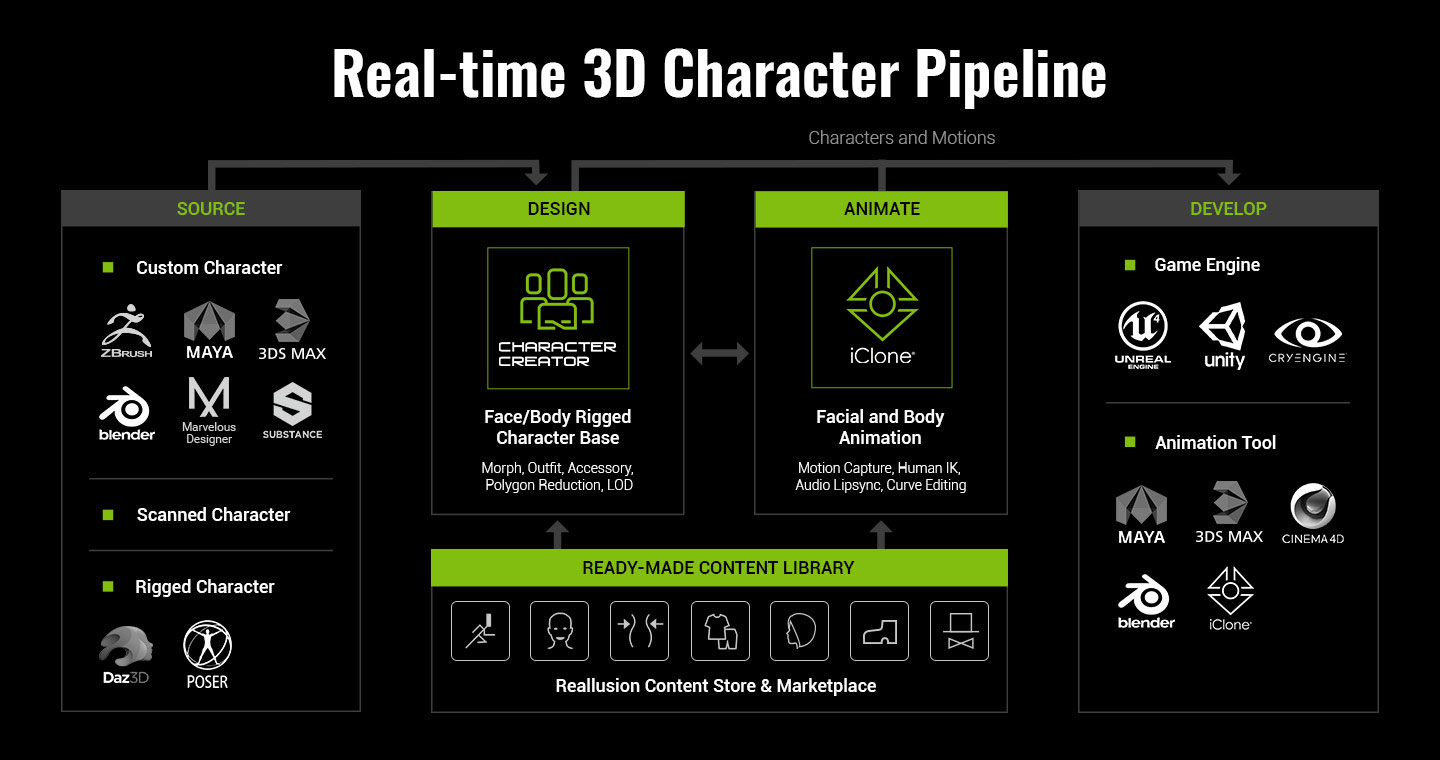
Reallusion’s integrated pipeline empowers creators to focus on artistic vision rather than technical complexities. By providing intuitive tools for every stage of character development, from initial concept to final in-game animation, the platform enables indie developers to achieve professional results efficiently. This comprehensive approach ensures that even small teams can produce high-quality character assets that enhance immersion and storytelling in their games.
Key Takeaways
- Reallusion tools like Character Creator 5 and iClone 8 significantly reduce the time and cost associated with 3D character creation and animation for games.
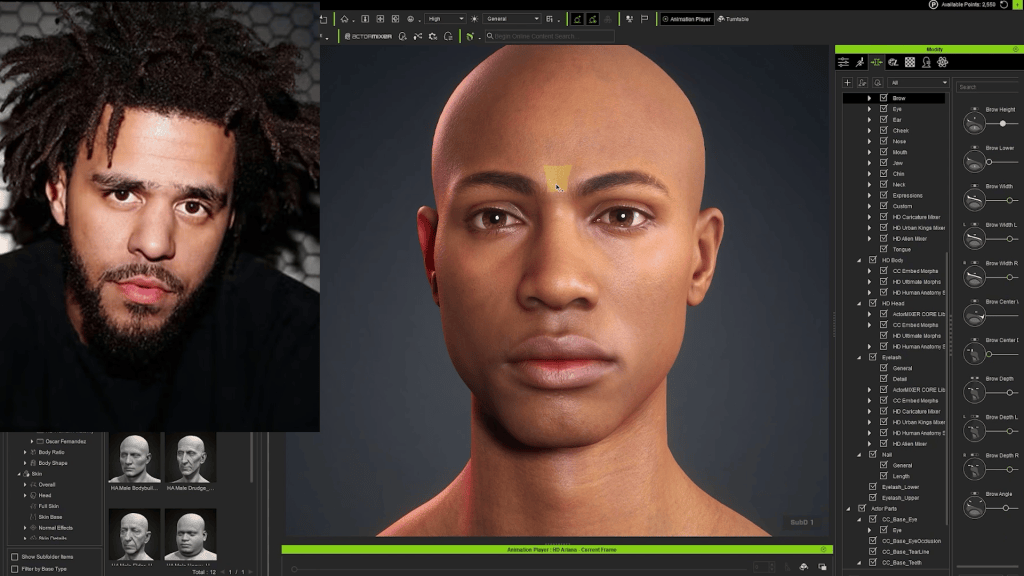
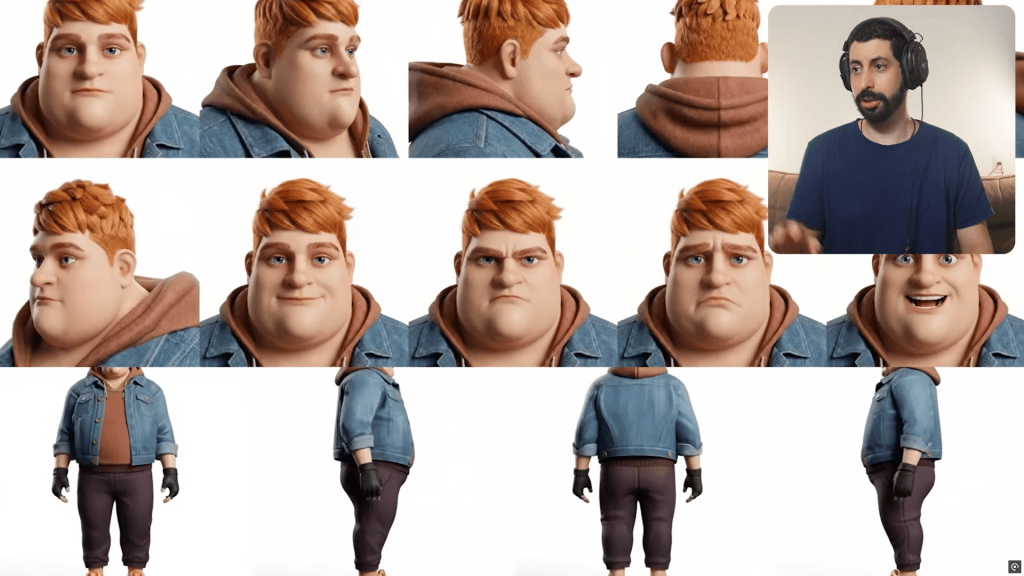
- ActorMIXER in Character Creator 5 enables rapid generation of diverse character rosters and detailed facial archetypes from a single base.
- AI Video Mocap in iClone 8 allows indie developers to capture realistic motion from everyday video footage, transforming it into game-ready animations.
- iClone provides robust motion editing tools to refine captured data, blend motions, and create convincing facial animation and lip-sync from audio.
- Seamless integration with Unreal Engine and Unity, via Live Link and Auto Setup, ensures a smooth transfer of characters and animations.
- Indie teams can achieve cinematic quality and fully voiced cutscenes without large animation departments or extensive outsourcing budgets.
What You’ll Learn
- What is 3D Character Creation and Animation for Game Development?
- Overcoming Indie Game Development Challenges
- Streamlined 3D Character Creation with Reallusion
- Efficient Animation Workflows for Games
- Seamless Game Engine Integration
- Realtime vs. Traditional 3D Pipelines: A Complete Comparison
- Frequently Asked Questions
- Start Creating with Reallusion Today
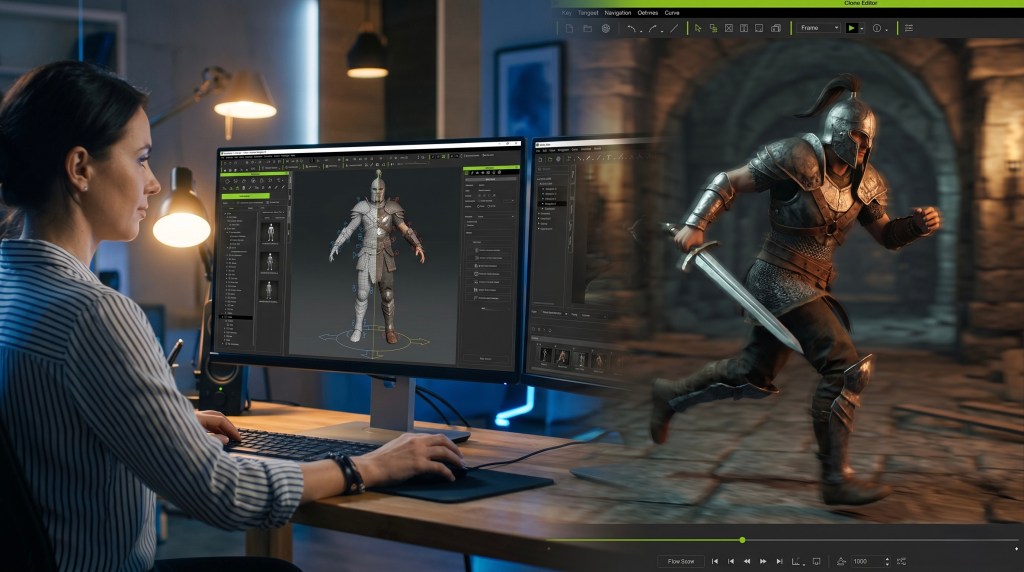
What is 3D Character Creation and Animation for Game Development?
3D character creation and animation for game development involves designing, modeling, texturing, rigging, and animating virtual characters to inhabit interactive game worlds. This process encompasses everything from generating unique character designs and customizing their appearance to crafting realistic movements, expressions, and interactions that respond to player input and narrative events. It is a fundamental component of modern game design, directly impacting player immersion and storytelling.
The goal is to produce game-ready assets that are visually appealing, technically optimized for real-time performance, and capable of a wide range of expressive animations. This complex workflow traditionally required specialized skills and significant resources across multiple software applications. However, modern tools are making this more accessible for developers of all sizes.
Overcoming Indie Game Development Challenges
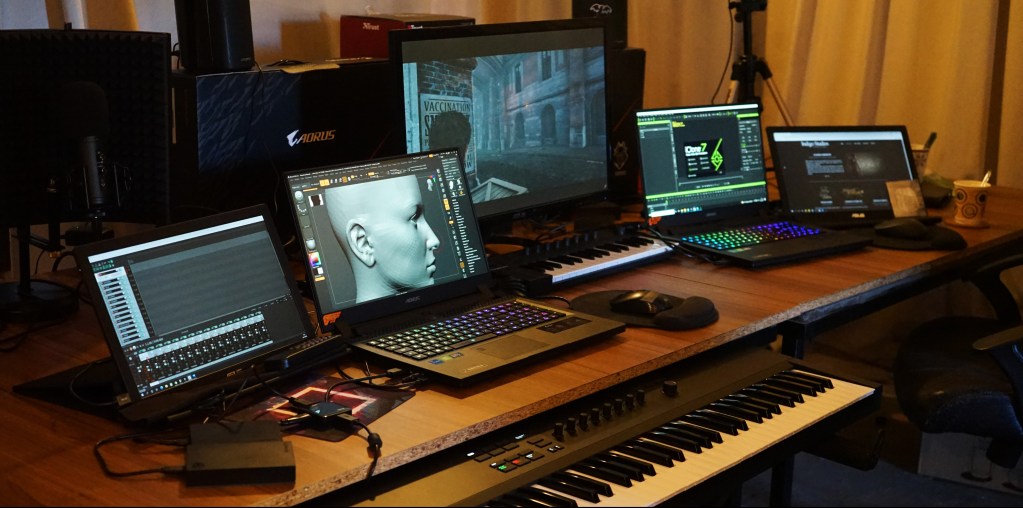
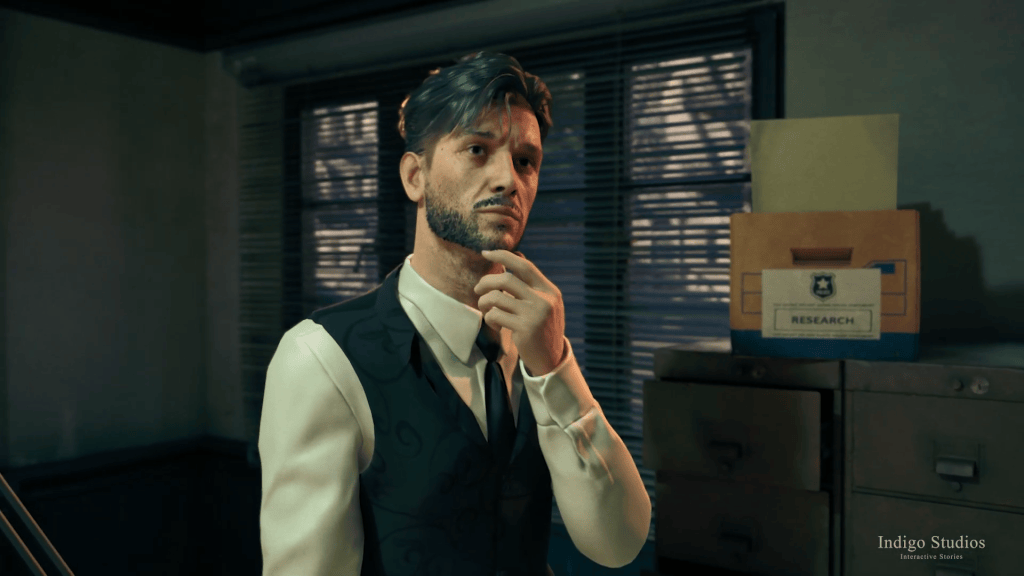
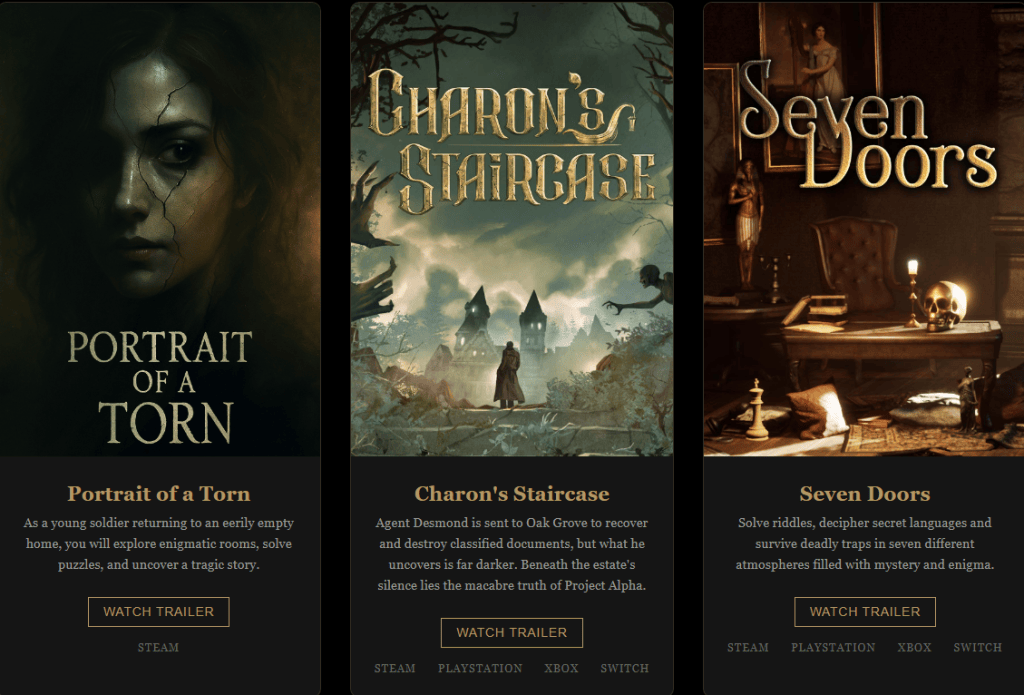
Indie game development often thrives on creativity and passion, but can be severely constrained by practical limitations. Crafting high-quality 3D characters and animations typically demands substantial time, budget, and a dedicated team of artists, which are luxuries not always available to independent developers. Reallusion’s ecosystem provides robust solutions to these common bottlenecks, empowering smaller teams to produce results comparable to larger studios.
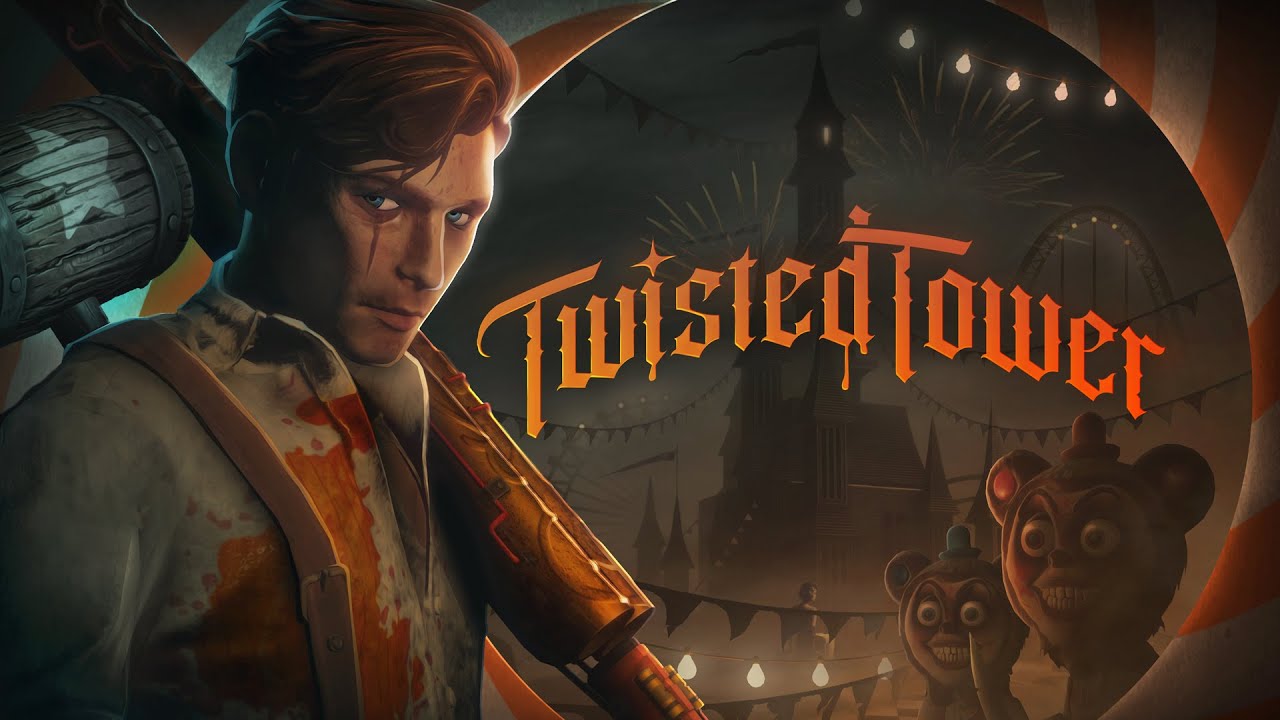
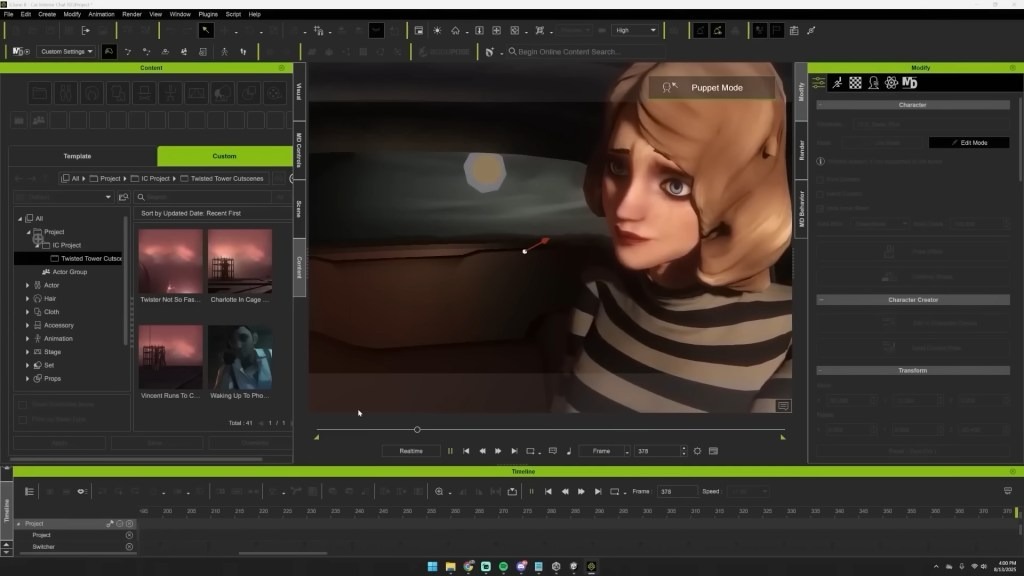
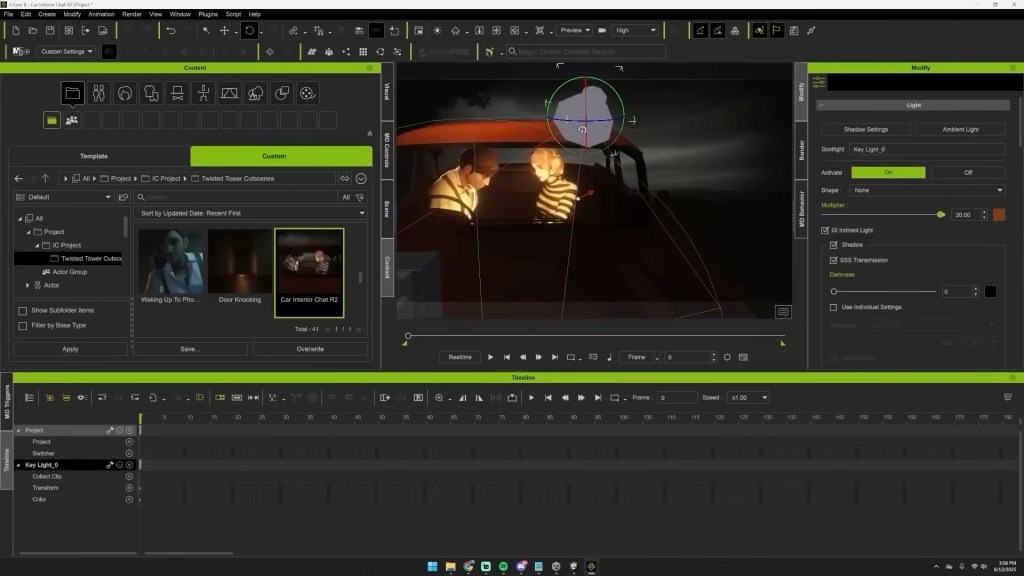
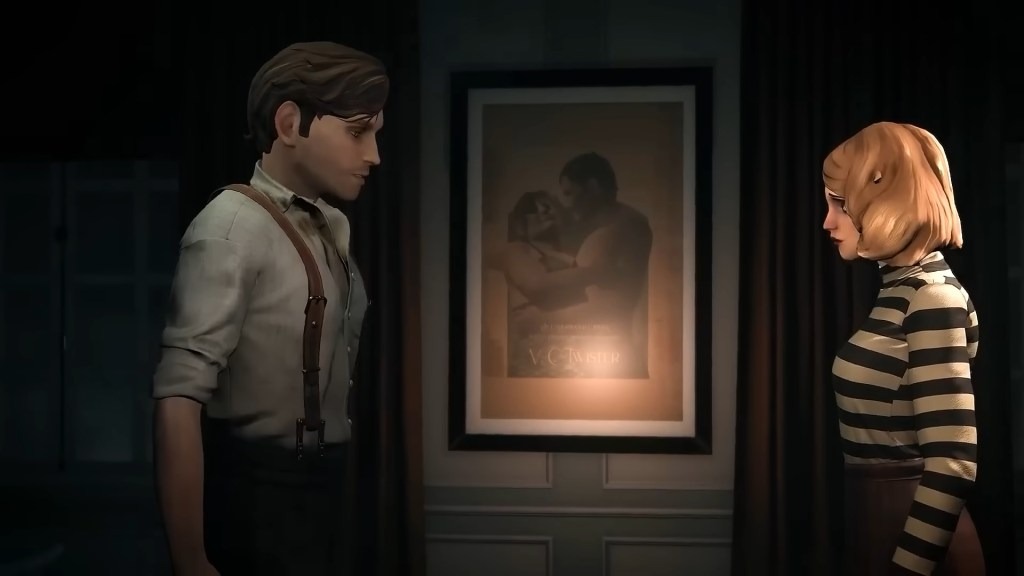
“Without a large animation team, without outsourced character artists, and without AAA budgets, they still delivered a game featuring fully voiced cutscenes, dynamic camera systems, and high-quality characters using Character Creator, iClone, and Unity Auto Setup.”
Dragon Level Studio | View Source
The Cost and Time Crunch
Building unique, high-quality characters from scratch, complete with custom shape keys, full rigging, and animation, can quickly escalate costs. Outsourcing a single character might incur thousands of dollars, making it an unfeasible option for projects with multiple protagonists or a diverse cast of NPCs. The iterative nature of character design and animation also consumes vast amounts of development time, a precious resource for teams balancing full-time jobs.


Achieving Cinematic Quality with Limited Resources
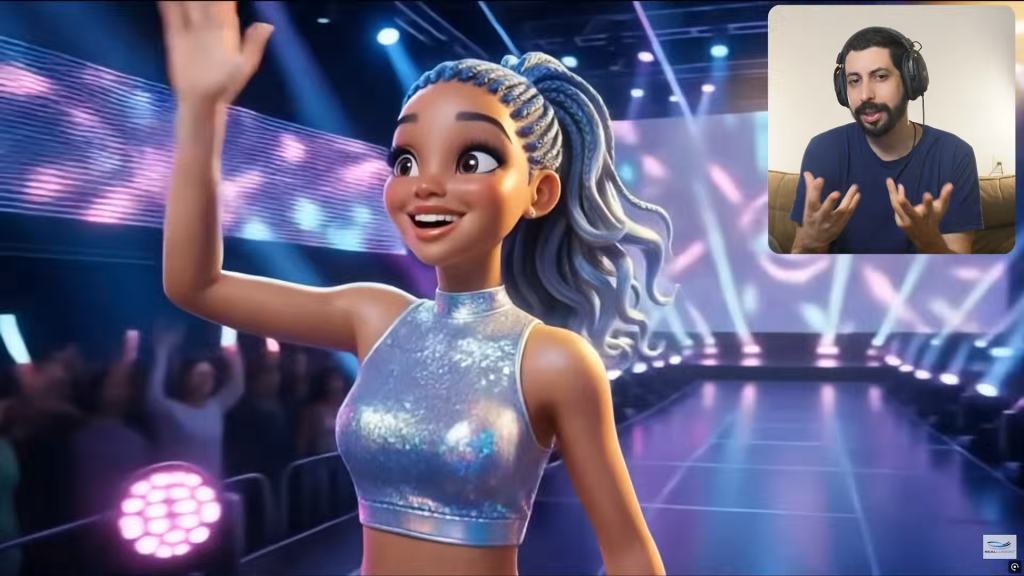
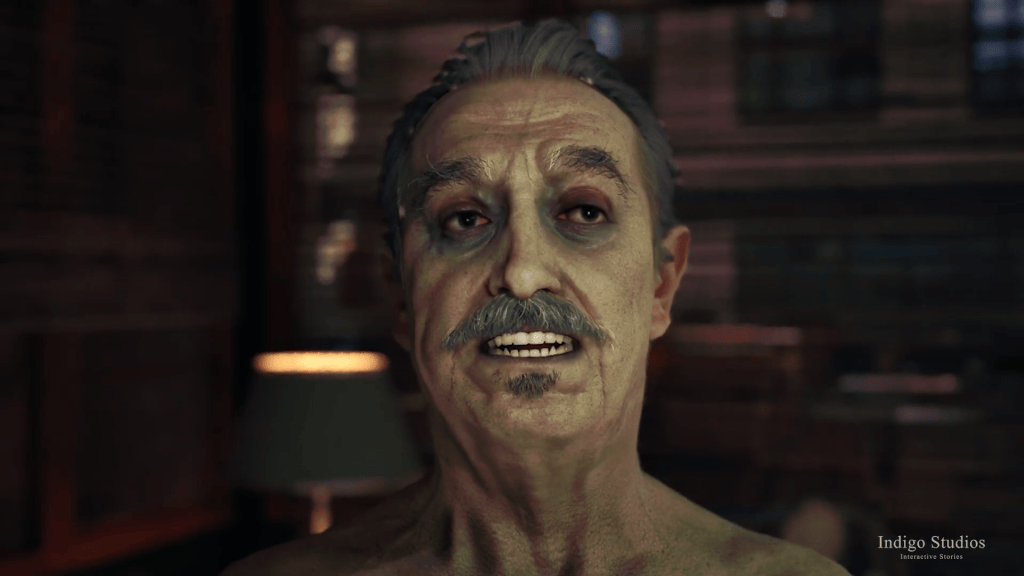
For many indie developers, the dream is to create games with cinematic depth and fully voiced cutscenes, but without a large animation team, this can seem daunting. Integrating tools that streamline facial animation, lip-sync, and camera systems is crucial. Reallusion’s pipeline allows small teams to generate complex animation sequences and dialogue scenes efficiently, ensuring that narrative-driven games can achieve their artistic vision. This approach keeps control in the hands of the developers, reducing reliance on external services and mitigating financial risks.
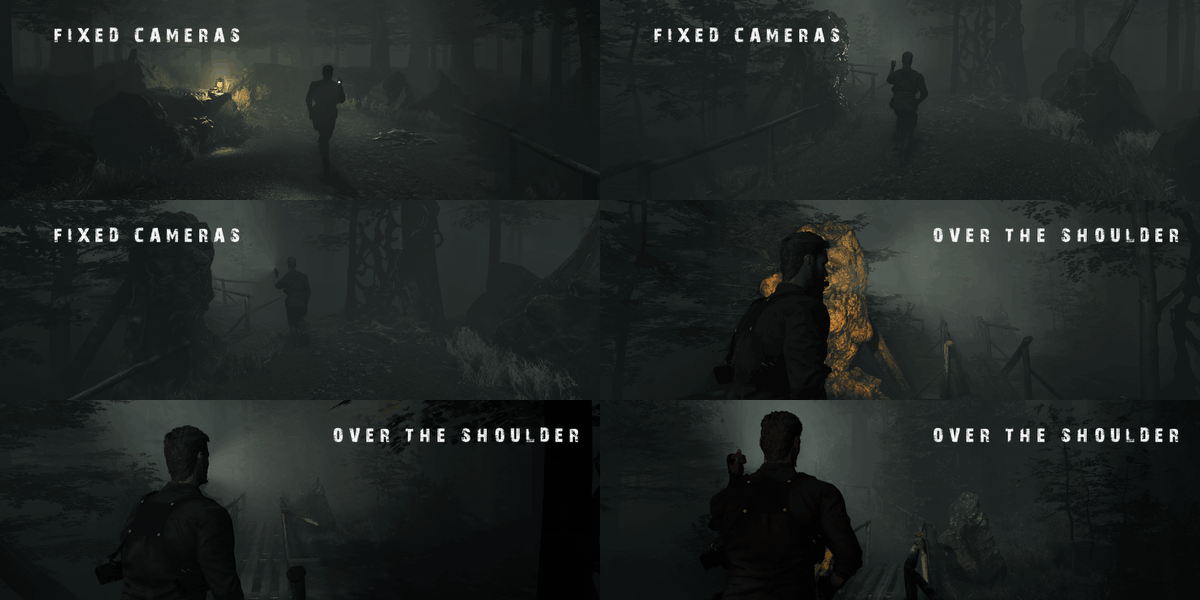
“Creating a cinematic survival horror game is demanding under any circumstances. For indie developers working nights and weekends, it can feel almost impossible.”
Dragon Level Studio | View Source
Read the full guide: How Three Developers Without an Art Team Built a Cinematic Horror Game
Streamlined 3D Character Creation with Reallusion
Reallusion’s Character Creator 5 is at the heart of an efficient 3D character production pipeline, enabling developers to build highly detailed, fully rigged, and game-ready characters with unprecedented speed and flexibility. This platform addresses the need for diverse character rosters, precise customization, and efficient optimization, all within a single, artist-friendly environment. It transforms the complex process of character creation into a manageable workflow for teams of any size.
Building Diverse Character Rosters
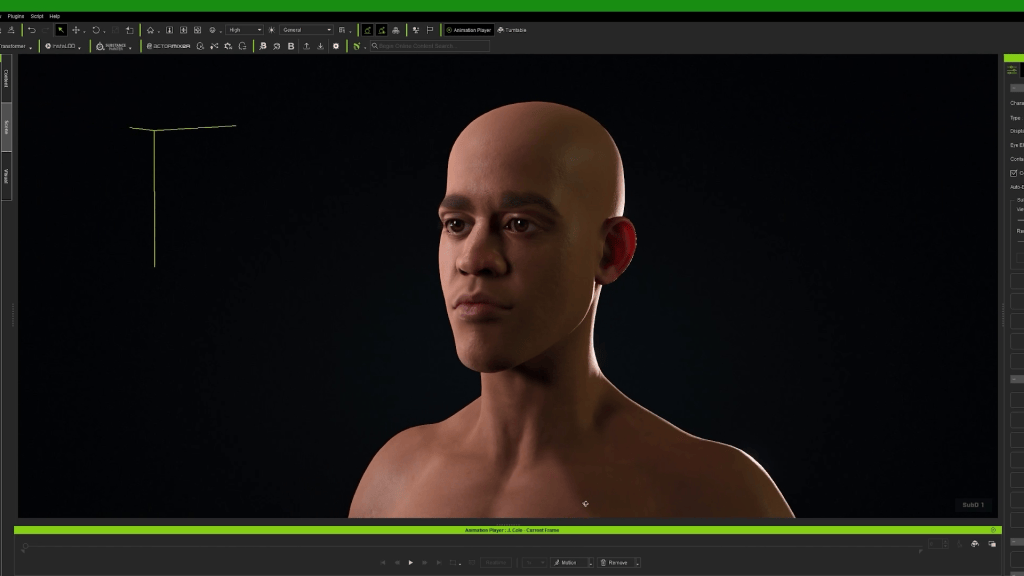
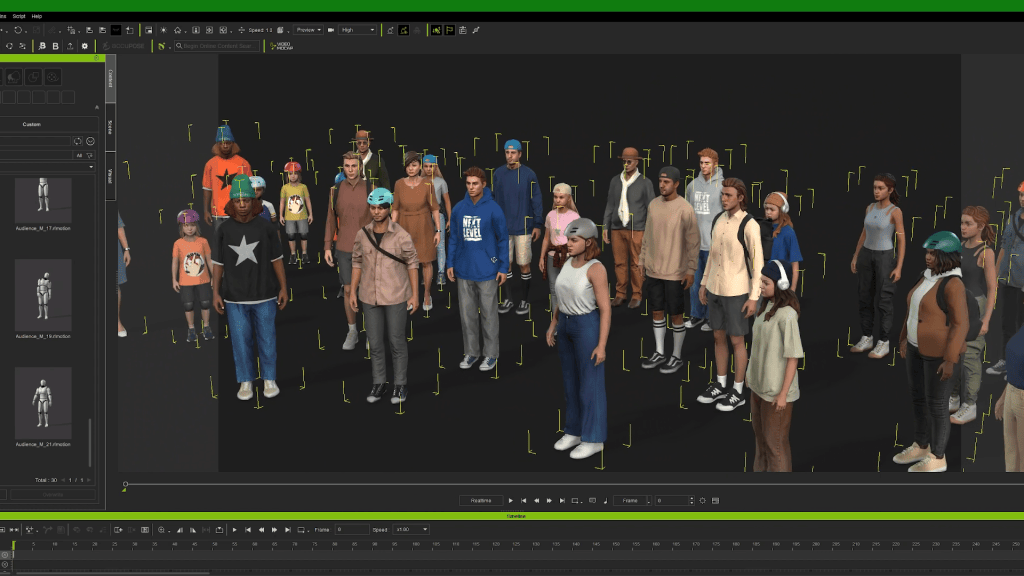
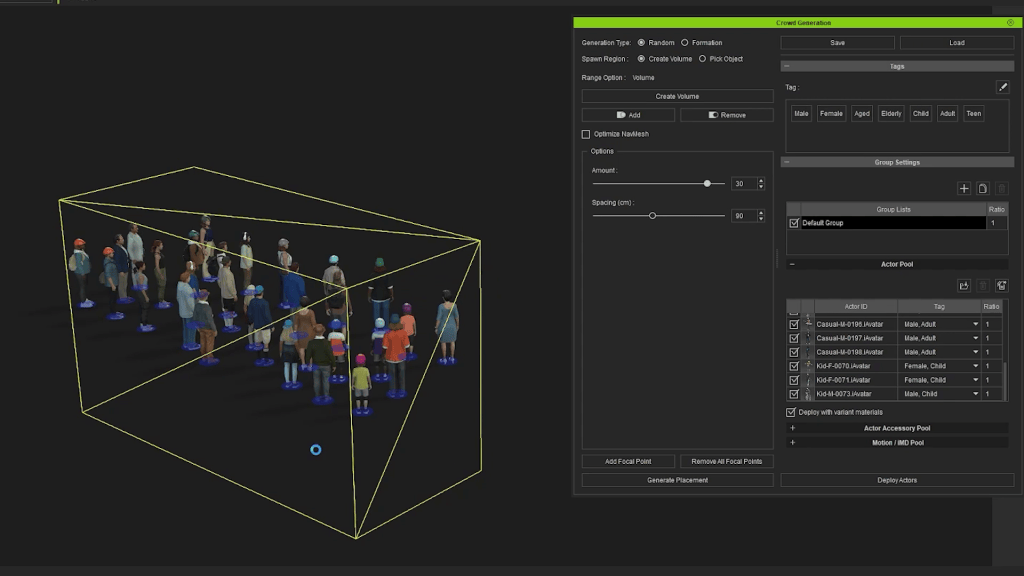
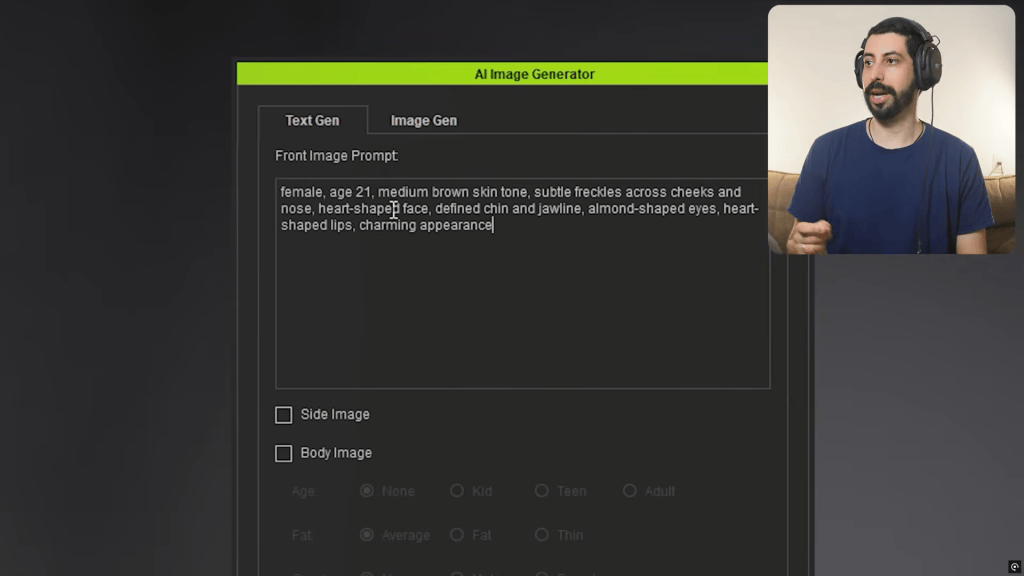
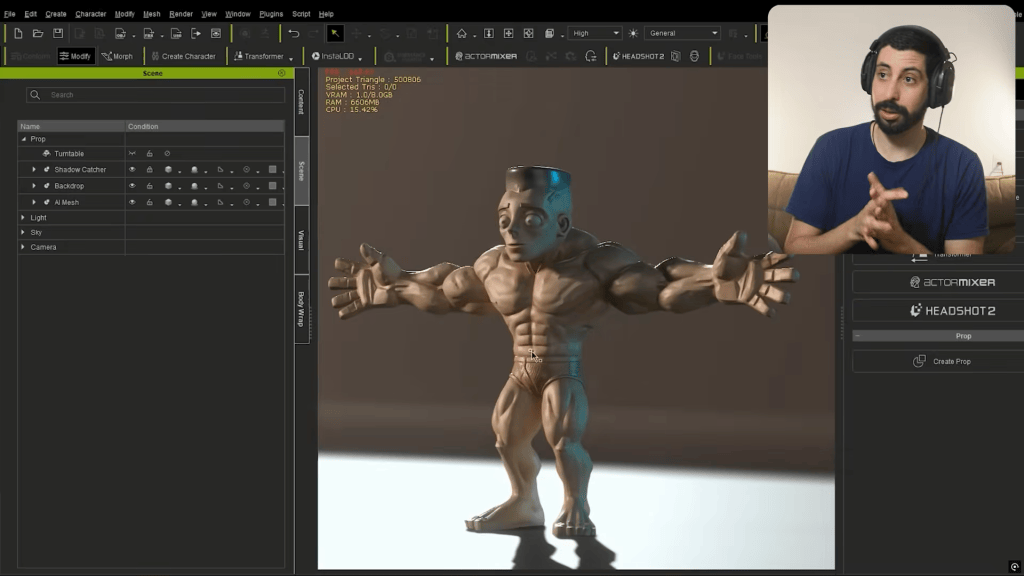
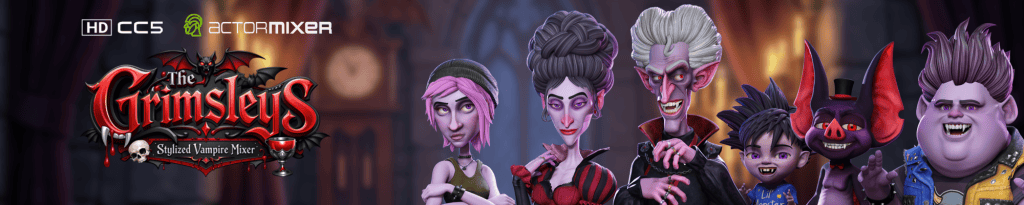
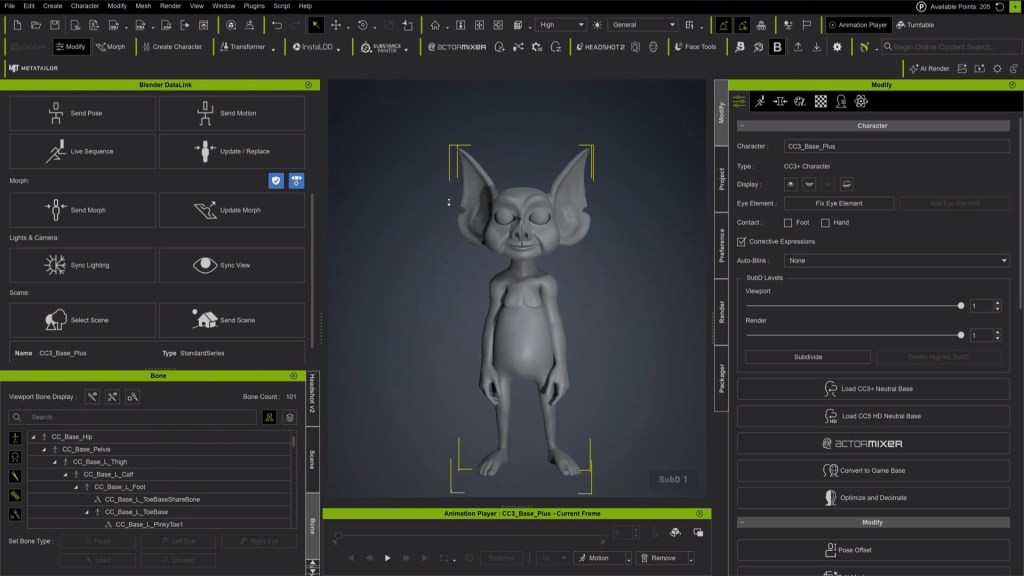
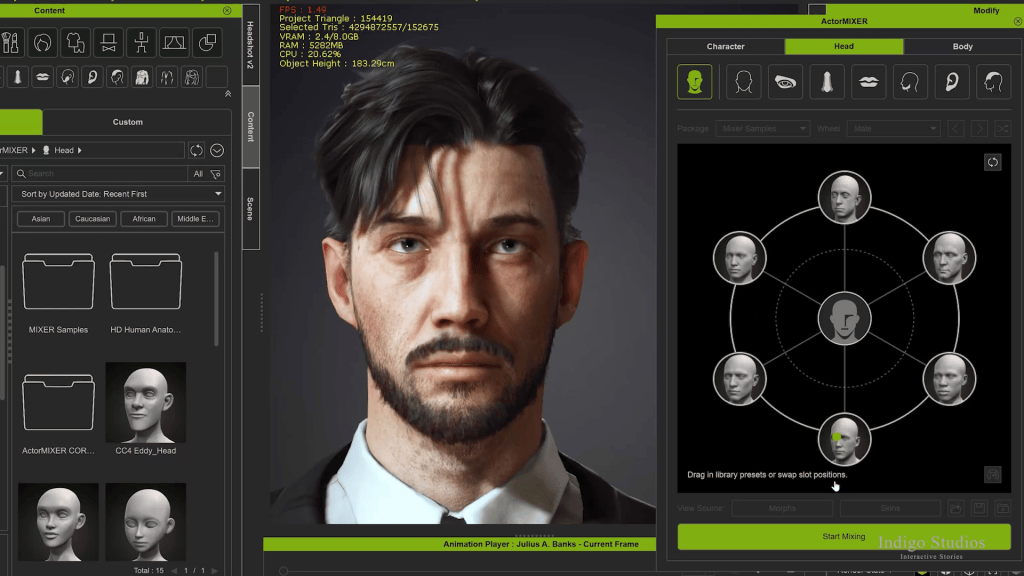
Creating a vast array of NPCs or a customizable main hero often requires significant effort. Character Creator 5 streamlines this by allowing developers to generate a full roster of characters from a single base. This approach is ideal for populating open-world games, strategy titles, or any scenario requiring a large cast of unique individuals like Rendeo’s BattleSail game.

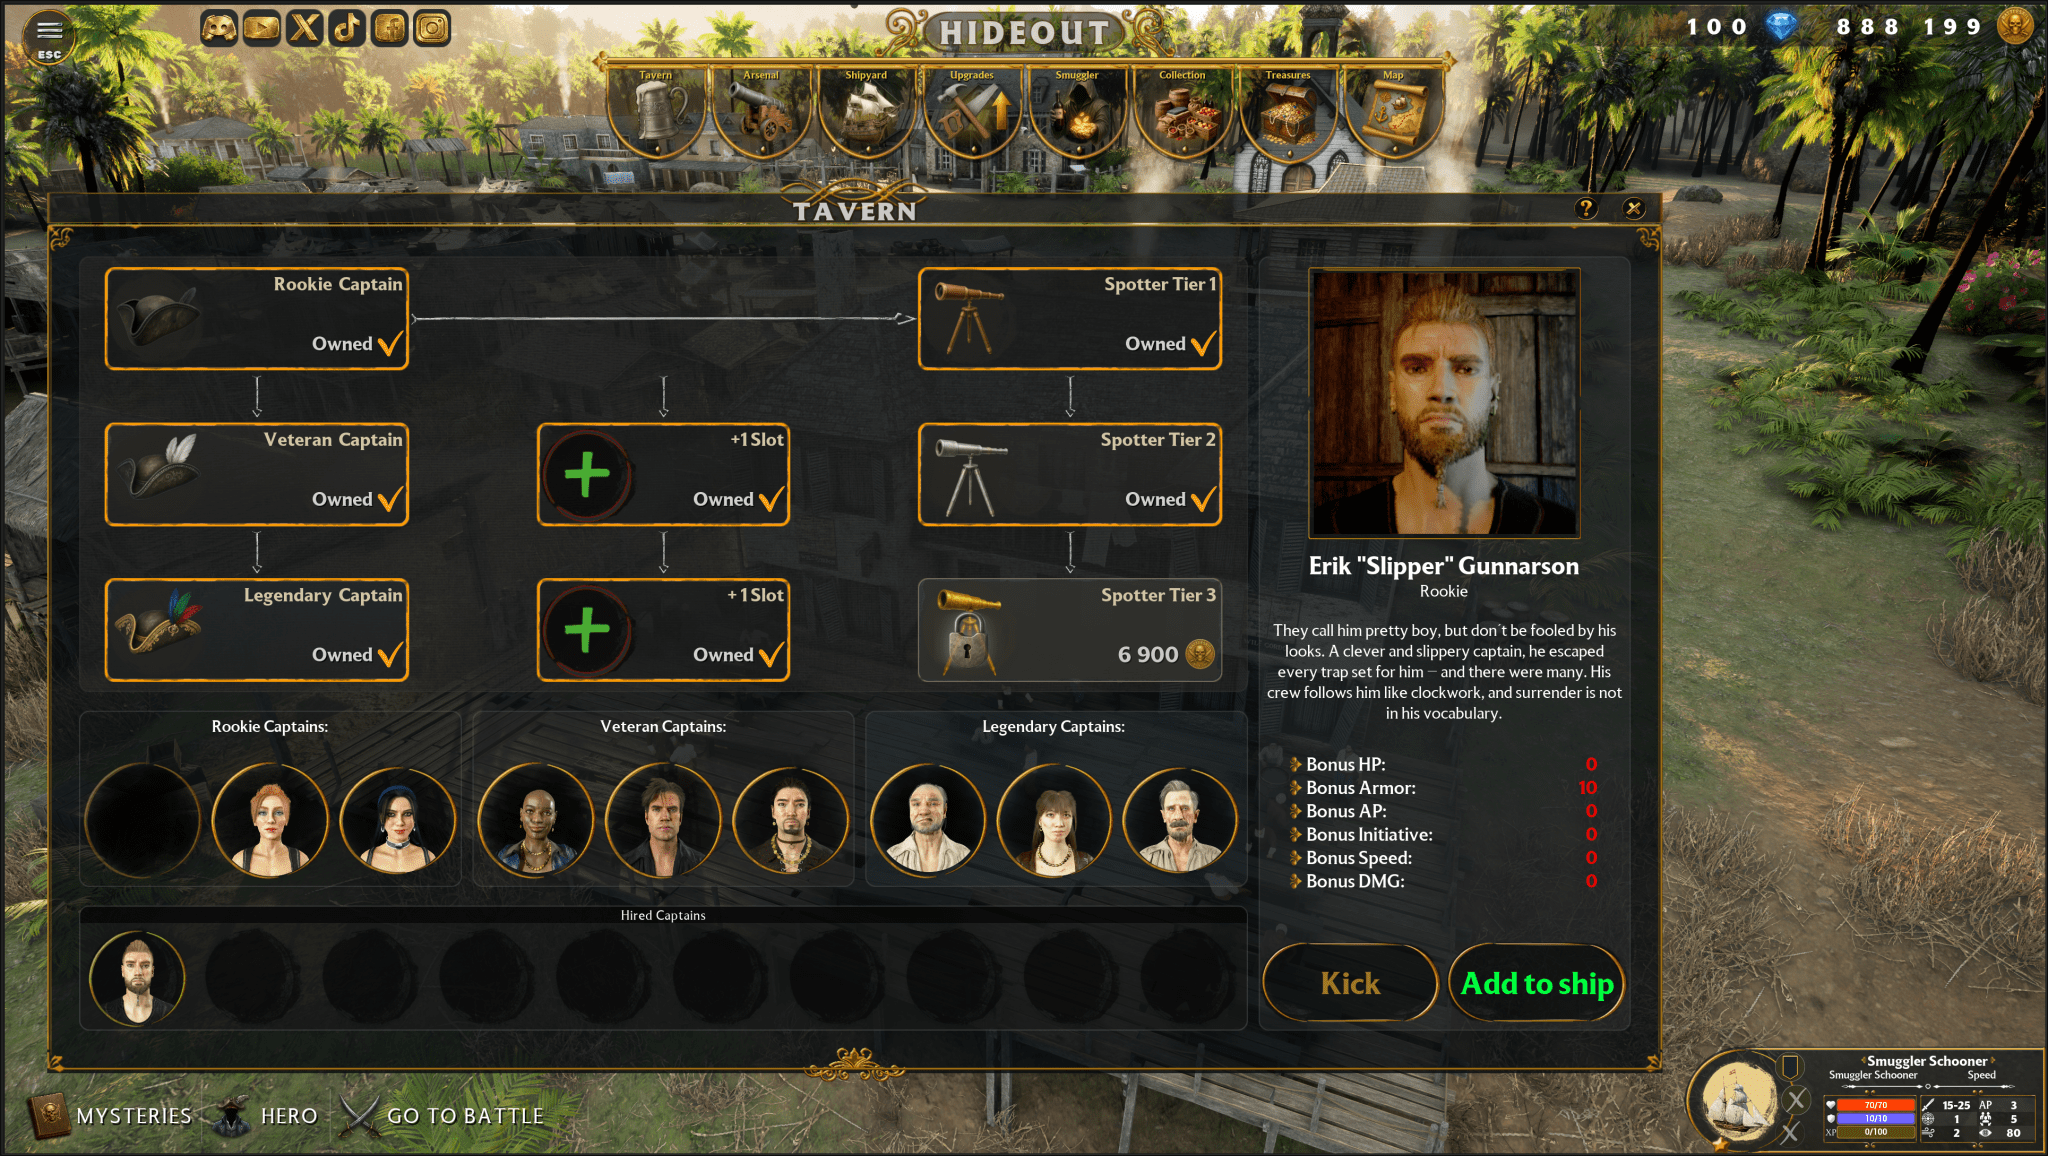
“In the past, we used to take 12 people in one week to create one AAA game character design. With ActorMIXER Plugin for Character Creator, our AAA game characters production time was saved at least 5 to 10 times.”
Radim Bacik — CEO and Art Director | Rendeo | View Source
Detailed Facial Sculpting and Customization
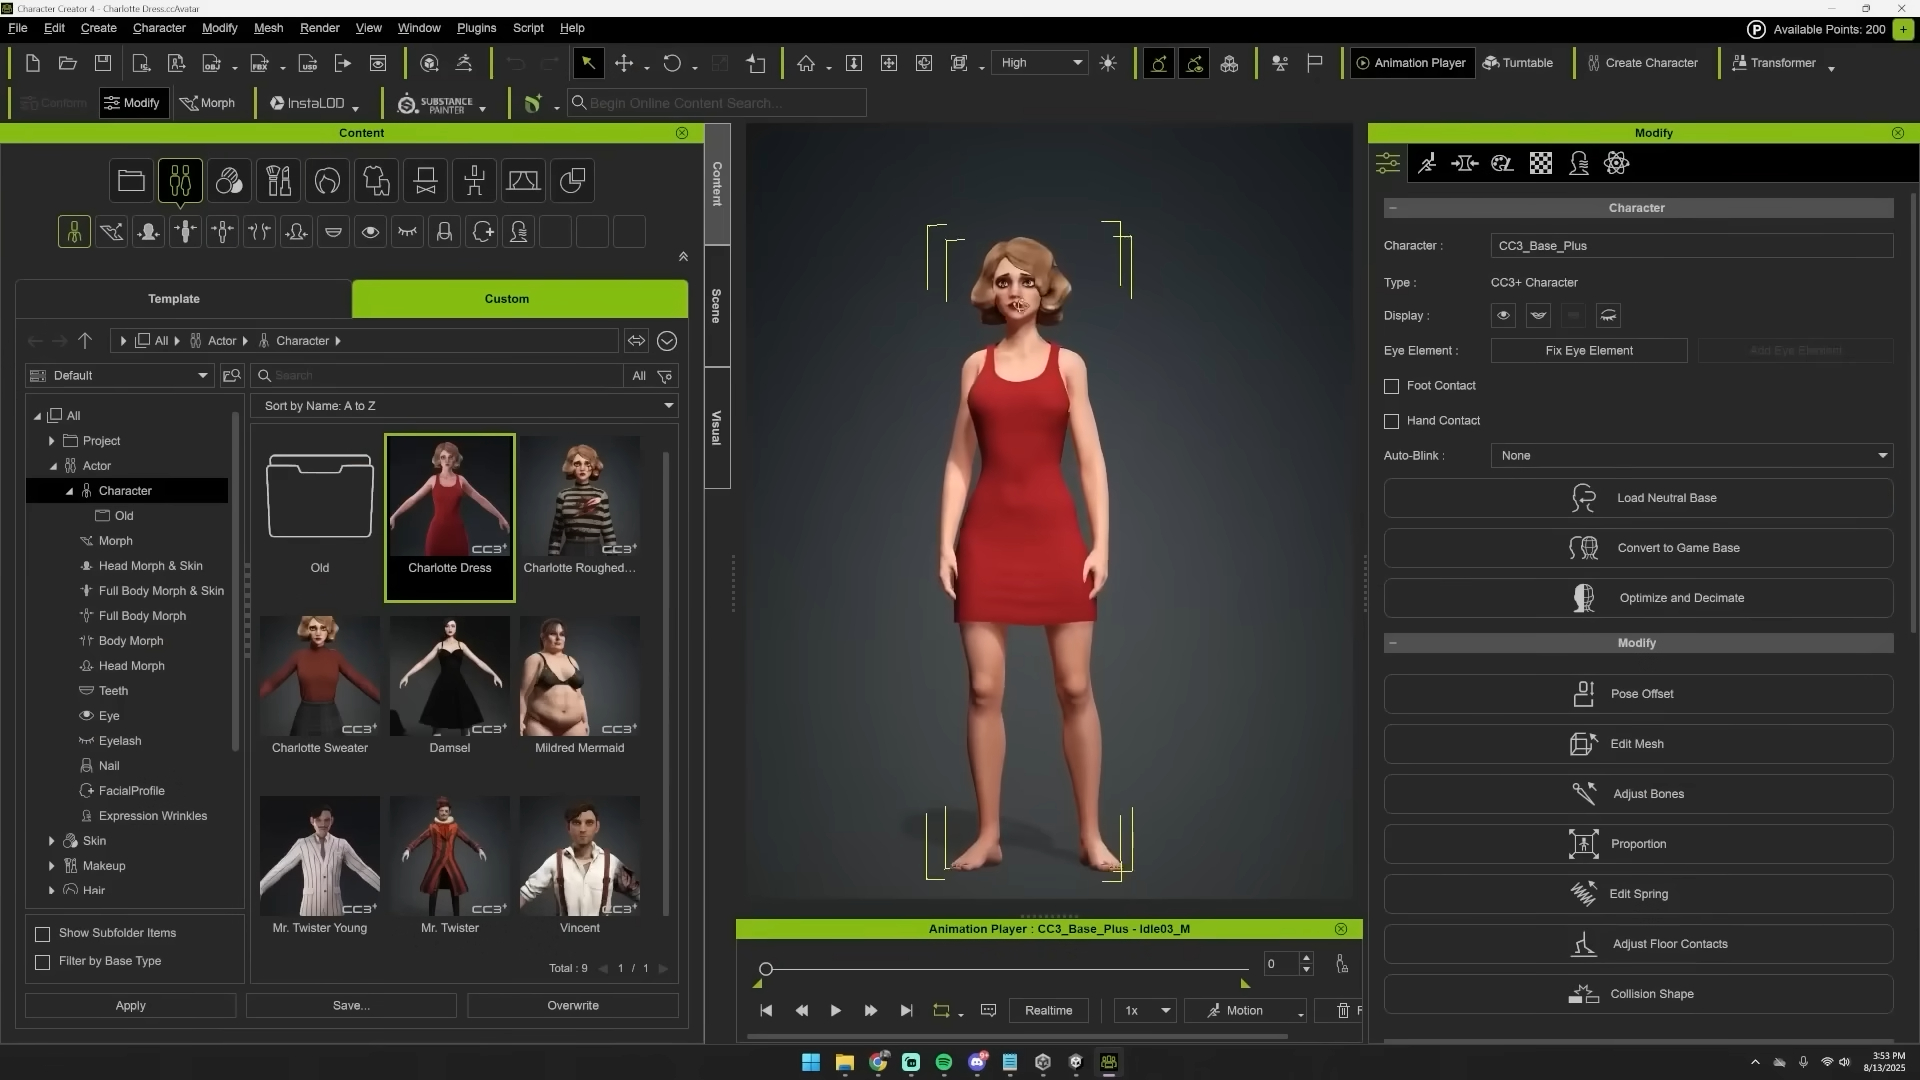
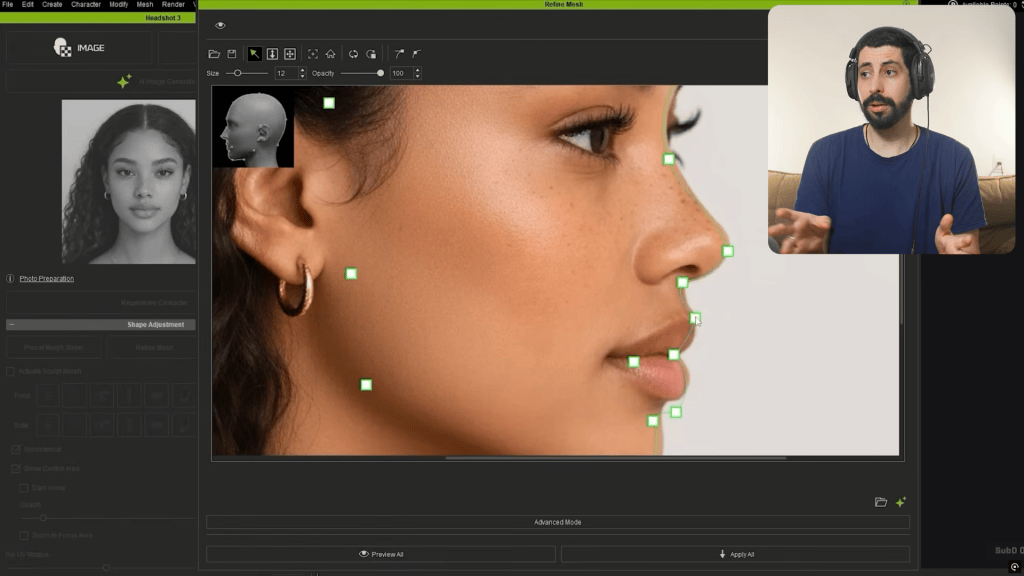
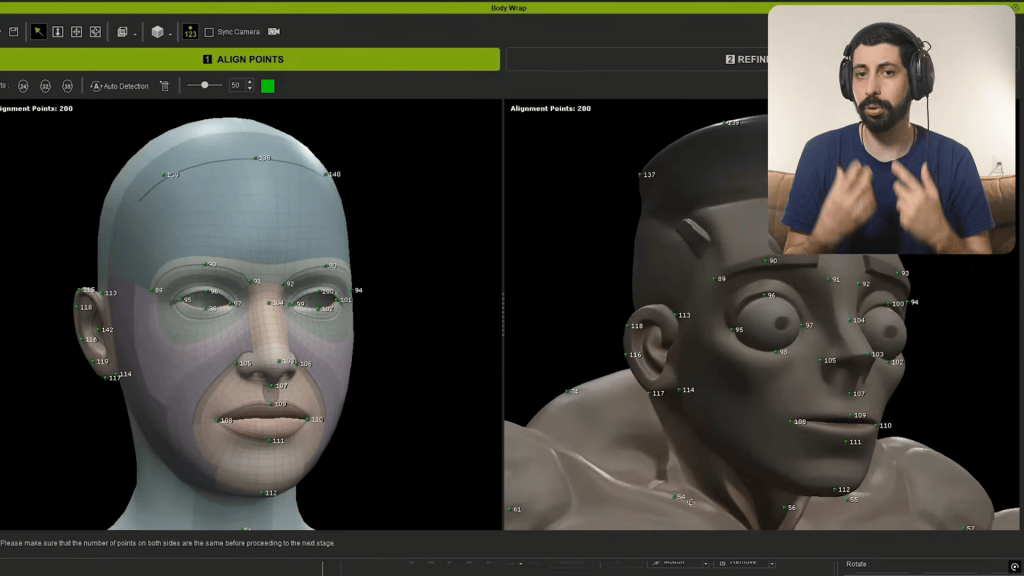
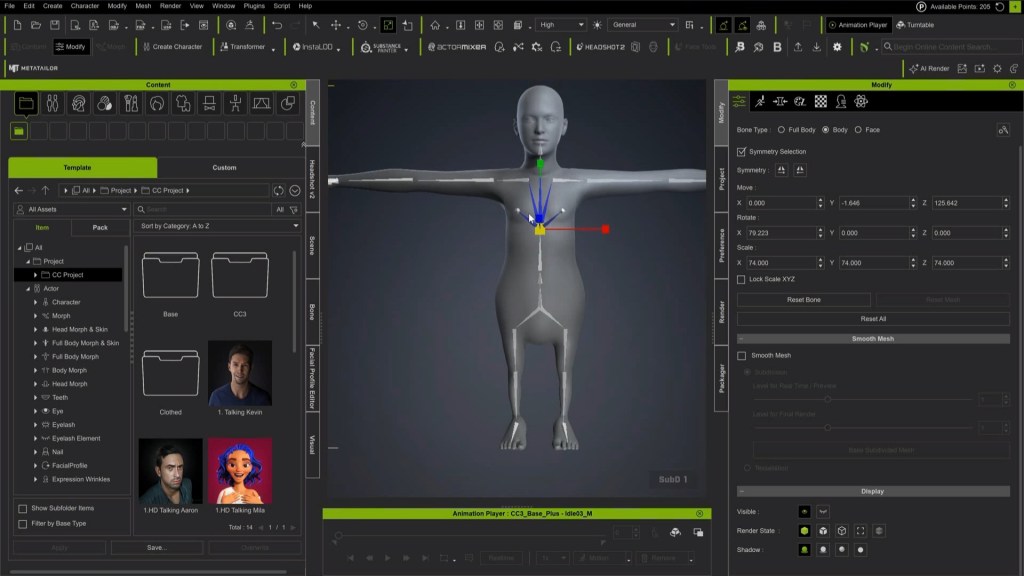
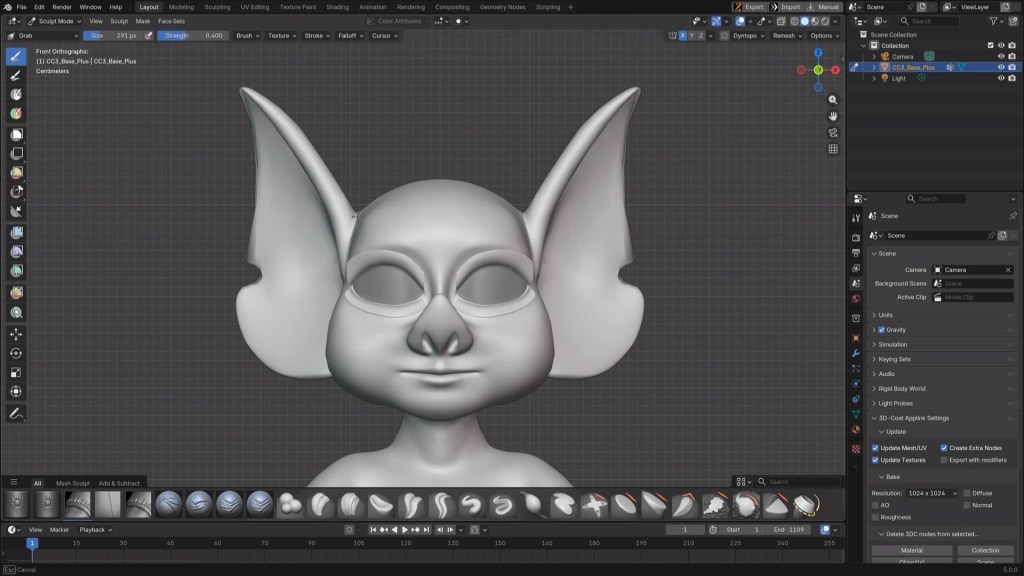
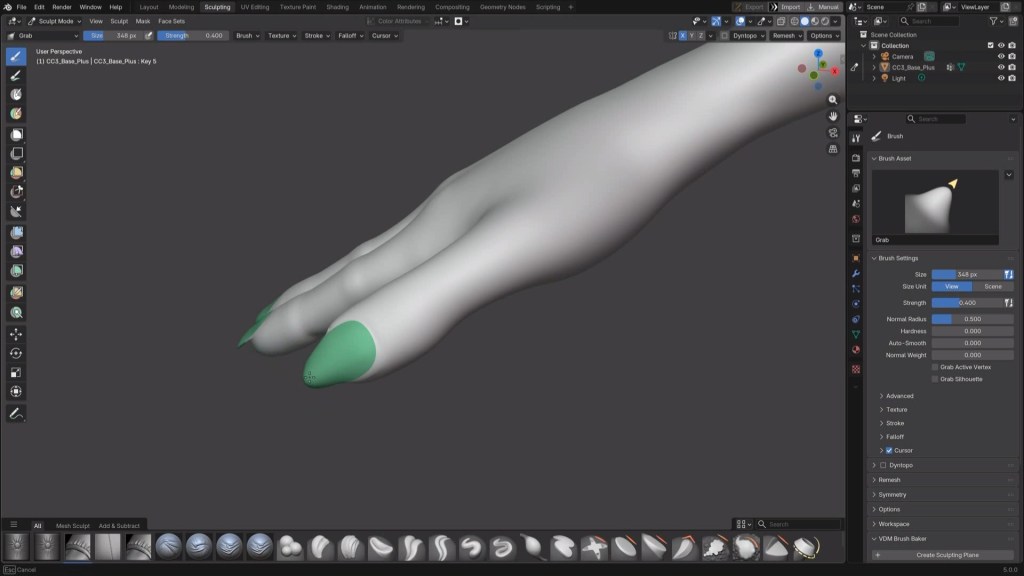
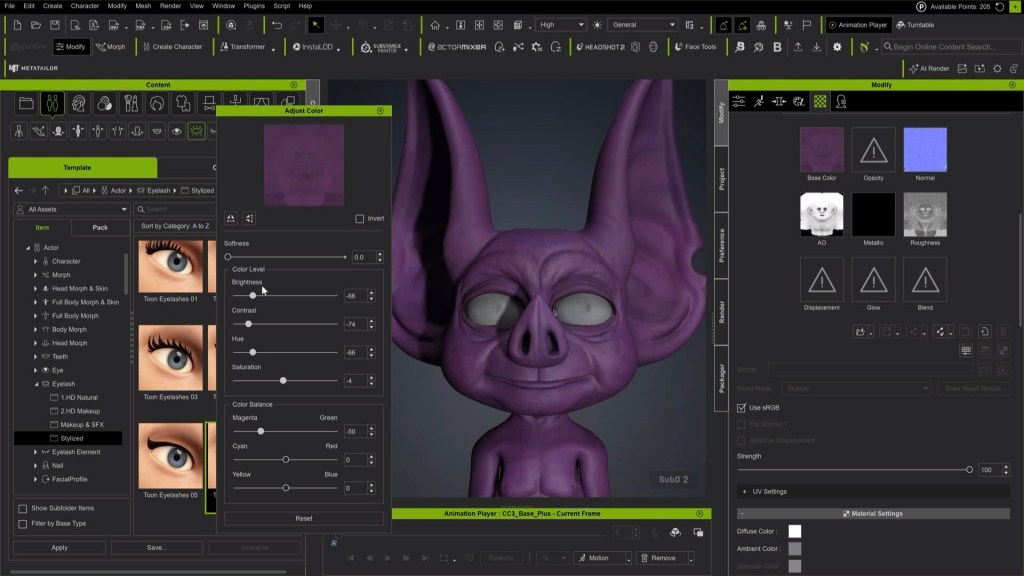
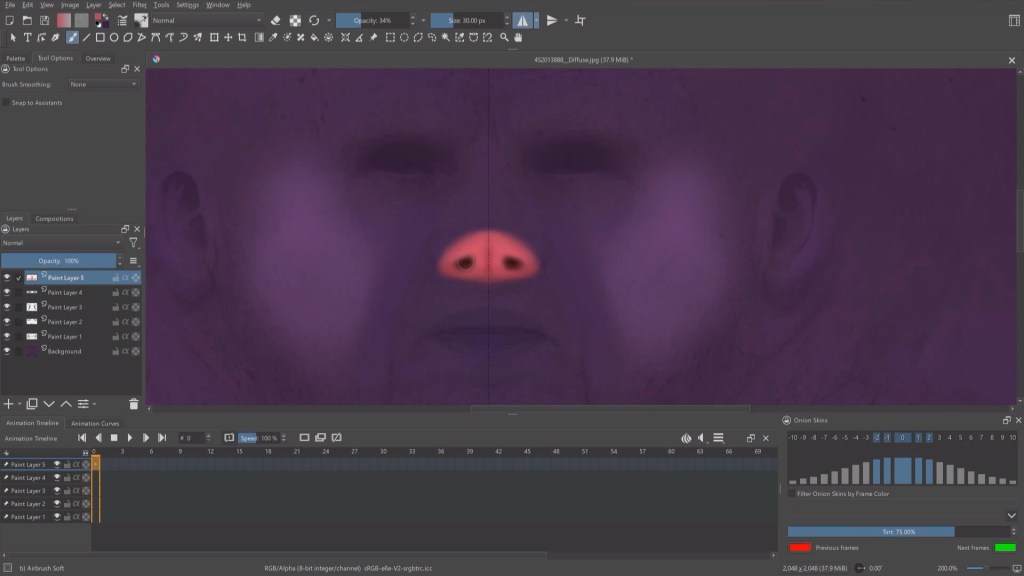
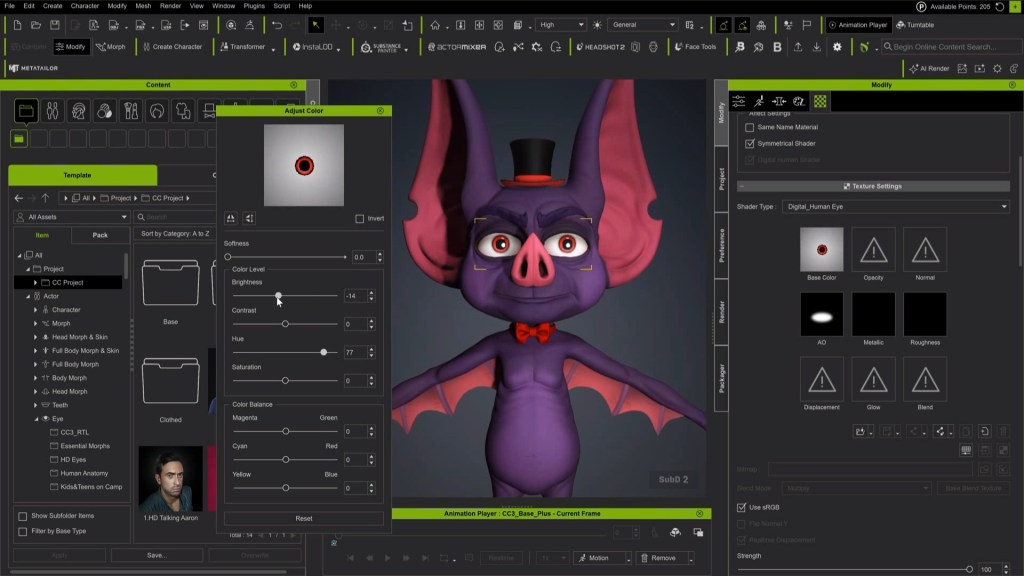
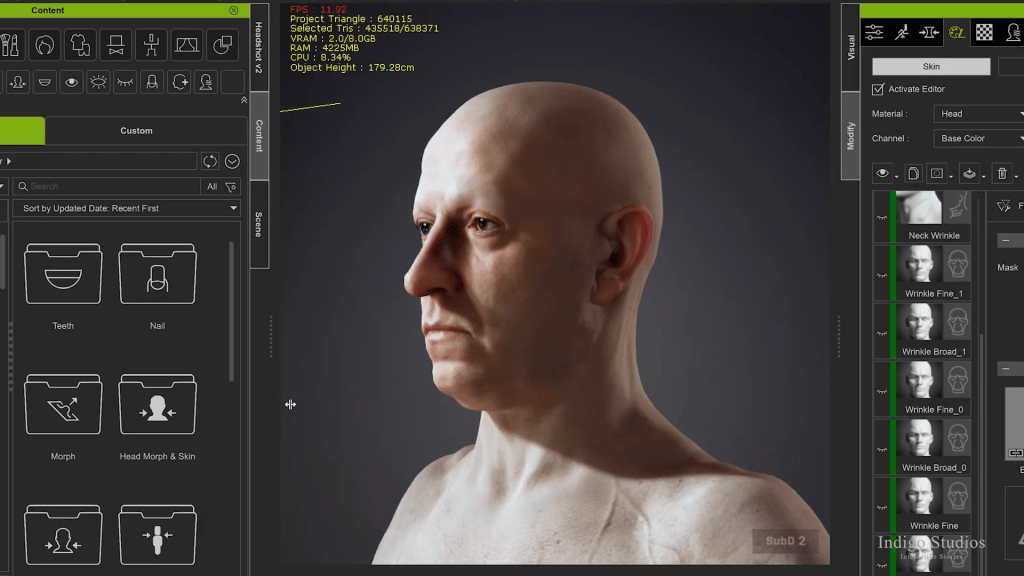
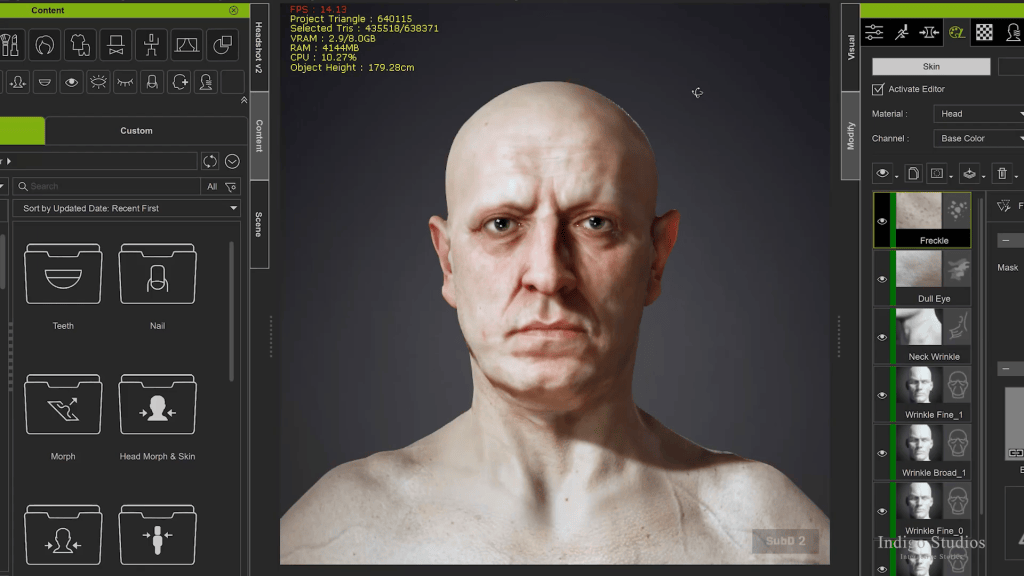
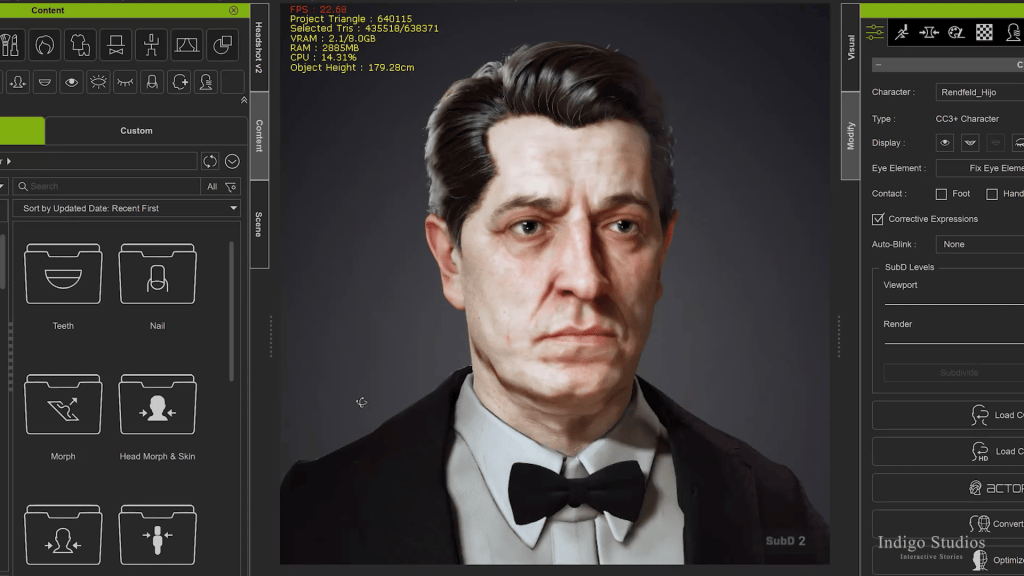
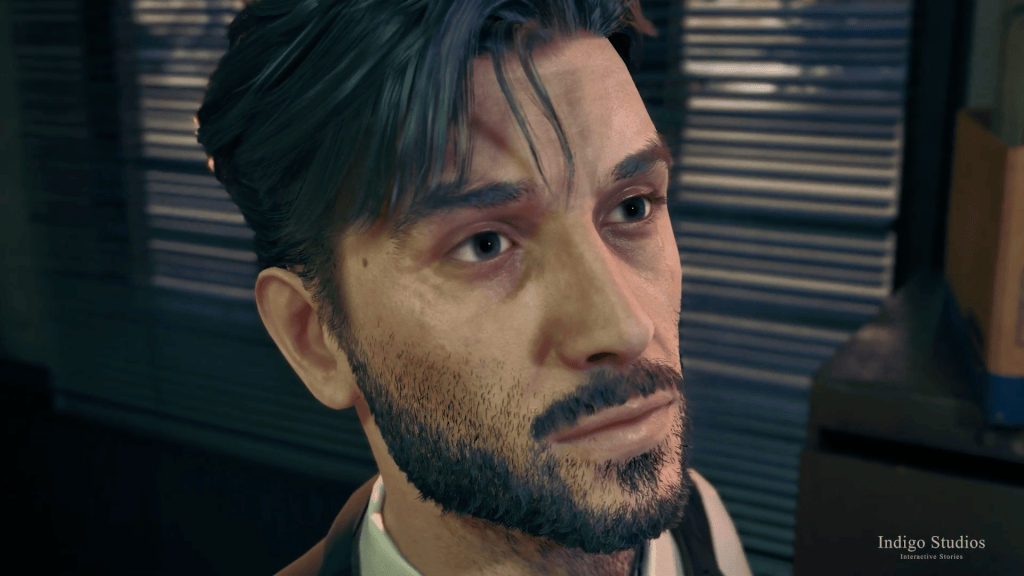
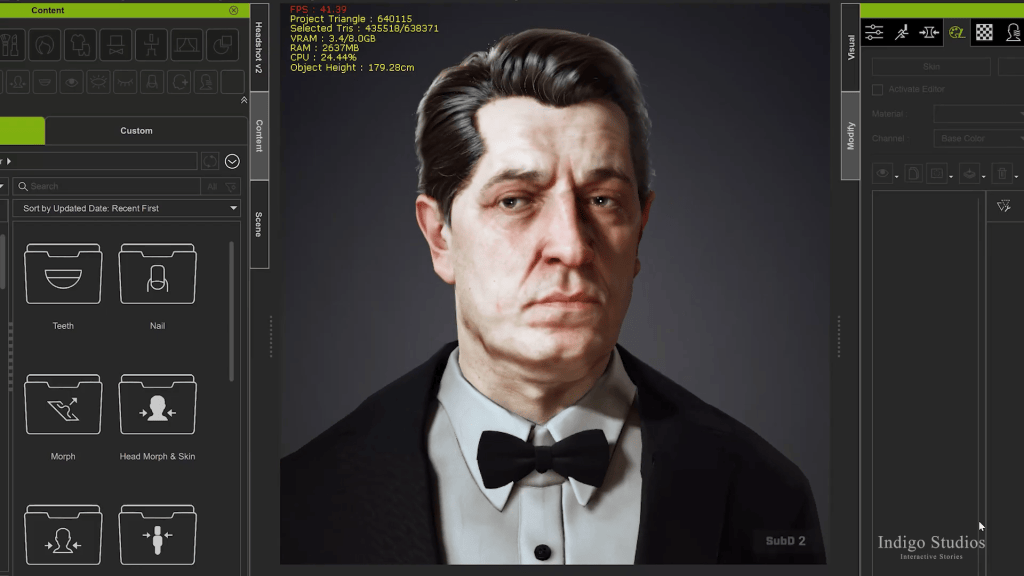
Precision in facial features is paramount for conveying emotion and establishing character identity. Character Creator 5 offers nearly endless options for detailed facial creation, allowing adjustments from overall skull shape to specific features like lips, eyes, and nose. Developers can sculpt features precisely using the morph system and instantly preview them with animations. This integrated workflow eliminates the need for repeated exports to external sculpting software, accelerating the iteration process. Skin details, such as scars or dirt, can also be applied and refined directly within the software.
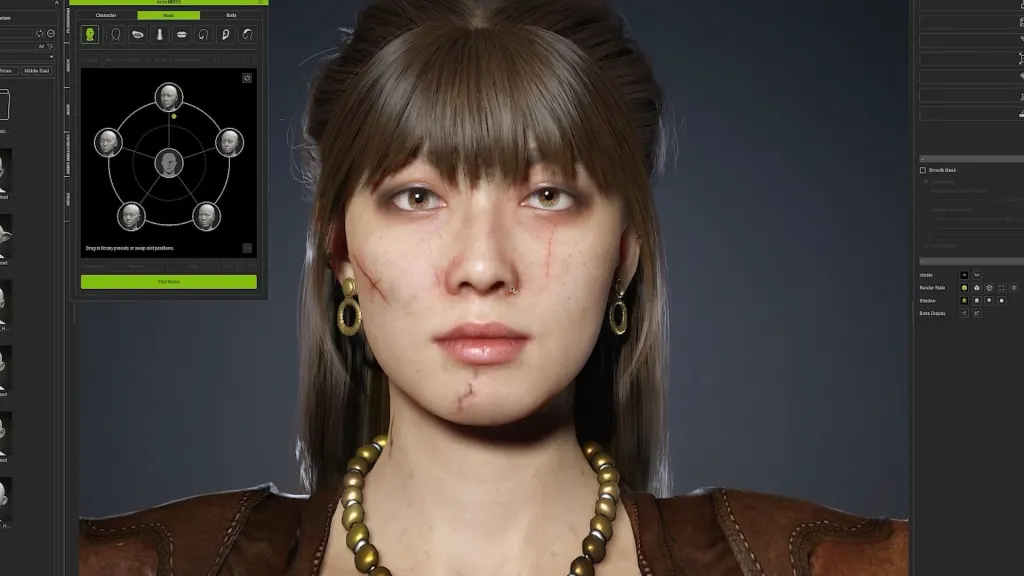
Using tools like Character Creator 5’s ActorMIXER, artists can rapidly produce variations in body shape, facial structure, and textures, maintaining a consistent style across diverse populations.
Read the full guide: How “Mafia” Devs Speed Up AAA Game Character Production with Character Creator 5
Optimizing Characters for Real-Time Performance
High-fidelity characters can be resource-intensive, but Character Creator 5 ensures they are game-ready. Developers can start with highly detailed models for close-ups and then convert them into lighter, optimized versions for crowds or background use without rebuilding. Features like “Optimize and Decimate” unify character elements and reduce polygon counts, maintaining visual quality while ensuring smooth real-time performance within game engines. This flexibility is crucial for balancing visual fidelity with performance requirements across different platforms.


Efficient Animation Workflows for Games
Animation is often the most time-consuming aspect of game development, especially when aiming for believable, varied motions. Reallusion’s iClone 8 provides a powerful suite of tools that democratize animation, making advanced techniques like motion capture and detailed facial animation accessible to indie developers. Its integrated workflow allows for rapid iteration, refinement, and blending of motions, transforming raw performance into polished, game-ready sequences.
AI Video Motion Capture for Realistic Movement
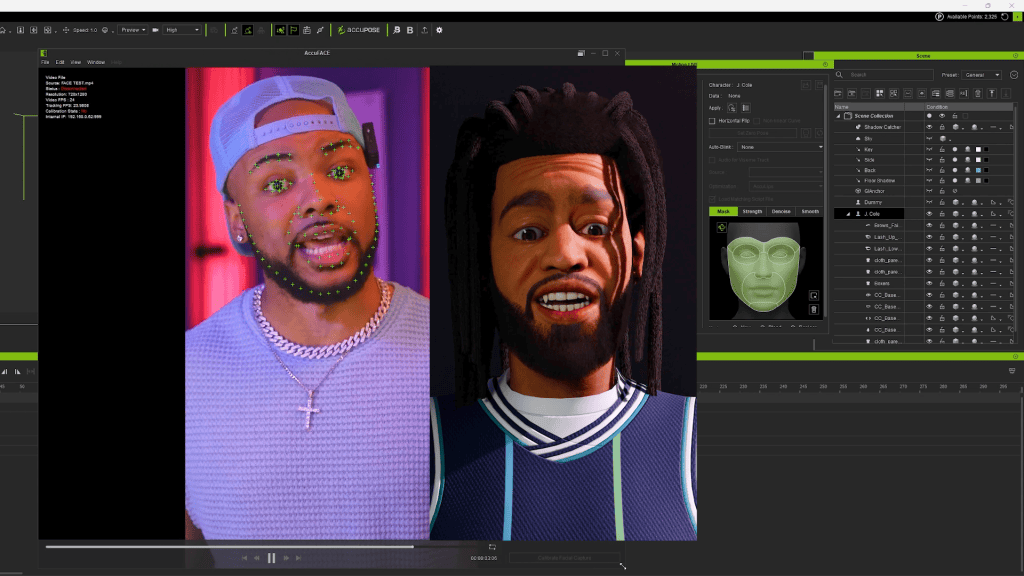
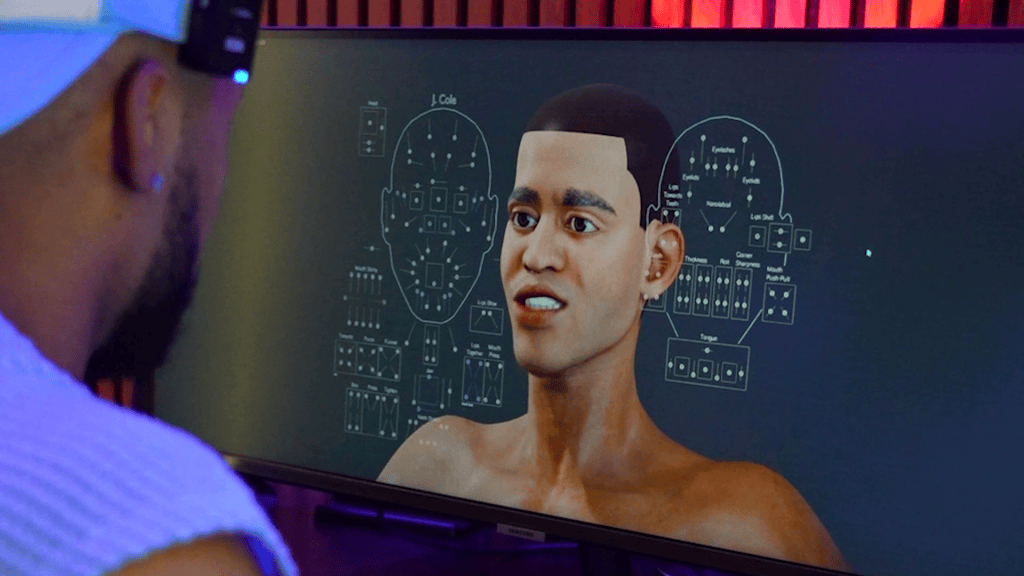
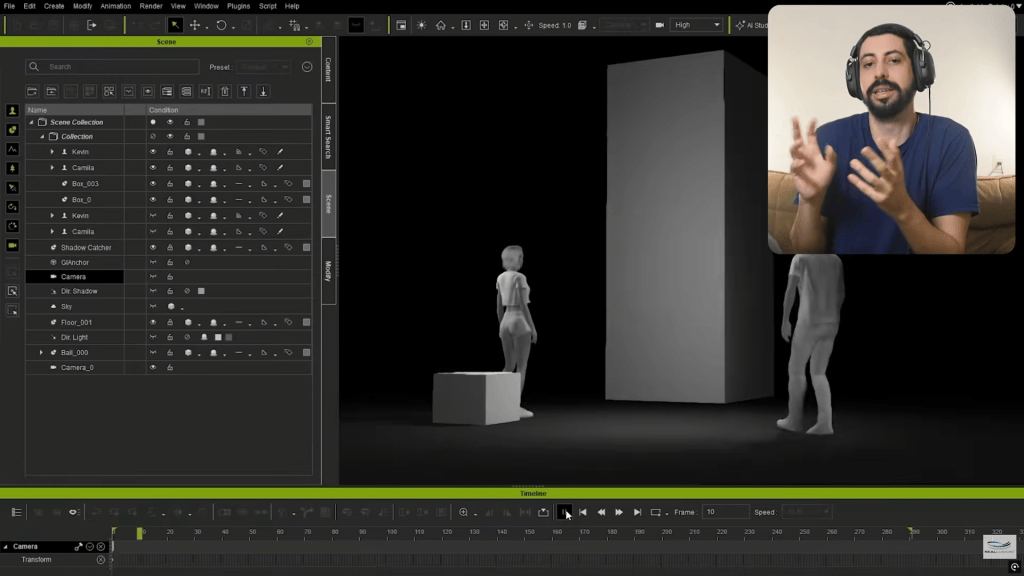
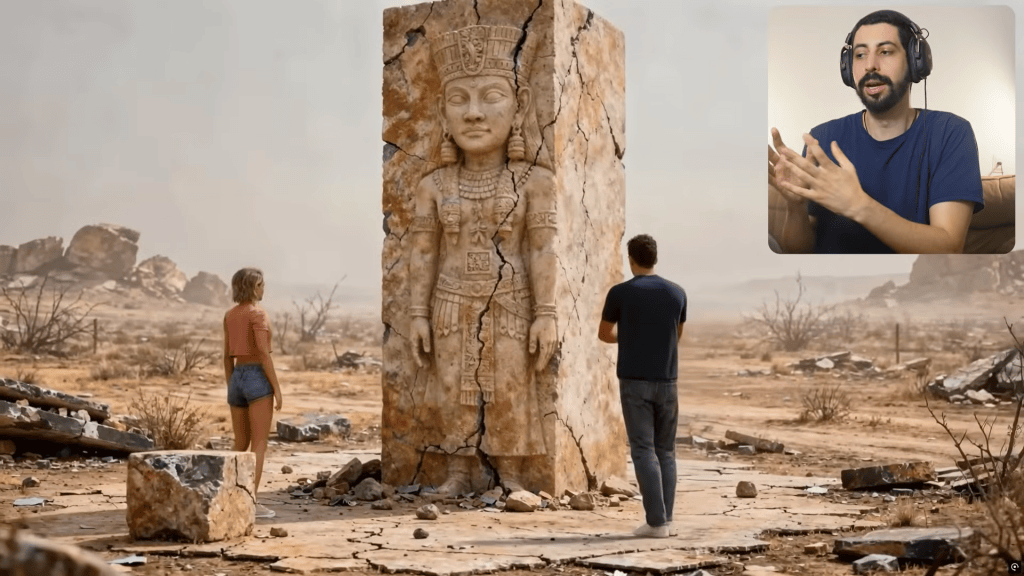
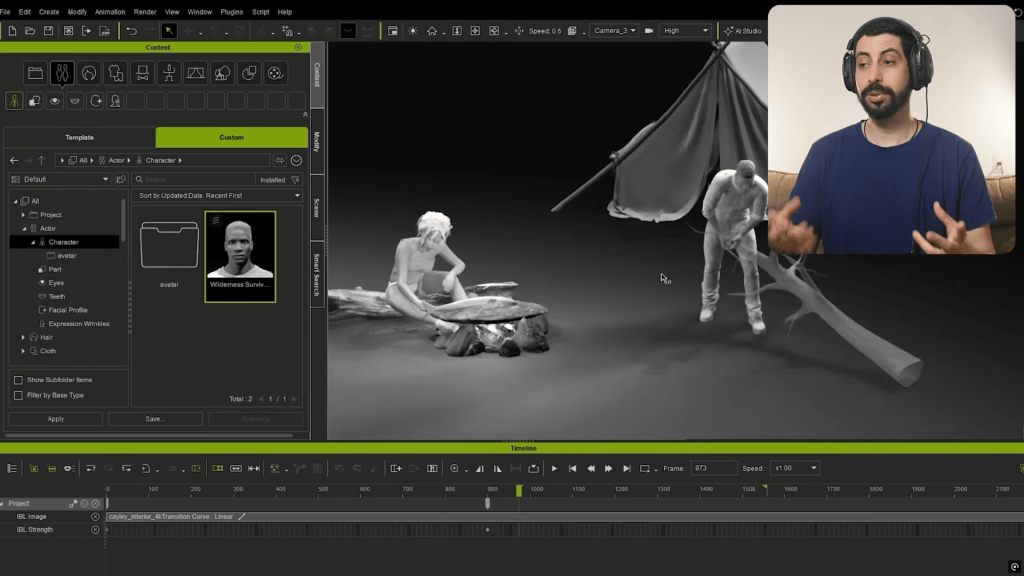
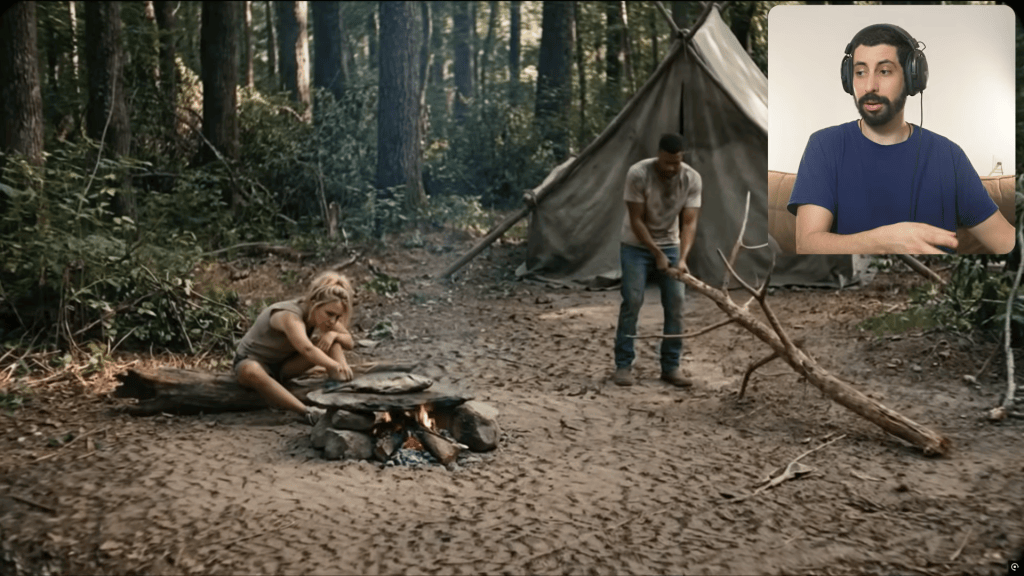
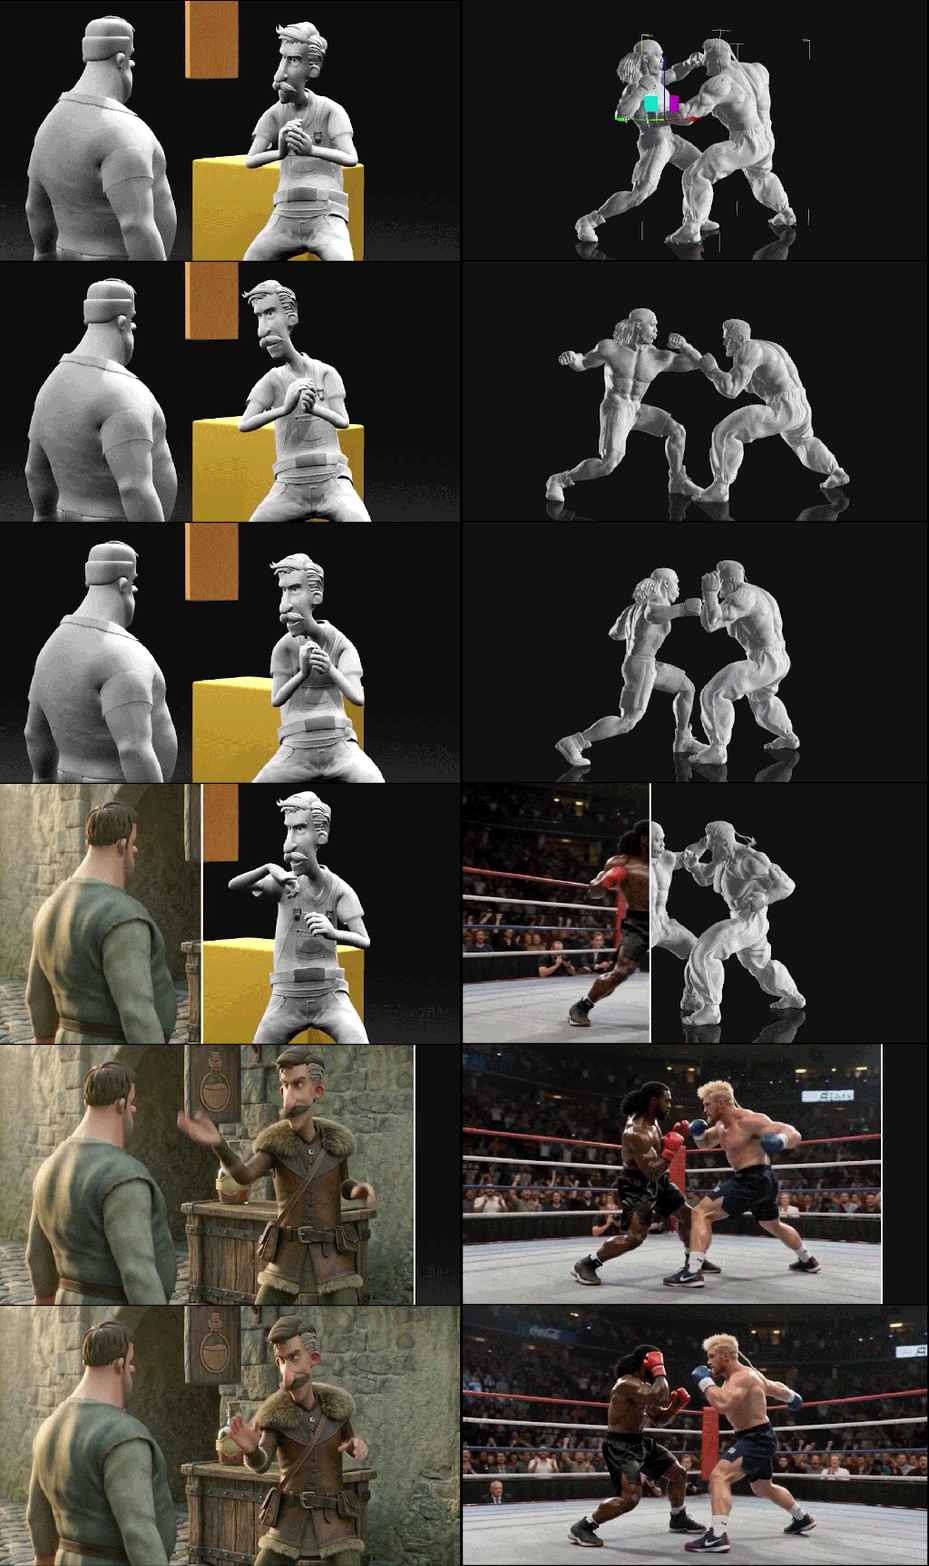
Traditional motion capture is often expensive and requires specialized equipment, putting it out of reach for many indie teams. iClone 8 AI Video Mocap offers a lightweight, accessible alternative, allowing developers to capture realistic human motion from standard video footage, even recorded with a phone. This innovative solution turns everyday video into a versatile source of animation data for NPCs and main characters. It is designed for live performances, providing a strong base for natural human movement.
“The iClone Video Mocap workflow is so lightweight that motion capture stops being a tedious process and becomes a tool you can use anytime to generate NPC actions.”
José Antonio Tijerín – Digital Illustrator and 3D Sculptor | View Source
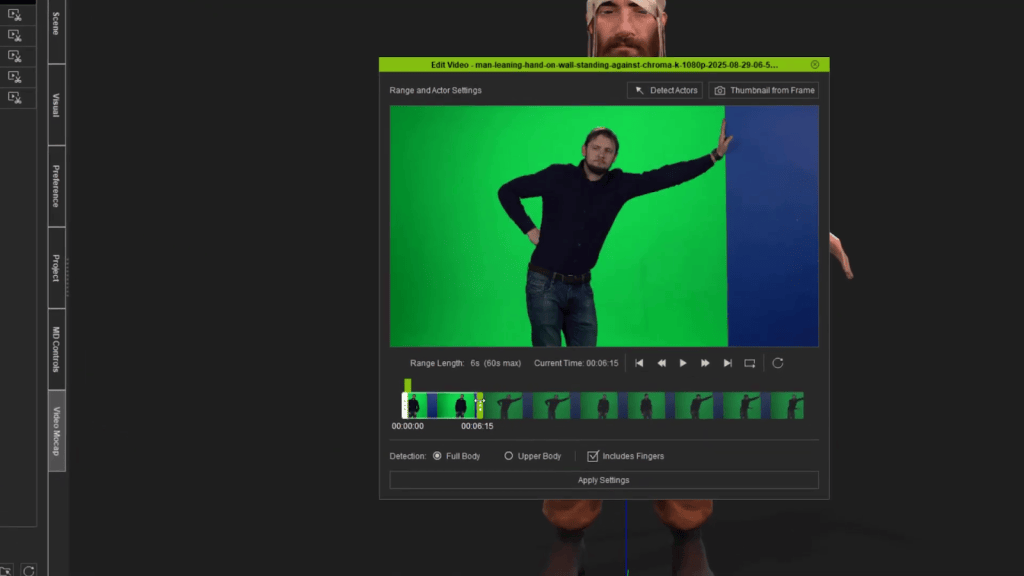
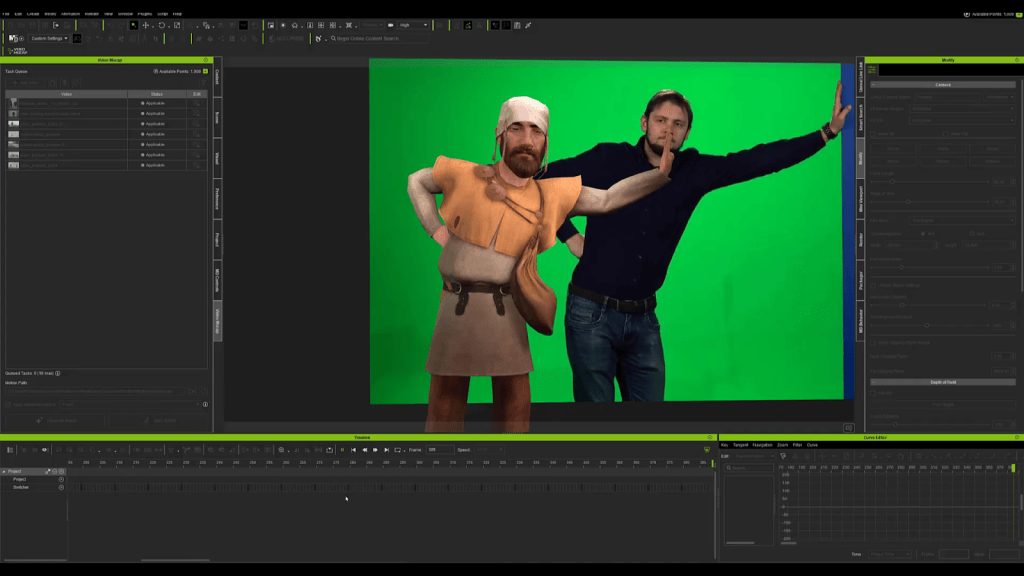
Read the full guide: AI Video Mocap Brings Studio-Level Productivity to Indie Game Developers
Refining and Blending Motions in iClone
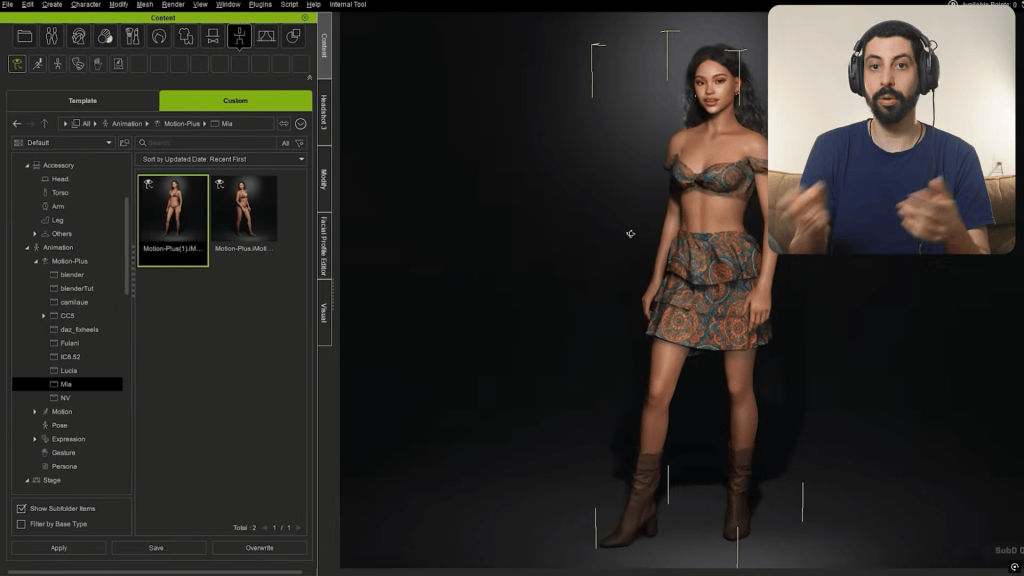
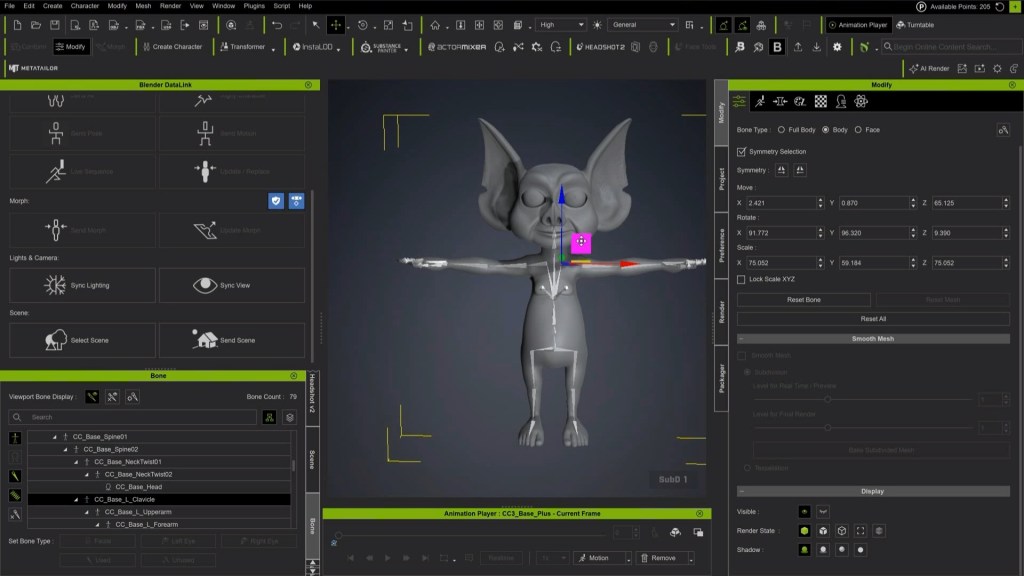
Raw motion capture data often requires cleanup and refinement. iClone 8 provides comprehensive motion editing tools to address common issues like joint jitter, finger vibration, or unstable ground contact. Developers can quickly reduce unnecessary keys, stabilize posture, and refine timing to ensure motions loop cleanly and behave predictably in-game. For incomplete or imperfect captures, iClone allows for blending captured upper-body performance with compatible motions from its extensive library, including premium motions from ActorCore, to create coordinated and complete animations. The original video footage remains a crucial reference for maintaining accuracy in timing and interaction.
Rapid Facial Animation and Lip-Sync
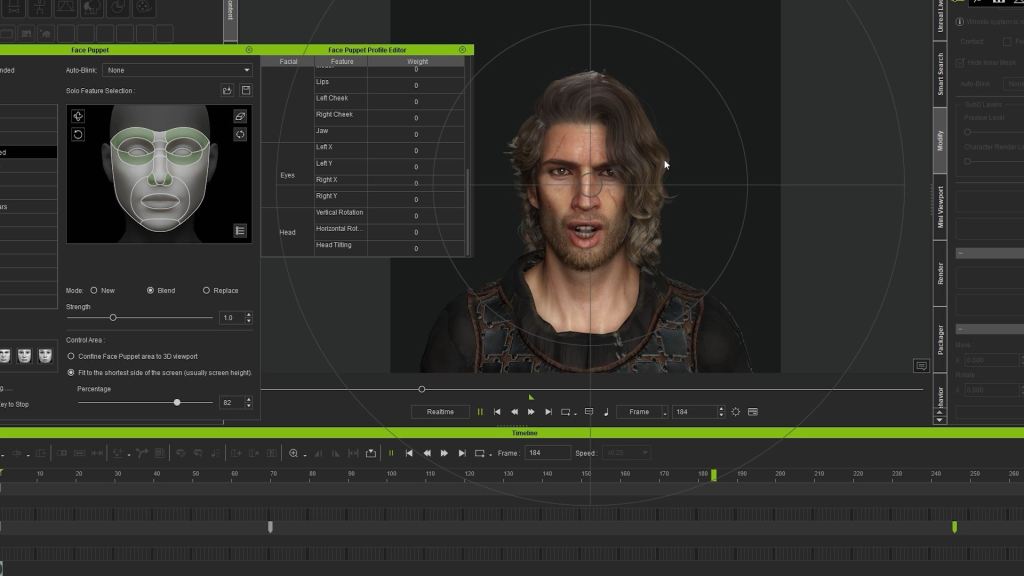
Expressive facial animation and accurate lip-sync are vital for immersive character dialogue and emotional storytelling. iClone 8 simplifies this complex process with features like Face Puppet, which allows developers to quickly generate lip-sync data directly from recorded voice audio. This capability enables rapid prototyping and refinement of speaking animations within a single software environment. The ability to efficiently convert audio into phonemes and then fine-tune expressions saves considerable time and resources, making fully voiced cinematic cutscenes a practical reality for small teams.
Seamless Game Engine Integration
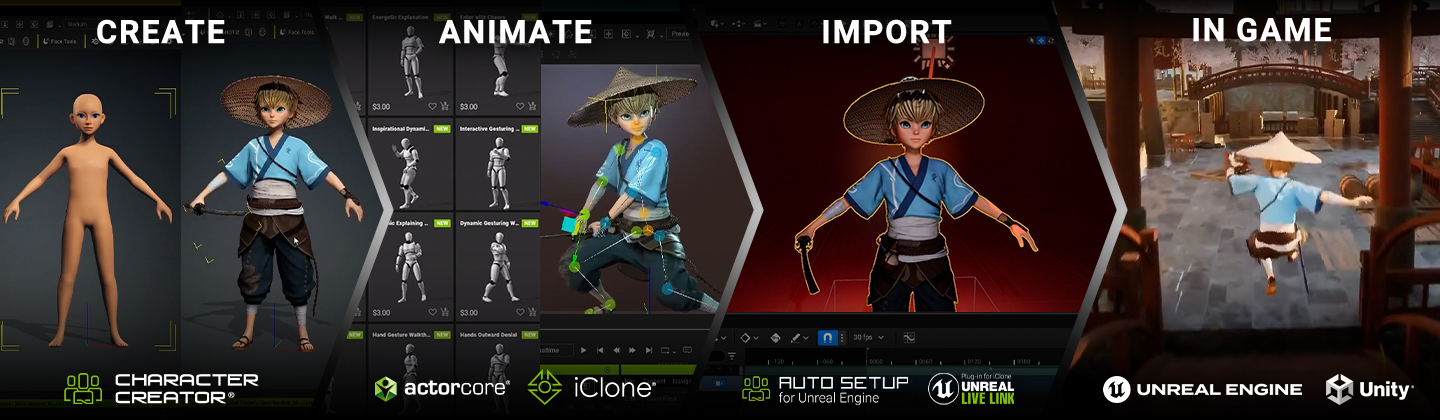
The final stage of the character and animation pipeline involves seamlessly transferring assets into the chosen game engine. Reallusion’s tools are designed with robust integration in mind, ensuring that characters, materials, and animations move across platforms with minimal friction. This eliminates technical headaches and allows developers to focus on in-game implementation and polish.
Unreal Engine Pipeline
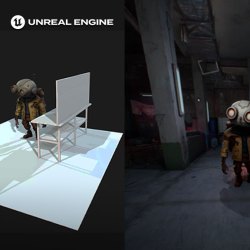
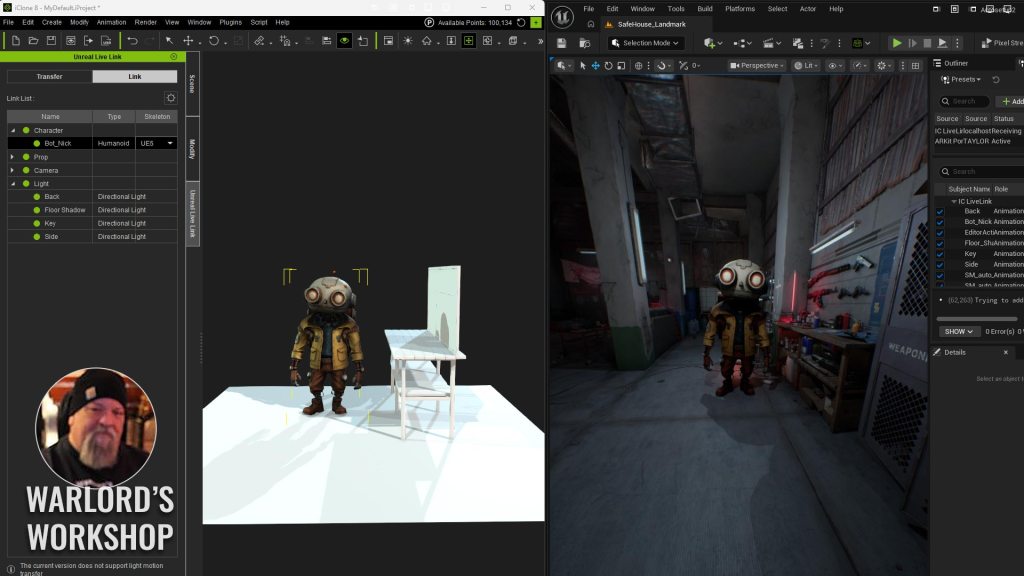
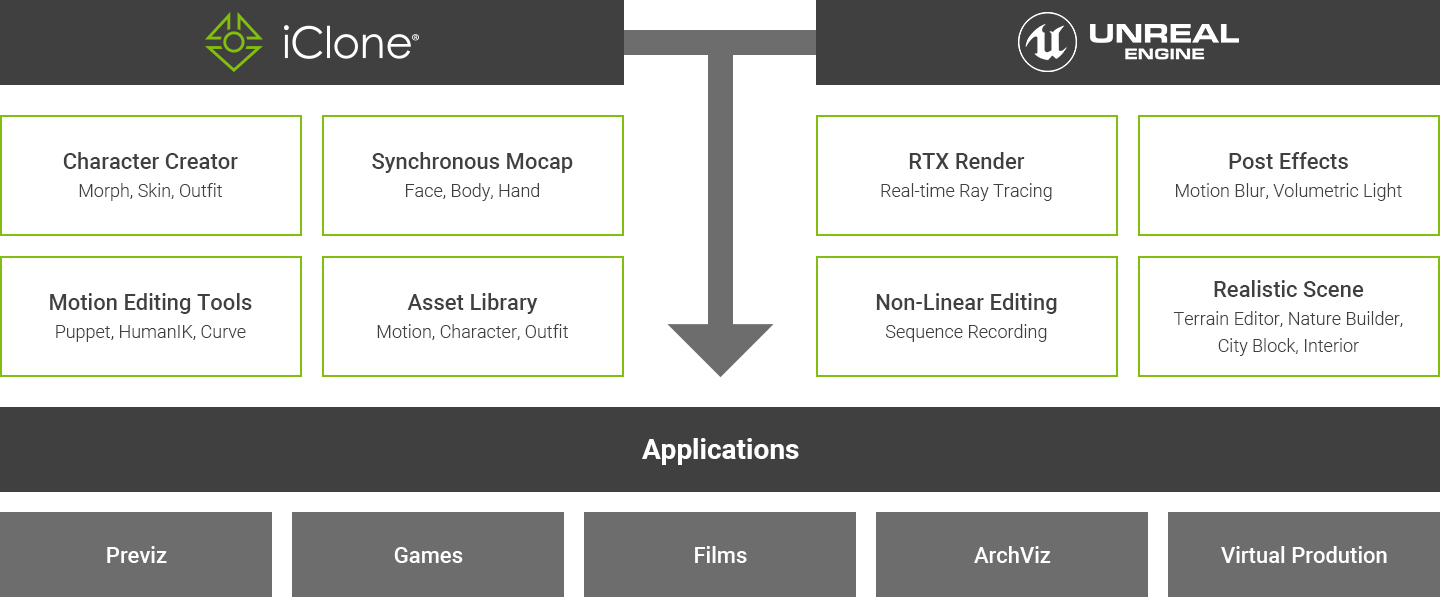
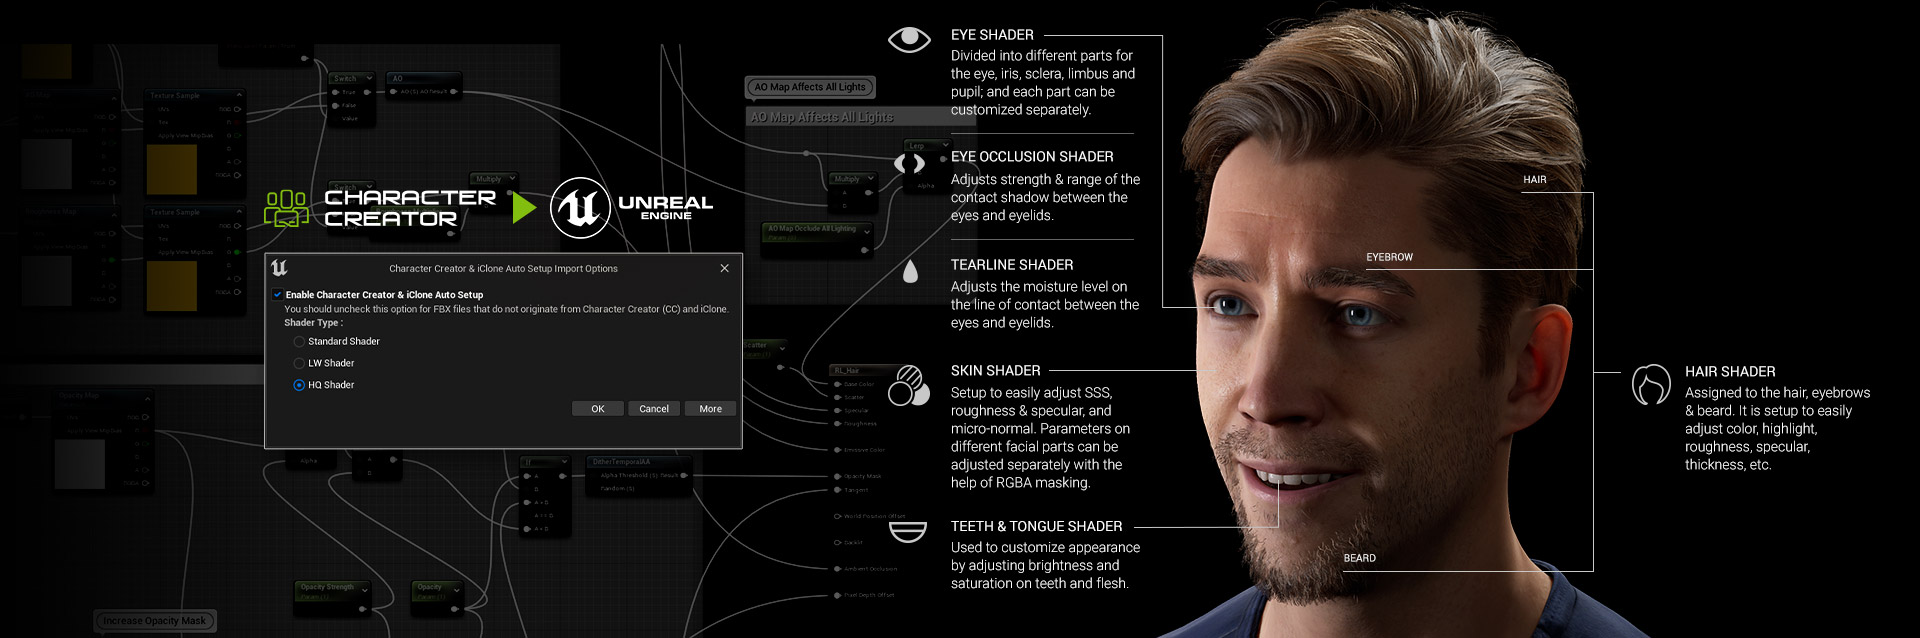
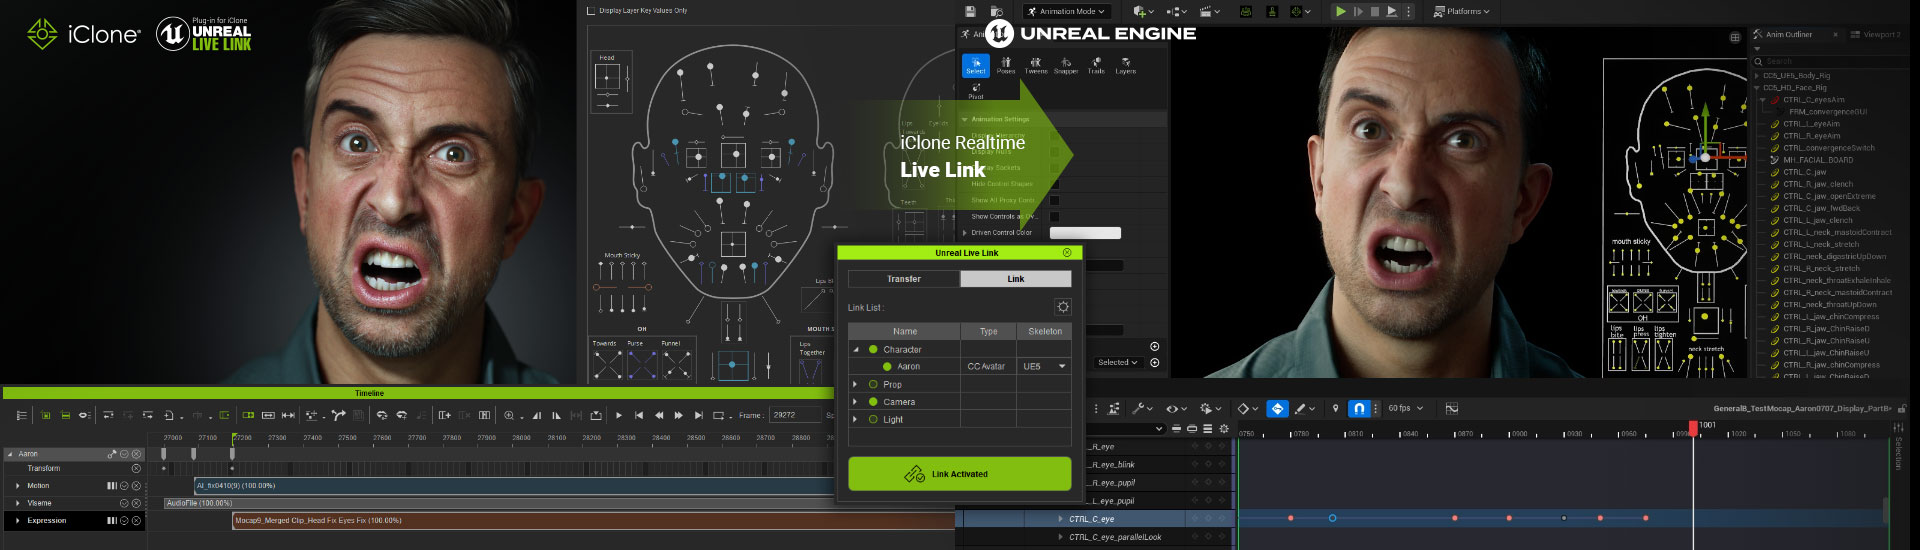
For developers using Unreal Engine, the handoff from iClone 8 and Character Creator 5 is highly optimized. The updated Live Link and Auto Setup workflows facilitate smooth transfers, ensuring that materials are prepared correctly and animations remain intact. Characters are ready to be dropped into playable scenes quickly, allowing for immediate testing and iteration within the Unreal Engine environment. This streamlined process is critical for accelerating development cycles and achieving AAA-quality visuals.
Unity Engine Integration
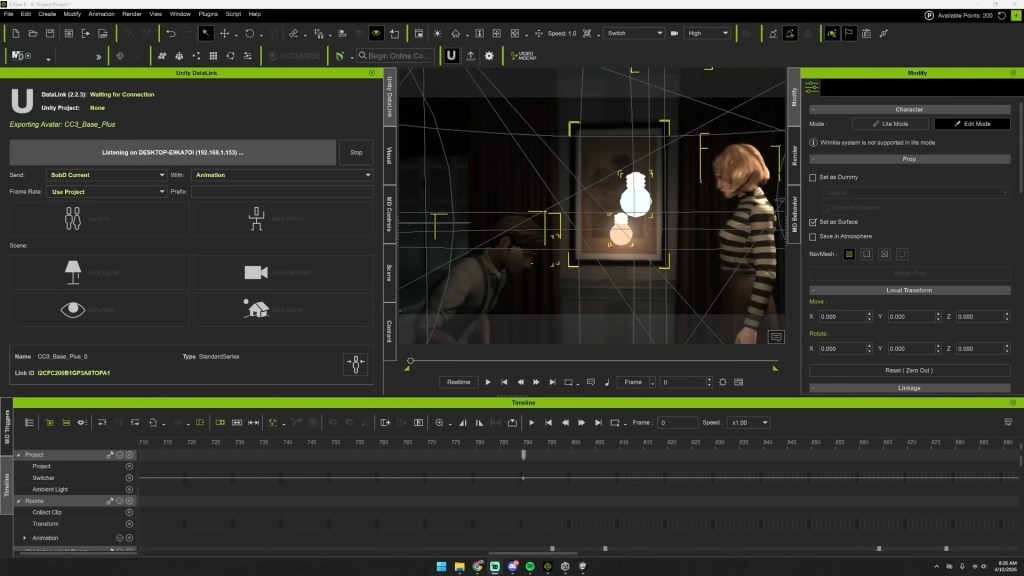
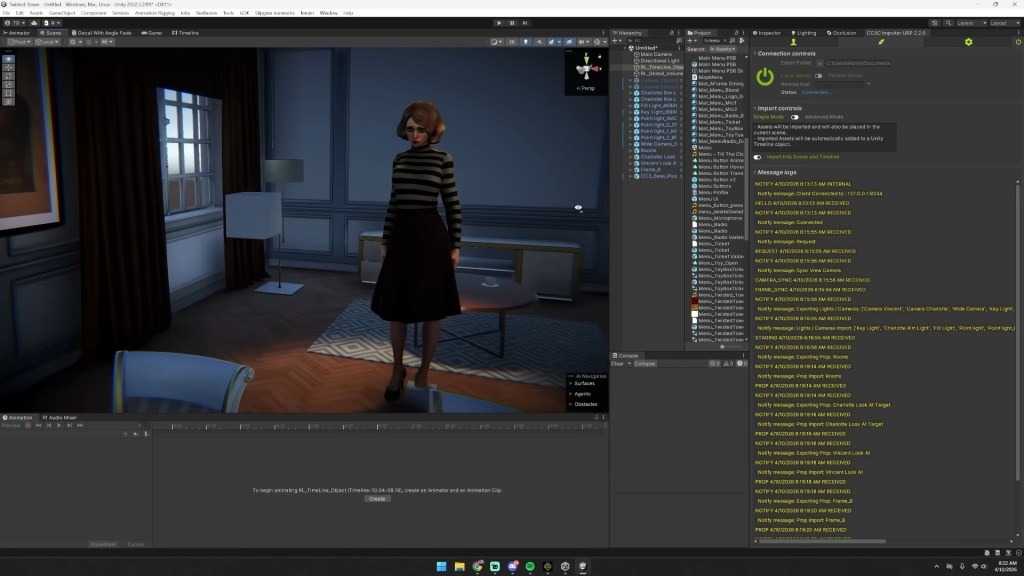
Similarly, Character Creator 5 and iClone 8 offer strong integration with Unity. For teams without a traditional artist background, Unity Auto Setup significantly simplifies shader configuration and hair material setup, which can often be a source of technical friction. What previously resulted in broken visuals now becomes predictable and production-ready. This dependable integration allows characters and animations to be exported and function correctly in Unity, ensuring that even small teams can achieve high visual fidelity without complex manual adjustments.
Realtime vs. Traditional 3D Pipelines: A Complete Comparison
Choosing the right pipeline for 3D character creation and animation is critical for game developers, especially for indie studios balancing quality, time, and budget. Traditional 3D pipelines often involve multiple software packages for modeling, sculpting, rigging, texturing, and animation.
Crafting compelling 3D characters for games traditionally involves a multi-stage process with various specialized tools, often leading to technical bottlenecks and increased costs. The Reallusion pipeline, centered around Character Creator 5 and iClone 8, offers an integrated alternative that prioritizes efficiency and accessibility. This comparison highlights the key differences and advantages.
| Feature / Workflow | Traditional Character Pipeline | Reallusion Pipeline (CC5 & iClone 8) |
|---|---|---|
| Character Creation | High-poly sculpting (ZBrush), retopology, UV mapping, texturing (Substance Painter/Photoshop), rigging (Maya/Blender). | Character Creator 5 (CC5) for all-in-one creation, customization, and rigging. ActorMIXER for rapid archetype generation. |
| Time & Cost | Weeks to months, often involving multiple specialists or expensive outsourcing ($3,000+ per character). | Hours to days, single artist workflow, significant cost savings, especially with ActorMIXER (5-10x faster). |
| Animation Production | Traditional mocap (expensive hardware/studio), keyframe animation (Maya/Blender), external lip-sync tools. | iClone 8 for real-time animation, AI Video Mocap (cloud-based), Face Puppet for audio-driven lip sync, robust motion editing. |
| Optimization | Manual retopology, manual detail optimization, texture baking, often requiring multiple software passes. | Built-in LOD optimization tools in CC5 (Optimize and Decimate), automated polygon reduction, material consolidation. |
| Engine Integration | Complex manual export, shader setup, skeleton retargeting, material configuration in Unreal/Unity. | One-click export via Unreal Live Link and Unreal or Unity Auto Setup, automatic material and shader configuration, Blueprints integration. |
| Iteration Speed | Slow, round-trip workflow between different software, requiring re-export/re-import for changes. | Rapid, iterative workflow within CC5 and iClone 8; instant preview; one-click updates to game engine. |
| Accessibility | High barrier to entry; requires expertise in multiple software packages and years of artistic disciplines. | Accessible for indie developers and small teams; lowers artistic skill requirements; comprehensive workflow guidance. |
Start Creating with Reallusion Today
Empower your game development journey by leveraging the advanced, yet accessible, tools offered by Reallusion. With Character Creator 5 and iClone 8, you can overcome the traditional hurdles of 3D character creation and animation for game development, achieving studio-level quality on an indie budget. Download your free trials today and unlock the full potential of your creative vision.
FAQs
How does Character Creator 5 help indie developers create diverse character rosters efficiently?
Character Creator 5, especially with the ActorMIXER plugin, allows developers to generate a wide range of character variations from a single base. Users can adjust body shapes, facial structures, and textures, maintaining style consistency while rapidly building diverse NPCs or evolving main characters for their games.
Can I use motion capture without expensive equipment as an indie developer?
Yes, with iClone 8’s AI Video Mocap. This feature allows you to capture realistic human motion from standard video footage, even recorded with a phone. It democratizes motion capture, making it a lightweight tool for generating custom animations without significant investment in specialized gear.
What is the benefit of iClone 8’s motion editing tools for game animation?
iClone 8‘s motion editing tools allow for comprehensive refinement of animation data, including captured motion. You can quickly reduce keys, stabilize posture, refine timing, and blend different motions to create polished, game-ready sequences. This ensures animations loop cleanly and behave predictably in your game environment.
How do Reallusion tools integrate with popular game engines like Unreal Engine and Unity?
Reallusion provides seamless integration with Unreal Engine via Live Link and Unity through Auto Setup. These workflows ensure that characters, materials, and animations transfer smoothly into your chosen game engine with minimal friction. This saves time on technical setup and allows for rapid iteration and testing.

Related Posts
- Emmy Award-Winning Producer Develops Unity Indie Games with CC & iClone
- Building RageFall MMORPG Characters with CC5 and Unreal
- CC5 HD Pipeline Workflow: Creating Fortnite-Style Action Heroes for Animation