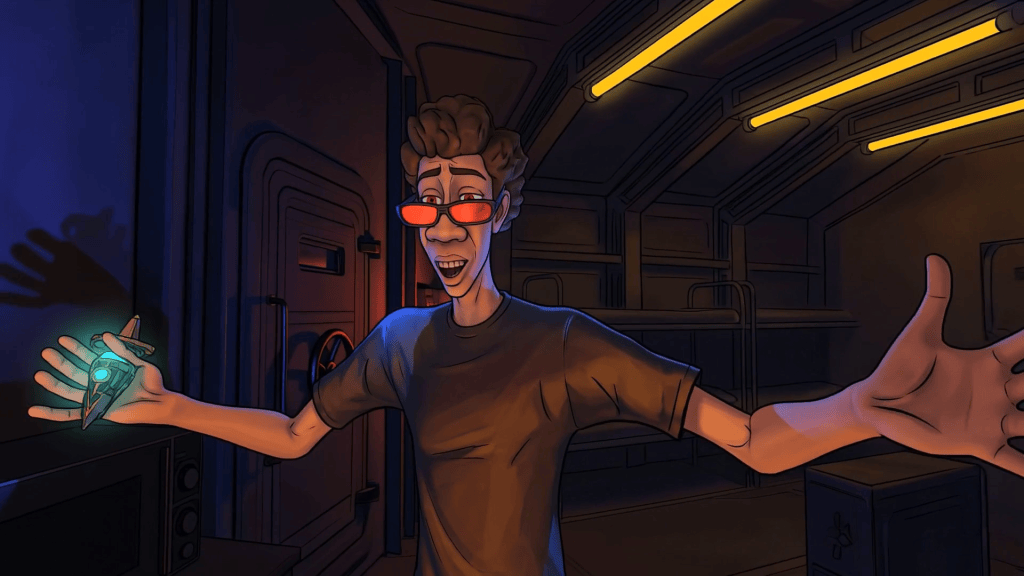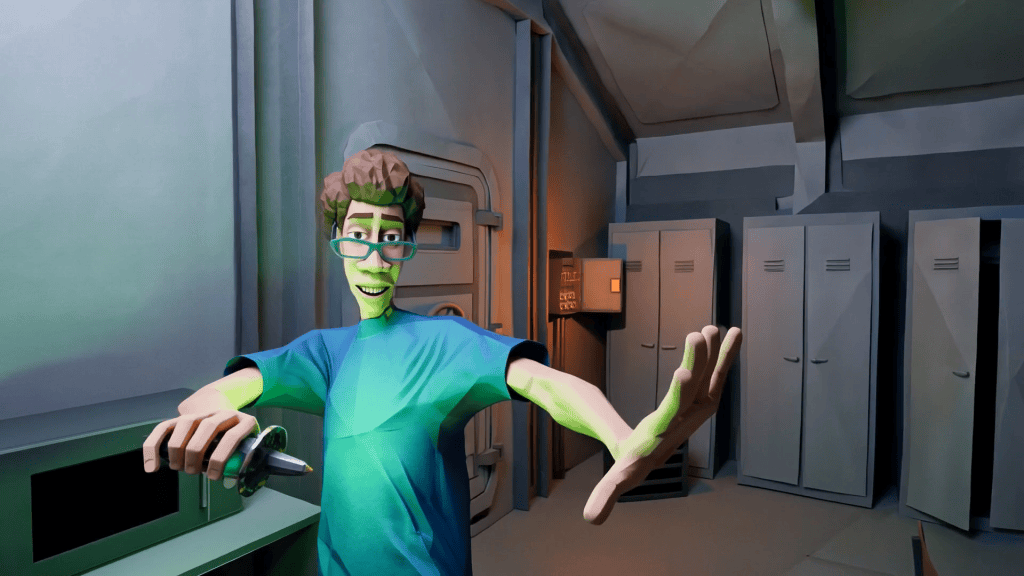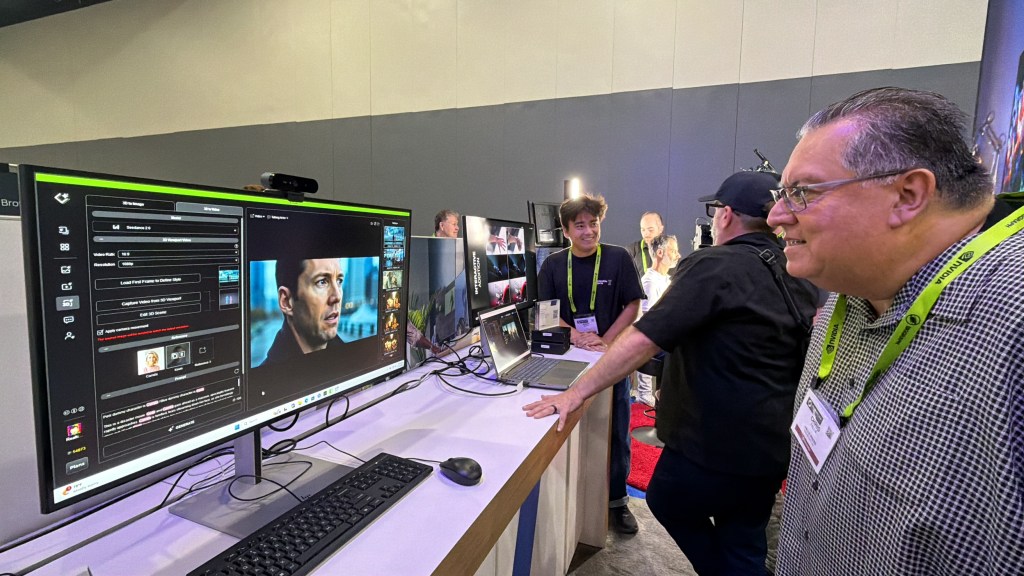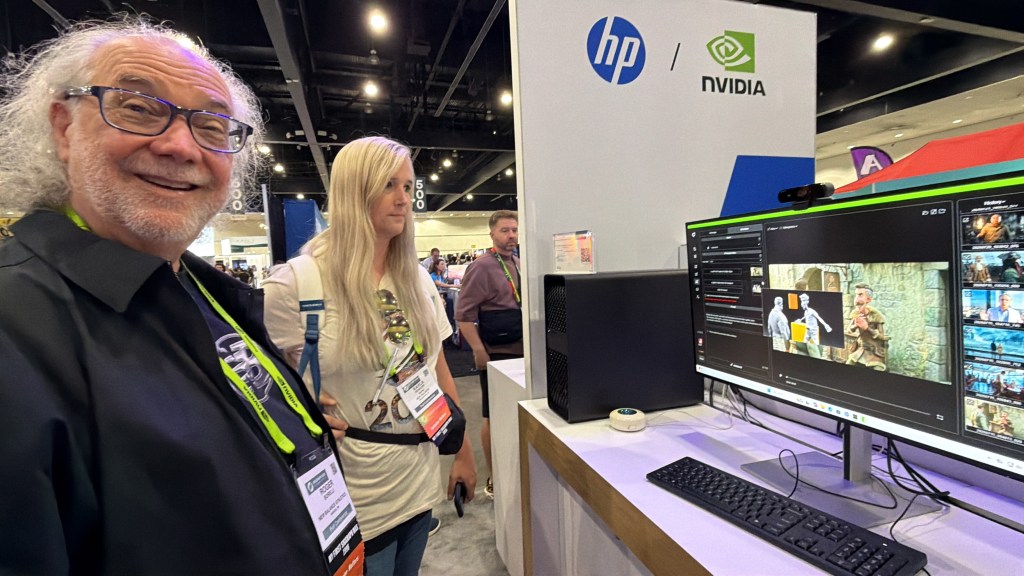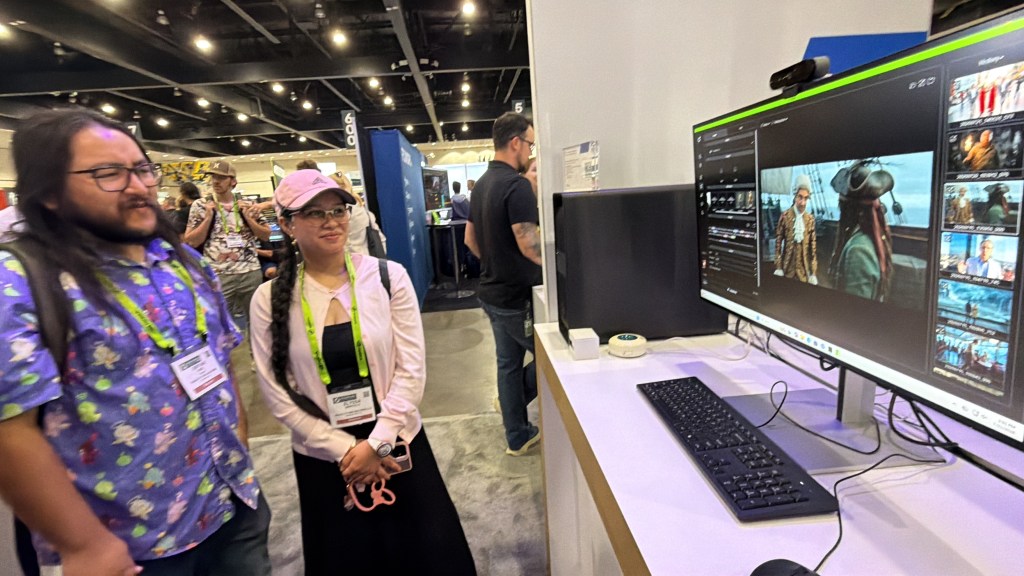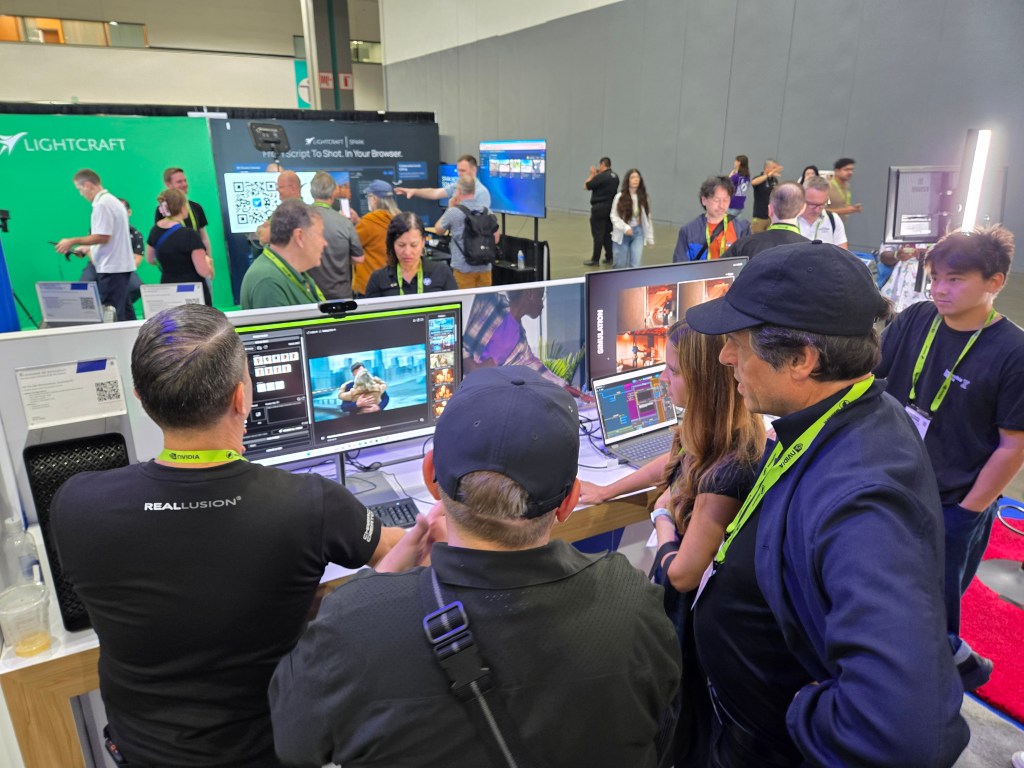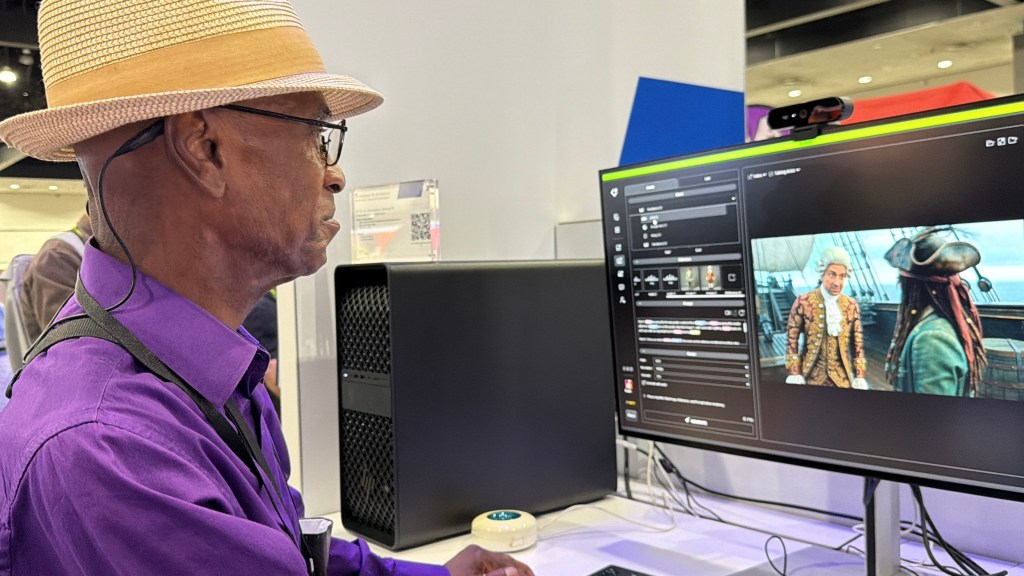

Generative AI can create extraordinary images and video, but filmmaking requires more than generating something that looks good. A director needs control over characters, performance, motion, cameras, composition, environments, and continuity from one shot to the next.
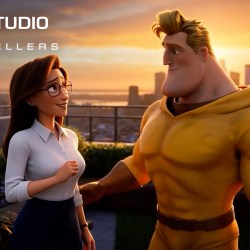
John Martin explores a production workflow that combines the directability of iClone with the generative capabilities of AI Studio. Using a superhero sequence featuring Alphaman and Runway, Martin demonstrates how an iClone project can become the foundation for both AI image and video generation.
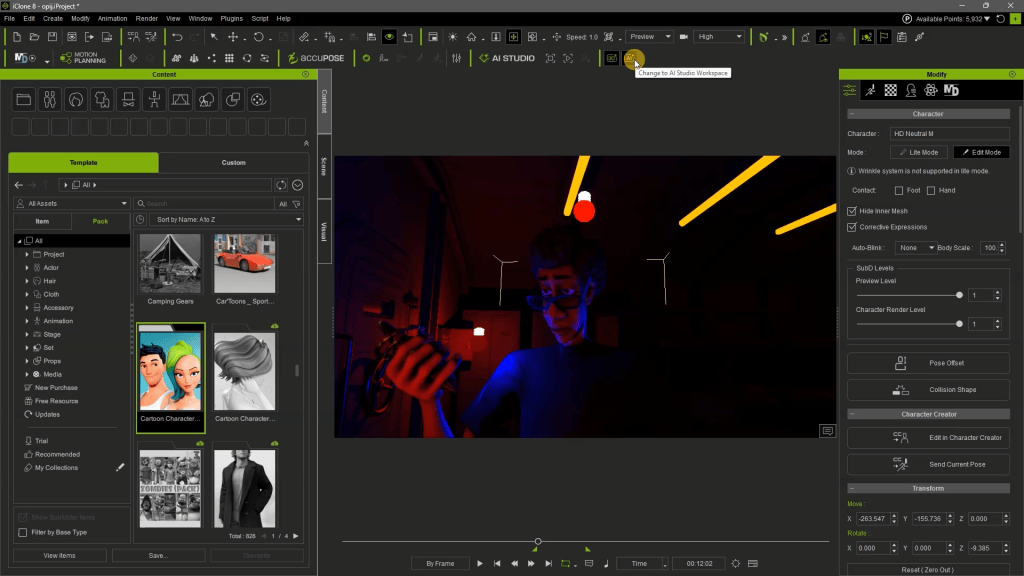
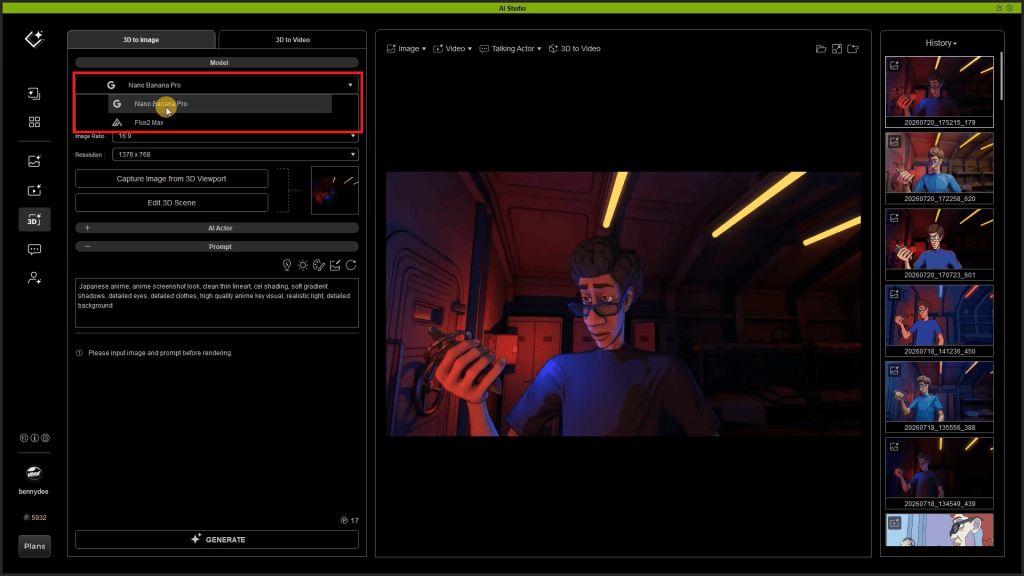
Instead of beginning with a blank prompt and asking AI to invent the shot, the process starts in 3D. Characters are positioned. Motions and poses are established. Cameras are chosen. Environments are assembled. The action can be viewed and adjusted before generation begins. That 3D information is then sent into AI Studio, where AI Actors, image generation with Flux2 Max, video generation with Seedance, and enhanced prompting transform the previs into a more cinematic result.
The central idea is simple: Use 3D to direct the shot. Use AI to transform it.
Building the Shot in iClone
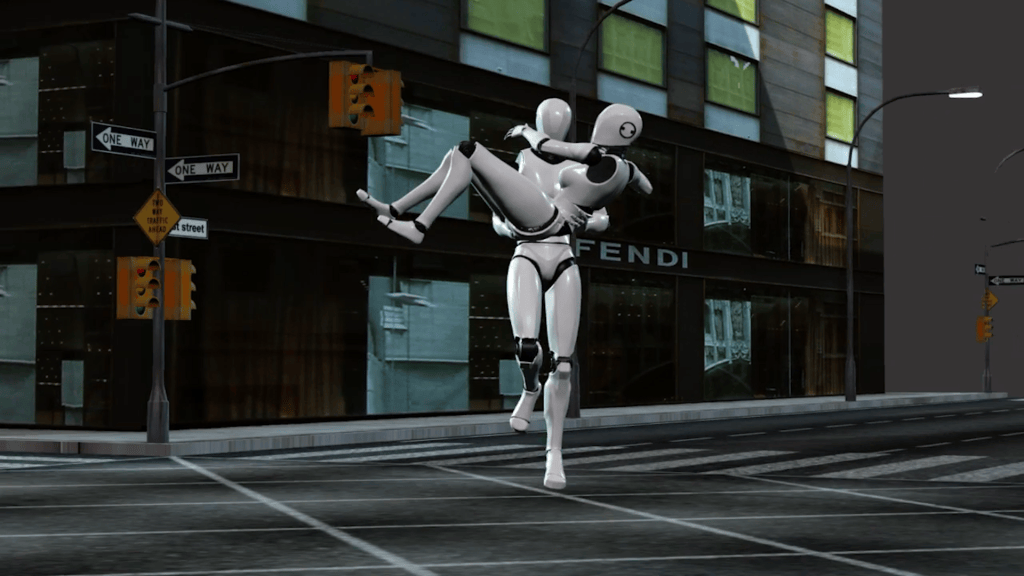
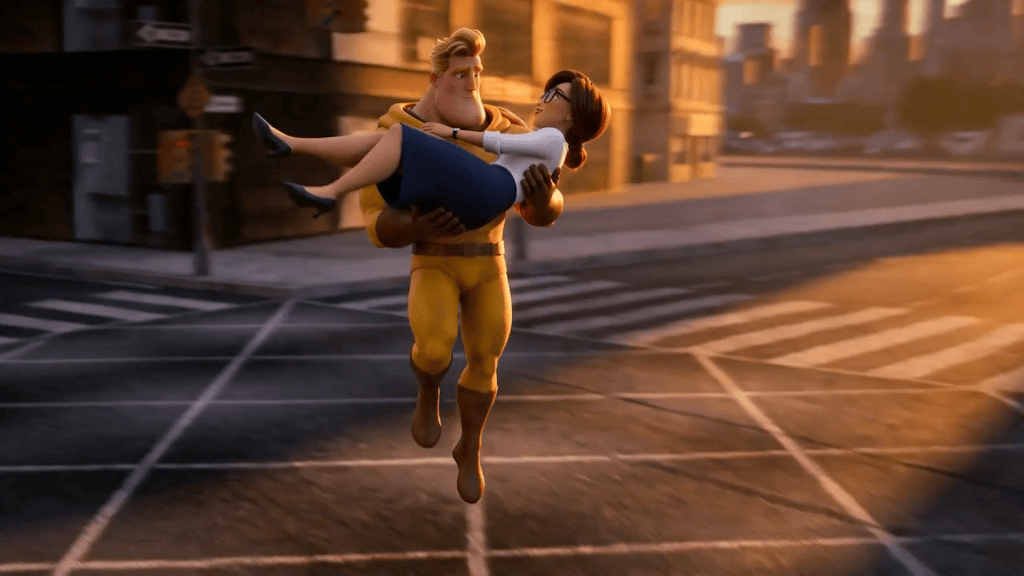
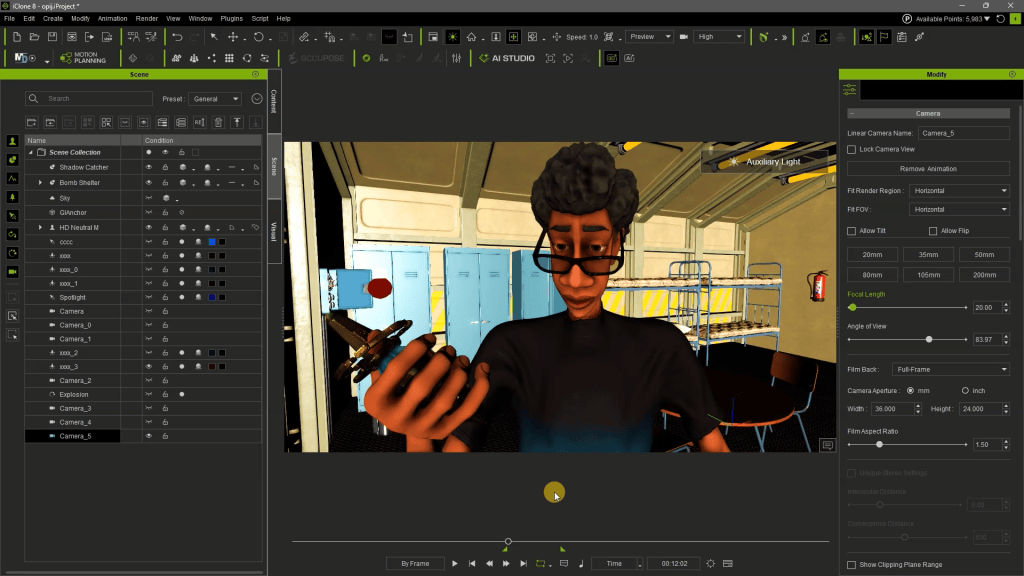
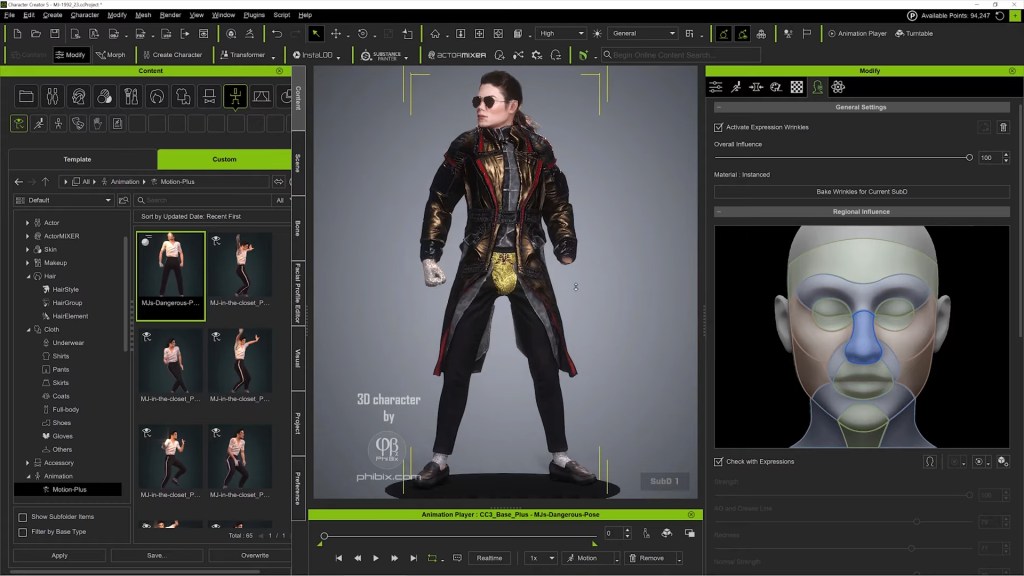
The workflow begins with an iClone project. For the superhero demonstration, Martin builds the scene using a Motion Dummy, motion sourced from ActorCore‘s Legendary Heroes: Aerial Fighter motion pack, and city environments assembled with assets from the Content Store‘s City Blocks Vol. 1: Skyscrapers / Metro City.
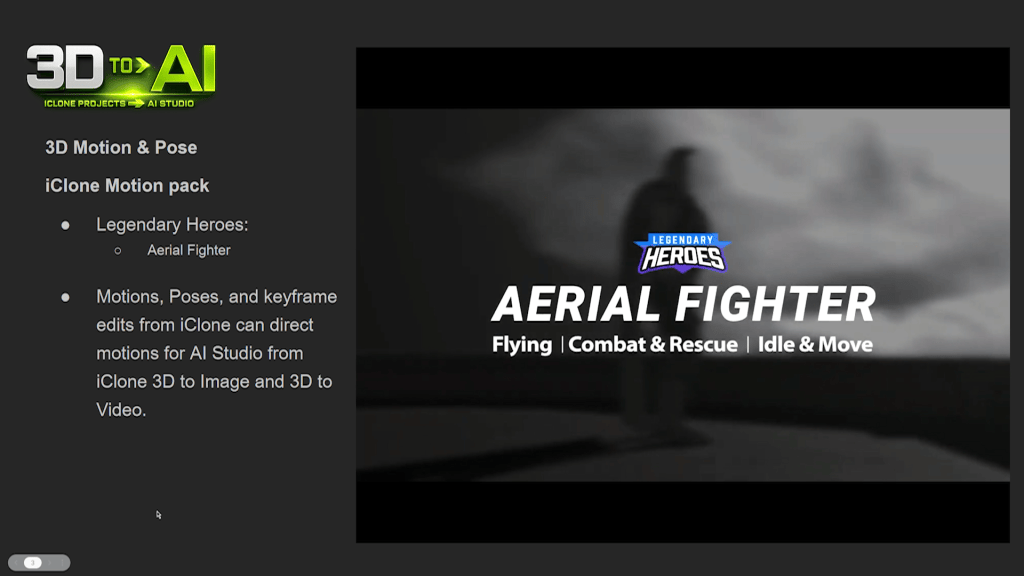

The Motion Dummy is important because its purpose is not to define the final appearance of the superhero. It provides something equally important: performance. Motions, poses, and keyframe edits created in iClone can establish what the character is doing before the shot reaches AI Studio. The director can refine the pose, adjust an existing animation, change timing, reposition the character, or modify the camera while still working inside a controllable 3D environment.

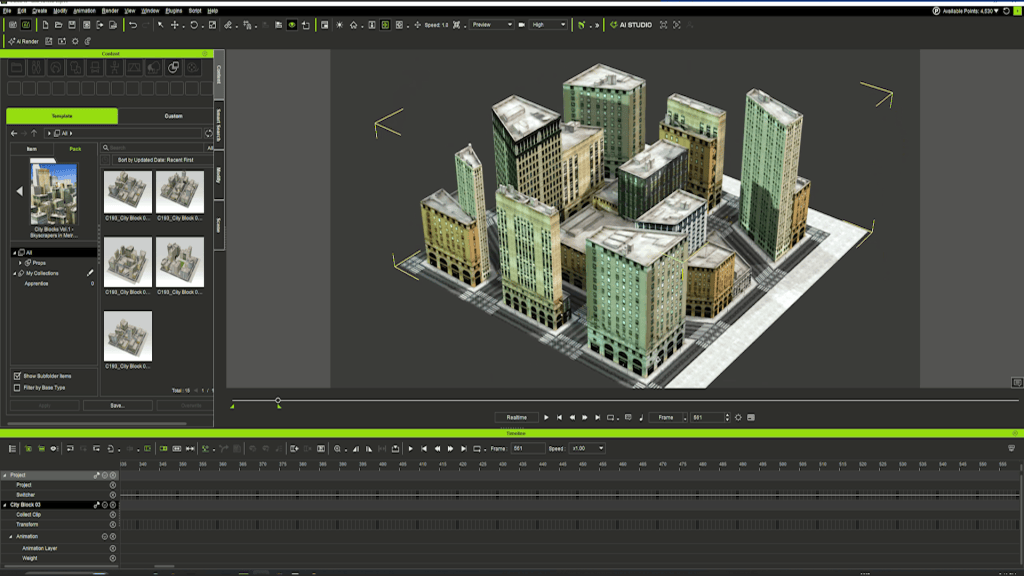
The city props perform a similar role. Using City Block 03 and other city assets, Martin can establish the geography and scale of the scene. Buildings, streets, characters, and cameras have actual spatial relationships instead of being independently interpreted from a text prompt. The result does not need to be a final render. It needs to communicate the shot.
3D as Visual Direction for AI
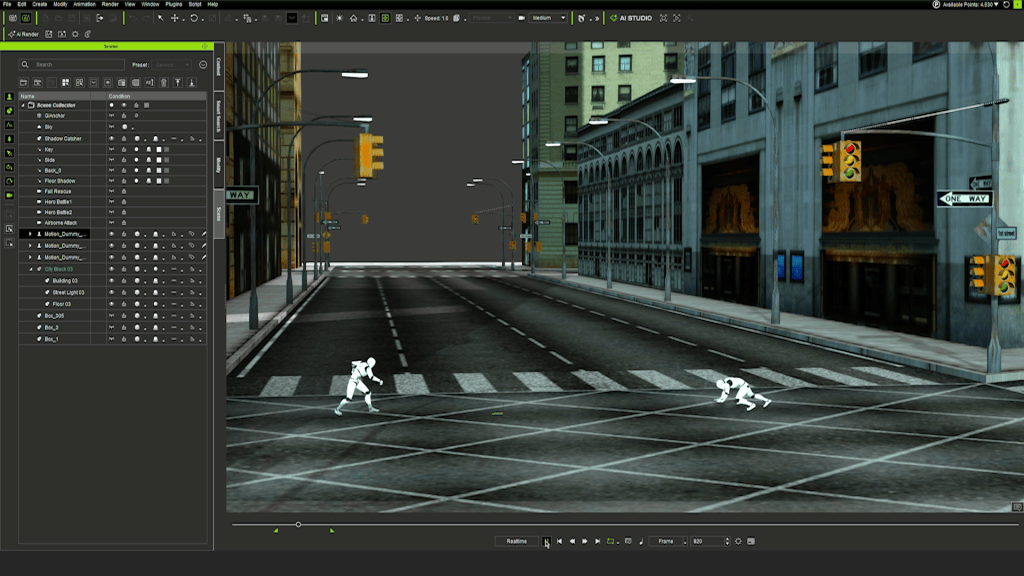
Once the project has been constructed, iClone contains much of the information necessary to communicate Martin’s intention to AI Studio. The project can provide motion, pose, props, character position, environment, camera framing, and camera changes.
This changes the role of prompting. Consider a traditional text-to-video instruction such as: A superhero flies through a city. That sentence leaves almost everything open to interpretation. Where is the camera? How does the superhero move? What direction does he fly? What is his starting pose? Where is he in relation to the buildings? How quickly does the action happen?

An iClone scene can answer those questions visually. The 3D project becomes another form of prompt—one constructed with characters, animation, cameras, and environments rather than words. AI Studio can then use that visual information as the foundation for generation.
The Motion Dummy Becomes an AI Actor

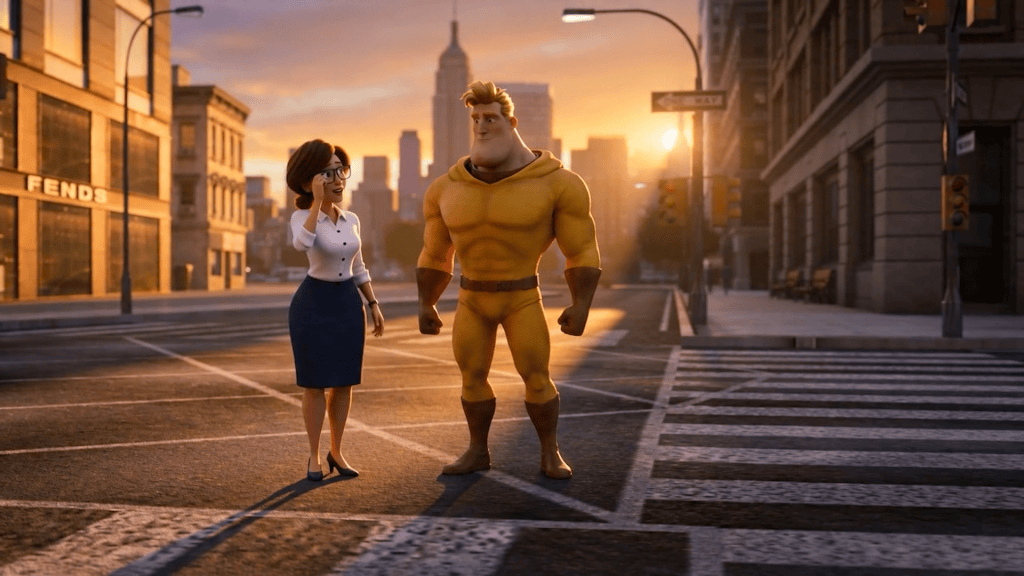
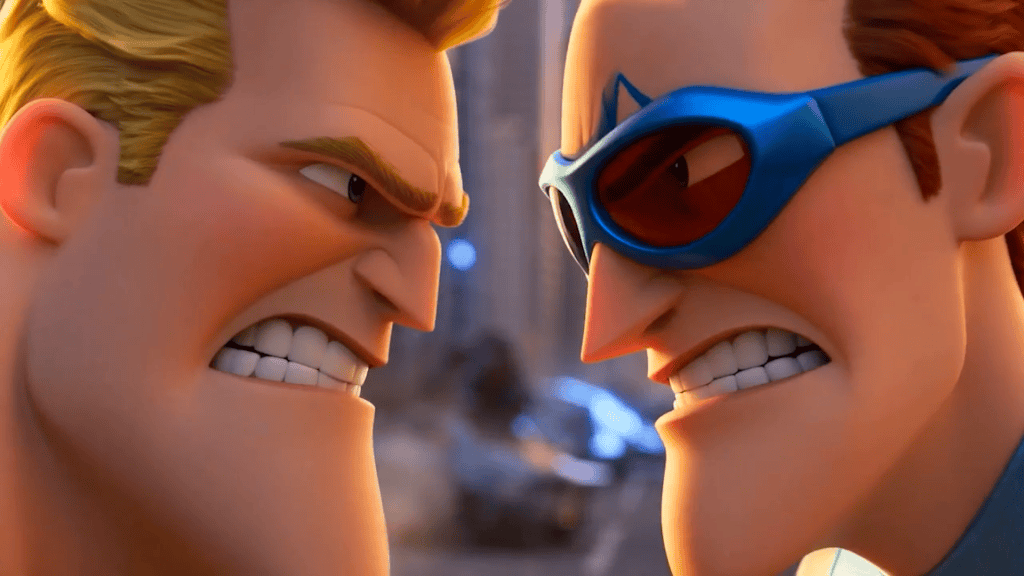
One of the key transitions happens when the relatively simple 3D character is replaced by an AI Actor in AI Studio. Martin’s project uses the superhero Alphaman changed to be in full yellow suit and no cape, also a text prompted female actor, and later his opponent Runway, as AI Actors. For sequences involving both Alphaman and Runway, both AI Actors can be included as references, helping maintain their identities across the sequence.
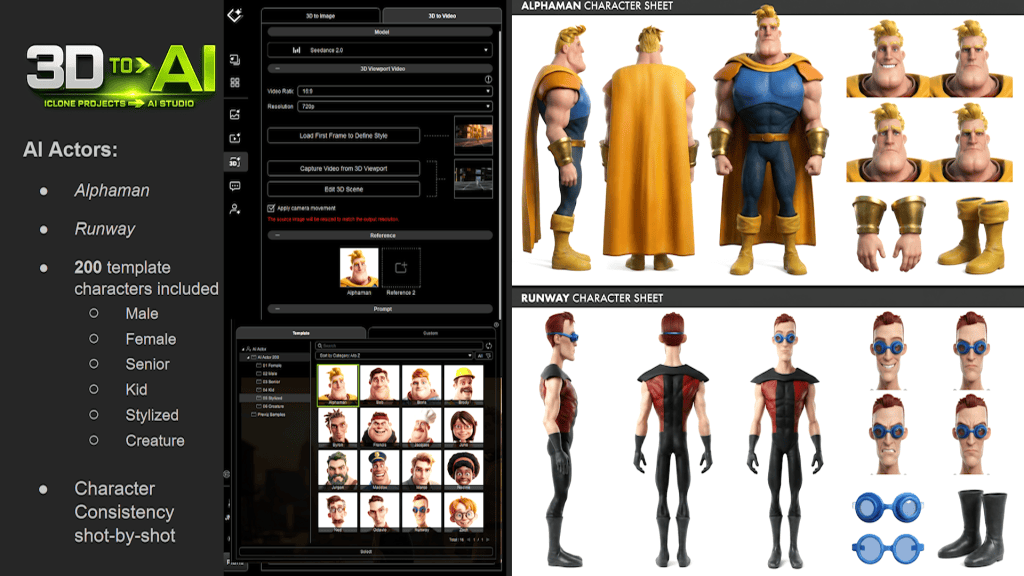
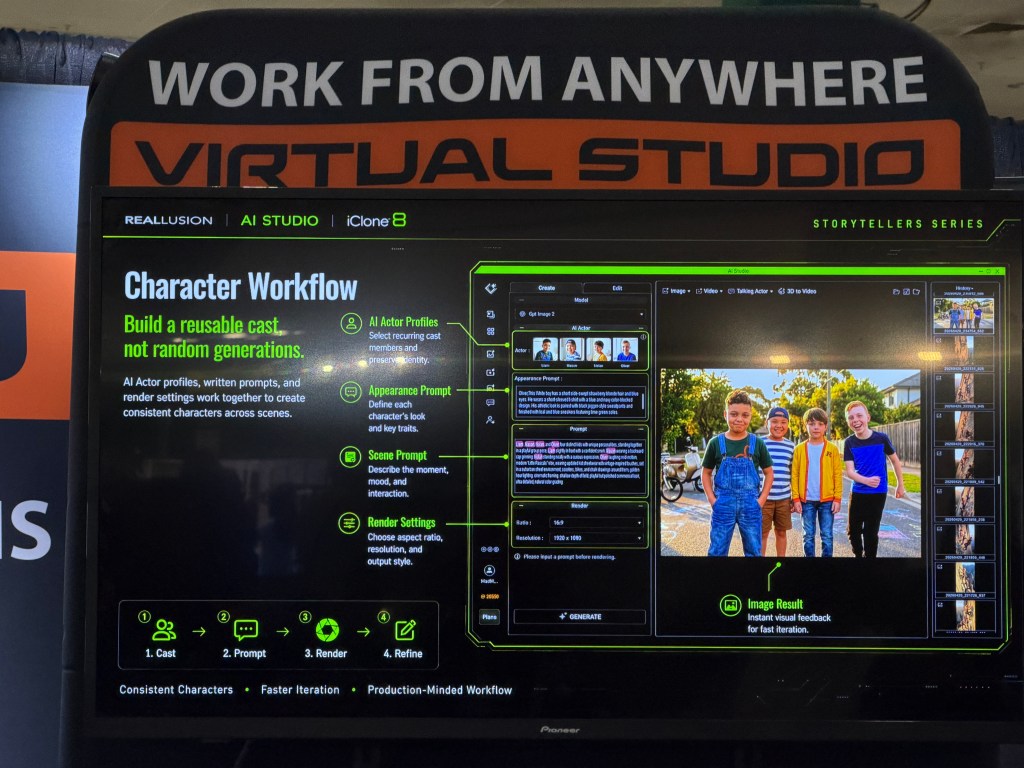
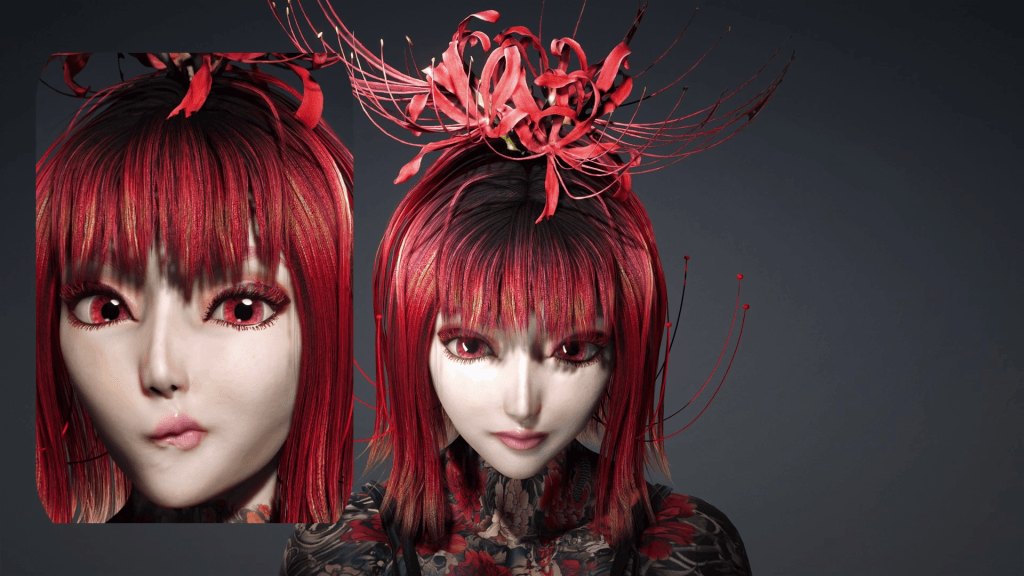
AI Studio includes a library of approximately 200 template characters, including male, female, senior, kid, stylized, and creature characters. For this project, the AI Actor system provides something especially important for filmmaking: character consistency from shot to shot.

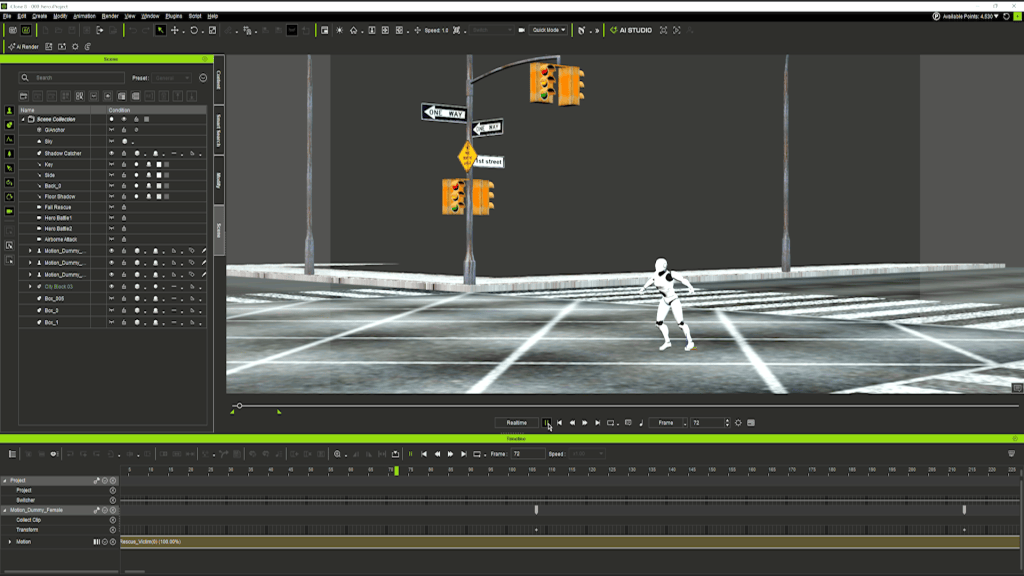
The Motion Dummy can therefore concentrate on directing the performance in iClone while the AI Actor establishes the character’s identity during generation. This creates a useful separation between two jobs: iClone defines what the character does. The AI Actor defines who the character is.
Once Alphaman is added to the project, his AI Actor can be invoked by name in the prompt. This gives AI Studio a specific character likeness to reference when generating the shot rather than asking the model to reinvent the superhero every time.
3D to Image with Flux2 Max

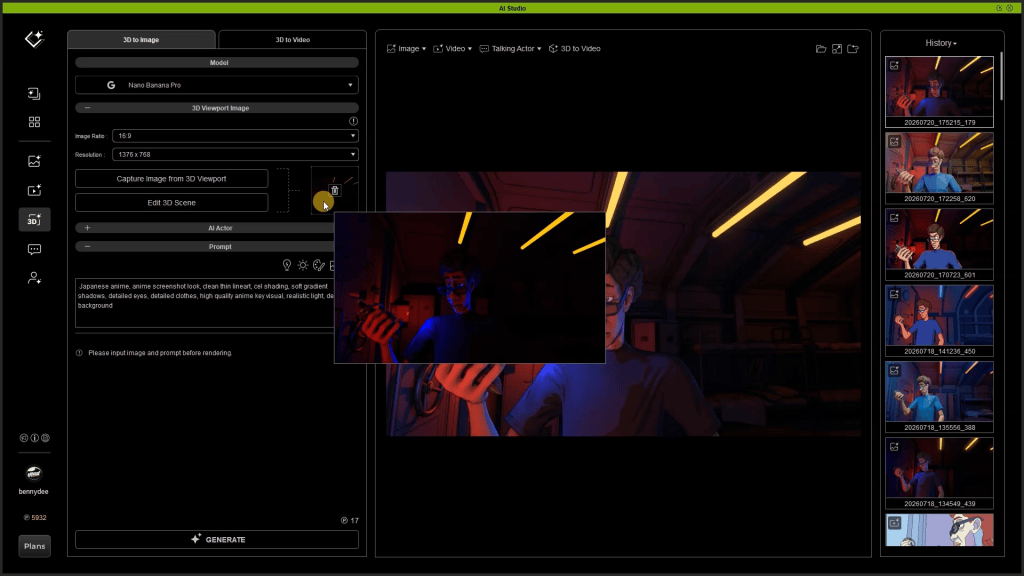
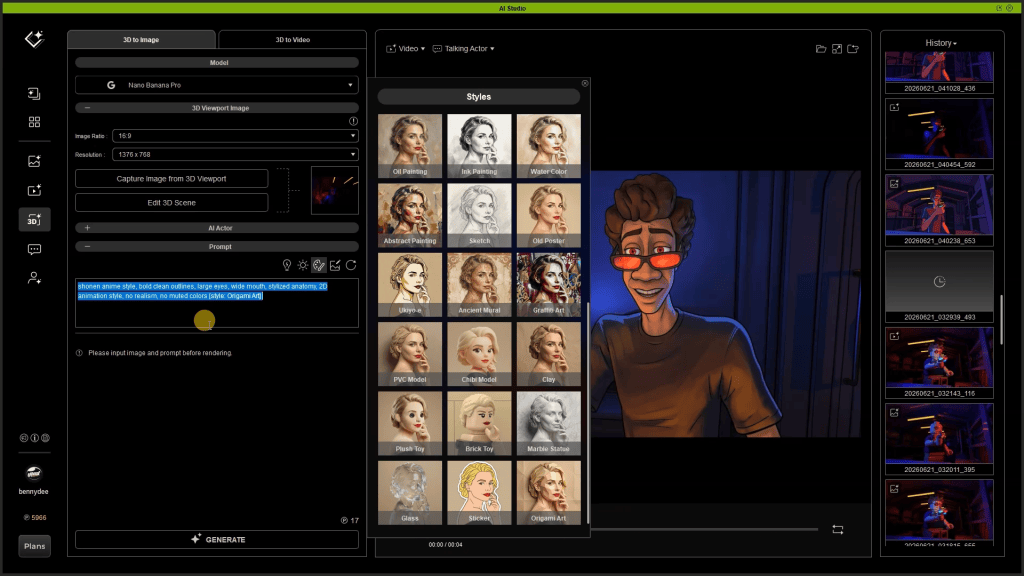
The first workflow demonstrated is 3D to Image. Martin positions the iClone playhead on the exact moment he wants to develop into a finished image. That frame is captured directly from the iClone 3D project and becomes an image reference for AI Studio. For the demonstration, image generation uses Flux2 Max at 1280 × 720. The captured iClone frame provides the basic composition, pose, camera, and spatial arrangement. Alphaman and Runway are then selected from the Character Library as an AI Actor reference.
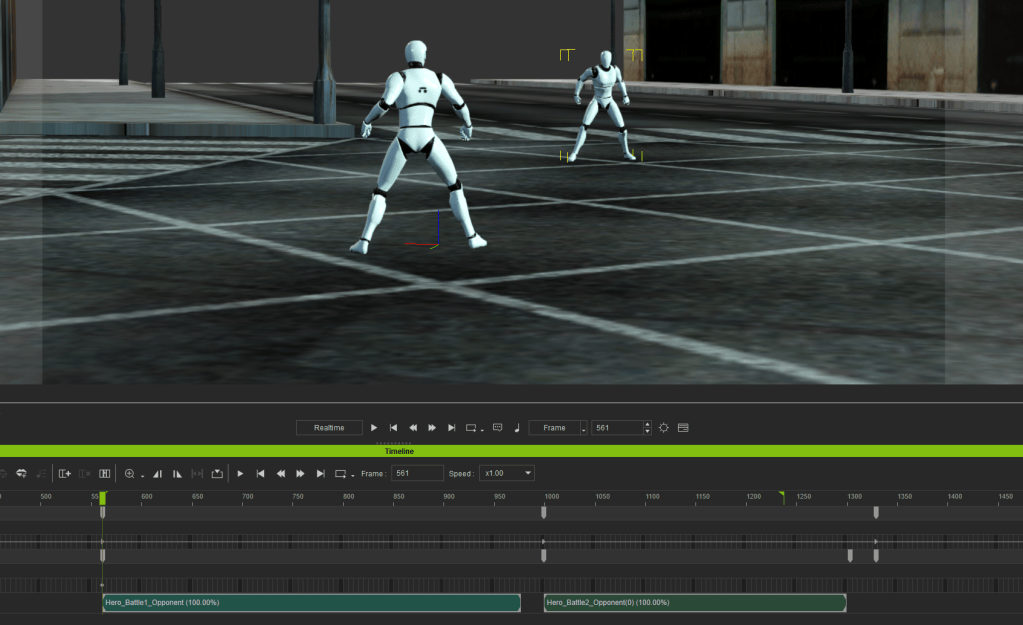
The generation therefore has multiple layers of information working together. The iClone capture communicates the shot. The AI Actor communicates the character. The text prompt communicates additional visual and cinematic intention.
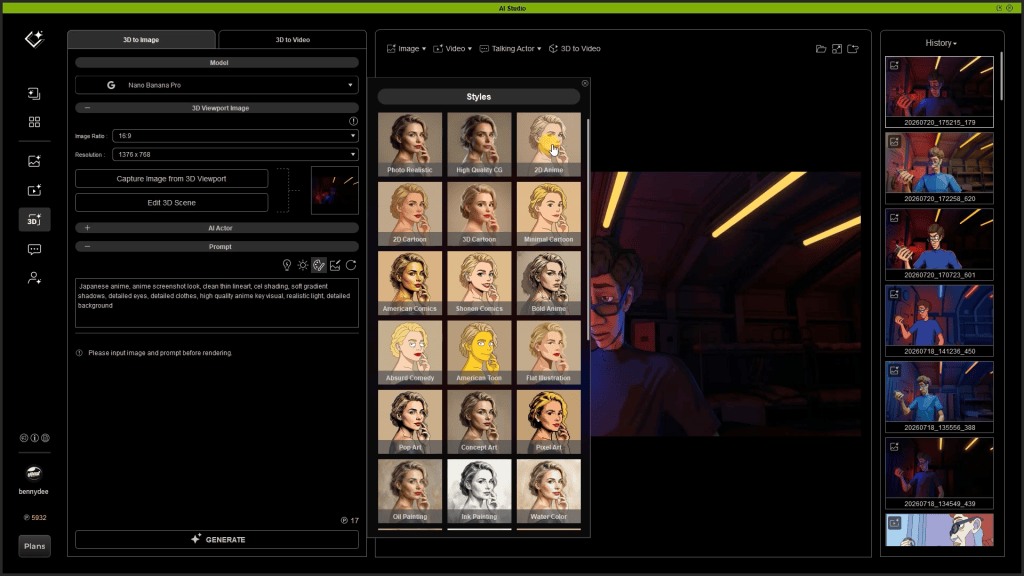
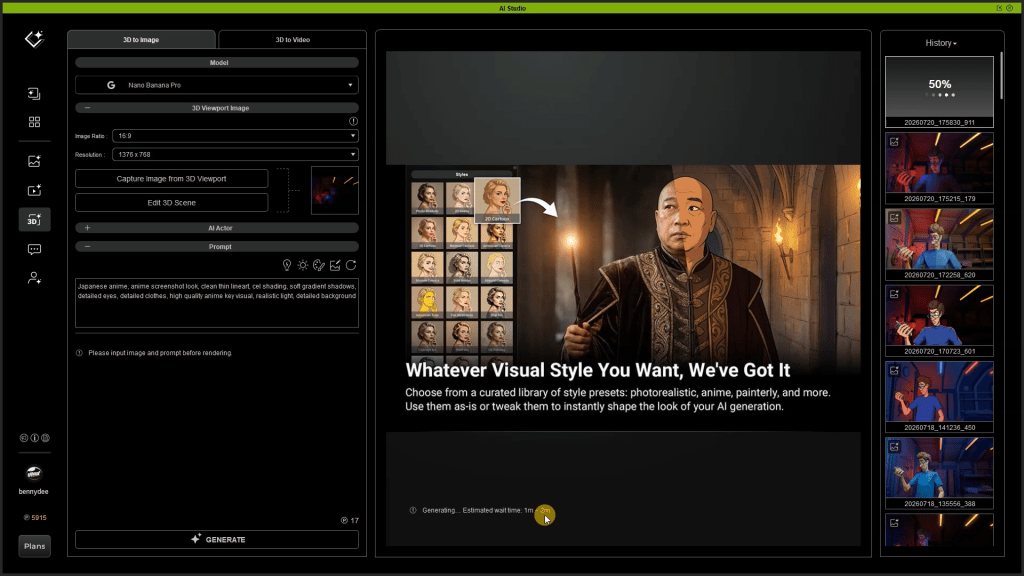
AI Studio’s Lighting and Style presets can then be incorporated to further develop the final appearance.

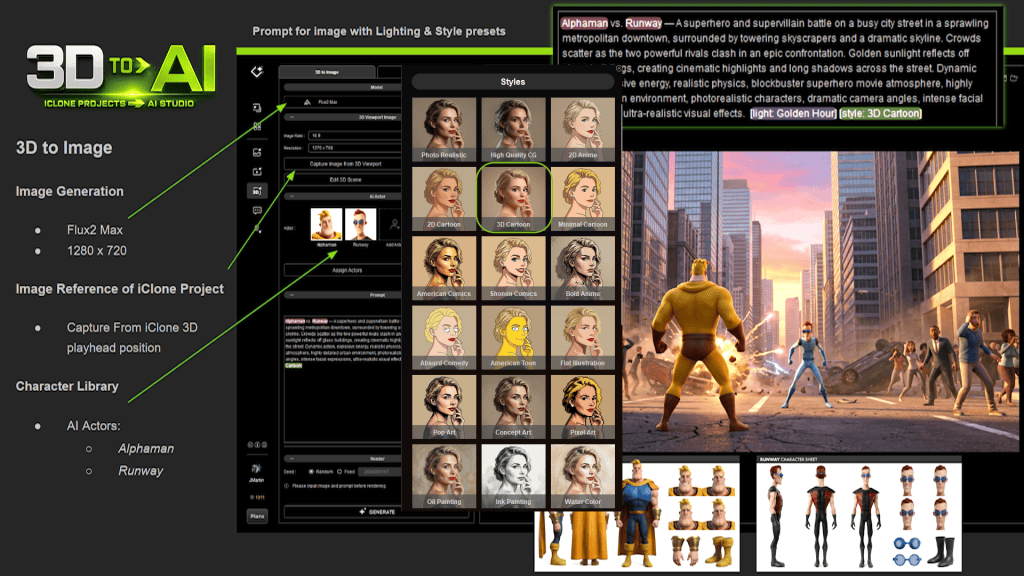
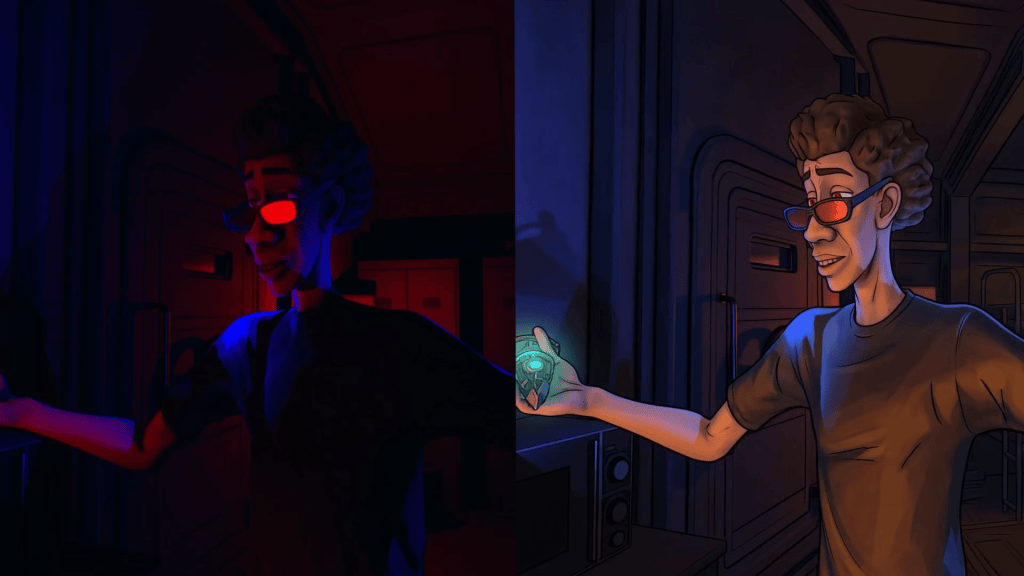
What begins as a relatively simple 3D viewport image can consequently become a much more developed cinematic frame while retaining the directional decisions made in iClone.
From 3D to Video
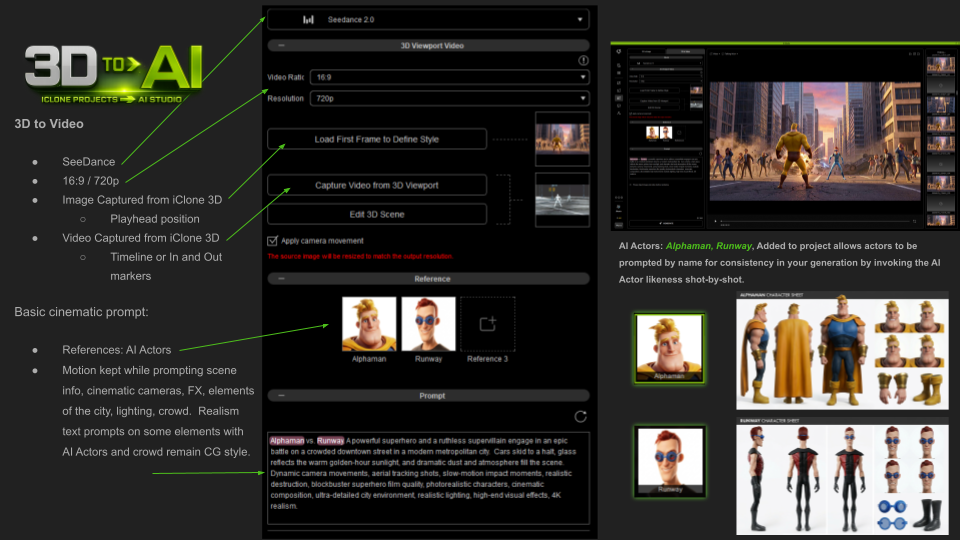
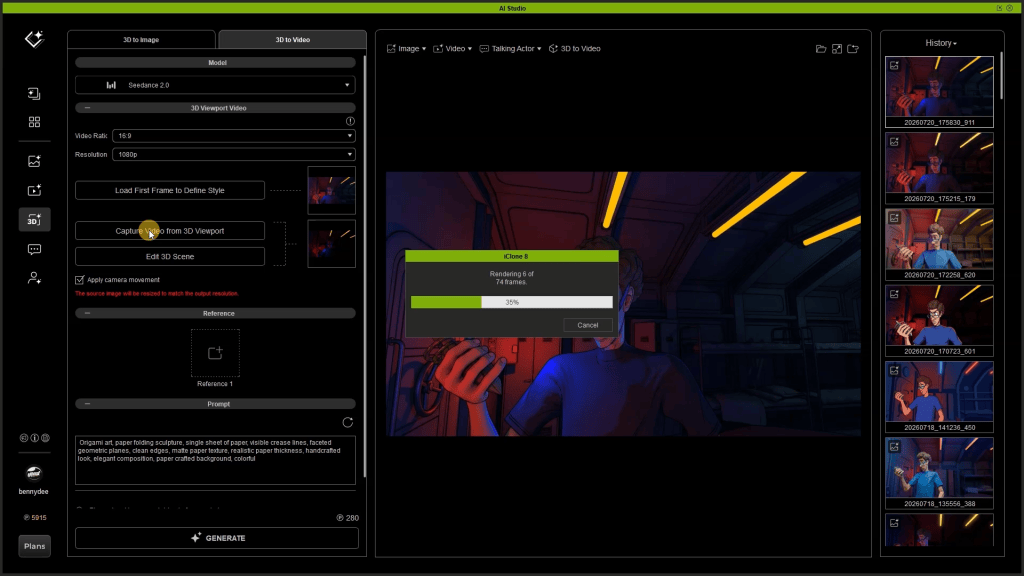
The workflow becomes even more powerful with 3D to Video. For video generation, Martin uses Seedance in a 16:9, 720p format. Here, AI Studio can receive two forms of guidance from iClone.
An image reference can be captured from a specific playhead position, establishing the visual starting point.
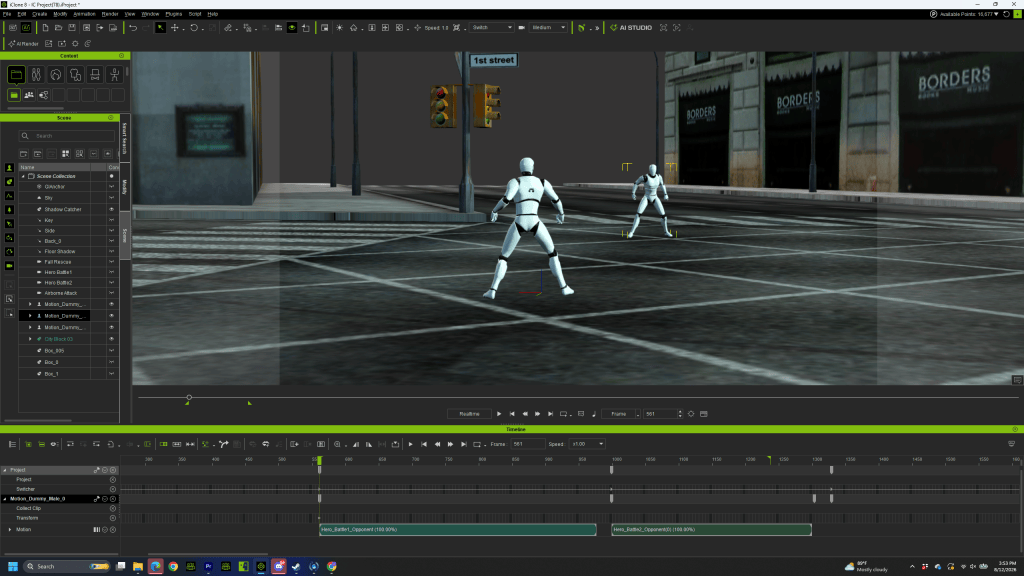
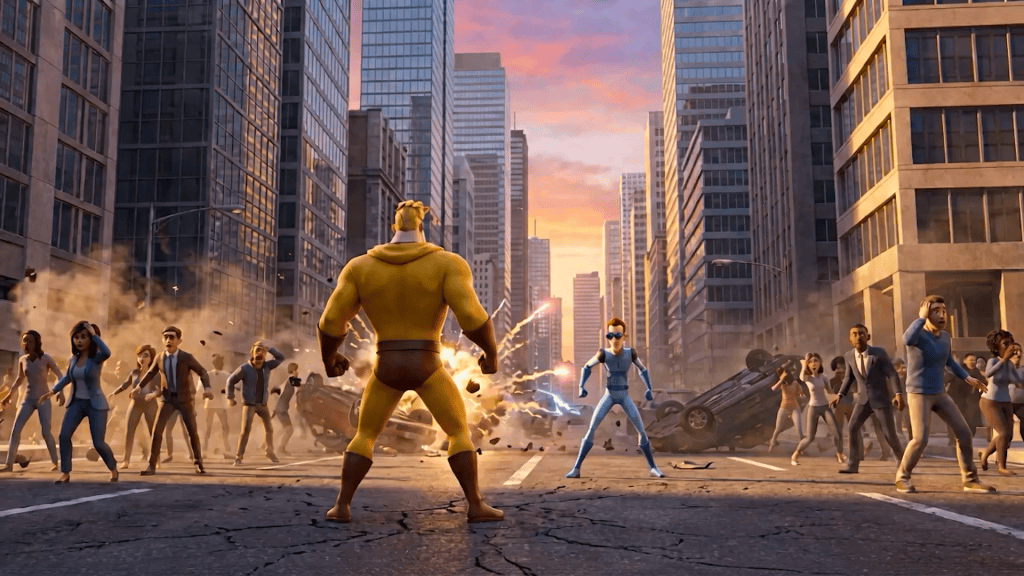
A video reference can also be captured from the iClone project, allowing the animation itself to guide the generated motion. The desired animation range can be selected using the iClone timeline or In and Out markers.
Now the AI model is not simply being told what movement should occur. It can see the movement. The 3D animation communicates the character’s motion, trajectory, timing, and overall performance, while the captured frame establishes the composition and the AI Actor reference maintains identity. This provides a much stronger starting point for directed AI video than text alone.
Prompting Between the Key Actions
The rescue sequence demonstrates an even more interesting variation. Martin begins with a 3D motion that establishes the important start and end states. The generated sequence, however, needs more storytelling between those points. The basic idea is straightforward: Alphaman takes flight over the city, rescues a falling woman, brings her safely to the ground, and receives her appreciative reaction.
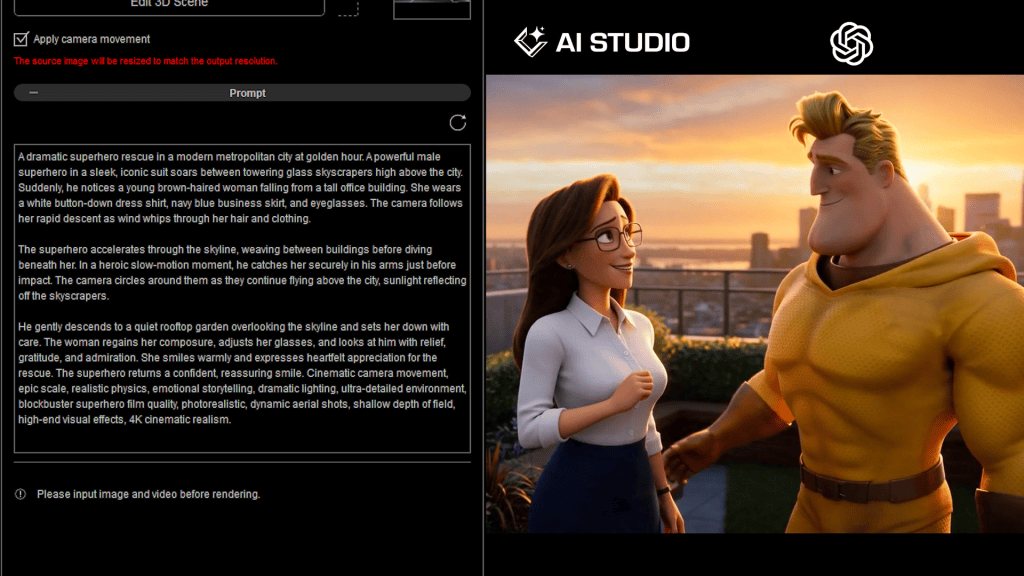
Instead of trying to animate every detail of that interaction in 3D, Martin keeps the important motion structure while using the prompt to describe the action that should occur between those established moments.
This creates a hybrid approach to animation. The director can lock down the essential action with 3D while giving the generative model room to interpret secondary movement and connective performance. It is a different way of thinking about AI video. The choice is no longer simply between animate everything and generate everything. A filmmaker can decide which parts need explicit 3D direction and which parts can be interpreted by AI.
Using ChatGPT to Enhance the Prompt
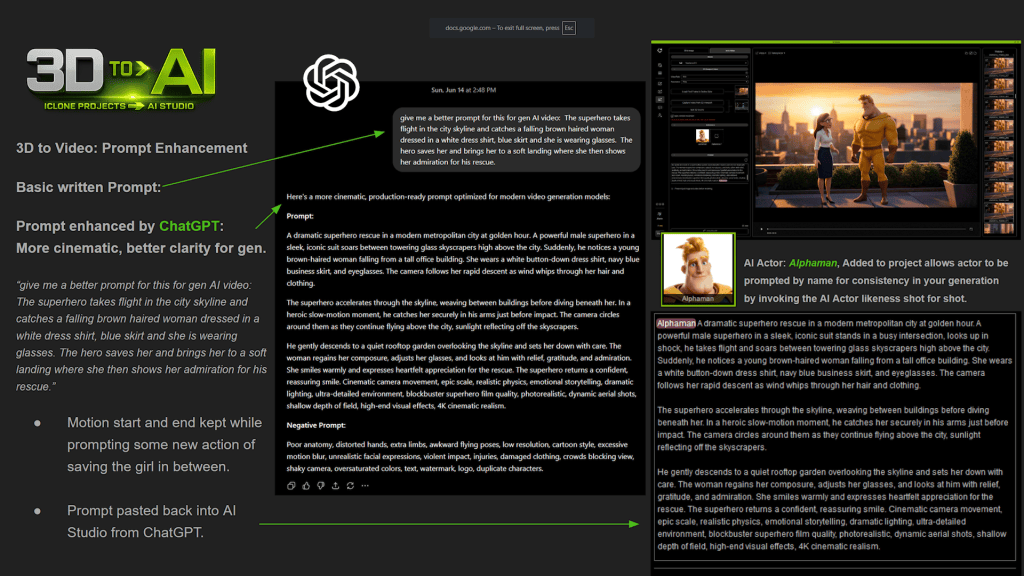
Prompt development becomes another stage of production. Martin begins with a basic written description of the rescue and takes it into ChatGPT with the instruction to improve it for generative AI video. The objective isn’t to replace the direction already supplied by iClone. It is to make the intention surrounding that direction clearer.
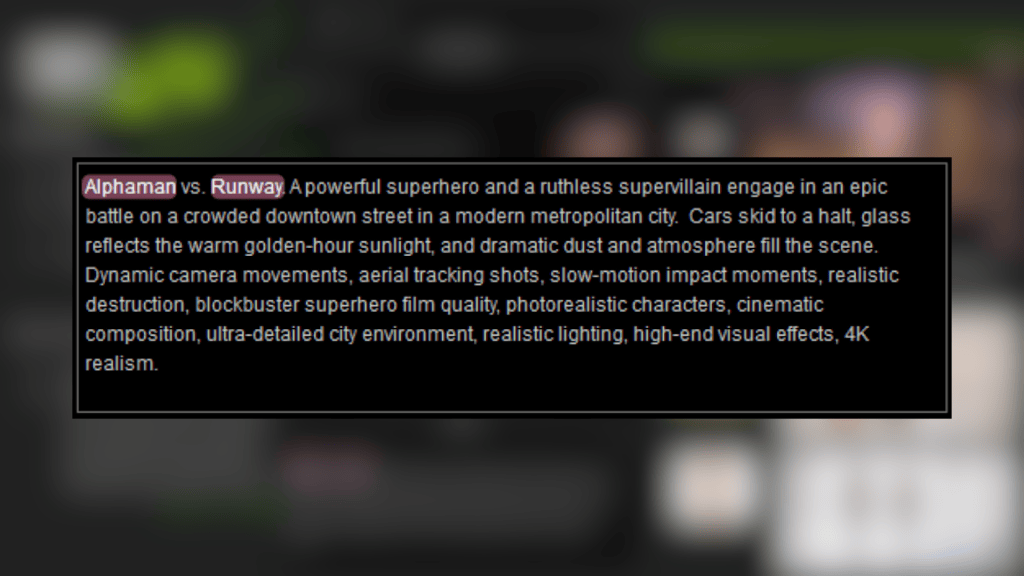
The enhanced prompt can add information about cinematic presentation, emotional reactions, physical interaction, environmental response, pacing, and other nuances that aren’t easily communicated by the 3D motion itself. The refined prompt is then pasted back into AI Studio.
This creates a three-part directing system:
3D communicates physical direction.
The prompt communicates cinematic and narrative intention.
The AI model interprets both.
In the rescue example, the beginning and ending motion can remain anchored to the iClone reference while the prompt encourages Seedance to develop the rescue action between them.
That is an important distinction. Prompt enhancement isn’t being used simply to make the language more elaborate. It is being used to tell the model where it has creative room and what should happen inside that space.
Directing AI Instead of Simply Prompting It
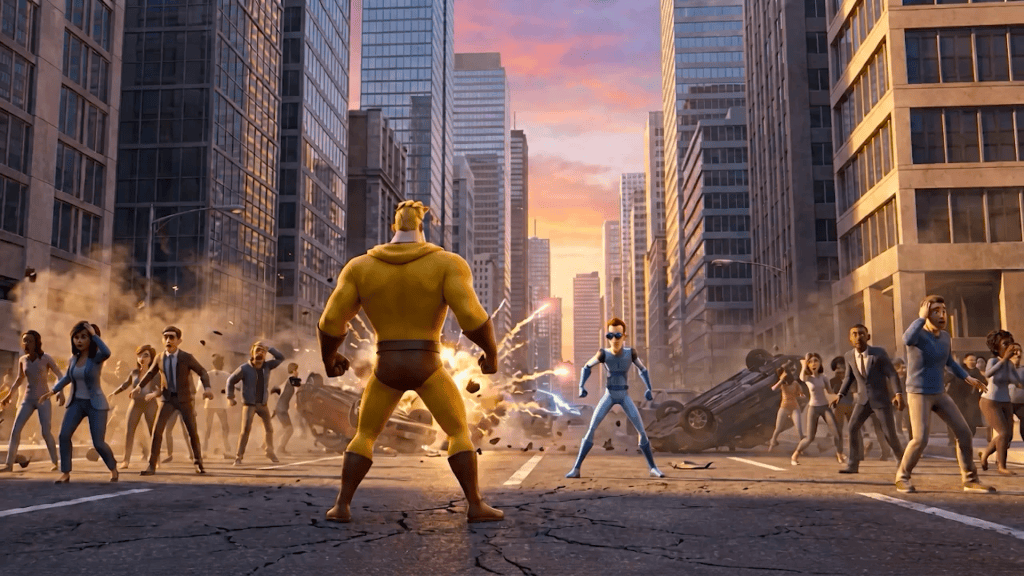
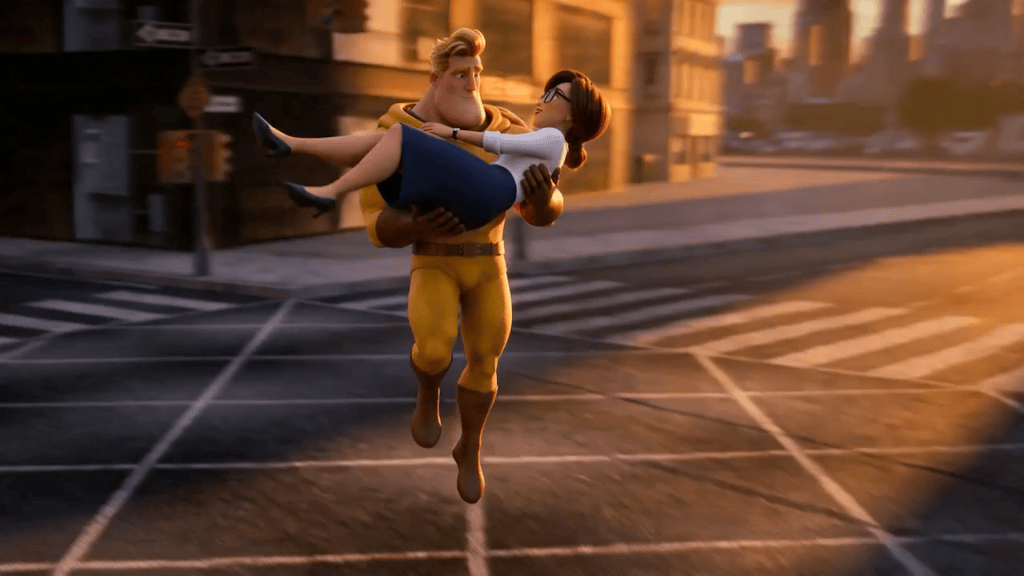
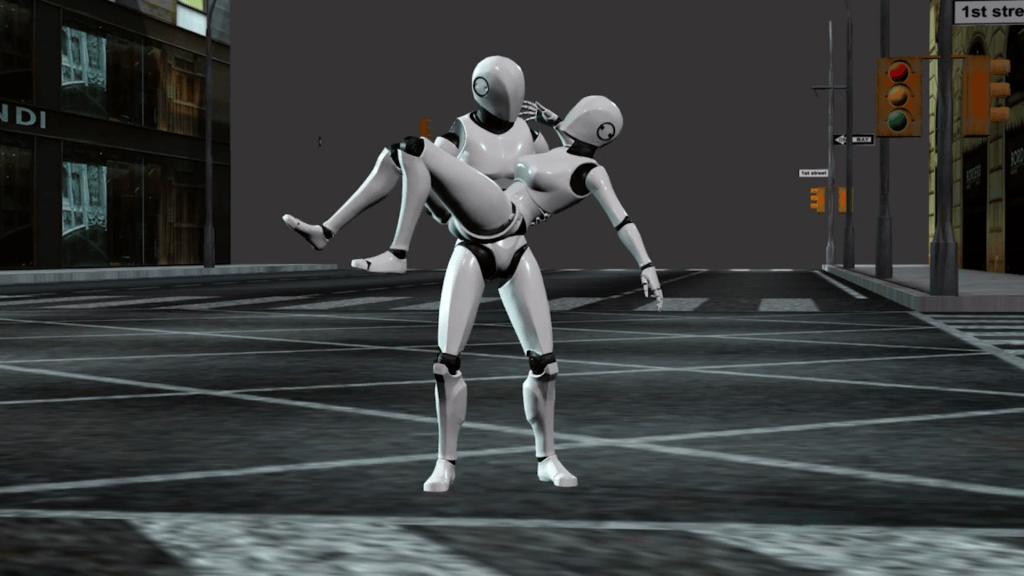
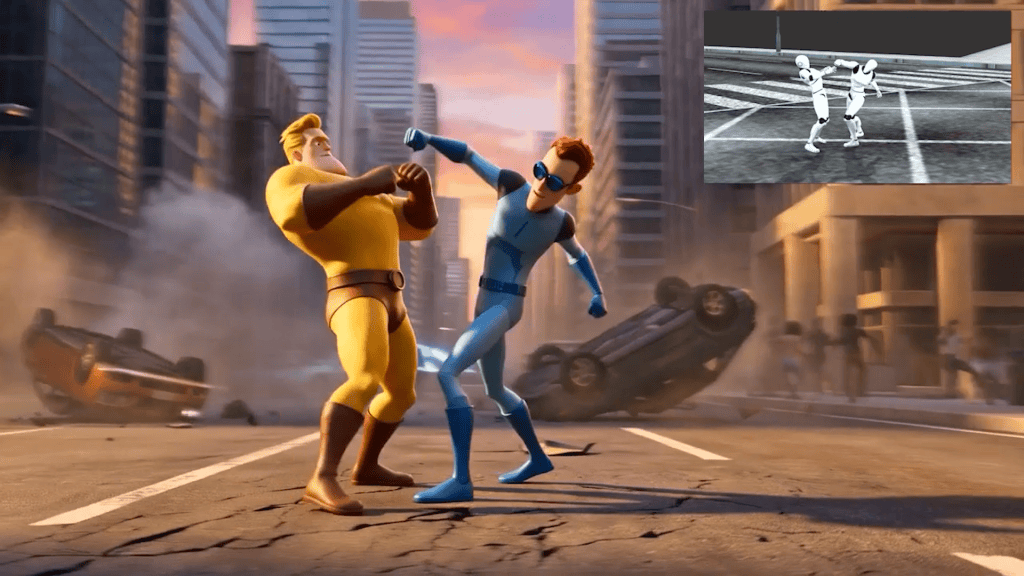
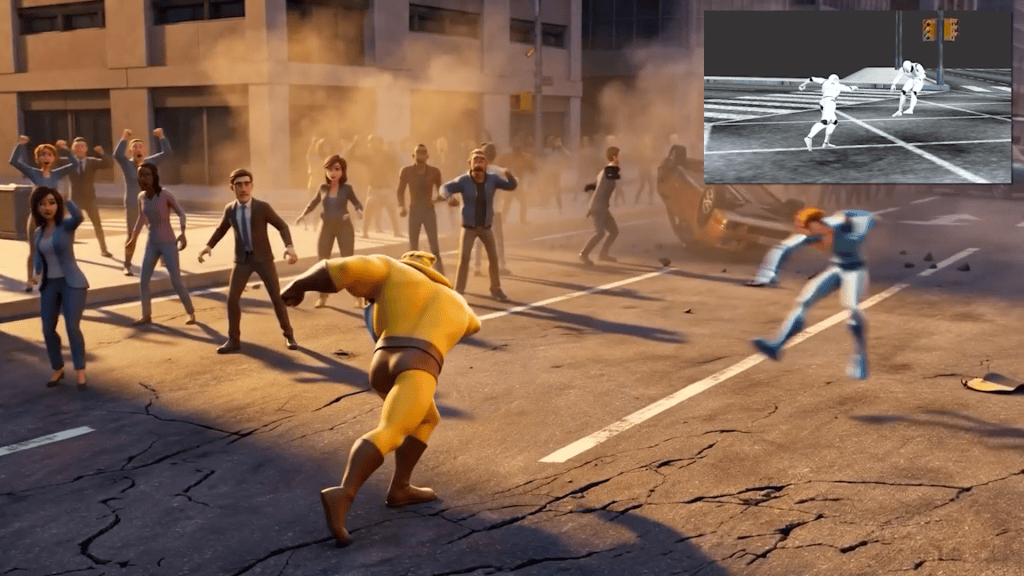
The larger lesson from 3D to AI is not that prompting becomes less important. It becomes more focused. Text is very good at describing intention, atmosphere, emotion, style, and additional action. It is less precise when asked to communicate every spatial and physical decision required by a complicated cinematic shot. 3D excels at those decisions. By combining the two, Martin’s workflow allows each tool to contribute what it does best.
- iClone provides motion, pose, keyframe editing, props, environments, cameras, framing, timing, and spatial direction.
- AI Actors provide recurring character identity and shot-by-shot consistency.
- Flux2 Max transforms directed 3D frames into generated imagery.
- Seedance transforms directed 3D motion into generated video.
- ChatGPT helps develop the prompt beyond a basic description, adding clarity, cinematic nuance, and additional action.
And AI Studio brings those elements together into a single generative workflow.
3D to AI: A Director’s Approach
For Martin, the significance of the workflow is not simply that a 3D render can be made to look better with AI.
It is that existing 3D filmmaking skills can become a method for directing generative AI.
A pose is direction.
- A motion edit is direction.
- A camera choice is direction.
- Moving a character within the scene is direction.
- Choosing the exact playhead position is direction.
- Setting In and Out points is direction.
- Selecting the right AI Actor is direction.
- And writing the prompt is another layer of direction.
Together, those decisions create a production process where the filmmaker doesn’t have to surrender the shot to a text prompt. The filmmaker can build the shot first and then decide where AI should contribute. That is the promise behind 3D to AI: Direct it in 3D. Define it with references. Enhance it with prompting. Generate it with AI Studio.
For storytellers accustomed to thinking in terms of actors, motion, sets, cameras, shots, and performances, it offers a familiar way into an unfamiliar technology. AI becomes another filmmaking tool and the director still directs.
John Martin
John Martin is a producer, digital storyteller, and Vice President of Marketing at Reallusion, where he has spent more than two decades helping shape the future of real-time animation, digital humans, and AI-powered content creation. With a background spanning filmmaking, performance capture, animation, and emerging technologies, John has been instrumental in the development and testing of AI Studio, helping refine workflows that connect traditional CG production with generative AI. His passion is empowering storytellers with innovative tools that transform imagination into cinematic experiences.
Related Posts
- AI Studio Storytellers: Re-inventing Graphic Novels with Hybrid 3D-to-AI Workflows
- AI Studio Storytellers: Space Rocks – Sci-Fi Filmmaking with Consistent AI Actors
- AI Studio Storytellers: HEIST – Previz to Production: The 3D-to-AI Workflow